Date Published: August 19th, 2020 | Last Updated: August 19th, 2020
Author: Abby |Category: snacks, asian
Serves: 8 slices | Prep time: 15mins + resting time | Cook time: 30mins
Jump to recipe |
Have you ever made too much filling for the amount of wrappers you have and didn’t know what to do with it but don’t want to throw it away? This happens to me more often than I would like to admit. Dumplings. Spanakopita. Curry puffs. Ravioli. Well get ready for the solution to all your leftover fillings: stuffed parathas! I got this idea from El Mundo Eats where I’ve had their Chicken Keema Paratha recipe saved on my “to make” list for ages. I didn’t have any chicken mince on hand, but I did have some leftover pork mince from making spring rolls last week and also homemade Thai red curry paste that I’ve been meaning to experiment with more. An hour later, this delicious creation was born! The pork filling tastes just like a Thai red curry with the use of my homemade red curry paste and coconut milk. I also added cheese to mellow out all the flavours and to help everything stick together more. I wish I took more photos of the process but I was just playing around in the kitchen and didn’t actually expect this to turn out sooo good! It’s kind of like a quesadilla but with more bread and less messy to eat. You can serve it with any kind of dipping sauce you like or eat it on its own. You could even make a sweet version!

Any filling should work with this dough as long as it’s not too saucy (it will leak when you roll it) and cooked. You’re not cooking the parathas for very long, so raw filling most likely won’t cook enough before the parathas are ready. I’ve made one giant paratha with this recipe but you can definitely split the dough and make multiple smaller stuffed parathas if you like – you’re only limited by the size of your pan. The dough is super easy and doesn’t require any yeast or proofing. You only need a few ingredients and minimal kneading to make the dough.
Anyways, without further ado, here’s the recipe! If you have any comments or suggestions, I’d love to hear from you in the comment section! You can follow me on instagram, youtube and facebook to see all the recipes I post!
Happy cooking!
Ingredients you’ll need:
- Paratha dough:
- 2 1/4 cup (290g) all purpose flour
- 1/2 tsp salt
- 1 Tbsp olive oil
- 2/3 cup (160ml) water
- Filling:
- 3 Tbsps homemade Thai red curry paste
- 250g pork (or chicken) mince
- 1/4 cup coconut milk
- 1/2 Tbsp fish sauce (or more to taste)
- 1 cup shredded cheddar cheese
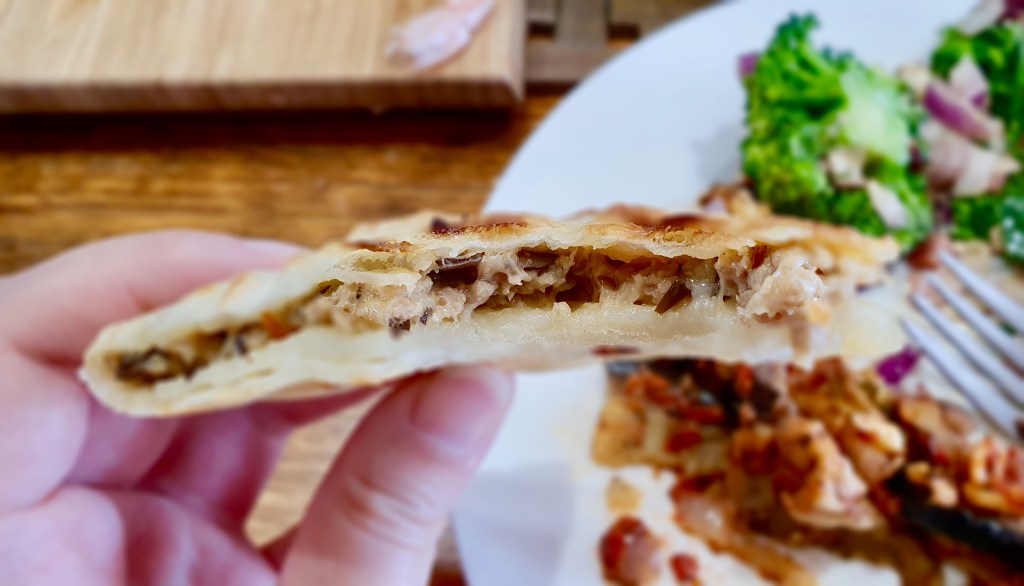
*Note: In the photos I added half a cup of chopped black fungus because I had some on hand that I needed to use up. It doesn’t add much flavour to the dish, just an extra texture. I didn’t include it in the recipe list because it’s not a common ingredient many people have and isn’t essential to the flavours, but feel free to add it in if you like.
Directions:

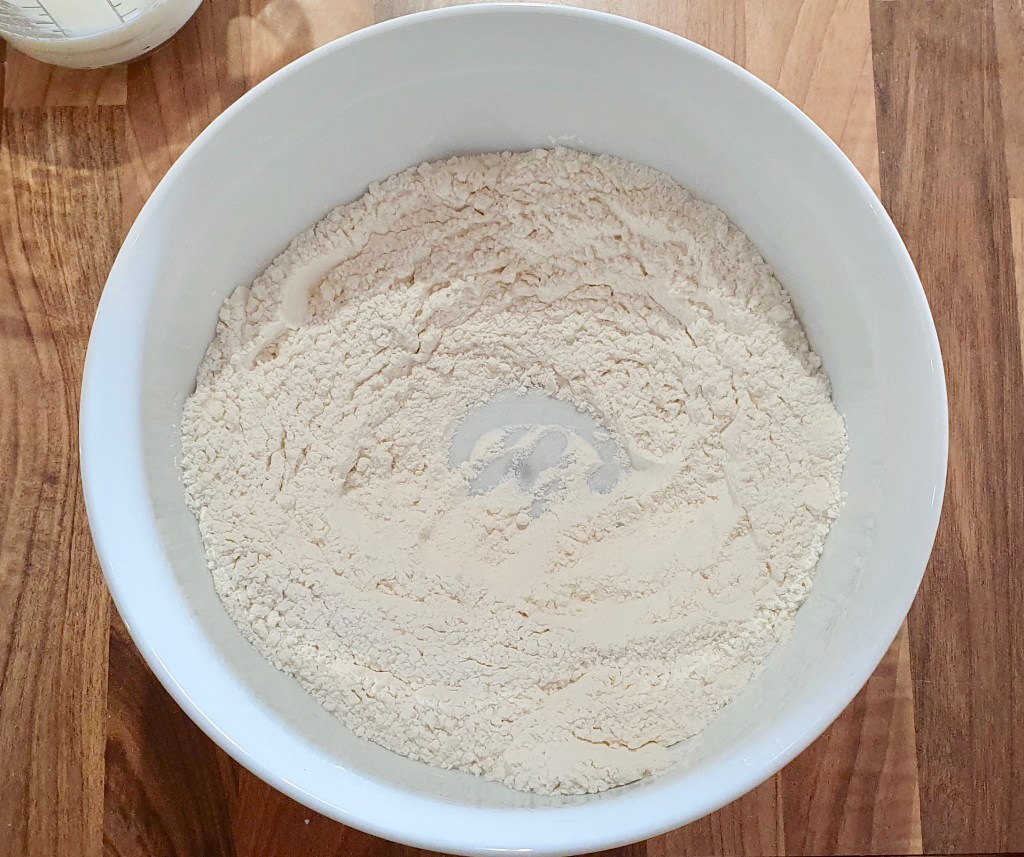
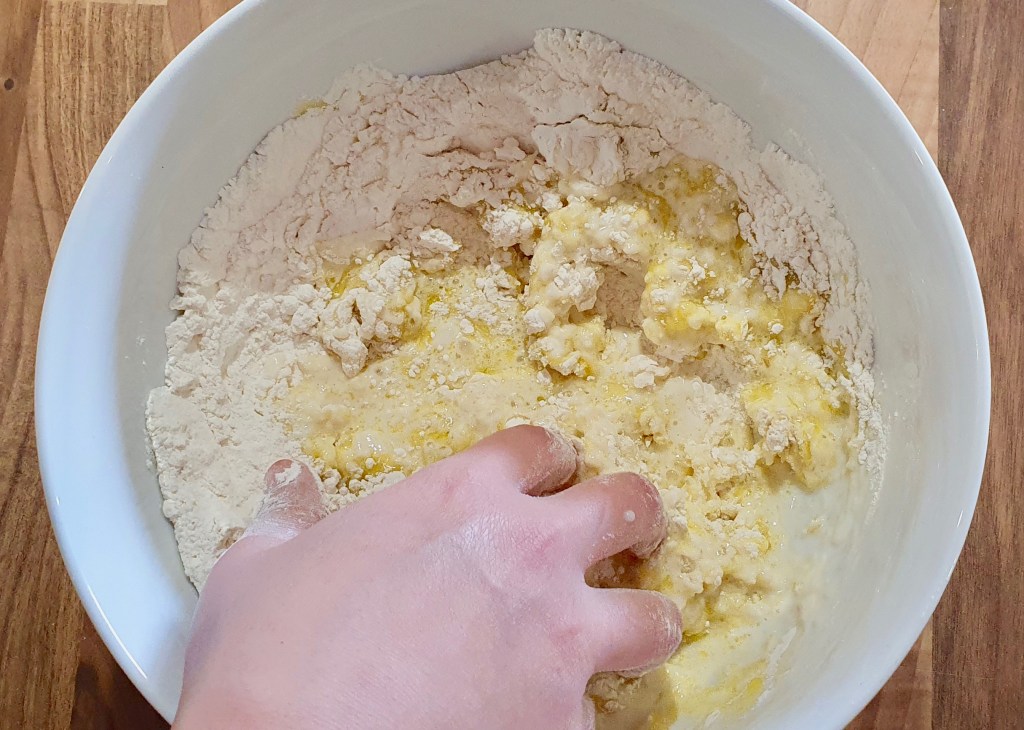
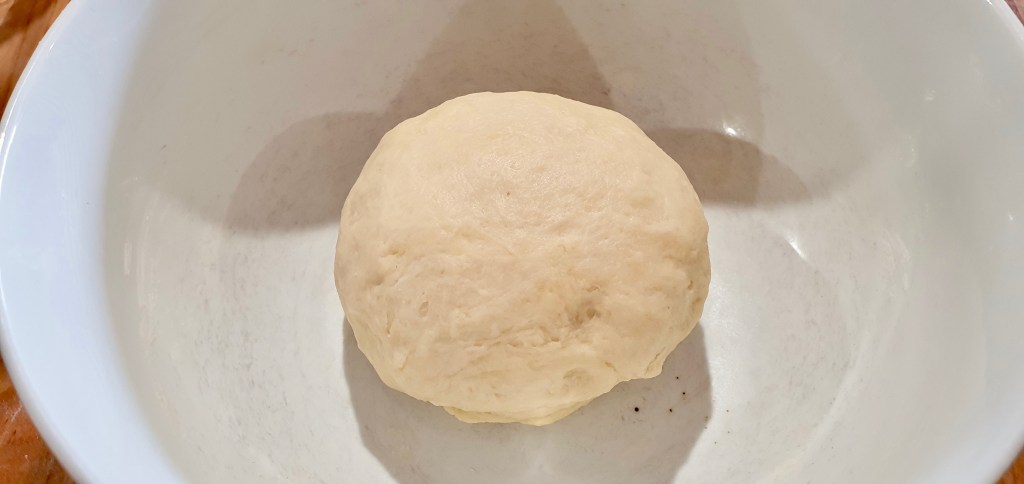
Make the paratha dough: combine all the ingredients together in a bowl and mix with your hands until you get a rough loose dough. Turn the contents of the bowl out onto a flat surface and knead the dough until all the flour is incorporated and you get a smooth ball. Cover the dough with a clean kitchen towel and let it rest for 30 minutes.
Make the filling: While the dough rests, warm a skillet on medium heat and add the red curry paste to the dry pan to toast for a few minutes until some of the water evaporates and it becomes fragrant (~2 minutes). Add in the pork mince and sauté with the curry paste until the pork is nearly cooked, then add in the coconut milk and fish sauce. Continue to sauté until the pork is fully cooked and liquids evaporate. Taste and adjust flavours as needed. Place the filling in a bowl and set aside to cool.

Place all the filling into the centre of the dough 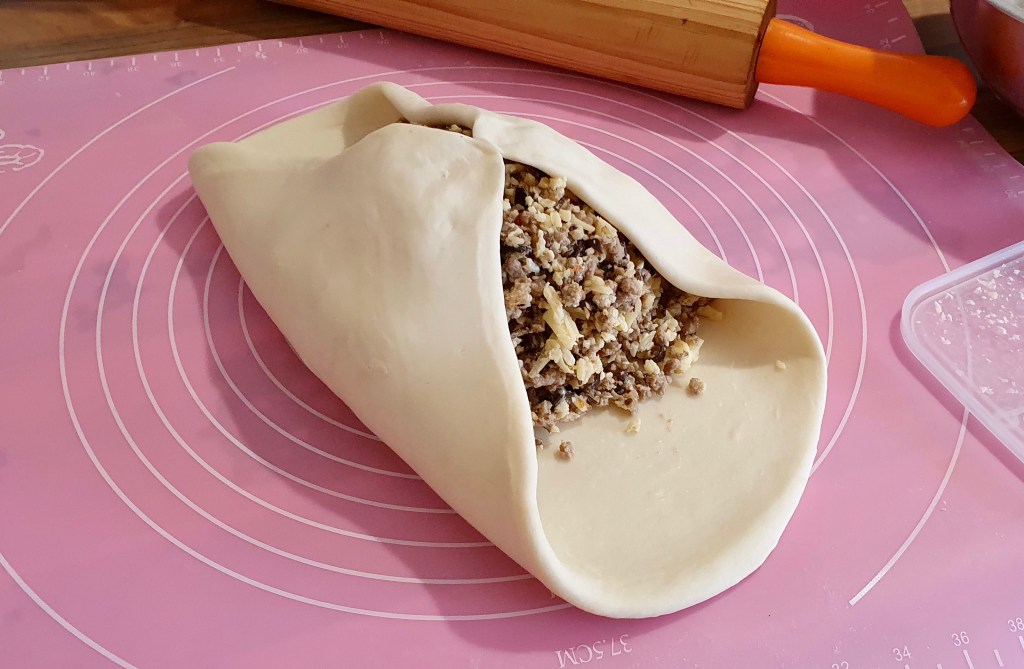
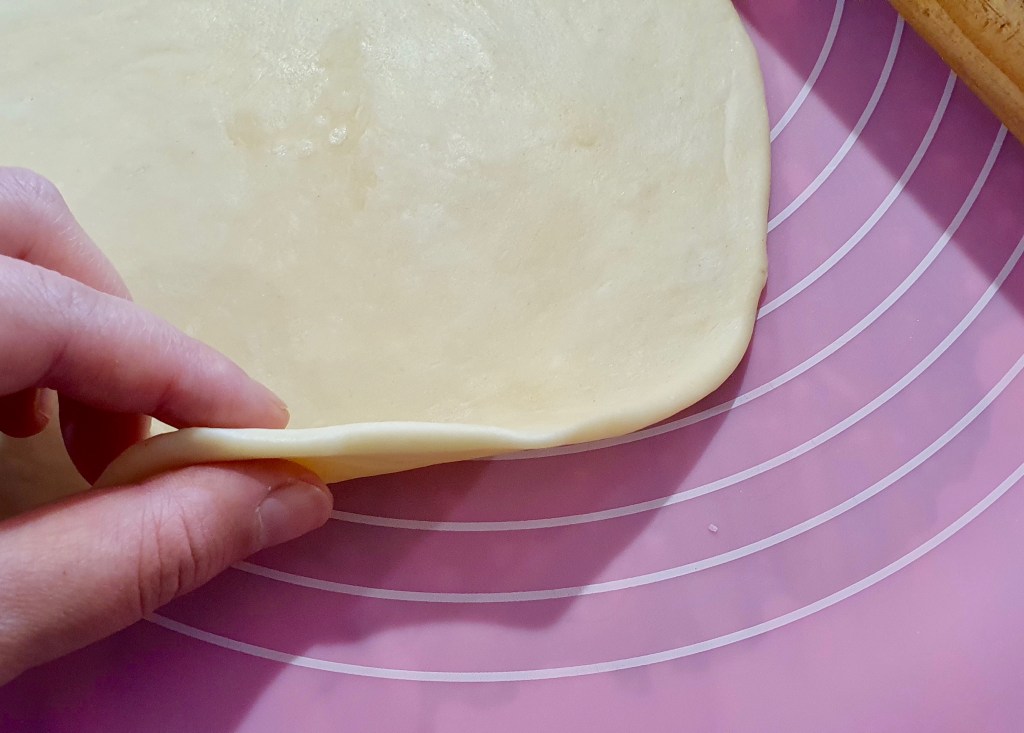
Bring the edges together 
Make sure it’s sealed well before rolling it out 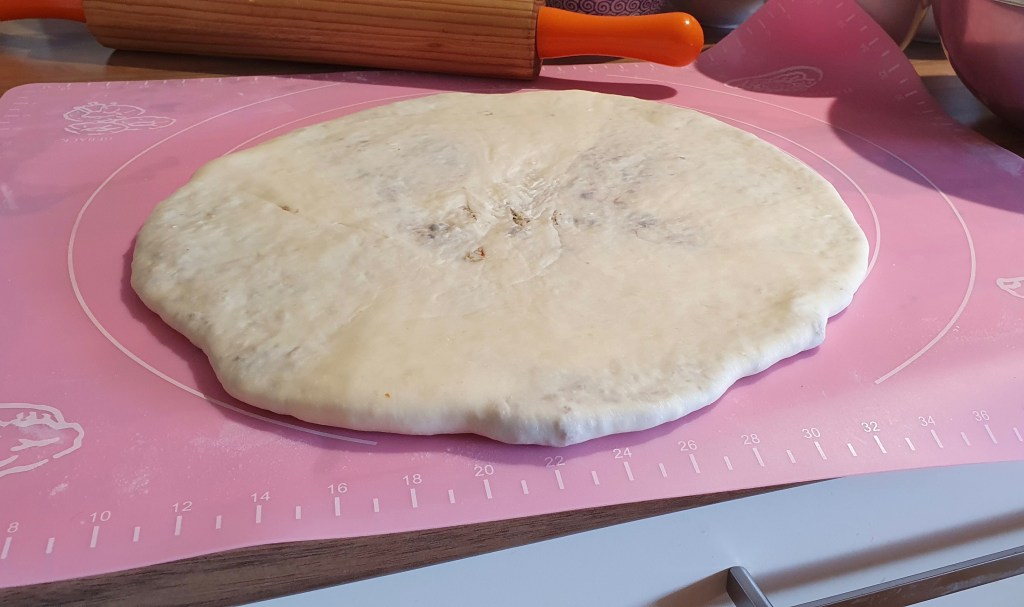
It’s normal to see the filling just below the surface as long as it’s not torn.
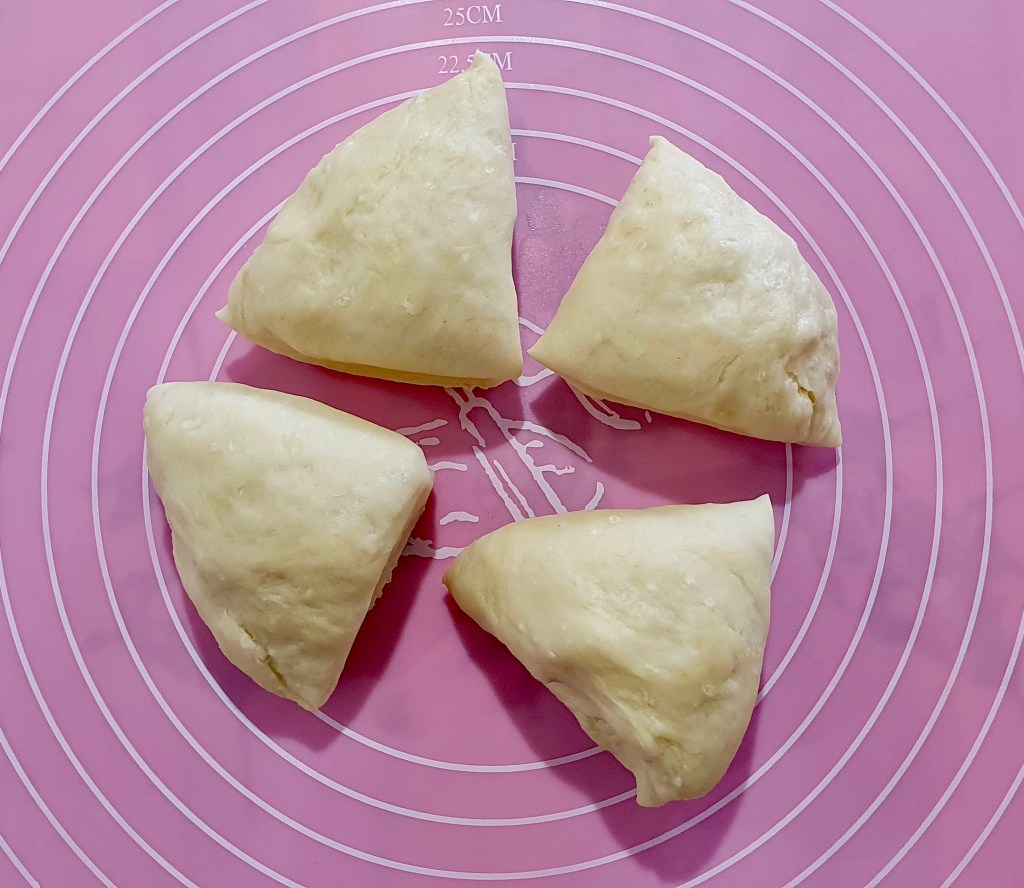
Assemble: Once the filling has cooled and the dough has rested, assemble the paratha. Make sure you have a large pan 30cm wide that the paratha will fit in. If not, divide the dough into half or quarters and make multiple small stuffed parathas. Roll out the dough into a flat circle about 7mm thick. Mix the shredded cheese with the pork filling and pour the contents into the centre of the dough. Bring the edges of the dough together over the filling to form a ball, try to squeeze out any air pockets before you seal it. Make sure the top is sealed well. Gently press down on the dough ball to flatten it and then use a rolling pin and carefully flatten the ball in all directions until roughly 1cm thick. You may be able to see the filling just under the dough.
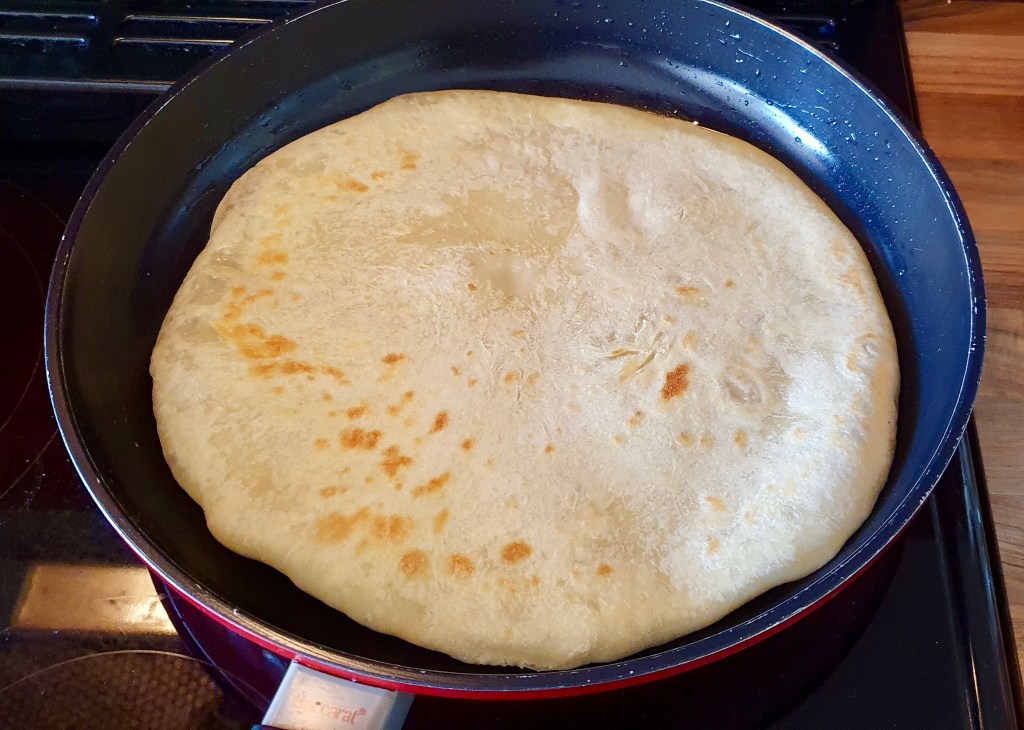
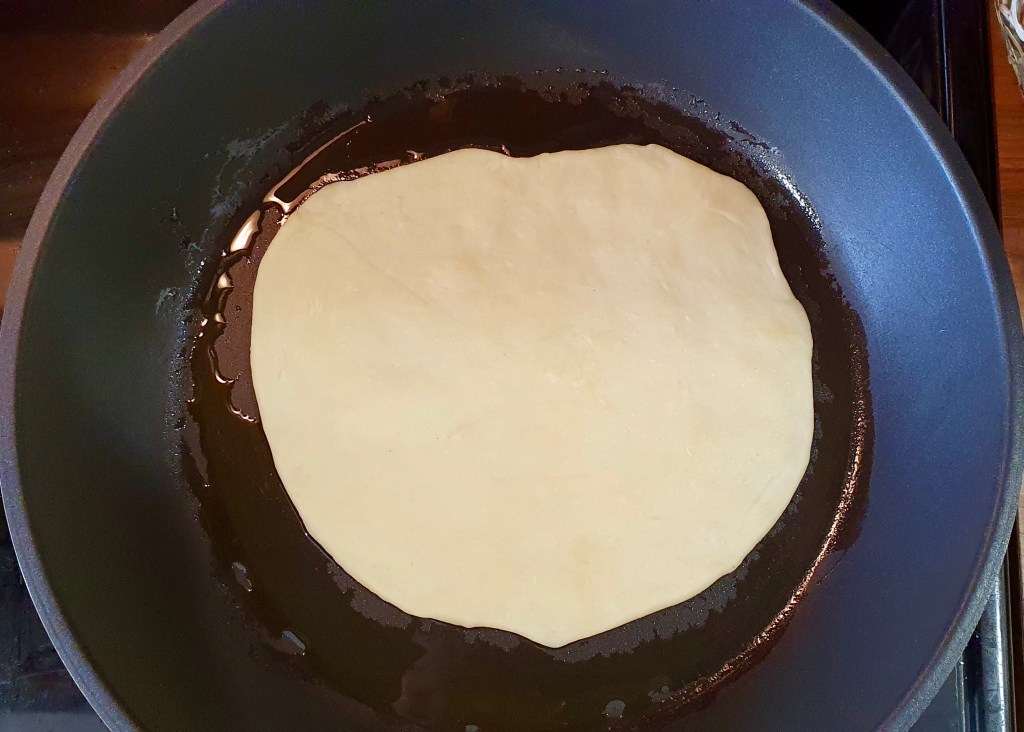
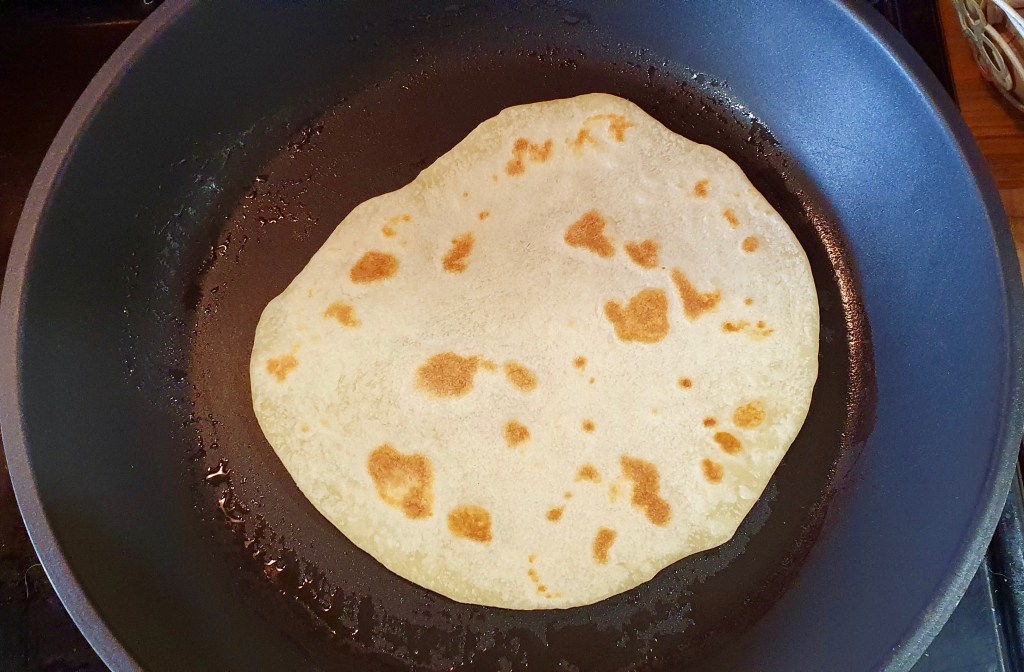
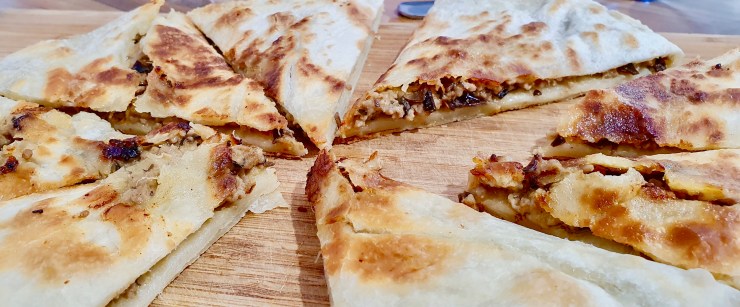
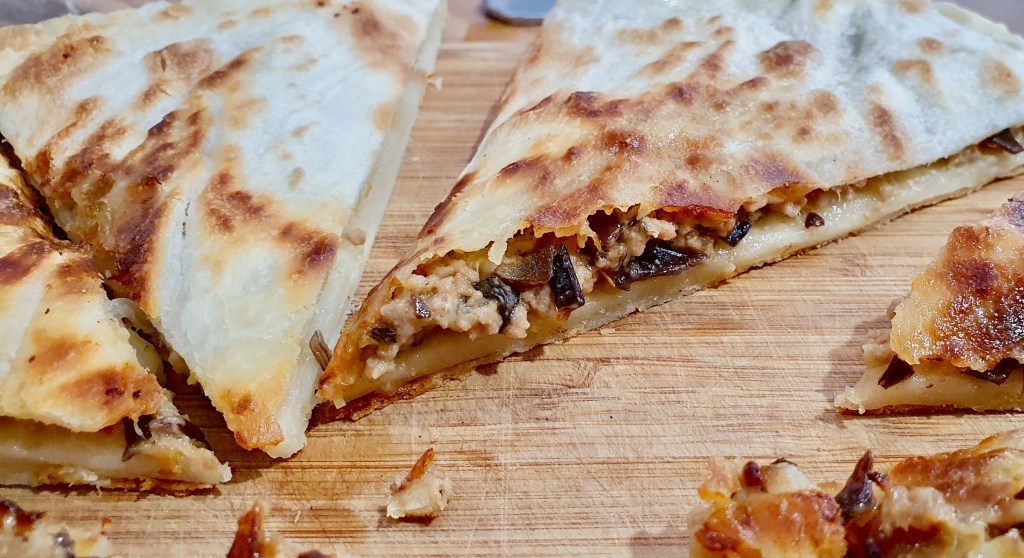
Cook: Heat a large skillet on medium heat. Add a drizzle of olive oil to the skillet and swirl it around. Place the stuffed paratha onto the pan and cook until the underside is toasty and golden brown (~5-8mins). Brush a bit of olive oil on the top of the paratha then flip and cook on the other side until golden. Remove from heat and slice into pieces and serve immediately. Enjoy!

Summarized Recipe:
Cheesy Thai Red Curry Pork Stuffed Paratha
Date Published: August 19th, 2020 | Last Updated: August 19th, 2020
Author: Abby |Category: snacks, asian
Serves: 8 slices | Prep time: 15mins + resting time | Cook time: 30mins
Ingredients:
- Paratha dough:
- 2 1/4 cup (290g) all purpose flour
- 1/2 tsp salt
- 1 Tbsp olive oil
- 2/3 cup (160ml) water
- Filling:
- 3 Tbsps homemade Thai red curry paste
- 250g pork (or chicken) mince
- 1/4 cup coconut milk
- 1/2 Tbsp fish sauce (or more to taste)
- 1 cup shredded cheddar cheese
Directions:
- Make the paratha dough: combine all the ingredients together in a bowl and mix with your hands until you get a rough loose dough. Turn the contents of the bowl out onto a flat surface and knead the dough until all the flour is incorporated and you get a smooth ball. Cover the dough with a clean kitchen towel and let it rest for 30 minutes.
- Make the filling: While the dough rests, warm a skillet on medium heat and add the red curry paste to the dry pan to toast for a few minutes until some of the water evaporates and it becomes fragrant (~2 minutes). Add in the pork mince and sauté with the curry paste until the pork is nearly cooked, then add in the coconut milk and fish sauce. Continue to sauté until the pork is fully cooked and liquids evaporate. Taste and adjust flavours as needed. Place the filling in a bowl and set aside to cool.
- Assemble: Once the filling has cooled and the dough has rested, assemble the paratha. Make sure you have a large pan 30cm wide that the paratha will fit in. If not, divide the dough into half or quarters and make multiple small stuffed parathas. Roll out the dough into a flat circle about 7mm thick. Mix the shredded cheese with the pork filling and pour the contents into the centre of the dough. Bring the edges of the dough together over the filling to form a ball, try to squeeze out any air pockets before you seal it. Make sure the top is sealed well. Gently press down on the dough ball to flatten it and then use a rolling pin and carefully flatten the ball in all directions until roughly 1cm thick. You may be able to see the filling just under the dough.
- Cook: Heat a large skillet on medium heat. Add a drizzle of olive oil to the skillet and swirl it around. Place the stuffed paratha onto the pan and cook until the underside is toasty and golden brown (~5-8mins). Brush a bit of olive oil on the top of the paratha then flip and cook on the other side until golden. Remove from heat and slice into pieces and serve immediately. Enjoy!