
Date Published: August 11th, 2020 | Last Updated: August 28th, 2020
Author: Abby |Category: sauces, asian
Serves: 1.5 cups | Prep time: 30 mins | Cook time: 5 mins
Jump to recipe |
There’s no doubt Thai curries are jam packed with big bold flavours which is what I’m all about when I’m in the kitchen. Thai curries come in a wide variety, but the most common ones you’ll see are red and green curries. Traditionally the main difference between these two are the colour of the chillies that are used. Red curries tend to be spicier with a bolder flavour whereas green curries use the more mild green chilli peppers and use more aromatics which result in a more mellow but fragrant curry (check out my green curry paste recipe here). Both curry pastes have similar ingredients but in different proportions that result in very different flavours.
Making a delicious Thai curry with complex flavours isn’t actually complicated at all as long as you have the curry paste, which is where most of the flavour comes from (but also the most effort). I’ve always liked making things from scratch so I know what goes in my food and I have complete control of the flavours and ingredients (and bonus no preservatives and additives I can’t pronounce). Since I started making my own curry pastes I’ve never looked back. Although it’s more effort compared to using the canned version, the end result is SO worth it. A homemade curry paste has so much more vibrant fresh flavour that you just can’t get from a can, which is why you’ll often find that a lot of curry recipes will have you sauté the canned paste in aromatics (ie garlic, lemongrass, ginger…etc.) to “freshen up” the paste and bring the flavours out. When you use homemade curry paste you can skip all those extra steps and use it directly. In my opinion making your own curry paste actually SAVES you time in the long run. Think about it: you can either spend 30-40mins today chopping and preparing all the ingredients for this paste and have enough to use for the next 3-4 curry dishes (or more if you double the recipe) or you can buy the canned stuff and spend an extra 10-15mins before each meal to chop and prepare all the additional ingredients you’ll need to “freshen up” the canned paste with more clean up and don’t forget the extra shopping time needed to gather all the ingredients each time. Have I sold you on making your own curry paste?

The actual process is pretty simple – just chop and blend, but since this paste does require a bit of effort and time to gather and prep all the ingredients, I’ve adjusted the recipe to yield enough for 3-4 meals (at 4 servings each) so you’ll only need to make this once and be able to use it again and again. Feel free to double the recipe to make more. It stores well in an air tight container (ie glass jar) for about a week or you can freeze it for months.
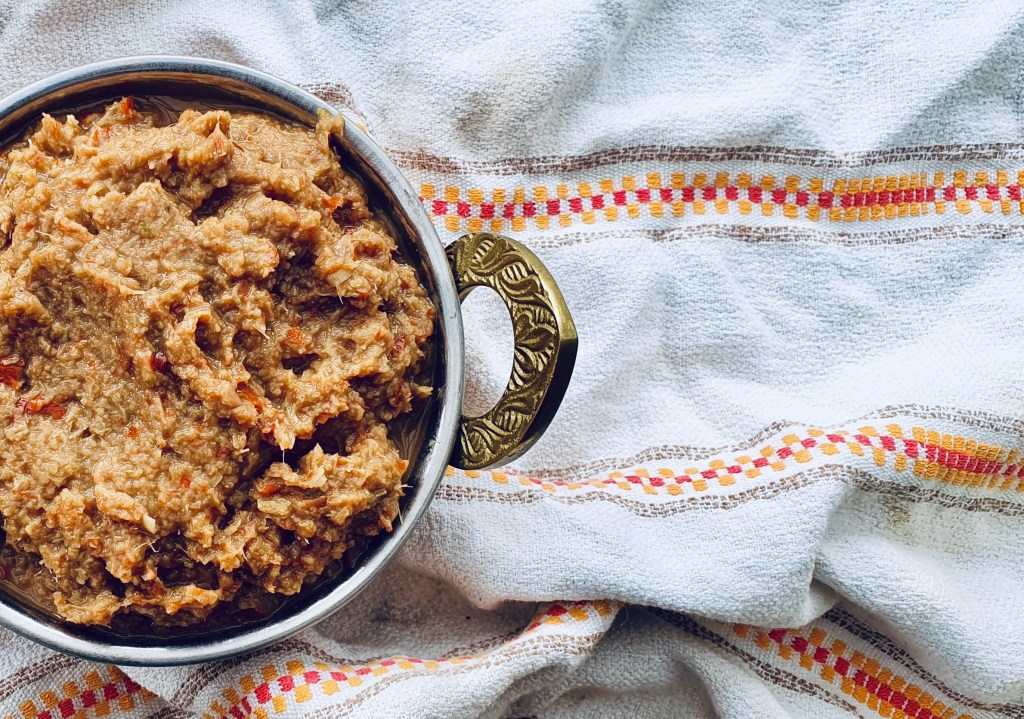
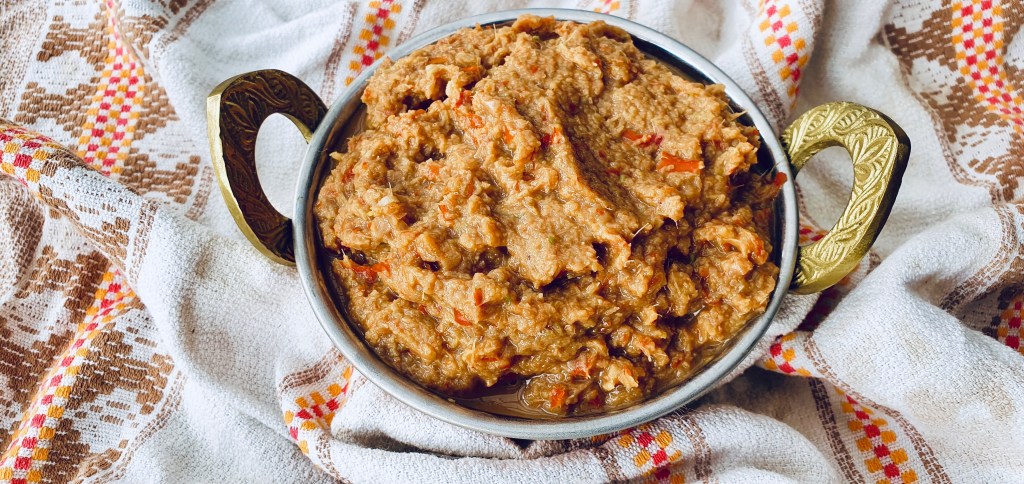
Disclaimer: This homemade paste isn’t as dark red as the canned versions so your curry won’t turn out as red but I promise it will be every bit as flavourful!
Once you’ve got a good curry paste ready, making a good curry is as easy as mixing it into a broth and/or coconut milk and adding veggies and a protein. Easy!

The credit to this recipe goes to RecipeTinEats who did the hard work figuring out the proportions for this delicious paste. I’ve made slight tweaks and changed up the methods a little and added some personal notes.
Anyways, without further ado, here’s the recipe! If you have any comments or suggestions, I’d love to hear from you in the comment section! You can follow me on instagram, youtube and facebook to see all the recipes I post!
Happy cooking!
Ingredients you’ll need:

- 30 dried red chillies (you’ll usually find them in big packs at Asian supermarkets)
- 4 Tbsps (1 large) lemongrass, sliced with tough outer skin removed
- 4 red shallots (or 1 medium brown onion, roughly chopped)
- 2 tsps lime zest
- 2 Tbsps galangal, peeled and grated (or 2 Tbsps peeled and grated ginger + zest of 1 lime)
- 8 garlic cloves, peeled whole
- 2 Tbsps chopped coriander/cilantro roots (or 1 Tbsp coriander/cilantro stems)
- 2 tsps (20g) belachan (shrimp paste)
- 1 tsp ground coriander
- 1 tsp ground cumin
- 1 1/2 Tbsps brown sugar
Directions:
Red curry is meant to be spicy, but the level is up to you. Taste the chillies without the seeds to determine how spicy it is (chillies grown in different seasons and regions can differ on spiciness even if they’re the same species!). You can decrease the amount of chillies for this paste if it’s too spicy but keep in mind this is a cooking paste and will dilute out to a degree when cooking with other ingredients. Note: If you cut out too many chillies, the paste might not be as flavourful since this paste draws a lot of flavour from the chillies.
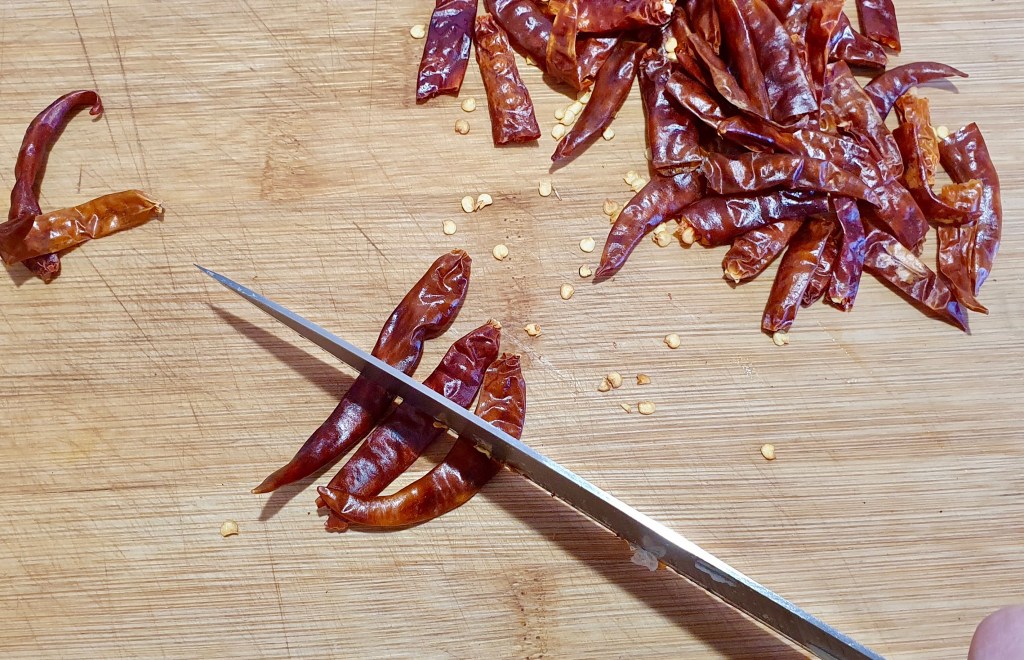
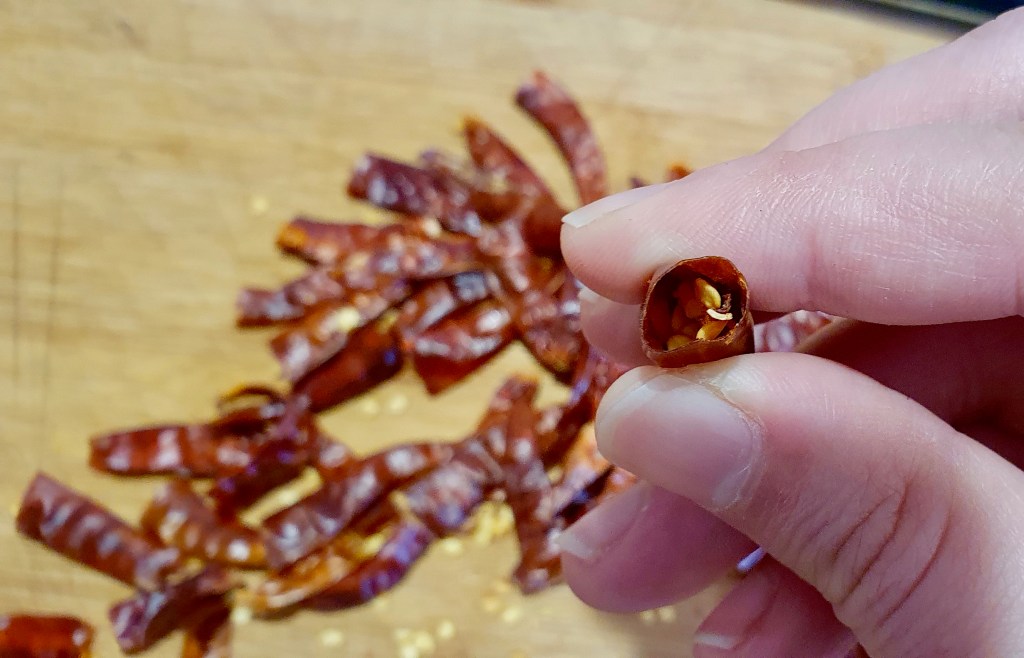

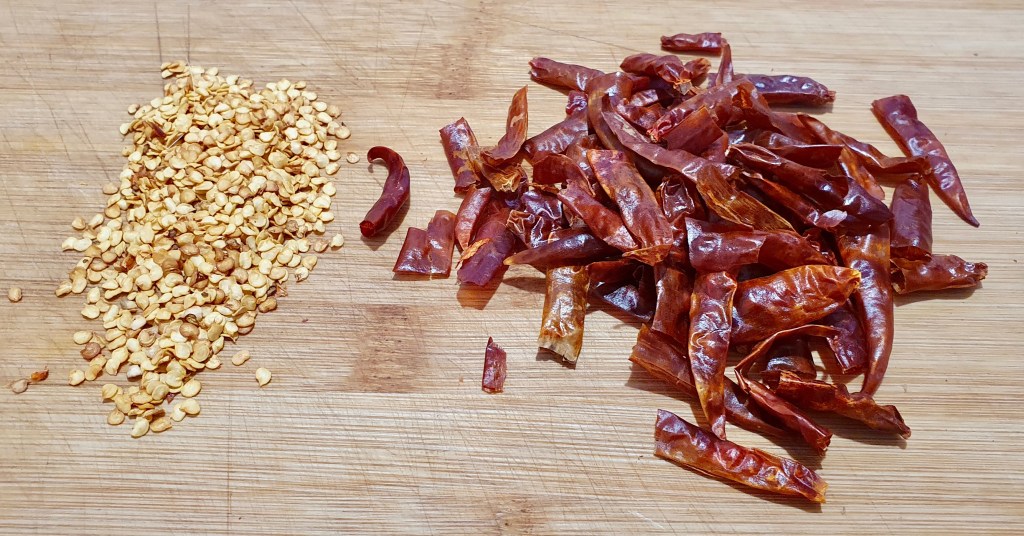

Roll the dried chillies between your fingers to loosen the seeds then cut them all in half and shake out the seeds. Discard the seeds (or if you prefer your curries really spicy, you can add some seeds back in). Place the empty chilli pods in a bowl with 2 cups of boiling water to soak for 30 mins.
While you’re waiting for the chillies to soak, prepare the rest of the ingredients.


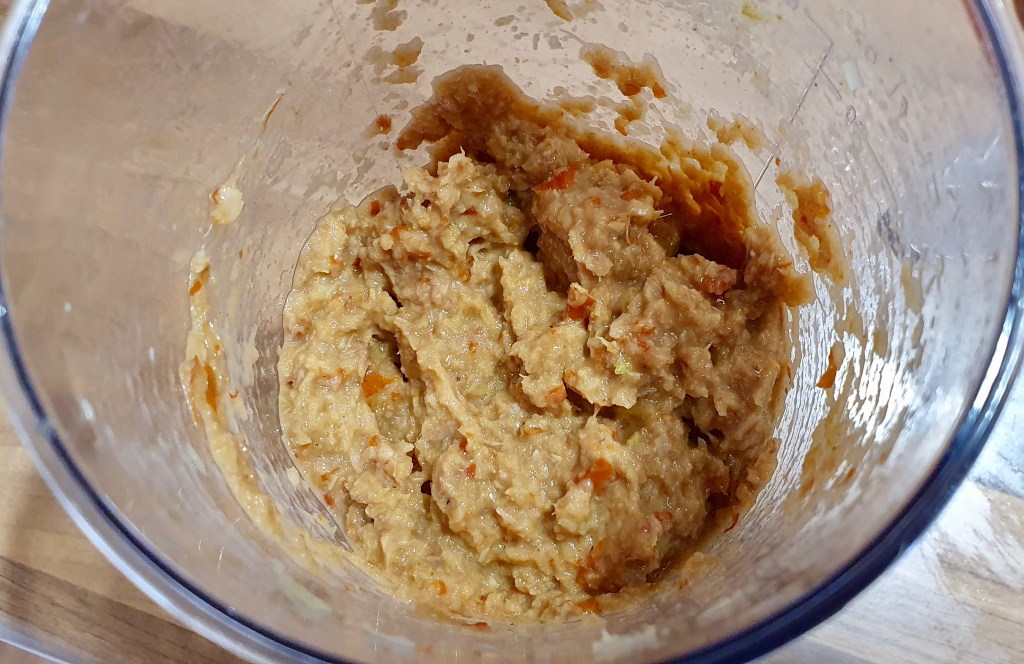
When the chillies have finished soaking, strain them (keep the chilli water) and add it with the rest of the ingredients to either a blender, food processor or container for a stick blender to blend all the ingredients until you get a smooth paste. I prefer using my stick blender for easier clean up and I can get a smoother paste compared to a food processor. If your mixture is dry and difficult to blend, add 1 Tbsp at a time of the reserved chilli water (or regular water or coconut milk if you’re afraid of making it too spicy) into the mixture and continue to blend until you get a smooth paste (I didn’t need any extra chilli water in my paste in the photo above). Done!
Storage: Keep in an air tight container (ie. glass jar) for up to a week or freeze it for a couple months. You can freeze it in an ice cube tray and defrost to use as needed.
Recipes that use this paste:


Summarized Recipe:
Thai Red Curry Paste
Date Published: August 11th, 2020 | Last Updated: August 11th, 2020
Author: Abby |Category: sauces, asian
Serves: 1.5 cups | Prep time: 30 mins | Cook time: 5 mins
Ingredients:
- 30 dried red chillies (you’ll usually find them in big packs at Asian supermarkets)
- 4 Tbsps (1 large) lemongrass, sliced with tough outer skin removed
- 4 red shallots (or 1 medium brown onion, roughly chopped)
- 2 tsps lime zest
- 2 Tbsps galangal, peeled and grated (or 2 Tbsps peeled and grated ginger + zest of 1 lime)
- 8 garlic cloves, peeled whole
- 2 Tbsps chopped coriander/cilantro roots (or 1 Tbsp coriander/cilantro stems)
- 2 tsps (20g) belachan (shrimp paste)
- 1 tsp ground coriander
- 1 tsp ground cumin
- 1 Tbsp brown sugar
Directions:
- Taste the chillies without the seeds to determine the spice level. You can decrease the amount of chillies for this paste if it’s too spicy but keep in mind this is a cooking paste and will dilute out to a degree when cooking with other ingredients.
- Note: If you cut out too many chillies, the paste might not be as flavourful since this paste draws a lot of flavour from the chillies.
- Roll the dried chillies between your fingers to loosen the seeds then cut them all in half and shake out the seeds. Discard the seeds (or if you prefer your curries really spicy, you can add some seeds back in). Place the empty chilli pods in a bowl with 2 cups of boiling water to soak for 30 mins.
- While you’re waiting for the chillies to soak, prepare the rest of the ingredients.
- When the chillies have finished soaking, strain them (keep the chilli water) and add it with the rest of the ingredients to either a blender, food processor or container for a stick blender to blend all the ingredients until you get a smooth paste.
- I prefer using my stick blender for easier clean up and I can get a smoother paste compared to a food processor. If your mixture is dry and difficult to blend, add 1 Tbsp at a time of the reserved chilli water (or regular water or coconut milk if you’re afraid of making it too spicy) into the mixture and continue to blend until you get a smooth paste. Done!
Storage: Keep in an air tight container (ie. glass jar) for up to a week or freeze it for a couple months. You can freeze it in an ice cube tray and defrost to use as needed.
