Date Published: Nov 13th, 2025 | Last Updated: Nov 13th, 2025
Author: Abby |Category: vegetarian, mains, asian
Serves: 4 | Prep time: 25 mins | Cook time: 40 mins
Jump to recipe |
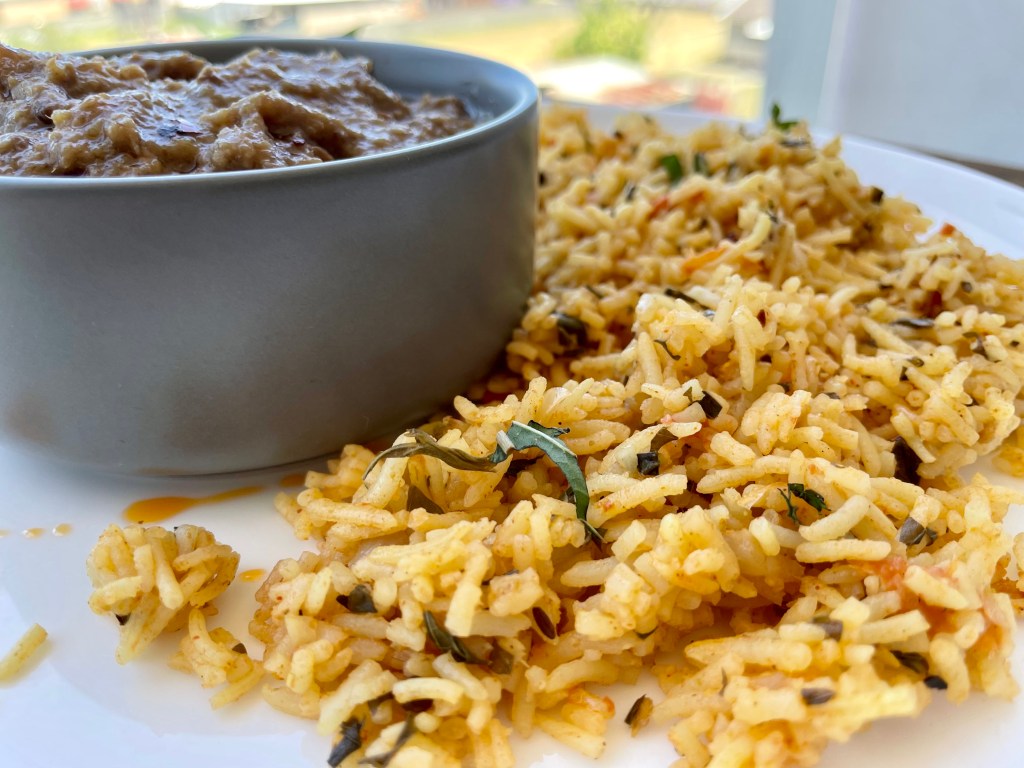
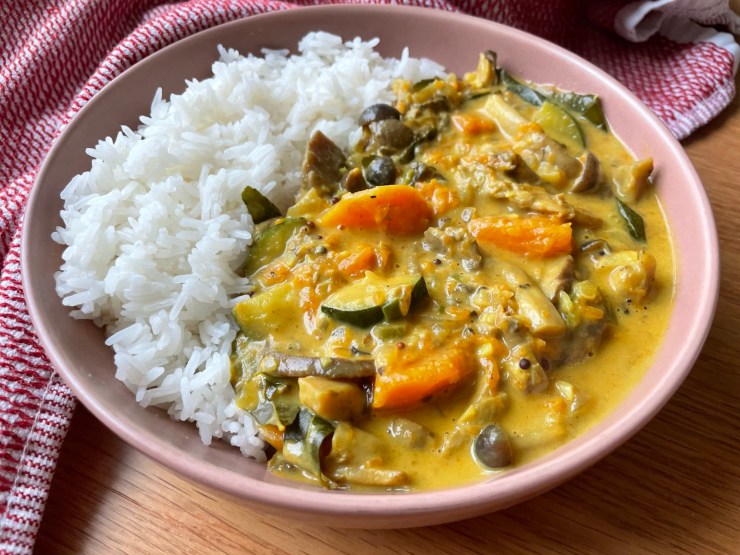
If you’re a fan of mushrooms, pumpkin, and curry, this is the perfect recipe for you! Adapted from this New York Times Recipe, this is the ultimate winter comfort dish. It’s savoury, hearty, filling, and packed with flavour! This curry is fully vegetarian & vegan, but for my carnivorous readers, you could easily add in some shredded roasted chicken at the end to amp up the protein, but this robust curry stands well on its own and is guaranteed to be filling.
This recipe is easy and keeps well in the fridge, so you can make it ahead of time or meal prep for the week!
Anyways, without further ado, here’s the recipe! If you have any comments or suggestions, I’d love to hear from you in the comment section! You can follow me on instagram, youtube and facebook to see all the recipes I post!
Happy cooking!
Ingredients you’ll need:
- 1.2kg pumpkin or butternut squash (roughly 1/4 of a pumpkin), peeled and diced into 3cm cubes
- Salt and black pepper
- 6 medium shallots (or 1 medium onion), diced
- 1 tsp (4g) black mustard seeds
- 1 tsp (3g) cumin seeds
- 40-50 (10g) fresh curry leaves (feel free to chop it into into halves or thirds if you prefer to eat smaller leaves in the curry)
- 4 garlic cloves, minced
- 2 tsps (4g) ground coriander
- 1 tsp (3g) ground turmeric
- 2 tsps of kosher salt
- 1/2 tsp ground cayenne (optional)
- 1 long green chilli (jalapeño or serrano), diced and deseeded (keep the seeds in if you want it spicier) (optional)
- 750g mix of mushrooms, cleaned and sliced (use mushrooms that will hold its shape well well when cooking – I used a mix of Brown Beech, Baby Bellas, and Oyster mushrooms. Avoid enokis – they will get stringy and too soft in this recipe.)
- 1 zucchini, diced
- 1 can (403ml) unsweetened coconut milk
- Optional: splash of fish sauce instead of salt at the end for extra flavour
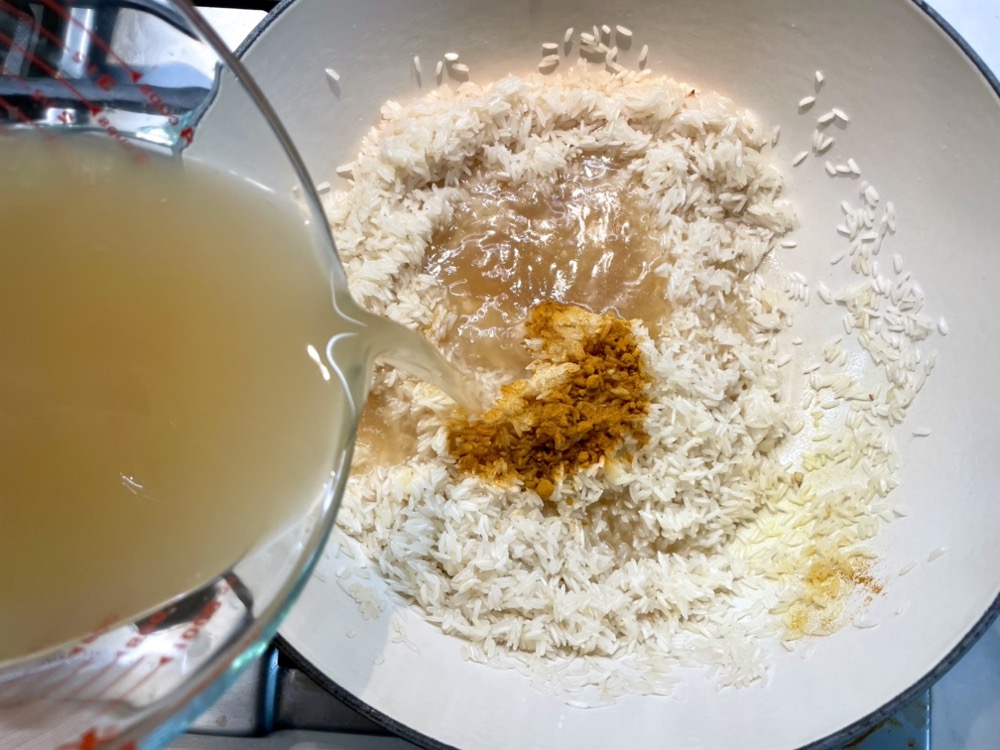
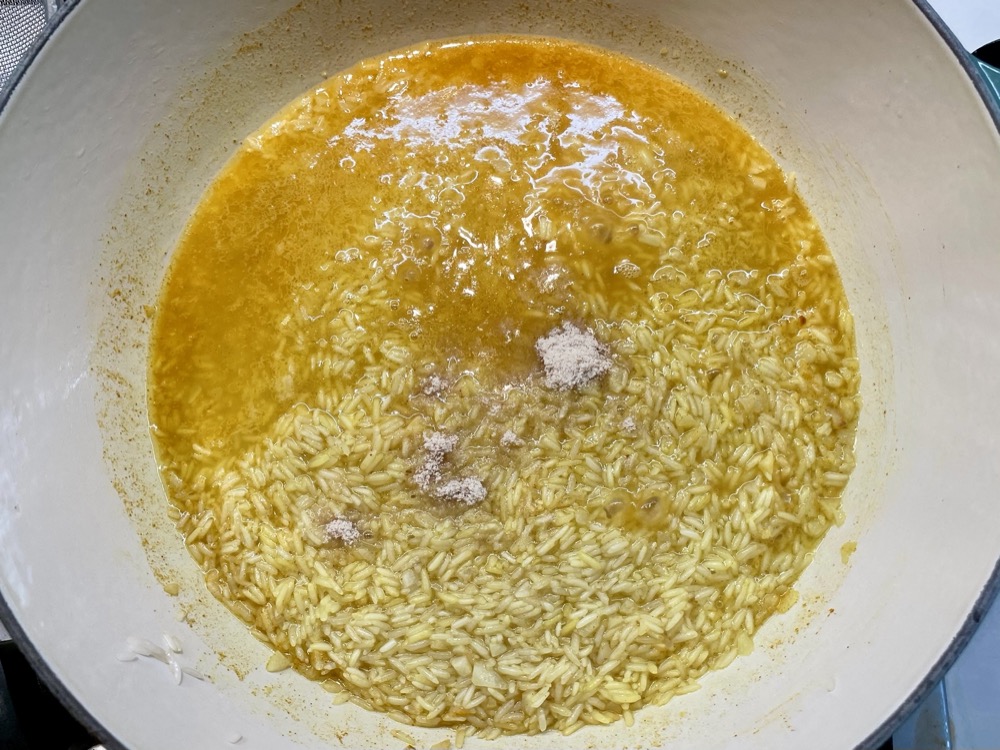
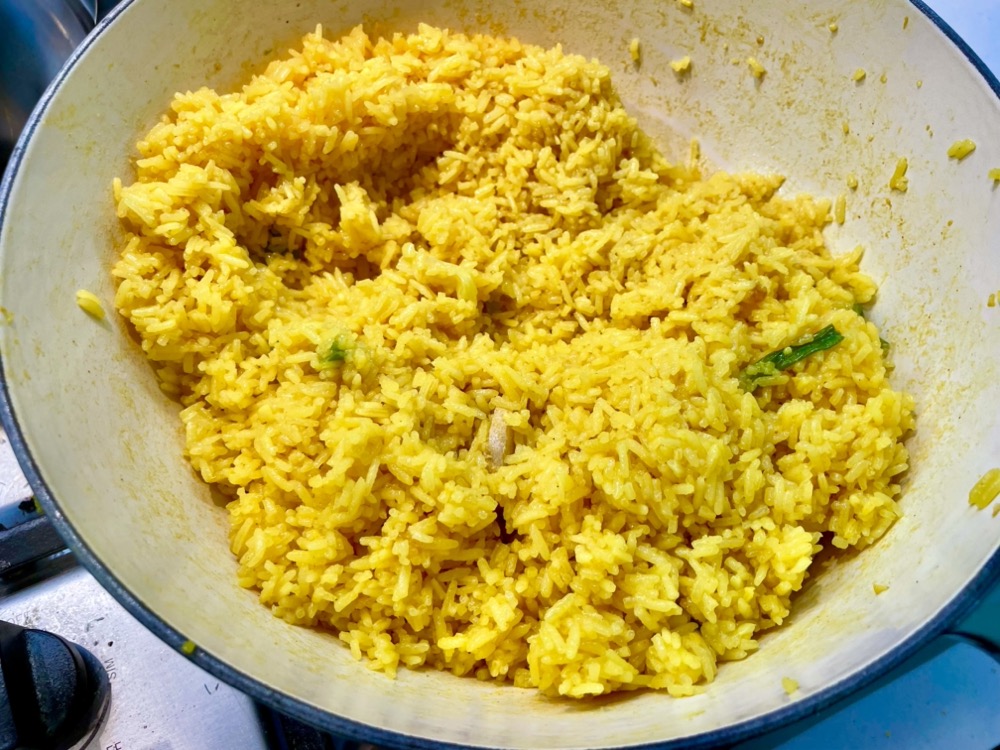
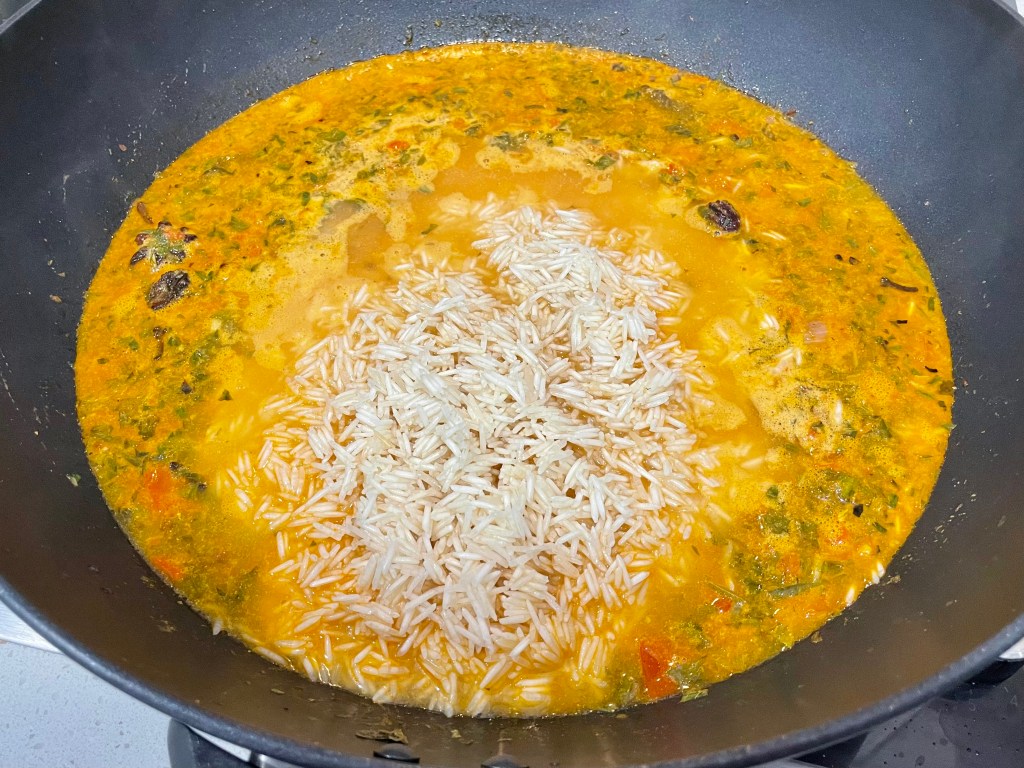
- Serve with: cooked basmati rice
Directions:
Preheat oven to 200˚C/400˚F.
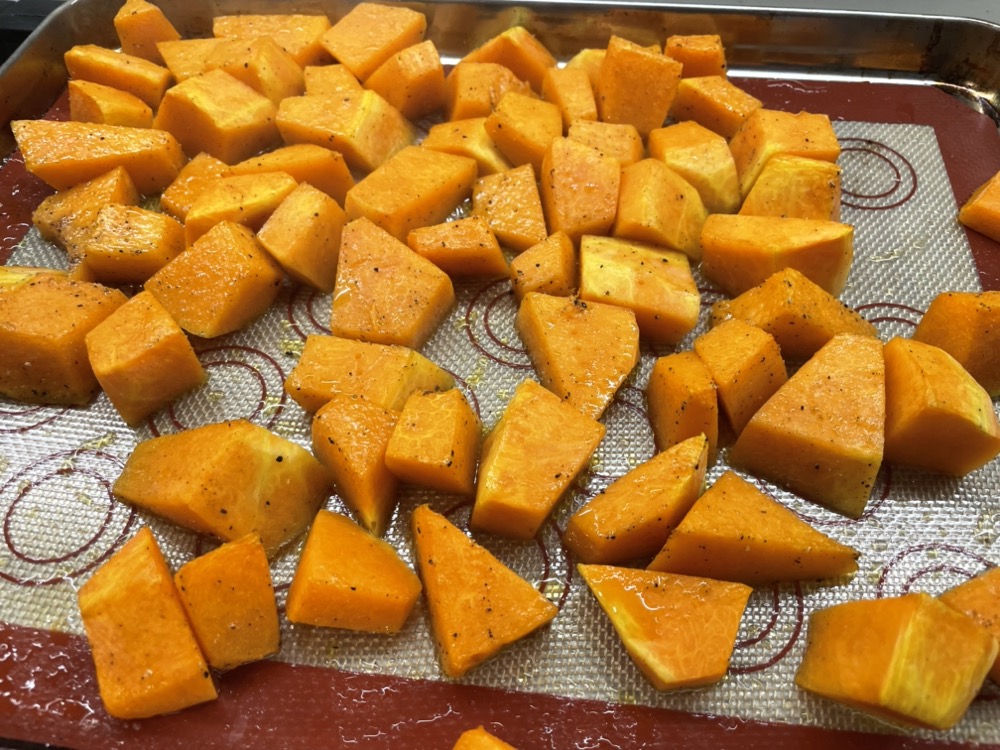
Place the diced pumpkin onto a baking tray and add a drizzle of olive oil and a good sprinkle of salt and pepper. Mix thoroughly and and bake in the preheated oven for 15-20 minutes, until the pumpkin is nearly cooked (soft enough to pierce with a fork but still with some resistance). Set aside until ready to use.

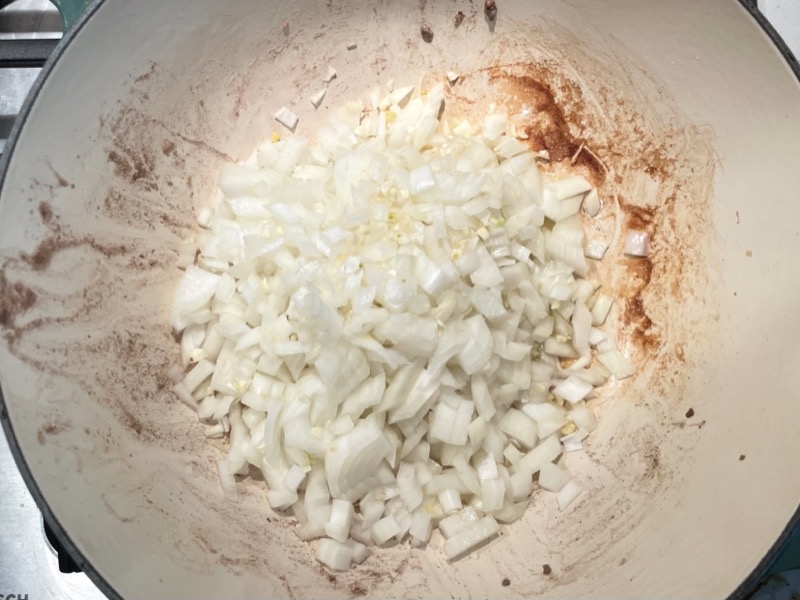
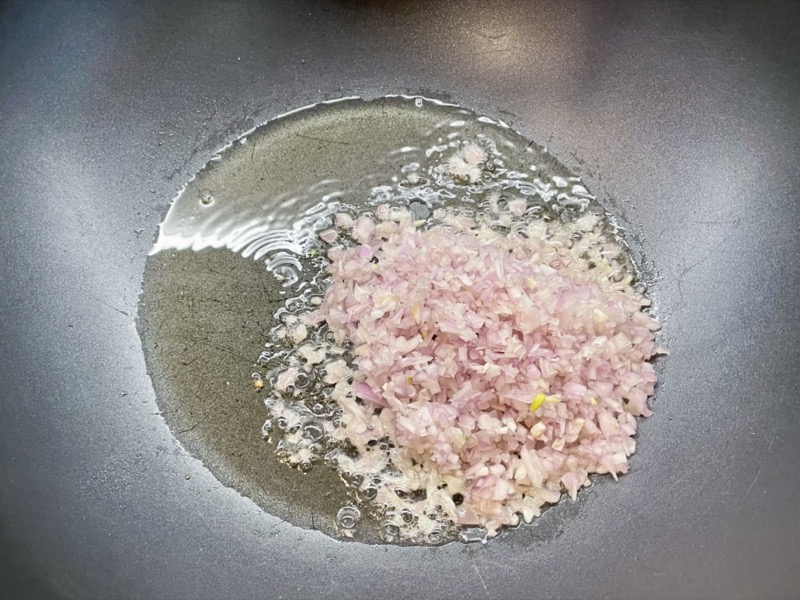
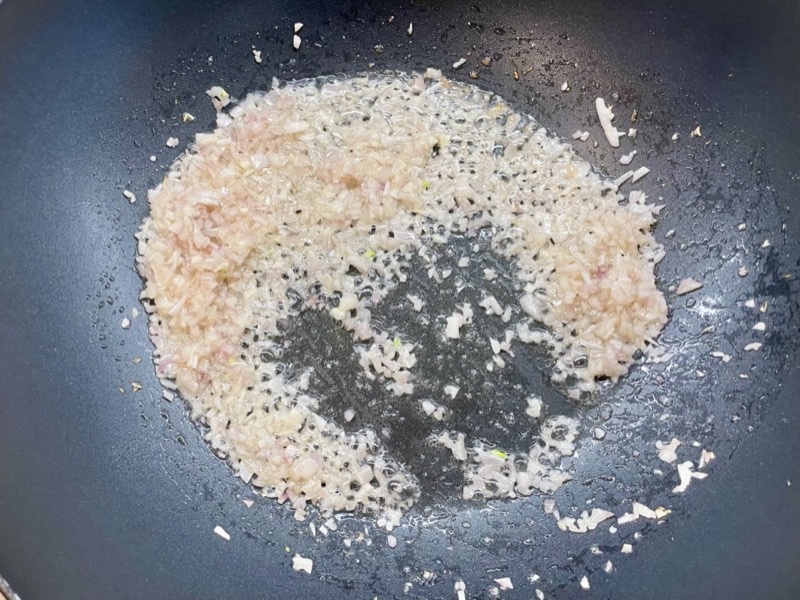
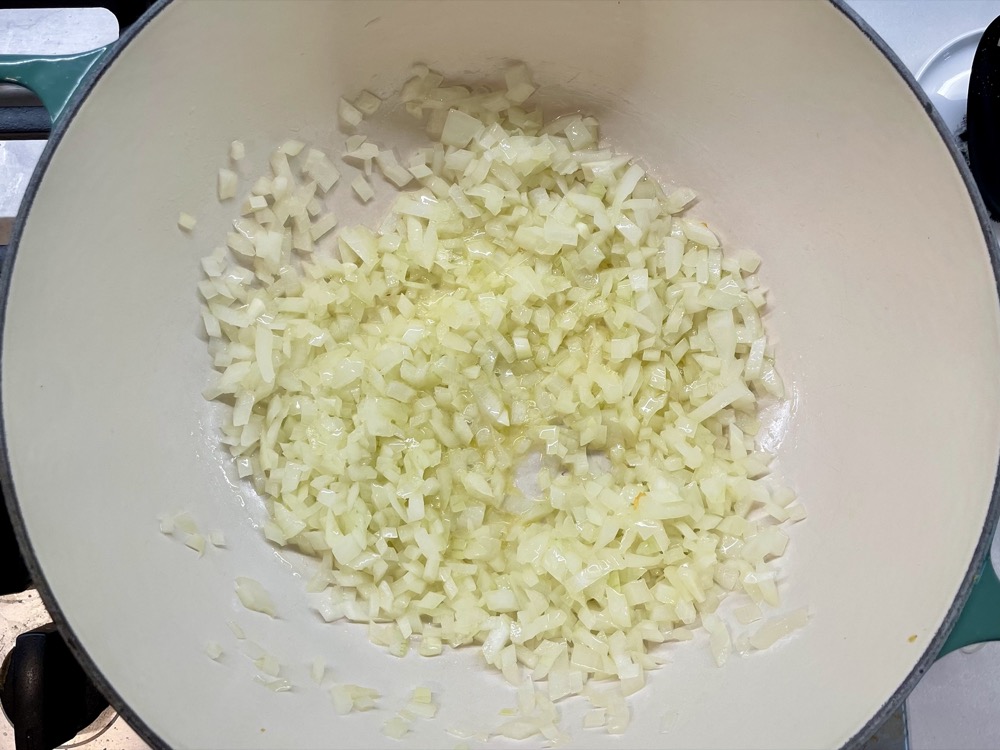
In a pot or a deep pan on MED-HIGH heat, add a drizzle of olive oil and the diced shallots. Cook for 2 minutes until it starts to soften.

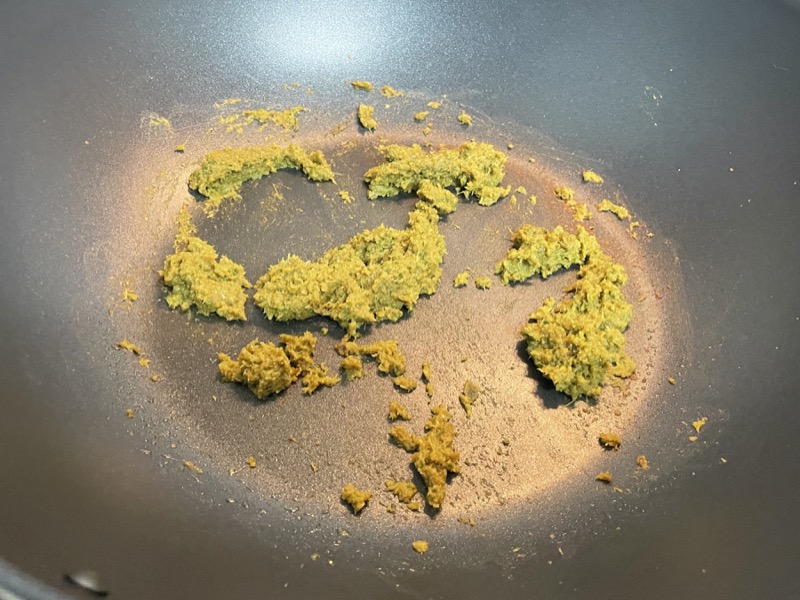
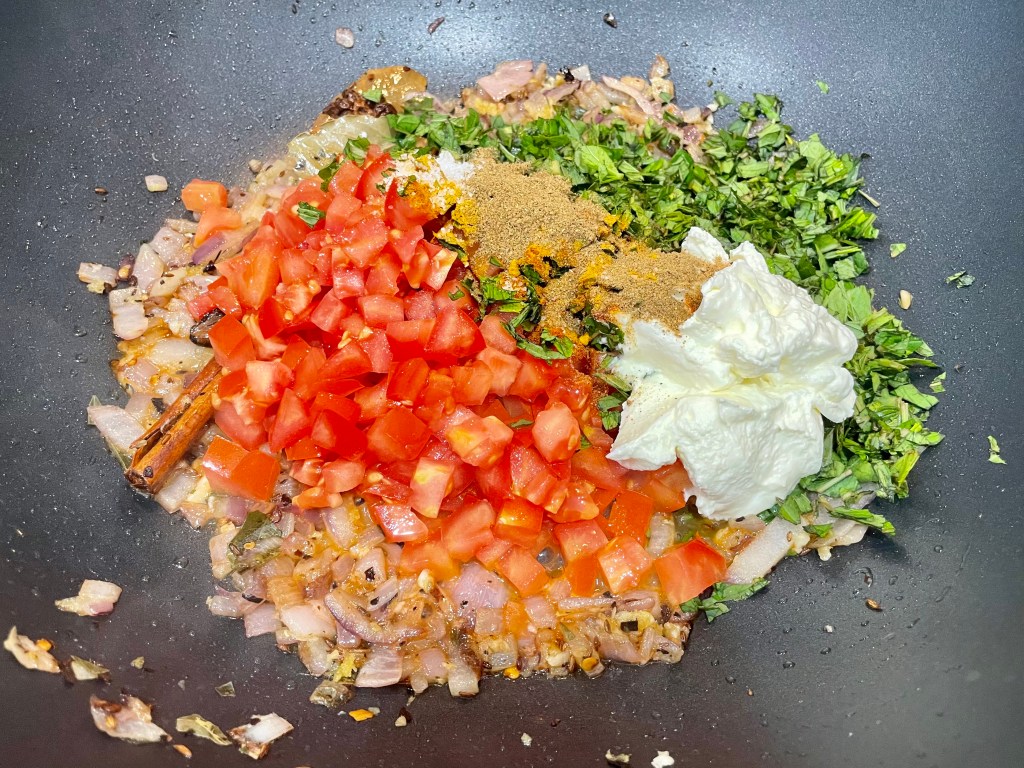
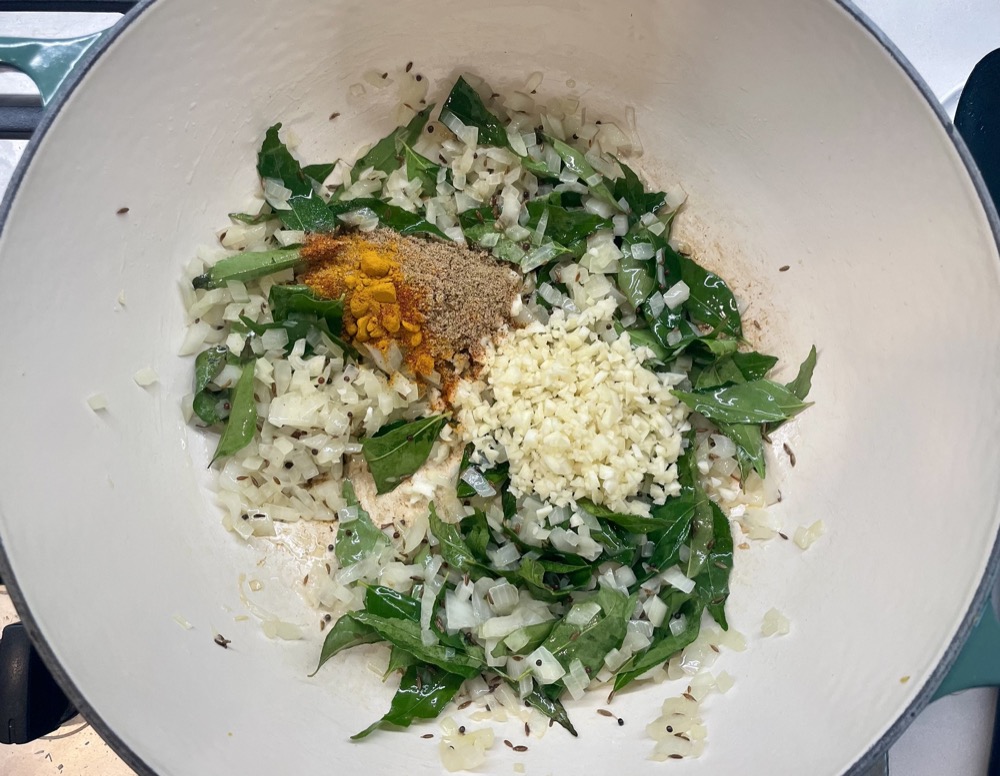
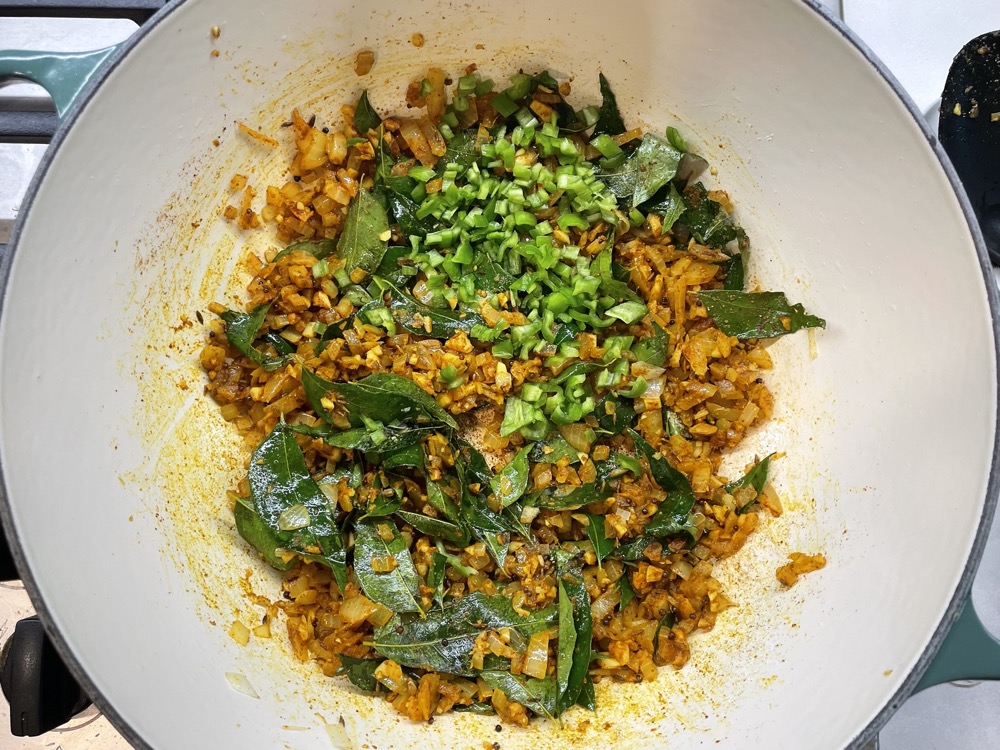
Then add in 1 tsp mustard seeds, 1 tsp cumin seeds, and curry leaves. Let it sizzle for 30 seconds then add in the minced garlic, 2 tsps ground coriander, 1 tsp ground turmeric, 2 tsps salt, 1/2 tsp ground cayenne (if using), and diced green chiles (if using). Cook for another 30 seconds.


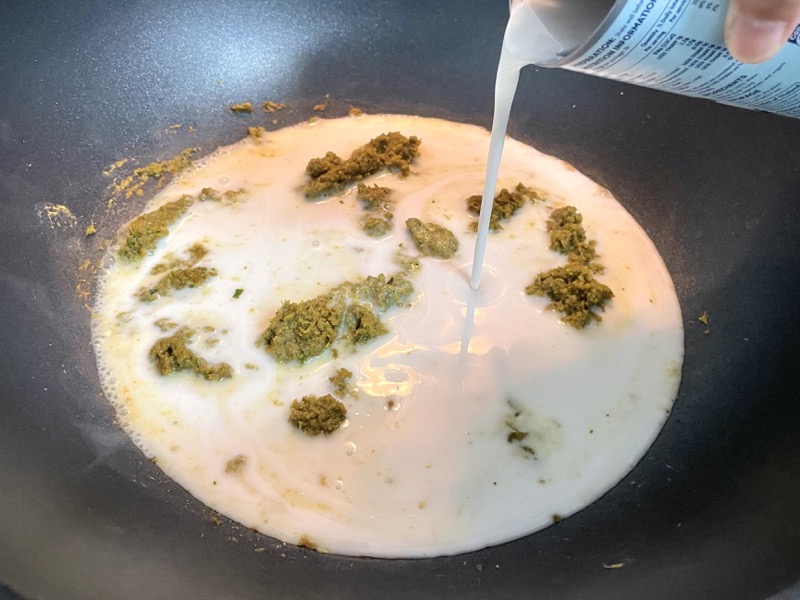
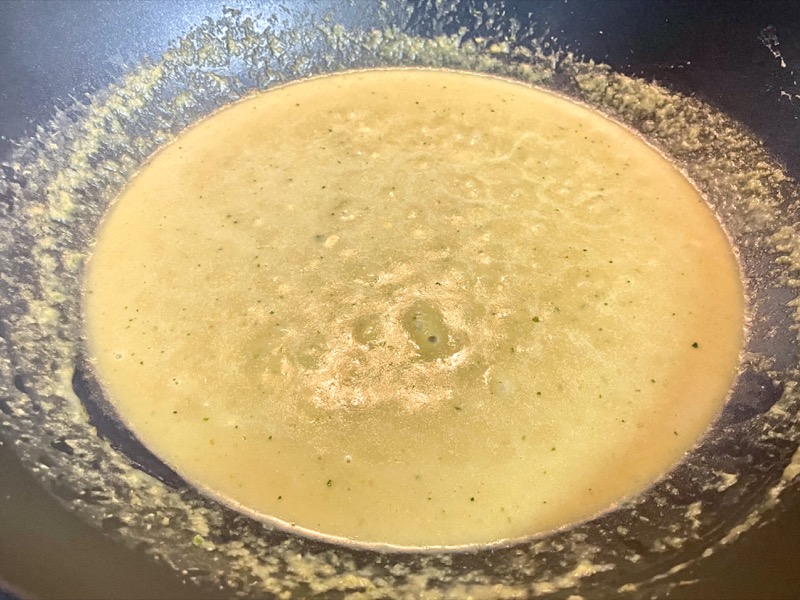
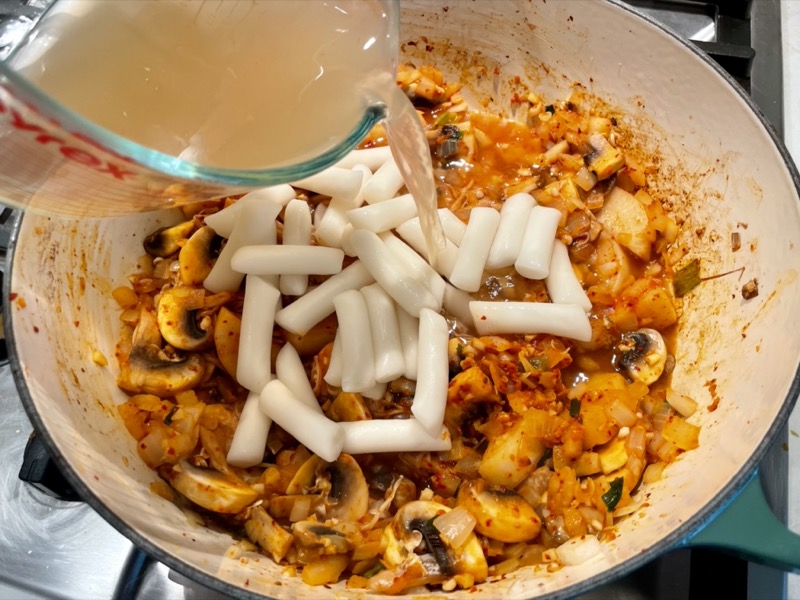
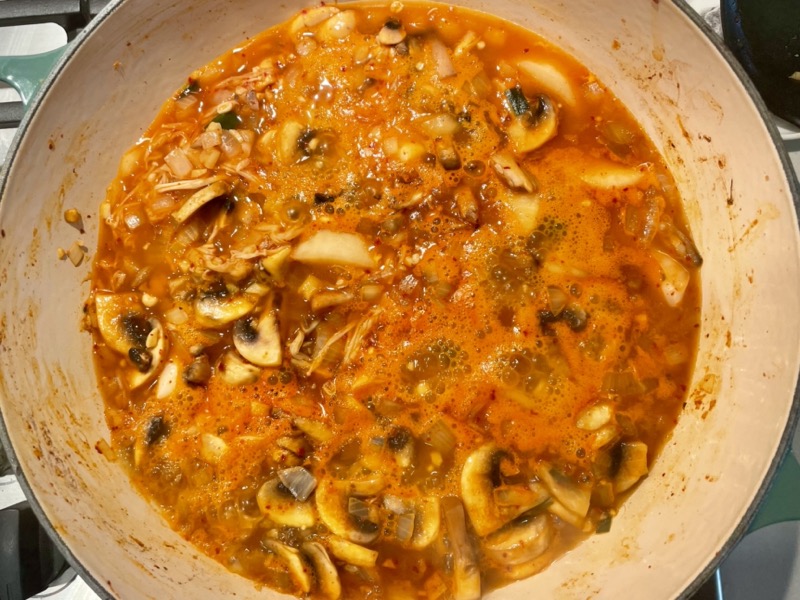
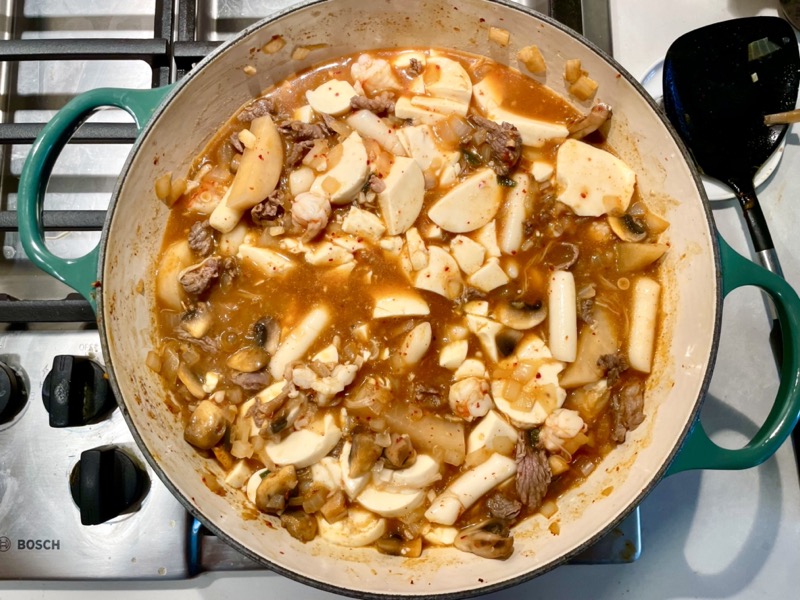
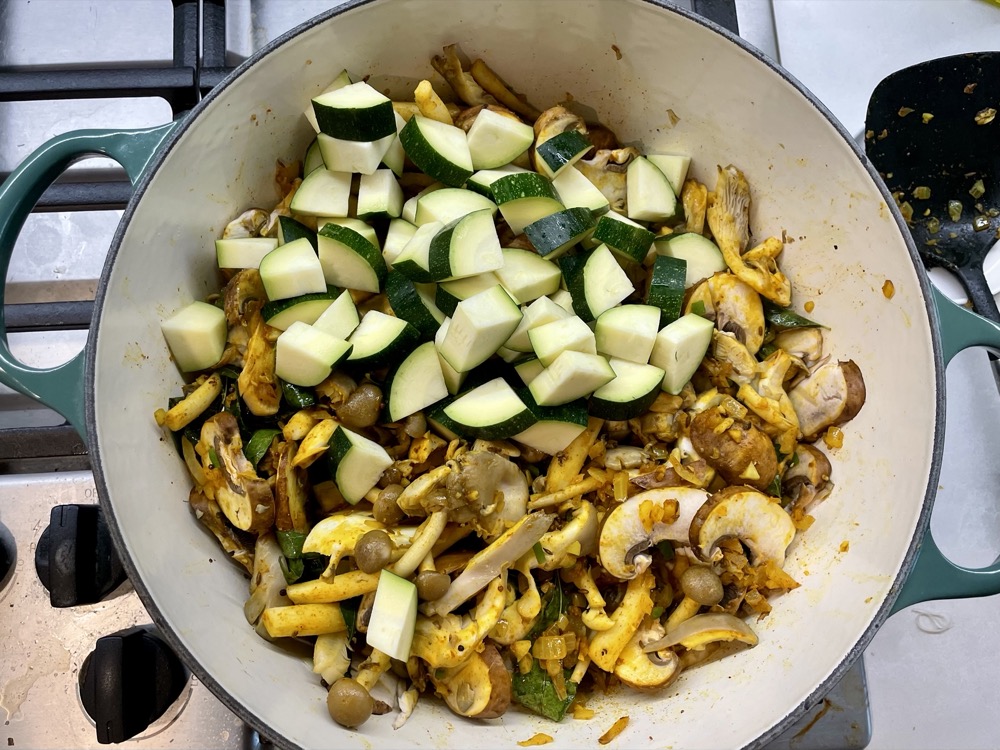
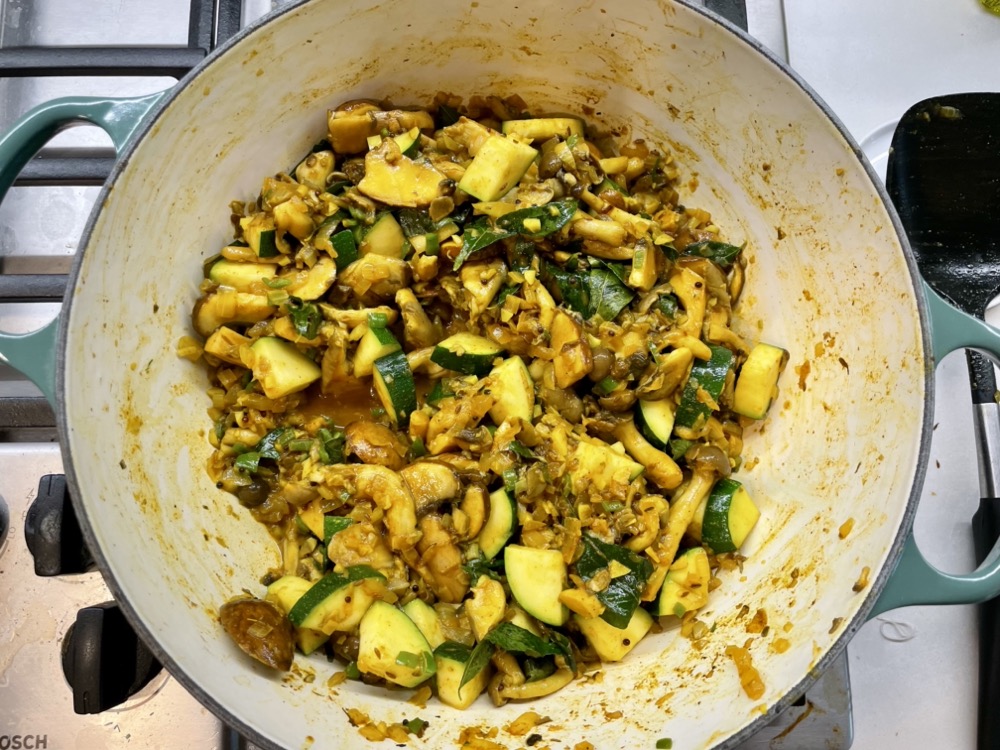
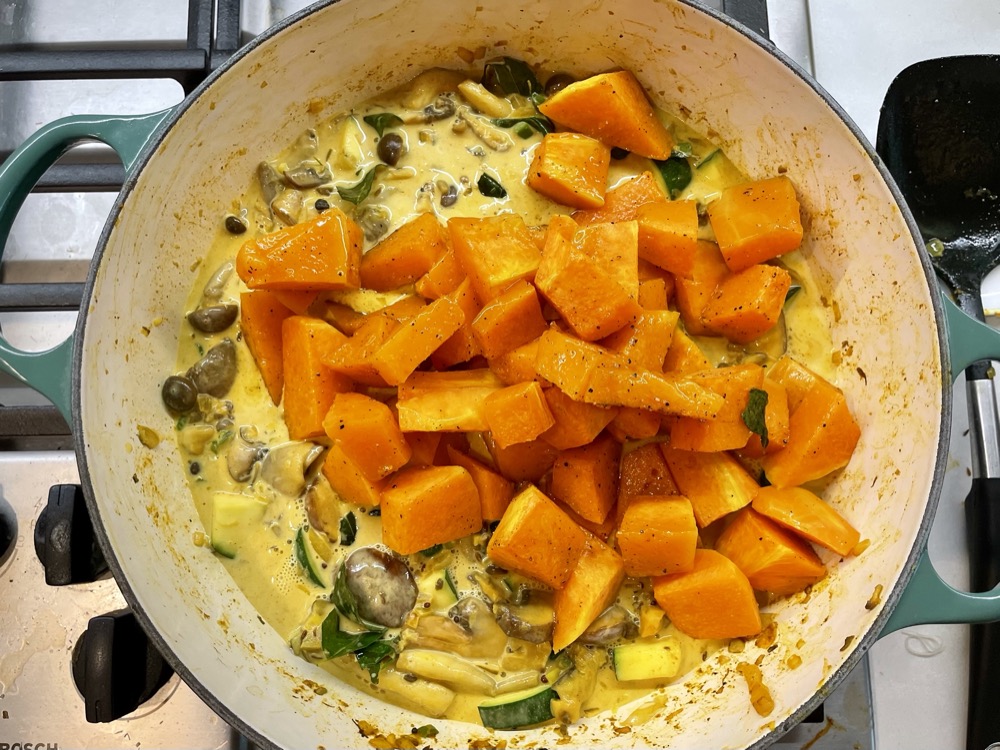
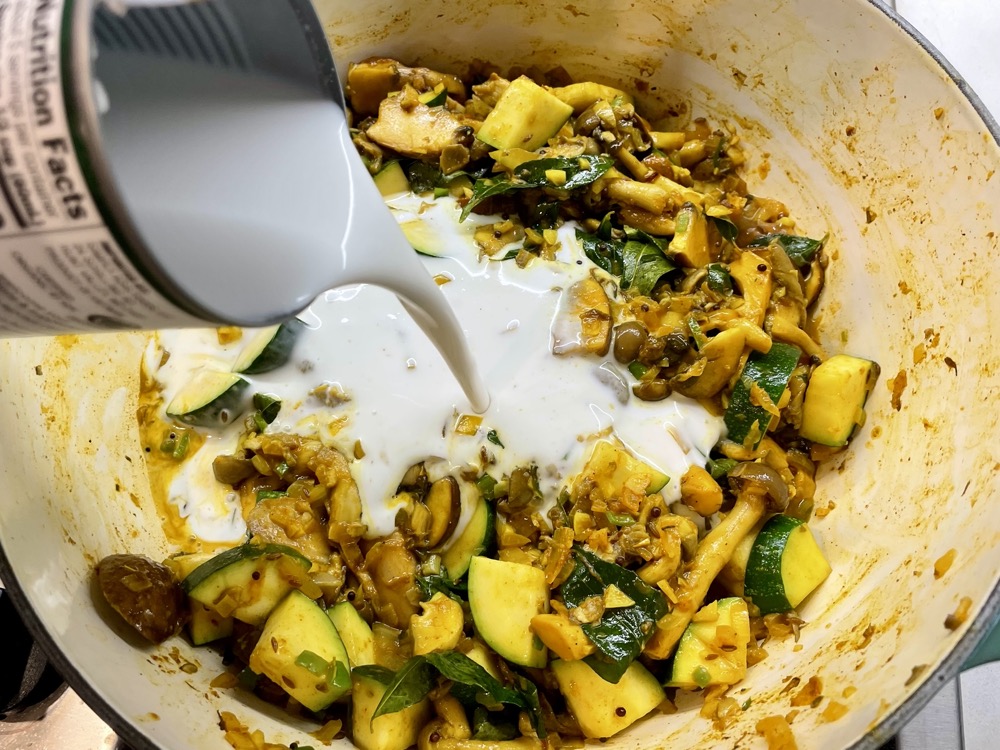
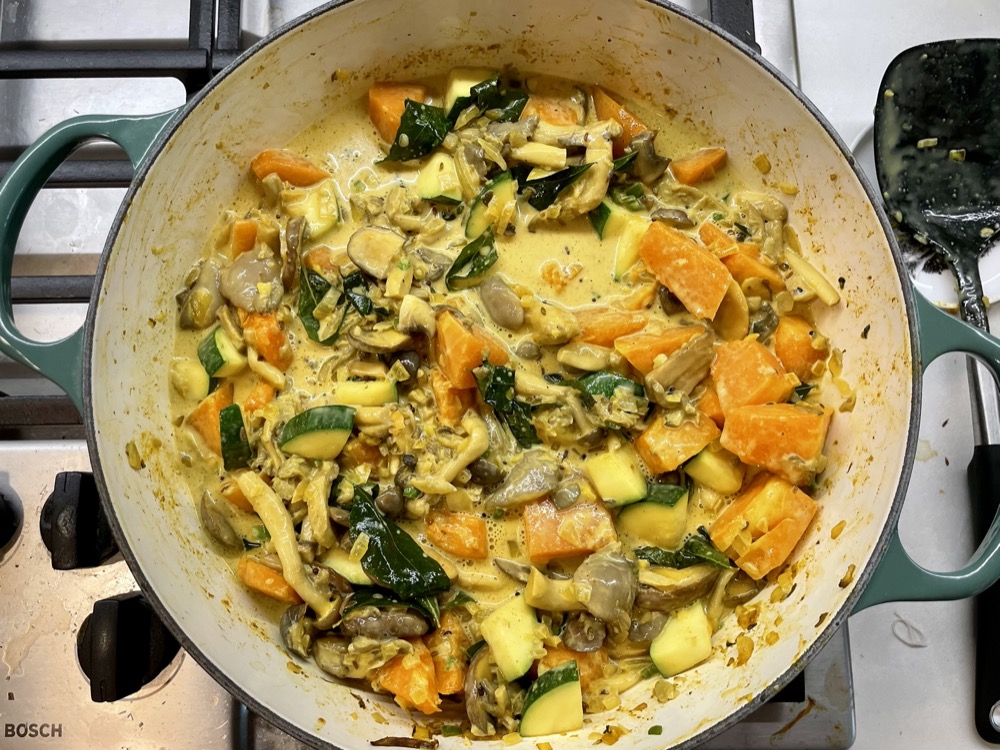
Next, add in the mushrooms and zucchini and sauté for 3-5 minutes until the mushrooms start to soften, then add in the 1 can of coconut milk and roasted pumpkin (from step 2). Simmer until the vegetables are fully cooked (5-10 minutes).

Taste and season wth salt (or fish sauce) to your liking. Done! Serve immediately with white rice or let the flavours infuse overnight and serve the next day. Enjoy!
Optional step: Pick out the curry leaves at the end if you’re bothered by the fibrous texture.


Summarized Recipe:
Hearty Mushroom & Pumpkin Curry – the Perfect Winter Meal
Date Published: Nov 13th, 2025 | Last Updated: Nov 13th, 2025
Author: Abby |Category: vegetarian, mains, asian
Serves: 4 | Prep time: 25 mins | Cook time: 40 mins
Ingredients:
- 1.2kg pumpkin (roughly 1/4 of a pumpkin), peeled and diced into 3cm cubes
- Salt and black pepper
- 6 medium shallots (or 1 medium onion), diced
- 1 tsp (4g) black mustard seeds
- 1 tsp (3g) cumin seeds
- 40-50 (10g) fresh curry leaves (feel free to chop it into into halves or thirds if you prefer to eat smaller leaves in the curry)
- 4 garlic cloves, minced
- 2 tsps (4g) ground coriander
- 1 tsp (3g) ground turmeric
- 2 tsps of kosher salt
- 1/2 tsp ground cayenne (optional)
- 1 long green chilli (jalapeño or serrano), diced and deseeded (keep the seeds in if you want it spicier) (optional)
- 750g mix of mushrooms, cleaned and sliced (use mushrooms that will hold its shape well well when cooking – I used a mix of Brown Beech, Baby Bellas, and Oyster mushrooms. Avoid enokis – they will get stringy and too soft in this recipe.)
- 1 zucchini, diced
- 1 can (403ml) unsweetened coconut milk
- Optional: splash of fish sauce instead of salt at the end for extra flavour
- Serve with: cooked basmati rice
Directions:
- Preheat oven to 200˚C/400˚F.
- Place the diced pumpkin onto a baking tray and add a drizzle of olive oil and a good sprinkle of salt and pepper. Mix thoroughly and and bake in the preheated oven for 15-20 minutes, until the pumpkin is nearly cooked (soft enough to pierce with a fork but still with some resistance). Set aside until ready to use.
- In a pot or a deep pan on MED-HIGH heat, add a drizzle of olive oil and the diced shallots. Cook for 2 minutes until it starts to soften then add in 1 tsp mustard seeds, 1 tsp cumin seeds, and curry leaves. Let it sizzle for 30 seconds then add in the minced garlic, 2 tsps ground coriander, 1 tsp ground turmeric, 2 tsps salt, 1/2 tsp ground cayenne (if using), and diced green chiles (if using). Cook for another 30 seconds.
- Next, add in the mushrooms and zucchini and sauté for 3-5 minutes until the mushrooms start to soften, then add in the roasted pumpkin (from step 2) and 1 can of coconut milk. Simmer until the vegetables are fully cooked (5-10 minutes). Taste and season wth salt (or fish sauce) to your liking. Done! Serve immediately with white rice or let the flavours infuse overnight and serve the next day. Enjoy!
- Optional step: Pick out the curry leaves at the end if you’re bothered by the fibrous texture.