Date Published: July 31st, 2020 | Last Updated: July 31st, 2020
Author: Abby |Category: sauces/dips, asian
Serves: ~1 cup (enough for 4 ppl) | Prep time: 15 mins | Cook time: 5 mins
Jump to recipe |
This is hands down my all time favourite dipping sauce. It’s a common dip served in many Asian restaurants usually alongside a poached chicken. It’s a flavour BOMB and you only need a few ingredients to make it. This sauce is quite salty eaten on its own and along with its strong flavours, it will overpower most things, thus it really only goes well with lightly flavoured food. My favourite dish to use this sauce is with Hainanese Chicken Rice but I’d also happily drizzle this sauce over a bowl of plain white rice and an egg. Oh baby!
I’ve tried making this sauce since forever but never got the proportions right until now. I nearly uprooted all the spring onions in the garden to make this sauce! I’m seriously OBSESSED with the flavours in this sauce.
Anyways, without further ado, here’s the recipe! If you have any comments or suggestions, I’d love to hear from you in the comment section! You can follow me on instagram, youtube and facebook to see all the recipes I post!
Happy cooking!
Ingredients you’ll need:
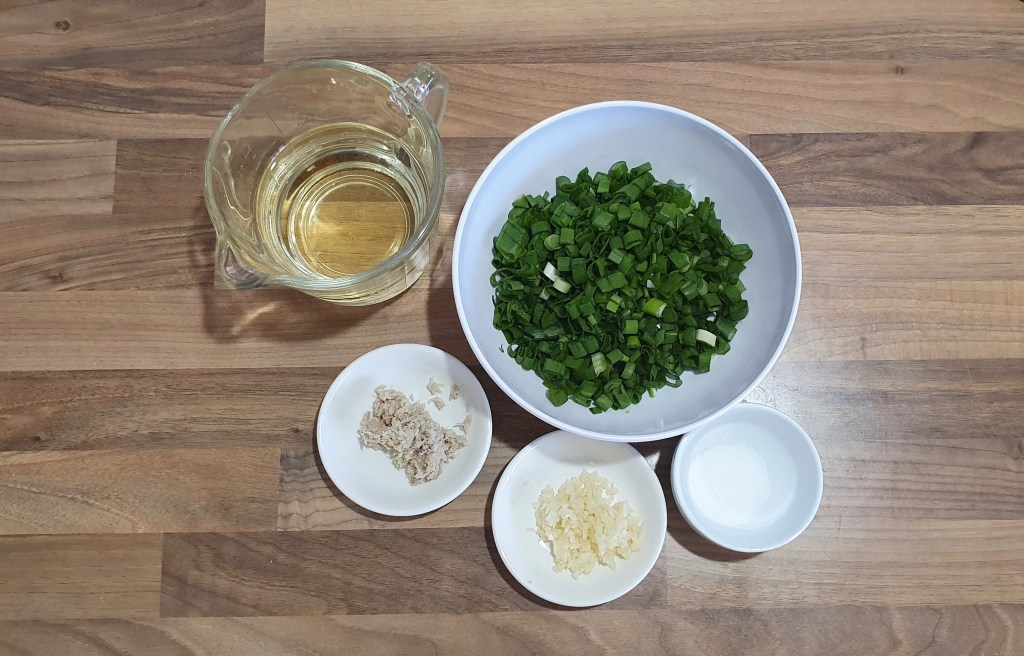
- 1 Tbsp ginger, grated
- 2 cloves garlic, finely minced
- 6 spring onions, thinly sliced
- 1 tsp salt
- 1 cup (250ml) vegetable oil (or any neutral-tasting oil)
The recipe makes roughly 1 cup of sauce which is enough for our family of 4 when served with Hainanese Chicken but feel free to adjust as you need.
Directions:
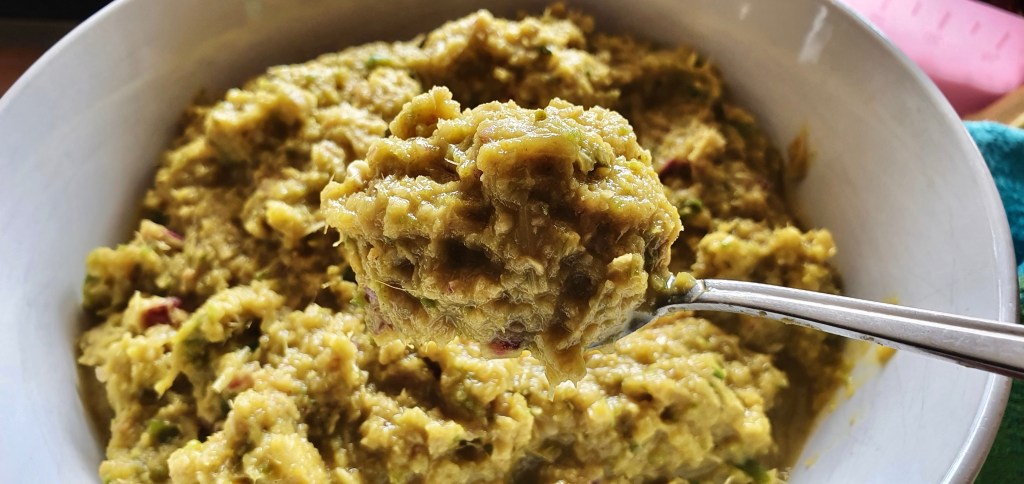
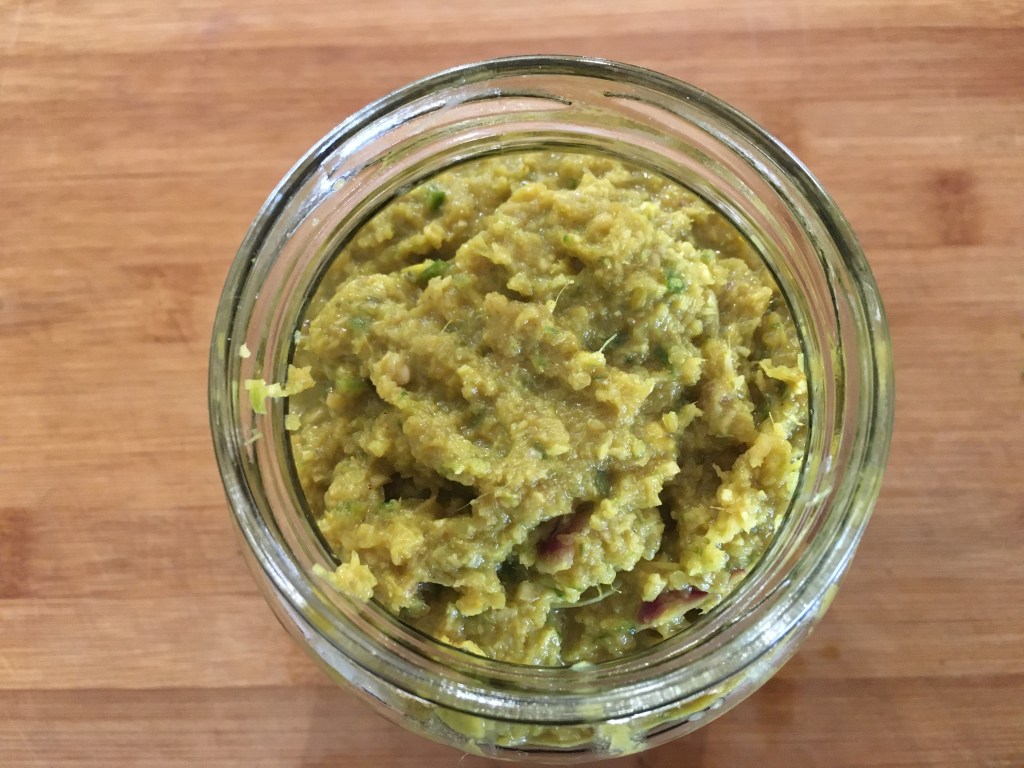
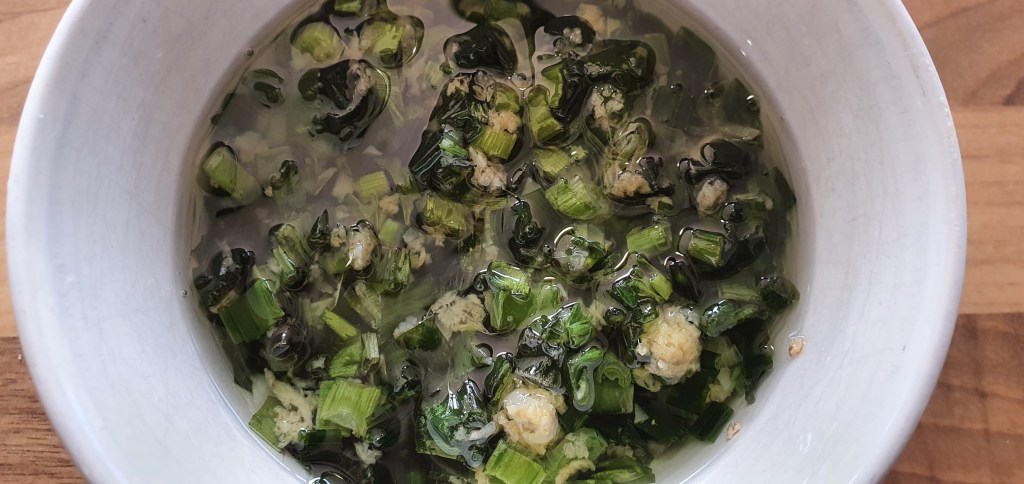
In a bowl, mix together ginger, garlic, spring onion, salt. Set aside.

In a skillet, heat the oil on MED-HIGH heat until it JUST starts to lightly smoke.*
Add in all your ingredients (ginger, garlic, spring onion, salt) and quickly stir for 20 seconds. Turn off the heat and let the ingredients continue to steep in the hot oil until cooled.
*Note: If you let your oil become too hot, it will splatter when you add in your ingredients (be careful!) – just take the pan off the heat for a minute to let the oil cool then add your ingredients. I find that the flavours aren’t as strong when the oil is too hot. It tends to deep-fry the ingredients rather than let the flavours infuse out. Just take the pan off the heat for a minute to let the oil cool down then add in your ingredients.
Done! Serve when cooled.

Summarized Recipe:
Spring Onion Ginger Oil
Date Published: July 31st, 2020 | Last Updated: July 31st, 2020
Author: Abby |Category: sauces/dips, asian
Serves: ~1 cup (enough for 4 ppl) | Prep time: 15 mins | Cook time: 5 mins
Ingredients:
- 1 Tbsp ginger, grated
- 2 cloves garlic, finely minced
- 6 spring onions, thinly sliced
- 1 tsp salt
- 1 cup (250ml) vegetable oil (or any neutral-tasting oil)
Directions:
- In a bowl, mix together ginger, garlic, spring onion, salt. Set aside.
- In a skillet, heat the oil on MED-HIGH heat until it JUST starts to lightly smoke. Add in all your ingredients from step 1 (ginger, garlic, spring onion, salt) and quickly stir for 20 seconds. Turn off the heat and let the ingredients continue to steep in the hot oil until cool. Done!
Click here to learn how to make Hainanese Chicken Rice to pair with this sauce!