Date Published: August 20th, 2020 | Last Updated: August 20th, 2020
Author: Abby |Category: sides, vegetarian
Serves: 4 (as sides) | Prep time: 2 mins | Cook time: 15 mins
Jump to recipe |
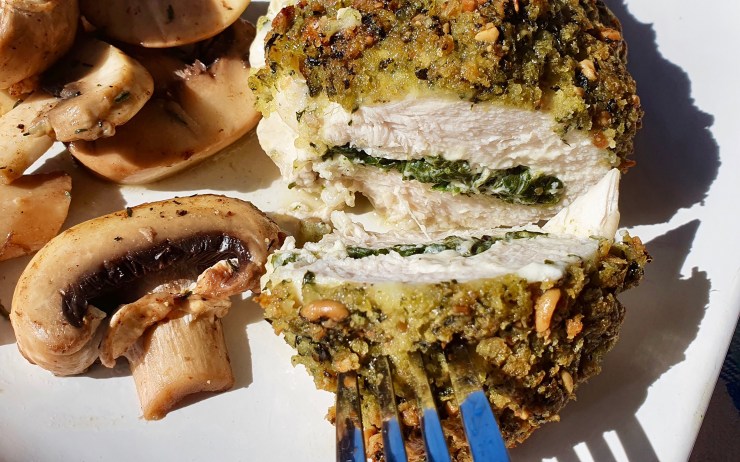
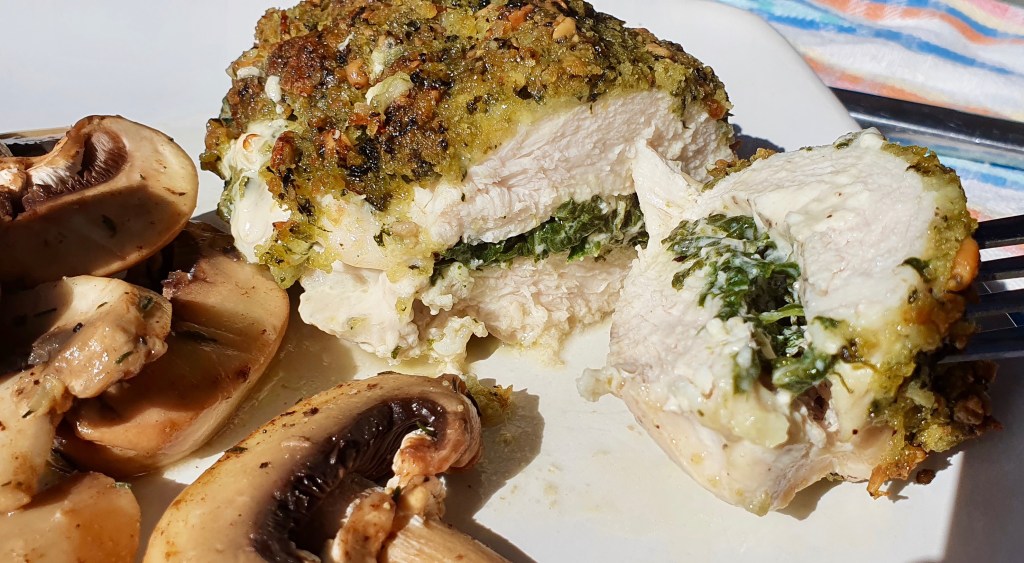
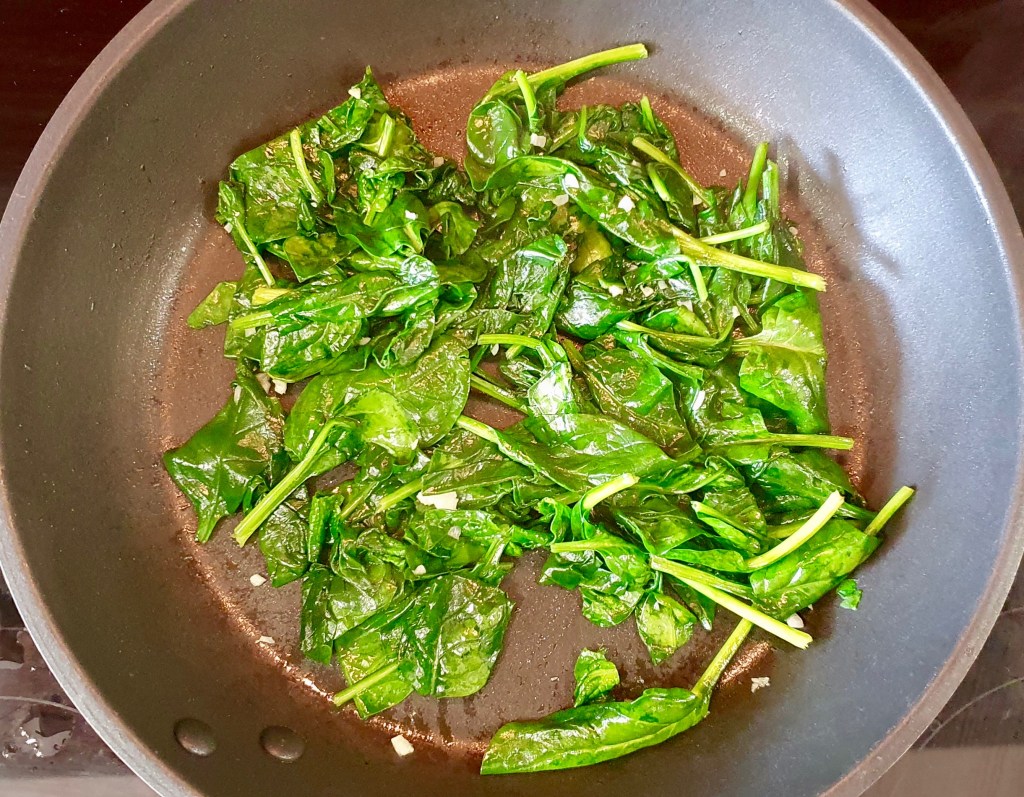
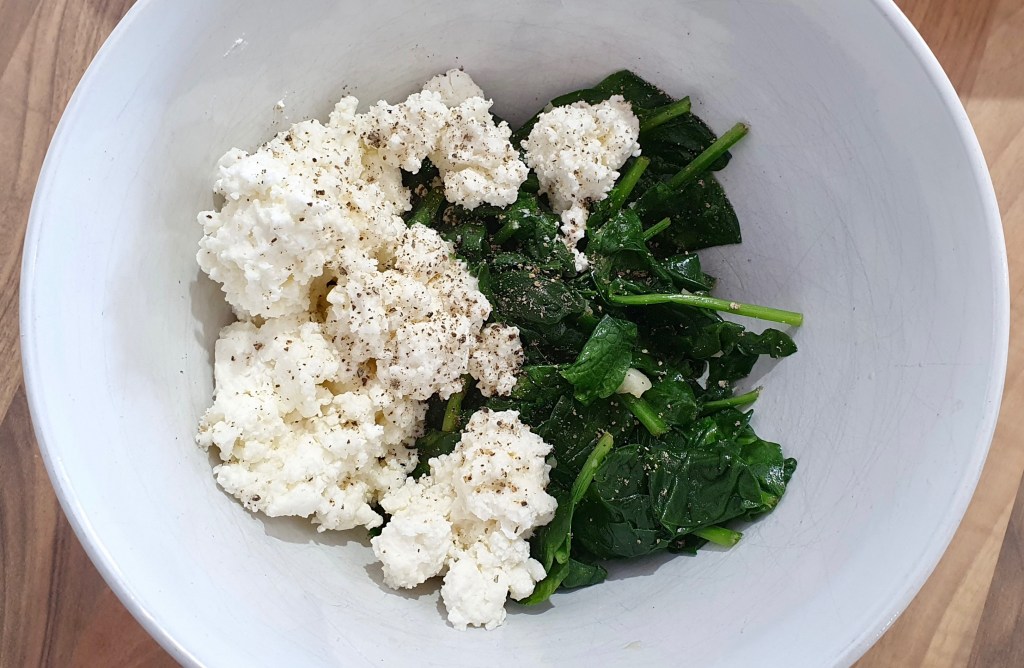
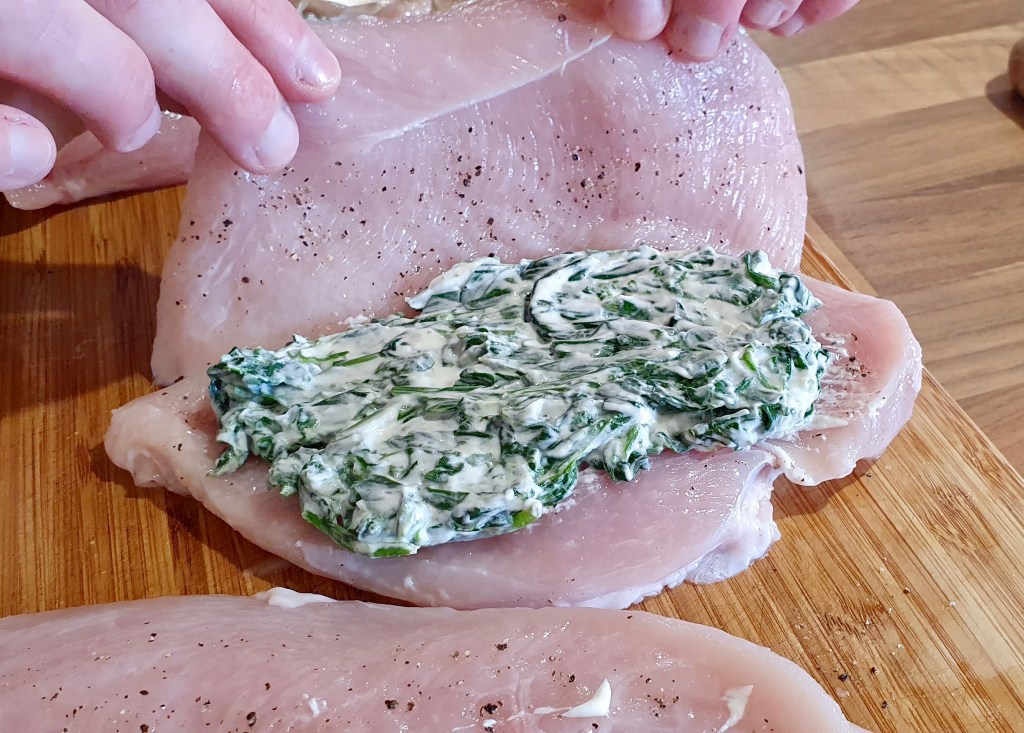
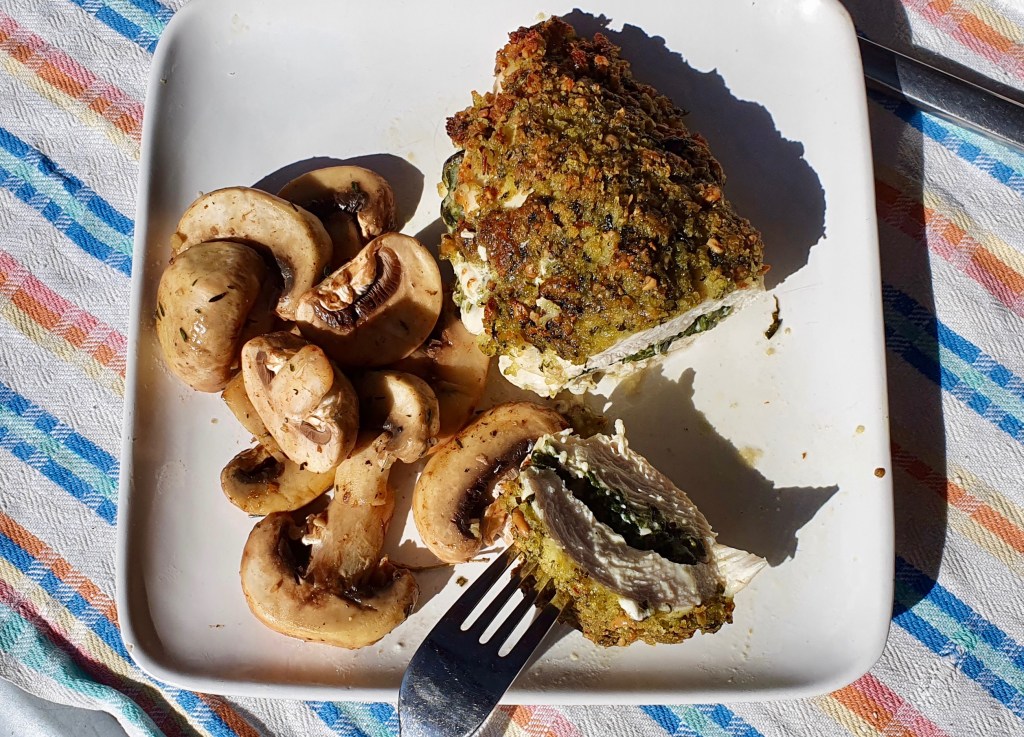
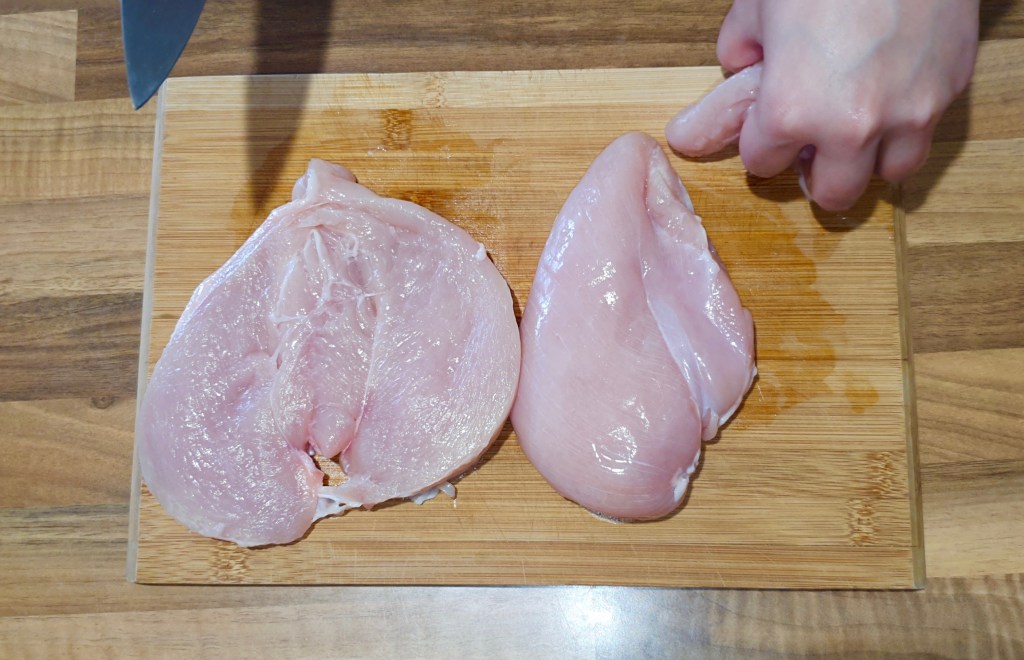
This super easy brown butter mushroom recipe was something I whipped up in the spur of the moment today when I was making a goat cheese stuffed chicken breast for lunch. I LOVE mushrooms and lucky for me I had some spare in the fridge as well as thyme in the garden. Something about thyme and mushrooms just makes a perfect combination and even better when cooked in a beautiful aromatic nutty brown butter. I’d recommend slicing them thick like the photos below for maximum absorption of the delicious brown butter!

Anyways, without further ado, here’s the recipe! If you have any comments or suggestions, I’d love to hear from you in the comment section! You can follow me on instagram, youtube and facebook to see all the recipes I post!
Happy cooking!
Ingredients you’ll need:

- 70g unsalted butter
- 1 large clove garlic
- 2 sprigs fresh thyme
- 500g white button mushrooms, thickly sliced to 1.5cm width
- Salt and pepper to taste
Directions:
In a large skillet on MEDIUM heat, brown the butter (I’ve written a tutorial here on how to brown butter).
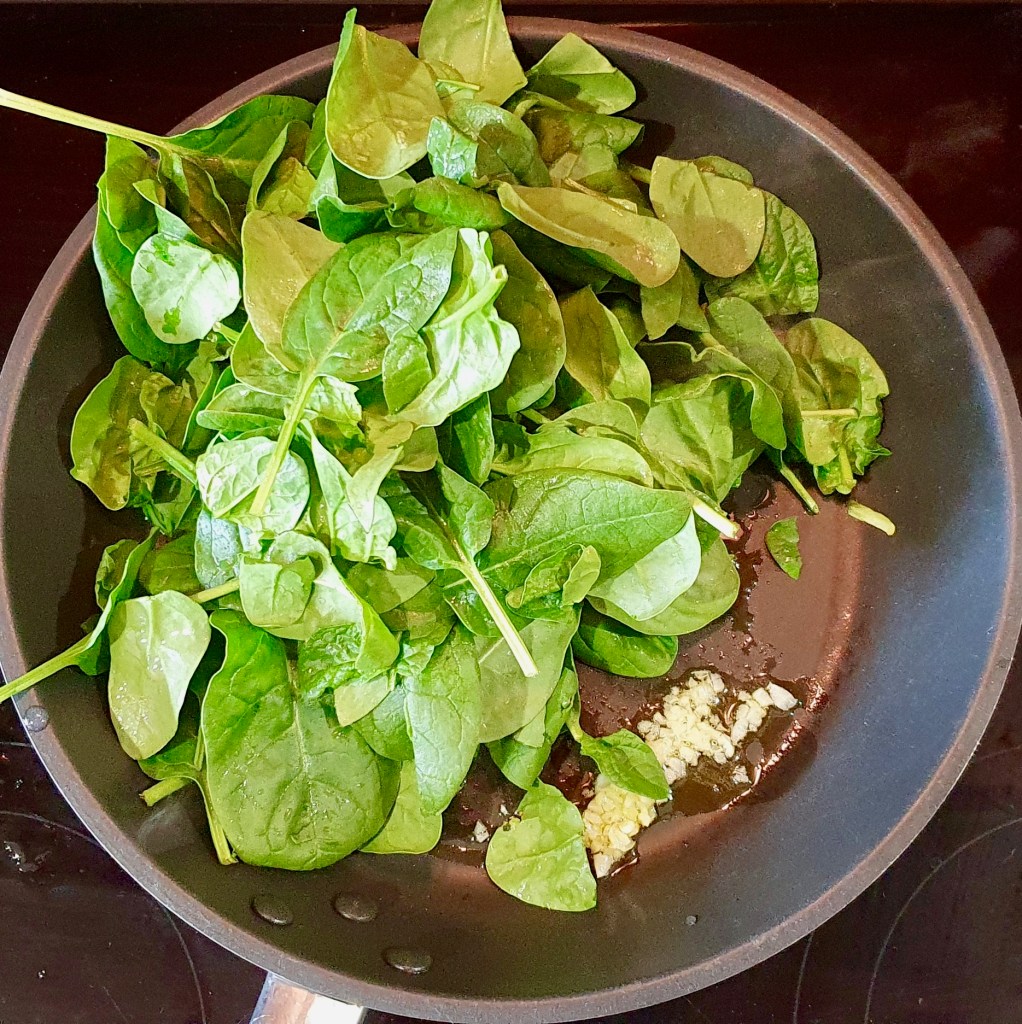
When the butter is browned, quickly add in the garlic and thyme, sauté for about 15 seconds then add in mushrooms.
It’s important to lay the mushrooms in a single layer and not crowd them in the pan. You need space to let the liquids evaporate or else they’ll boil in their own juices and result in soggy mushrooms. If you don’t have a pan large enough to fit all the mushrooms, take out half of the brown butter/garlic/thyme from the pan and cook the mushrooms in batches.

The mushrooms will initially absorb all the brown butter and your pan will look dry but as it cooks it will start releasing a little liquid. Mushrooms are cooked when they’re brown and just start to release their own liquid. You can cook them longer if you prefer softer mushrooms.
When the mushrooms are cooked, turn the heat off and sprinkle black pepper and salt to taste. Done!
Note: Do not add salt before the mushrooms are done or else they’ll dehydrate the mushrooms and release liquid into the pan.

Summarized Recipe:
Brown Butter Thyme Mushrooms
Date Published: August 20th, 2020 | Last Updated: August 20th, 2020
Author: Abby |Category: sides, vegetarian
Serves: 4 (as sides) | Prep time: 2 mins | Cook time: 15 mins
Ingredients:
- 70g unsalted butter
- 1 large clove garlic
- 2 sprigs fresh thyme
- 500g white button mushrooms, thickly sliced to 1.5cm width
- Salt and pepper to taste
Directions:
- In a large skillet on MEDIUM heat, brown the butter (I’ve written a tutorial here on how to brown butter).
- When the butter is browned, quickly add in the garlic and thyme, sauté for about 15 seconds then add in mushrooms. Do not crowd the pan. If your pan is too small, take out half of the brown butter/garlic/thyme and cook the mushroom in batches.
- Mushrooms are cooked when they’re brown and just start to release their own liquid. You can cook them longer if you prefer softer mushrooms.
- When the mushrooms are cooked, turn the heat off and sprinkle black pepper and salt to taste. Done!