Date Published: August 10th, 2020 | Last Updated: August 10th, 2020
Author: Abby |Category: how-to, basics
Serves: — | Prep time: 2 minutes | Cook time: 5-8 minutes
Brown butter is literally butter than has been “browned” by cooking it down. The process is as easy as placing butter on a skillet and waiting until it’s brown. No other ingredients needed other than butter itself. The end result is this beautiful fragrant nutty magical brown liquid that adds amazing flavour and depth to a dish. Although it’s very easy to brown butter, there is room for error so that’s why I’ve written a step-by-step guide with photos on what to look out for to ensure you get a perfectly browned butter every time.
Butter itself is not only fat. It’s composed of 1) fat, 2) water, and 3) milk solids and all 3 of these will separate during the process of browning butter. In a nutshell when you brown butter, you melt it down and the water content will evaporate as the mixture sizzles. Once the water has evaporated, you’re left with fat and milk solids. The milk solids will toast during the process which is what gives us the nutty bold flavour so make sure you scrape as much milk solids out of the pan when transferring! The water content of butter is roughly 13-17% (thanks Google), which means that the amount of brown butter you end up with will be 13-17% less than the amount of better you started with (ie. 100g of butter will result in 83-87g of brown butter) so make sure you calculate properly how much butter you need to start with for your recipe.
Anyways, without further ado, here’s the recipe! If you have any comments or suggestions, I’d love to hear from you in the comment section! You can follow me on instagram, youtube and facebook to see all the recipes I post!
Happy cooking!
Ingredients you’ll need:
- Butter (either salted or unsalted)
- I like to use unsalted butter which is what most baking recipes call for and I add my own salt at the end for savoury dishes.
Directions:
Cut the butter into even sized cubes so they melt evenly.
Heat a skillet (ideally one with a silver and white bottom so you can easily see the colour changes) on MEDIUM heat and add the butter to the skillet.
The butter will go through several stages during this process. Make sure you’re frequently stirring during this whole process to keep everything moving:
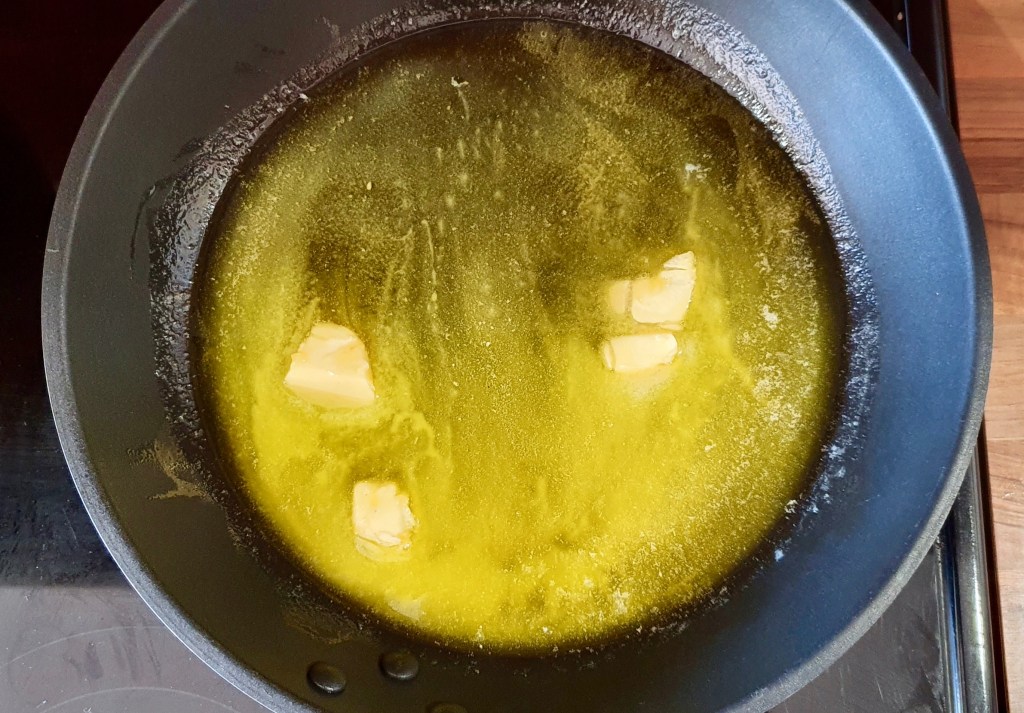
Melt the butter blocks in a skillet 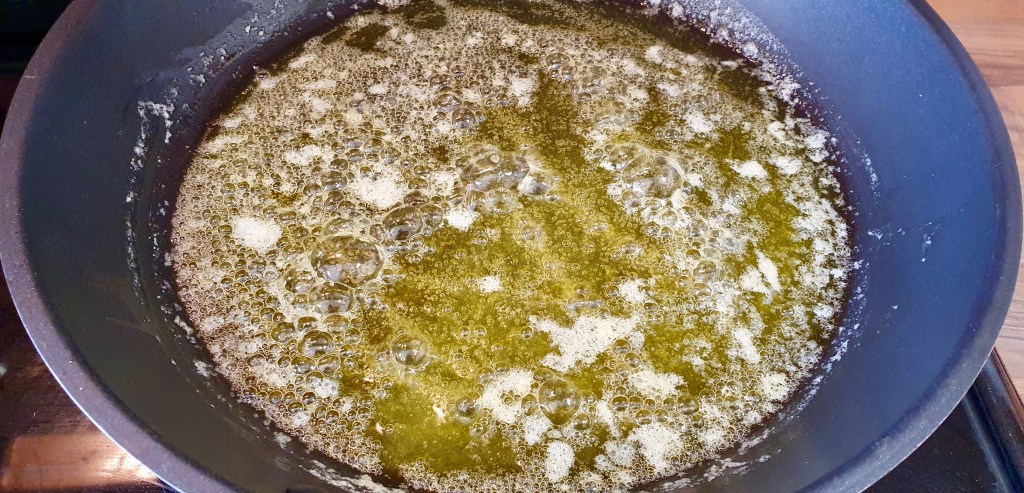
When it melts, it will sizzle more 
Notice the white foam = milk solids forming 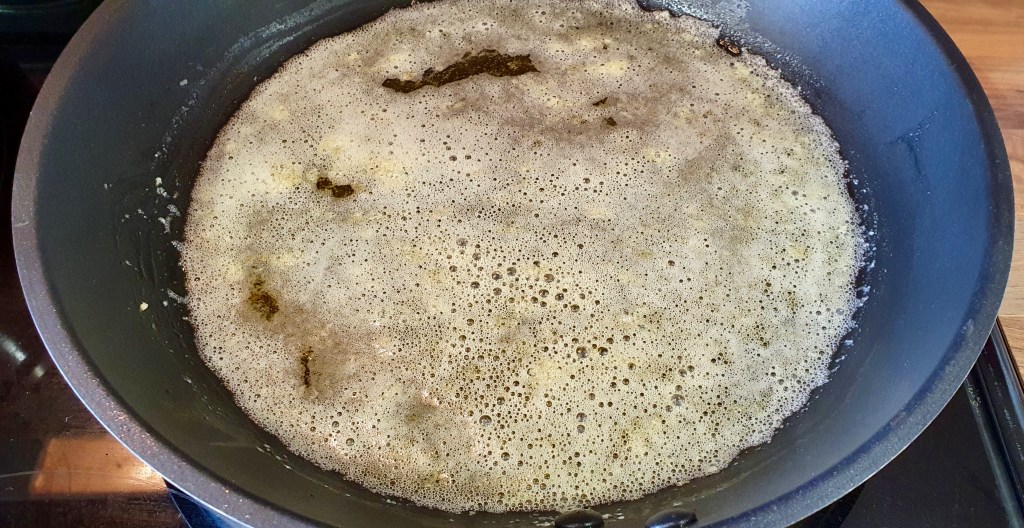
Sizzling will lessen as the colour changes 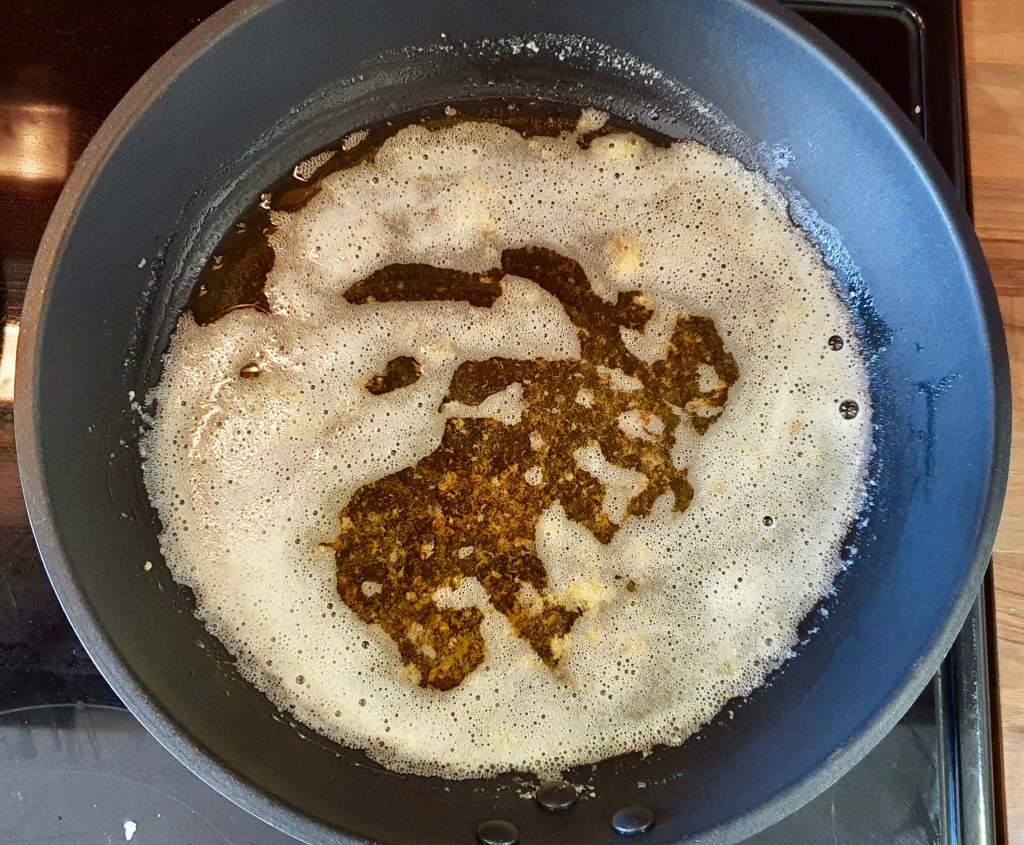
Foam will subside a little as it gets closer 
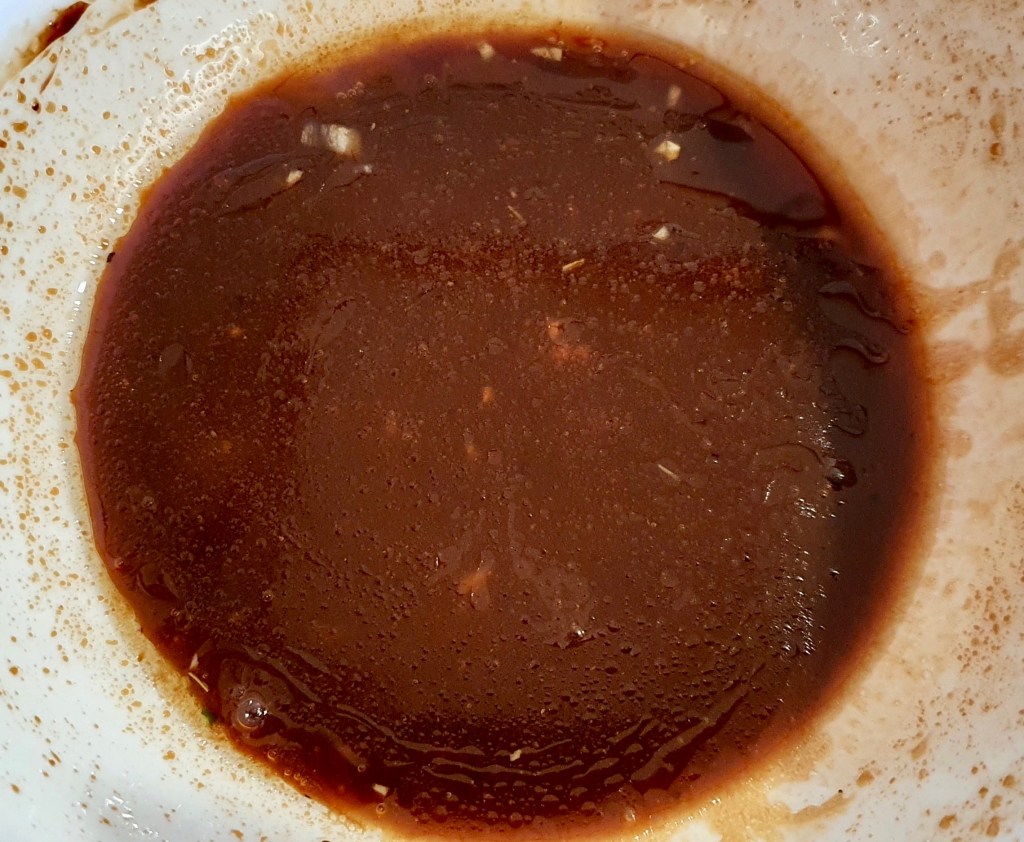
Ready! The milk solids on the bottom are toasty brown
- Butter blocks will all melt to a liquid state and sizzle.
- The butter continues to sizzle and you’ll start to notice white foam forming. These are the precious milk solids.
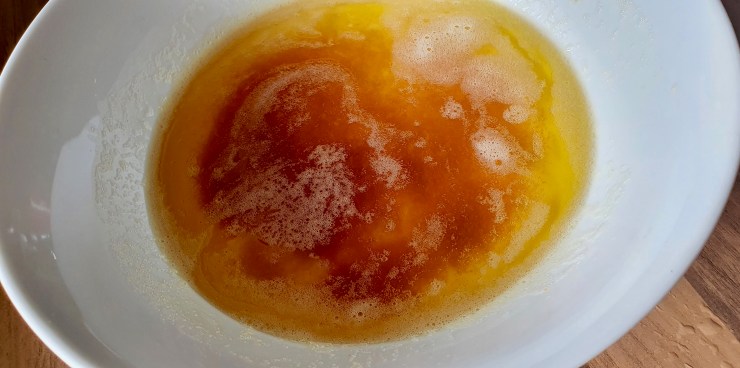
- The foam will start to subside a little and the mixture will start to brown (timing will depend on how much butter you put in the pan, but usually 5-8 minutes). You will notice that some of the milk solids will have sunk to the bottom of the pan and start to turn brown. KEEP AN EYE ON THESE MILK SOLIDS AT THE BOTTOM OF THE PAN!
- Once the milk solids at the bottom of the pan turns toasty brown, the brown butter is done and quickly transfer the contents to a heat-safe bowl. Done!
- DO NOT leave it in the pan, otherwise the heat from the pan will continue cooking the butter. There are only a few seconds between brown butter and burnt butter, so once those solids are toasty brown, you’re done! There should be a a delicious nutty aroma that fills the air. Make sure you get all the milk solids out of the skillet when transferring because that’s where most of the flavour is!