Date Published: August 7th, 2020 | Last Updated: August 7th, 2020
Author: Abby |Category: asian, snacks
Serves: 4 crepes | Prep time: 5 mins | Cook time: 30 mins
Jump to recipe |
I’m SO excited to share this recipe with you guys! This is my ALL TIME FAVOURITE Taiwanese breakfast item. I would eat this dish nearly every day in Taiwan for breakfast from Hong Ya Hamburger which is a breakfast shop just outside the alleyway of our home. There are many varieties of dan bing, but NOTHING beats the cheese dan bing. I remember when I was a kid, this one time my mom accidentally ordered a dan bing without the cheese and the shitty younger me threw a hissy fit and refused to eat breakfast that morning (sorry mom, love you!). I also remember my mom trying to make dan bing for us in Canada from pre-packaged wrappers that she found at the Asian grocer, but unfortunately it just wasn’t the same. Trying to recreate a cheese dan bing on my own seemed like a daunting task. I had never had a good dan bing outside of Taiwan. Dare I challenge the Taiwanese street food gods and try it myself where far better cooks have failed? And from scratch?? I guess this is why they call it quarantine cooking. What have I got to lose? After a few attempts from different recipes and many failed gloopy bings, I came across ChooChoo-ca-Chew‘s recipe and it came out near perfect! This recipe is going straight into the top 10 list. I owe this recipe to her blog and I’ve rewritten it with tweaks and notes from my experience cooking these so they can come out perfect for you every time – and of course, lots of pictures to guide you through the process. It’s actually pretty quick and easy to make, but the tricky part is getting your crepe spread out evenly to the right thickness. Once you get the hang of it, it’s a breeze.
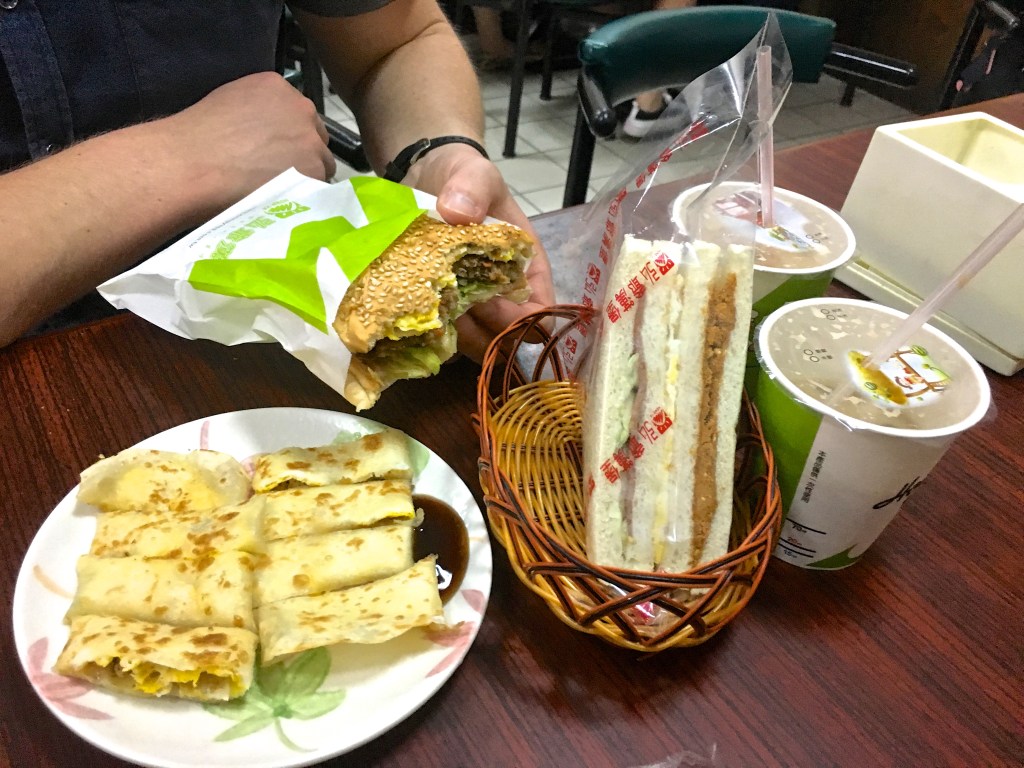
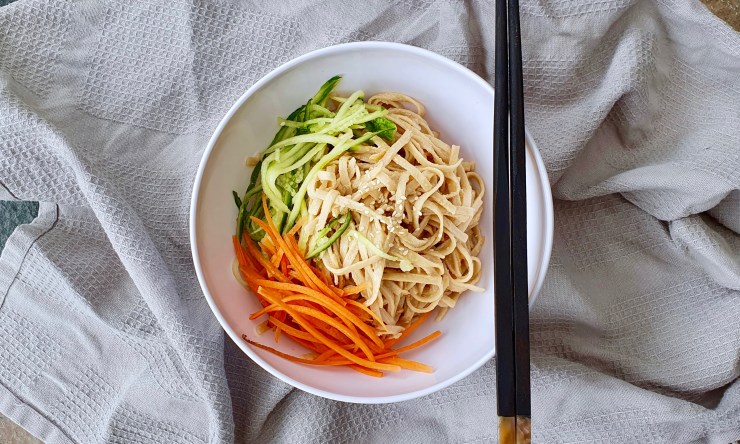
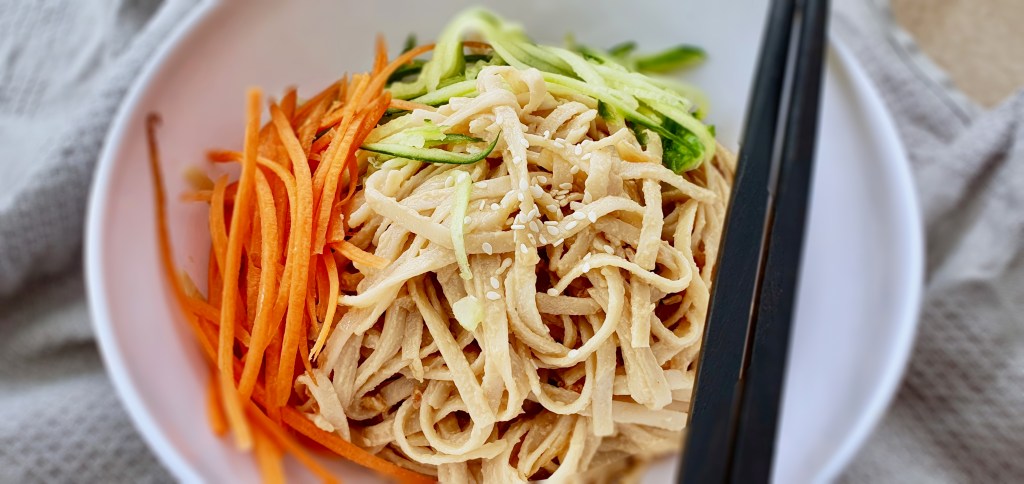
A typical quick breakfast for me in Taiwan 
Cheese dan bing from Taiwan 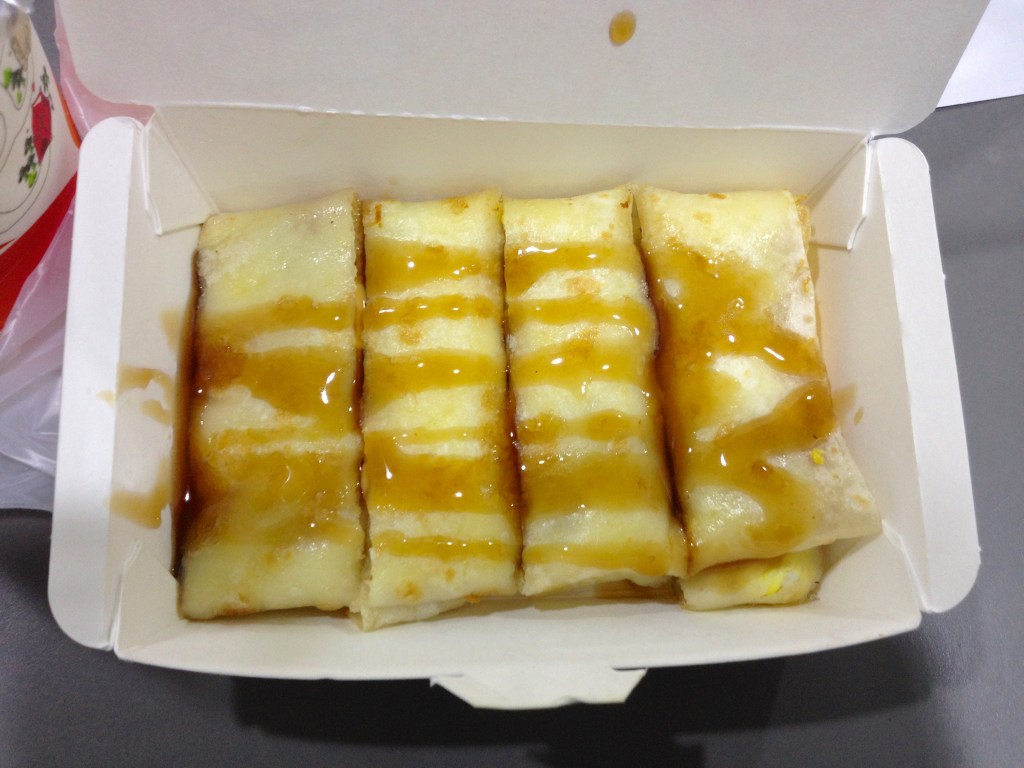
Cheese dan bing to-go
What is a cheese dan bing? The direct translation is cheese egg “crepe”. It’s essentially an egg with melty cheese wrapped up in a crepe-like wrapper topped with soy sauce paste. Kind of like a cheesy omelette wrapped in a ‘bing’. Chinese people use the term “bing” as an overarching word for pretty much anything round and flat. Whether it’s cakes, pastries, sweets, or savoury spring onion pancakes, as long as they’re that shape it’s a bing! I’ve used the word “crepe” in the title translation to replace “bing” because in this recipe, this version of a bing is most similar to a crepe. However when I think of crepes, I think of sweet french crepes with chocolate, fruit and whipped cream which, although delicious, just doesn’t fit in here so I’ll continue to call them “bings” for the rest of this post.
Anyways, without further ado, here’s the recipe! If you have any comments or suggestions, I’d love to hear from you in the comment section! You can follow me on instagram, youtube and facebook to see all the recipes I post!
Happy cooking!
Ingredients you’ll need:

- Bing Batter:
- 110g (3/4 cup) all purpose flour
- 30g (1/4 cup) tapioca flour (or potato starch)
- 1/2 tsp salt
- 1 egg
- 280ml (1 cup + 2 Tbsps) water
- 2 spring onions, chopped
- Assembly:
- shredded cheese (~1/3 cup per crepe)
- 1 egg per crepe
- ground white pepper
- soy sauce paste to drizzle
- Soy sauce paste is CRUCIAL to this dish. Soy sauce paste is essentially a thickened and sweeter version of soy sauce that pairs beautifully with the cheesy egg. I always ask for extra sauce when I order dan bing. You should be able to find it from most Asian grocers. It’s on my to-do list to try and recreate soy sauce paste at home, so keep a look-out for the recipe when it’s uploaded!
Directions:

Make the batter: in a bowl, mix the all purpose flour, tapioca flour, salt and egg in a bowl. Add in 1/4 of the water and mix until there are no clumps then add the rest of the water and continue to mix. Set aside.
Note: you can add the spring onions to the batter as well, but I always have trouble having them distribute evenly when cooking so I choose to keep it separate and sprinkle it on instead.
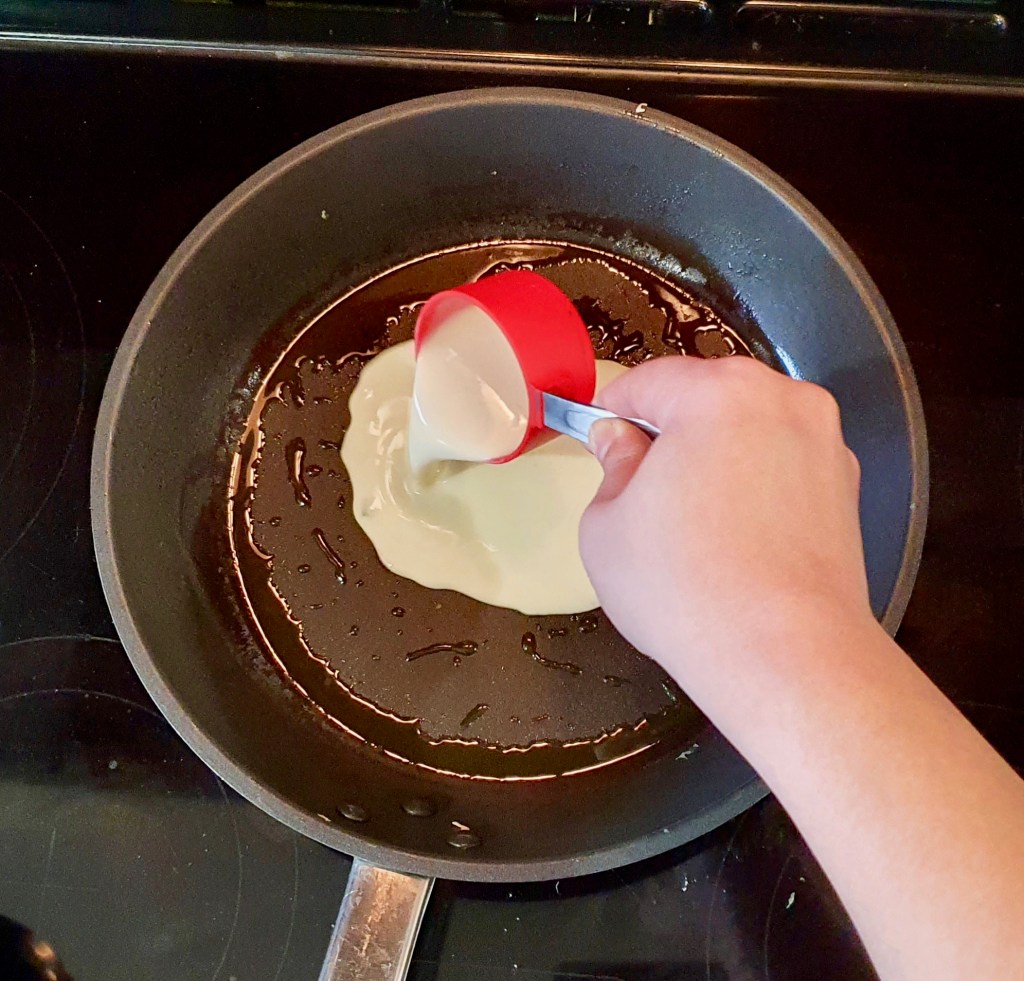
Add 1/3 cup of batter to the centre 
Swirl the pan to spread out evenly 
Sprinkle spring onion
Cook the Bing: Heat a non-stick skillet over medium heat and add 1 tsp of oil and swirl your pan around to coat it in oil. Once your skillet is hot enough, add 1/3 cup of batter into the middle of the pan and quickly swirl your pan around to let the batter distribute around the pan evenly. Sprinkle spring onions over the batter.


Edges lifting, ready to flip! 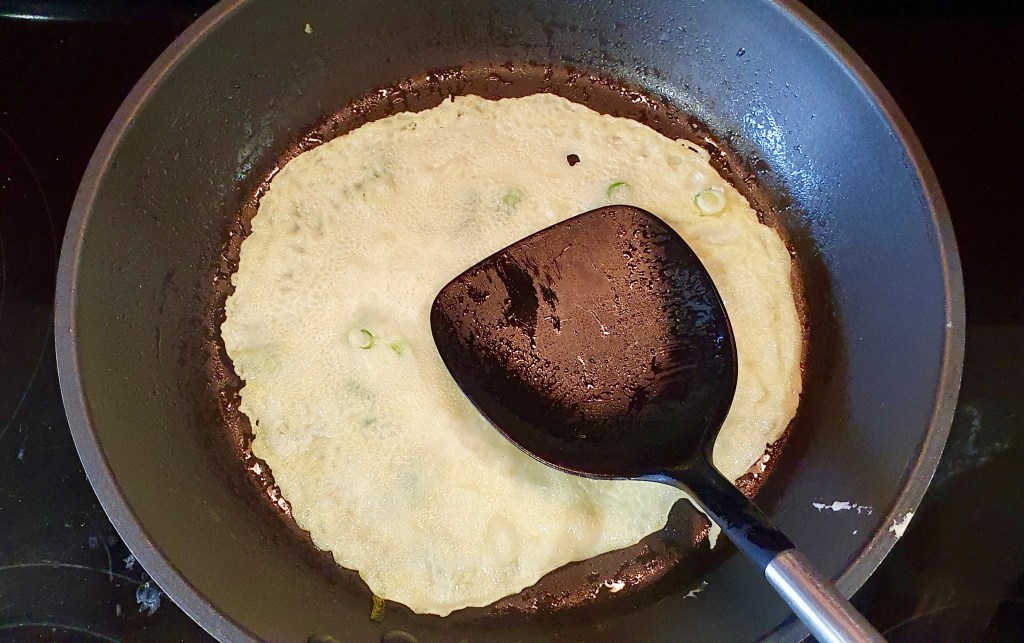
Compress down areas slower to cook 
Ready when you see toasted brown spots 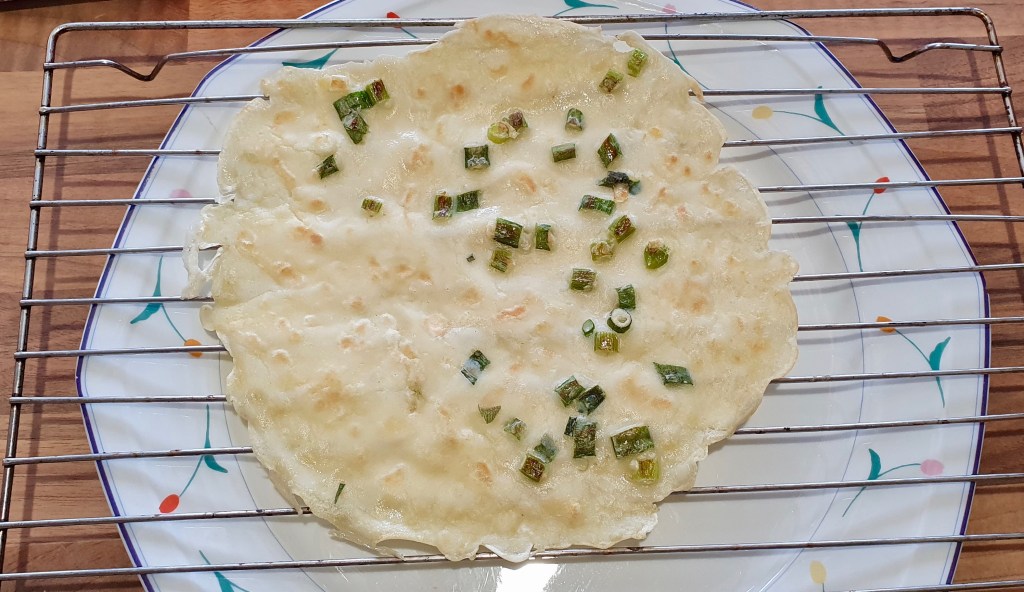
Cool on a wire rack
Once the edges of the bing are lifting from the pan edges (see second photo), flip it over and cook the other side. Continue to cook until you get small toasty brown spots on the bing on both sides. You can use your spatula to compress down areas that are taking longer to cook. Transfer to a wire rack to cool. Repeat this step to finish cooking the rest of the bings. Don’t worry if they’re not perfectly round or if your spring onions aren’t perfectly distributed – you’re rolling them up in the end anyway!
Note: Like pancakes, the first one might be a dud to get the temperature of the pan right. Don’t get discouraged!


Tip: If you’re making multiple dishes for a meal, you can make the bings first and set them aside until you’re ready for the next step. The next step goes fairly quickly (roughly 1-2mins each to assemble) and you want to serve these hot so I suggest not starting this next step until all your other dishes are ready.

Same skillet 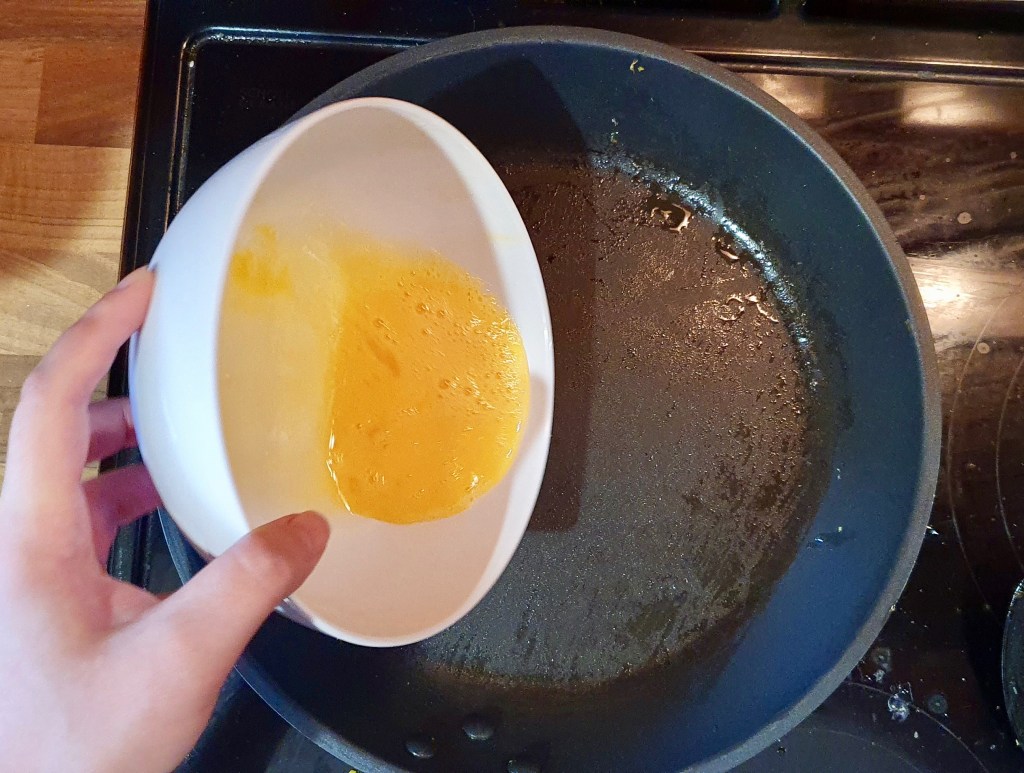


Place bing over uncooked egg
Assemble the Dan Bing: In the same skillet (still on MED heat), pour in one lightly beaten egg into the centre then quickly place one bing ontop of the egg while it’s still undercooked (it’s very important you put the bing on the egg while it’s still undercooked so it sticks together. If you let the egg fully cook, the egg will separate from the bing). Let it cook for about 30 seconds until you’re able to lift and flip the egg with the bing together without it falling apart.

Add cheese 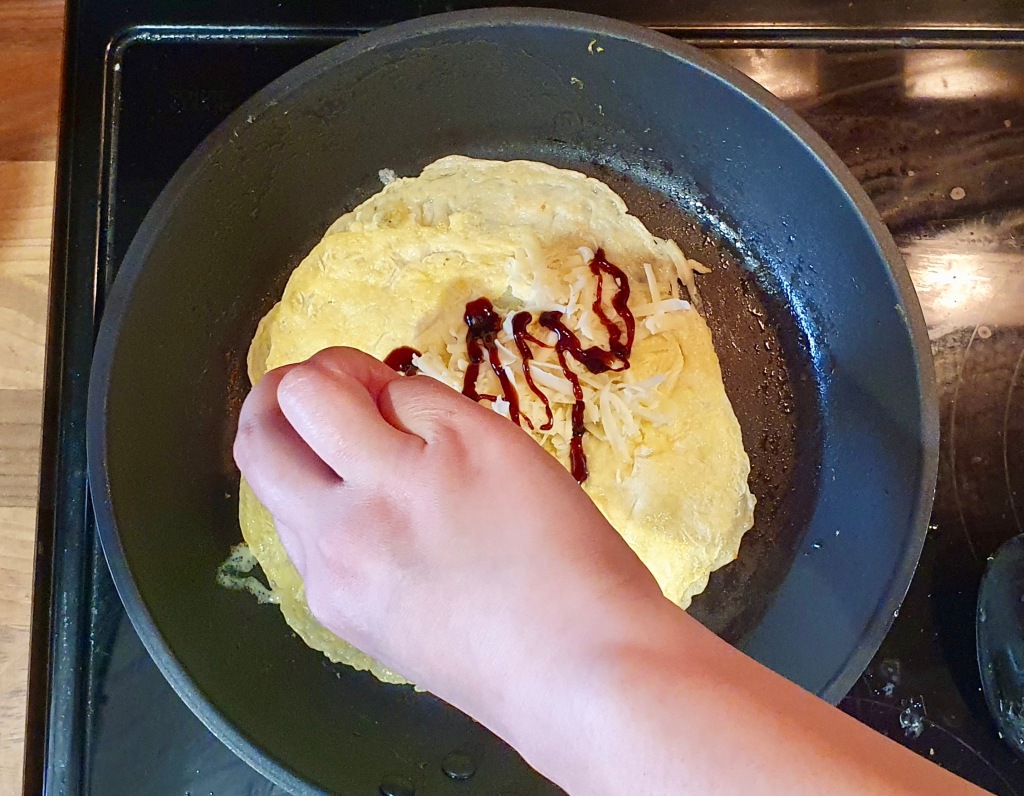
Drizzle soy sauce paste 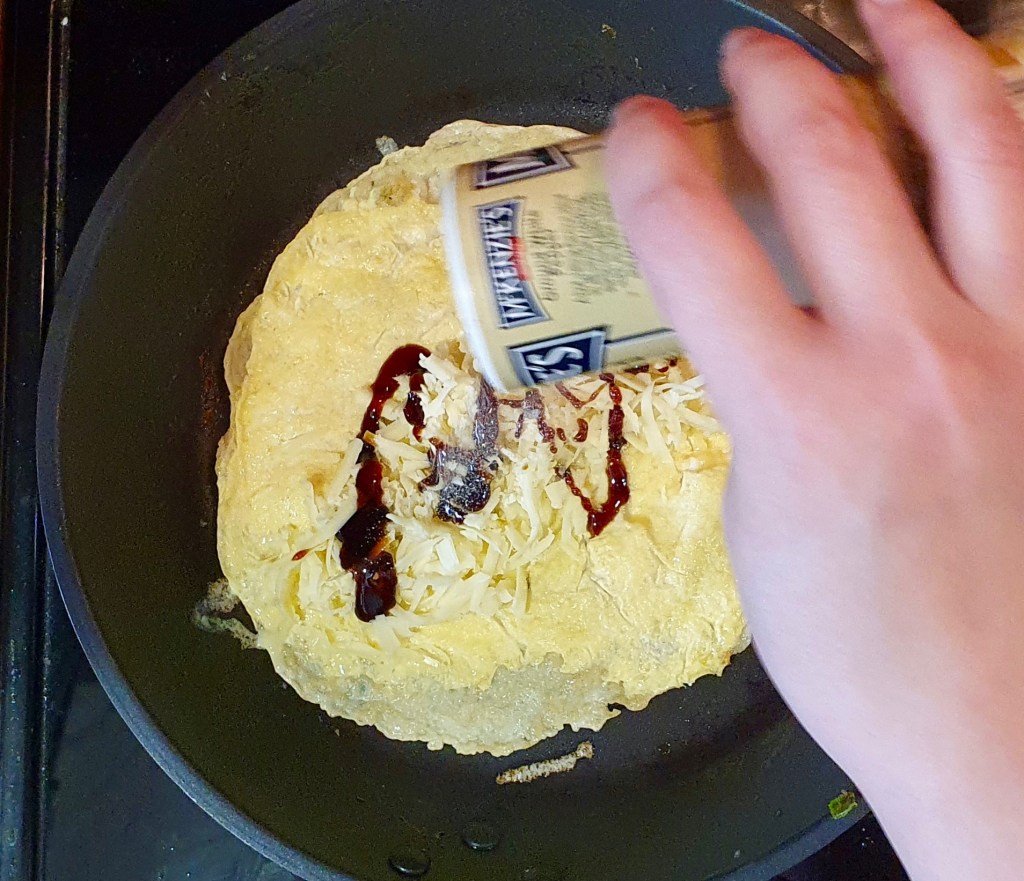
Sprinkle white pepper


Once flipped over, add shredded cheese in a line in the middle of the egg, then top with a small drizzle of soy sauce paste then a dusting of white pepper. Fold up both sides of the dan bing towards the middle. Press it down lightly for the cheese to stick the layers together then transfer to a plate. Repeat to make the rest of the bings.
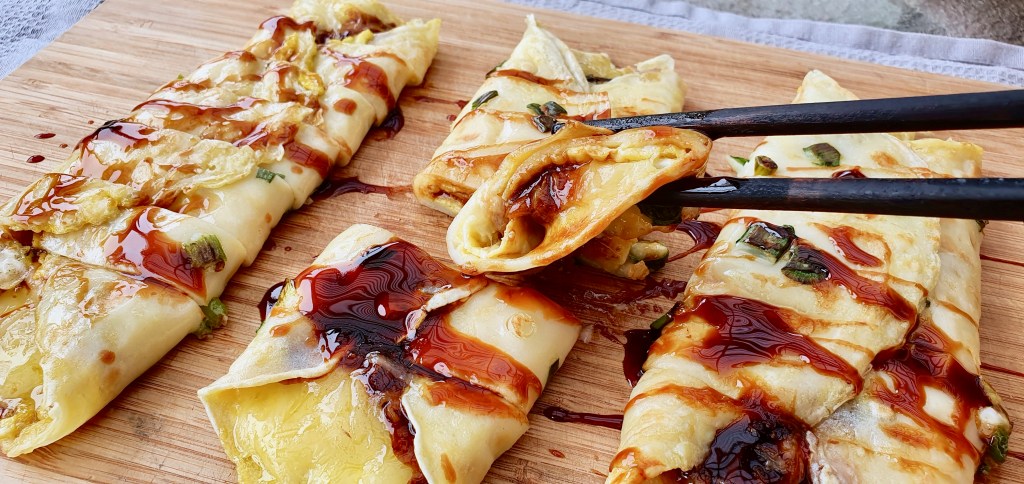
Slice into 1 inch pieces and serve with extra soy sauce paste for dipping if needed. Enjoy!
Tip: You can also add additional toppings other than the cheese. Some popular options in Taiwan: corn, ham, pork floss…etc.


Summarized Recipe:
Taiwanese Cheese Egg Crepe 起司蛋餅 (Cheese Dan Bing)
Date Published: August 7th, 2020 | Last Updated: August 7th, 2020
Author: Abby |Category: asian, snacks
Serves: 4 crepes | Prep time: 5 mins | Cook time: 30 mins
Ingredients:
- Bing Batter:
- 110g (3/4 cup) all purpose flour
- 30g (1/4 cup) tapioca flour (or potato starch)
- 1/2 tsp salt
- 1 egg
- 280ml (1 cup + 2 Tbsps) water
- 2 spring onions, chopped
- Assembly:
- shredded cheese (~1/3 cup per crepe)
- 1 egg per crepe
- ground white pepper
- soy sauce paste to drizzle
Directions:
- Make the batter: in a bowl, mix the all purpose flour, tapioca flour, salt and egg in a bowl. Add in 1/4 of the water and mix until there are no clumps then add the rest of the water and continue to mix. Set aside.
- Cook the Bing: Heat a non-stick skillet over medium heat and add 1 tsp of oil and swirl your pan around to coat it in oil. Once your skillet is hot enough, add 1/3 cup of batter into the middle of the pan and quickly swirl your pan around to let the batter distribute around the pan evenly. Sprinkle spring onions over the batter.
- Once the edges of the bing are lifting from the pan edges, flip it over and cook the other side. Continue to cook until you get small toasty brown spots on the bing on both sides. You can use your spatula to compress down areas that are taking longer to cook. Transfer to a wire rack to cool. Repeat this step to finish cooking the rest of the bings.
- Note: Like pancakes, the first one might be a dud to get the temperature of the pan right. Don’t get discouraged!
- Assemble the Dan Bing: In the same skillet (still on MED heat), pour in one lightly beaten egg into the centre then quickly place one bing ontop of the egg while it’s still undercooked. Let it cook for about 30 seconds until you’re able to lift and flip the egg with the bing together without it falling apart.
- Once flipped over, add shredded cheese in a line in the middle of the egg, then top with a small drizzle of soy sauce paste then a dusting of white pepper. Fold up both sides of the dan bing towards the middle. Press it down lightly for the cheese to stick the layers together then transfer to a plate. Repeat to make the rest of the dan bings.
- Slice into 1 inch pieces and serve with extra soy sauce paste for dipping if needed. Enjoy!
Tip: You can also add additional toppings other than the cheese. Some popular options in Taiwan: corn, ham, pork floss…etc.