Date Published: Jan 1st, 2024 | Last Updated: Jan 1st, 2025
Author: Abby |Category: salads, mains, healthy, easy, <30mins, low-cal, on the go
Serves: 2 large salads as a main | Prep time: 15 mins | Cook time: 6 mins
Jump to recipe |
HAPPY NEW YEAR! I can’t believe it’s 2024 already. 2023 flew right by! It seems like just yesterday we moved to Brooklyn from Australia and I still feel like we haven’t completely settled in. There’s so much good food around us that I haven’t had as much inspiration to cook in the kitchen this past year, despite FINALLY living in our own space and having all of my kitchen things all in one place. Welp, all this eating out has been catching up to our bellies, so we’re starting 2024 eating healthy and getting our weights down (original, I know).
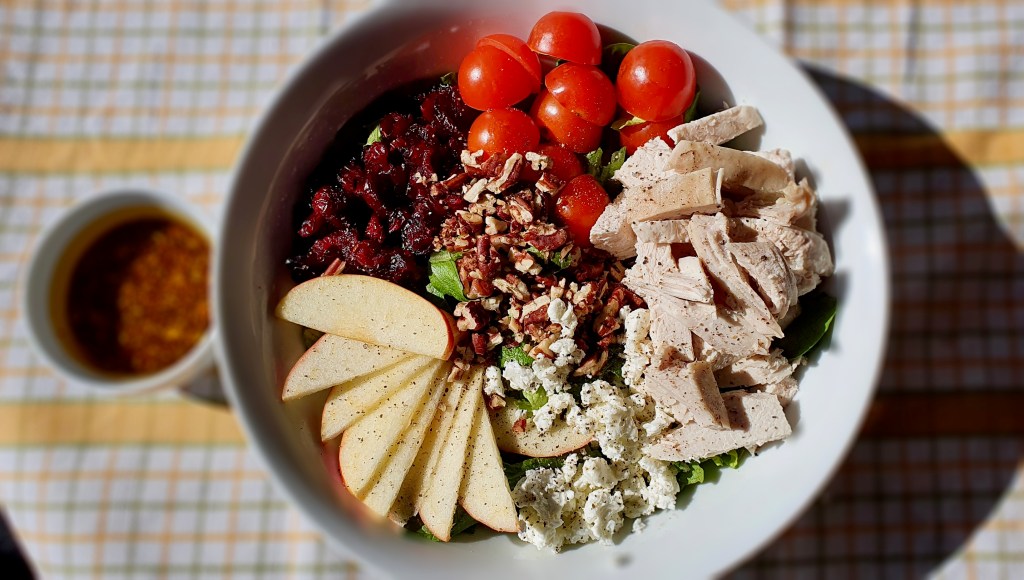
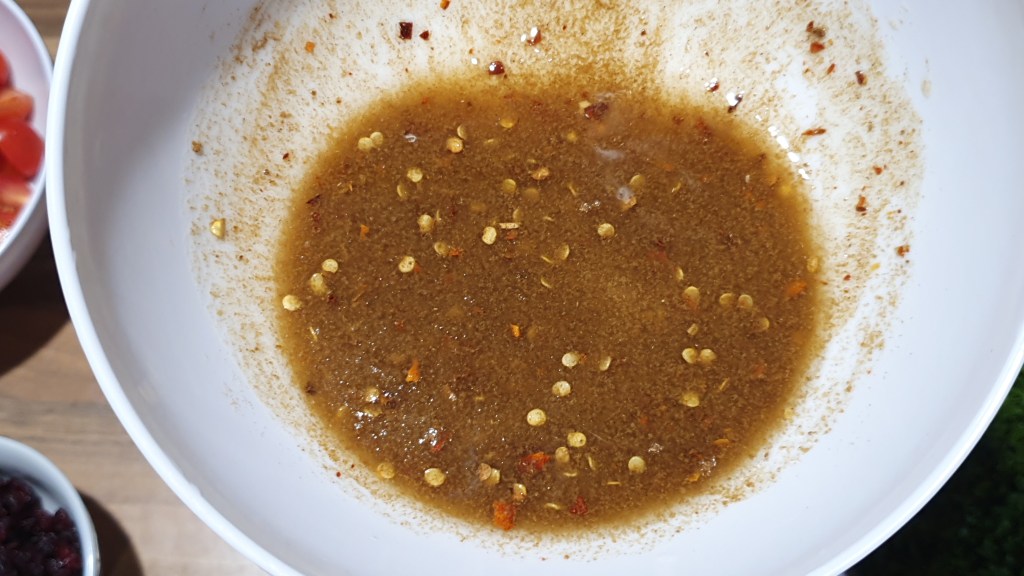
This steak and blue cheese salad is a copy cat from the one at Panera’s which has since been discontinued. It was my all time favourite salad and I was heartbroken the day they took it off the menu. This salad has been on the back of my mind for a LONG time, but I never quite got it right to make it just like Panera’s. Their cabernet reduction sauce still remains a mystery to this day. After many years, I’ve given up on making it exactly the same, but I managed to make a quick and easy version that satisfies the craving. This recipe is so easy and cooks up quickly, great for a busy evening.
Anyways, without further ado, here’s the recipe! If you have any comments or suggestions, I’d love to hear from you in the comment section! You can follow me on instagram, youtube and facebook to see all the recipes I post!
Happy cooking!
Ingredients you’ll need:
- 400g Sirloin steak(s), room temp
- Salt and pepper
- 1 large romaine/cos lettuce heart, washed and chopped
- Half a red onion, sliced thin
- 1.5 cups of cherry or grape tomatoes, washed and halved
- 1.5 cups of fried onions/shallots
- 1.5 cups blue cheese/gorgonzola crumbles
- Fresh ground black pepper
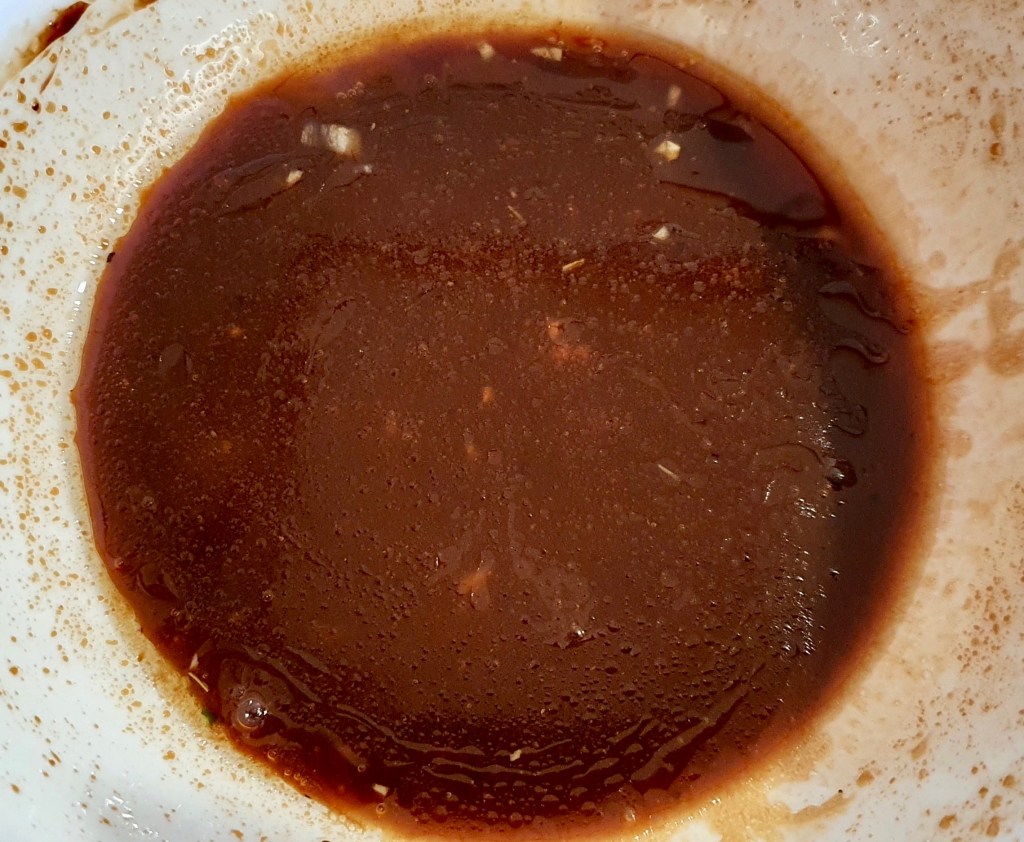
- Balsamic vinaigrette glaze (also works with balsamic vinaigrette if you don’t have the glaze on hand)
Directions:
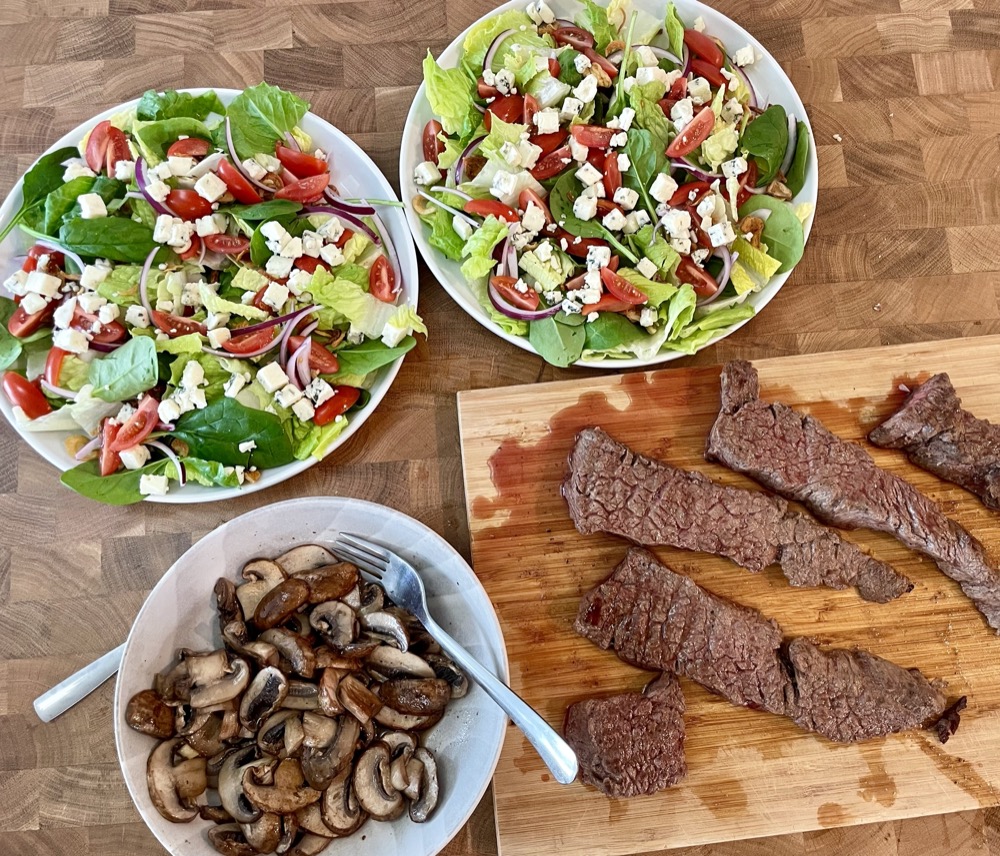
Salt and pepper the steak(s) on both sides. Set up your grill or grill pan to HIGH heat and add a drizzle of oil. Cook the steaks on HIGH heat until you get a nice sear on both sides and cooked to medium rare (roughly 2.5 – 3 minutes on each side, cook times will vary depending on the thickness of your cut). Once the steaks are done, remove from the pan and let it rest for 5 minutes before slicing.
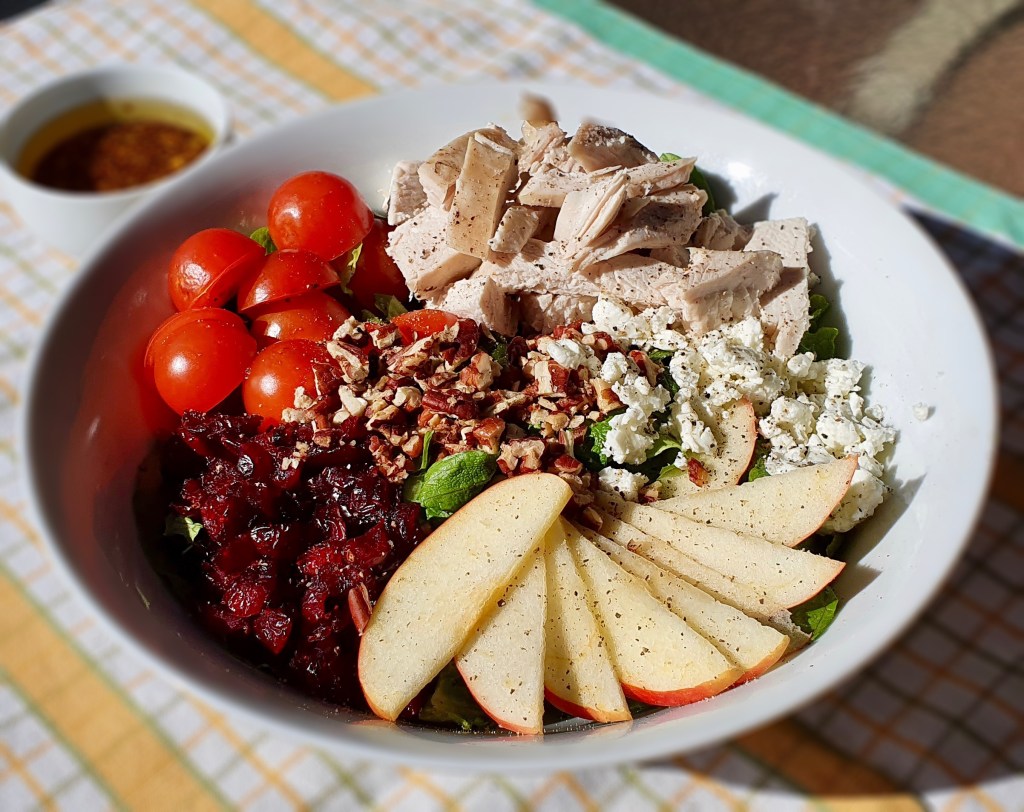
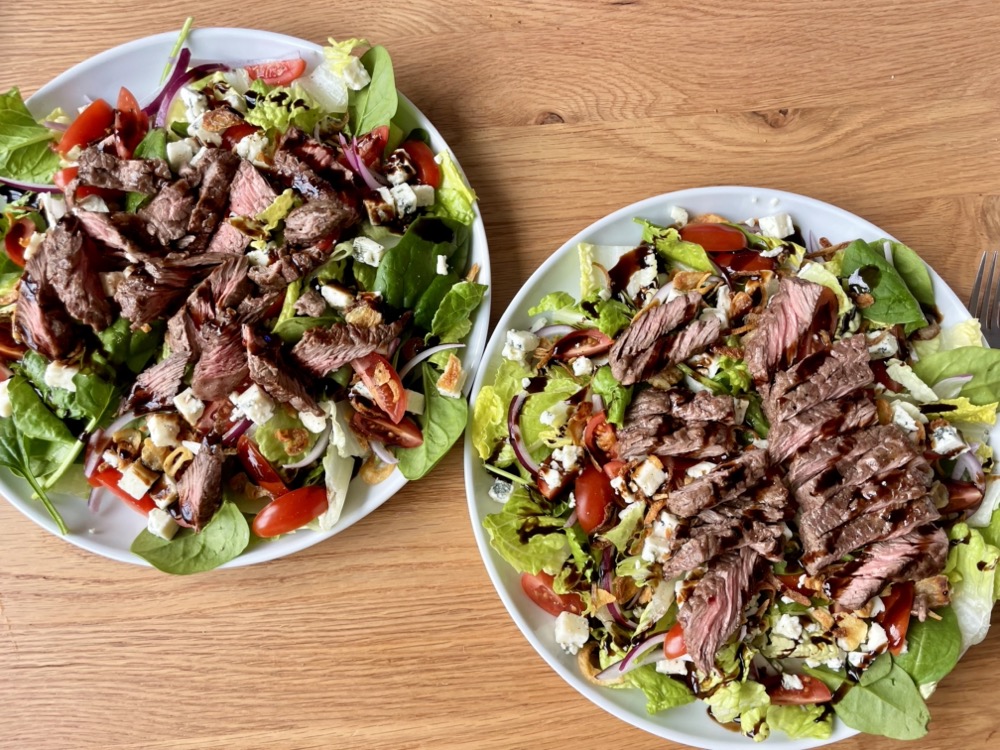
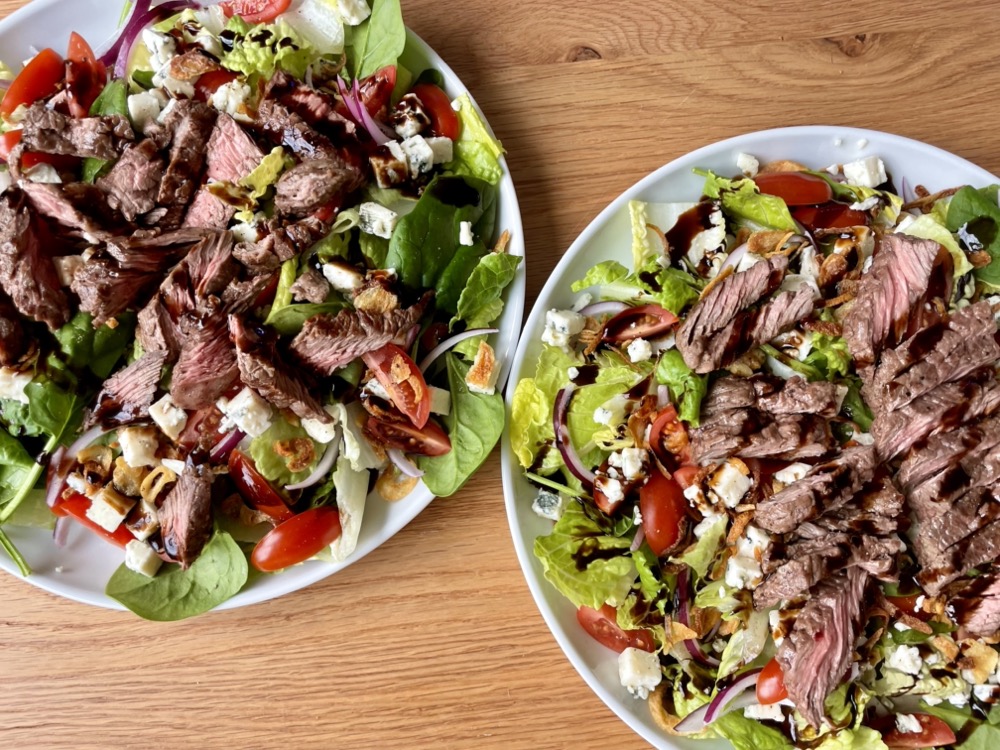
While the steak is resting, assemble your salad: evenly divide the lettuce, tomatoes, fried onions/shallots, and blue cheese crumbles between two salad bowls. Add a sprinkling of fresh ground black pepper to each bowl then place the sliced steak over the salads. Drizzle the balsamic vinaigrette glaze over both salads. Serve immediately. Enjoy!


Summarized Recipe:
Steak & Blue Cheese Salad
Date Published: Jan 1st, 2024 | Last Updated: Jan 1st, 2025
Author: Abby |Category: salads, mains, healthy, easy, <30mins, low-cal, on the go
Serves: 2 large salads as a main | Prep time: 15 mins | Cook time: 6 mins
Ingredients:
- 400g Sirloin steak(s), room temp
- Salt and pepper
- 1 large romaine/cos lettuce heart, washed and chopped
- Half a red onion, sliced thin
- 1.5 cups of cherry or grape tomatoes, washed and halved
- 1.5 cups of fried onions/shallots
- 1.5 cups blue cheese crumbles
- Fresh ground black pepper
- Balsamic vinaigrette glaze (also works with balsamic vinaigrette if you don’t have the glaze on hand)
Directions:
- Salt and pepper the steak(s) on both sides. Set up your grill or grill pan to HIGH heat and add a drizzle of oil. Cook the steaks on HIGH heat until you get a nice sear on both sides and cooked to medium rare (roughly 2.5 – 3 minutes on each side, cook times will vary depending on the thickness of your cut). Once the steaks are done, remove from the pan and let it rest for 5 minutes before slicing.
- While the steak is resting, assemble your salad: evenly divide the lettuce, tomatoes, fried onions/shallots, and blue cheese crumbles between two salad bowls. Add a sprinkling of fresh ground black pepper to each bowl then place the sliced steak over the salads. Drizzle the balsamic vinaigrette glaze over both salads. Serve immediately. Enjoy!