Date Published: August 29th, 2020 | Last Updated: August 29th, 2020
Author: Abby |Category: mains, appetizer, Asian, sides
Serves: 4 | Prep time: 45 mins | Cook time: 10 mins
Jump to recipe |
At the start of the pandemic Toby and I started religiously watching Masterchef AU 2020. Neither of us had watched Masterchef before and neither of us watch much reality television. Perhaps it was the constant ads or perhaps it was the extra time we had on our hands from the pandemic, we got sucked in. At 7:30pm, 5 days a week, we were glued to the tv. We had a few favourite contestants on this show and Kanh is one of them. His dishes always looked so good with so much flavour on the show that I couldn’t wait to get his cookbook when it came out. His book definitely didn’t disappoint (although it’s a bit of a pain to navigate through the ebook version) and as expected, it’s full of amazing recipes with hilarious personal notes. This recipe is straight from Kanh Ong’s cookbook: A Gay Guy’s Guide to Life Love Food with a few tweaks in the methods and reorganizing of the ingredients. He calls it “Shaking Beef” in his book in reference to the shaking of the pan when you make it. We’ve made at least half a dozen dishes from his book but I think this may be our favourite!

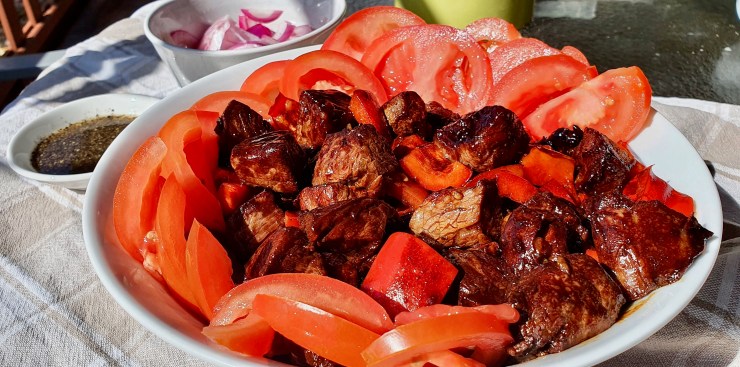
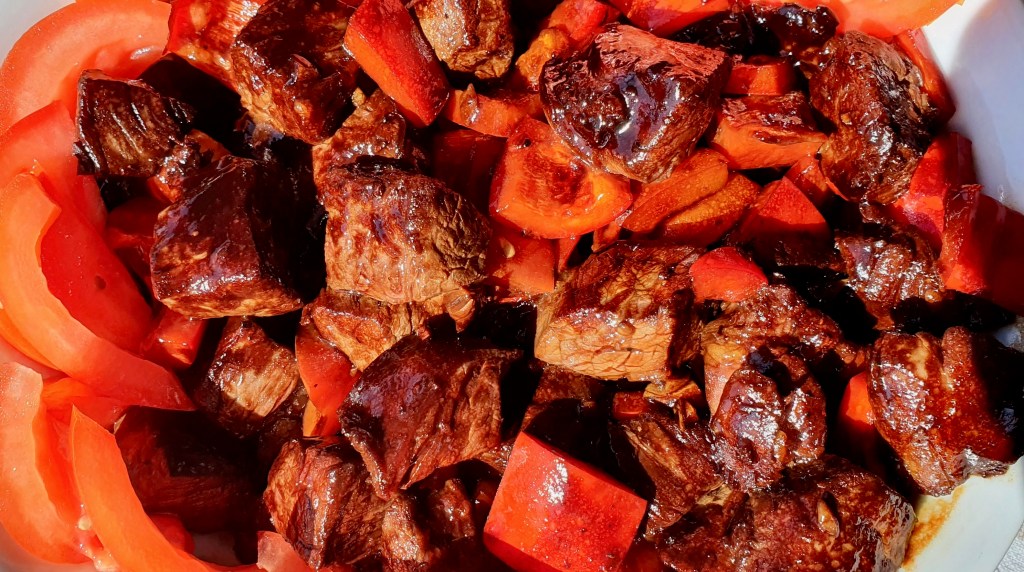
This dish is a flavour BOMB. The beef tenderloin is marinated in a sweet dark sauce then seared on a hot pan for a caramelized outside and soft melt-in-your-mouth rare beef on the inside. The bold salty flavours of the beef is best paired with the pickled red onions and dipping sauce (also included in this recipe). I was skeptical at first, but the pickled red onions really makes a huge difference and brings the beef to the next level. This dish got rave reviews with our family and there were no empty plates!
Anyways, without further ado, here’s the recipe! If you have any comments or suggestions, I’d love to hear from you in the comment section! You can follow me on instagram, youtube and facebook to see all the recipes I post!
Happy cooking!
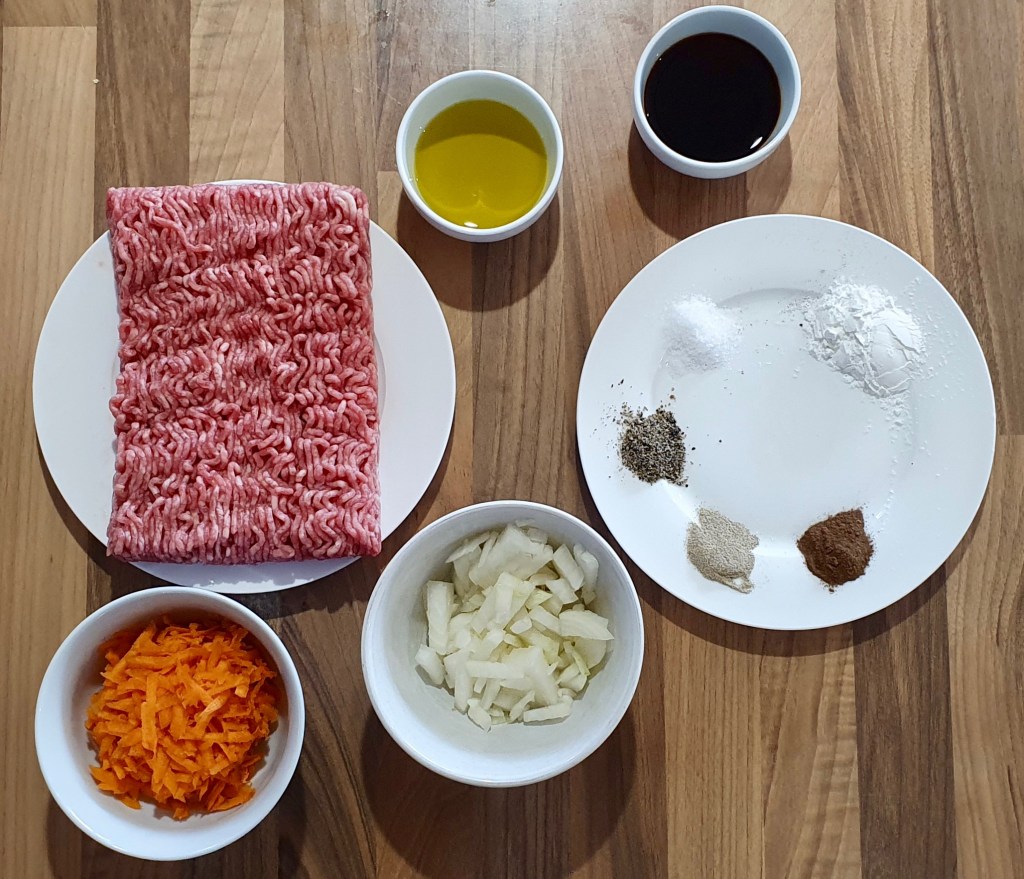
Ingredients you’ll need:

- Marinade:
- 2 cloves garlic, crushed
- 1 Tbsp vegetable oil
- 3 Tbsps oyster sauce
- 2 Tbsps dark soy sauce
- 1 Tbsp caster sugar
- Pinch of salt & pepper
- 600g beef tenderloin/eye fillet, cut into 2.5cm cubes
- 2 cloves garlic, crushed and divided
- 1 red capsicum/red bell pepper, deseeded and cut into 2.5cm pieces
- 1 large tomato
- Handful of leafy greens (like watercress or lettuce) – optional
- Pickled Red Onion:
- 1 red onion, finely sliced
- 2 Tbsps caster sugar
- 1/3 cup (80ml) white vinegar
- Dipping Sauce:
- 2 tsps sea salt
- 2 tsps freshly ground black pepper
- 2 Tbsps lemon juice
Directions:
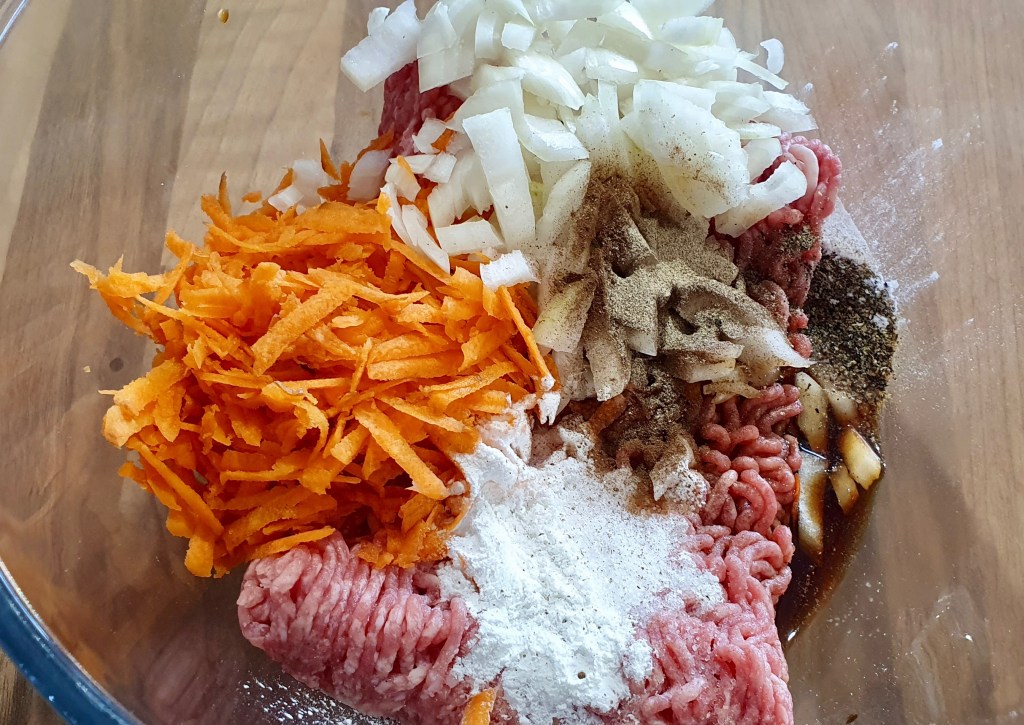
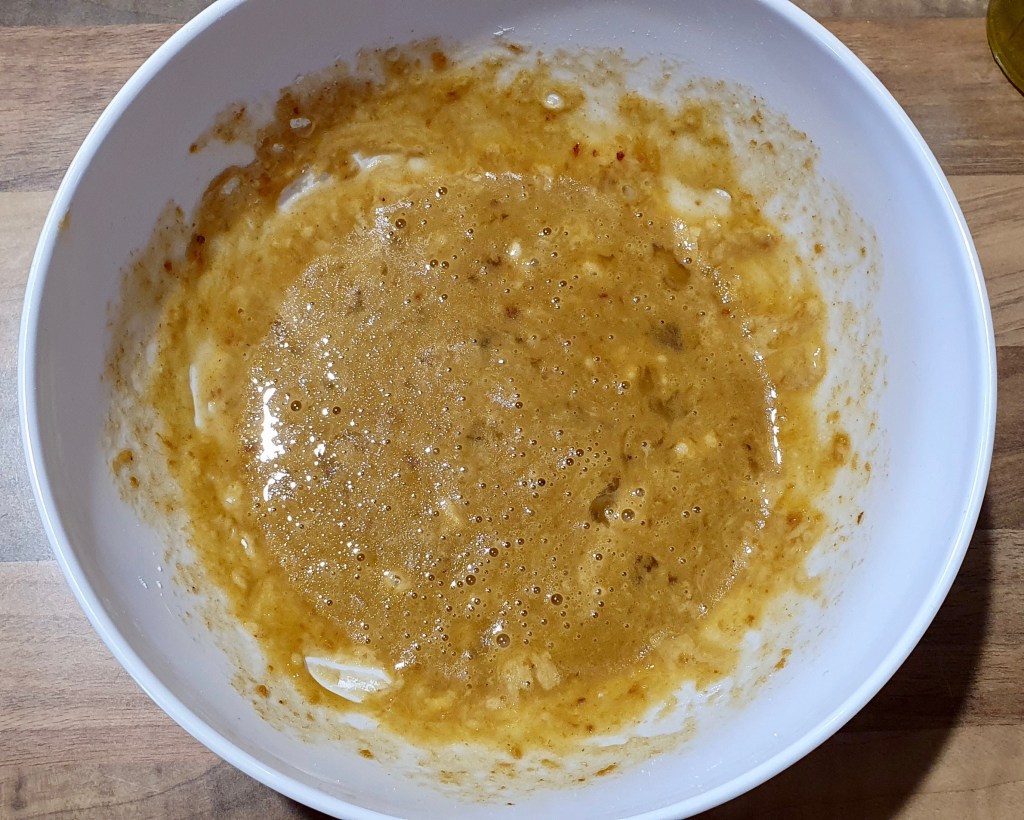
Marinate the beef: Combine the marinade ingredients into a large bowl (garlic, oil, oyster sauce, dark soy sauce, sugar, pinch of salt and pepper). Mix and marinate the beef pieces for at least 30mins or ideally overnight.

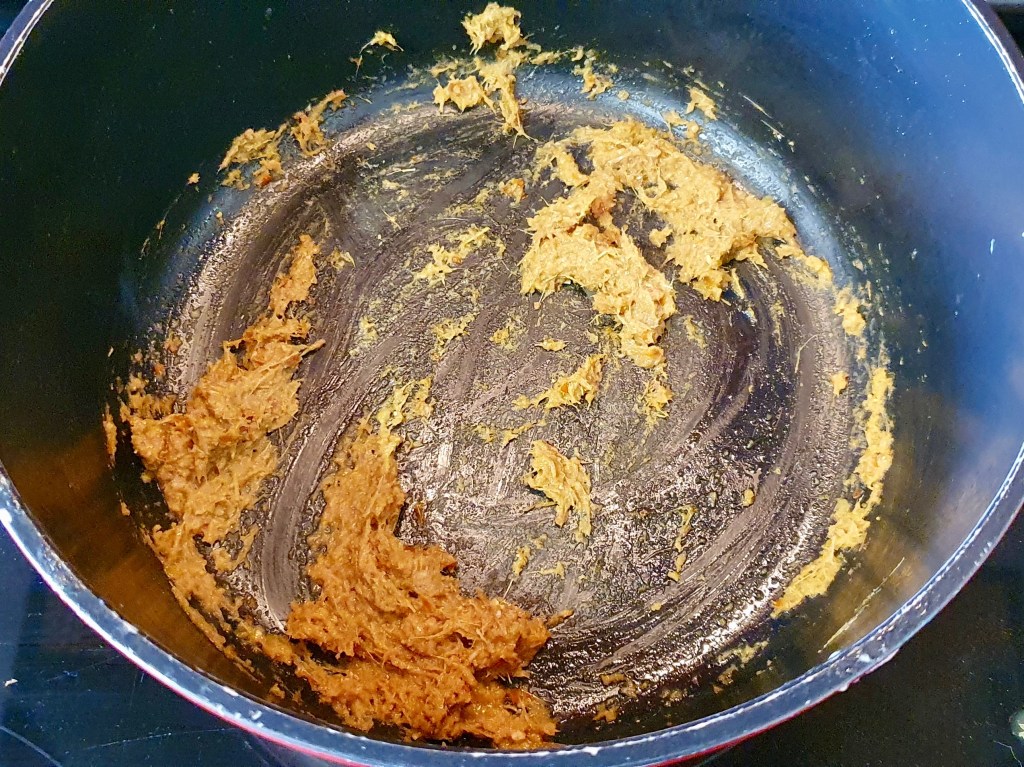
Make the Pickled Red Onion: Mix the red onion, sugar and white vinegar in a glass or ceramic bowl. Set aside.
Make the Dipping Sauce: Add the salt, black pepper and lemon juice together in a bowl. Set aside.
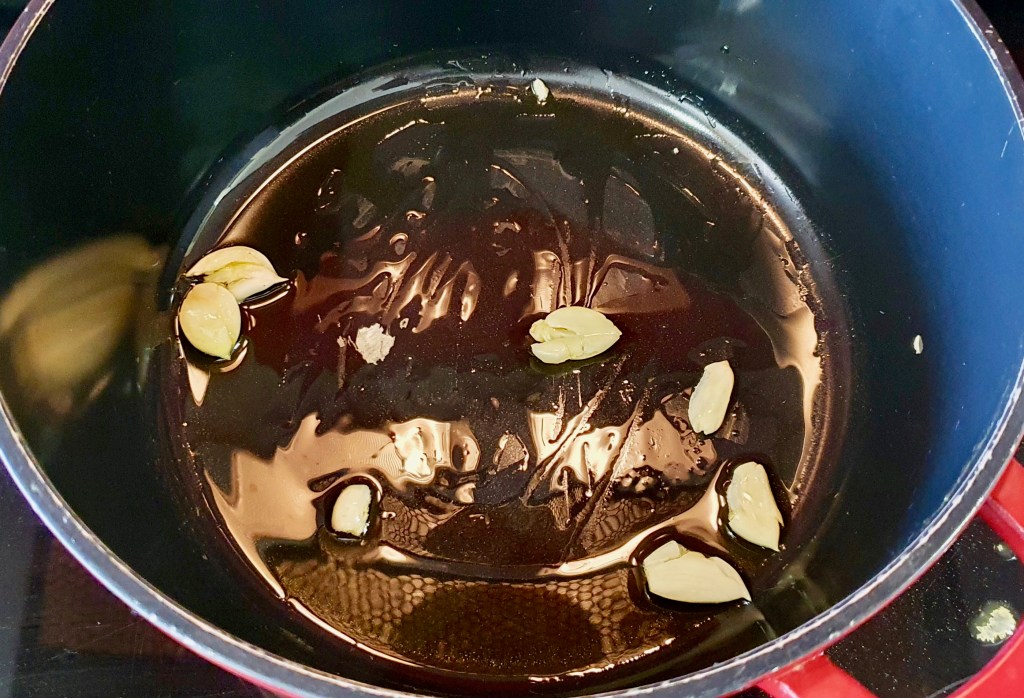
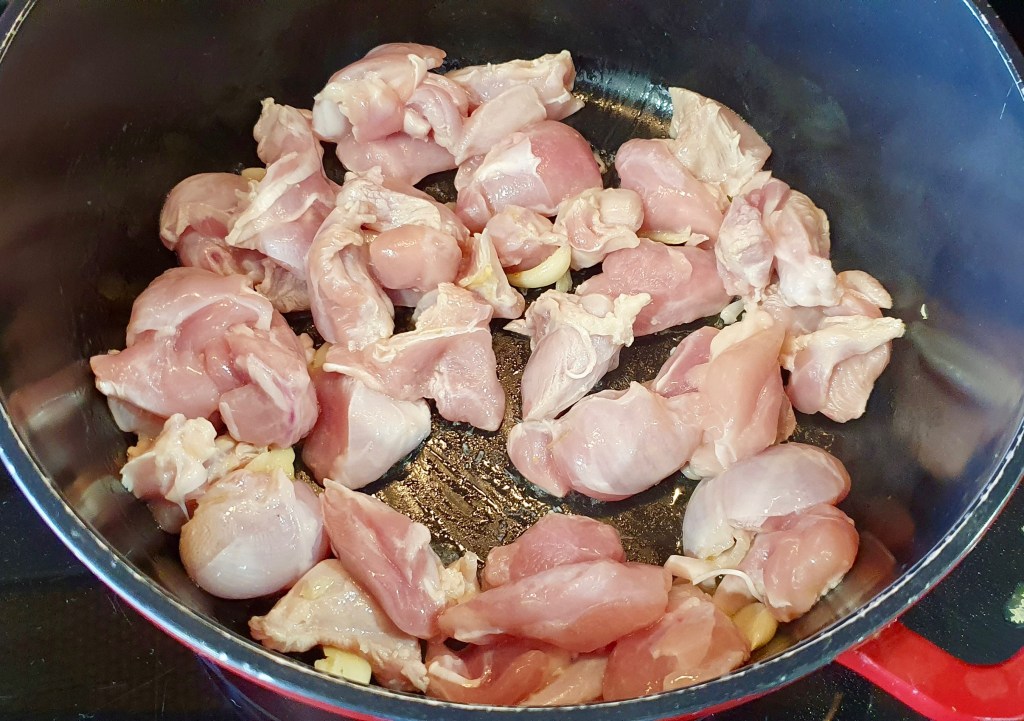
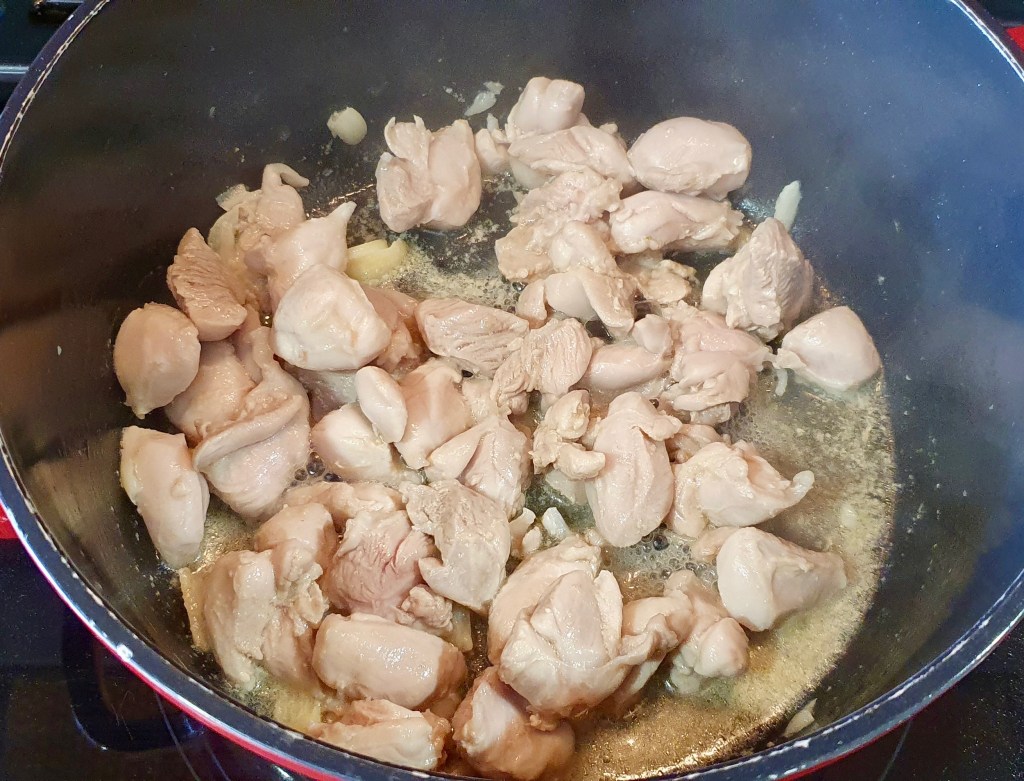
Cook the beef: You want to cook the beef in two batches to not crowd the pan. Heat a wok or skillet (ideally use a wok because this dish will splatter!) on HIGH heat and add 1 tablespoon of oil. Add in 1 tablespoon of crushed garlic and stir-fry for a few seconds until lightly brown then add in half the amount of marinated beef to the pan and toss for 2-3 minutes until seared. In the last 15 seconds, add in half of the capsicum pieces and sauté. Remove from the pan and set aside. Repeat with the second half of the garlic, beef, and capsicum.
We’re aiming for med-rare with these beef pieces. Remove it from the pan when the outside is just cooked and still soft on the inside.
Serving: Drain the pickled red onion mixture and discard the liquid. Serve the beef with some tomato slices, pickled red onion, dipping sauce, and some greens (like watercress or lettuce) for freshness. Done!


Summarized Recipe:
Flavour Bomb Beef
Date Published: August 29th, 2020 | Last Updated: August 29th, 2020
Author: Abby |Category: mains, appetizer, Asian, sides
Serves: 4 | Prep time: 45 mins | Cook time: 10 mins
Ingredients:
- Marinade:
- 2 cloves garlic, crushed
- 1 Tbsp vegetable oil
- 3 Tbsps oyster sauce
- 2 Tbsps dark soy sauce
- 1 Tbsp caster sugar
- Pinch of salt & pepper
- 600g beef tenderloin/eye fillet, cut into 2.5cm cubes
- 2 cloves garlic, crushed and divided
- 1 red capsicum/red bell pepper, deseeded and cut into 2.5cm pieces
- 1 large tomato
- Handful of leafy greens (like watercress or lettuce) – optional
- Pickled Red Onion:
- 1 red onion, finely sliced
- 2 Tbsps caster sugar
- 1/3 cup (80ml) white vinegar
- Dipping Sauce:
- 2 tsps sea salt
- 2 tsps freshly ground black pepper
- 2 Tbsps lemon juice
Directions:
- Marinate the beef: Combine the marinade ingredients into a large bowl (garlic, oil, oyster sauce, dark soy sauce, sugar, pinch of salt and pepper). Mix and marinate the beef pieces for at least 30mins or ideally overnight.
- Make the Pickled Red Onion: Mix the red onion, sugar and white vinegar in a glass or ceramic bowl. Set aside.
- Make the Dipping Sauce: Add the salt, black pepper and lemon juice together in a bowl. Set aside.
- Cook the beef: You want to cook the beef in two batches to not crowd the pan. Heat a wok or skillet (ideally use a wok because this dish will splatter!) on HIGH heat and add 1 tablespoon of oil. Add in 1 tablespoon of crushed garlic and stir-fry for a few seconds until lightly brown then add in half the amount of marinated beef to the pan and toss for 2-3 minutes until seared. In the last 15 seconds, add in half of the capsicum pieces and sauté. Remove from the pan and set aside. Repeat with the second half of the garlic, beef, and capsicum.
- We’re aiming for med-rare with these beef pieces. Remove it from the pan when the outside is just cooked and still soft on the inside.
- Serving: Drain the pickled red onion mixture and discard the liquid. Serve the beef with some tomato slices, pickled red onion, dipping sauce, and some greens (like watercress or lettuce) for freshness. Done!