Date Published: August 5th, 2020 | Last Updated: August 5th, 2020
Author: Abby |Category: sauces
Serves: makes ~1.5 cups | Prep time: 10 mins | Cook time: 30 seconds
Jump to recipe |
You’ll never buy tartar sauce again after trying this recipe! Have it on fish and chips, tuna patties, crab cakes, fish fingers, chicken tenders…etc. The possibilities are endless! Just chop up some ingredients and mix it all together. Easy peasy! Add a can of tuna to this recipe and you’ve got yourself a fancy tuna salad!
I’ve recently conjured up this recipe to make a tartar sauce to go with our fried tuna patties (recipe coming soon) since we don’t usually keep any at home (I’m more of an aioli gal). After multiple taste tests, this recipe was the result and it is sooooo good! I may be jumping ship to team tartar.
The best thing about making our own tartar sauce is that we’ll never need to buy bottled sauce again and have it expire before we finish it and we can make as little or as much as we need. Also, we’ll never need to pay 50cents for a packet of tartar sauce at the fish and chips shop again (which is the real winner)!
Anyways, without further ado, here’s the recipe! If you have any comments or suggestions, I’d love to hear from you in the comment section! You can follow me on instagram, youtube and facebook to see all the recipes I post!
Happy cooking!

Summarized Recipe:
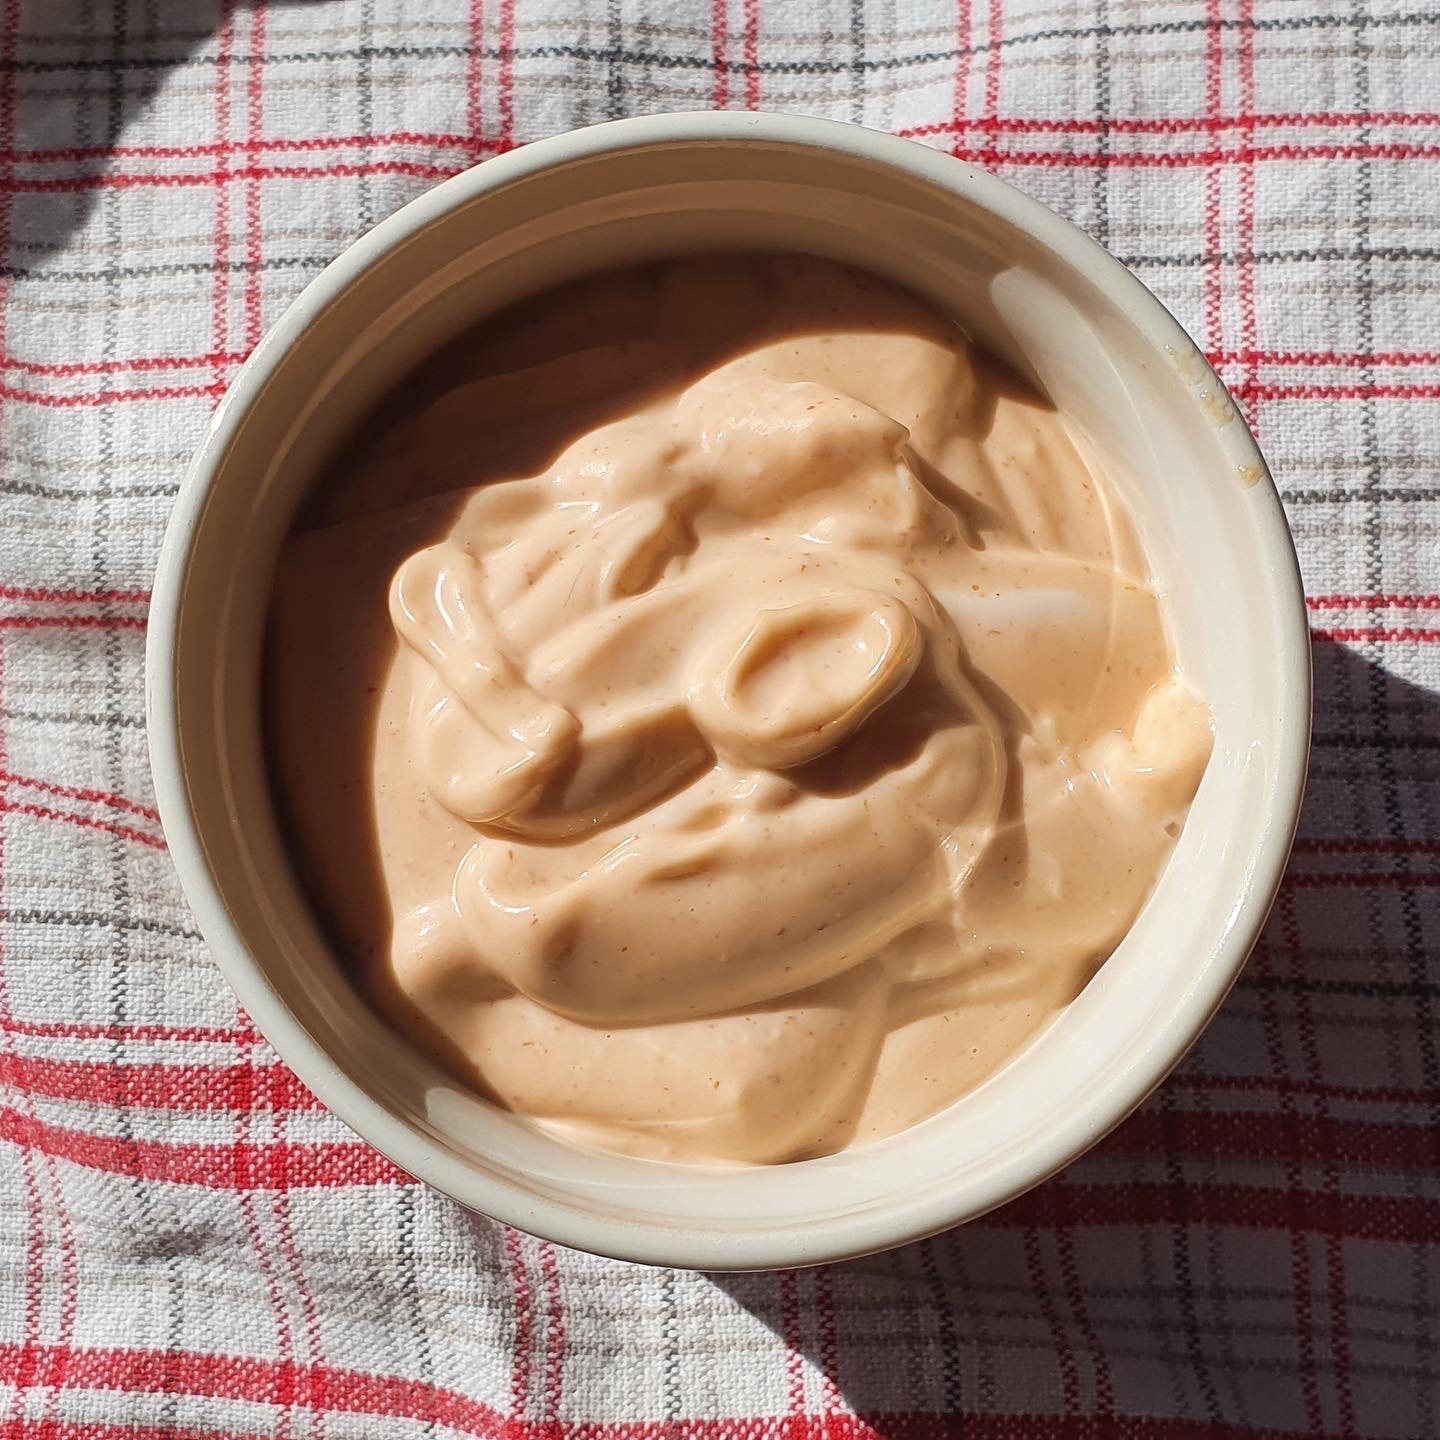
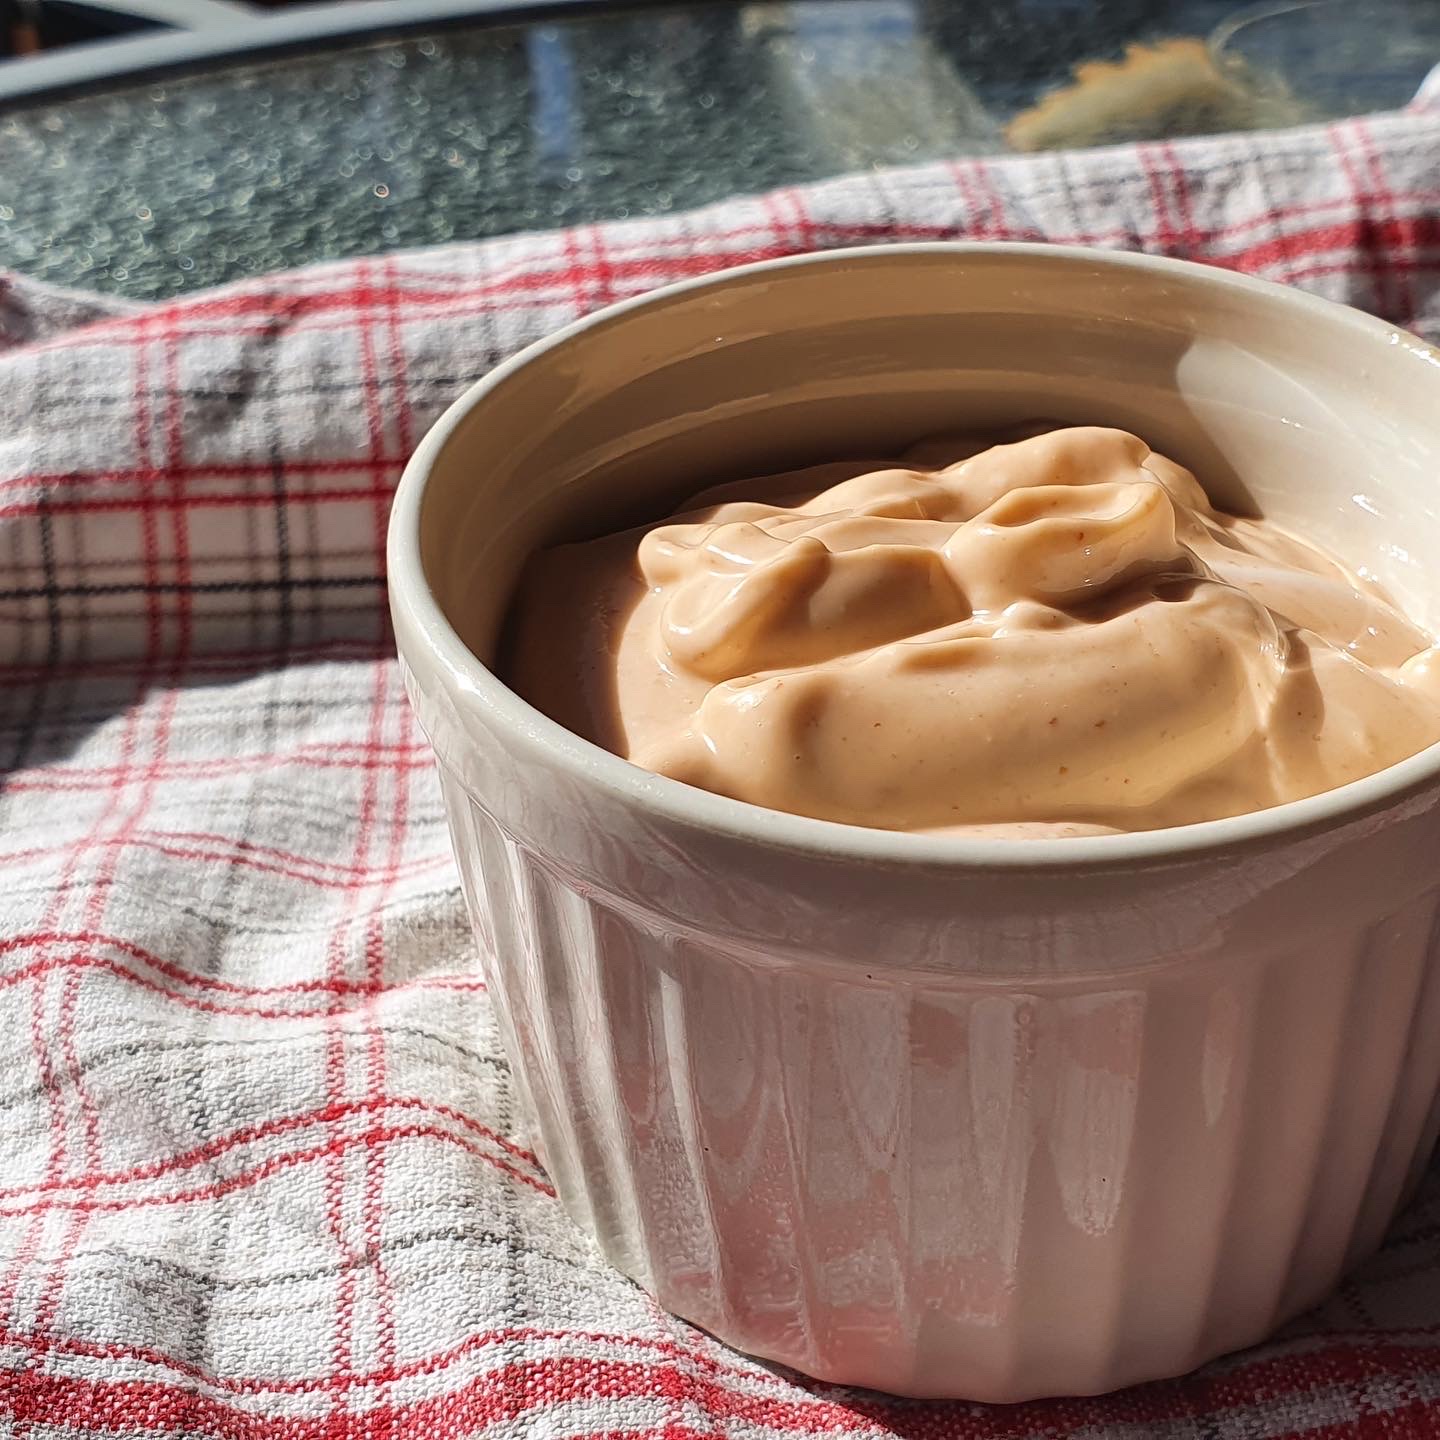
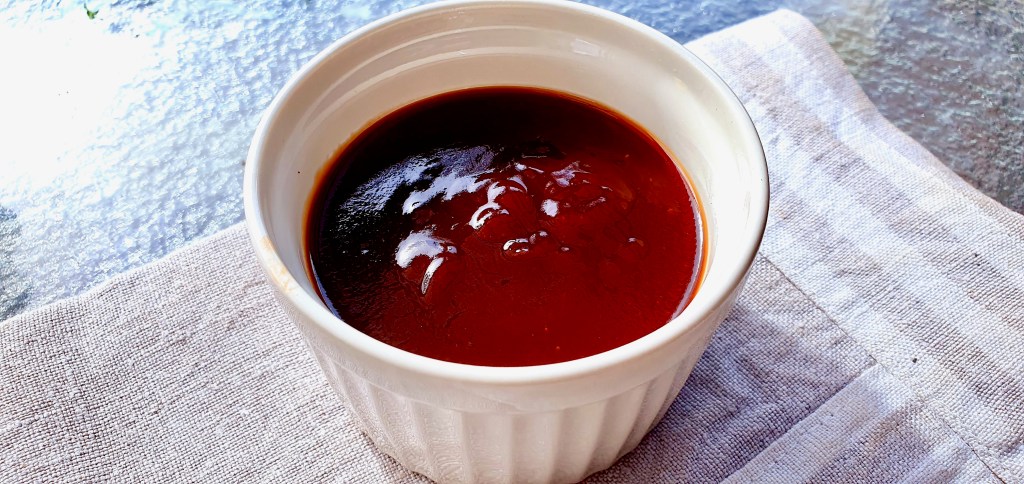
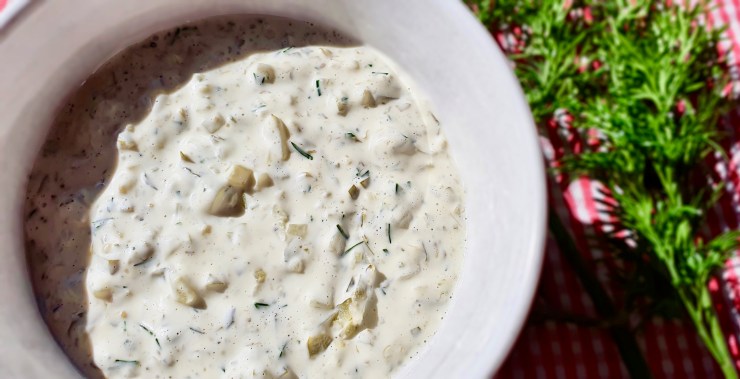
Creamy Dill Tartar Sauce
Date Published: August 5th, 2020 | Last Updated: August 5th, 2020
Author: Abby |Category: sauces
Serves: makes ~1.5 cups | Prep time: 10 mins | Cook time: 30 seconds
Ingredients:
- 1 cup (200g) mayonnaise
- 2 Tbsp (30g) capers, drained and finely chopped
- 1 cup (180g) pickles, finely chopped
- 1/2 Tbsp lemon
- 2 Tbsps fresh dill, finely chopped (or 1 tsp dried dill)
- 1 tsp Worcestershire sauce
- 1 tsp sugar (or more to taste)
- Fresh ground black pepper to taste
Directions:
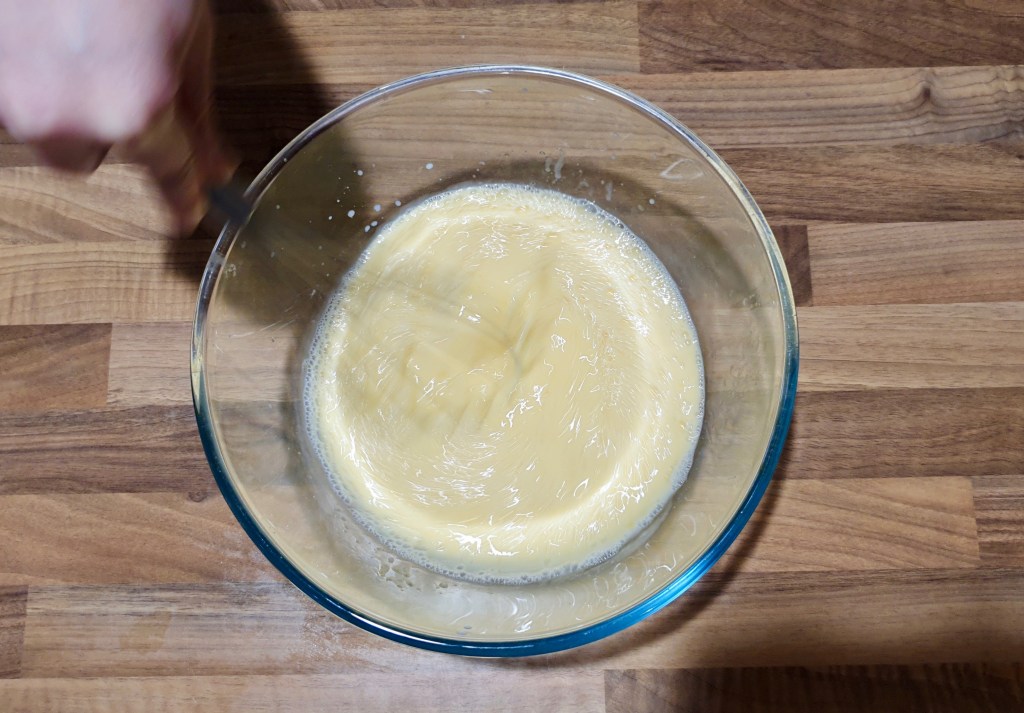
- Mix everything together in a bowl. Adjust salt and sugar as needed.
- Refrigerate for half an hour before serving for the flavours to infuse. Done!
Tip: If you want a thinner runny sauce, you can pulse everything in the food processor. To keep it thicker, chop all the ingredients finely and mix it by hand.