Date Published: August 27th, 2020 | Last Updated: August 27th, 2020
Author: Abby |Category: mains, Taiwanese, Asian
Serves: 6 patties (or 4 large ones) | Prep time: 15 mins | Cook time: 10 mins per patty
Jump to recipe |

Taiwanese people love breakfast food. When I say breakfast food, I don’t mean scrambled eggs, pancakes or eggs benedict. I mean Taiwanese breakfast food that can include dan bing (cheese crepes), oil sticks, white triangle sandwiches with pork floss, noodles and even breakfast burgers (yes, burgers for breakfast!) – all often served with a side of hot or cold soya bean milk or milk tea (always my preference). I’ll be honest and admit that I don’t often order burgers for breakfast in Taiwan because A) I always tend to sleep in when I can and miss breakfast and B) it’s just way too much food for me early in the morning. When Toby visited Taiwan for the first time in 2019, he saw someone order one and it looked so delicious that he wanted to try it himself. This burger BLEW. HIS. MIND. It was his new favourite breakfast item, even surpassing my personal favourite cheese dan bing. I forgot all about this burger until recently when I came upon on Lady&Pups blog while looking for some recipe inspo for this week’s menu. Despite her rant on Taiwan, she makes a mean breakfast burger, which is where this recipe originally came from. I’ve tweaked it a little and simplified the directions with some added personal notes on my experience with this recipe.
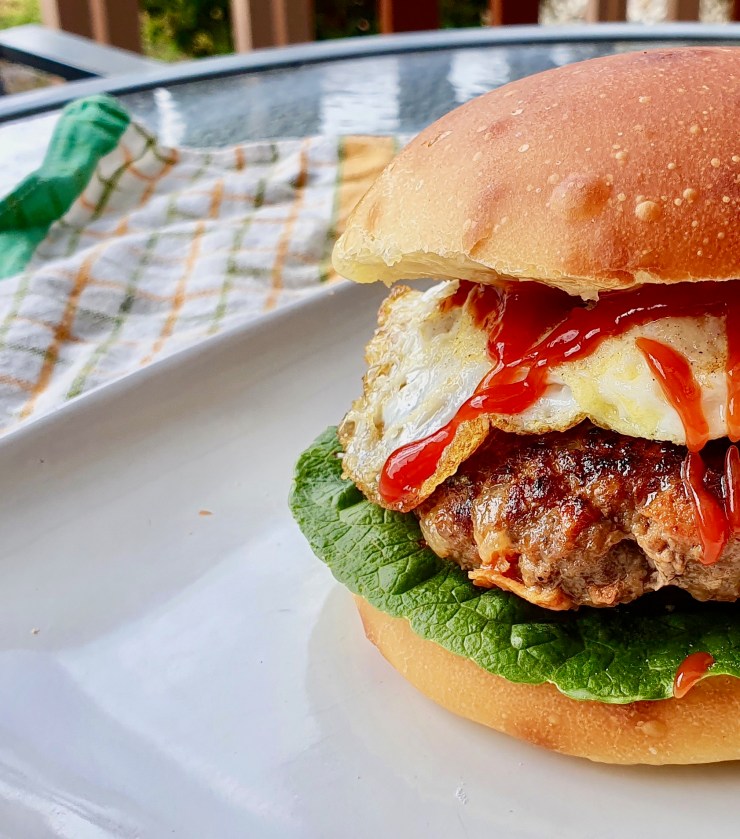
What makes Taiwanese breakfast burgers different from regular burgers? The construction of the burger is pretty similar: burger bun, lettuce, tomato, ketchup…etc., but the difference is all in the burger patty. These patties are packed with flavour and often made with ground pork or beef with carrots, onion and soy sauce. It kind of reminds me of the filling of a dumpling but with more intensity and grilled. It’s also commonly topped up with sweet mayonnaise and a fried egg. This recipe comes together pretty easy and quickly. Just chop, mix, form the patties and you’re good to start grilling! Stack the burger however you like and add or takeaway anything you fancy.
Anyways, without further ado, here’s the recipe! If you have any comments or suggestions, I’d love to hear from you in the comment section! You can follow me on instagram, youtube and facebook to see all the recipes I post!
Happy cooking!
Ingredients you’ll need:
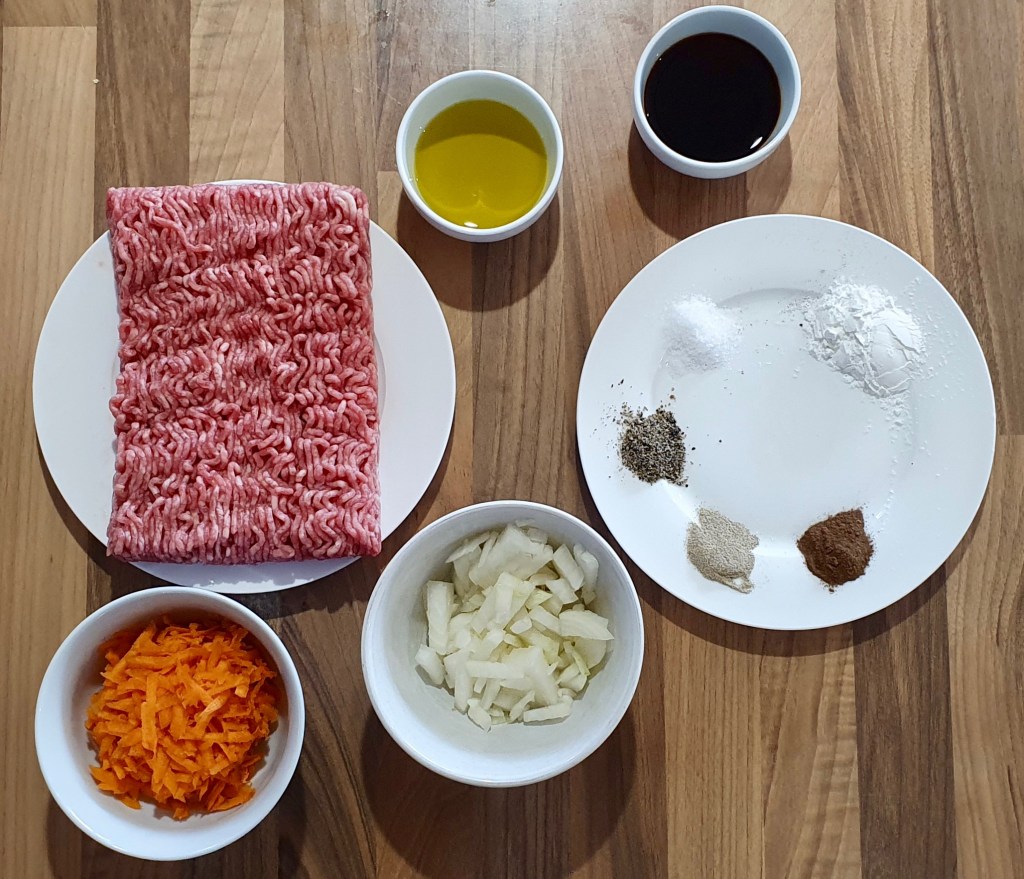
- Burger patty:
- 500g ground pork or beef
- 1/2 cup carrots, finely chopped or grated
- 1/2 cup onion, finely minced
- 2 1/2 Tbsps soy sauce
- 1 Tbsp sesame oil
- 2 tsps cornstarch
- 1/2 tsp salt
- 1/2 tsp freshly ground black pepper
- 1/4 tsp ground white pepper
- 1/4 tsp five spice powder
- Oil and butter for frying
- Condiments:
- Sweet mayonnaise
- Ketchup
- Ground white pepper
- To assemble:
- Large eggs (1 per burger)
- Hamburger buns
- Lettuce
- Cucumber
- Thinly sliced tomato
- + whatever else you prefer
Directions:
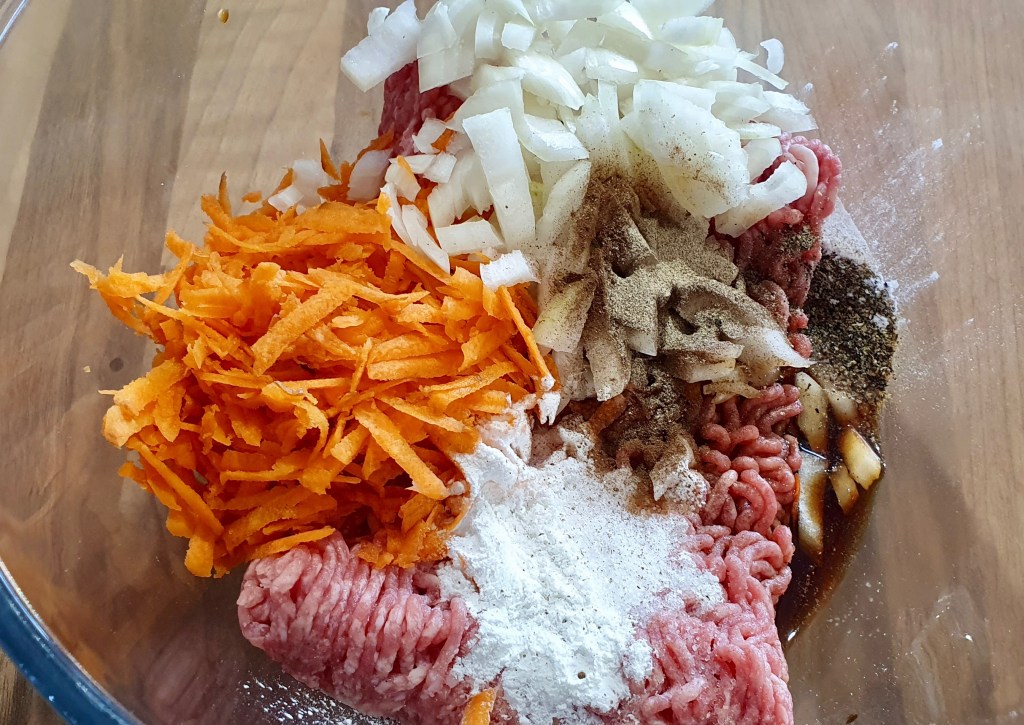

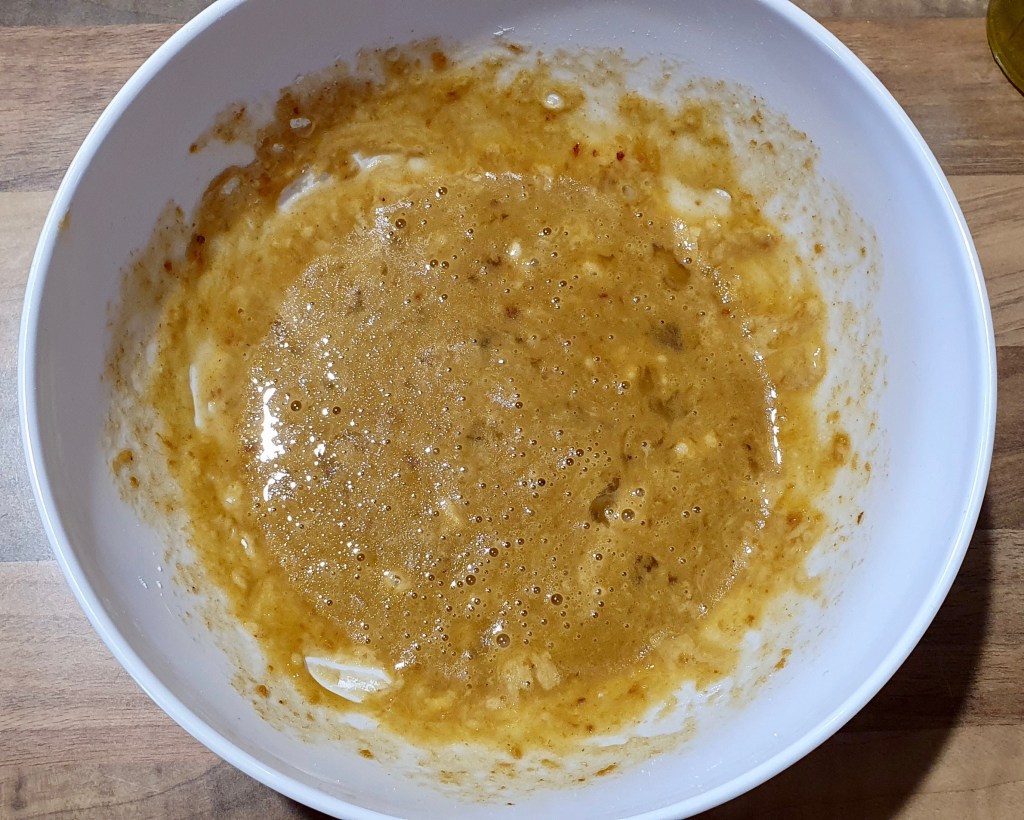
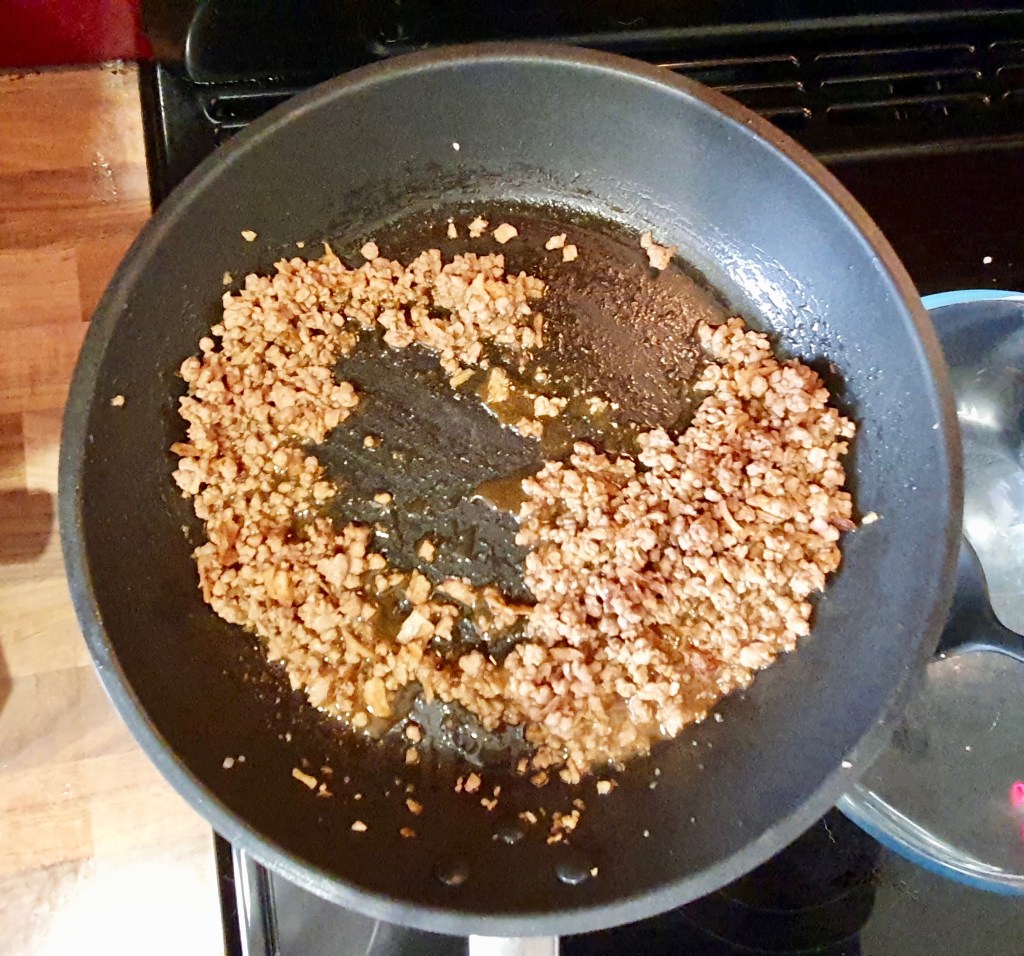
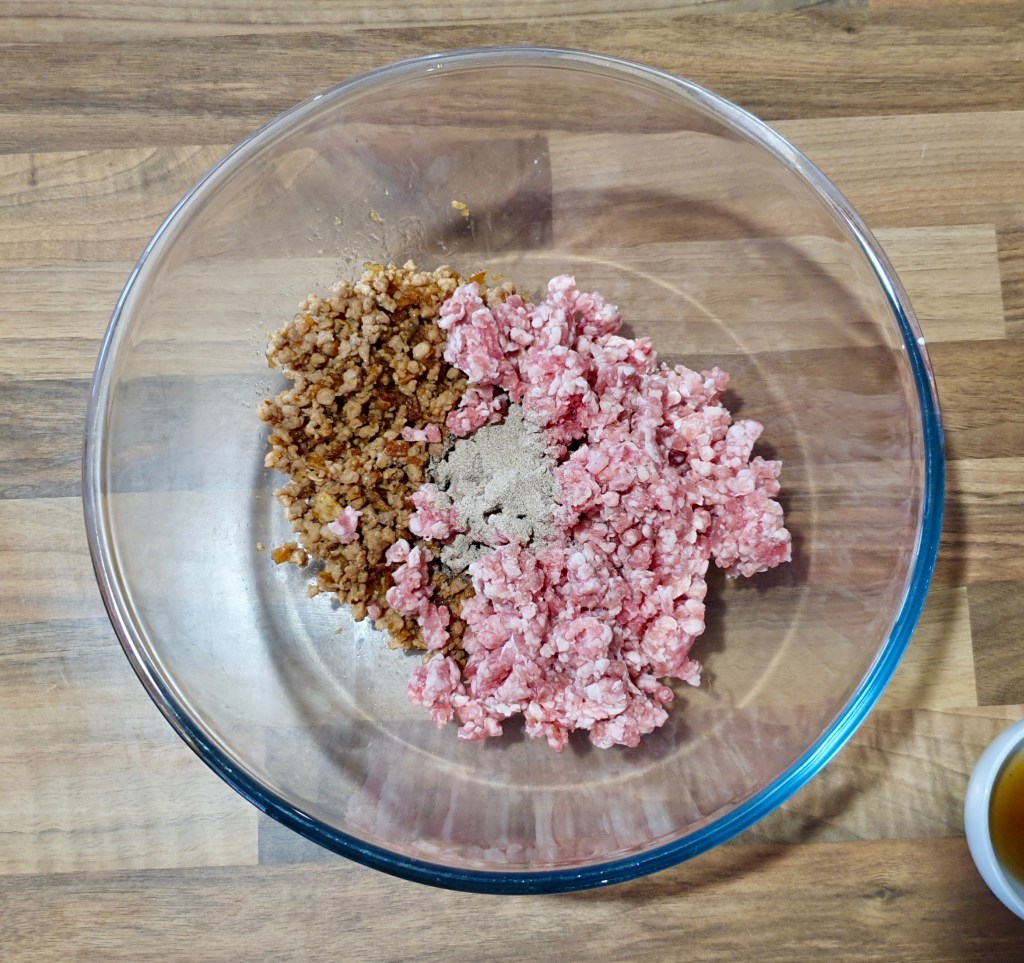
Combine all the ingredients for the burger patties in a bowl and mix until combined.

Divide the meat mixture into 6 equal balls (or 4 for larger patties) and flatten them to create patties. Use your thumb and make an impression in the middle of each patty (this helps the patty keep a flat shape and stops it from puffing up in the middle).

Heat a skillet on MEDIUM heat (or a grill) and add in a couple of teaspoons of oil and a small teaspoonful of butter. When the oil and butter starts sizzling, lower your patties into the pan and cook until both sides are browned (~3-5 mins on each side).

Remove the finished patties from the pan and use the leftover oil to fry the eggs.
Assemble the burger: bottom bun + lettuce + cucumber slices + beef patty + fried egg + dusting of white pepper + ketchup + sweet mayonnaise (spread on the top bun) + top bun. Feel free to take away or add more ingredients to your liking! Done!


Summarized Recipe:
Taiwanese Breakfast Burger
Date Published: August 27th, 2020 | Last Updated: August 27th, 2020
Author: Abby |Category: mains, Taiwanese, Asian
Serves: 6 patties (or 4 large ones) | Prep time: 15 mins | Cook time: 10 mins per patty
Ingredients:
- Burger patty:
- 500g ground pork or beef
- 1/2 cup carrots, finely chopped or grated
- 1/2 cup onion, finely minced
- 2 1/2 Tbsps soy sauce
- 1 Tbsp sesame oil
- 2 tsps cornstarch
- 1/2 tsp salt
- 1/2 tsp freshly ground black pepper
- 1/4 tsp ground white pepper
- 1/4 tsp five spice powder
- Oil and butter for frying
- Condiments:
- Sweet mayonnaise
- Ketchup
- Ground white pepper
- To assemble:
- Large eggs (1 per burger)
- Hamburger buns
- Lettuce
- Cucumber
- Thinly sliced tomato
- + whatever else you prefer
Directions:
- Combine all the ingredients for the burger patties in a bowl and mix until combined.
- Divide the meat mixture into 6 equal balls (or 4 for larger patties) and flatten them to create patties. Use your thumb and make an impression in the middle of each patty (this helps the patty keep a flat shape and stops it from puffing up in the middle).
- Heat a skillet on MEDIUM heat (or a grill) and add in a couple of teaspoons of oil and a small teaspoonful of butter. When the oil and butter starts sizzling, lower your patties into the pan and cook until both sides are browned (~3-5 mins on each side).
- Remove the finished patties from the pan and use the leftover oil to fry the eggs.
- Assemble the burger: bottom bun + lettuce + cucumber slices + beef patty + fried egg + dusting of white pepper + ketchup + sweet mayonnaise (spread on the top bun) + top bun. Feel free to take away or add more ingredients to your liking! Done!