Date Published: August 27th, 2020 | Last Updated: August 27th, 2020
Author: Abby |Category: sauces, dips, Asian
Serves: roughly 1 cup | Prep time: 5 mins | Cook time: 5 mins
Jump to recipe |
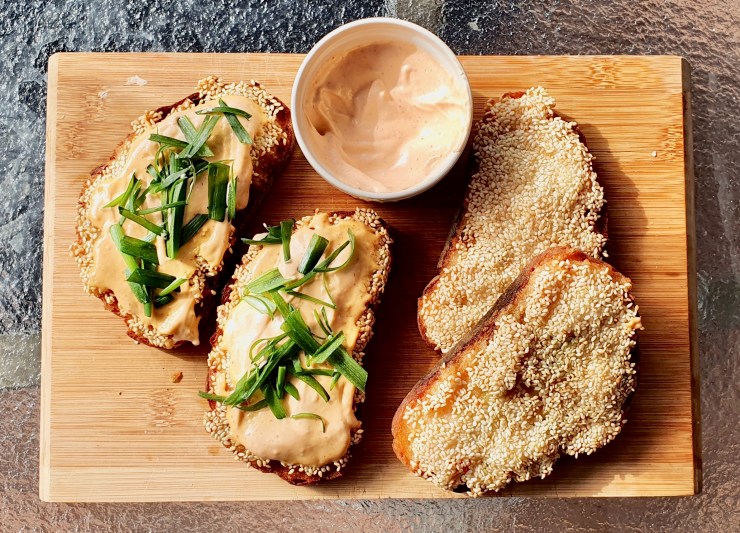
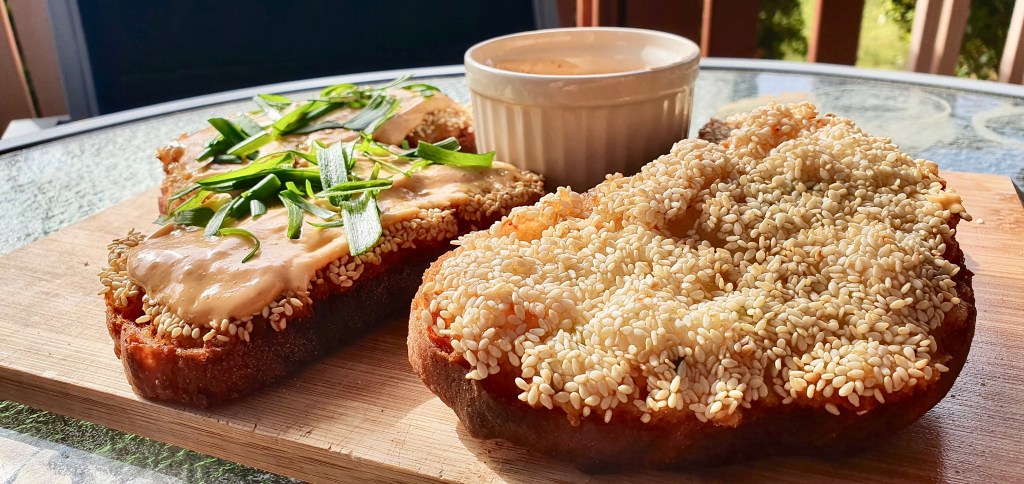
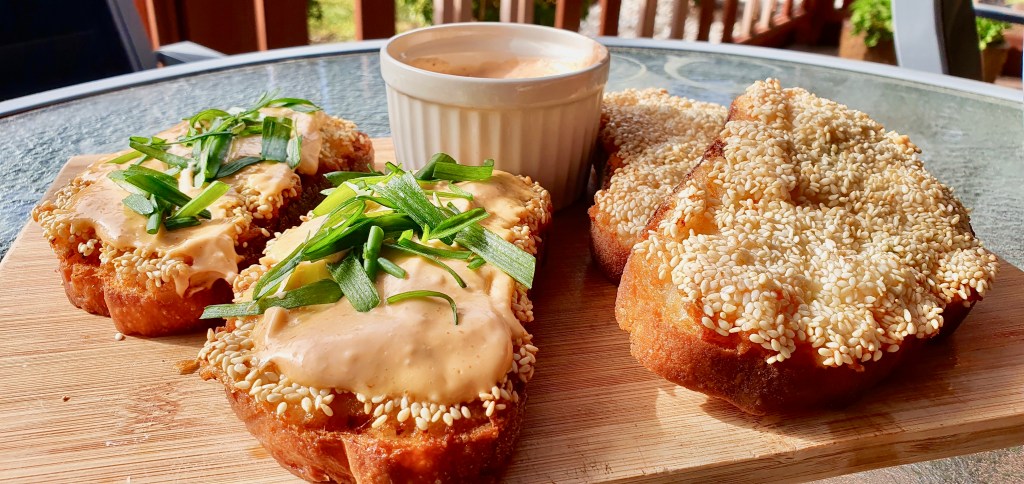
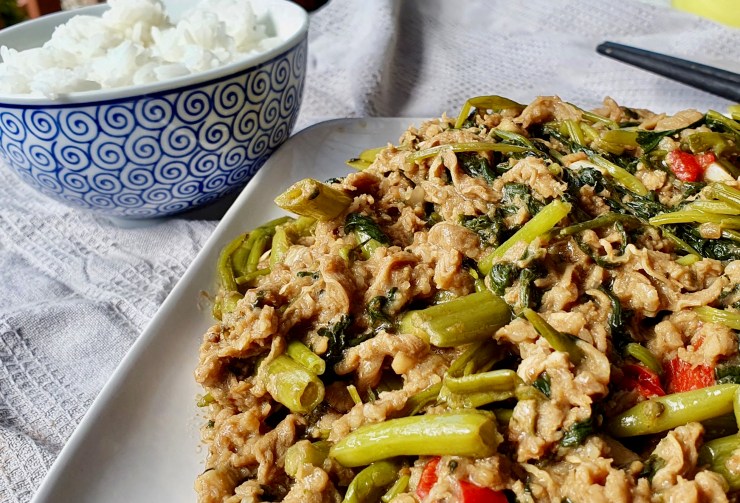
There are few things in the world better than a good creamy peanut satay sauce and when you pair it with coconut milk and red curry paste? Ohhhh boy. Get your tastebuds ready for a flavour explosion! This recipe uses the homemade red curry chilli paste recipe for a bold and fresh flavour. Depending on how much you make your curry paste, this satay sauce can add a kick! Use the leftovers mixed with cold noodles for a quick lunch or save it for a dip with spring rolls or prawn toast. You’re only 5 minutes away from making this delicious red curry satay sauce!
Recipe adapted from Recipe Tin Eats.
Anyways, without further ado, here’s the recipe! If you have any comments or suggestions, I’d love to hear from you in the comment section! You can follow me on instagram, youtube and facebook to see all the recipes I post!
Happy cooking!
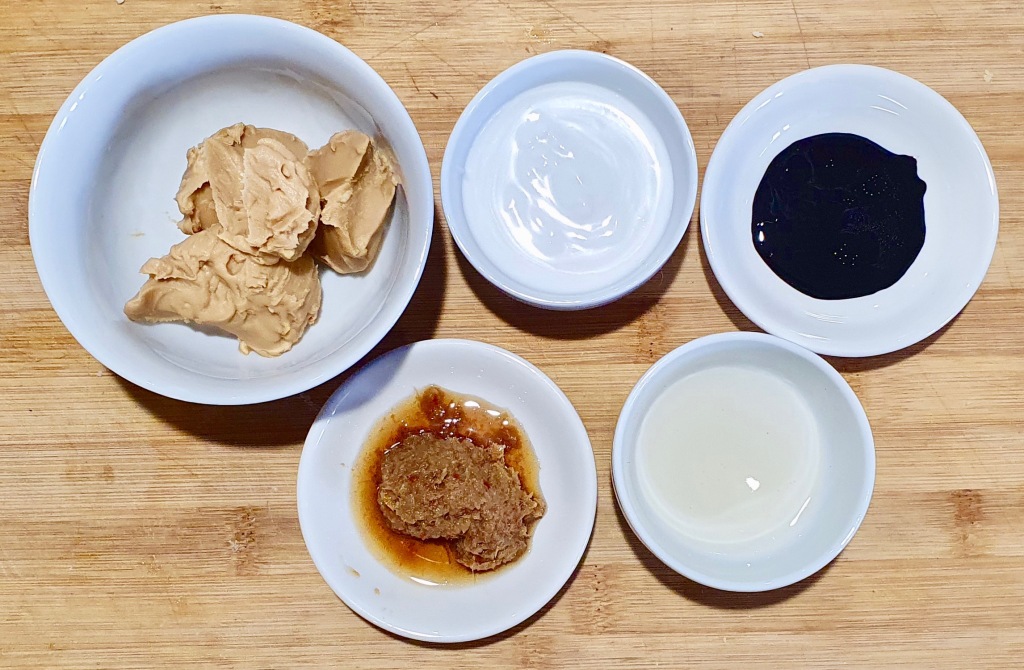
Ingredients you’ll need:
- 330ml coconut milk
- 3/4 cup (185ml) water
- 2 Tbsps homemade red curry paste
- 3/4 cup (180g) peanut butter, smooth or crunchy
- 1/4 cup + 2 tsps white sugar
- 2 Tbsps apple cider vinegar
- 2 tsps dark soy sauce
- 2 tsps fish sauce
- 1 tsp salt
Directions:


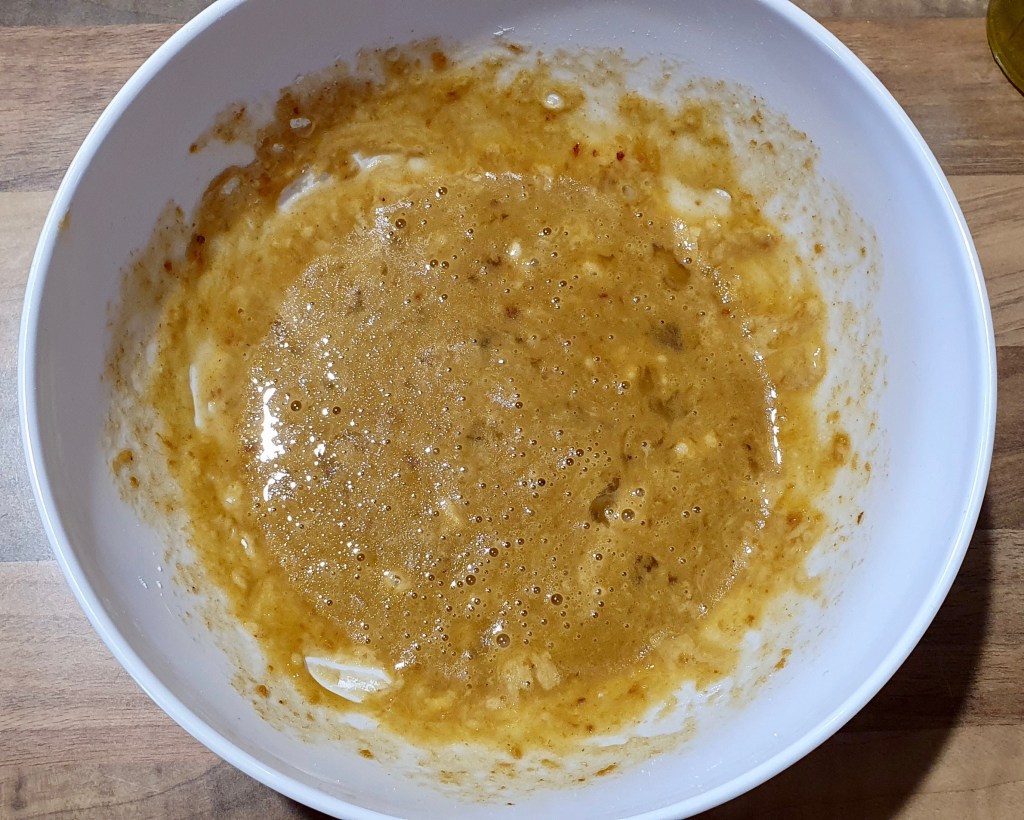
In a saucepan on LOW-MED heat, add in all of the ingredients and stir. Simmer the sauce for 5 minutes for the flavours to infuse. Taste and adjust flavours as needed. Done! Easy, huh?
If the sauce is too thick for you, add in a little bit of water until you reach your desired consistency.


Summarized Recipe:
Red Curry Satay Sauce
Date Published: August 27th, 2020 | Last Updated: August 27th, 2020
Author: Abby |Category: sauces, dips, Asian
Serves: roughly 1 cup | Prep time: 5 mins | Cook time: 5 mins
Ingredients:
- 330ml coconut milk
- 3/4 cup (185ml) water
- 2 Tbsps homemade red curry paste
- 3/4 cup (180g) peanut butter, smooth or crunchy
- 1/4 cup + 2 tsps white sugar
- 2 Tbsps apple cider vinegar
- 2 tsps dark soy sauce
- 2 tsps fish sauce
- 1 tsp salt
Directions:
- In a saucepan on LOW-MED heat, add in all of the ingredients and stir. Simmer the sauce for 5 minutes for the flavours to infuse. Taste and adjust flavours as needed. Done!
- Note: If the sauce is too thick for you, add in a little bit of water until you reach your desired consistency.