Date Published: January 17th, 2020 | Last Updated: January 17th, 2020
Author: Abby |Category: Taiwanese, mains, Asian, easy
Serves: 4-6 | Prep time: 10mins | Cook time: 30mins
Jump to recipe |
Gua zi rou 瓜子肉 is a ridiculously easy dish my mom made quite often when I was growing up. It’s a Taiwanese dish in origin similar to the ever popular Lu Rou Fan (marinated pork over rice) but requires way fewer ingredients and is so much faster to make. It’s not a dish that you’d see commonly sold in Taiwan and I’m not sure why – my guess is that the Lu Rou Fan outshines it and it is also such a simple dish to make yourself at home 🤷🏻♀️. I didn’t even know how easy it was to make until recently when I was suddenly craving it and called up my mom for her recipe. I always thought it took her hours of effort due to the delicious rich umami flavours, but it’s as easy as opening up a can, chopping, and simmering. Best of all, it can all be done in one pot for easy clean up!
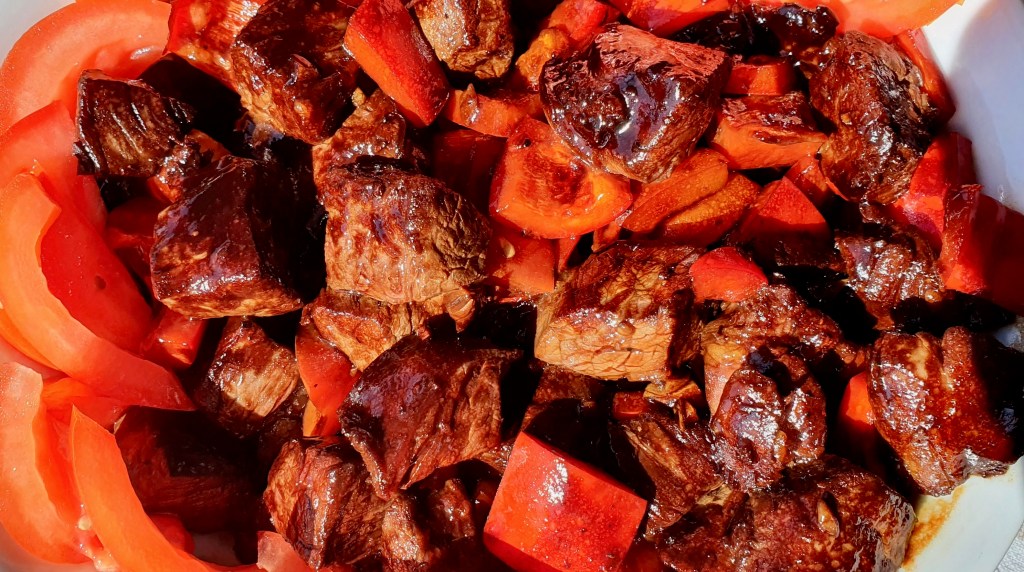
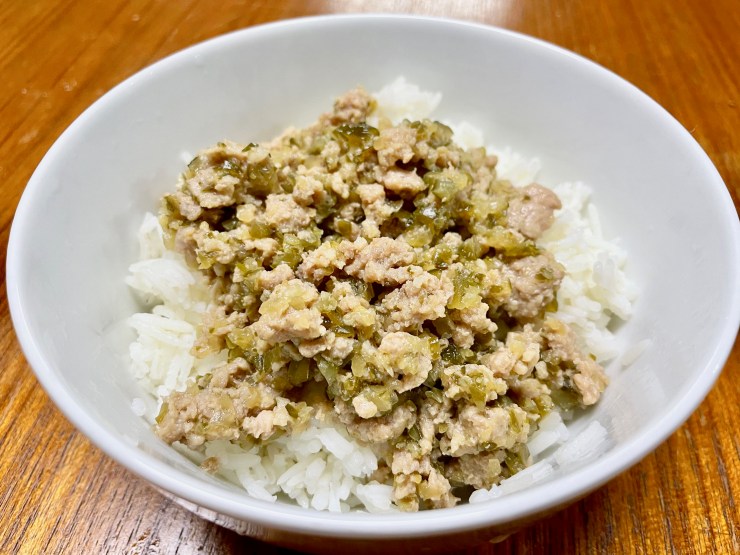
Gua zi rou directly translates to “melon/cucumber meat” which is exactly what this dish is made of: minced pork and Chinese pickled cucumbers (jiang gua/醬瓜). These two ingredients are simmered over half an hour and you end up with a salty mix of meat and slightly crunchy cucumber in a rich liquid sauce to drizzle over a warm bed of rice.
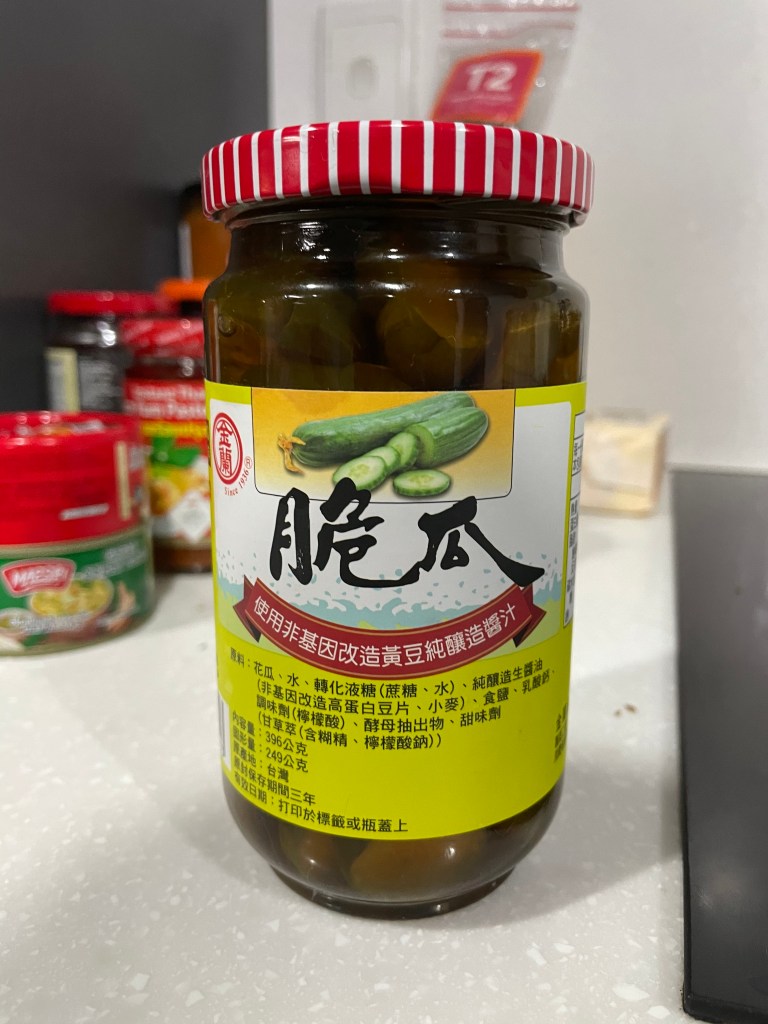
There is no doubt many brands out there, but the brand of Chinese cucumbers I’ve grown up with since a child is pictured below. Don’t ask me what the difference between the brands are, but this is the one I most often see at the shops and the one our family has been buying for ages – it just feels wrong to buy any other brand now. We call them jiang gua/醬瓜 and commonly eat it as an accompaniment to congee. They’re essentially pickled cucumbers (pickles), but instead of marinating it in vinegar as is common in the Western world, these are marinated in soy sauce, sugar and vinegar to make a salty/sweet/slightly tangy bomb of flavour.
Anyways, without further ado, here’s the recipe! If you have any comments or suggestions, I’d love to hear from you in the comment section! You can follow me on instagram, youtube and facebook to see all the recipes I post!
Happy cooking!
Ingredients you’ll need:
- 500 ground pork
- 1 tsp cornstarch
- 1 jar of Chinese pickled cucumbers (jiang gua/醬瓜)
- 1/3 cup green onion, chopped (optional)
- Cooked rice – for serving (optional)
Directions:


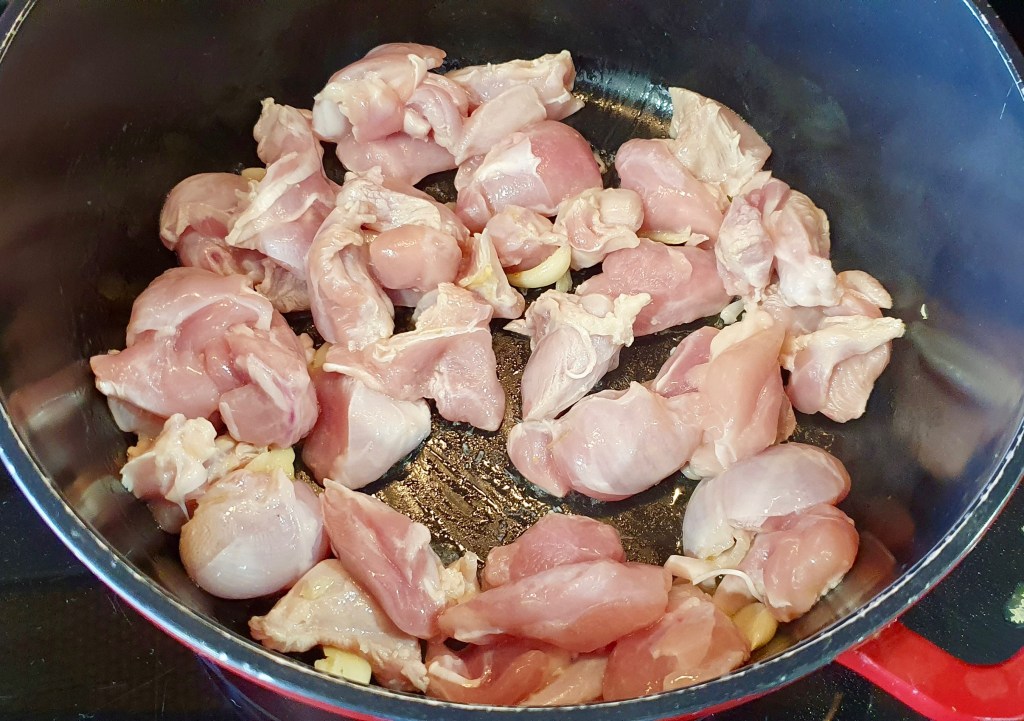
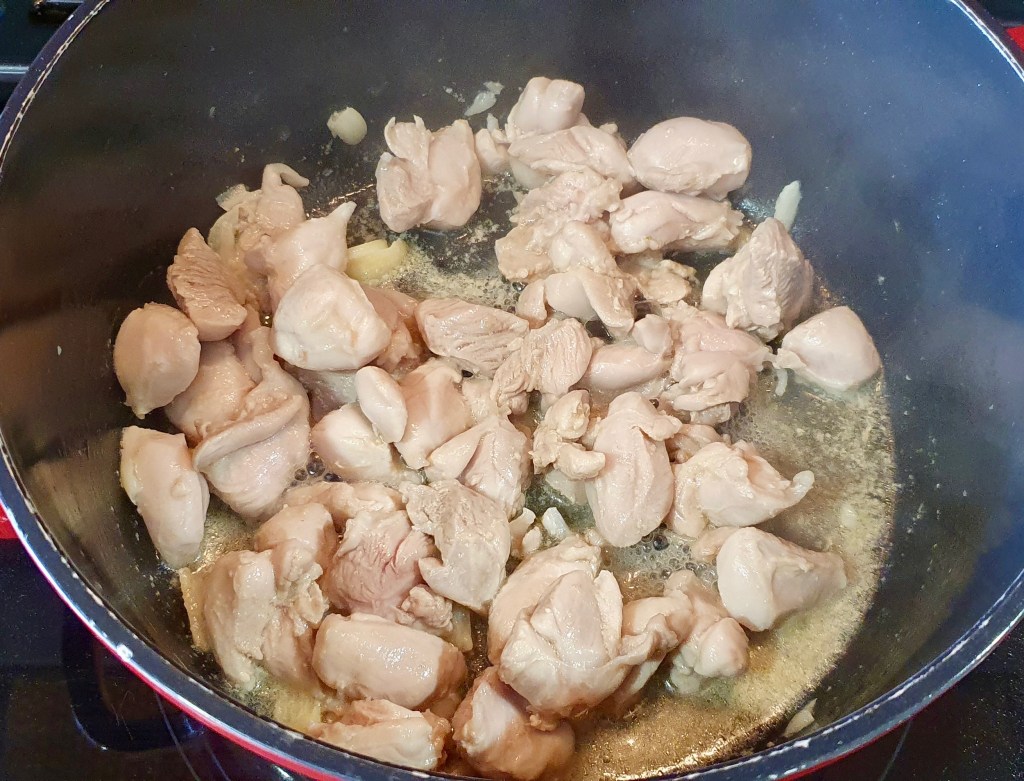
Mix 1 tsp of cornstarch with the ground pork. Set aside.
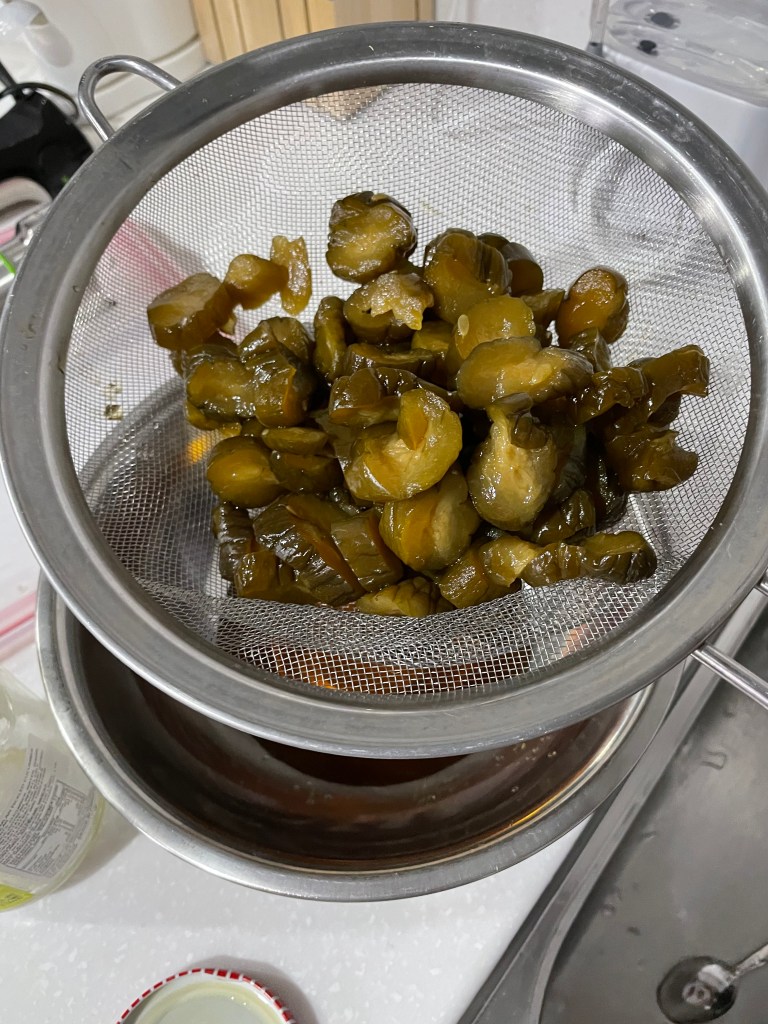
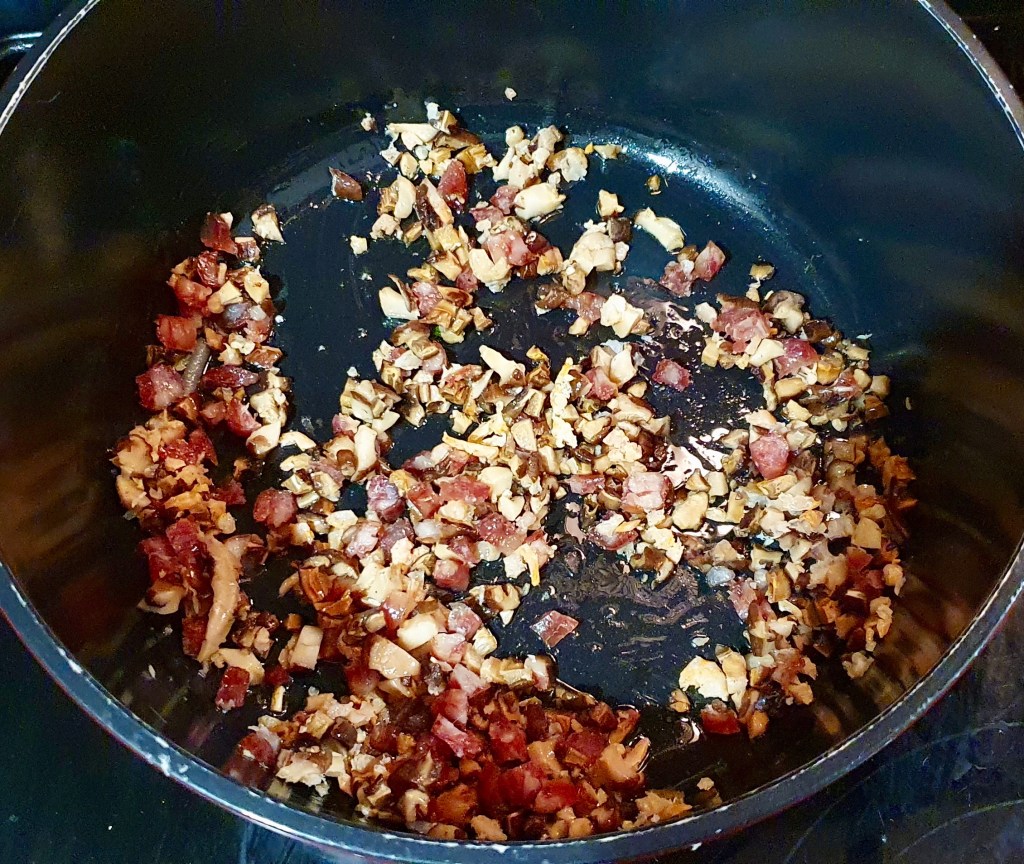
Strain the jar of pickled cucumbers, reserving the liquid. Finely dice the pickled cucumbers (you can use a food processor here to save some time).
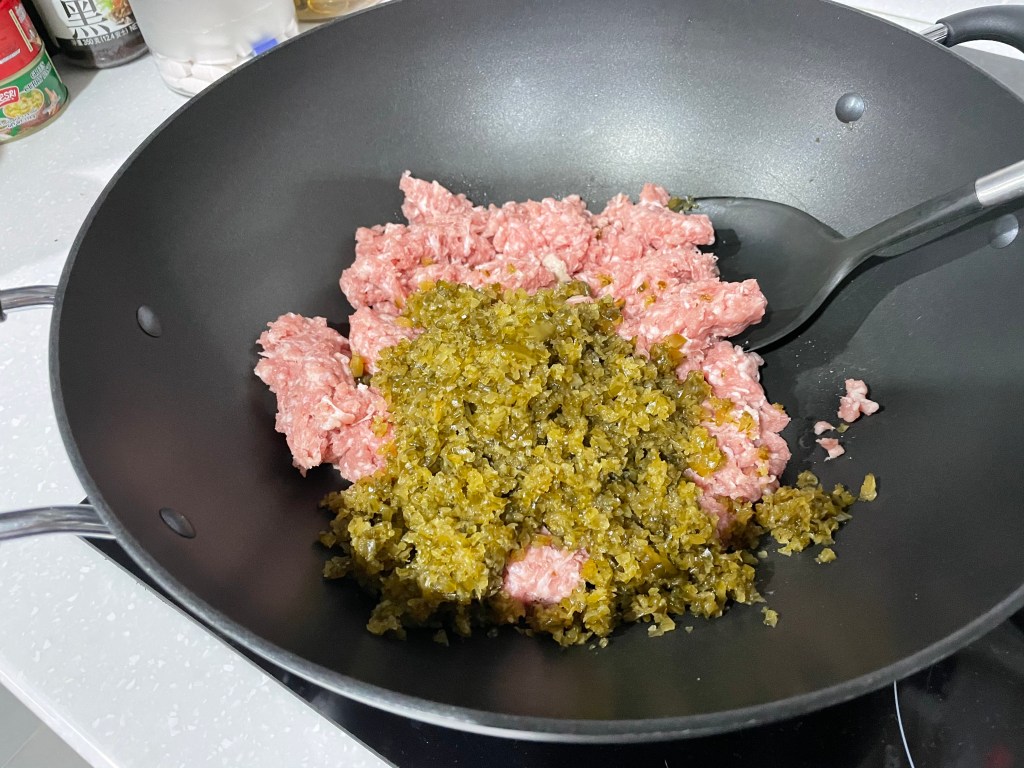

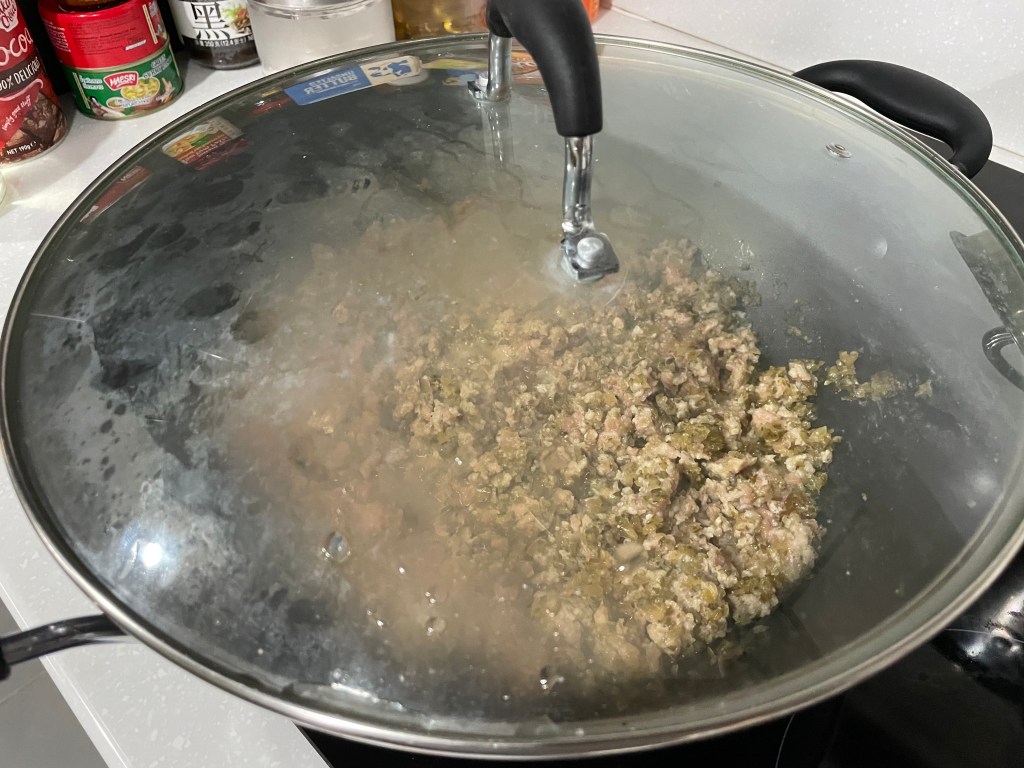
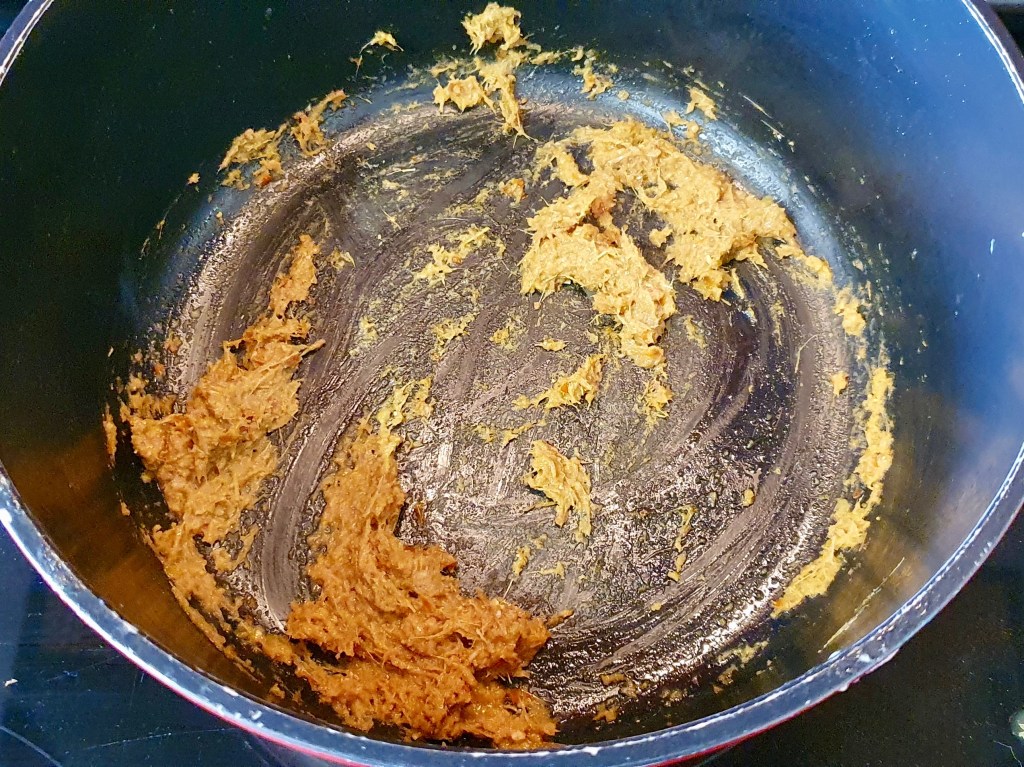
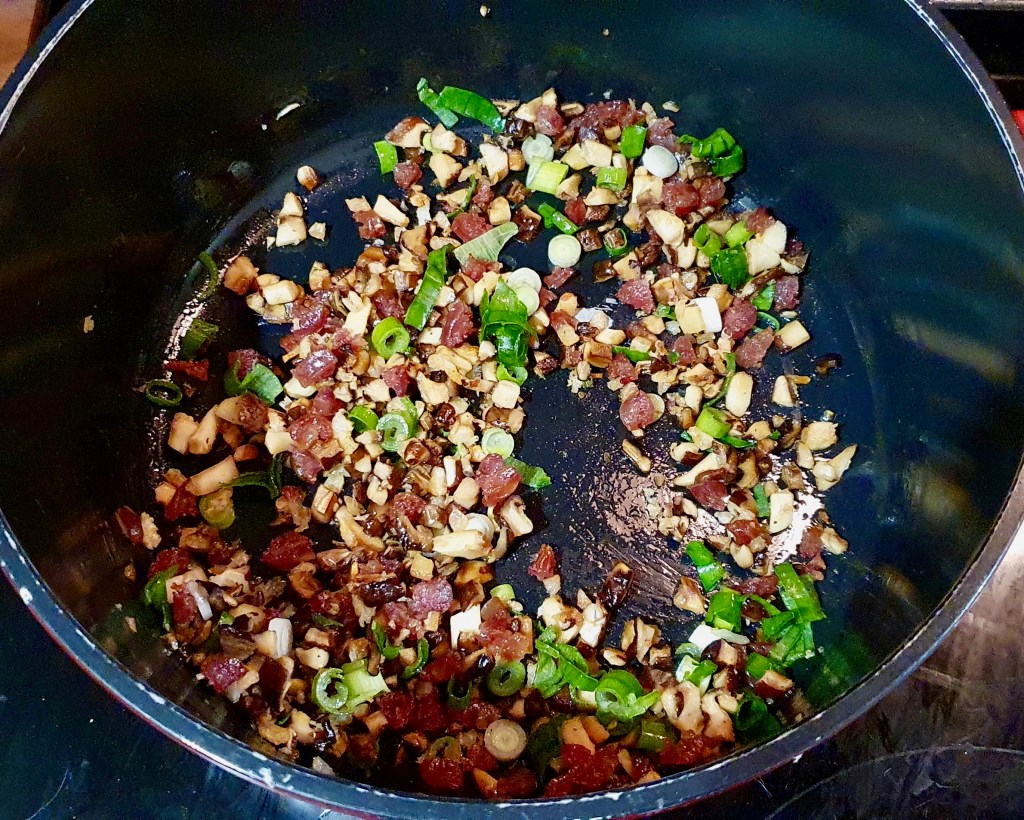
In a wok over medium heat, add a drizzle of oil and sauté the white part of the green onion for 30 seconds until fragrant (optional). Then add in the ground pork, diced pickled cucumbers, and the reserved pickled juice. Mix it all up, put a lid on the wok and let it gently simmer for half an hour, intermittently stirring.
(While you’re waiting for the pork to simmer, you can cook your rice now. Your pork should be done when the rice is cooked.)

After half an hour, taste and adjust saltiness as needed. If it’s too salty, add some water. If it’s not salty enough, add some soy sauce (I usually don’t add anything additional, but to each their own taste). Serve warm over rice. Enjoy!
*Remember: the pork and the sauce is supposed to be salty and meant to be eaten over warm rice to dilute out the salt, so keep that in mind when adjusting the saltiness!


Summarized Recipe:
Taiwanese Ground Pork with Pickled Cucumbers 瓜子肉 (Guā Zǐ Ròu)
Date Published: January 17th, 2020 | Last Updated: January 17th, 2020
Author: Abby |Category: Taiwanese, mains, Asian, easy
Serves: 4-6 | Prep time: 10mins | Cook time: 30mins
Ingredients:
- 500 ground pork
- 1 tsp cornstarch
- 1 jar of Chinese pickled cucumbers (jiang gua/醬瓜)
- 1/3 cup green onion, chopped (optional)
- Cooked rice – for serving (optional)
Directions:
- Mix 1 tsp of cornstarch with the ground pork. Set aside.
- Strain the jar of pickled cucumbers, reserving the liquid. Finely dice the pickled cucumbers (you can use a food processor here to save some time).
- In a wok over medium heat, add a drizzle of oil and sauté the white part of the green onion for 30 seconds until fragrant (optional). Then add in the ground pork, diced pickled cucumbers, and the reserved pickled juice. Mix it all up, put a lid on the wok and let it gently simmer for half an hour, intermittently stirring.
- (While you’re waiting for the pork to simmer, you can cook your rice now. Your pork should be done when the rice is cooked.)
- After half an hour, taste and adjust saltiness as needed. If it’s too salty, add some water. If it’s not salty enough, add some soy sauce (I usually don’t add anything additional, but to each their own taste). Serve warm over rice. Enjoy!
*Remember: the pork and the sauce is supposed to be salty and meant to be eaten over warm rice to dilute out the salt, so keep that in mind when adjusting the saltiness!