Date Published: July 29th, 2020 | Last Updated: July 29th, 2020
Author: Abby |Category: pastry, how-to
Serves: 1 sheet of puff pastry | Prep time: 5 mins | Make time: 50 mins
Jump to recipe | Watch the video
Get ready to have your world changed with this easy puff pastry recipe. If you don’t know what puff pastry is, it’s a flaky buttery dough that’s commonly used in pastries such as danishes, turnovers, tarts…etc. The traditional way to make this dough takes effort and time which is why a lot of people commonly buy the pre-made frozen dough from grocery stores. It’s great to keep in the freezer for a quick dessert or snack. There are SO MANY things you can make with puff pastry. I love using it to make spanakopita, curry puffs and cherry cheese danishes (all of which are on my to-do list of recipes to write up). Once you learn how to make puff pastry, you’ll unlock a world of possibilities!
In Australia, especially in country towns, puff pastry isn’t always easy to find which led me to try and make it myself. This puff pastry dough is a rough and easy version (hence the name “rough puff”) that yields fantastic flaky buttery results. All you need is 4 basic ingredients that you most likely already have in your fridge.
Like a croissant, in order to get buttery flaky layers, you need butter and you need to keep it in layers within the dough rather than have it combined together. Therefore, the key to a flaky puff pastry is to keep everything cold so the butter doesn’t melt into the dough. We’ll be using cold butter, cold water and lots of fridge time. This dough is easy to make, but make sure you keep everything cold and don’t overwork the dough to keep the buttery layers.
You can watch the video below to guide you through the recipe.
Anyways, without further ado, here’s the recipe! If you have any comments or suggestions, I’d love to hear from you in the comment section! You can follow me on instagram, youtube and facebook to see all the recipes I post!
Happy cooking!
Ingredients you’ll need:

- 2 cups (288g) all-purpose flour
- 1 tsp salt
- 250g cold unsalted butter (NOT softened!)
- 1/2 cup (125ml) cold water
Directions:

In a bowl, combine the flour, salt and cold butter cubes.
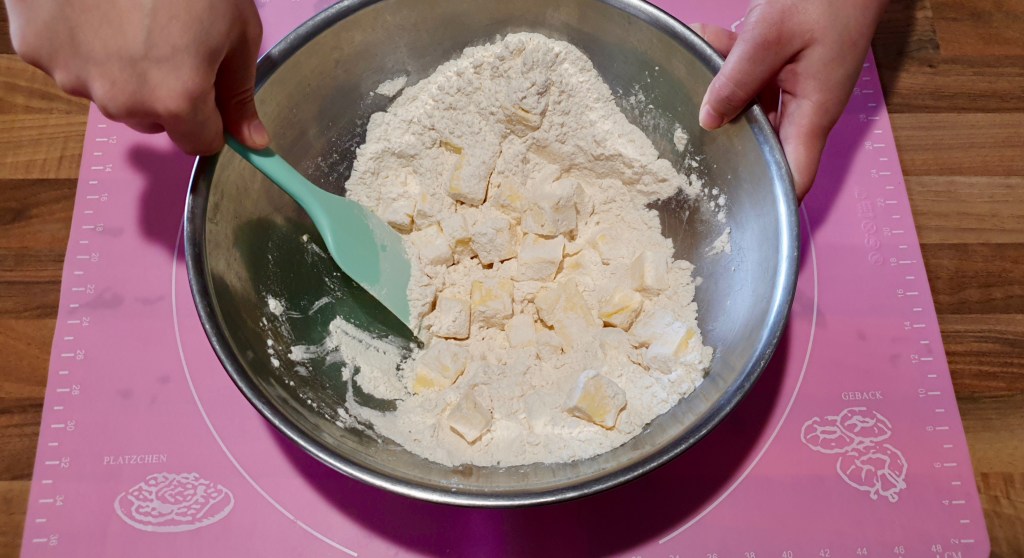
Use a spatula to mix it all together and coat the butter in flour.

Add cold water to the mixture.
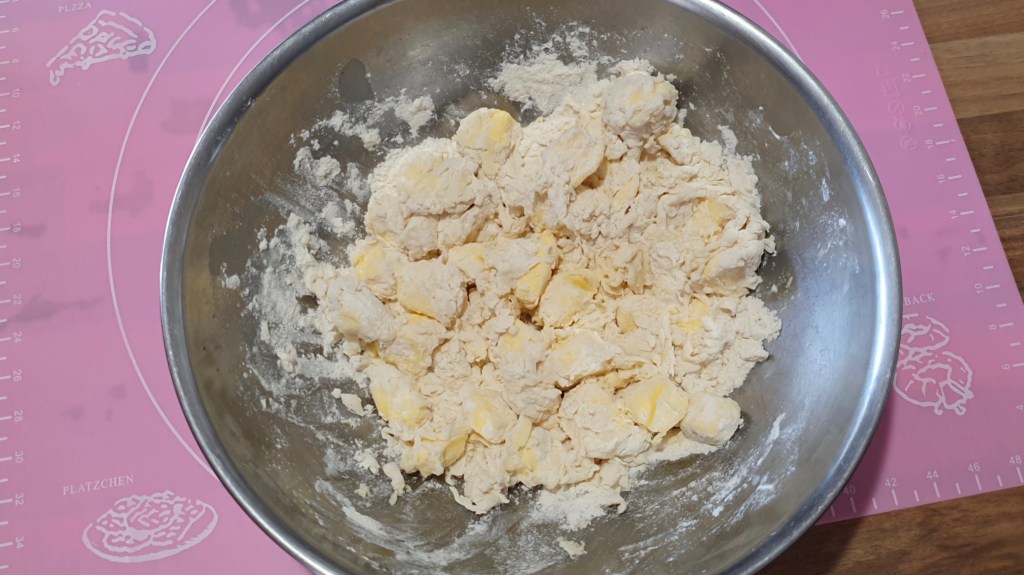
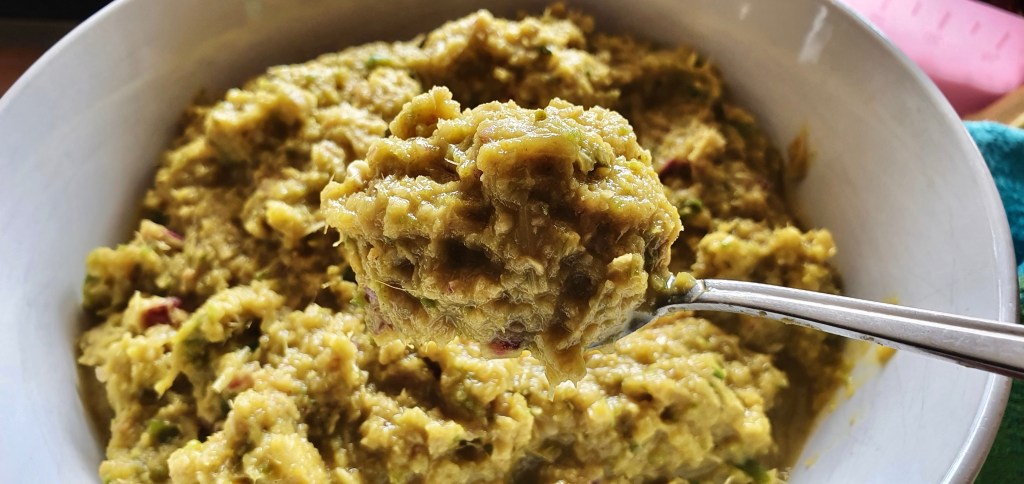
Mix the ingredients until you get a thick mixture of clumpy flour and butter (pictured above).
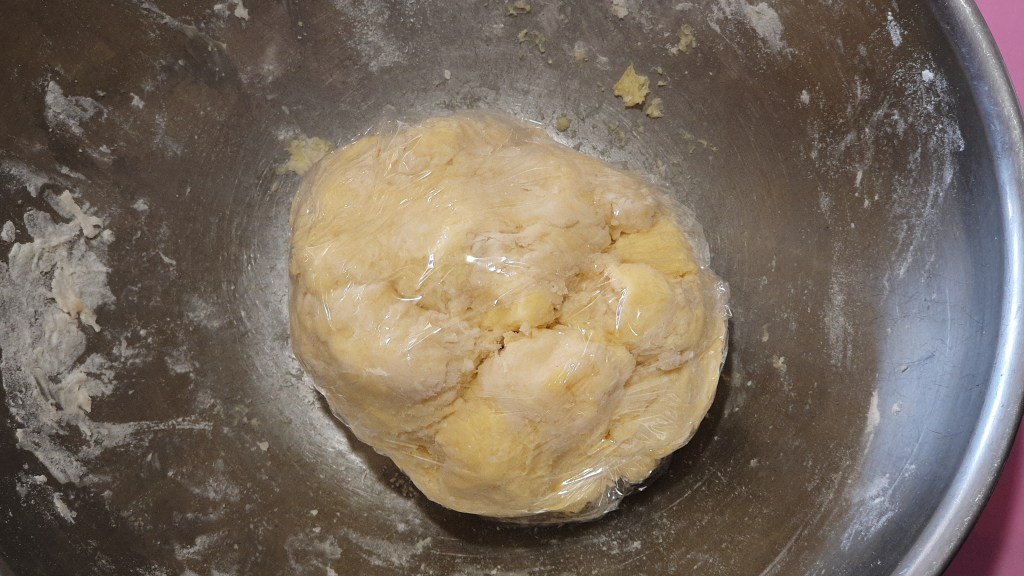
Turn out this mixture on a lightly floured surface and knead a few times with your hands until you get a rough thick dough (1-2 mins). Do NOT overmix! You want there to be flecks or small chunks of butter in your ball. This is what makes your pastry flaky. If your dough is all one colour, you’ve kneaded it too much! Gather your dough into a ball and wrap it in plastic wrap and refrigerate for 20 minutes.

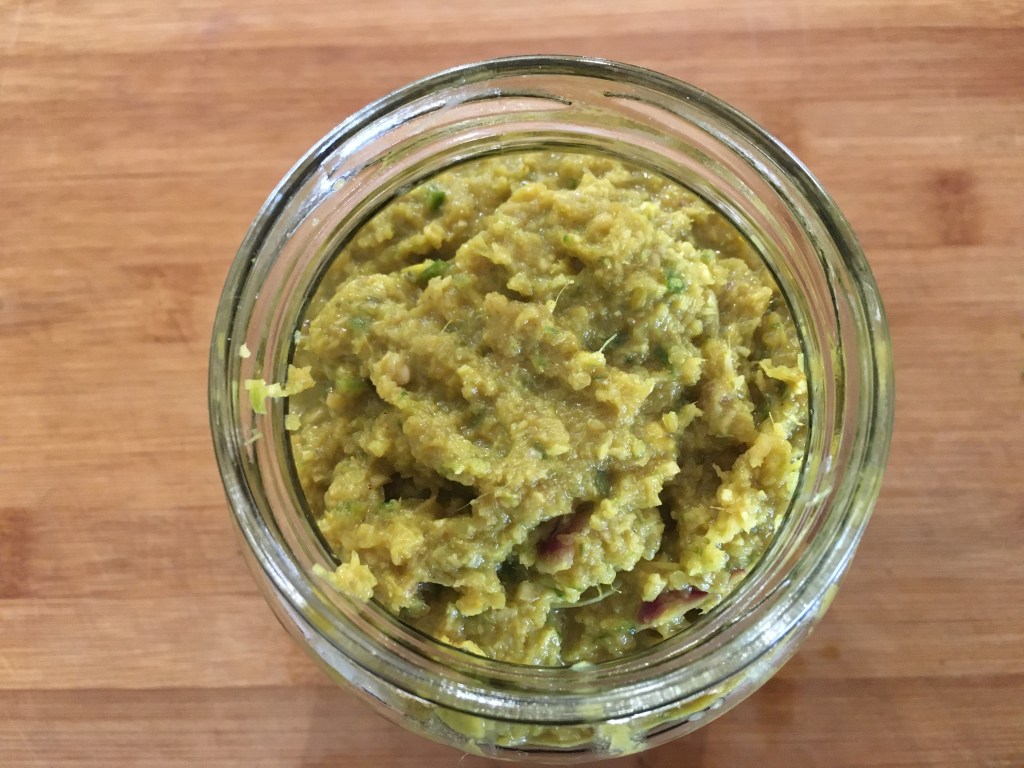
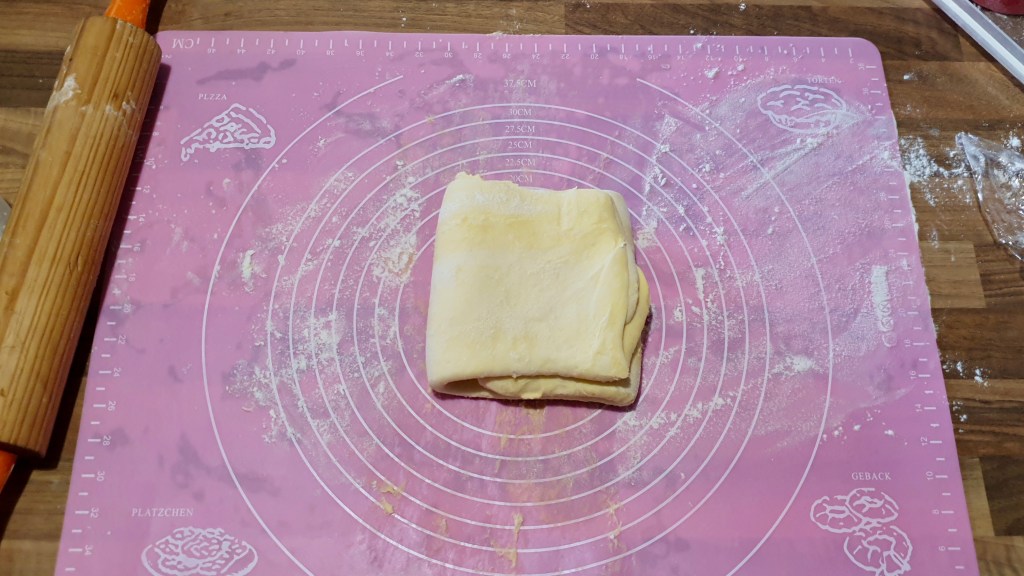
After 20mins, roll out your dough on a floured surface into a rough rectangle shape. You should have a marbled effect in the dough (see photo above).

Fold the top third of the dough down and the bottom third up (like a letter). Then turn the dough 90 degrees, roll it out in an up and down direction (not side to side) and fold it into thirds again. Repeat rolling and folding the dough another 3 times. Remember to always stick with one direction of rolling so the butter doesn’t become too incorporated into the dough. If this sounds confusing, check out my video tutorial below.

Try to do the rolling step relatively quickly because you don’t want the butter in the dough to melt while rolling. If melting, put it in the fridge for a few minutes to harden up then continue rolling.
After you’ve finished working with the dough, wrap it in plastic wrap and chill in the fridge for another 20mins or overnight.
Ready to use for your recipe! (When you use the recipe, you don’t need to unfold the dough, just roll it out.)
Watch the Video Tutorial!
Summarized Recipe:
Rough Puff (Easy Puff Pastry)
Date Published: July 29th, 2020 | Last Updated: July 29th, 2020
Author: Abby |Category: pastry, how-to
Serves: 1 sheet of puff pastry | Prep time: 5 mins | Make time: 50 mins
Ingredients:
- 2 cups (288g) all-purpose flour
- 1 tsp salt
- 250g cold unsalted butter (NOT softened!)
- 1/2 cup (125ml) cold water
Directions:
- In a bowl, combine the flour, salt and cold butter cubes. Use a spatula to mix it all together and coat the butter in flour.
- Add cold water to the mixture and mix the ingredients until you get a thick mixture of clumpy flour and butter (pictured above).
- Turn out this mixture on a lightly floured surface and knead a few times with your hands until you get a rough thick dough (1-2 mins). Do NOT overmix! You want there to be flecks or small chunks of butter in your ball. Gather your dough into a ball and wrap it in plastic wrap and refrigerate for 20 minutes.
- After 20mins, roll out your dough on a floured surface into a rough rectangle shape. You should have a marbled effect in the dough (see photo above). Fold the top third of the dough down and the bottom third up (like a letter). Then turn the dough 90 degrees, roll it out in an up and down direction (not side to side) and fold it into thirds again. Repeat rolling and folding the dough another 3 times. Remember to always stick with one direction of rolling so the butter doesn’t become too incorporated into the dough.
- Try to do the rolling step relatively quickly because you don’t want the butter in the dough to melt while rolling. If melting, put it in the fridge for a few minutes to harden up then continue rolling.
- After you’ve finished working with the dough, wrap it in plastic wrap and chill in the fridge for another 20mins or overnight.
- Ready to use for your recipe! (When you use the recipe, you don’t need to unfold the dough, just roll it out.)