Date Published: June 28th, 2021 | Last Updated: June 28th, 2021
Author: Abby |Category: asian, soup, healthy, vegetarian, easy, <15mins, appetizers, low calorie
Serves: 6 | Prep time: 5 mins | Cook time: 15 mins
Jump to recipe |
Egg drop soup is a Chinese dish commonly served in restaurants as an appetizer or a side with your meal. The Chinese name translates to “egg flower soup” because the way the egg disseminates in the soup makes beautiful swirls that resemble a floral pattern. The english name relates to the fact that the egg is “dropped” into the soup at the end to make the swirls – a little less poetic, eh?
The most basic version of the soup is just the swirly egg and broth. You’ll probably see this version most often in Asia because it’s a quick and cheap addition to a meal. Another common version (and my favourite) has added corn for extra crunch and sweetness. Some places will bulk it up with chopped ham, tofu or even chicken to make it a full meal.
This soup is so ridiculously quick and easy – all you need are a few basic ingredients and 15 minutes to whip this up. It’s also super cheap and satisfying if you’re cooking on a budget. The egg-laced chicken broth based soup with the fresh sweet crunch of the corn makes this one of my favourite classic Asian soups!

Anyways, without further ado, here’s the recipe! If you have any comments or suggestions, I’d love to hear from you in the comment section! You can follow me on instagram, youtube and facebook to see all the recipes I post!
Happy cooking!
Ingredients you’ll need:
- 6 cups chicken broth
- 1 tsp sesame oil
- 1/8 tsp ground white pepper (or more to your liking)
- 1/4 tsp sugar
- 1 can (420g) of corn kernels, drained (or kernels cut off of 2 husks of corn)
- 4 Tbsps cornstarch
- salt & pepper to taste
- 4 eggs
- 2 spring onions, chopped for garnish
Add-ins to consider: ham, chicken, tofu
Directions:

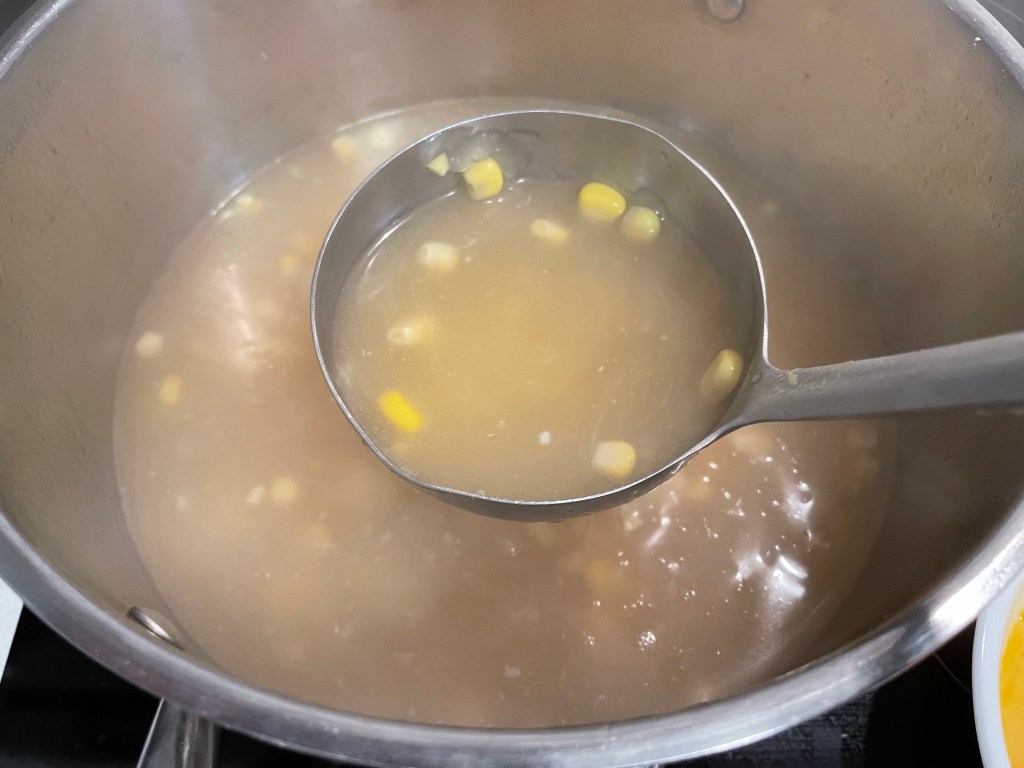
In a pot on MED heat, bring the chicken broth to a simmer then add in sesame oil, white pepper, sugar and corn. Let it come to a simmer again, then taste the soup and adjust seasonings as needed, salt & pepper to taste.
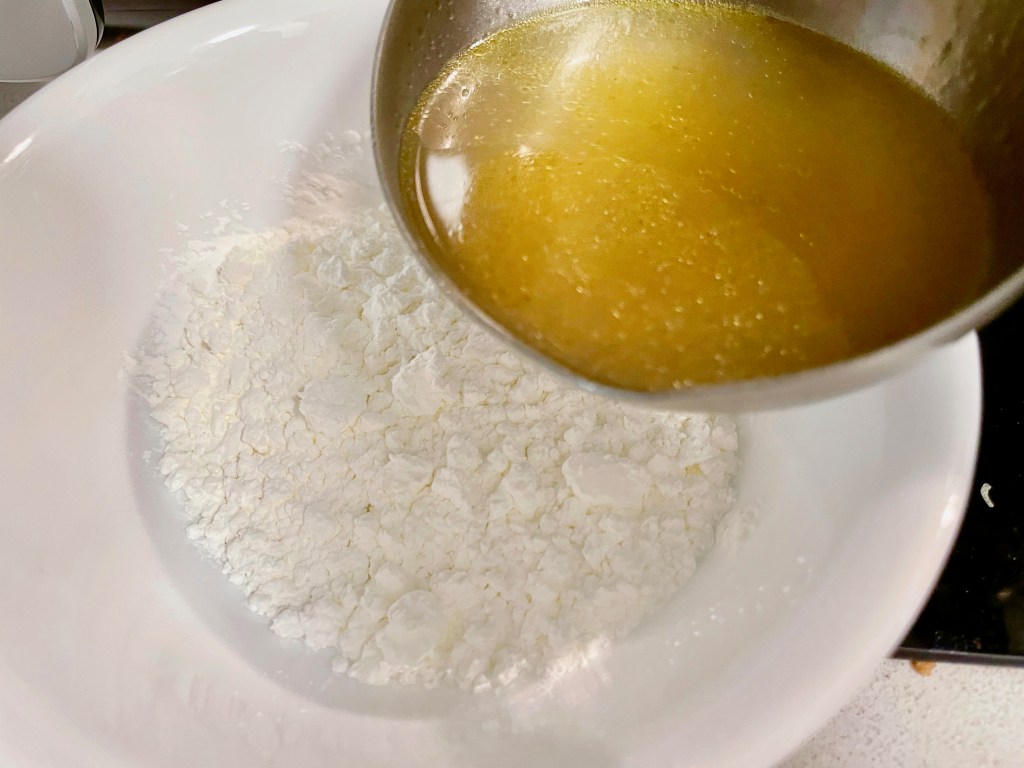

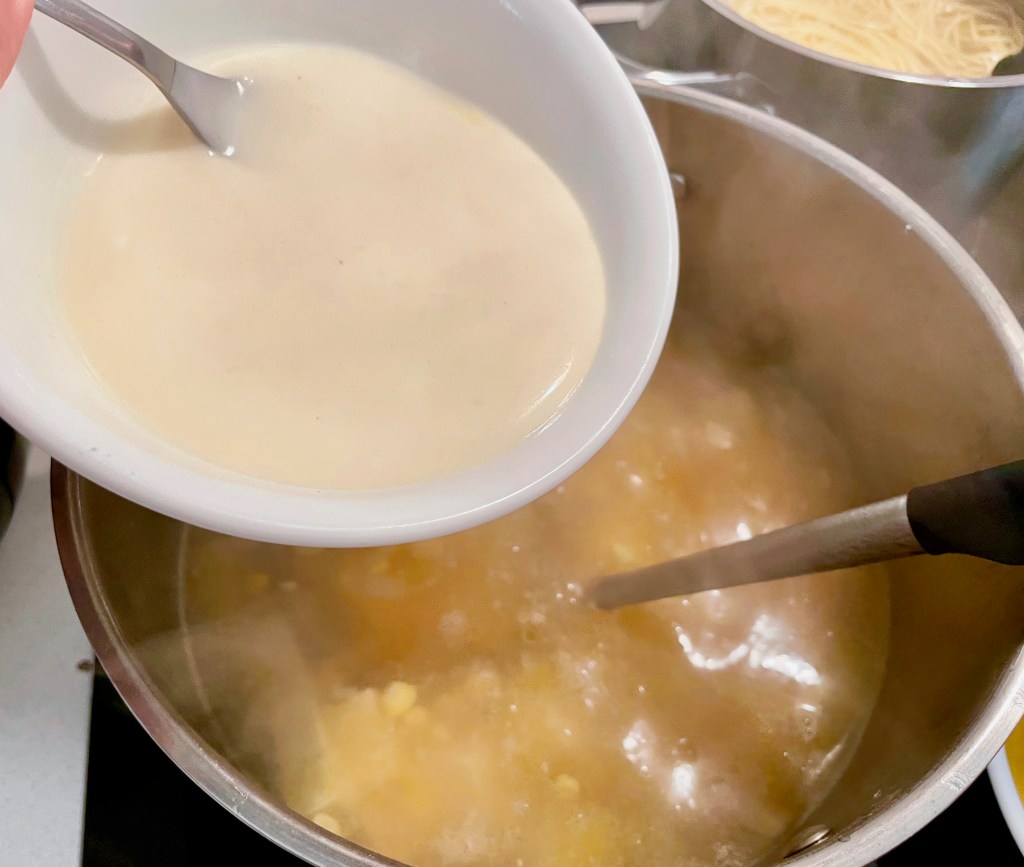
Take out a few ladles of soup into a bowl and add in the cornstarch. Mix it around until smooth then drizzle it into the soup while stirring continuously (if you don’t stir, the corn starch will clump together). Feel free to add more cornstarch if you prefer a thicker consistency (remember to mix it with soup first in a small bowl, never add cornstarch directly into the soup or else it will clump).
Once the taste and consistency of the soup is to your liking, turn off the heat.
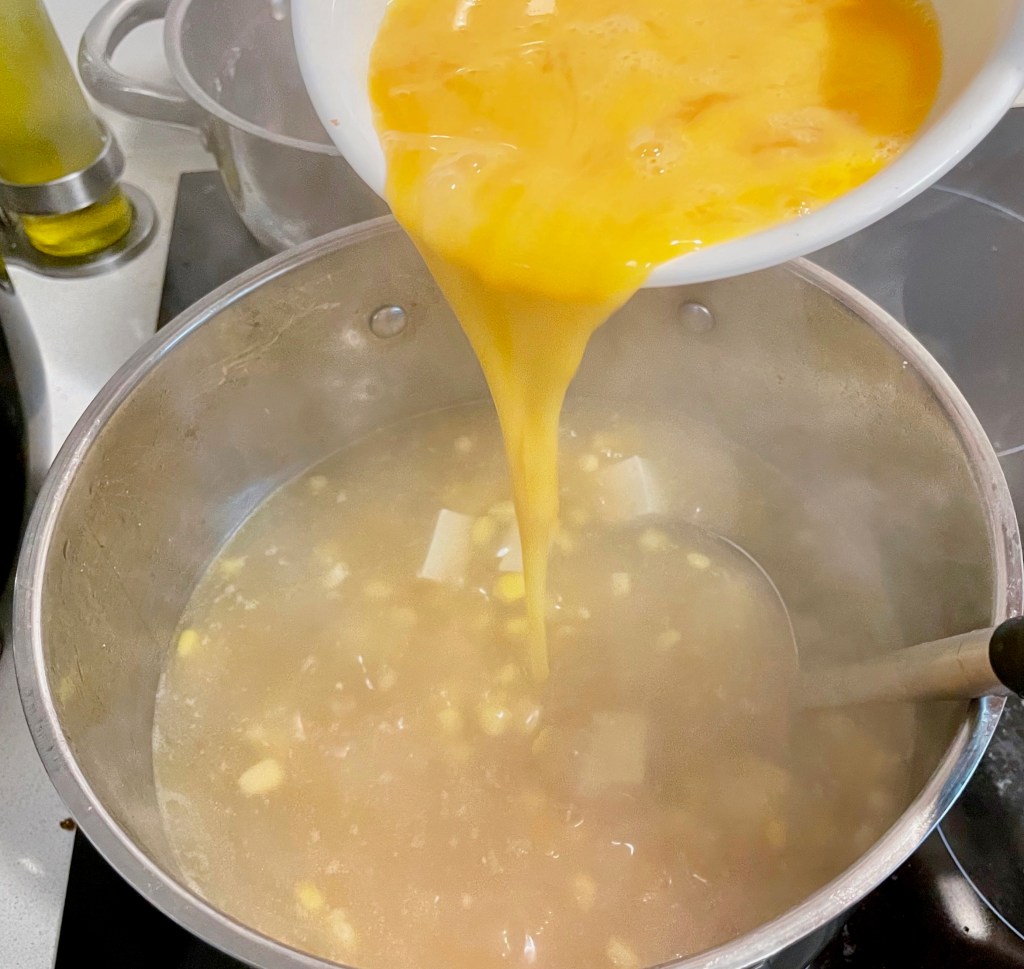


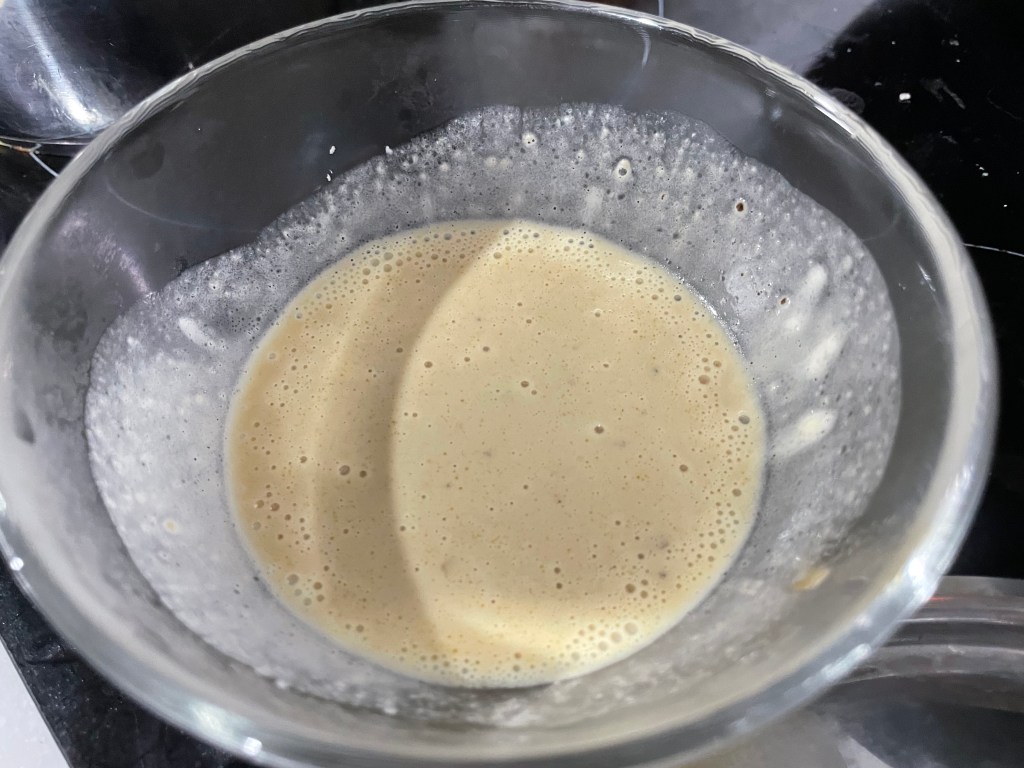
Scramble the eggs in a separate bowl, then slowly add it to the soup while stirring. The faster you stir, the more disseminated the eggs will be. The slower you stir the soup, the bigger egg pieces you’ll get.
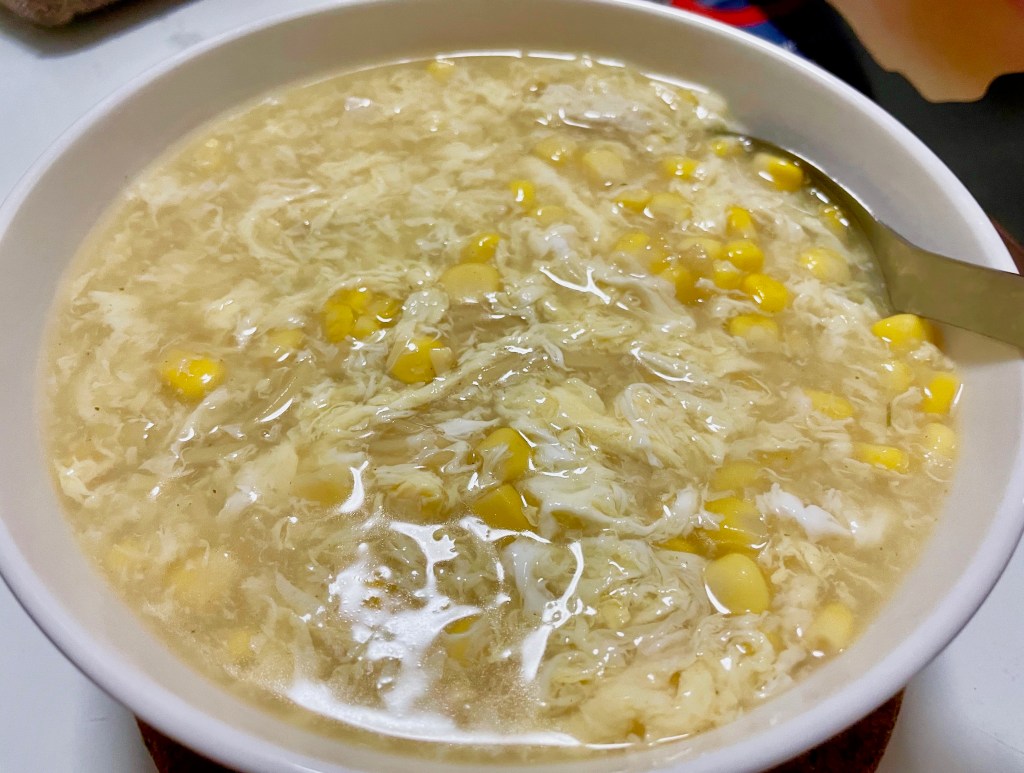
Serve garnished with spring onions on top. Enjoy!


Summarized Recipe:
Corn Egg Drop Soup (玉米蛋花湯)
Date Published: June 28th, 2021 | Last Updated: June 28th, 2021
Author: Abby |Category: asian, soup, healthy, vegetarian, easy, <15mins, appetizers, low calorie
Serves: 6 | Prep time: 5 mins | Cook time: 15 mins
Ingredients:
- 6 cups chicken broth
- 1 tsp sesame oil
- 1/8 tsp ground white pepper (or more to your liking)
- 1/4 tsp sugar
- 1 can (420g) of corn kernels, drained (or kernels cut off of 2 husks of corn)
- 4 Tbsps cornstarch
- salt & pepper to taste
- 4 eggs
- 2 spring onions, chopped for garnish
Directions:
- In a pot on MED heat, bring the chicken broth to a simmer then add in sesame oil, white pepper, sugar and corn. Let it come to a simmer again, then taste the soup and adjust seasonings as needed, salt & pepper to taste.
- Take out a few ladles of soup into a bowl and add in the cornstarch. Mix it around until smooth then drizzle it into the soup while stirring continuously (if you don’t stir, the corn starch will clump together). Feel free to add more cornstarch if you prefer a thicker consistency (remember to mix it with soup first in a small bowl, never add cornstarch directly into the soup or else it will clump).
- Once the taste and consistency of the soup is to your liking, turn off the heat. Scramble the eggs in a separate bowl, then slowly add it to the soup while stirring. The faster you stir, the more disseminated the eggs will be. The slower you stir the soup, the bigger egg pieces you’ll get.
- Serve garnished with spring onions on top. Enjoy!