Date Published: March 11th, 2021 | Last Updated: March 11th, 2021
Author: Abby |Category: soups, mains, low calorie, vegetarian, healthy
Serves: 6 | Prep time: 15 mins | Cook time: 40 mins
Jump to recipe |
I’ve literally JUST made it up in the kitchen and thought it was too good not to add to the recipe collection. As an attempt to eat healthier, Toby and I have been cooking with more green lentils lately. Although higher in carbs, green lentils pack a ton of fibre which keeps you feeling full for longer, lowers cholesterol, and makes you regular (lol). Toby never thought he liked lentils but ever since we started cooking with them he’s realized that he has just never had them made properly!
This soup is not only packed with veggies, high in fibre, and healthy, but best of all it’s low in calories!! Each serving is only 280-380 calories (exact calories will depend on the brand of coconut milk and chicken stock you use). When I say “serving”, I don’t mean a dinky half-ladle bowl – I mean a decent sized bowl of soup that makes you feel satisfied and full. Sounds too good to be true, right?

This soup tastes creamy but not overly heavy. It’s a chicken stock-based soup cooked with onions, celery, a ton of mushrooms and fragranced with fresh thyme and lemon. The lentils add bulk to the soup and are cooked to your liking. The small amount of coconut milk (only half a can for the entire pot) is just enough to make it creamy and indulgent – you’ll forget this soup is low in calories!
Anyways, without further ado, here’s the recipe! If you have any comments or suggestions, I’d love to hear from you in the comment section! You can follow me on instagram, youtube and facebook to see all the recipes I post!
Happy cooking!
Ingredients you’ll need:
- 4 cloves garlic, minced
- 1 medium onion, diced
- 4 stalks of celery, diced
- 500g mushrooms, sliced
- 1 cup (200g) green lentils
- 4 cups chicken stock (or vegetable stock)
- 6 sprigs fresh thyme (roughly 1 Tbsp of fresh thyme leaves)
- 2 bay leaves
- Lemon peel of 1 large lemon, sliced into large strips
- 200ml (1/2 a can) coconut milk
Directions:


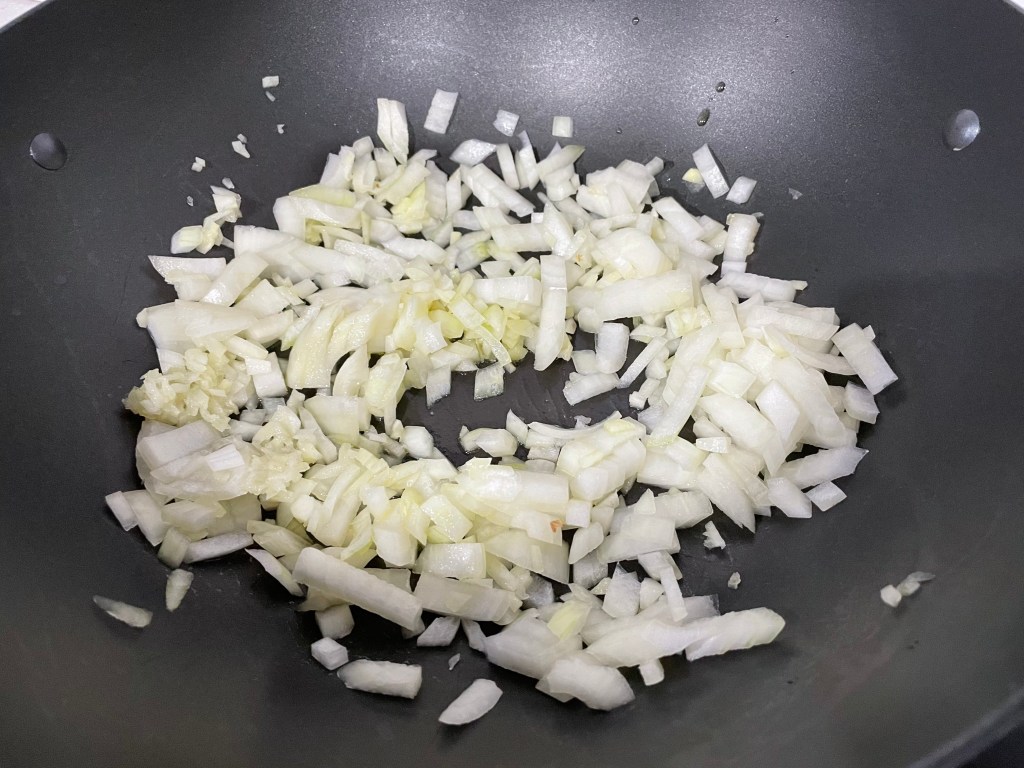
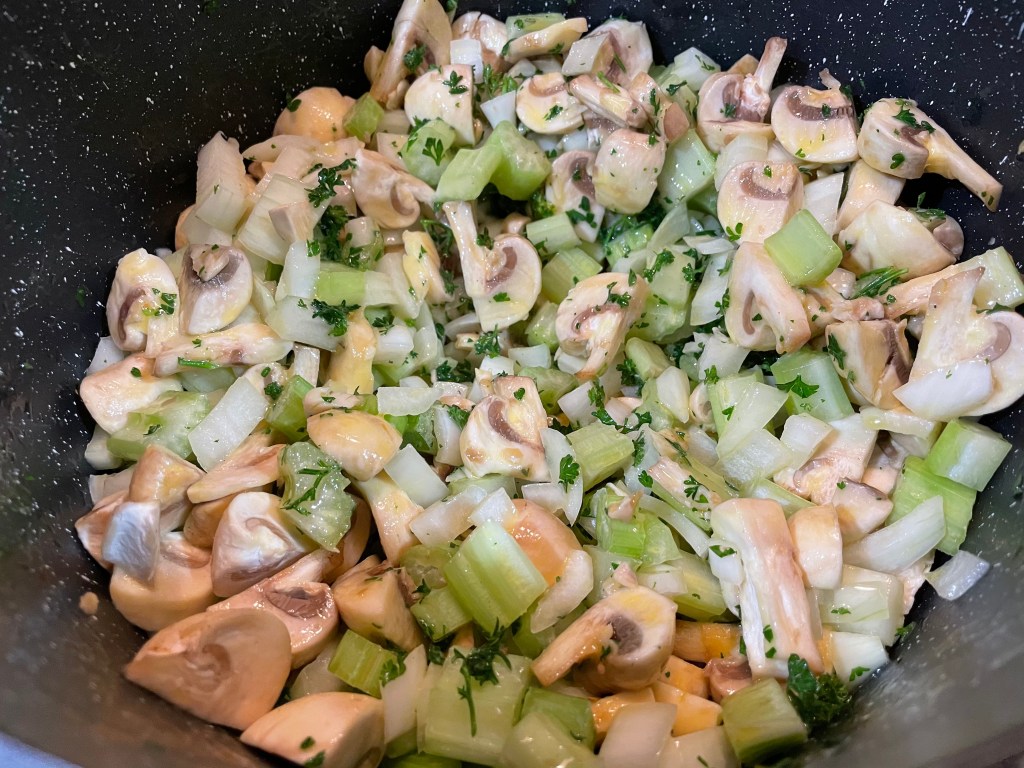
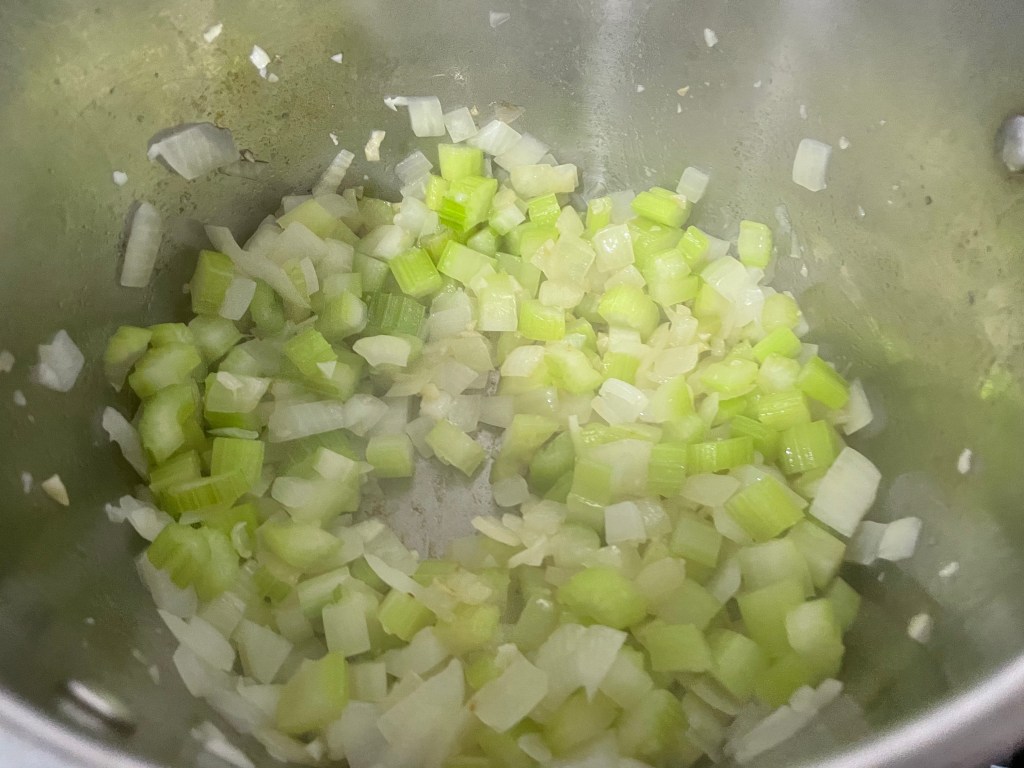
In a large pot on med-high heat, sauté the garlic in a few tablespoons of olive oil for 30 seconds until fragrant, then add in the diced onion and celery.
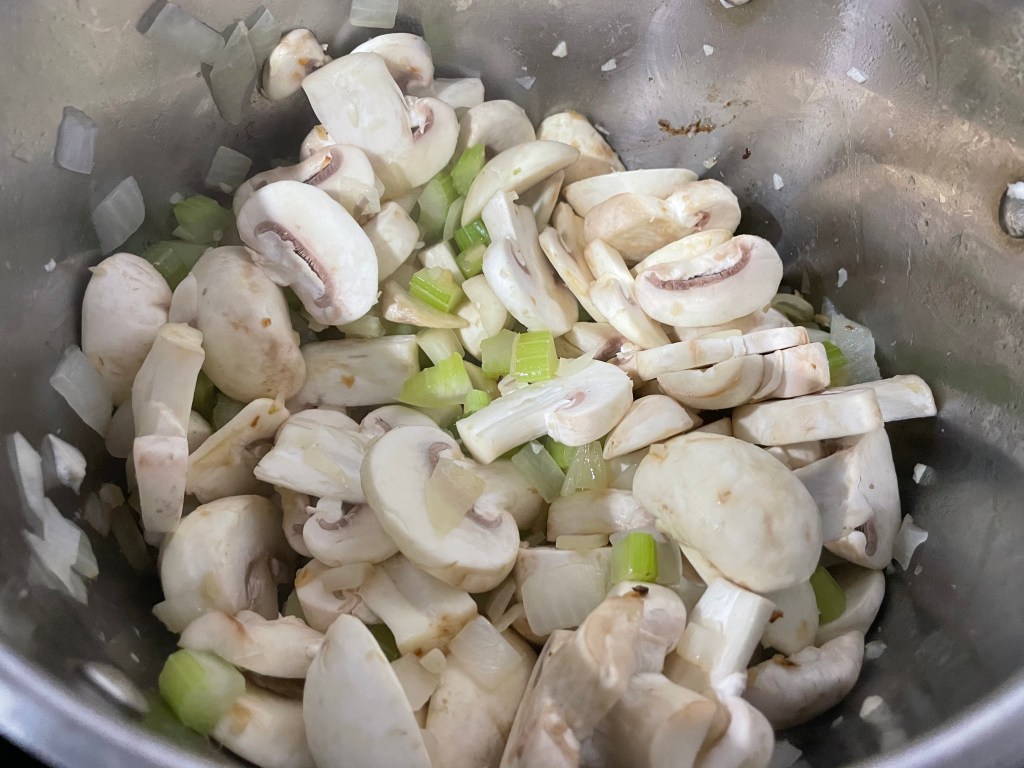
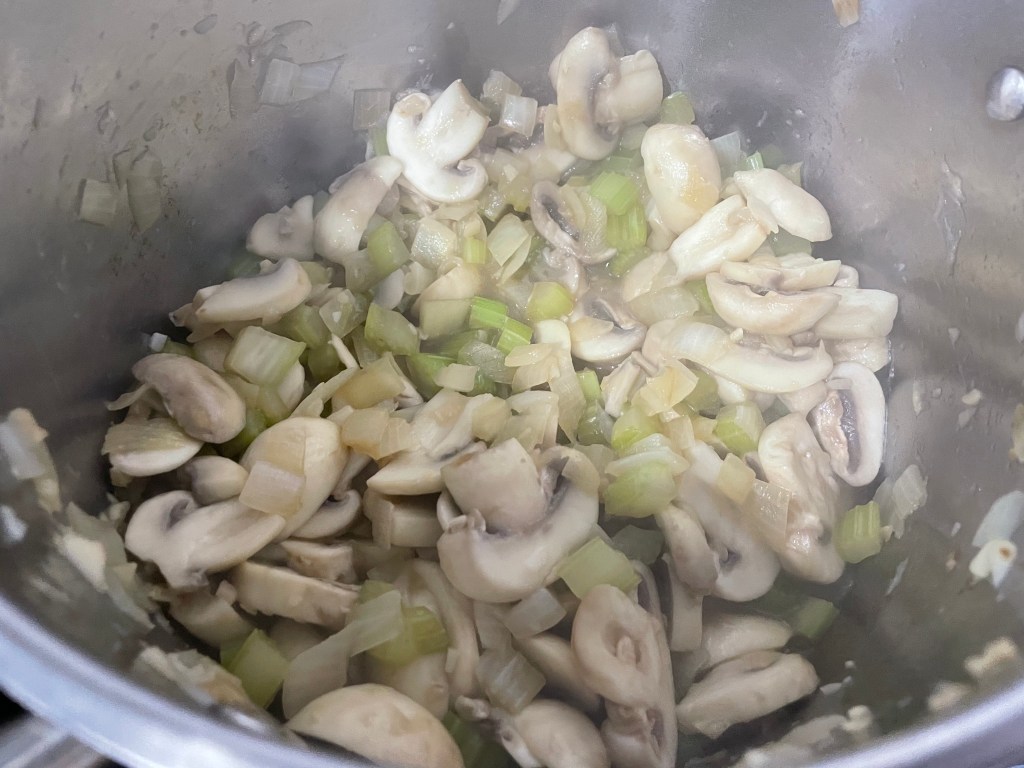
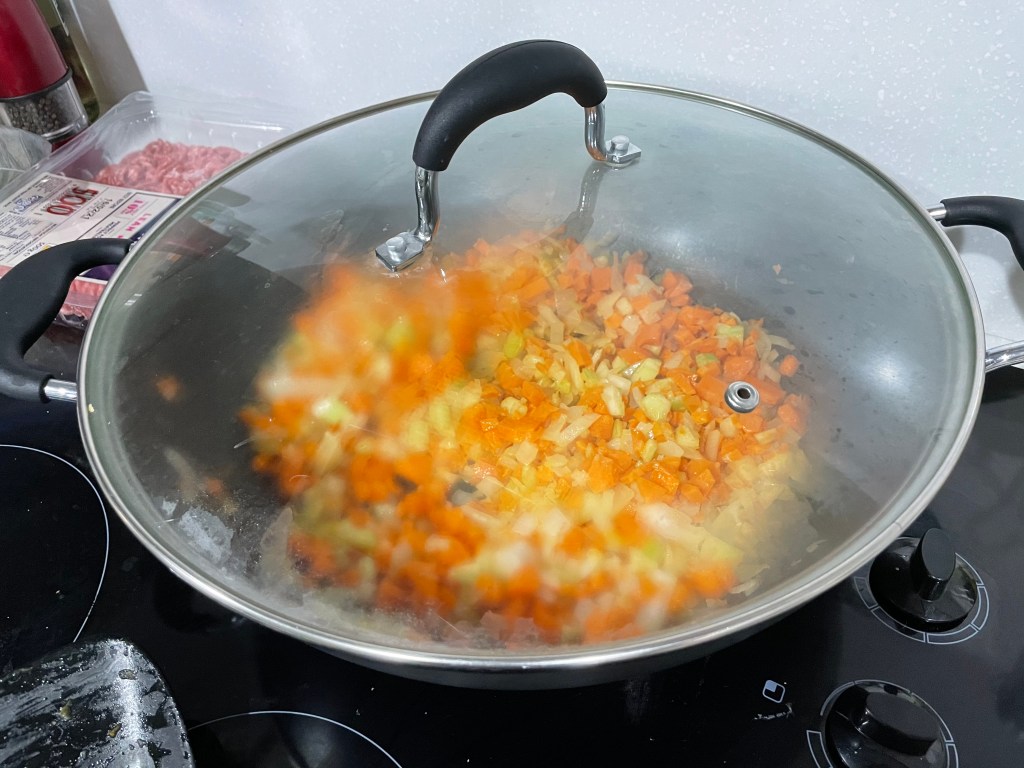
Cook until the celery softens then add in the sliced mushrooms. Continue sautéing for another 5 minutes until the mushrooms start to release their liquid.


Add in the rest of the ingredients to the pot: lentils, chicken stock, thyme, bay leaf, lemon peel, and coconut milk. Let the soup come to a boil, then turn the heat down to low-medium and let it simmer until the lentils are cooked to your liking (~25-30 mins), stirring occasionally.

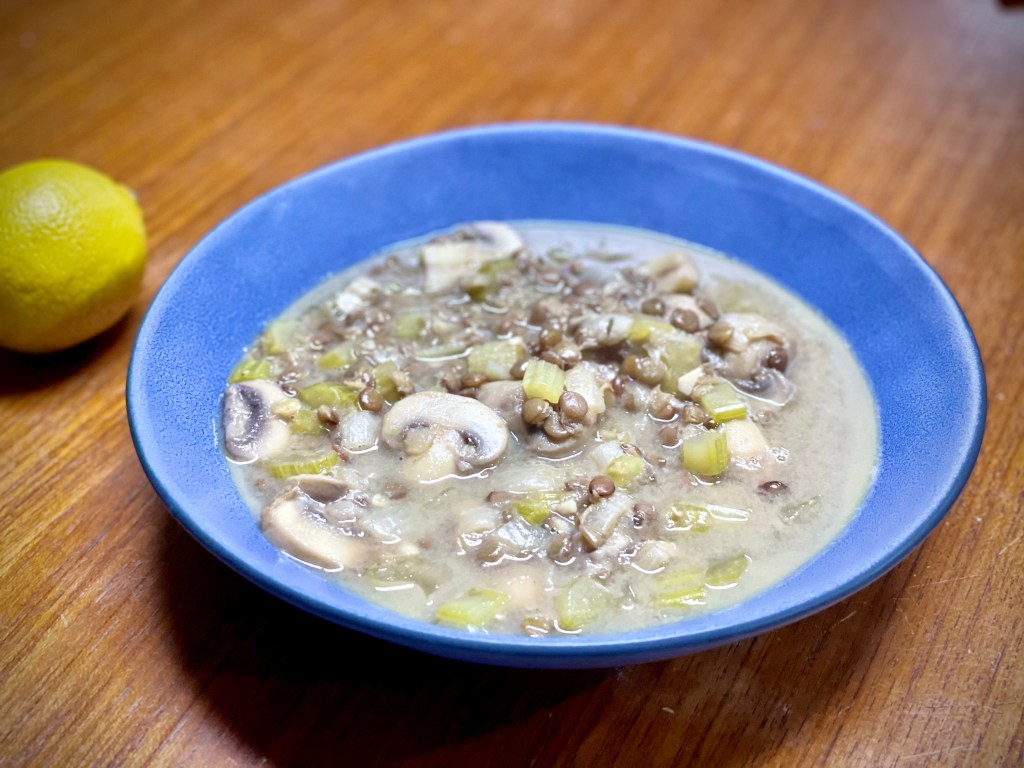
Once the lentils are cooked, pick out the lemon peel, thyme sprigs, and bay leaves. Serve!


Summarized Recipe:
Creamy Mushroom Coconut Lentil Soup
Date Published: March 11th, 2021 | Last Updated: March 11th, 2021
Author: Abby |Category: soups, mains, low calorie, vegetarian, healthy
Serves: 6 | Prep time: 15 mins | Cook time: 40 mins
Ingredients:
- 4 cloves garlic, minced
- 1 medium onion, diced
- 4 stalks of celery, diced
- 500g mushrooms, sliced
- 1 cup (200g) green lentils
- 4 cups chicken stock
- 6 sprigs fresh thyme (roughly 1 Tbsp of fresh thyme leaves)
- 2 bay leaves
- Lemon peel of 1 large lemon, sliced into large strips
- 200ml (1/2 a can) coconut milk
Directions:
- In a large pot on med-high heat, sauté the garlic in a few tablespoons of olive oil for 30 seconds until fragrant, then add in the diced onion and celery. Cook until the celery softens then add in the sliced mushrooms. Continue sautéing for another 5 minutes until the mushrooms start to release their liquid.
- Add in the rest of the ingredients to the pot: lentils, chicken stock, thyme, bay leaf, lemon peel, and coconut milk. Let the soup come to a boil, then turn the heat down to low-medium and let it simmer until the lentils are cooked to your liking (~25-30 mins), stirring occasionally.
- Once the lentils are cooked, pick out the lemon peel, thyme sprigs, and bay leaves. Serve!