Date Published: April 3rd, 2021 | Last Updated: April 3rd, 2021
Author: Abby |Category: mains
Serves: 4 | Prep time: 15 mins | Cook time: 1 hour
Jump to recipe |
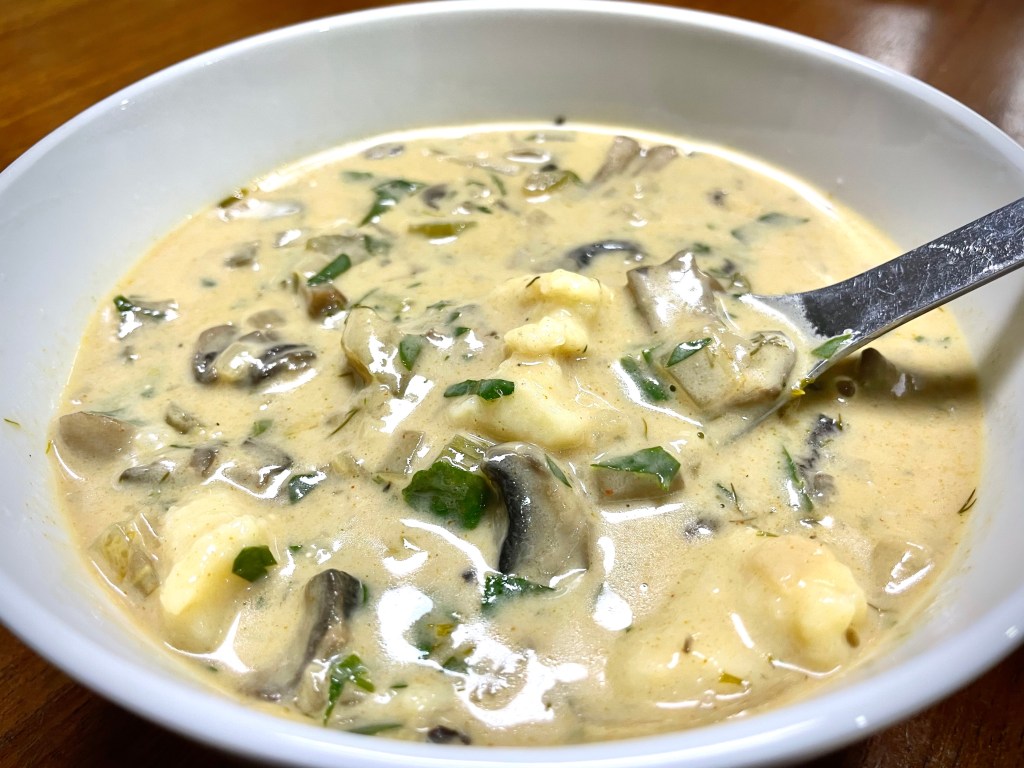
Warning: This recipe is slow, painful, and requires constant attention, but the end result is a beautiful creamy risotto, made the traditional way. It’s not difficult but it is time-consuming. If you’ve got a spare couple of hours on a lazy day off, this recipe may be for you. So why is making risotto so slow and painful? Believe it or not, the creaminess of a risotto is from the starch of the rice that is released slowly by constantly stirring the rice in a small amount of liquid. As you agitate the rice grains, the released starch creates a creamy texture with the broth without any need of cream or butter. This process must be done slowly on a low-medium heat or else the starches won’t release properly and your risotto won’t be as creamy. Although it’s a mind-numbing process to wait for the liquids to absorb each time, the constant stirring of the risotto can actually be kind of therapeutic if you’ve had a long day and just need to zone out.

I’m a fan of versatile recipes and this recipe fits right into that category. I’ve written it as a ‘mushroom and sausage risotto’, but you can add in whatever meat or veg you want. Just keep the methods of making the rice the same and at the end just stir in whatever cooked meat or veg you like. You can even stir in a few tablespoons of pesto! To make this vegetarian, simply omit the sausage and use vegetable broth instead.
Anyways, without further ado, here’s the recipe! If you have any comments or suggestions, I’d love to hear from you in the comment section! You can follow me on instagram, youtube and facebook to see all the recipes I post!
Happy cooking!
Ingredients you’ll need:
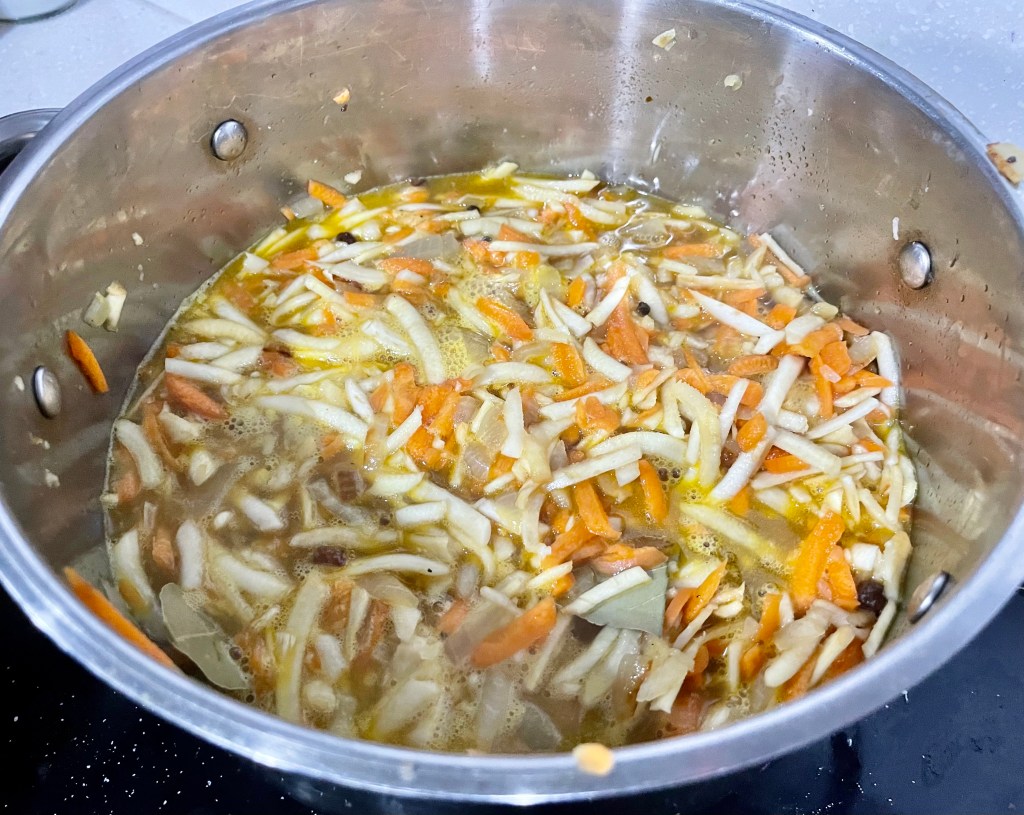
- 6 cups chicken broth
- 4 sausages
- 250g white mushrooms, sliced
- 1 large onion, sliced
- 3 cloves garlic, chopped
- 1.5 cups Arborio rice
- 1 cup dry white wine
- salt & pepper to taste
- 1/2 cup grated parmesan cheese
Directions:
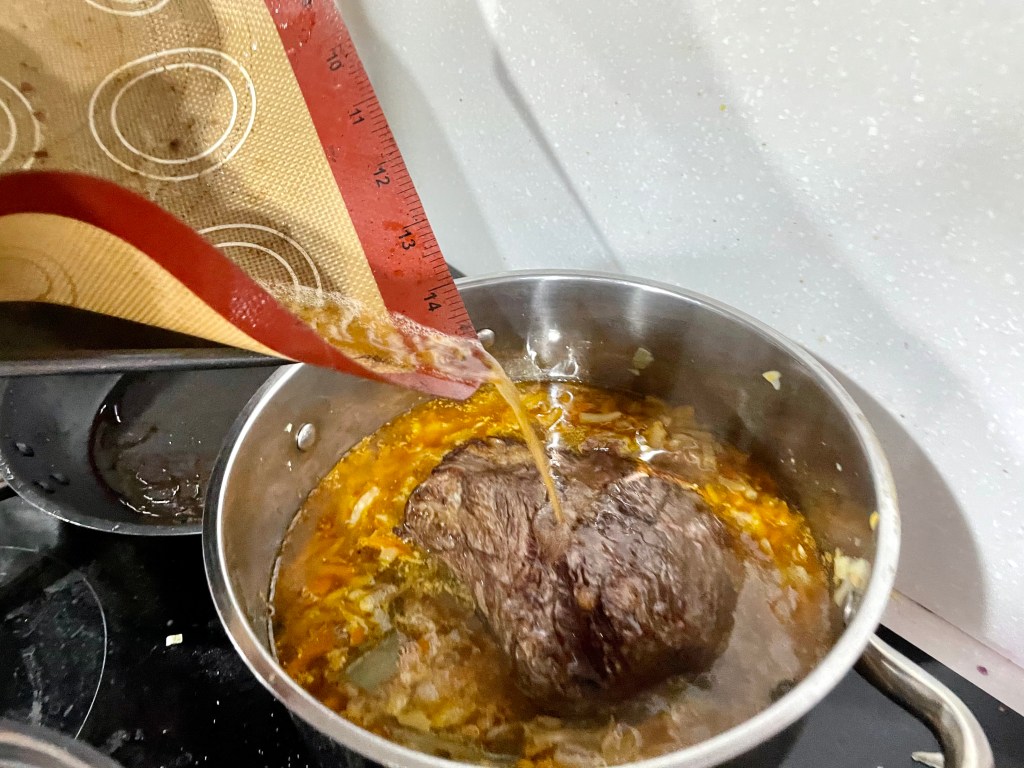
Warm up the broth either in a saucepan over low heat or in the microwave. Set aside.
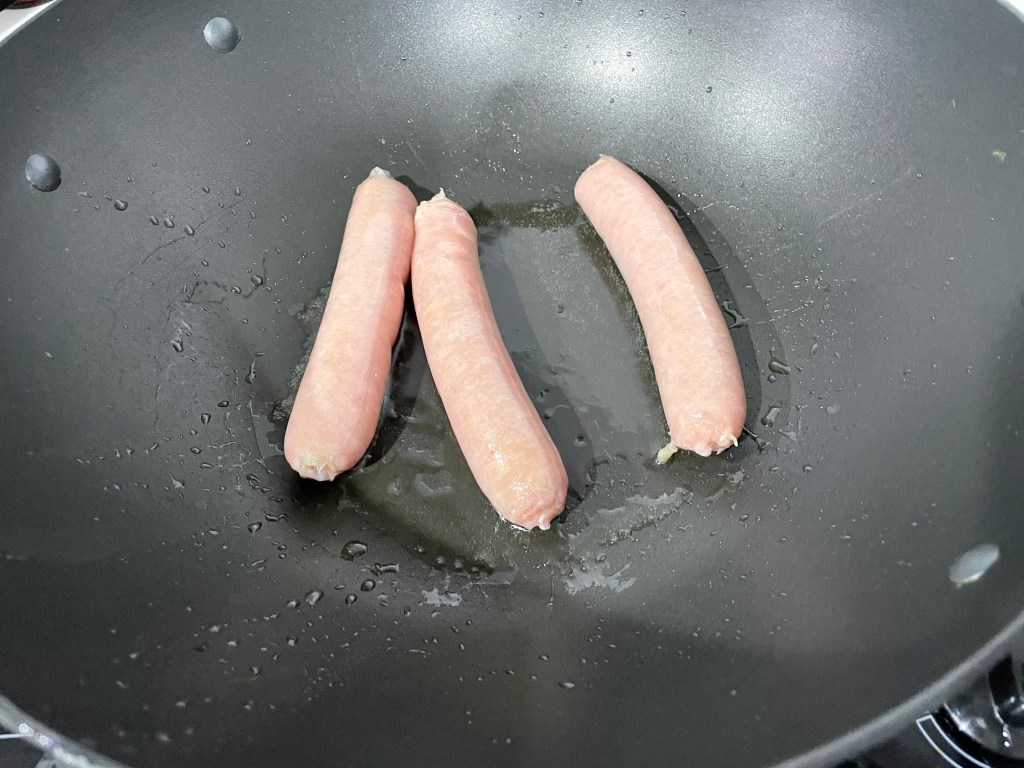

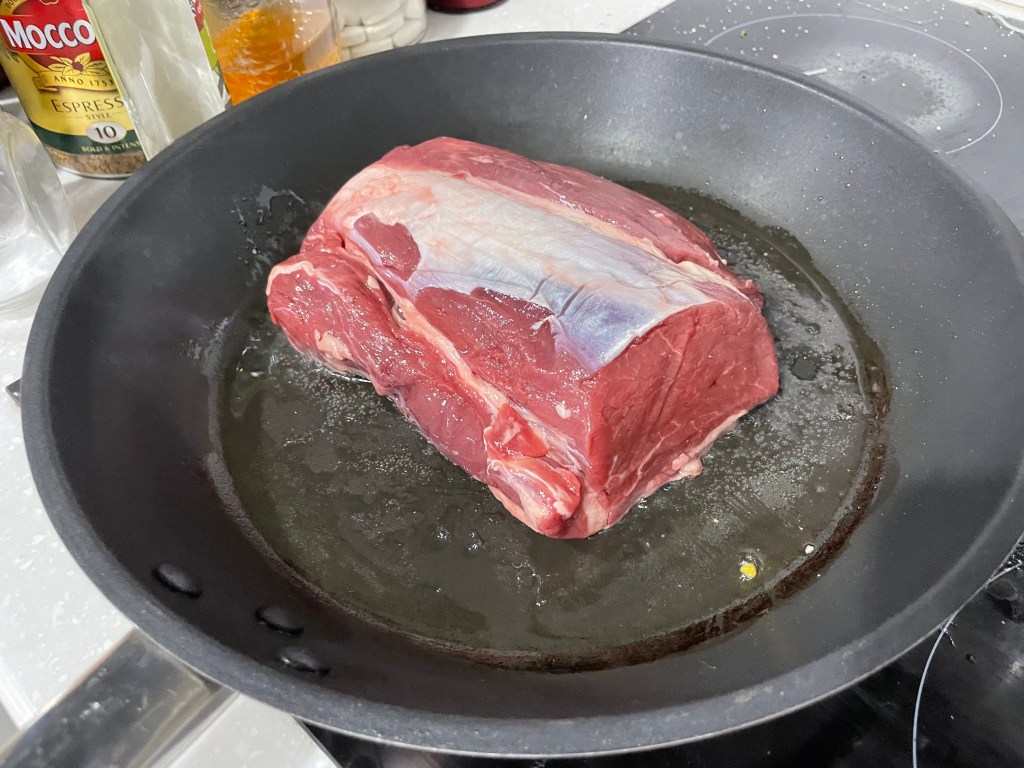
In a pan on MED-HIGH heat, add a few tablespoons of oil and cook the sausages until the outside is crispy then remove them from heat and set aside. Wait for them to cool a little then slice them into bite-sized pieces.


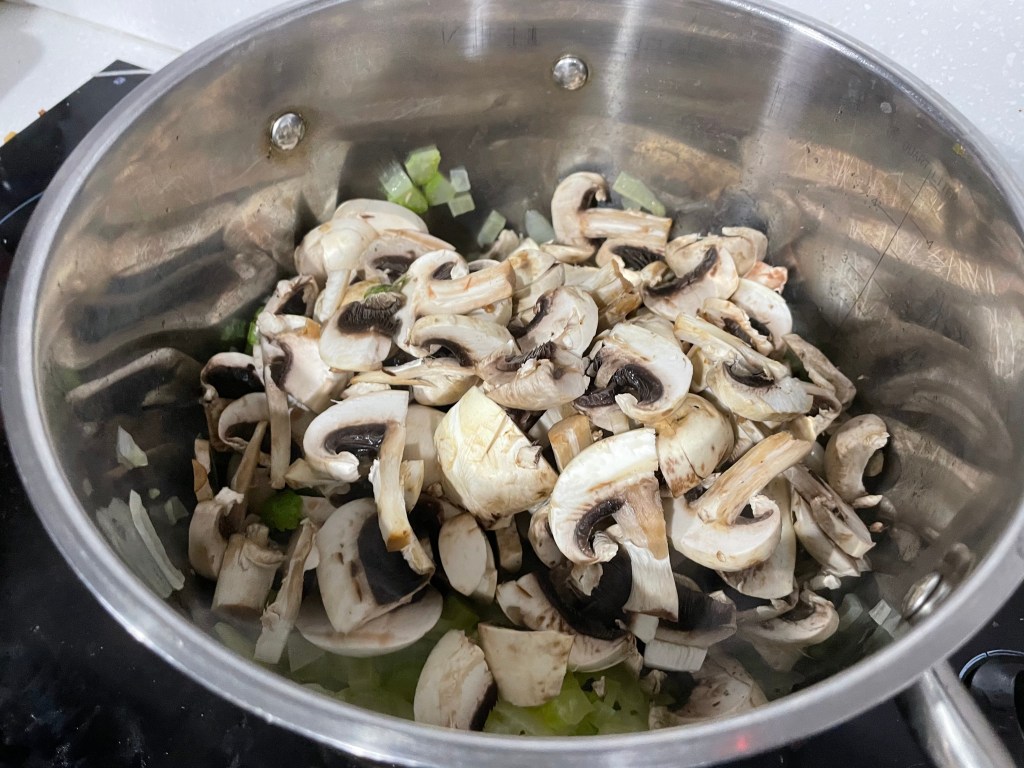
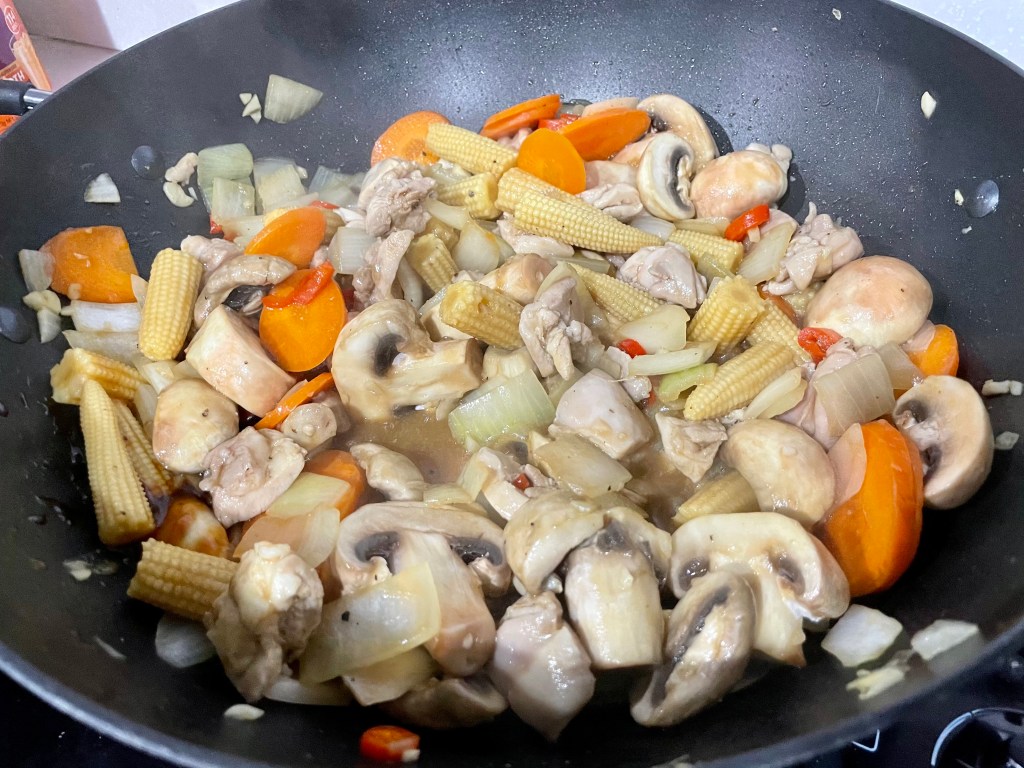
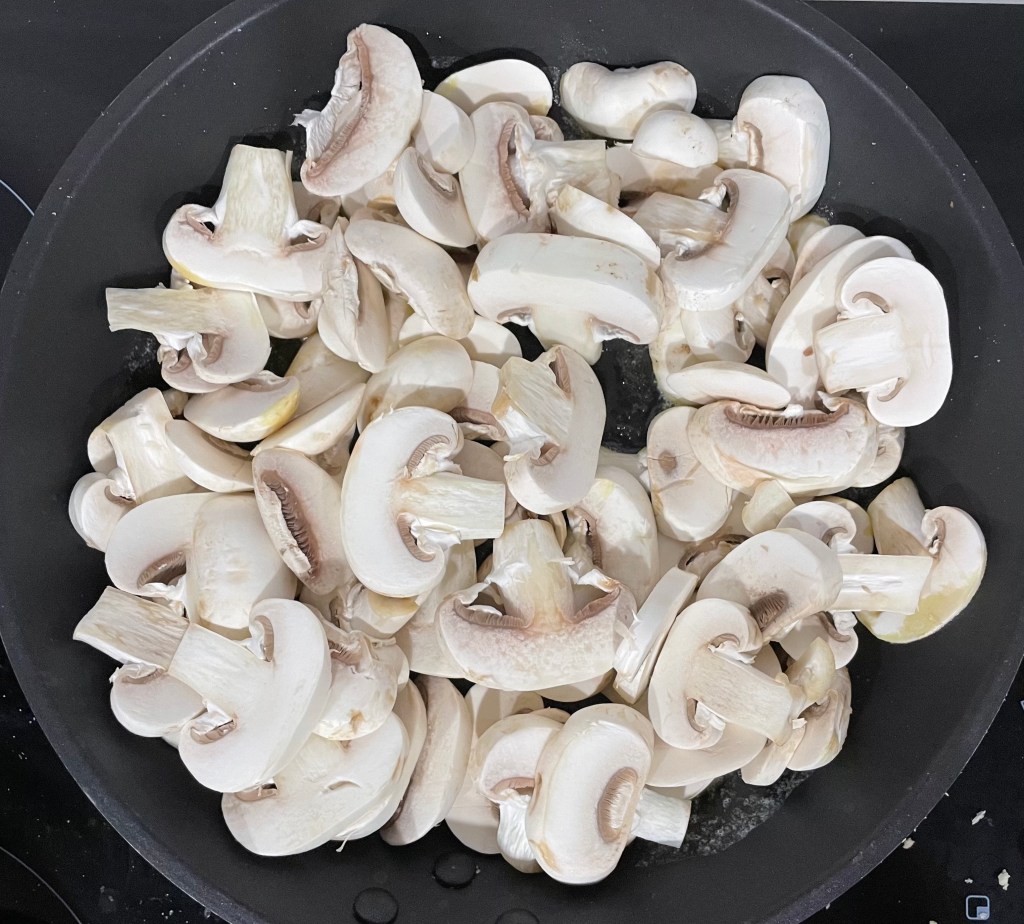
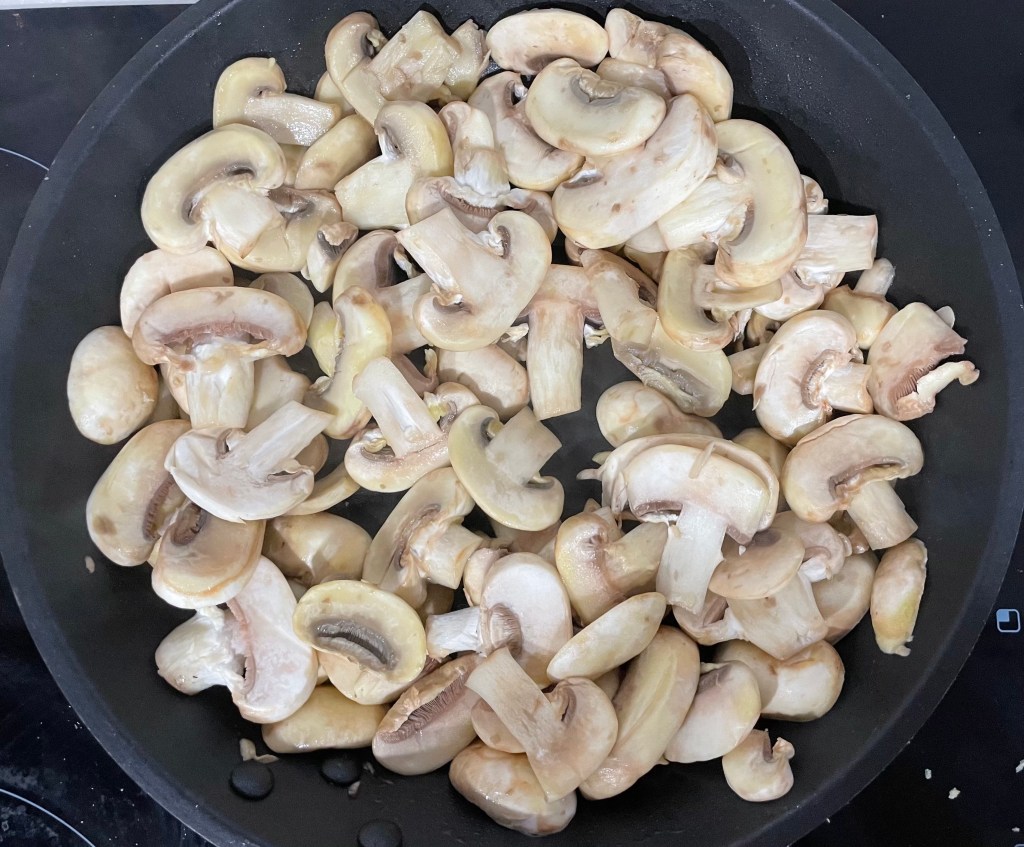
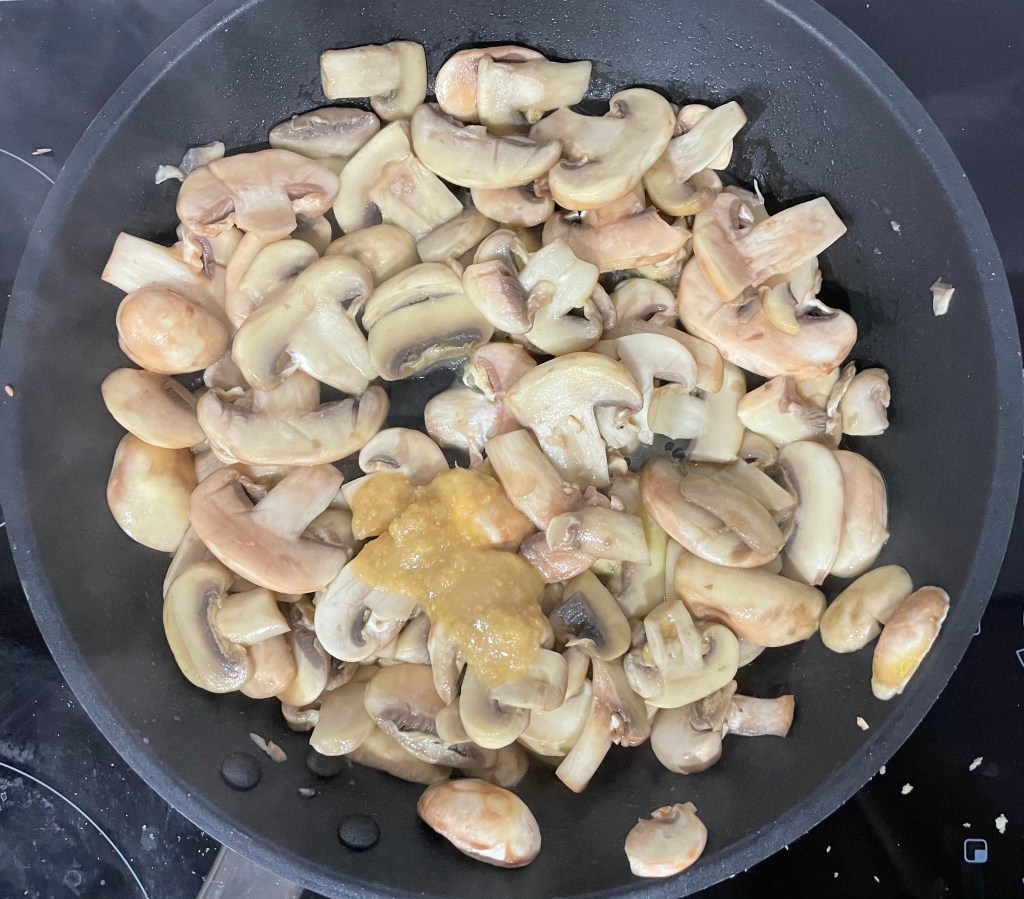
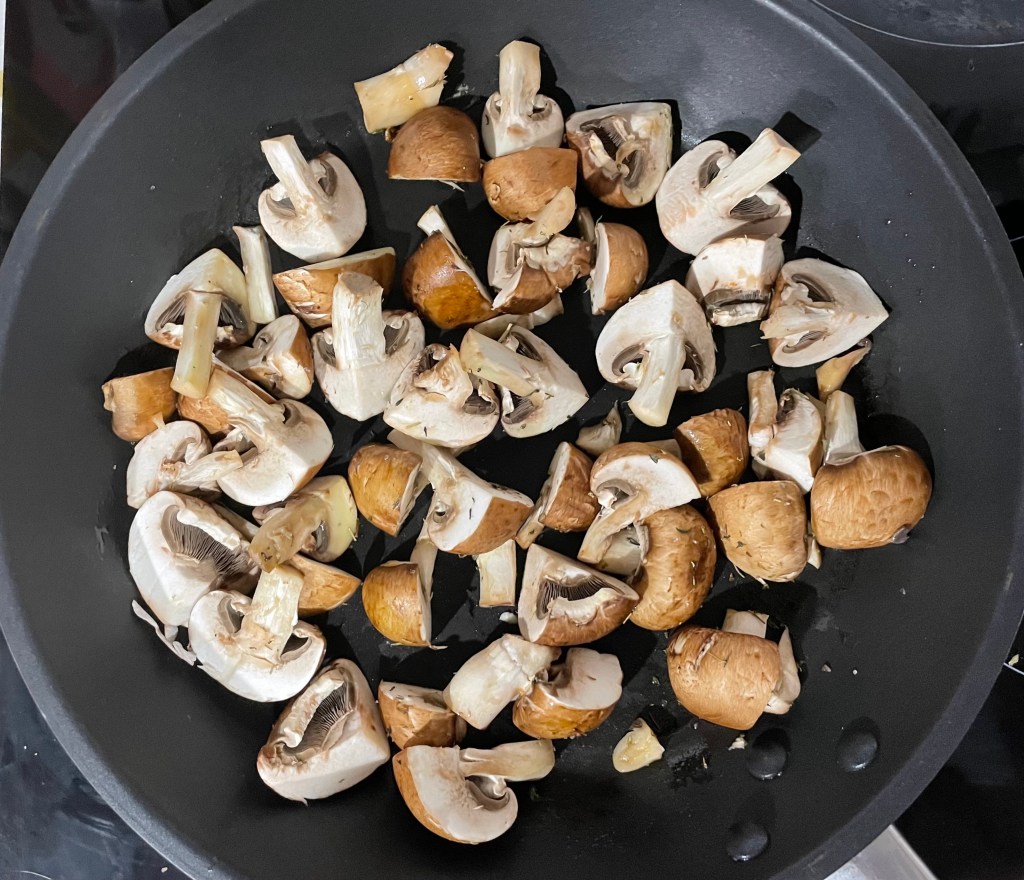
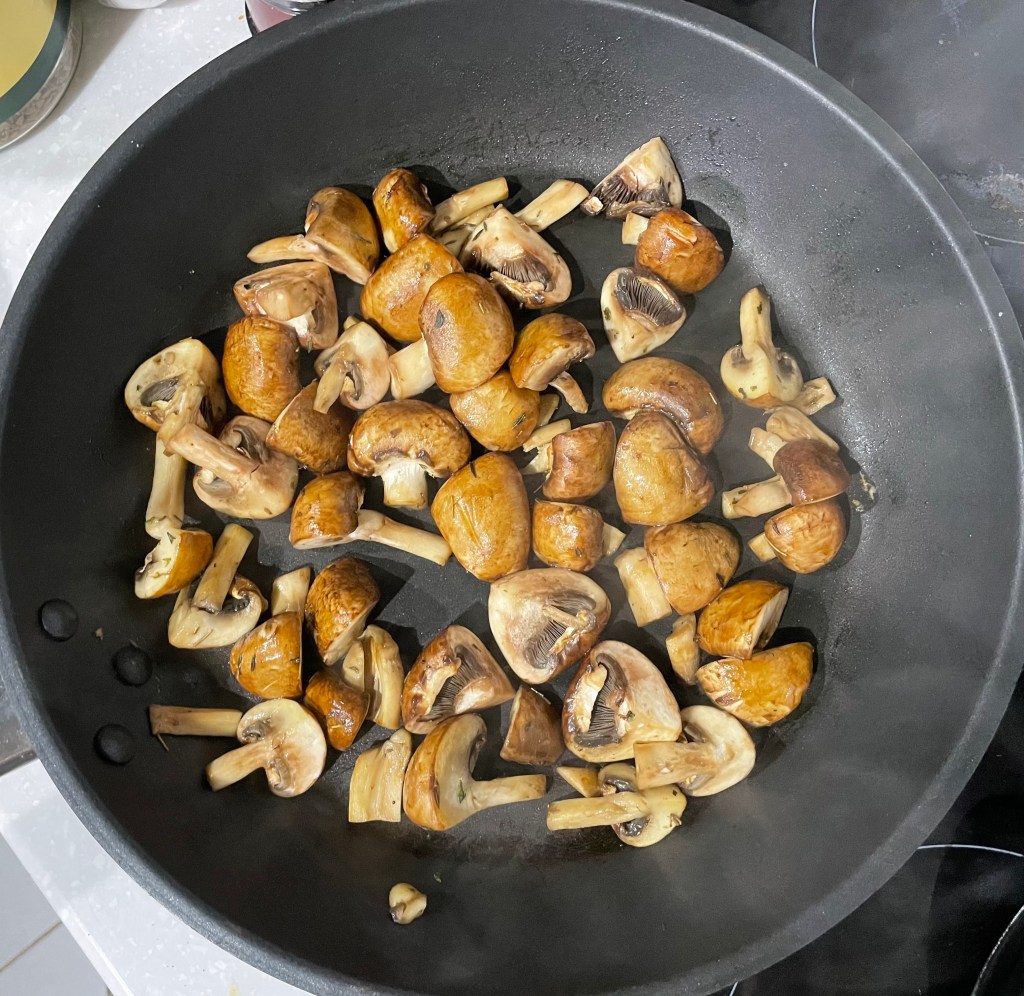
In the same pan with the leftover oil, add the sliced mushrooms and sauté until they’re golden brown. Remove the mushrooms and any liquids and set aside.

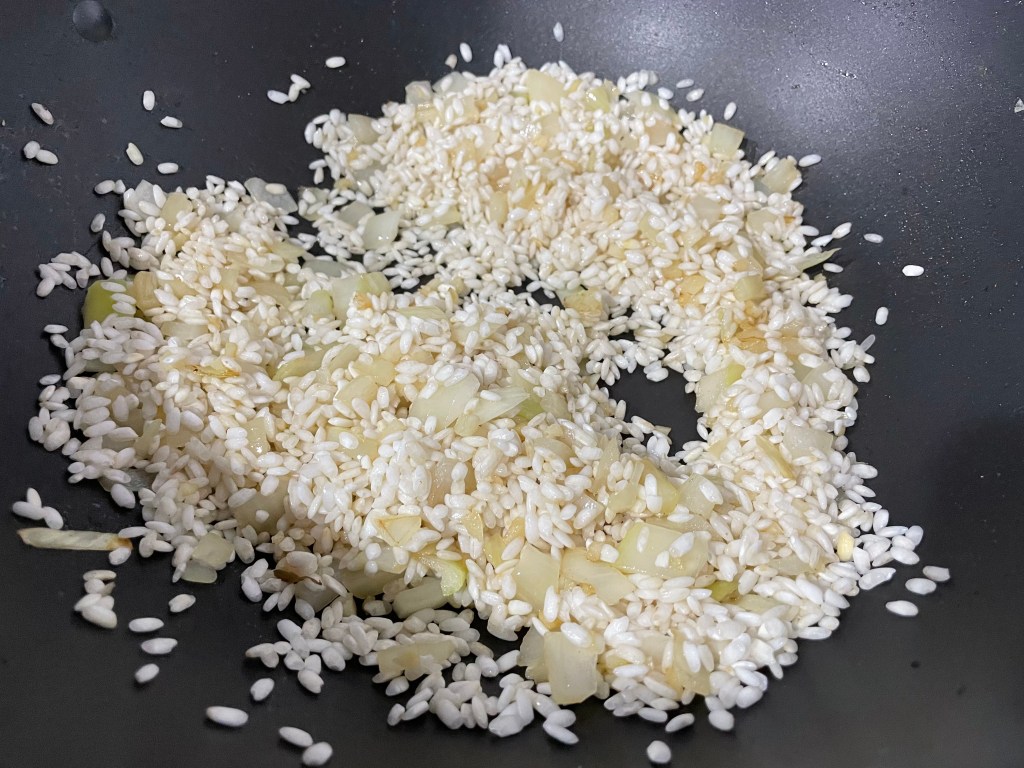
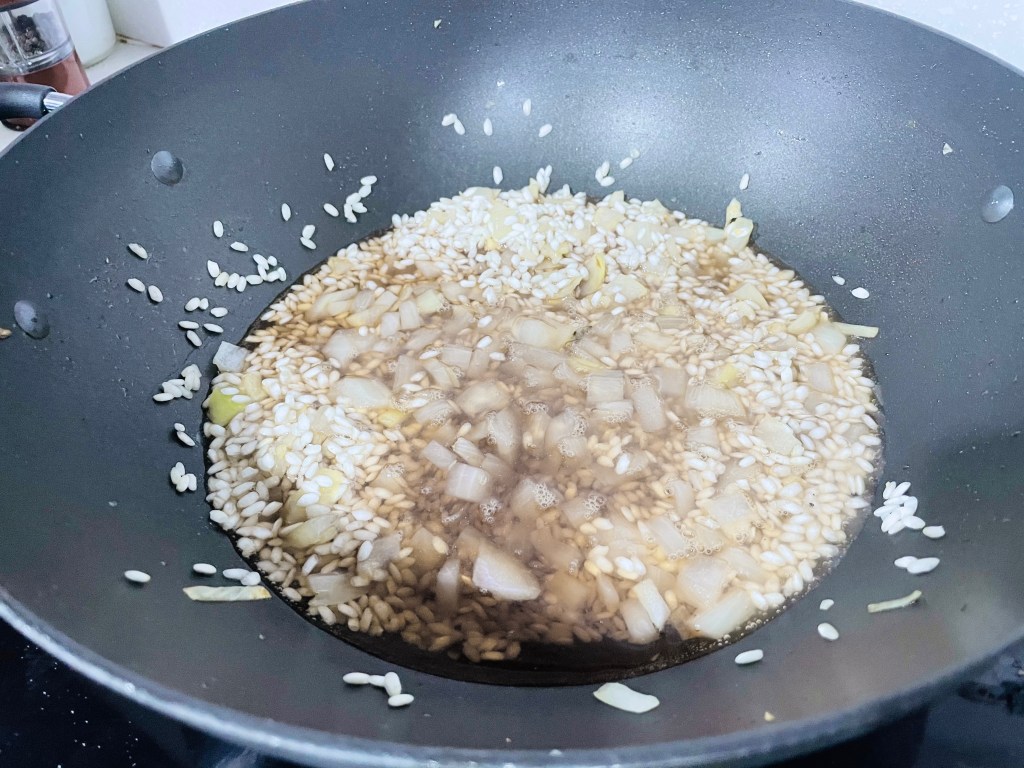
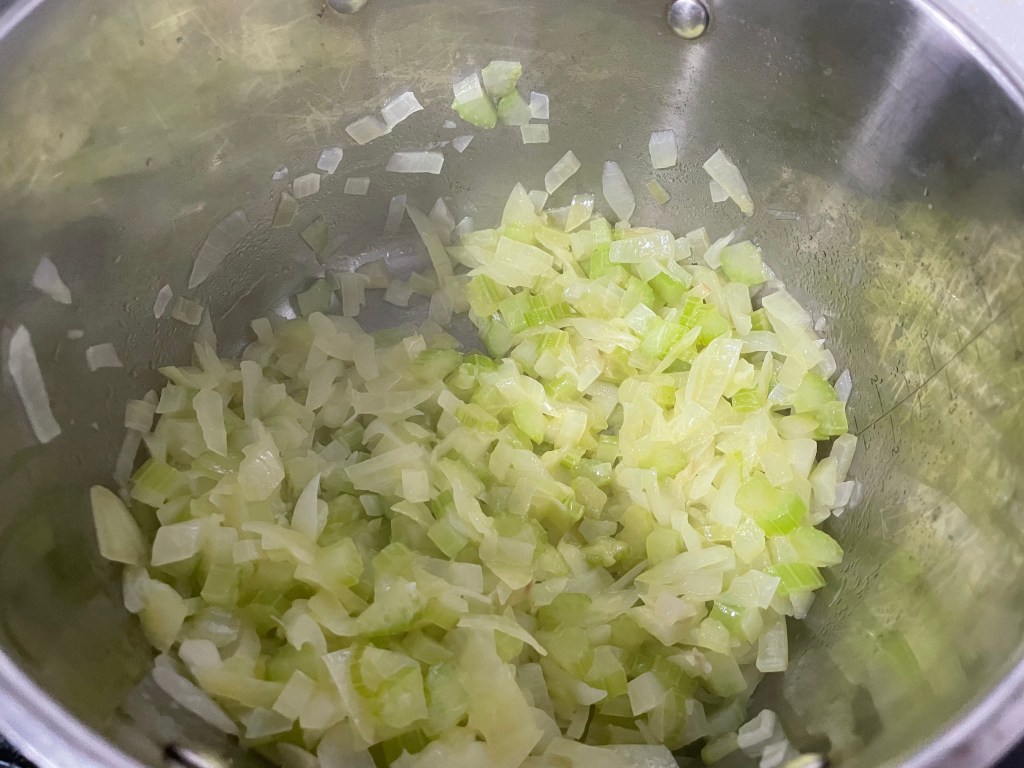
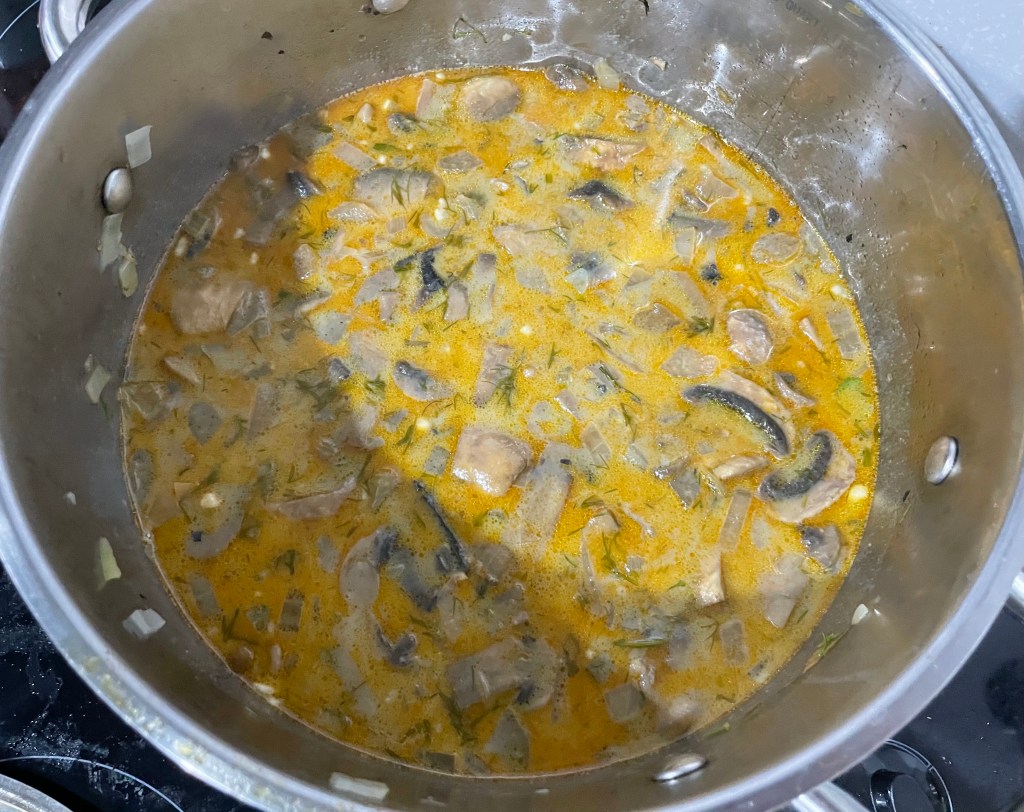
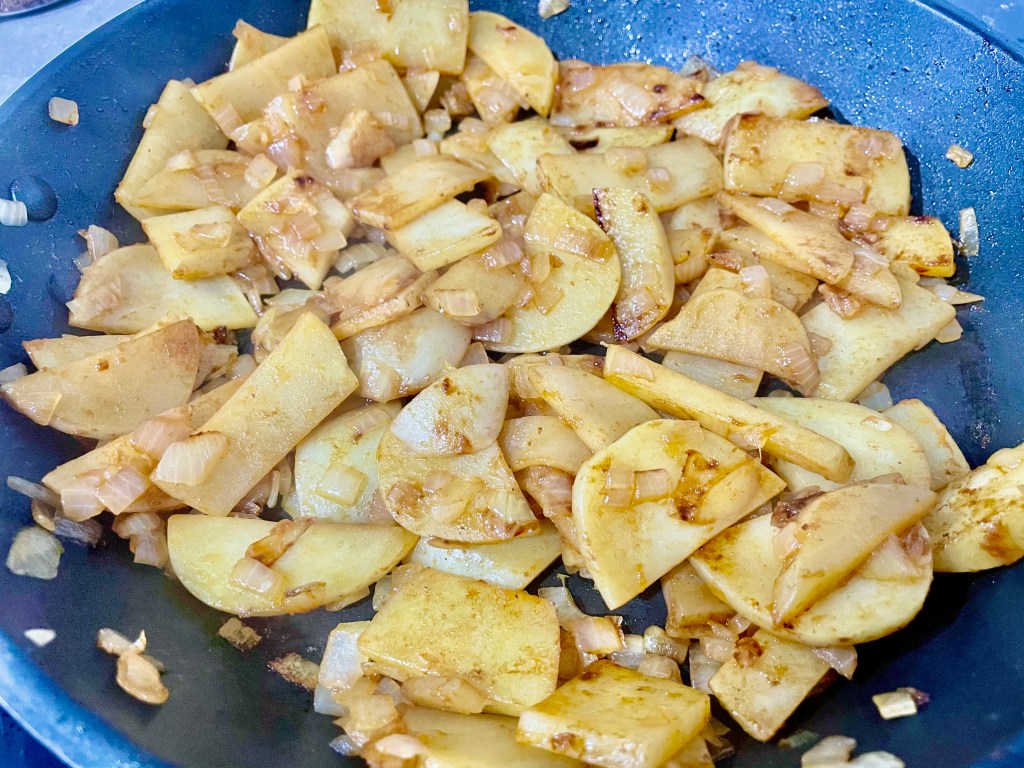
In the same pan on MED heat, add another couple tablespoons of oil and sauté the garlic and onion until the onion starts to turn translucent. Add in the rice and sauté for a couple minutes until the rice absorbs some of the oil. Then add in the 1 cup of white wine and sauté until all the wine is absorbed by the rice.

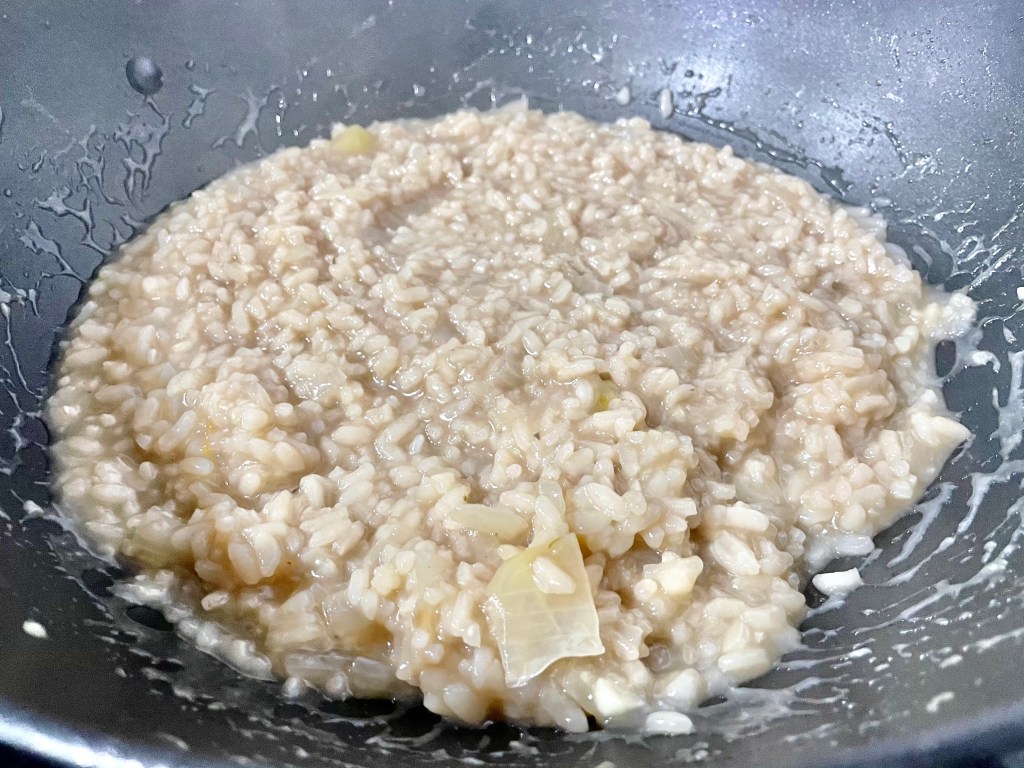
Once the wine is absorbed, add 1/2 cup broth to the rice and stir until the broth is absorbed. Continue adding broth 1/2 cup at a time, stirring continuously, until the liquid is absorbed and the rice is cooked.
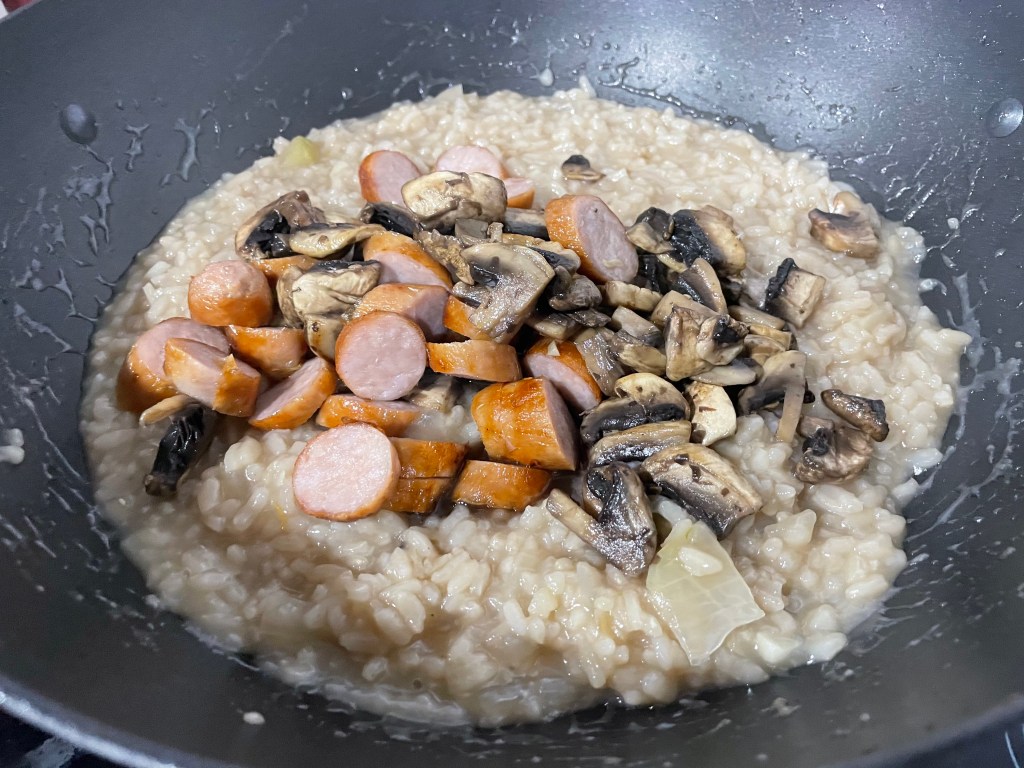

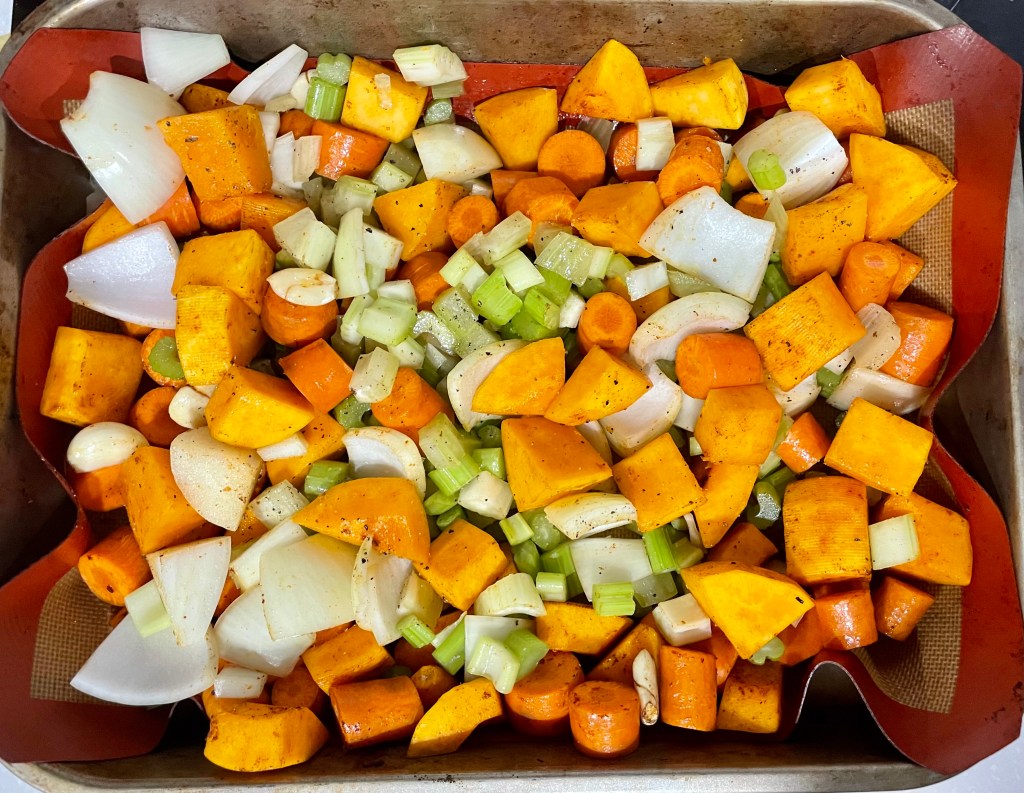
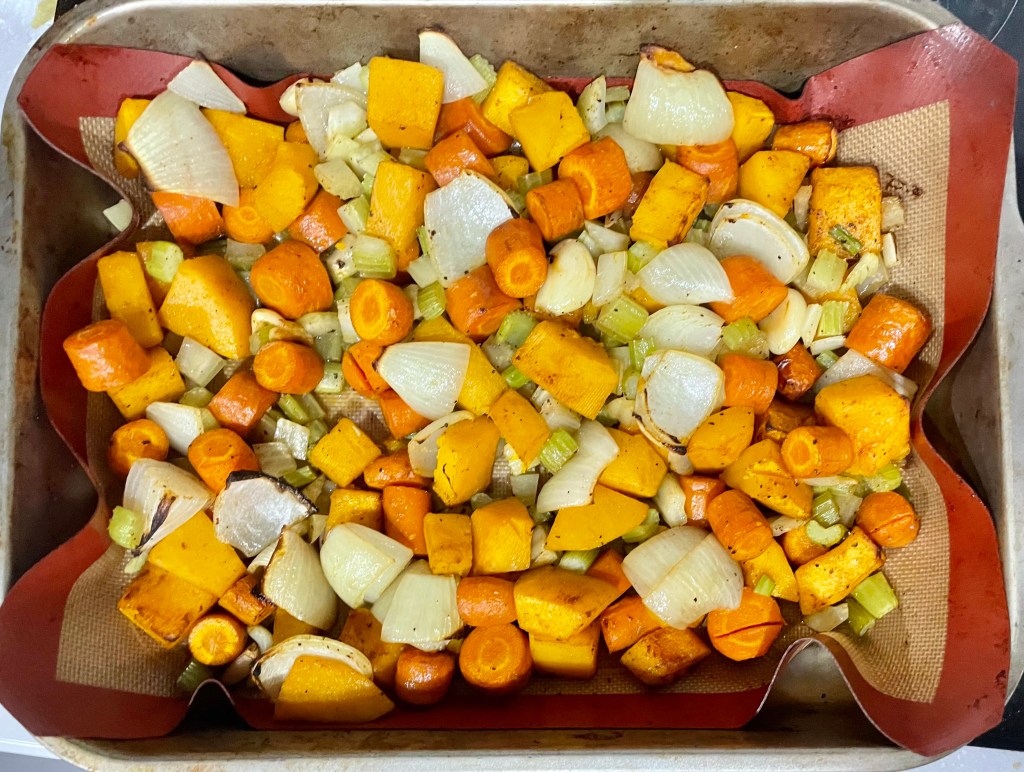
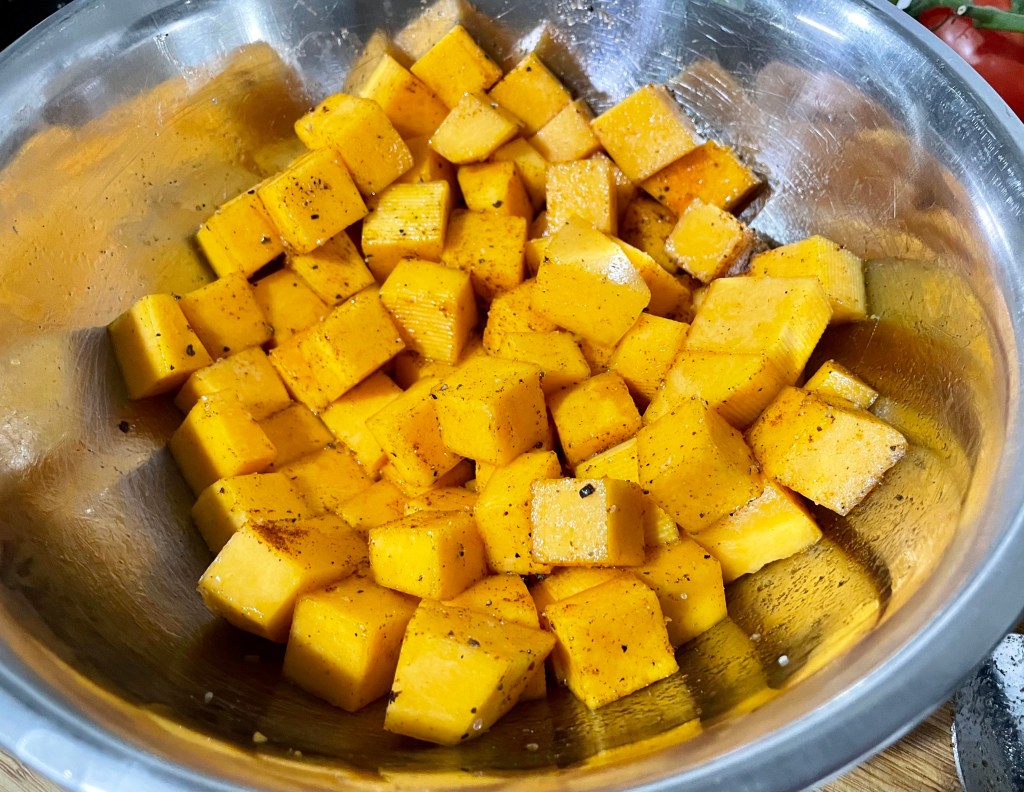
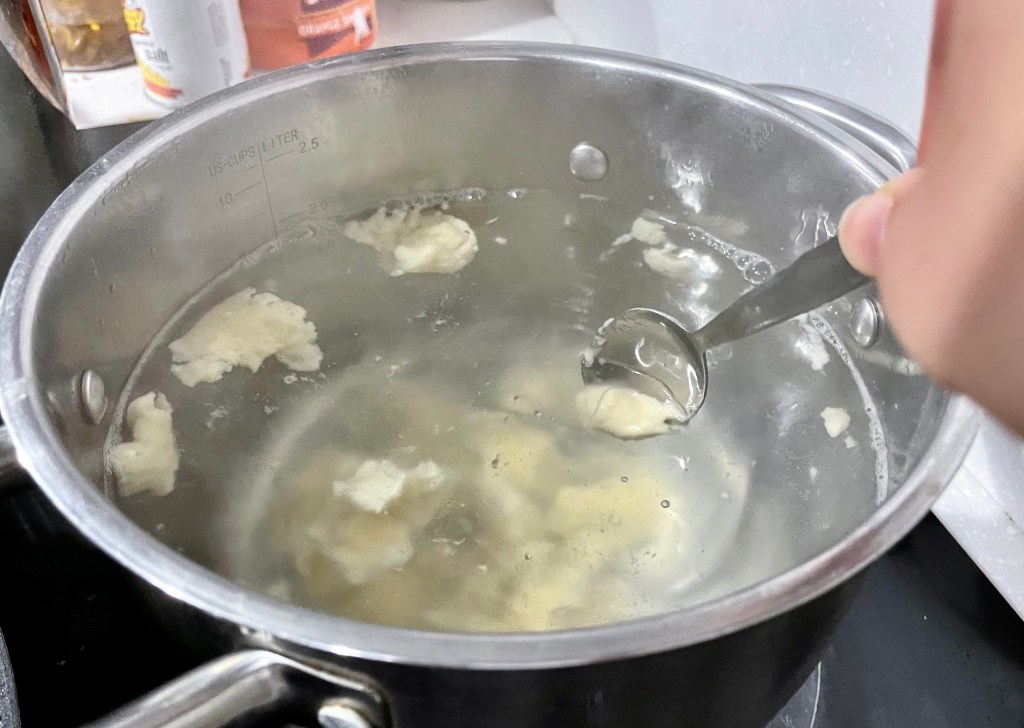
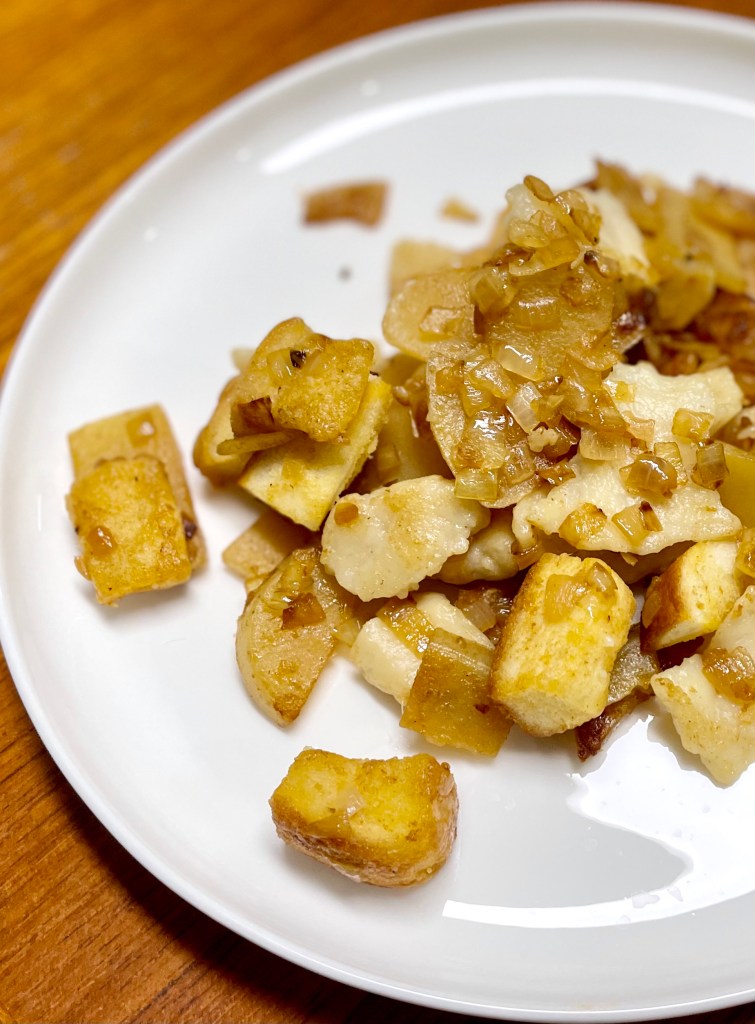
Optional: I added in some roast pumpkin for a bit of colour
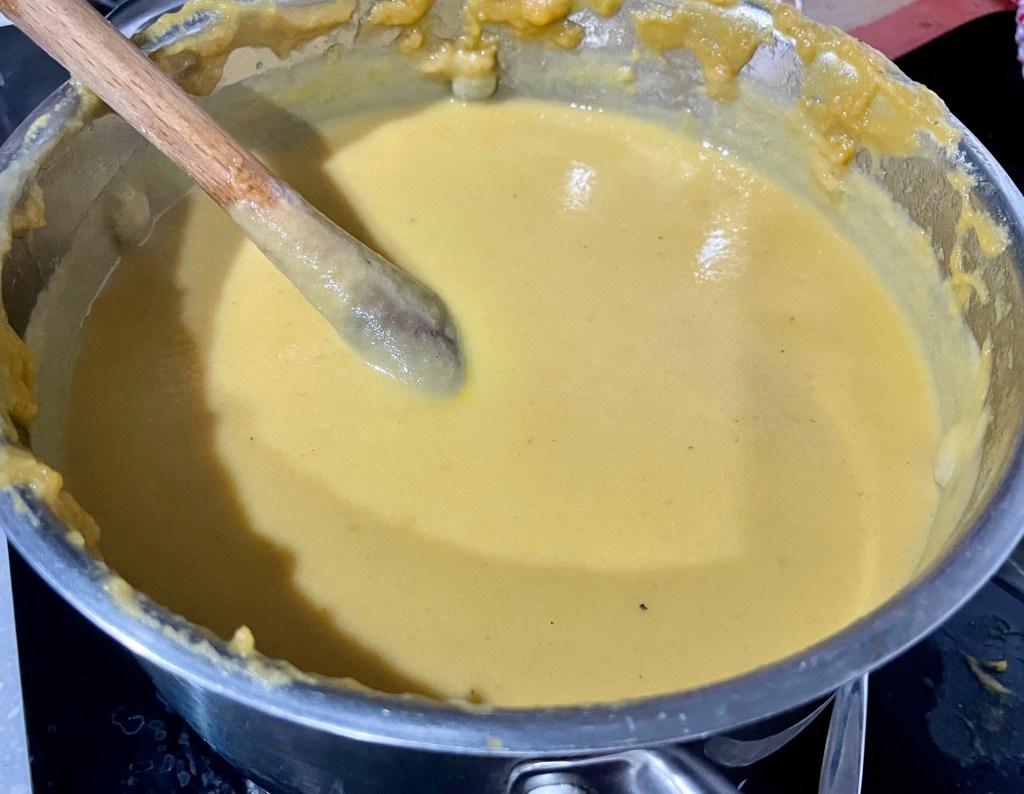
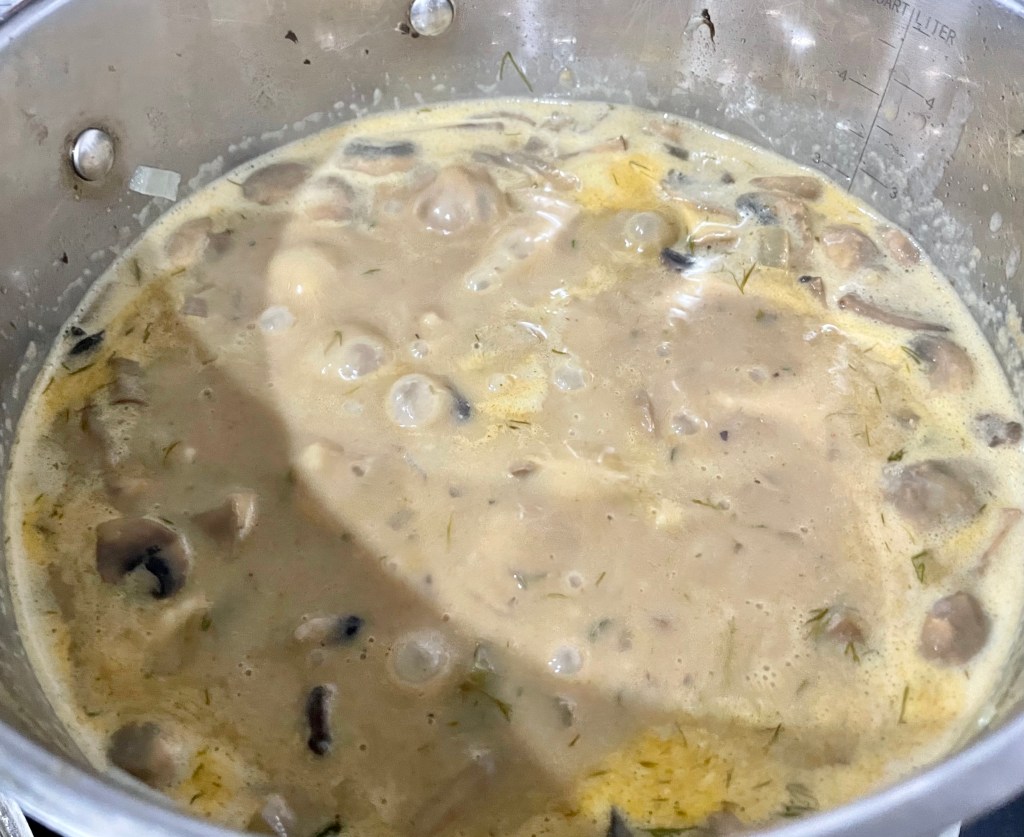
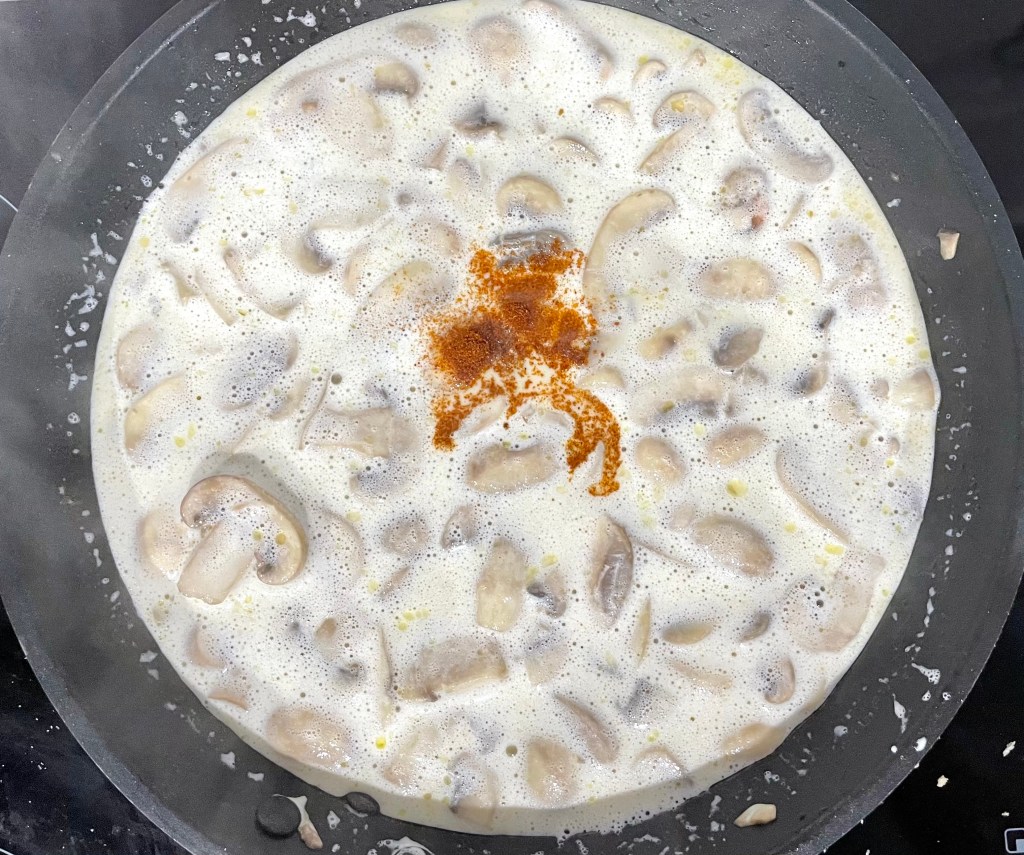
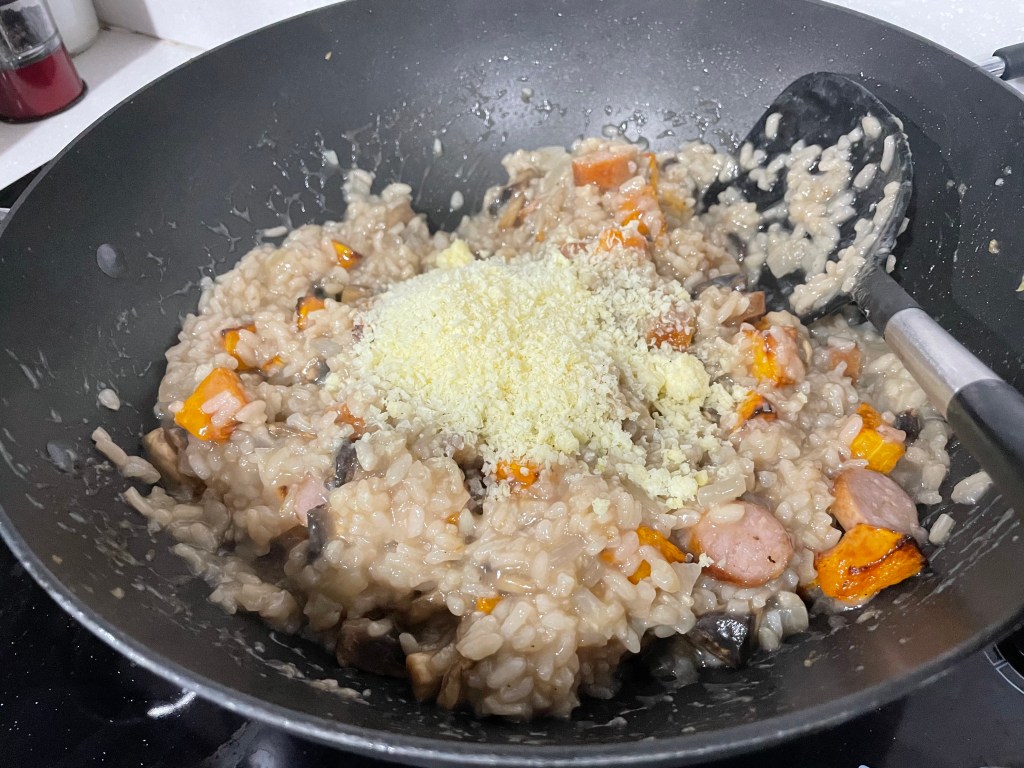
Once the last of the broth has been absorbed, stir in the cooked sausages and mushrooms (with any of their liquids) and stir until the liquid is absorbed. Then turn off the heat, add the parmesan and stir until melted. Salt and pepper to taste. Enjoy!
Tip: To make it indulgent, stir in 50g of butter at the end before serving.


Summarized Recipe:
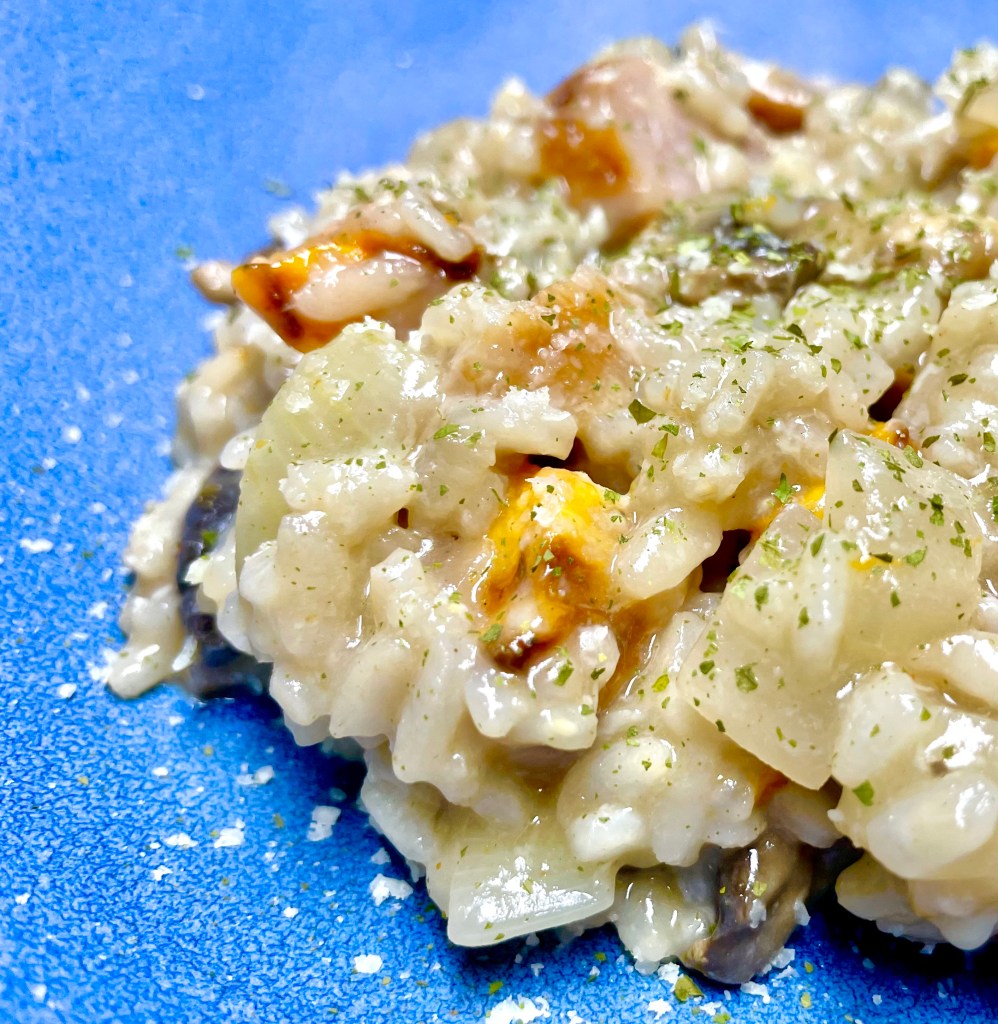
Mushroom Sausage Risotto
Date Published: April 3rd, 2021 | Last Updated: April 3rd, 2021
Author: Abby |Category: mains
Serves: 4 | Prep time: 15 mins | Cook time: 1 hour
Ingredients:
- 6 cups chicken broth
- 4 sausages
- 500g white mushrooms, sliced
- 1 large onion, sliced
- 3 cloves garlic, chopped
- 1.5 cups Arborio rice
- 1 cup dry white wine
- salt & pepper to taste
- 1/2 cup grated parmesan cheese
Directions:
- Warm up the broth either in a saucepan over low heat or in the microwave. Set aside.
- In a pan on MED-HIGH heat, add a few tablespoons of oil and cook the sausages until the outside is crispy then remove them from heat and set aside. Wait for them to cool a little then slice them into bite-sized pieces.
- In the same pan with the leftover oil, add the sliced mushrooms and sauté until they’re golden brown. Remove the mushrooms and any liquids and set aside.
- In the same pan on MED heat, add another couple tablespoons of oil and sauté the garlic and onion until the onion starts to turn translucent. Add in the rice and sauté for a couple minutes until the rice absorbs some of the oil. Then add in the 1 cup of white wine and sauté until all the wine is absorbed by the rice.
- Once the wine is absorbed, add 1/2 cup broth to the rice and stir until the broth is absorbed. Continue adding broth 1/2 cup at a time, stirring continuously, until the liquid is absorbed and the rice is cooked.
- Once the last of the broth has been absorbed, stir in the cooked sausages and mushrooms (with any of their liquids) and stir until the liquid is absorbed. Then turn off the heat, add the parmesan and stir until melted. Salt and pepper to taste. Enjoy!
- Tip: To make it indulgent, stir in 50g of butter at the end before serving.