Date Published: March 29th, 2021 | Last Updated: Dec 10th, 2024
Author: Abby |Category: mains
Serves: 4 | Prep time: 20 mins | Cook time: 3 hours
*Updated Dec 2024: Updated with new and improved photos and a link to the shortcut Instant Pot version of this recipe.
Jump to recipe |
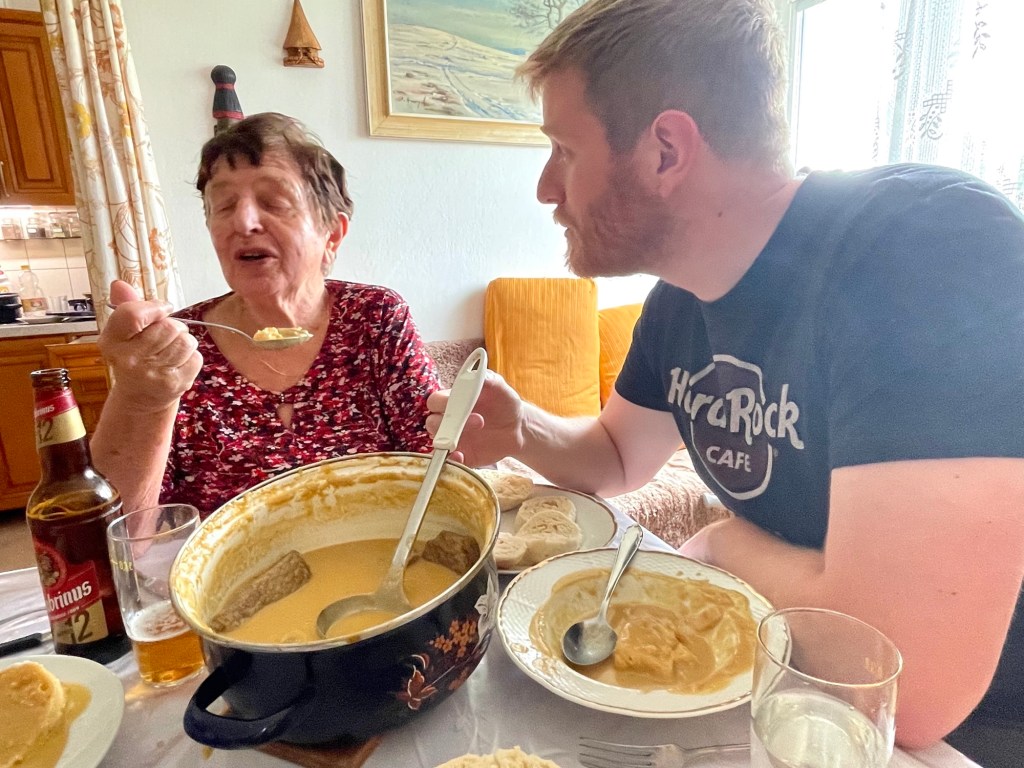
This is Toby’s babička’s (grandmother’s) version of a svíčkova. It’s Toby’s all time favourite Czech dish that he learned from his babička when we first started cooking together so he could show me what authentic Czech cuisine is. There are many different ways to make this dish but this is the version Toby has grown up knowing and will forever be his favourite version. He has made this for me a handful of times over the years and its so damn delicious every time that we just had to add it to this website collection of recipes.
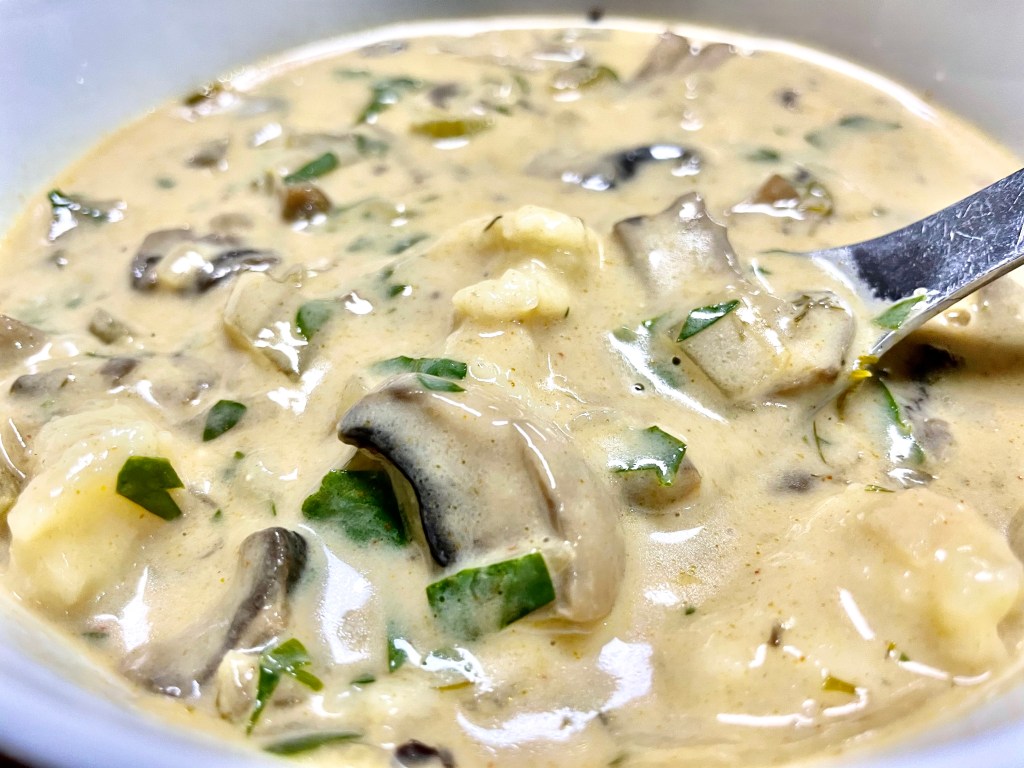
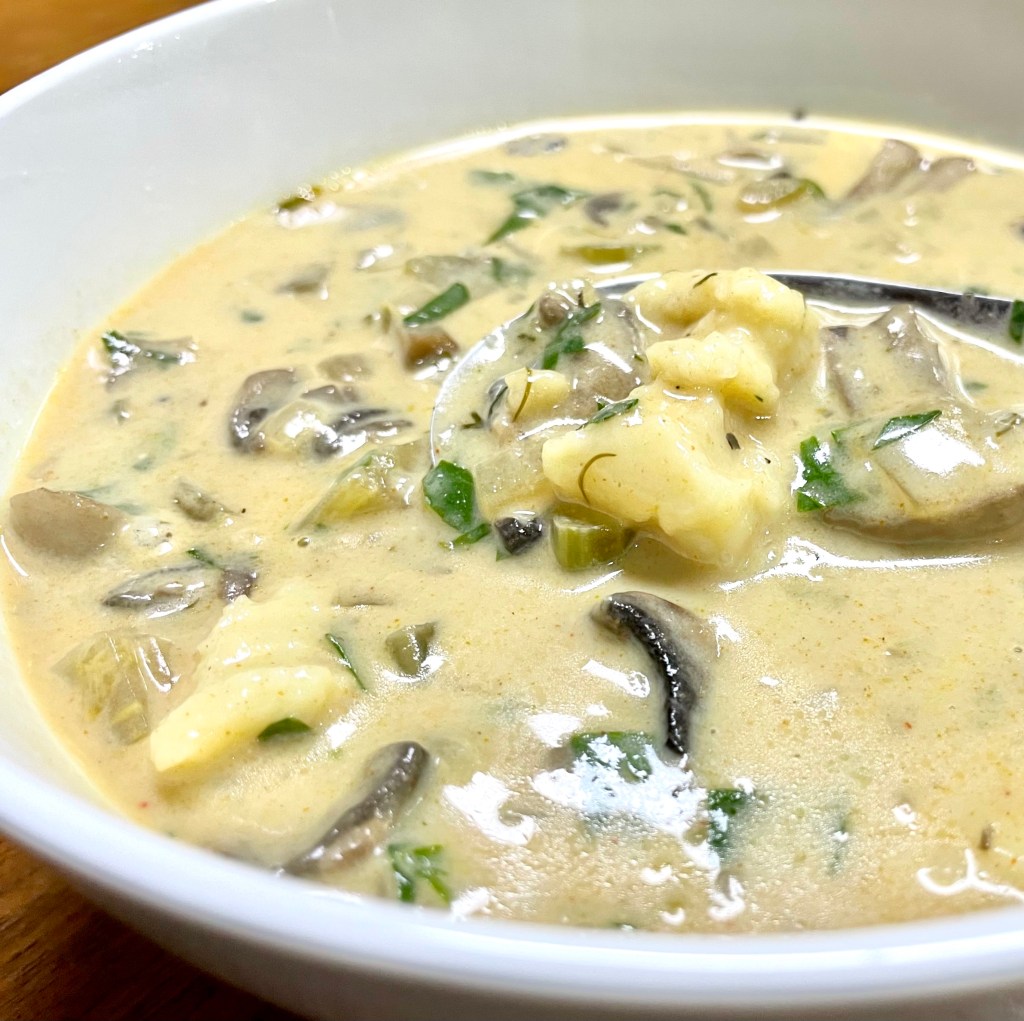
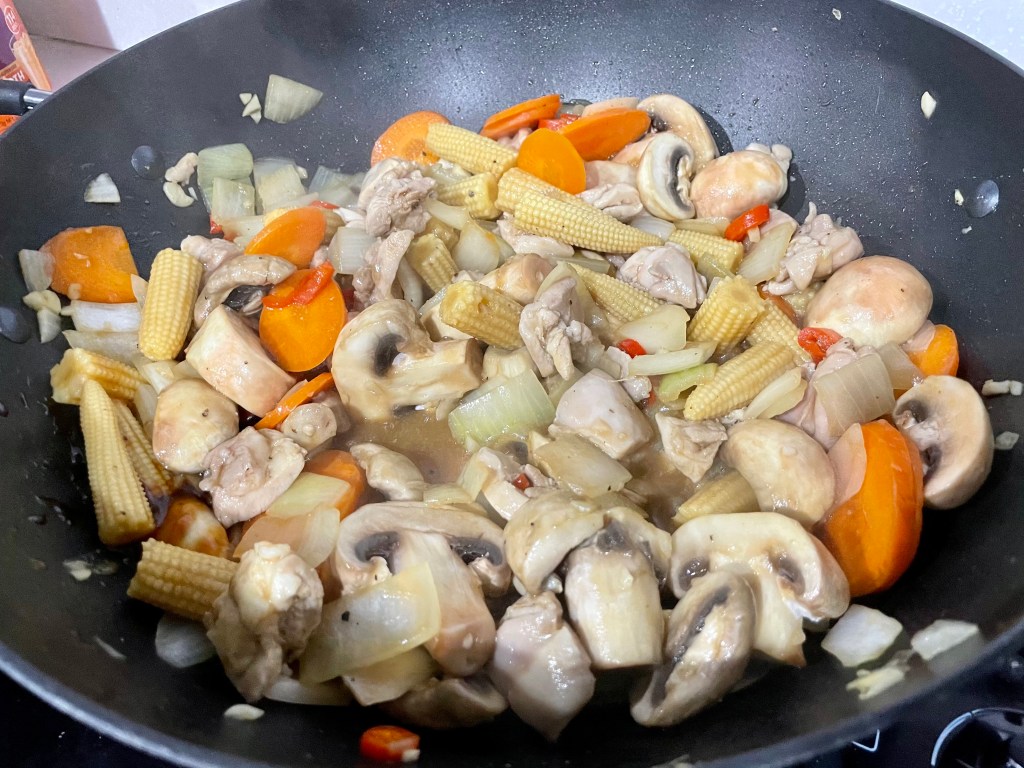
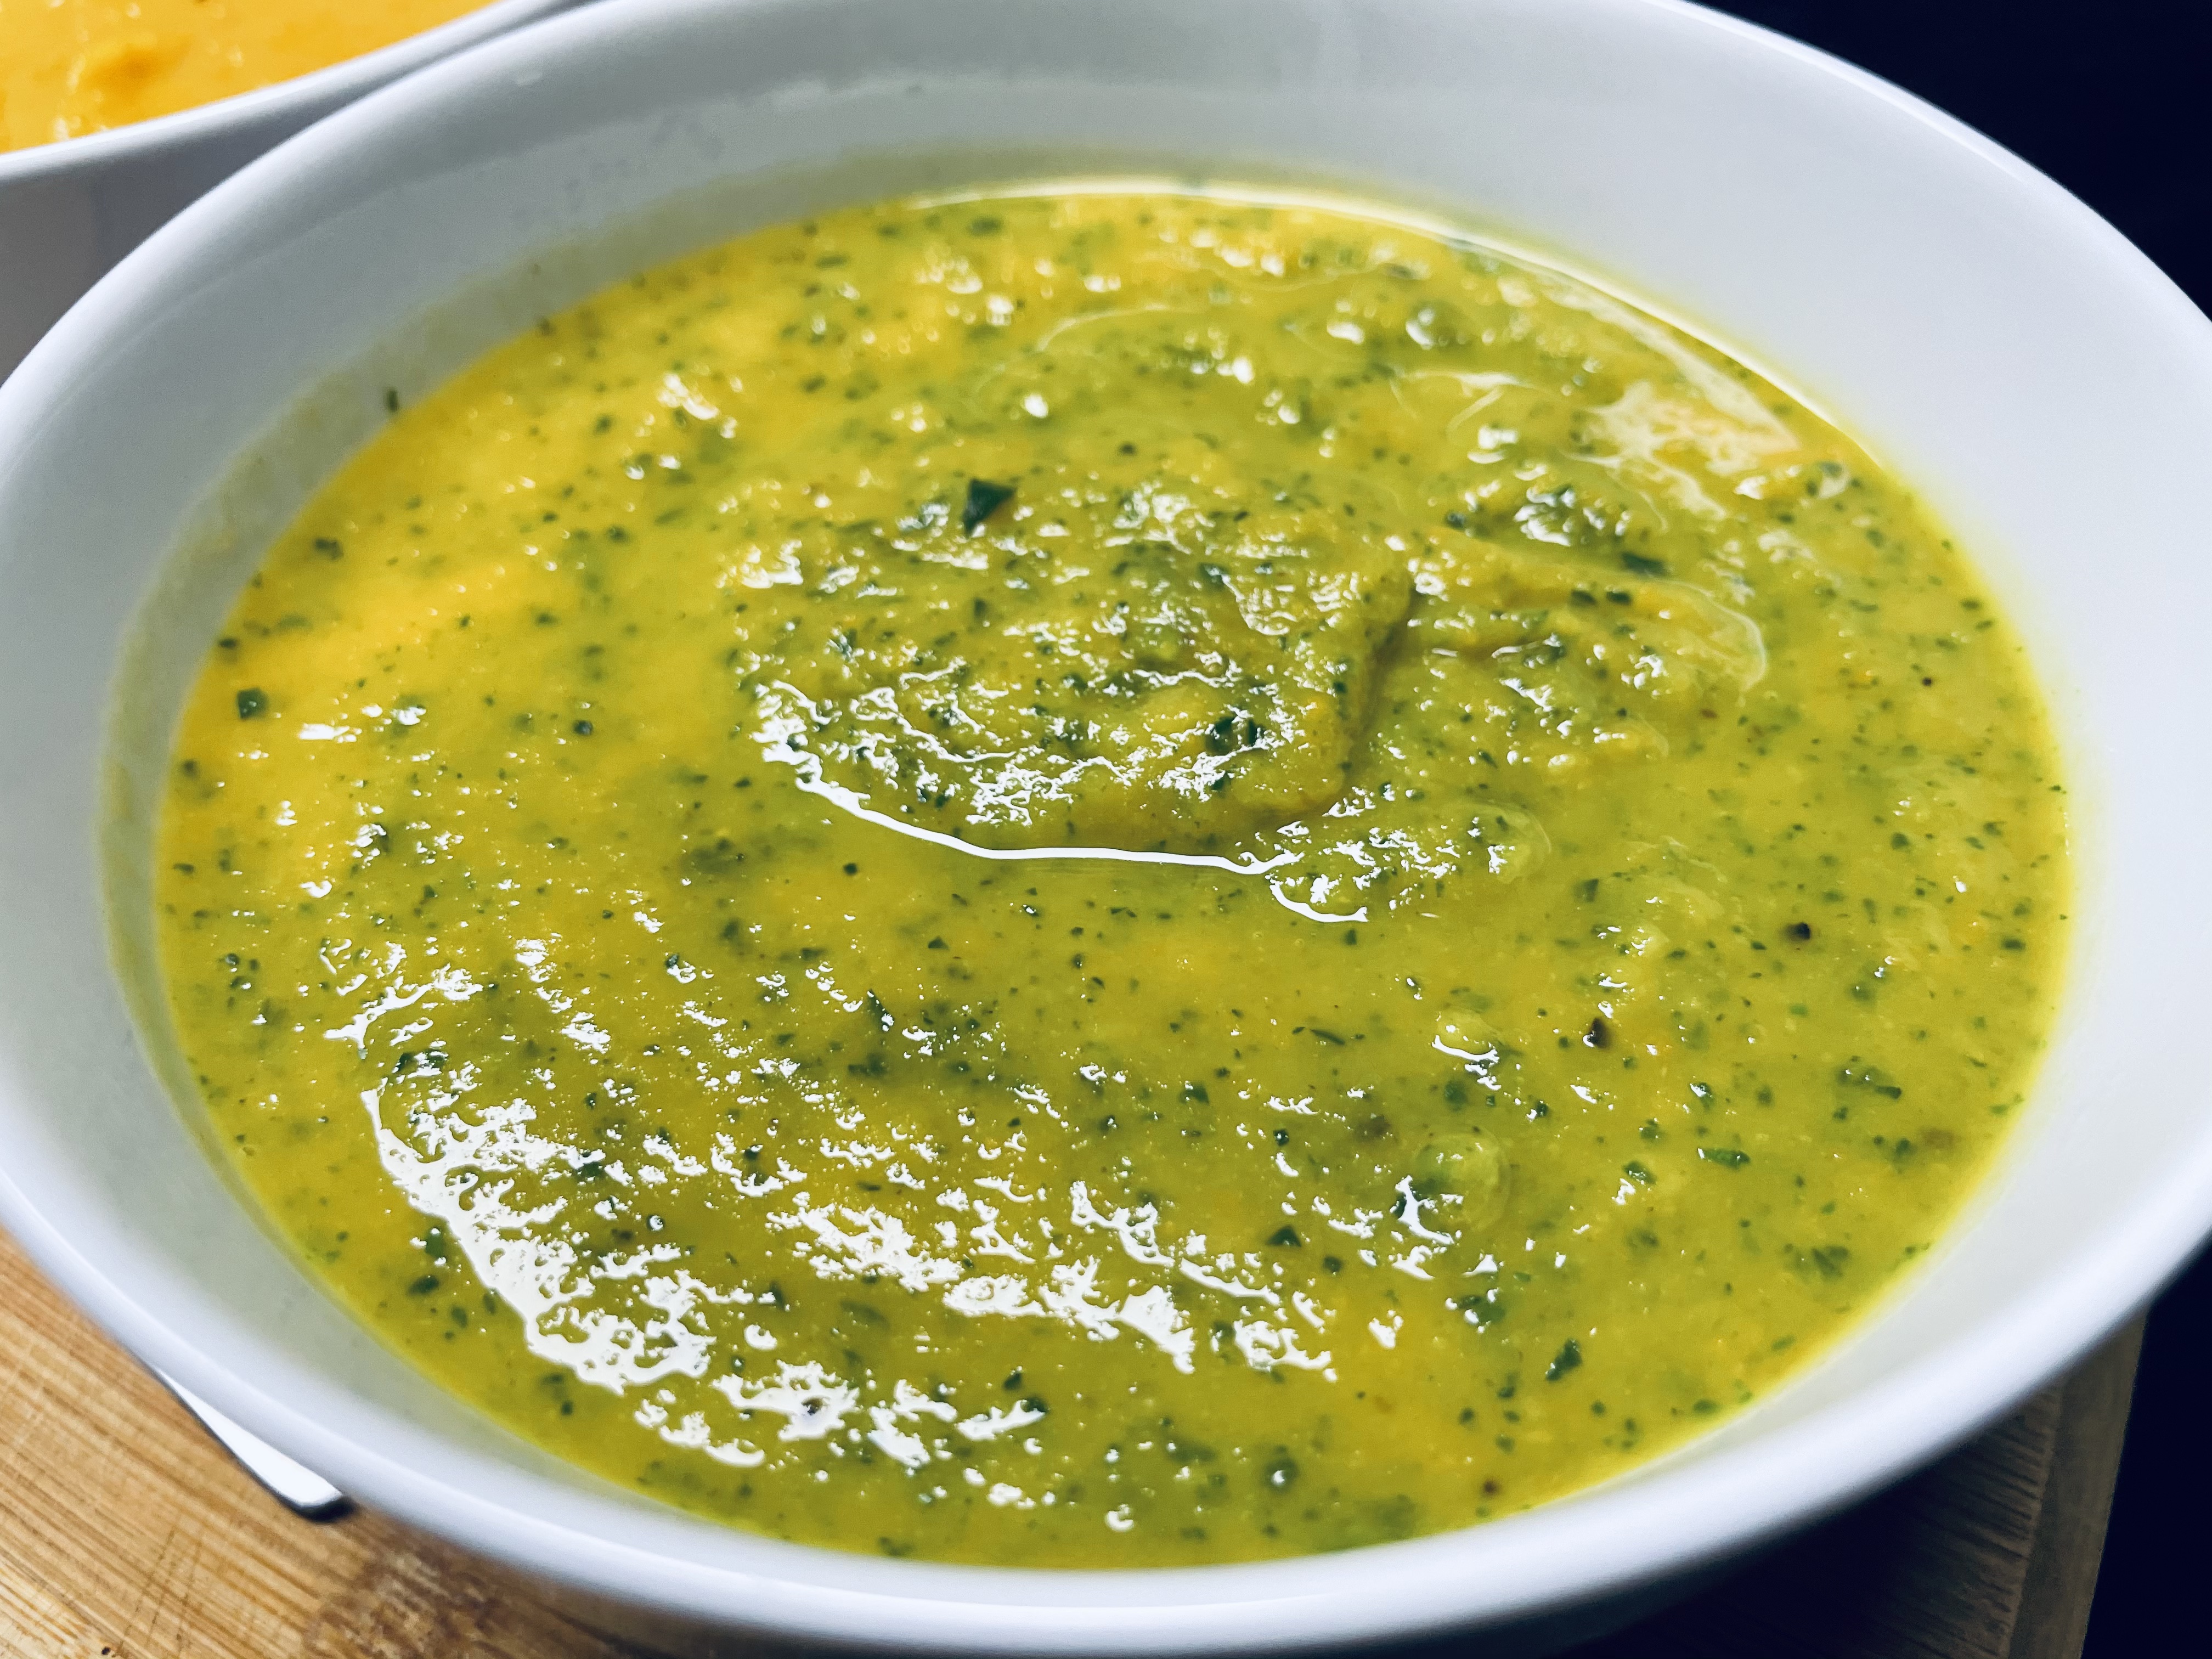
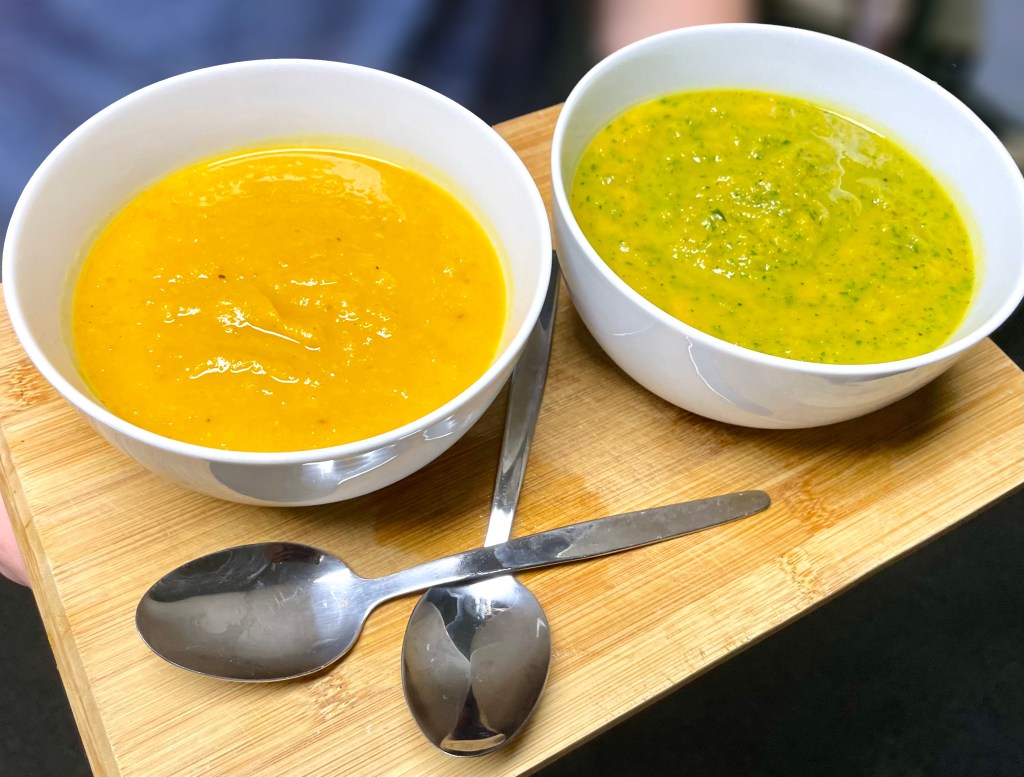
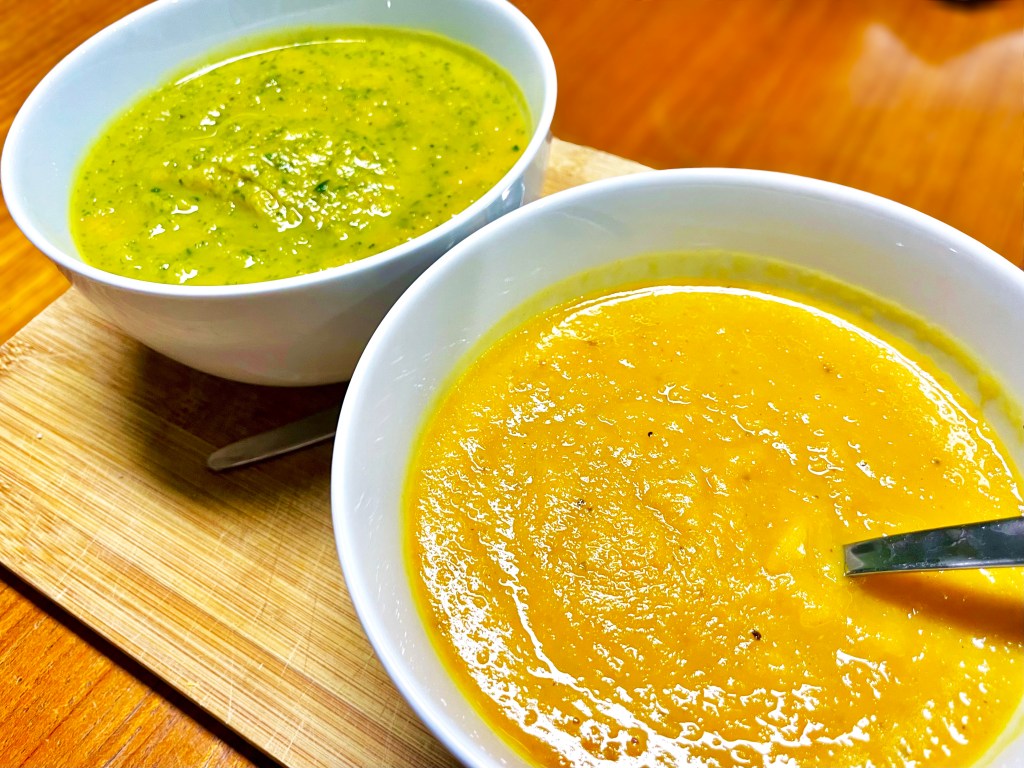
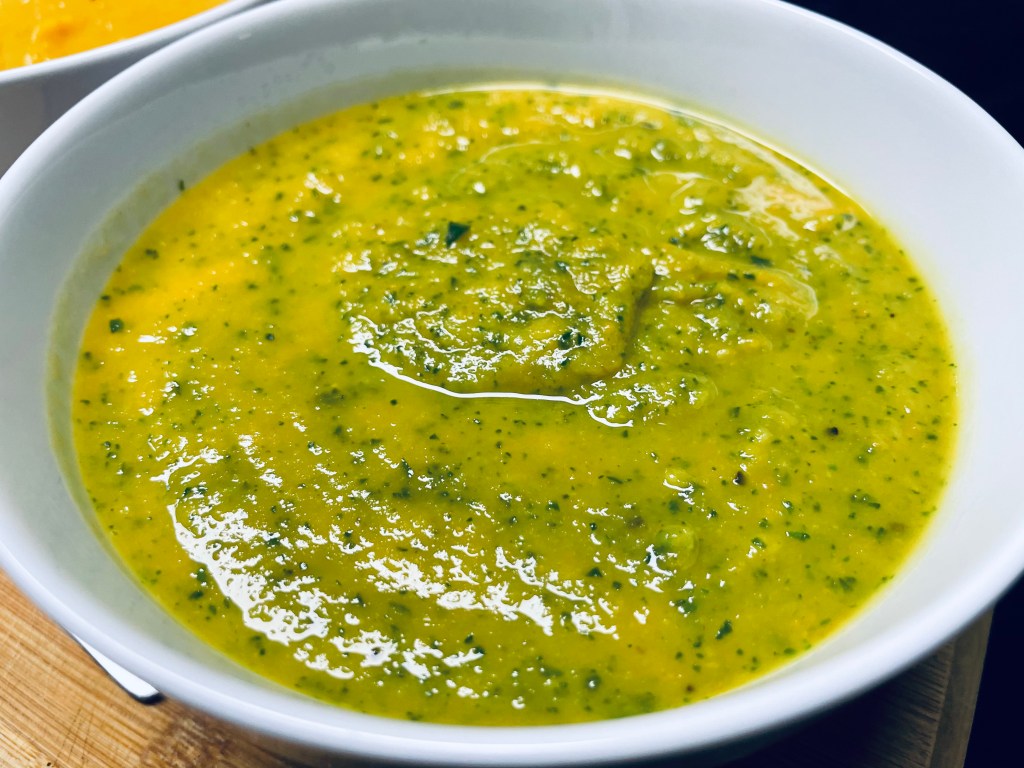
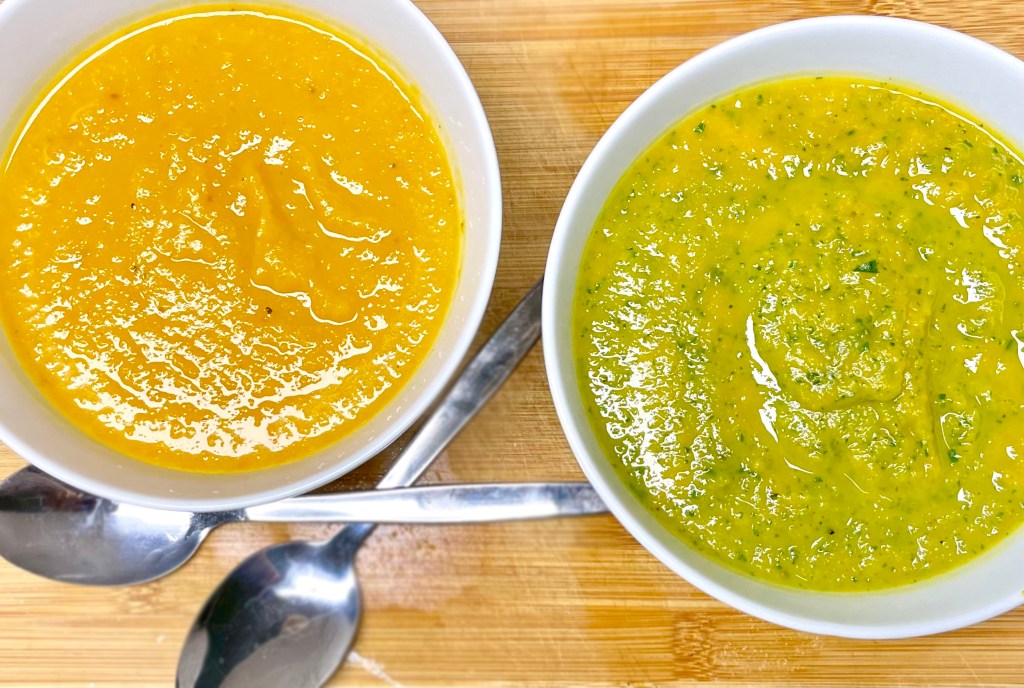
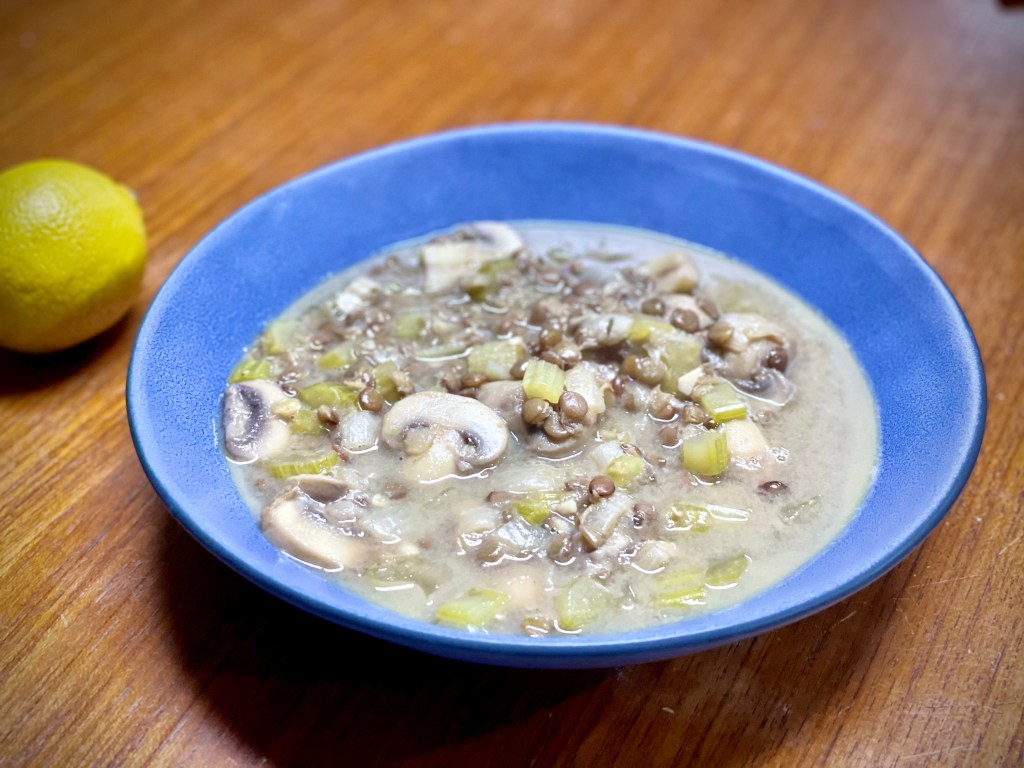
Svíčkova is one of Czech’s most popular dishes – I can see why! In its simplest terms, svíčkova is a steak dish served with knedlíky (Czech bread dumplings) and smothered in the most addicting creamy vegetable sauce made of parsnip, celeriac, carrots and onion. There’s a slight lemon-y tang to the sauce that balances out the heaviness of the cream. The knedlíky is my favourite part of this dish because the fluffy bread just soaks up all the delicious sauce. The sauce is meant to be on the runny side, rather than a thick gravy – I’m always super tempted to just drink the sauce as a soup every time. The sauce is the star of the show.

Although this dish is pretty straight forward, there are a few steps to it and it takes time for the flavours to slowly simmer out – allow about 3.5 hours total.
Updated Dec 10th, 2024: If you have an Instant Pot pressure cooker, I’ve just recently published a short cut version of this recipe, cutting down the cook time from 2.5 hours to 1 hour in total. Check it out here.

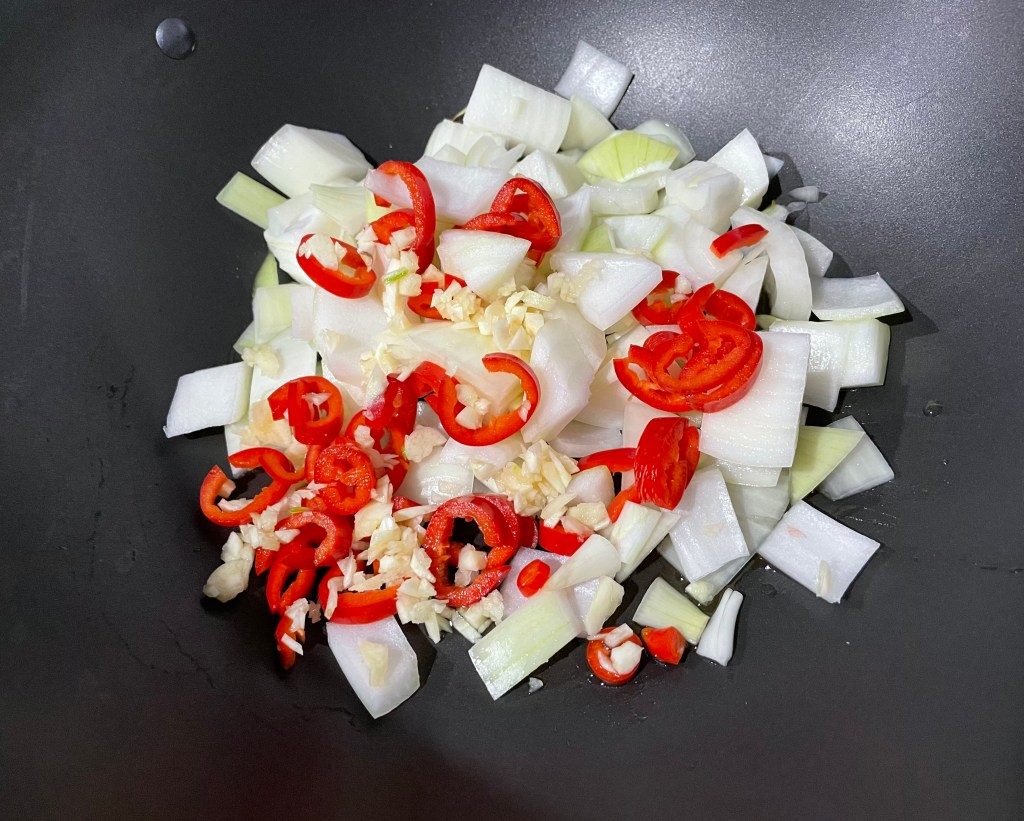
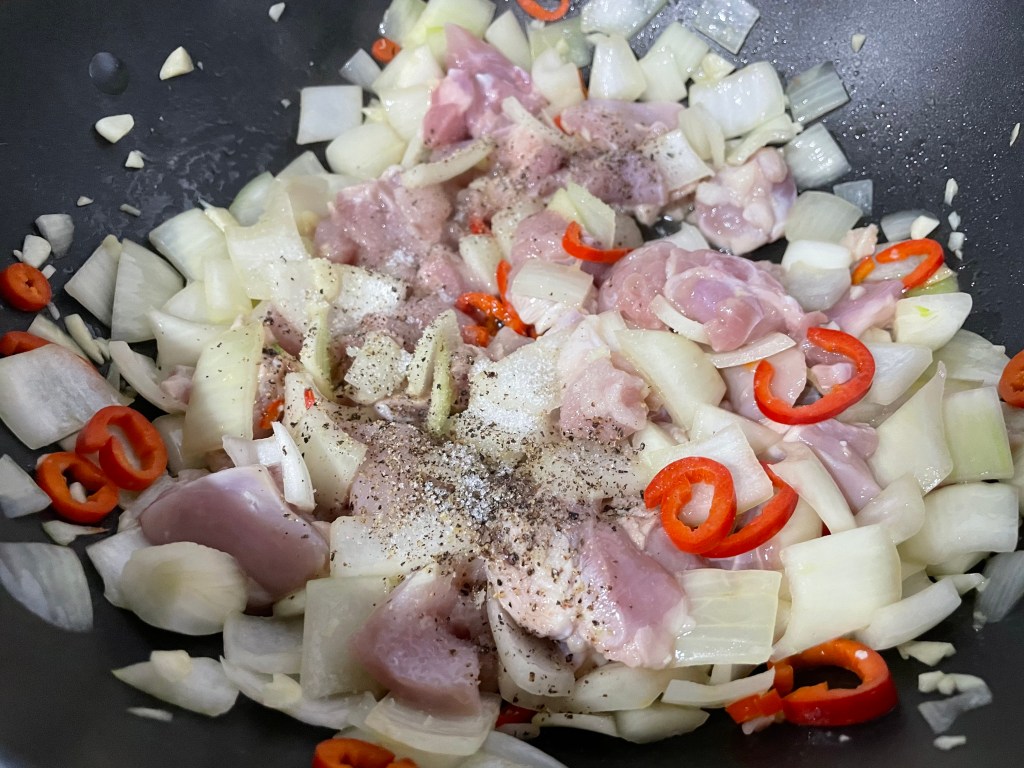
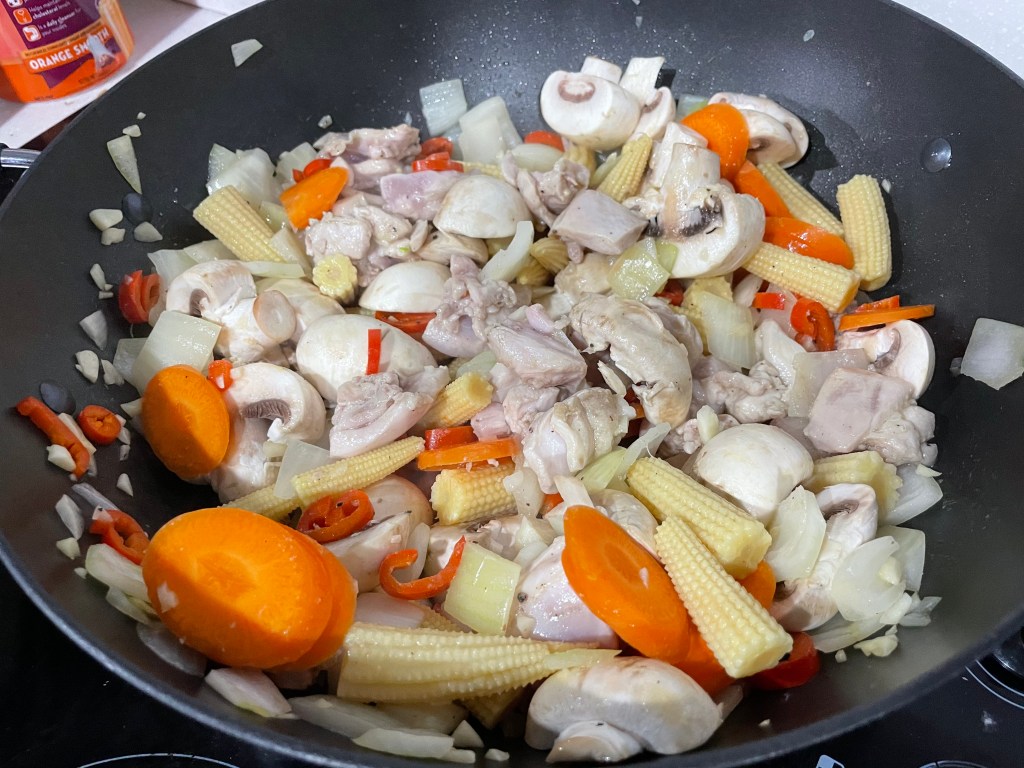
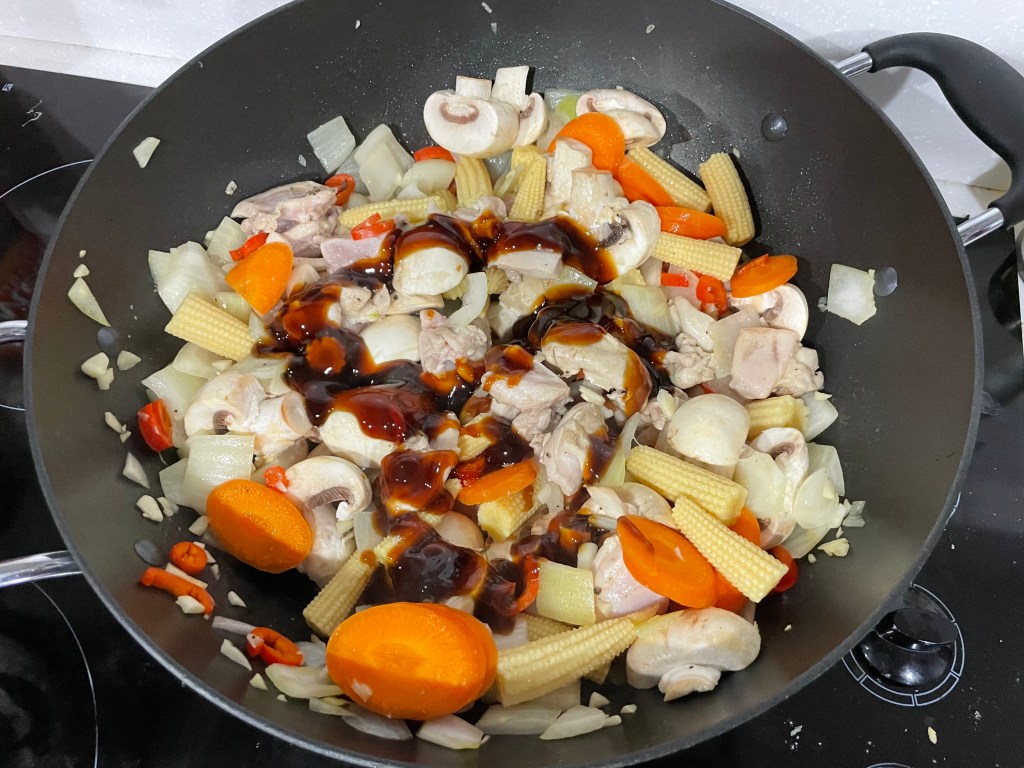
Instant Pot Svíčková – a Shortcut to Babička’s Classic Beef with Vegetable Cream Sauce
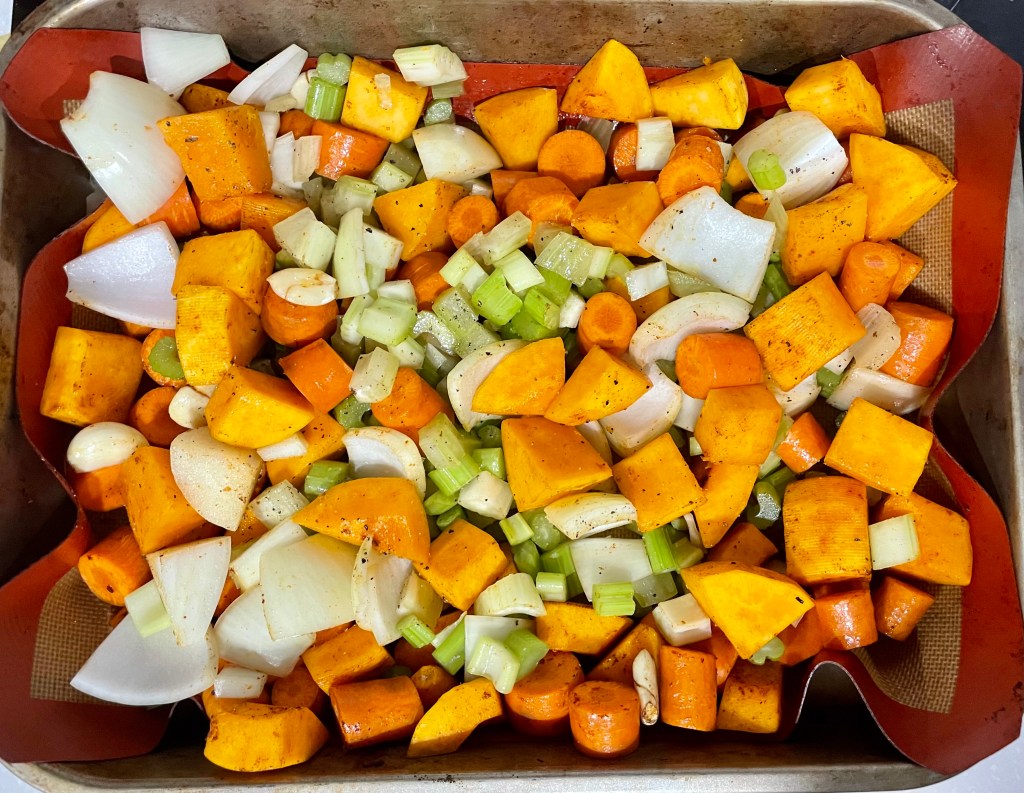
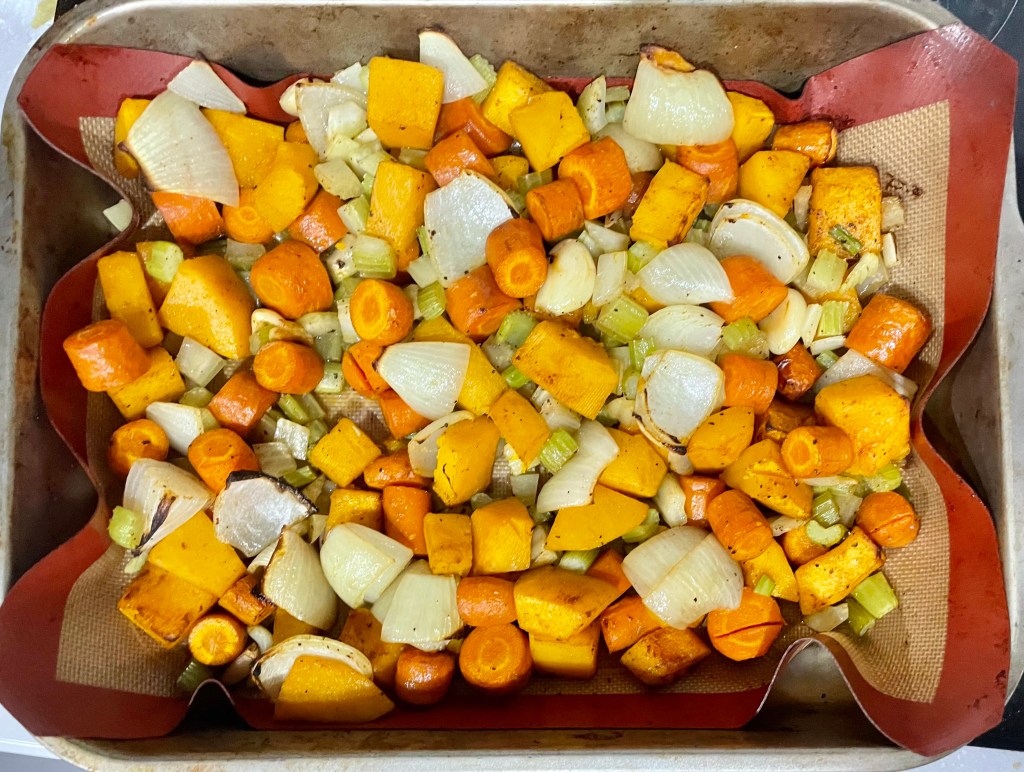
This recipe is a shortcut version from the OG svíčková recipe that cuts down the cooking time from 3.5 hours cook time to 1 hour. You’ll need an Instant Pot or other pressure cooker for this recipe.
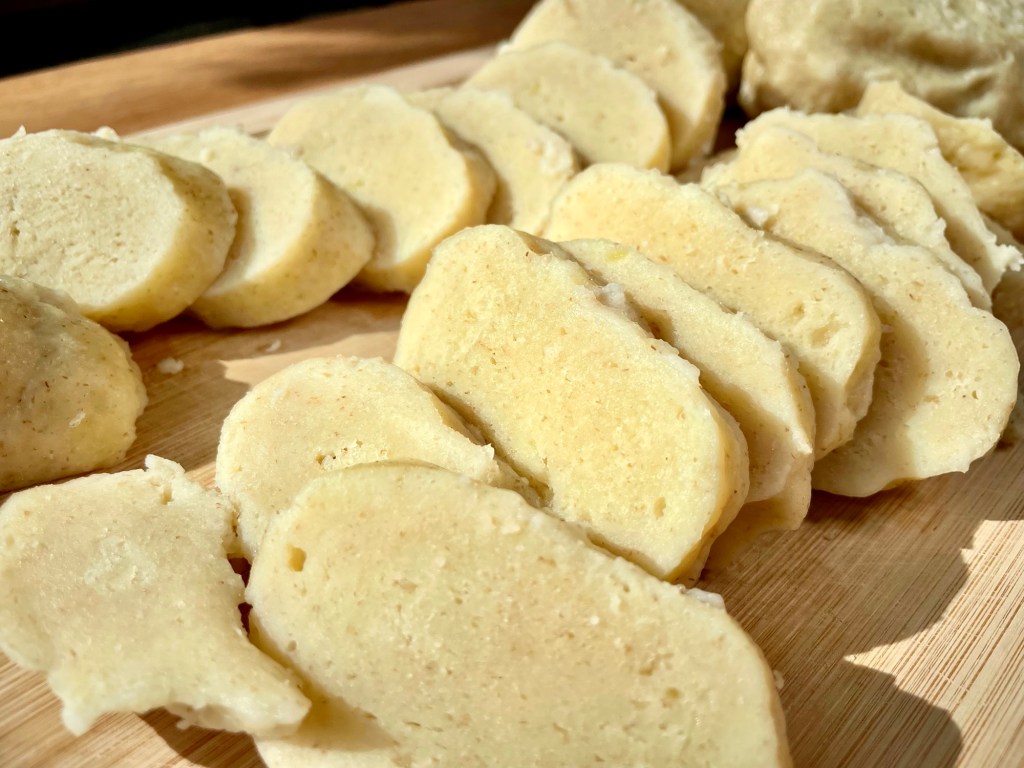
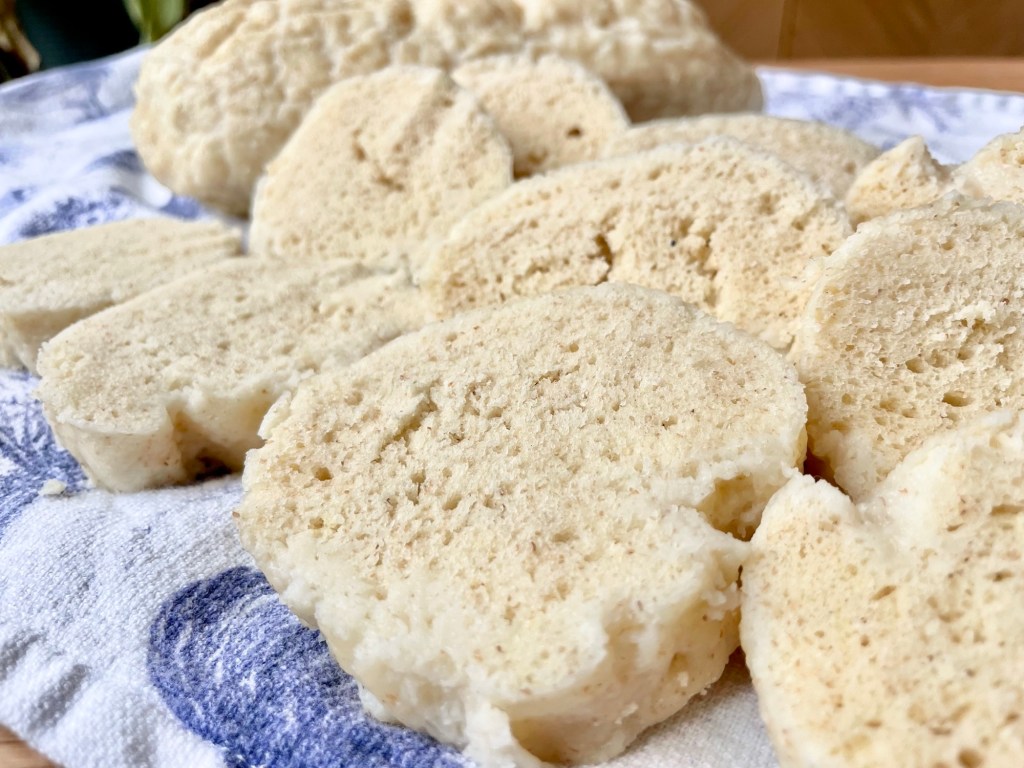
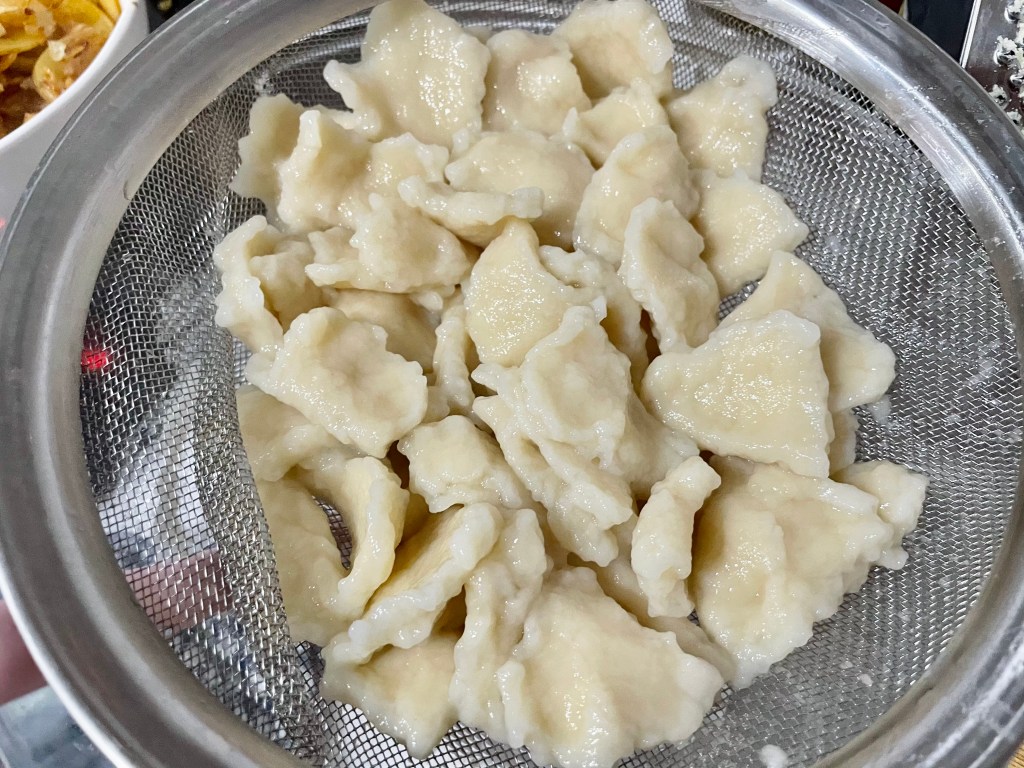
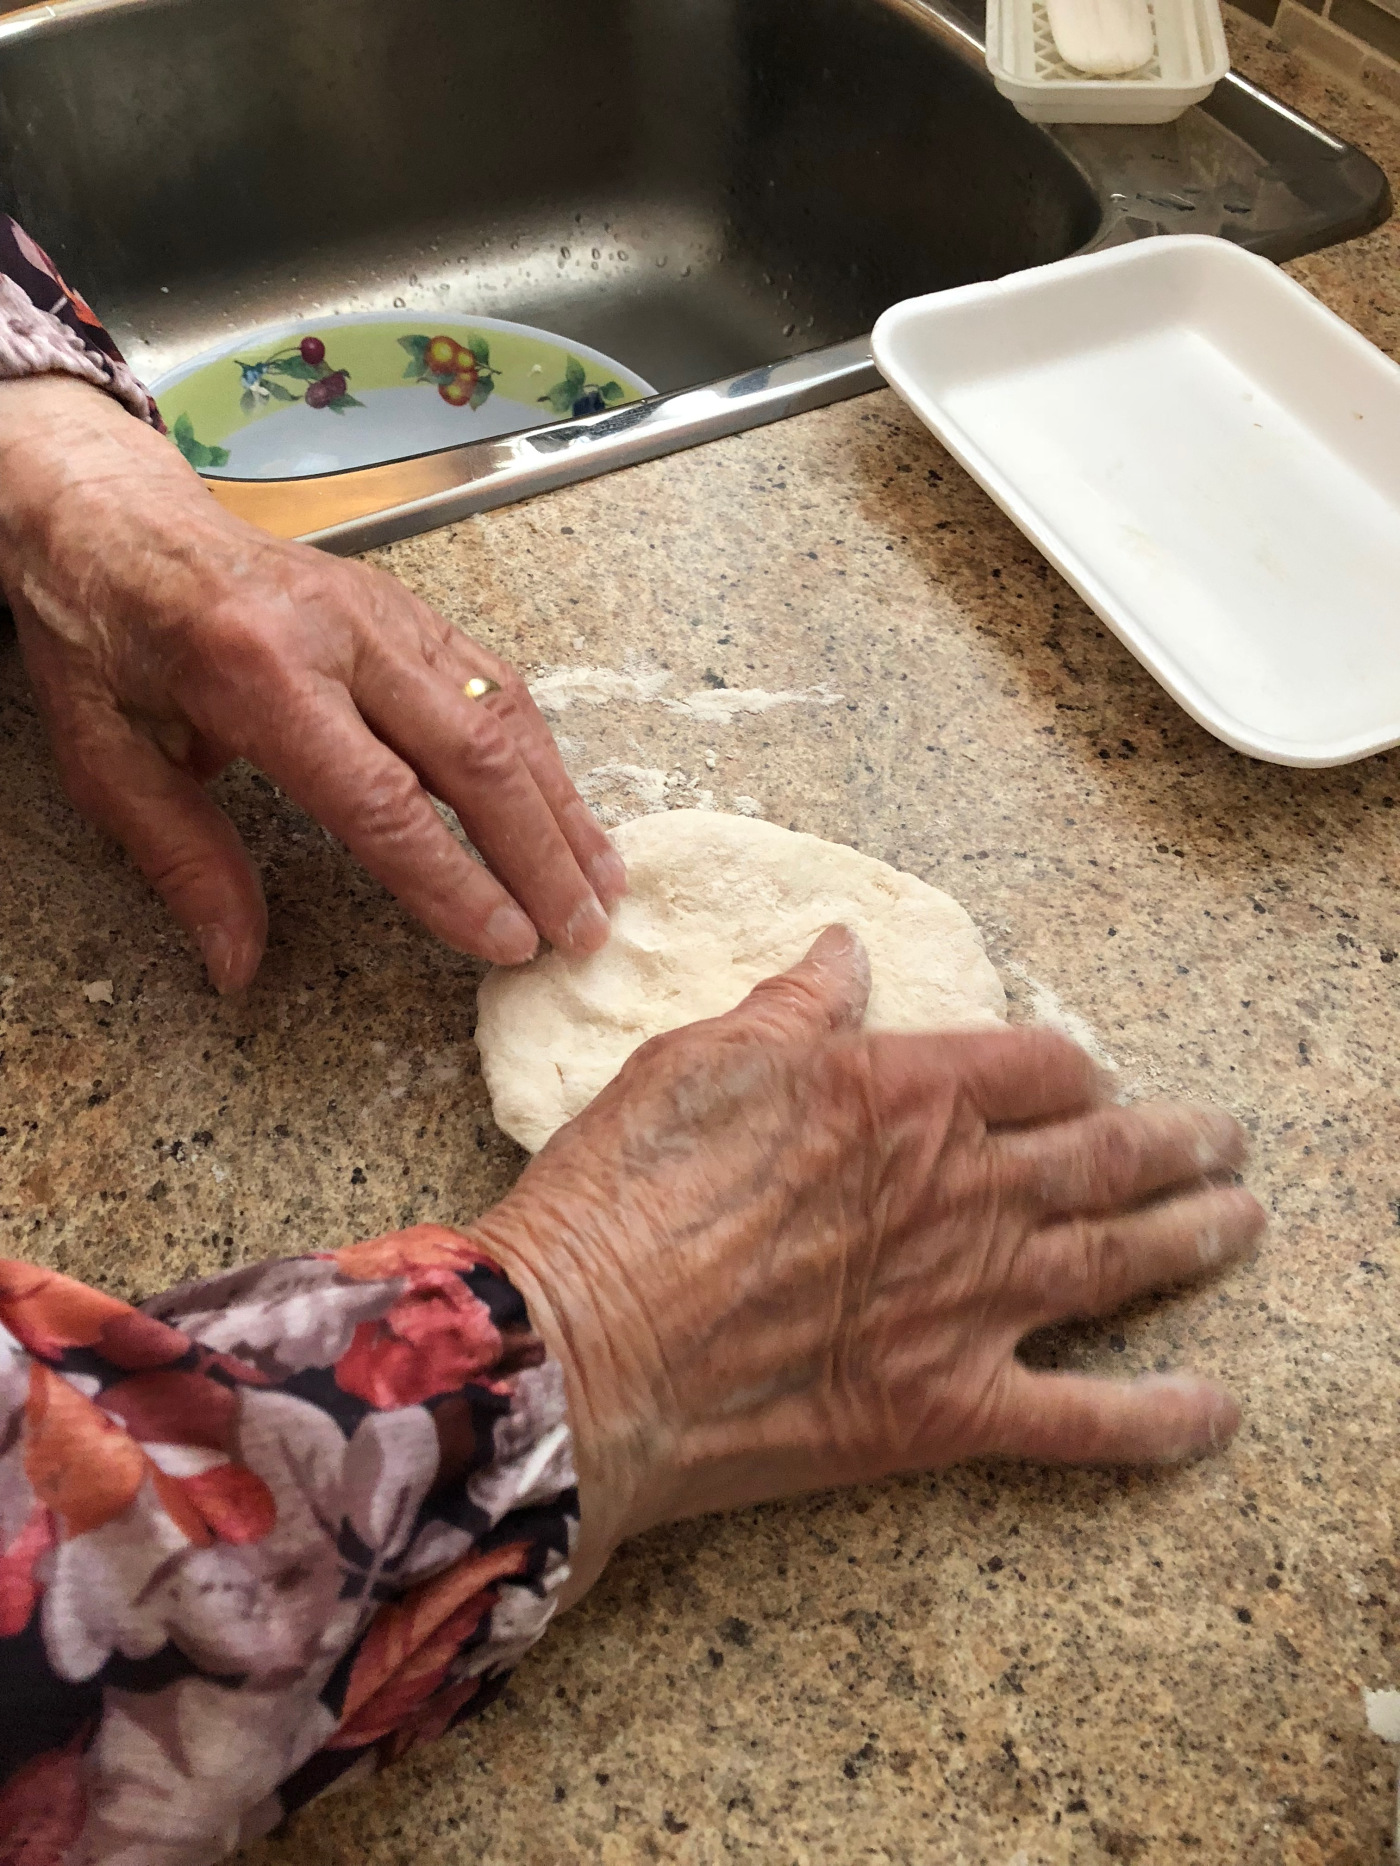
Here are two recipes for knedliky – one is a flour/bread base (houskové knedlíky) and the other is a denser potato base (bramborové knedlíky). Svíčkova is usually served with the flour based dumplings.


Anyways, without further ado, here’s the recipe! If you have any comments or suggestions, I’d love to hear from you in the comment section! You can follow me on instagram, youtube and facebook to see all the recipes I post!
Happy cooking!
Ingredients you’ll need:
- 2 Tbsps (50g) + 1 Tbsp (25g) + 25g lard
- 2 medium onions (~3 cups), diced
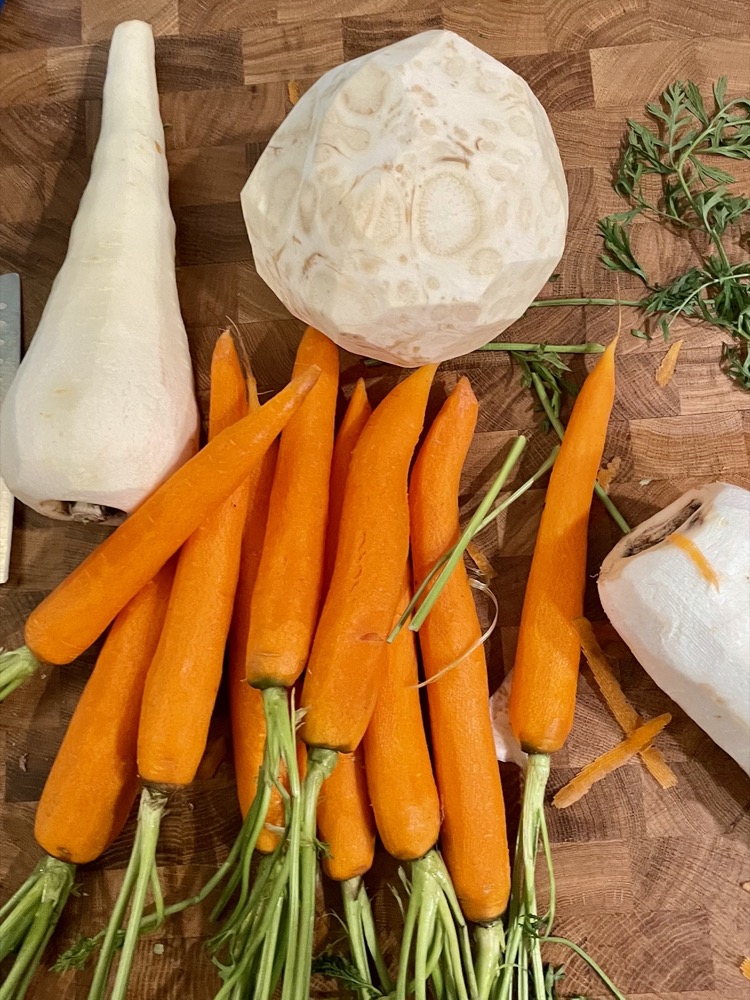
- 1 whole celeriac (~3 cups), peeled and grated
- Celeriac can come in a wide variety of sizes. The one we got was roughly bigger than a baseball: 370g before peeling and 300g after peeling which came up to about 3 cups once grated.
- 2 medium sized parsnips (~3 cups), peeled and grated
- 3 large carrots (~3 cups), peeled and grated
- 4 cups (1 litre) beef stock
- 10 whole black peppercorns
- 10 whole dried allspice berries (or 1/2 tsp ground allspice)
- 4 dried bay leaves
- 1 tsp salt
- 1 tsp ground black pepper
- 600-700g good quality steak (ie scotch fillet, eye fillet, rump steak – the less tendon, the better)
- 200ml thickened/heavy cream
- 2 Tbsps lemon juice (or more to taste)
- Serve with knedlíky (Czech bread dumplings) and wedges of lemon
Directions:
A quick note about preparing the vegetables:
- The exact amount and size of vegetables aren’t important, as long as you roughly have equal amounts of the celeriac, parsnip, and carrots.
- Celeriac is a root vegetable and comes in a variety of sizes and is essentially a starchy celery. It’s got a green and white rough and wrinkly exterior that you want to remove by trimming it off with a knife until you get to the softer inside and the entire celeriac is white.

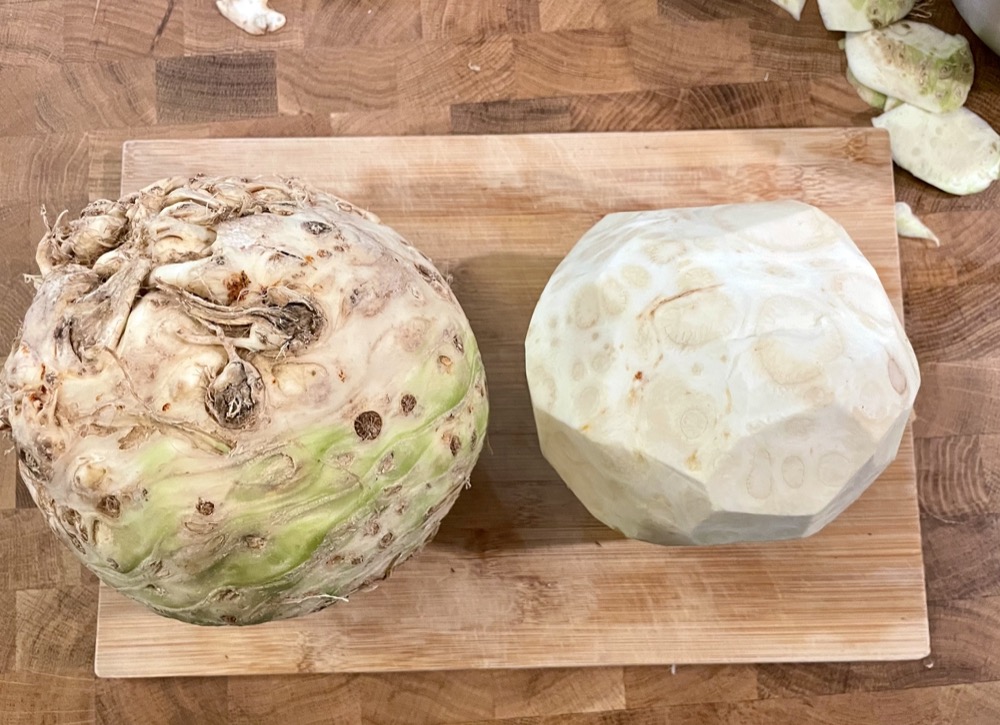
Intact vs peeled celeriac
- After you’ve peeled the vegetables, you can either dice them into small cubes, or the quickest way is to grate them in a food processor.


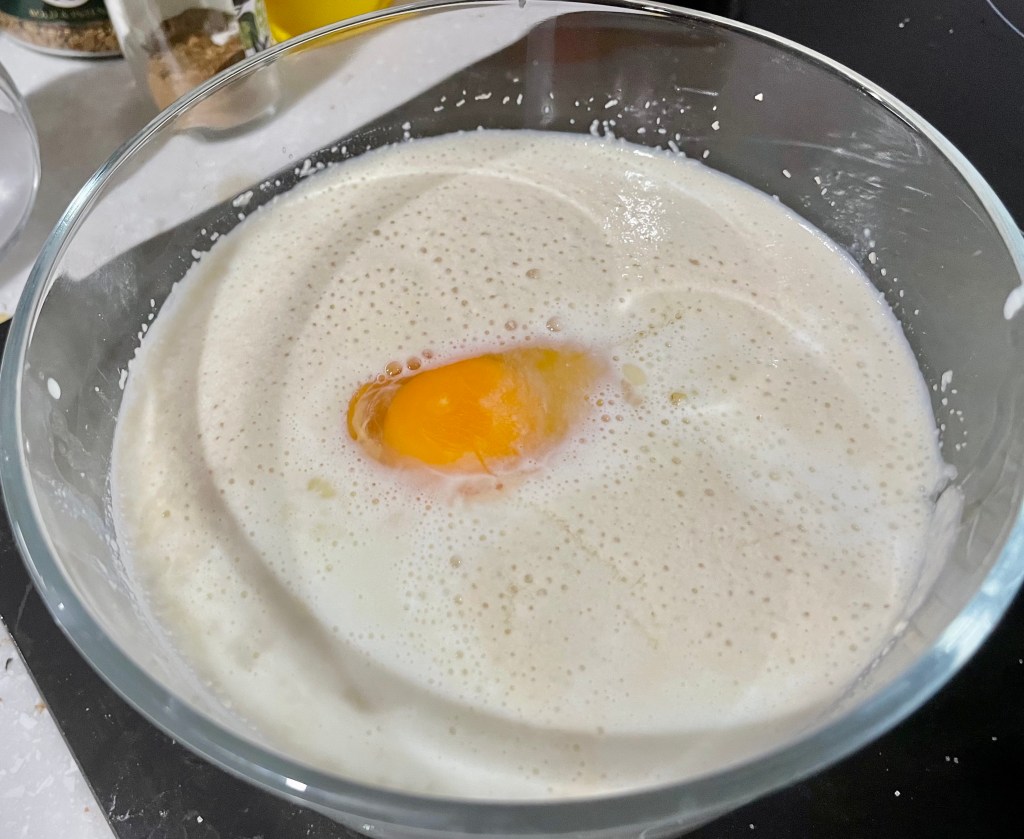
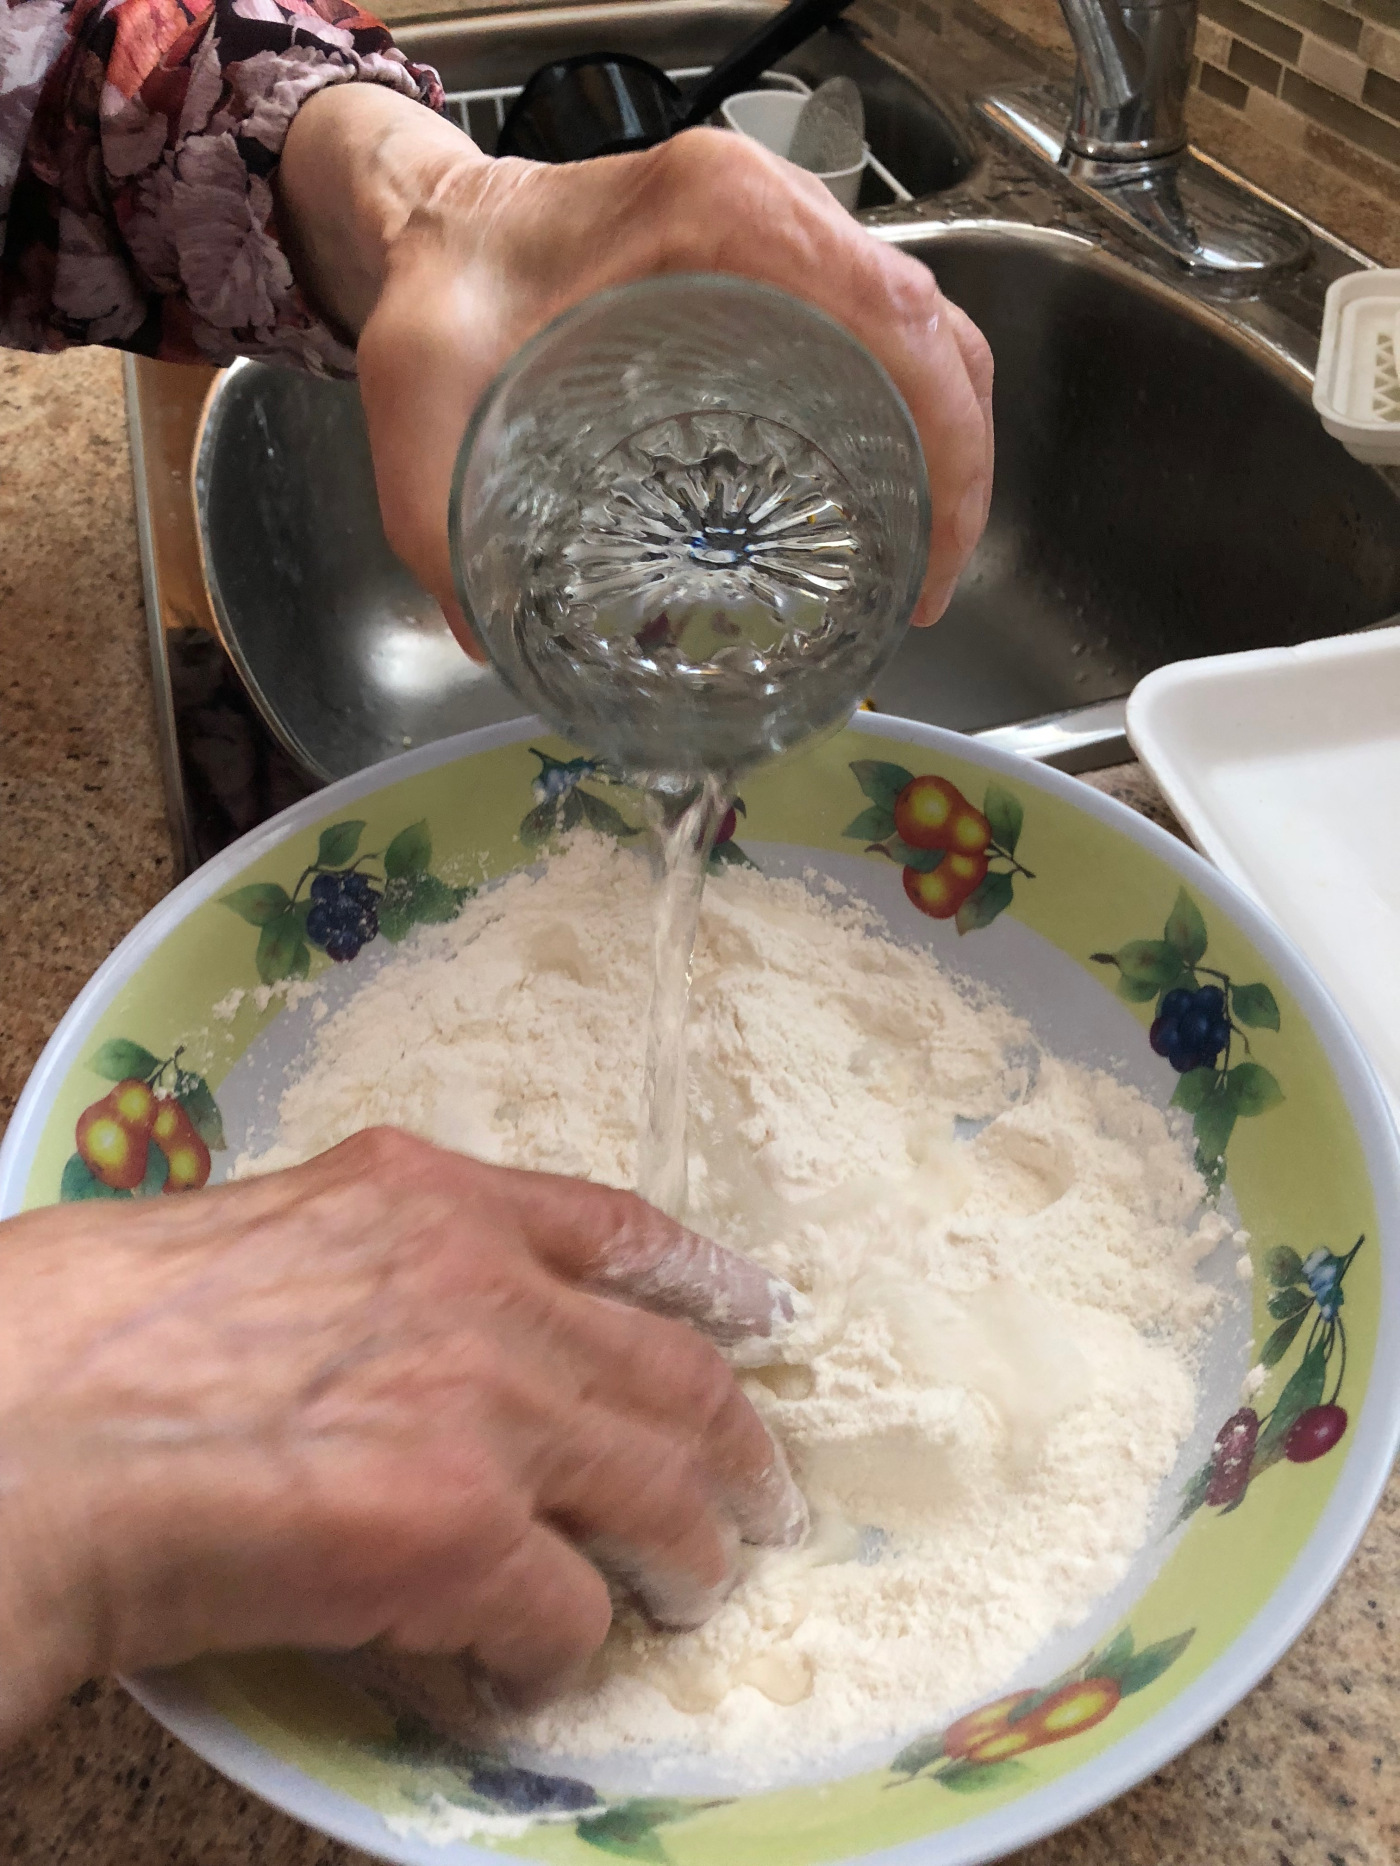
(If you haven’t already, you can make the knedlíky dough first and while it proofs for an hour you can start making the svíčková.)

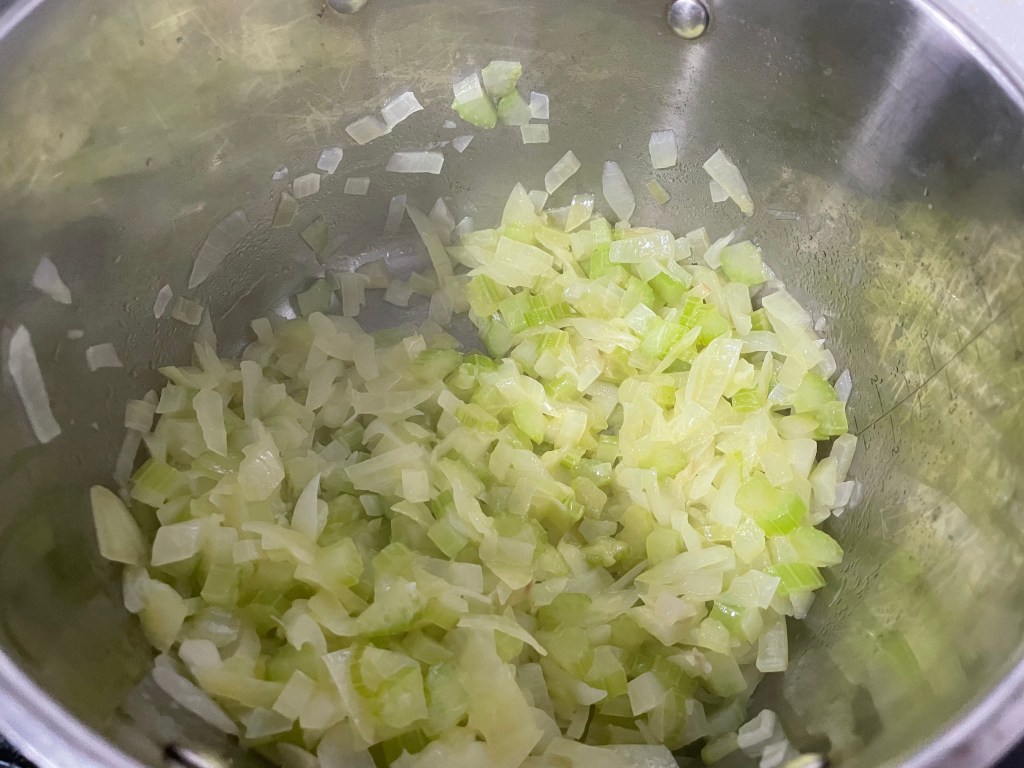
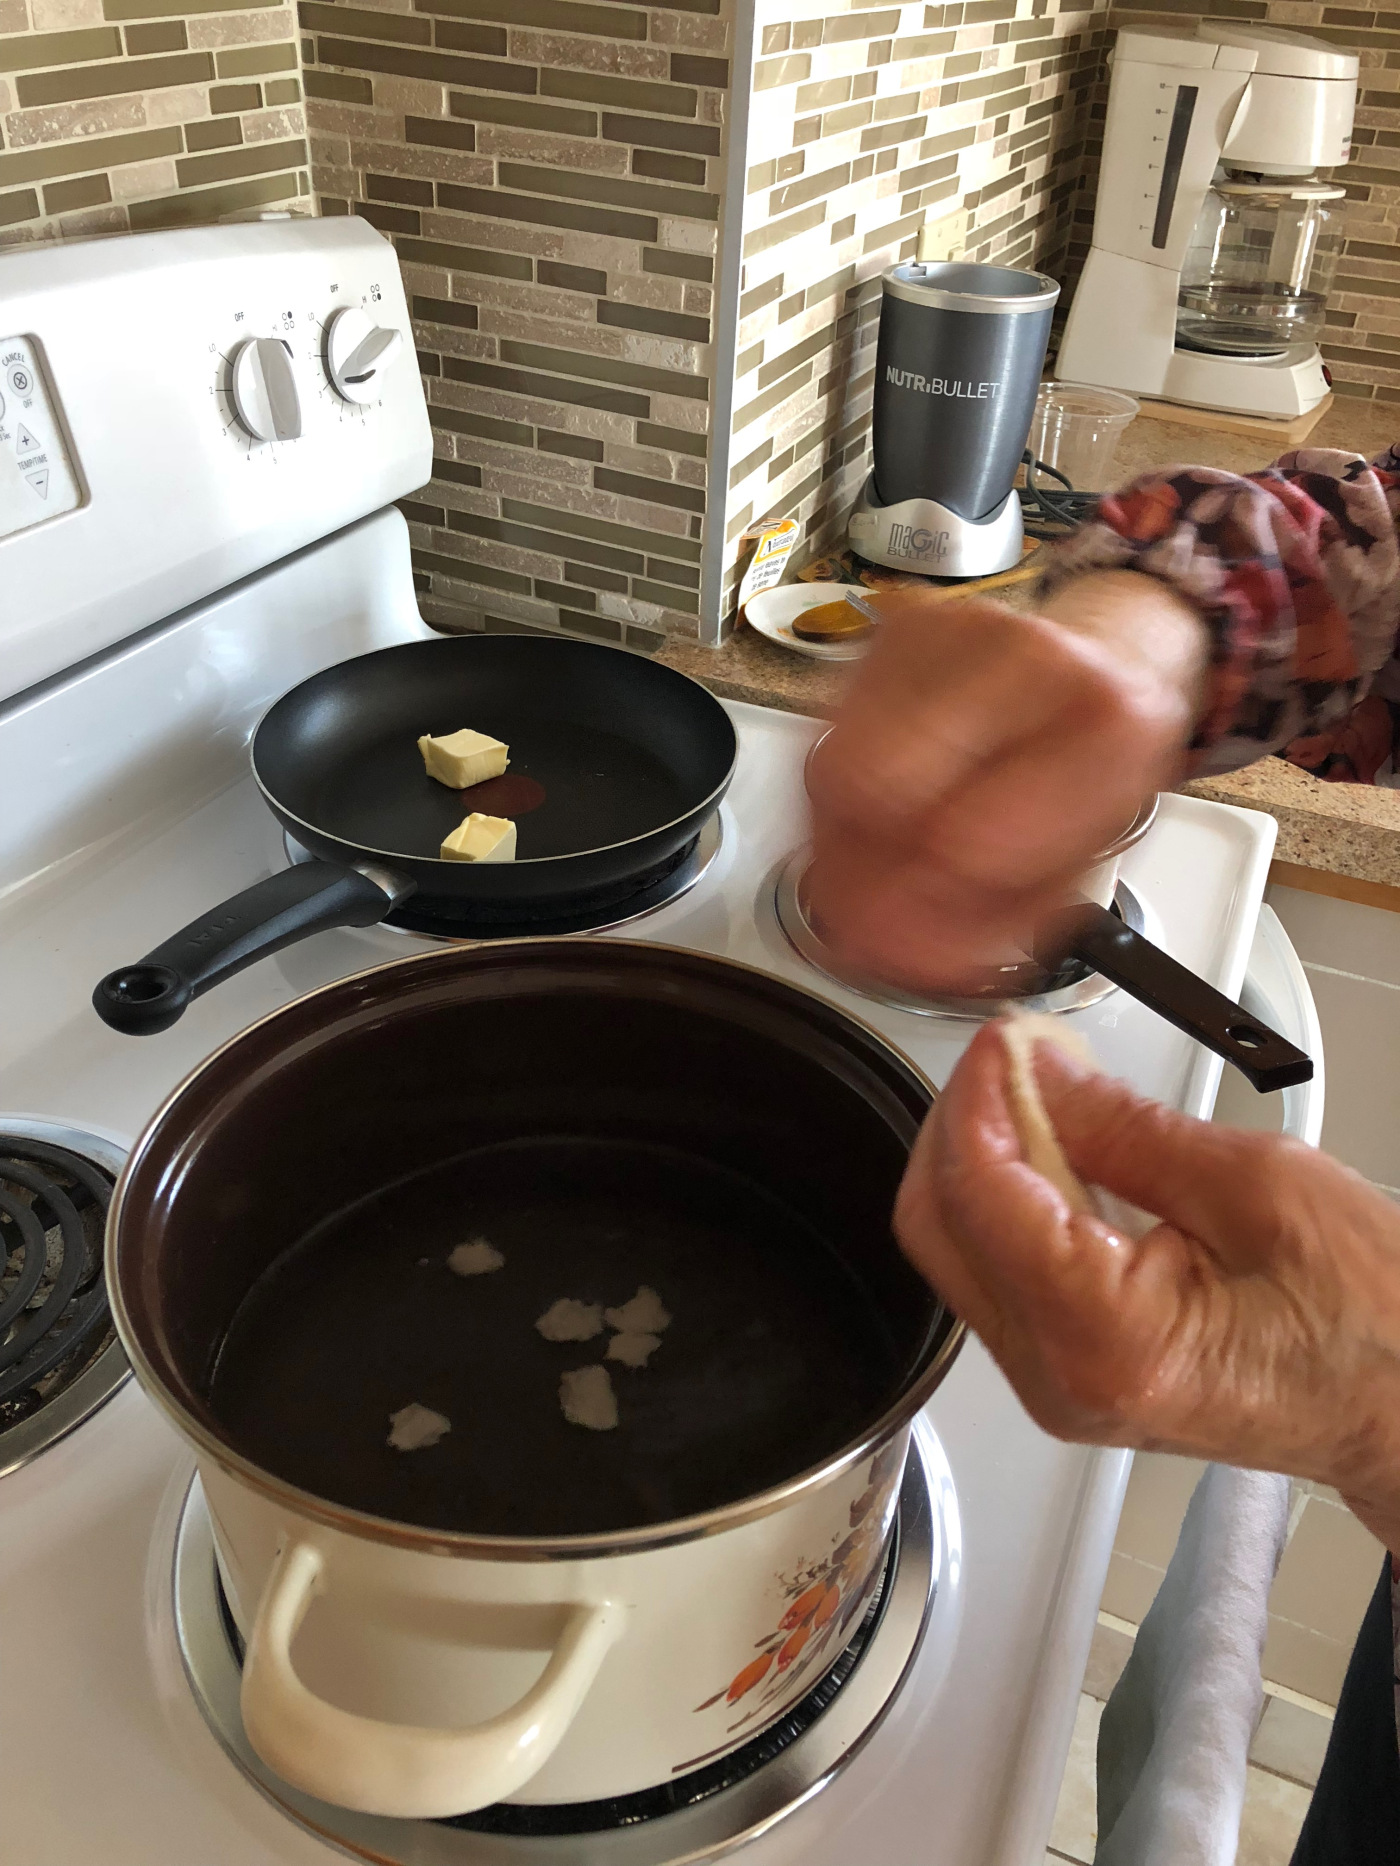
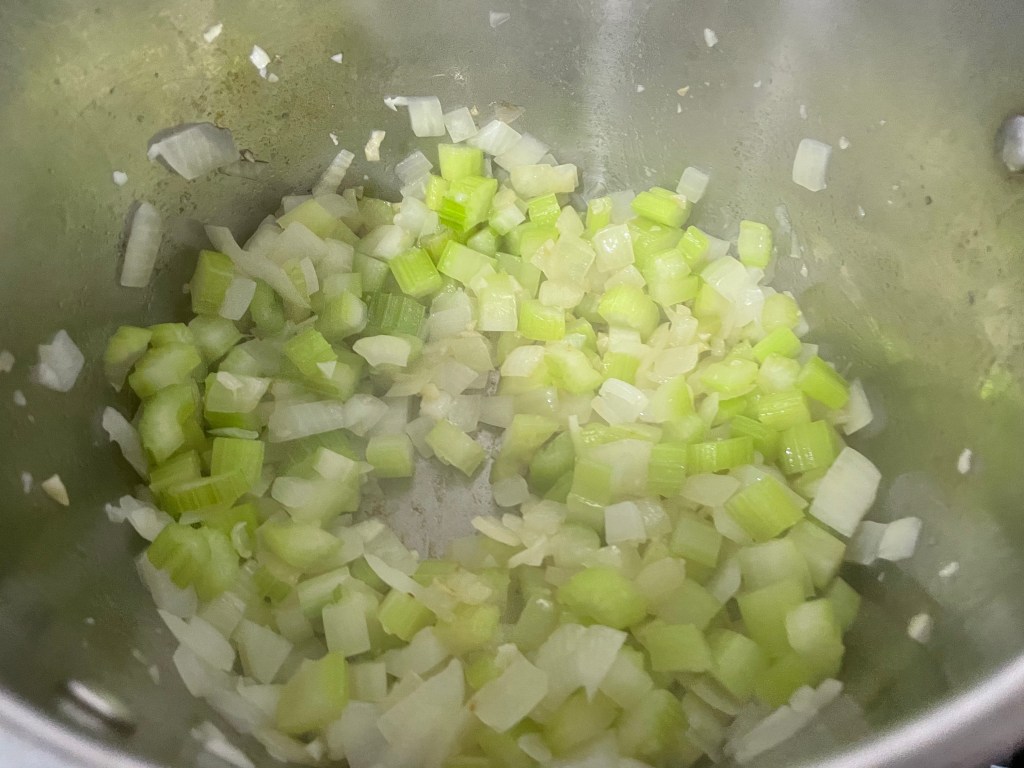
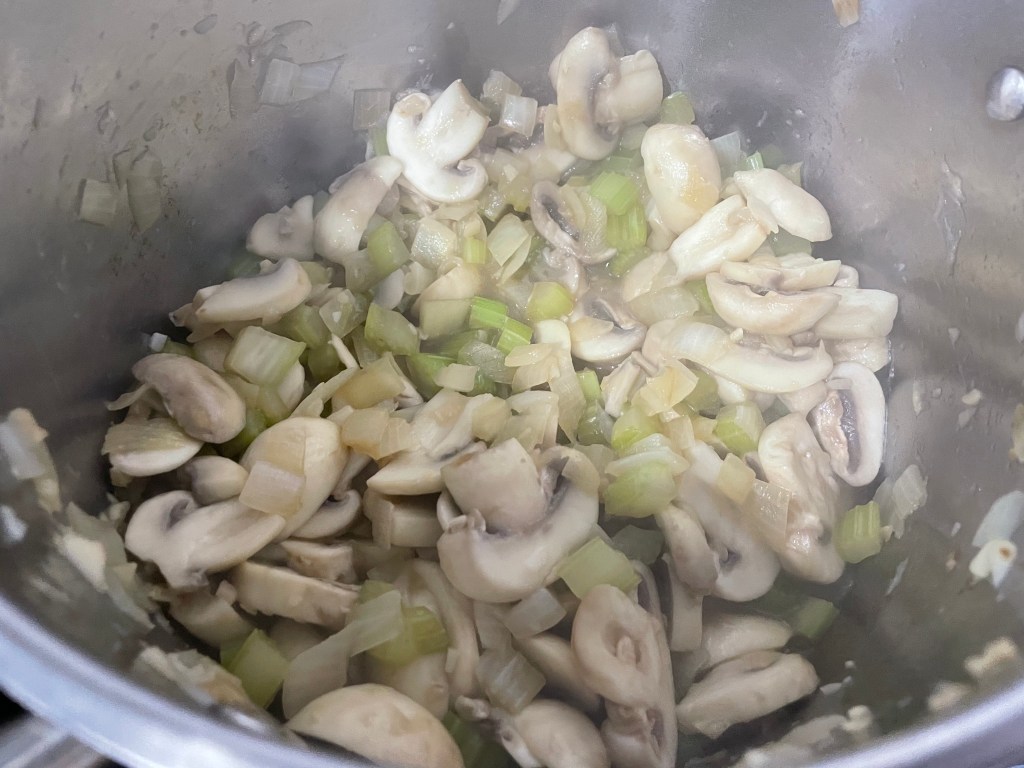
In a large pot on MED-HIGH heat, melt 50g of lard and add in the diced onions. Sauté the onions until lightly browned and translucent.


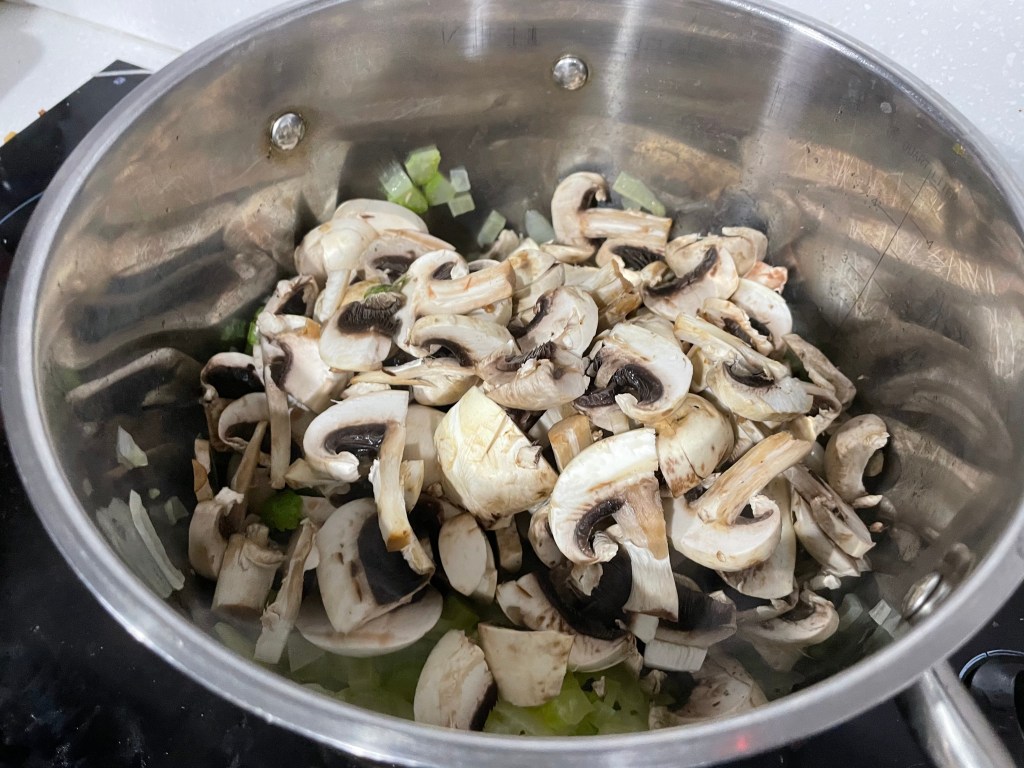
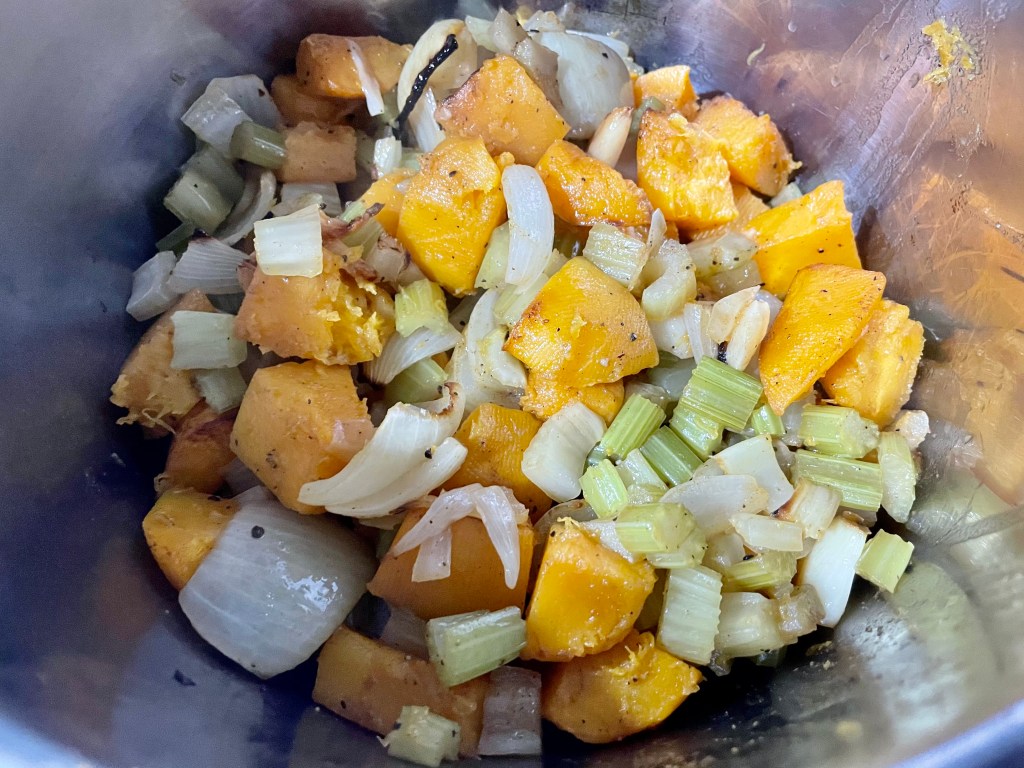
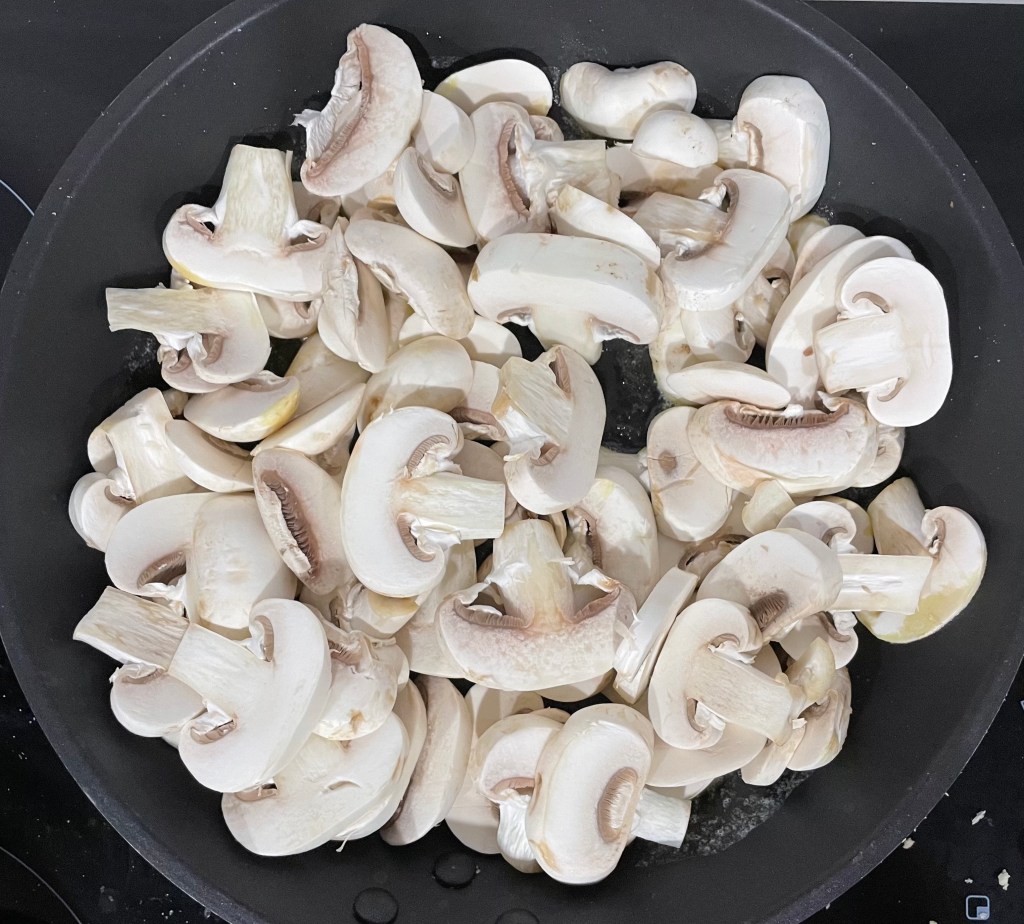
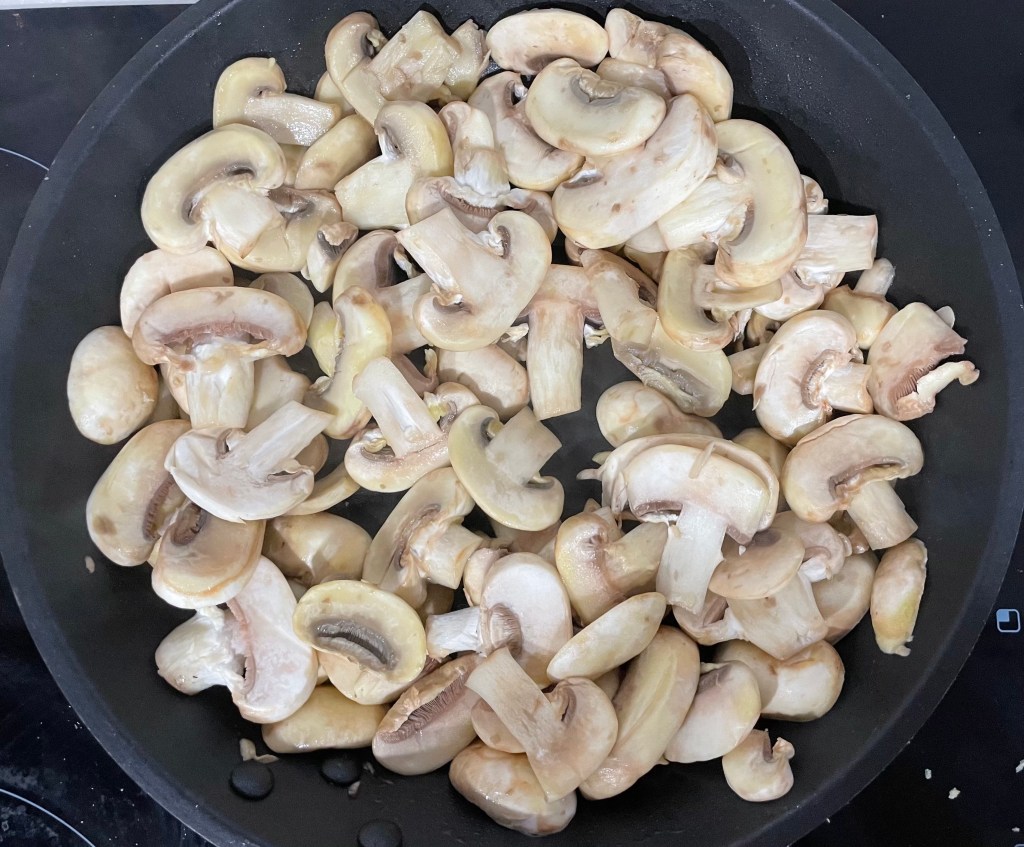
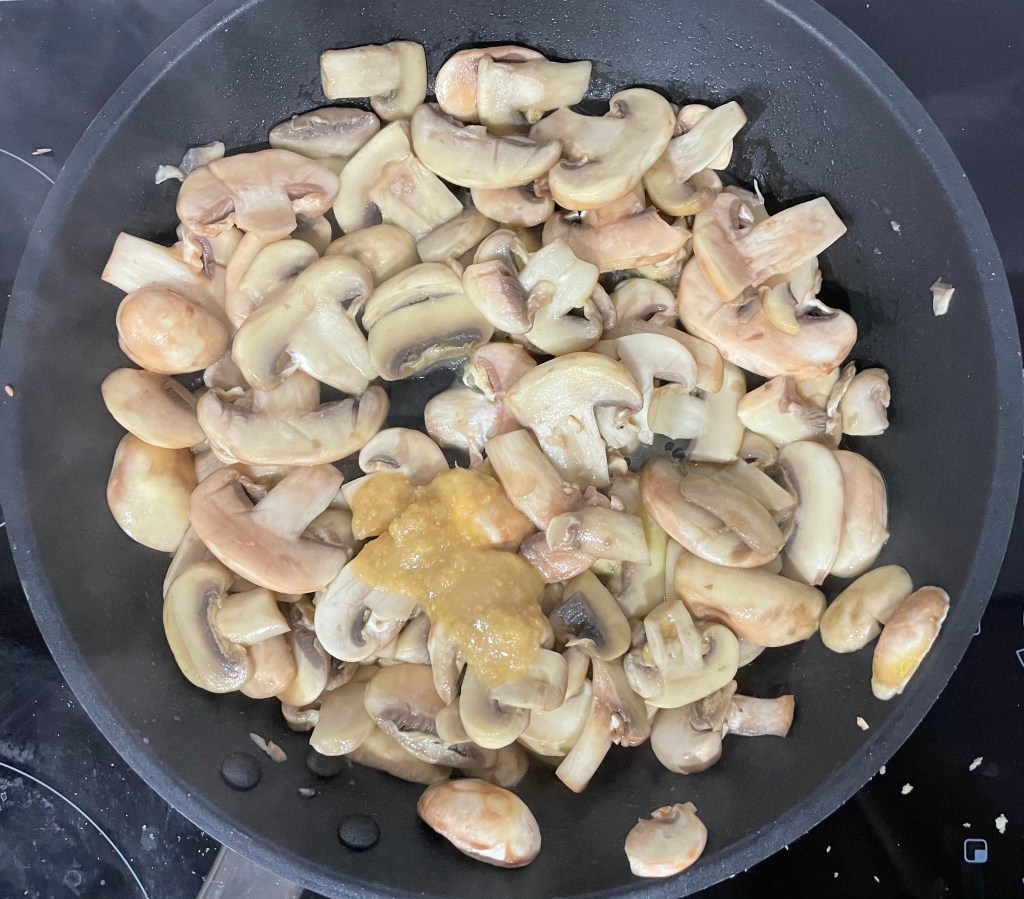
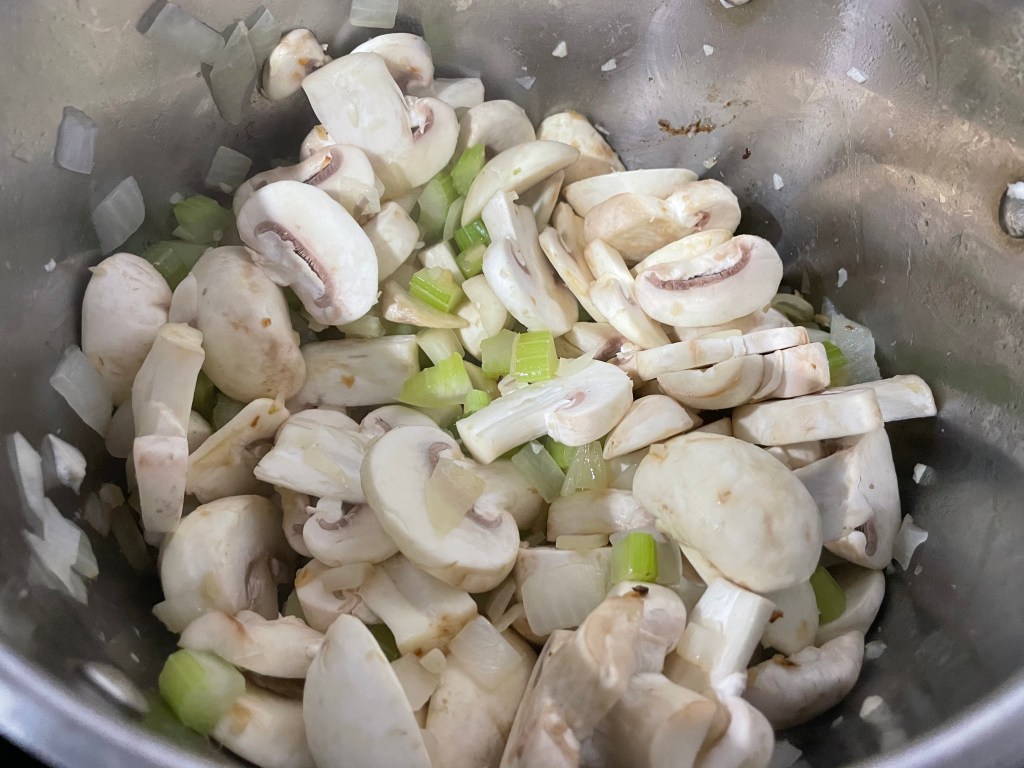
Turn the heat down to MEDIUM and add in the grated celeriac, parsnip and carrots. Add in another 25g of lard into the vegetables and mix it around (the extra lard prevents them from burning). Sauté until the vegetables begin to soften.
Preheat the oven to 200˚C (392˚F).
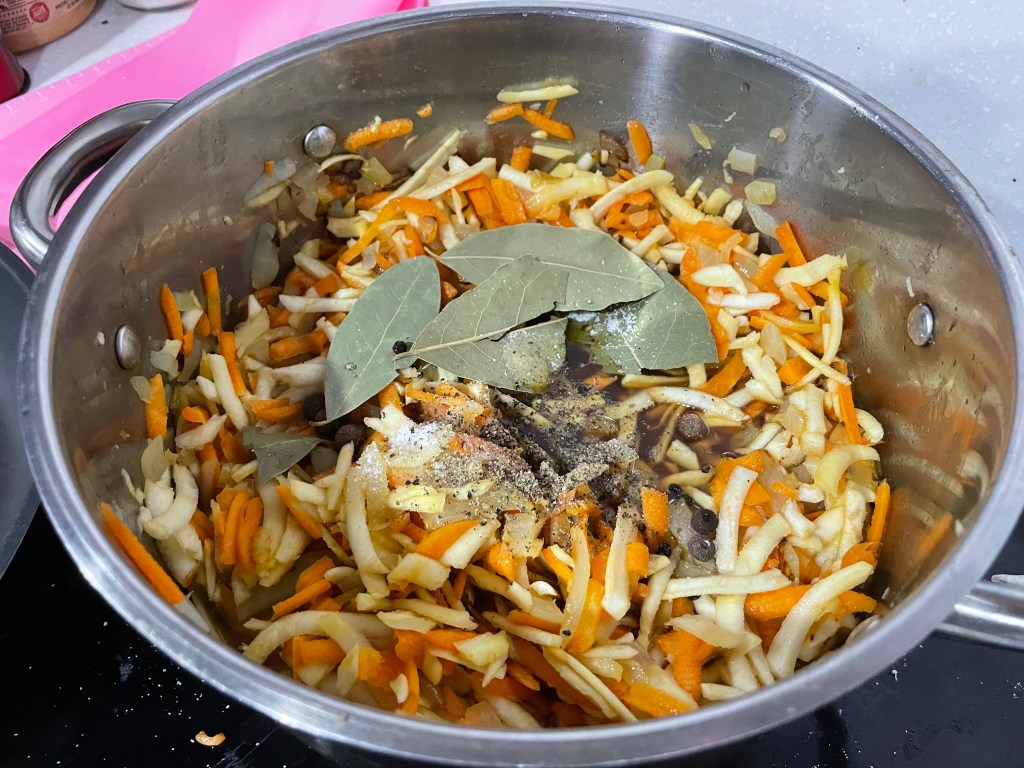
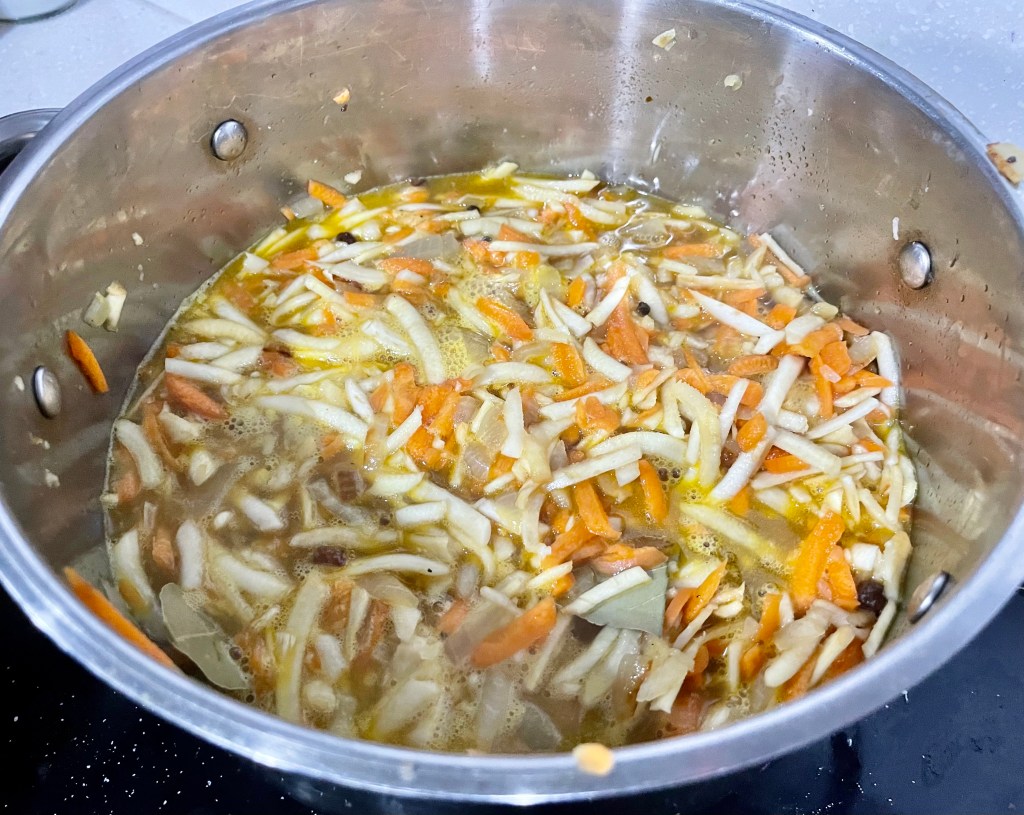
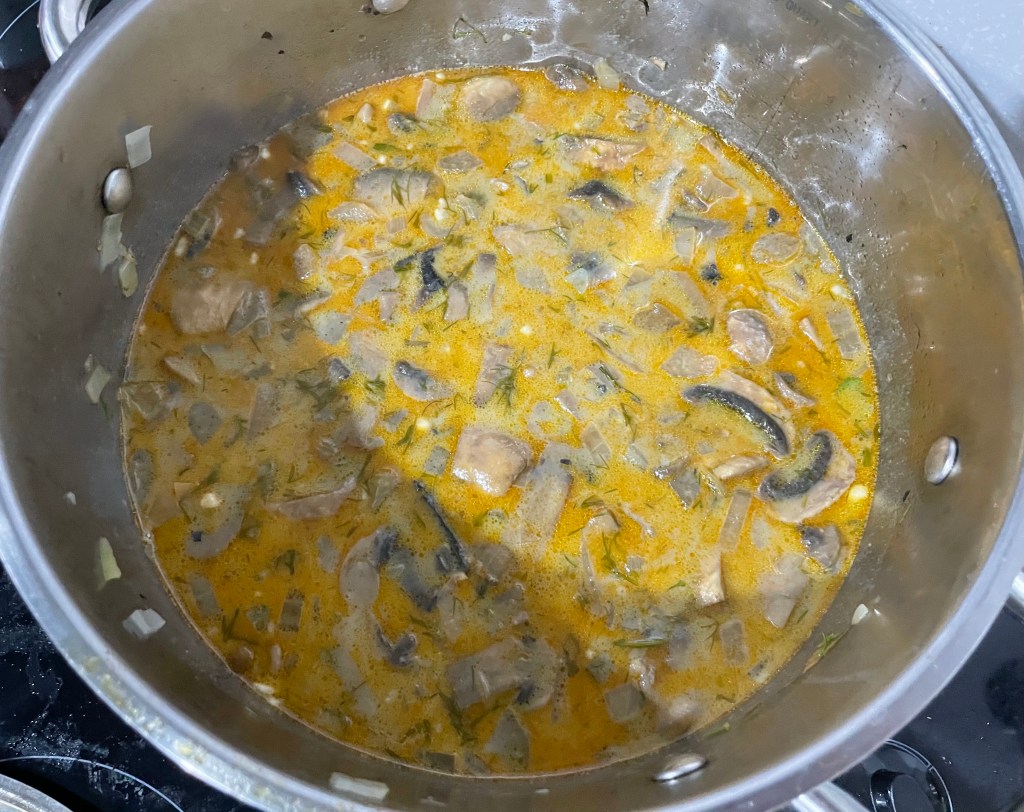
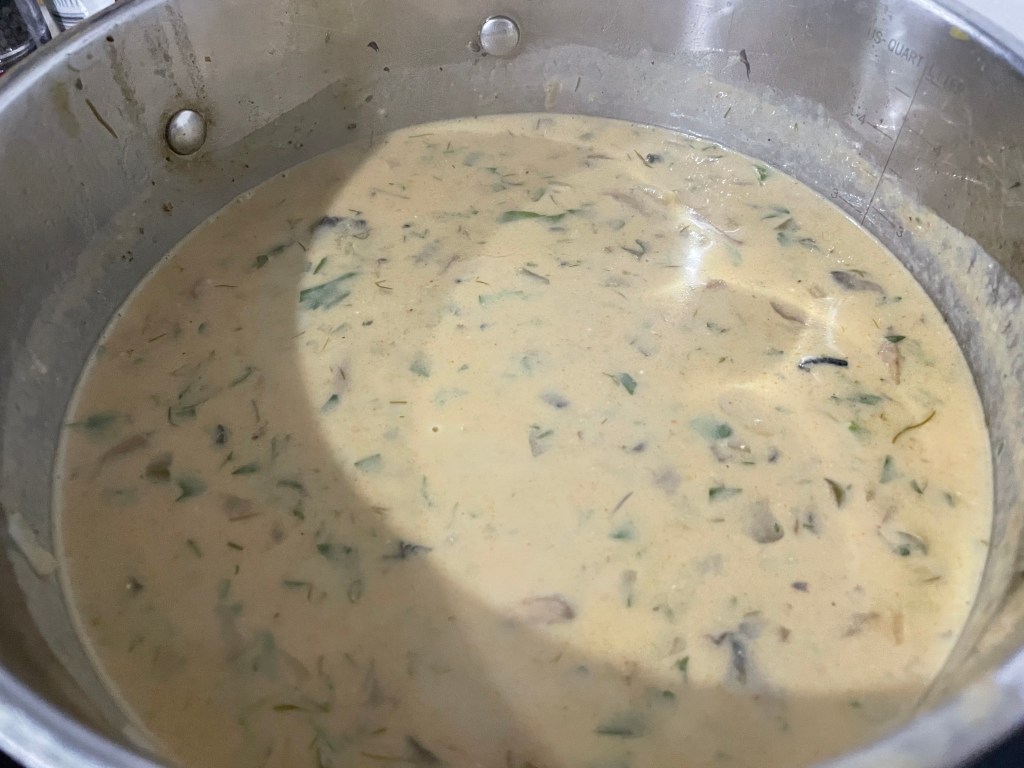
Once the vegetables begin to soften, add in the beef stock, black peppercorns, allspice berries, bay leaves, salt and pepper. Make sure you COUNT the number of peppercorns and allspice berries you add in because you’ll have to take them out later. Bring the heat up to HIGH until it boils, then turn the heat down to LOW and let it simmer for 2.5 hours with the lid on.
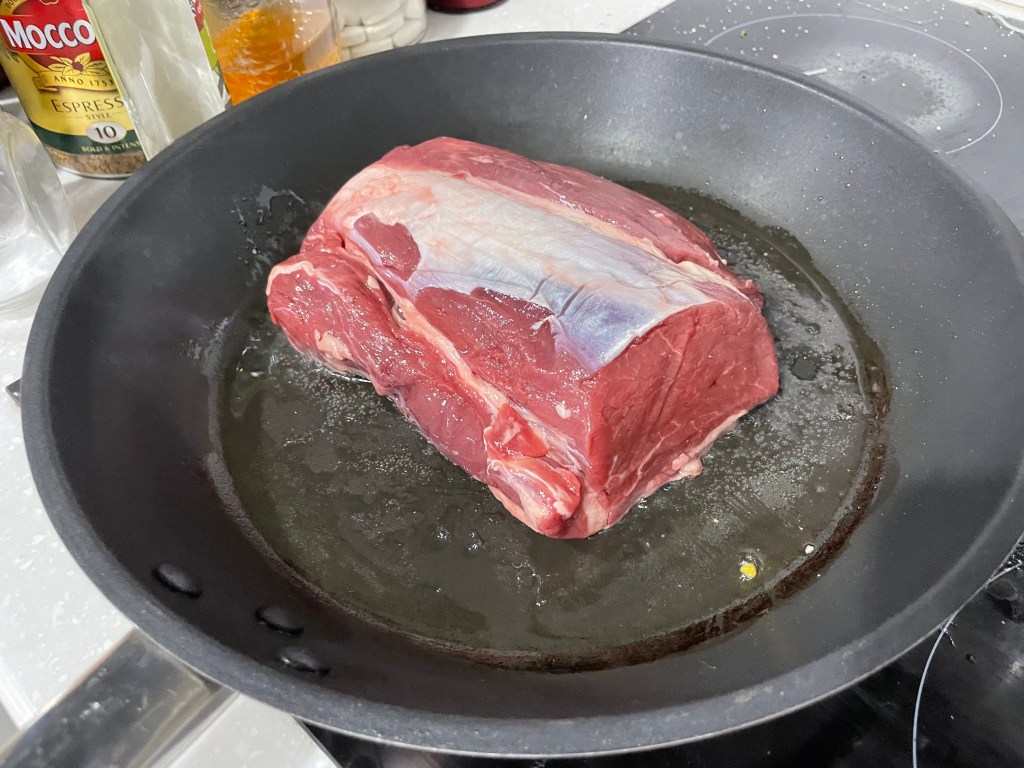


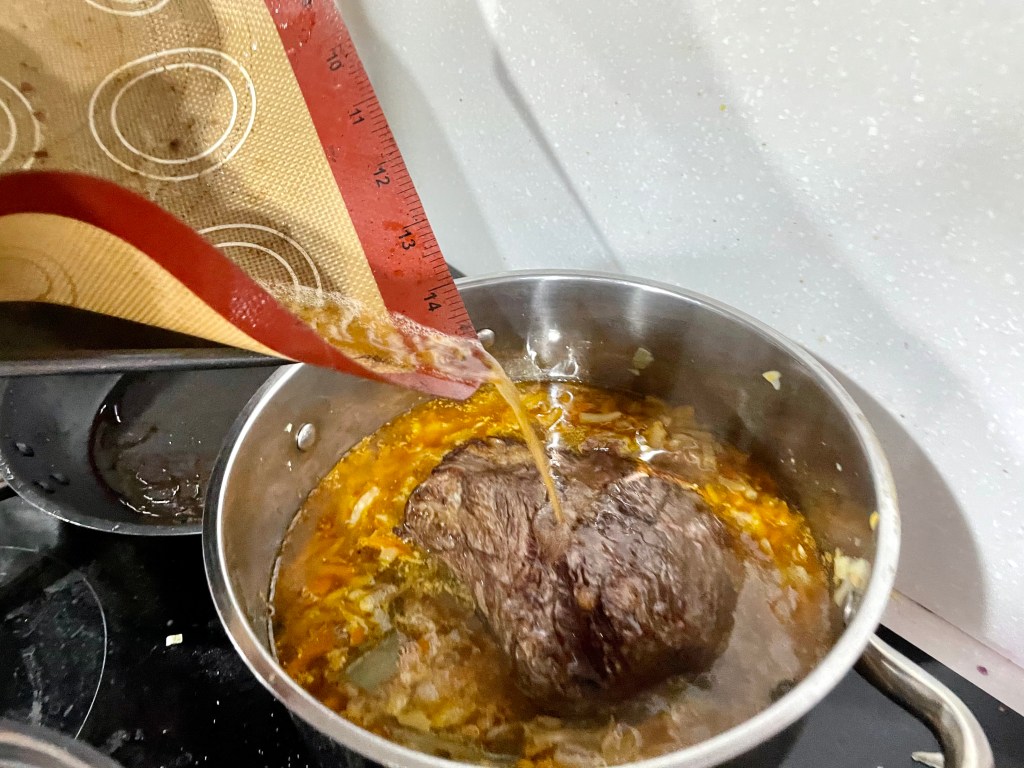


While the veg is simmering: In a pan or skillet on HIGH heat, melt another 25g of lard and sear the beef on all sides. Put the seared beef in the preheated oven for 20 minutes then remove it and add it to the pot of vegetables along with any juices and continue to let it simmer for the rest of the 2.5 hours with the lid on.
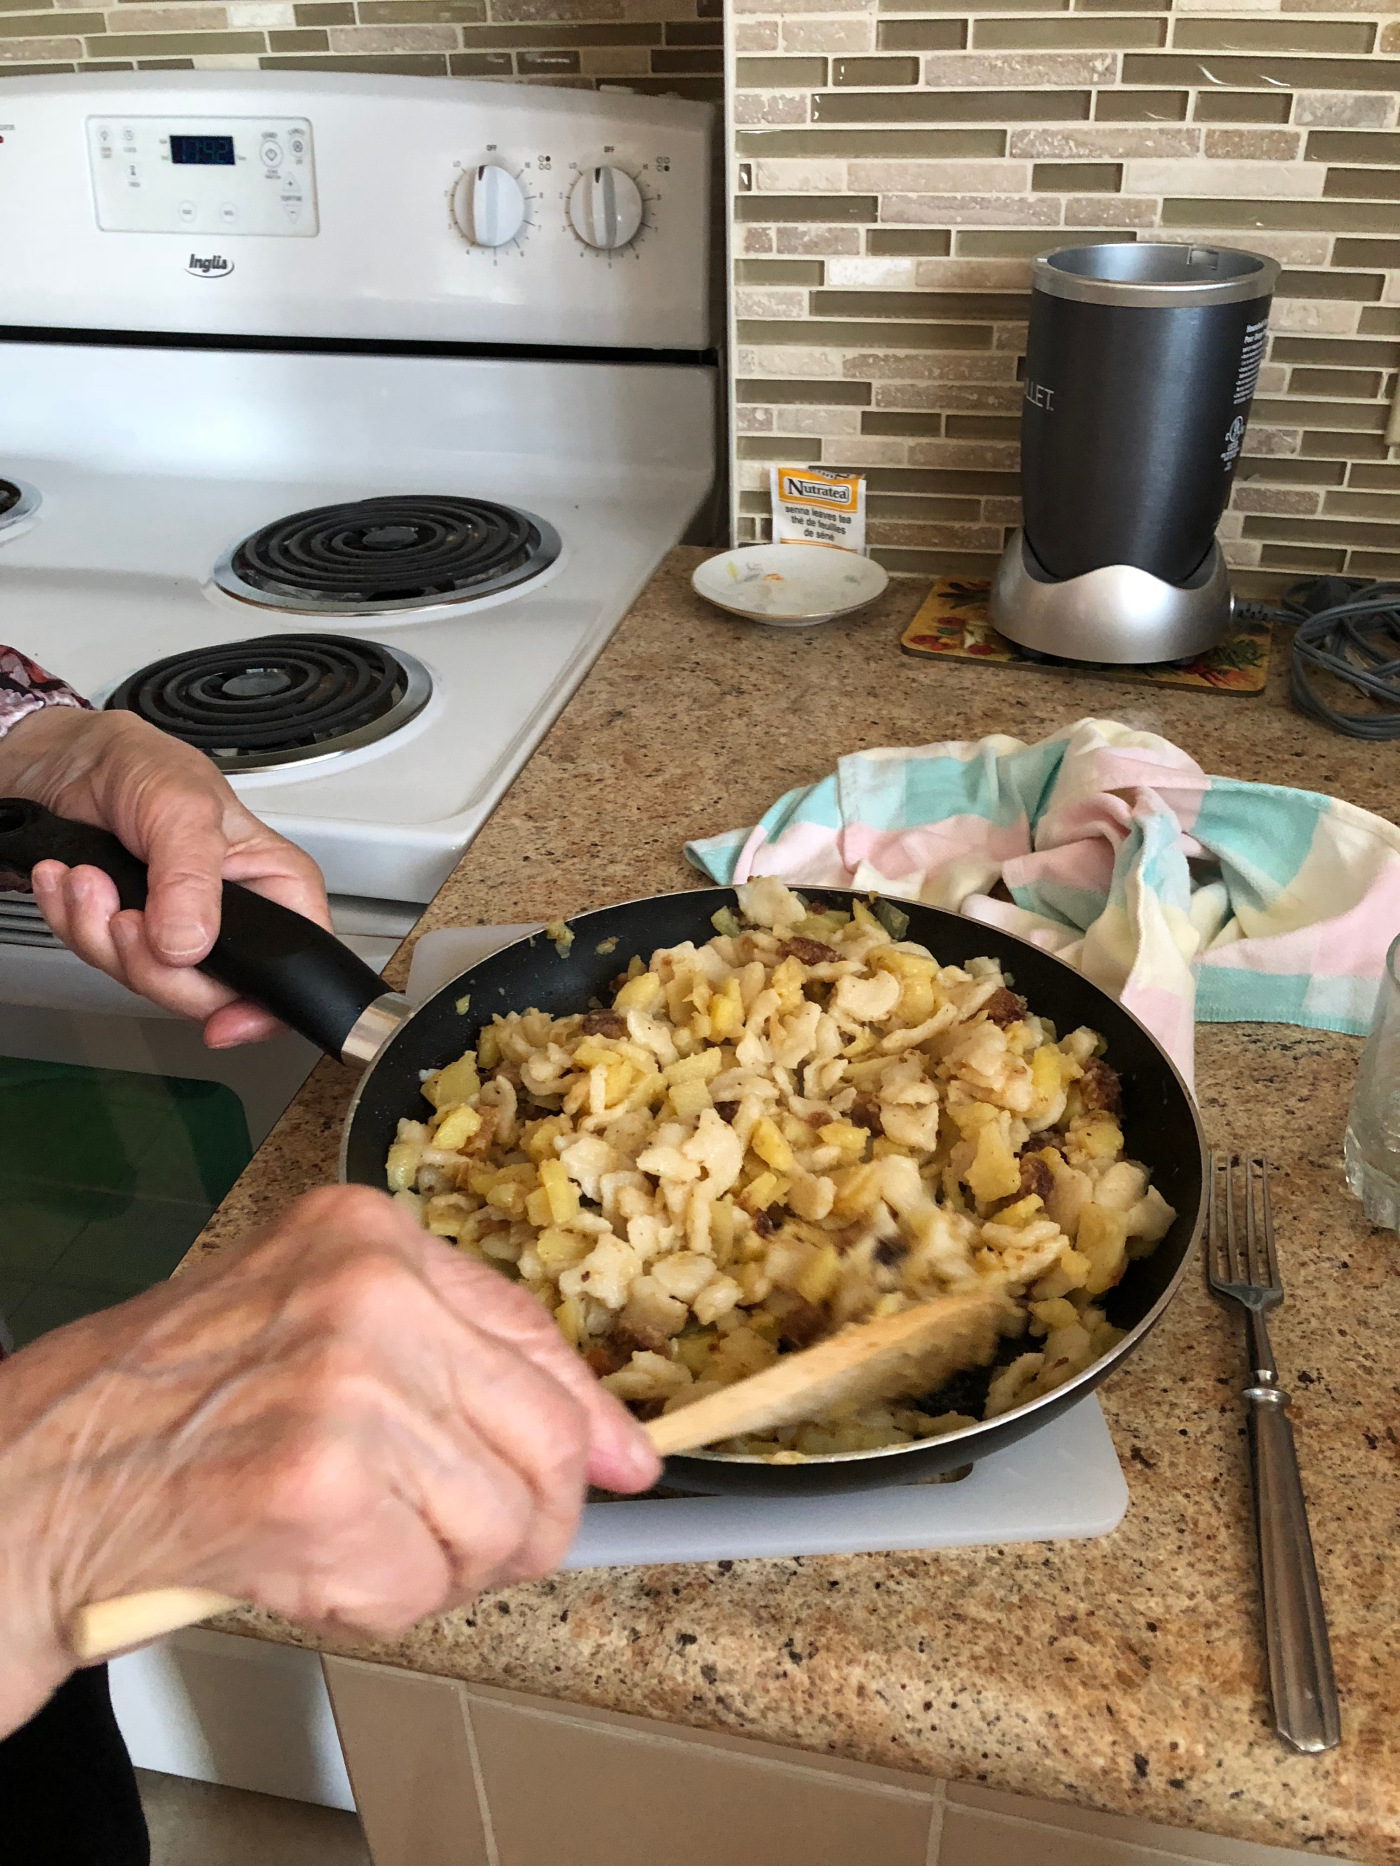
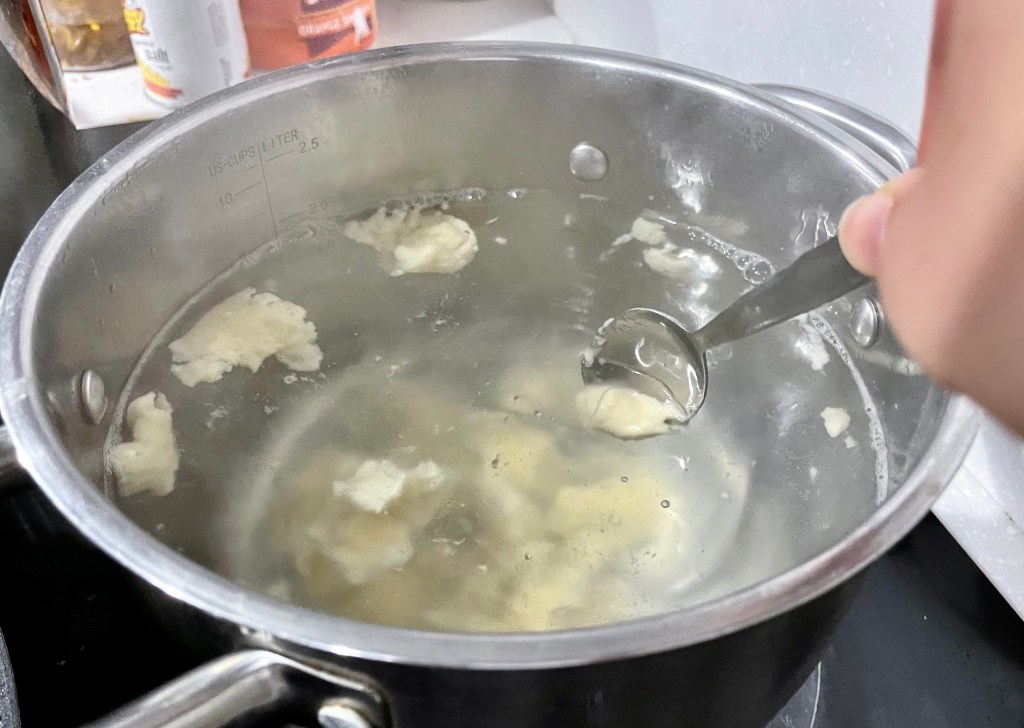
(You can take this time to cook the knedlíky if you haven’t already.)


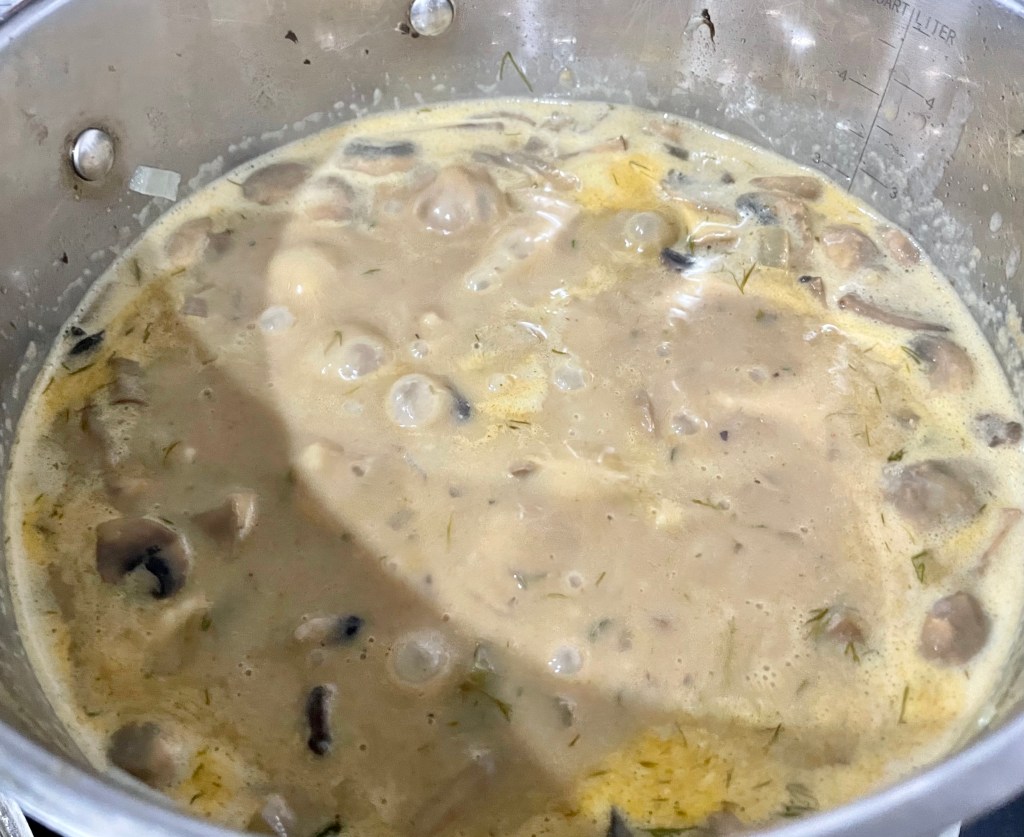
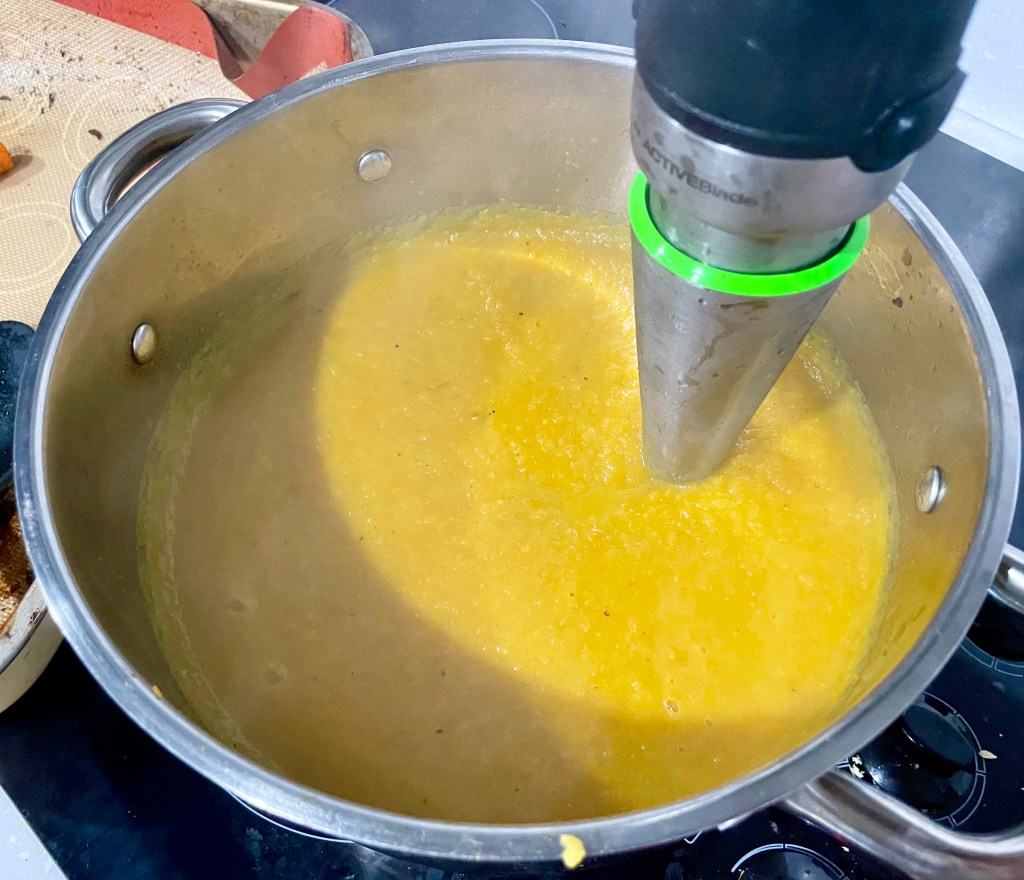
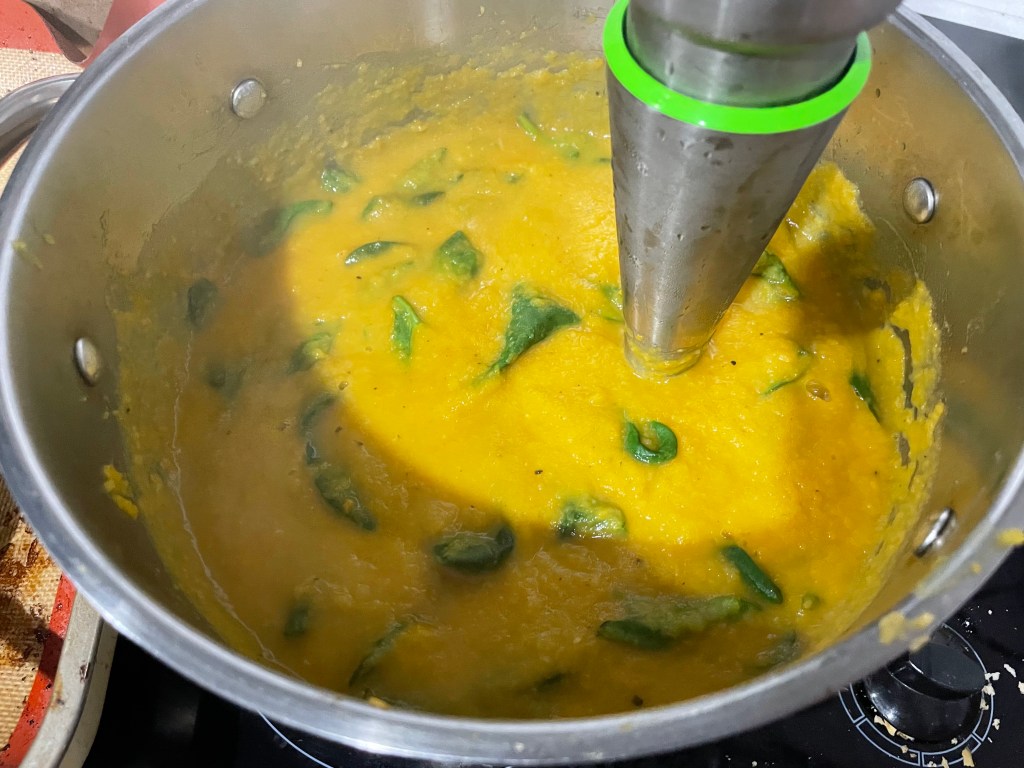
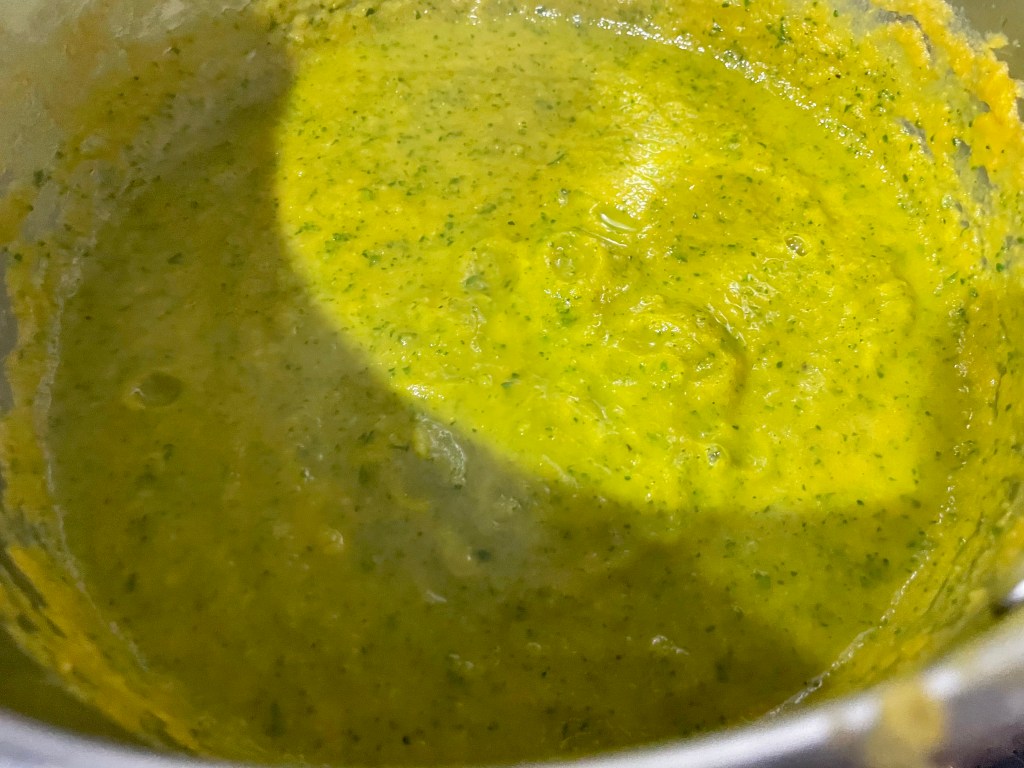
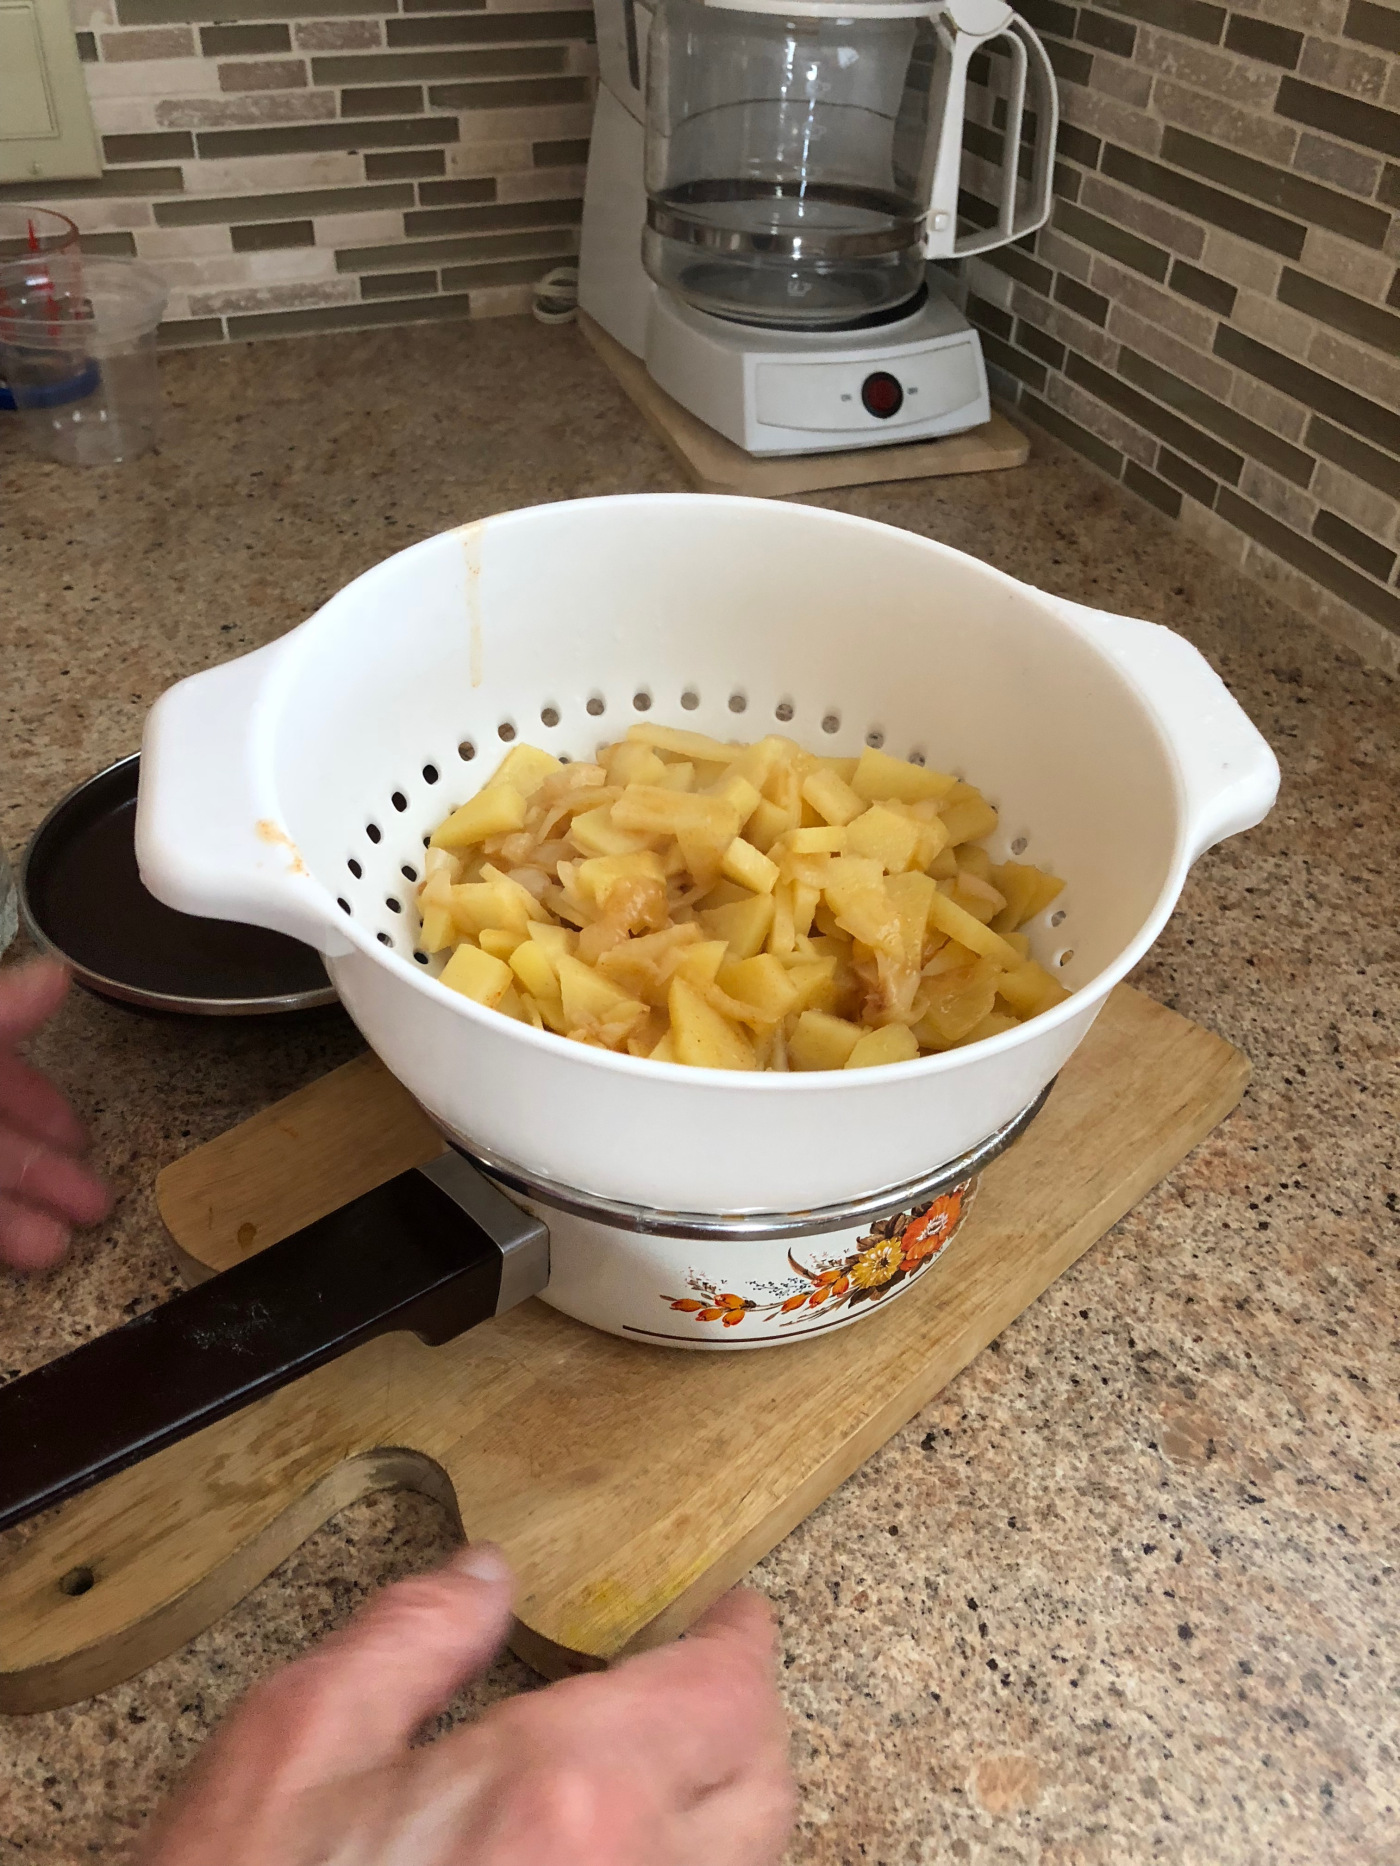
Once the veg and meat have simmered for 2.5 hours, remove the meat, peppercorns, allspice berries and bay leaves. Set aside the meat and discard the spices. Use a stick blender and blend the veg/stock mixture until smooth. Strain the mixture into a bowl and discard any fibrous material.


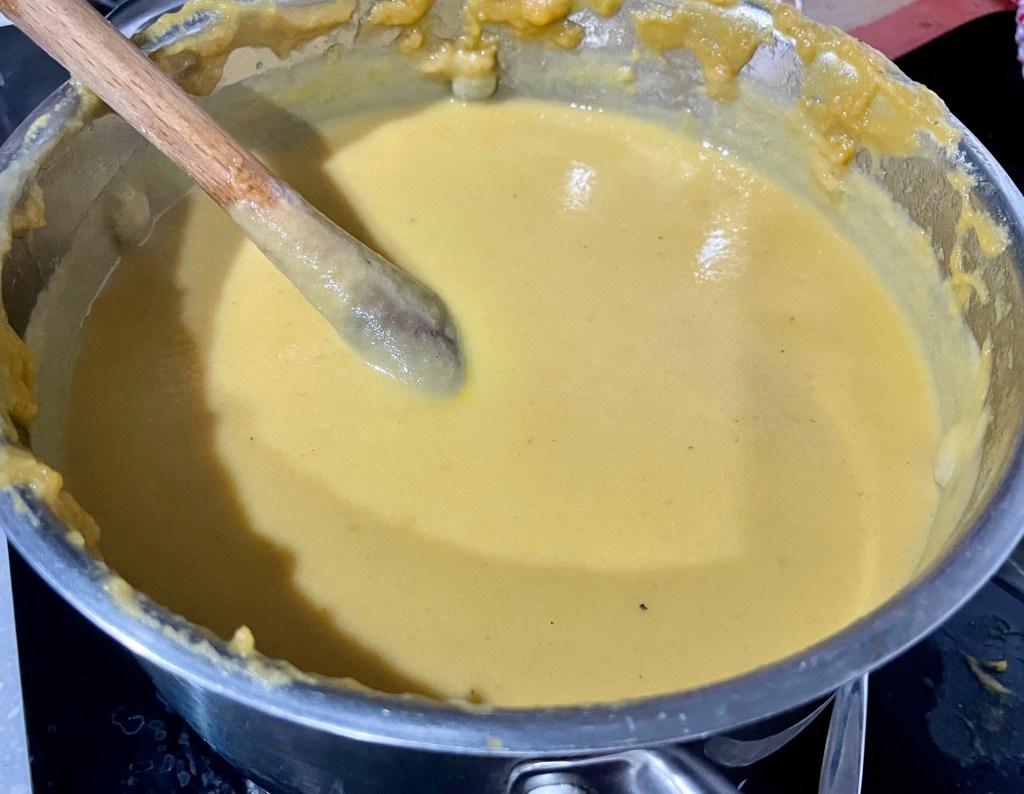
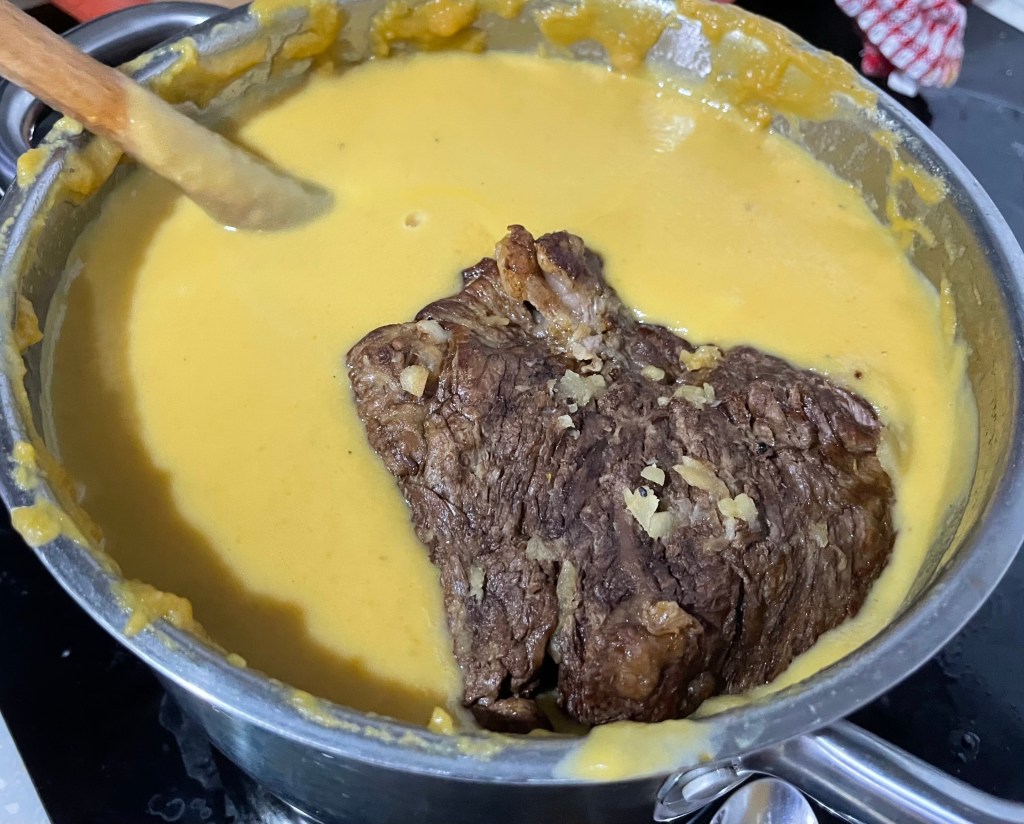

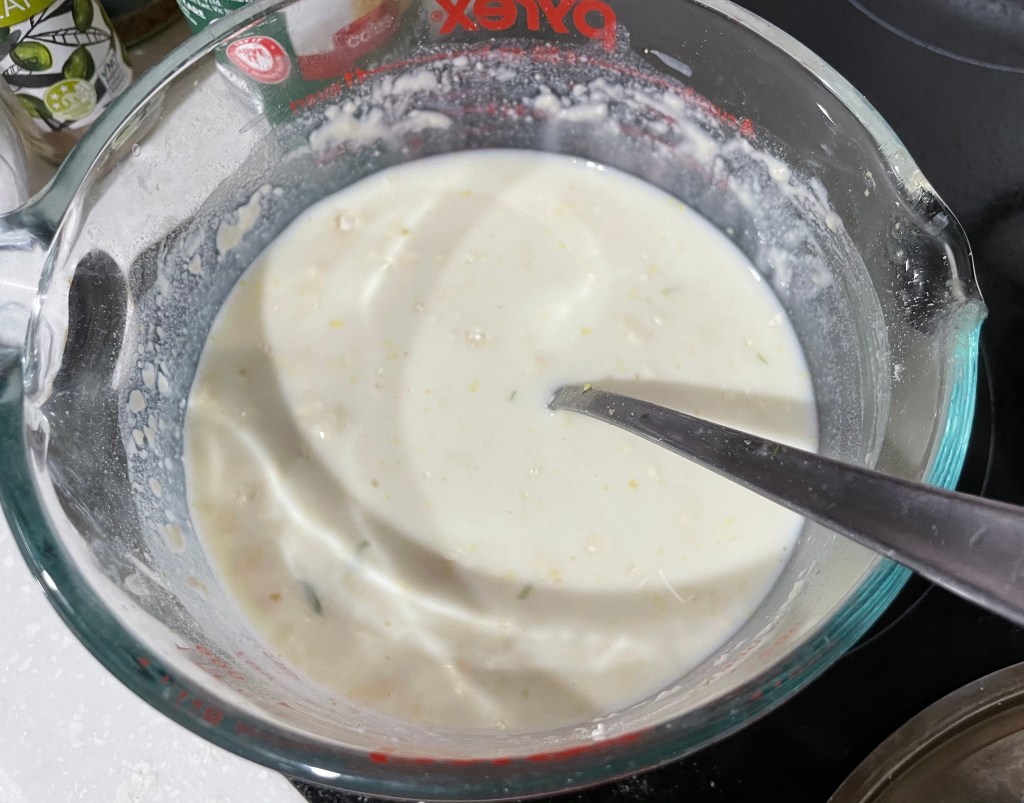
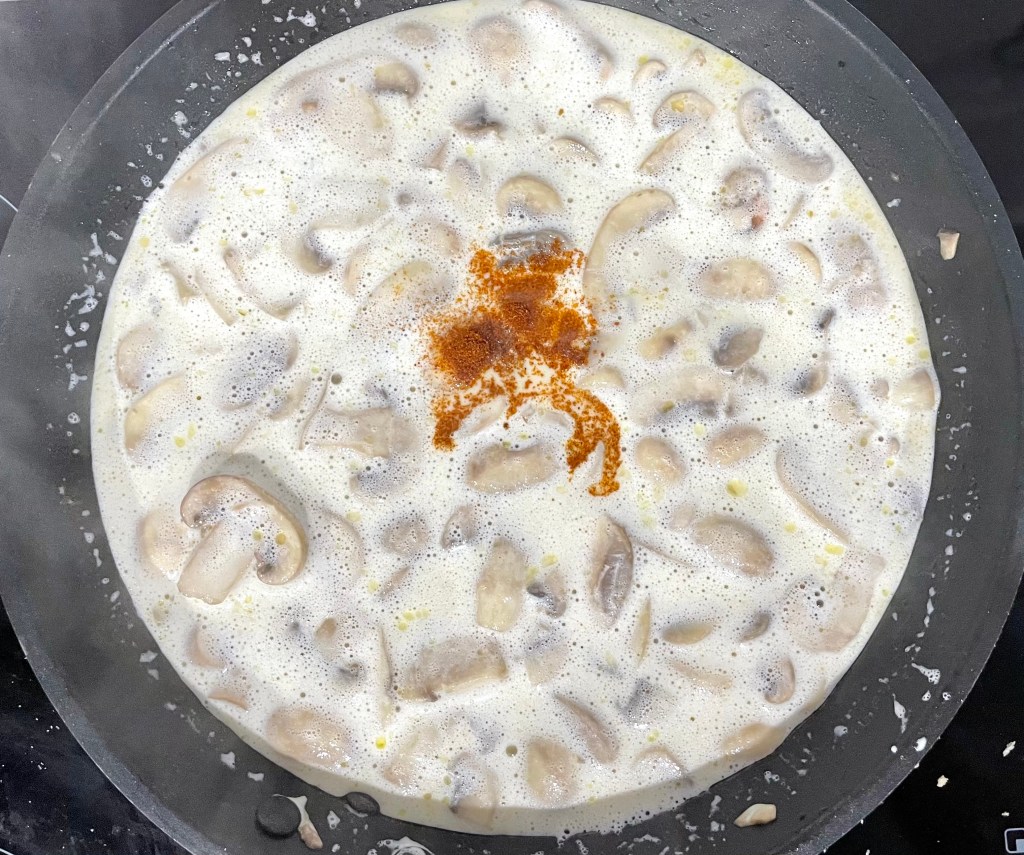
Place the strained mixture back into the pot, add the thickened cream and lemon juice and mix. Salt and pepper to taste. Then add the beef back into the pot and heat until warmed. Remove the beef and slice.
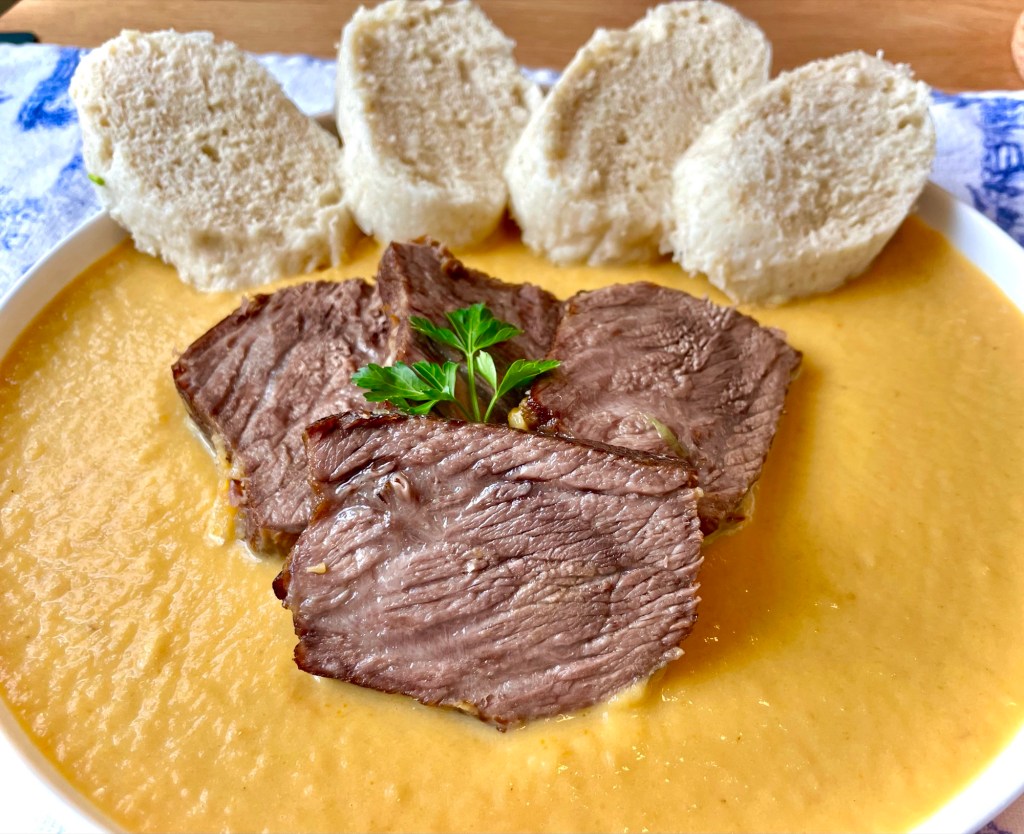

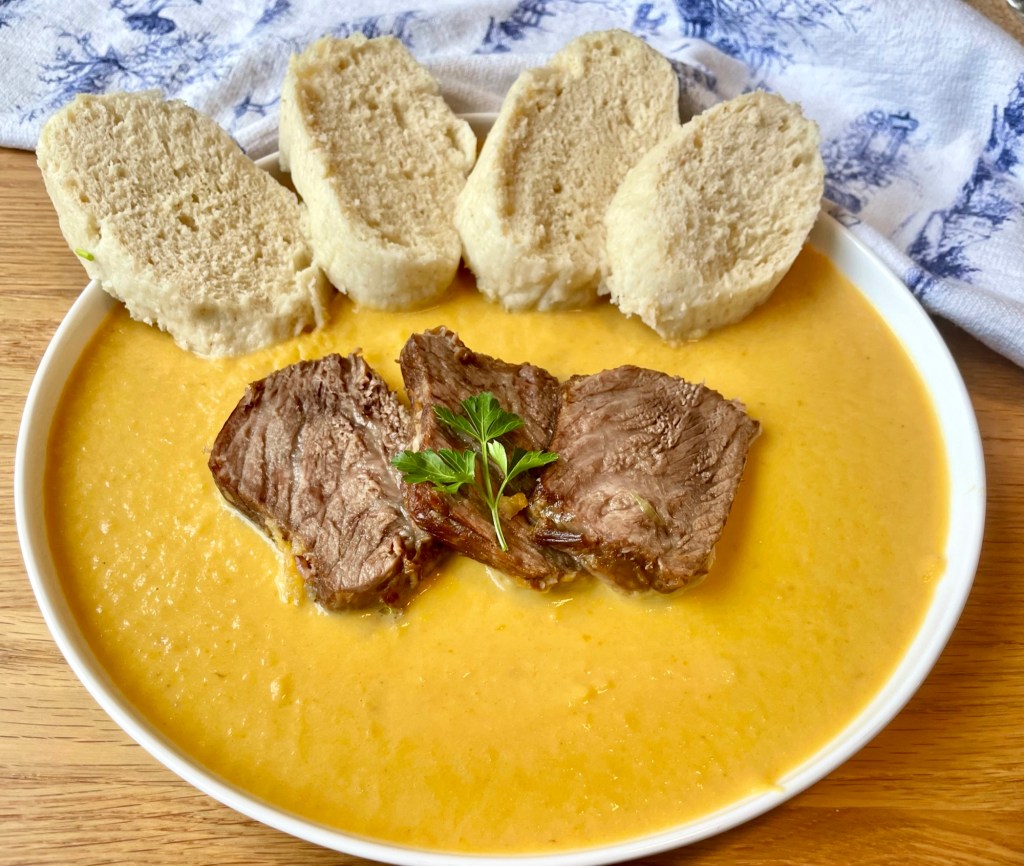

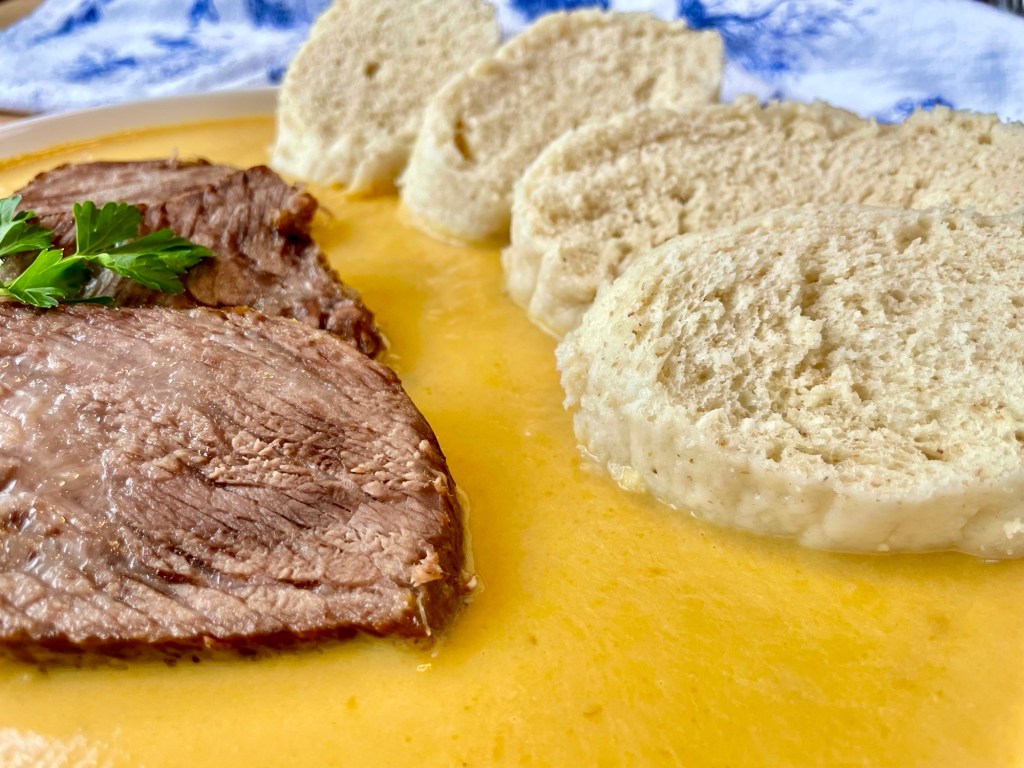
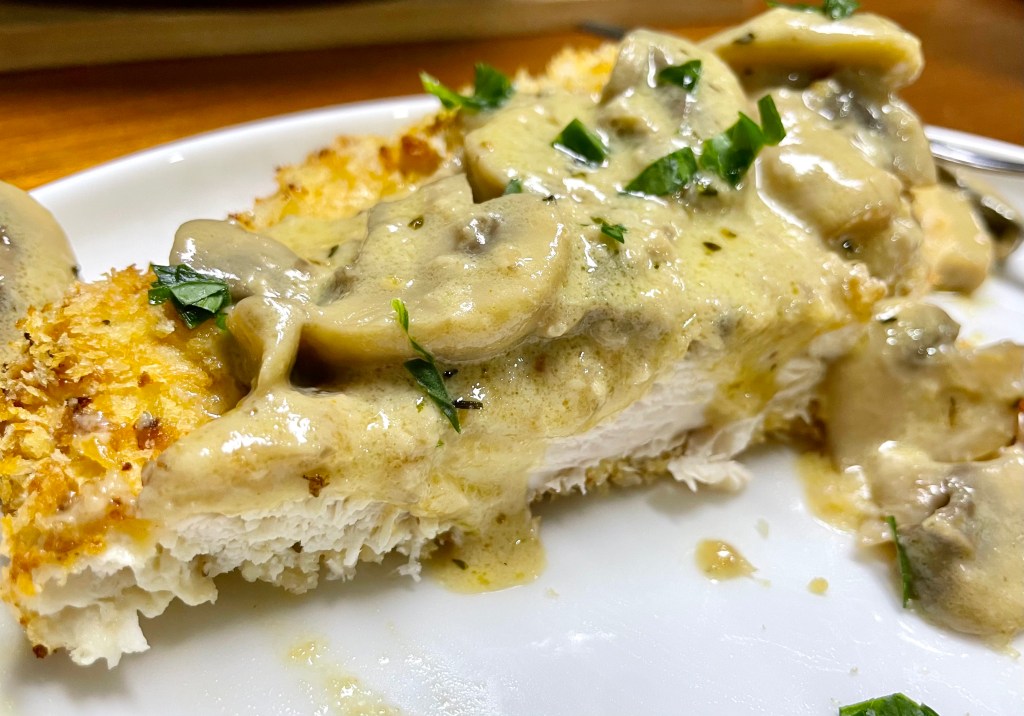
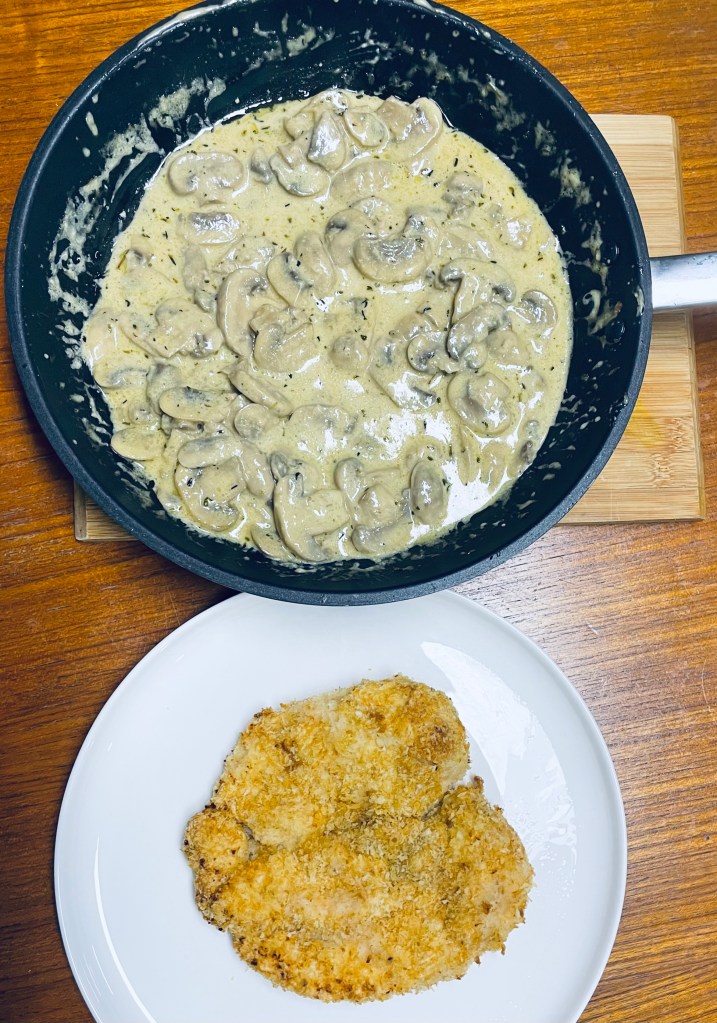
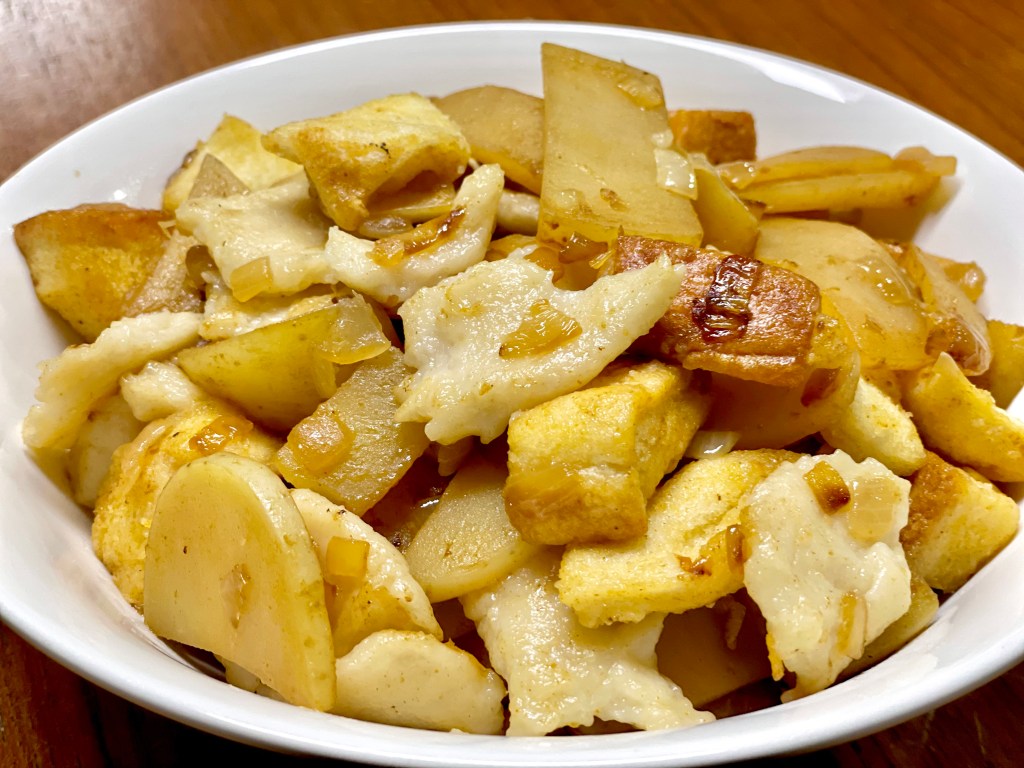
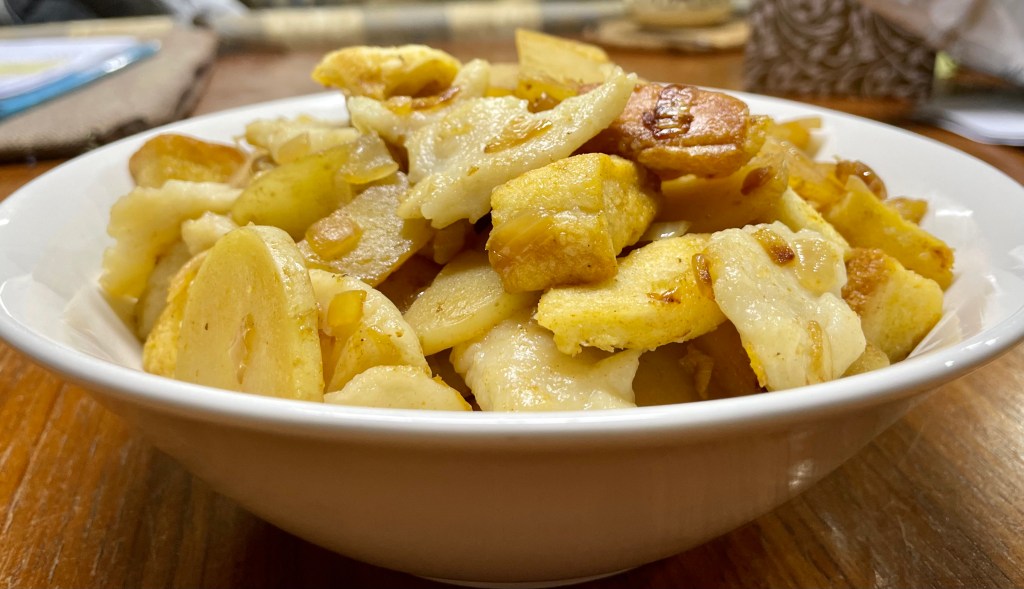
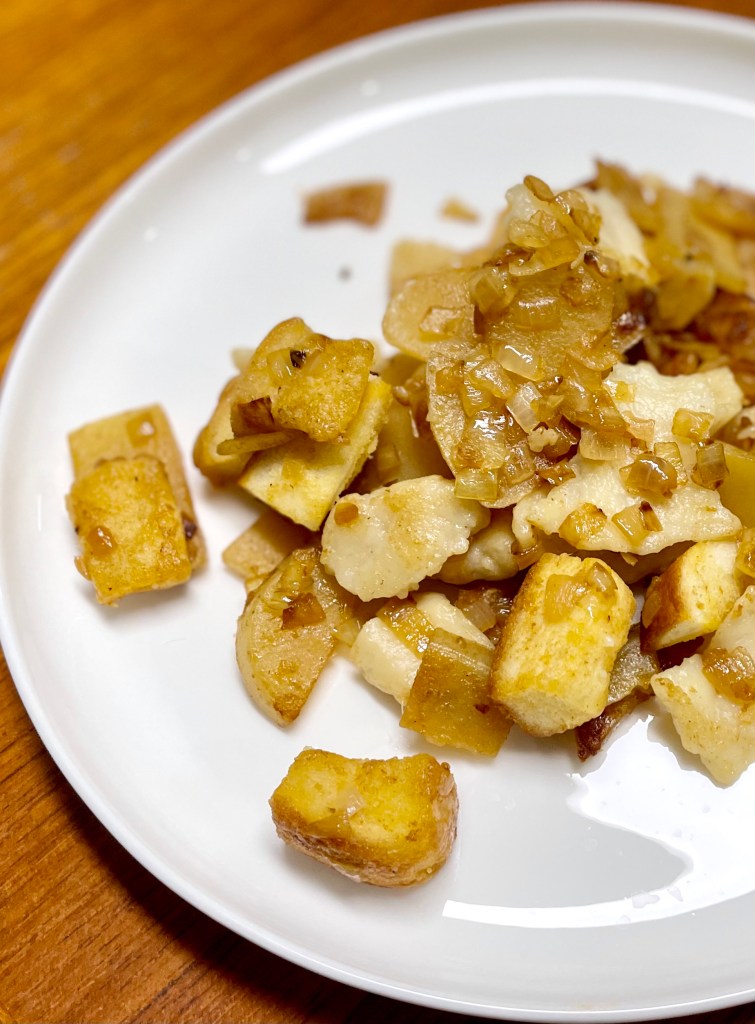
Serve by placing a couple slices of beef with a few slices of knedlíky (Czech bread dumplings) on a plate and a generous portion of the sauce overtop. Enjoy!
Summarized Recipe:
Babíčka’s Svíčková (Beef with Vegetable Cream Sauce)
Date Published: March 29th, 2021 | Last Updated: Oct 16th, 2023
Author: Abby |Category: mains
Serves: 4 | Prep time: 20 mins | Cook time: 3 hours
Ingredients:
- 2 Tbsps (50g) + 1 Tbsp (25g) + 25g lard
- 2 medium onions (~3 cups), diced
- 1 whole celeriac (~3 cups), peeled and grated
- Celeriac can come in a wide variety of sizes. The one we got was roughly bigger than a baseball: 370g before peeling and 300g after peeling which came up to about 3 cups once grated.
- 2 medium sized parsnips (~3 cups), peeled and grated
- 3 large carrots (~3 cups), peeled and grated
- 4 cups (1 litre) beef stock
- 10 whole black peppercorns
- 10 whole dried allspice berries (or 1/2 tsp ground allspice)
- 4 dried bay leaves
- 1 tsp salt
- 1 tsp fresh ground pepper
- 500-600g good quality steak (ie scotch fillet, eye fillet, rump steak – the less tendon, the better)
- 200ml thickened/heavy cream
- 2 Tbsps lemon juice (or more to taste)
- Serve with knedlíky (Czech bread dumplings) and wedges of lemon
Directions:
- (If you haven’t already, you can make the knedlíky dough first and while it proofs for an hour you can start making the svíčková.)
- In a large pot on MED-HIGH heat, melt 50g of lard (~3 Tbsps) and add in the diced onions. Sauté the onions until lightly browned and translucent.
- Turn the heat down to MEDIUM and add in the grated celeriac, parsnip and carrots. Add in another 25g of lard into the vegetables and mix it around (the extra lard prevents them from burning). Sauté until the vegetables begin to soften.
- Preheat the oven to 200˚C (392˚F).
- Once the vegetables begin to soften, add in the beef stock, black peppercorns, allspice berries, bay leaves, salt and pepper. Make sure you COUNT the number of peppercorns and allspice berries you add in because you’ll have to take them out later. Bring the heat up to HIGH until it boils, then turn the heat down to LOW and let it simmer for 2.5 hours with the lid on.
- While the veg is simmering, in a pan or skillet on HIGH heat, melt another 25g of lard and sear the beef on all sides. Put the seared beef in the preheated oven for 20 minutes then remove it and add it to the pot of vegetables along with any juices and continue to let it simmer for the rest of the 2.5 hours with the lid on.
- (You can take this time to cook the knedlíky if you haven’t already.)
- Once the veg and meat have simmered for 2.5 hours, remove the meat, peppercorns, allspice berries and bay leaves. Set aside the meat and discard the spices. Use a stick blender and blend the veg/stock mixture until smooth. Strain the mixture into a bowl and discard any fibrous material.
- Place the strained mixture back into the pot, add the thickened cream and lemon juice and mix. Salt and pepper to taste. Then add the beef back into the pot and heat until warmed. Remove the beef and slice.
- Serve by placing a couple slices of beef with a few slices of knedlíky (Czech bread dumplings) on a plate and a generous portion of the sauce overtop. Enjoy!