Date Published: April 12th, 2021 | Last Updated: April 12th, 2021
Author: Abby |Category: desserts
Serves: 16 pies | Prep time: 10 mins | Cook time: 2 hours
Jump to recipe |
Banoffee = banana + toffee. If you love bananas, caramel, and cream, then you’ll love banoffee pie. I don’t remember where or when I first had it, but I do remember it was love at first bite. The first time I heard of this pie was actually in an episode of Little Britain when Marjorie from Fat Fighters shamed Tania for bringing banoffee pie for the group and puts it in her own handbag instead 😂.
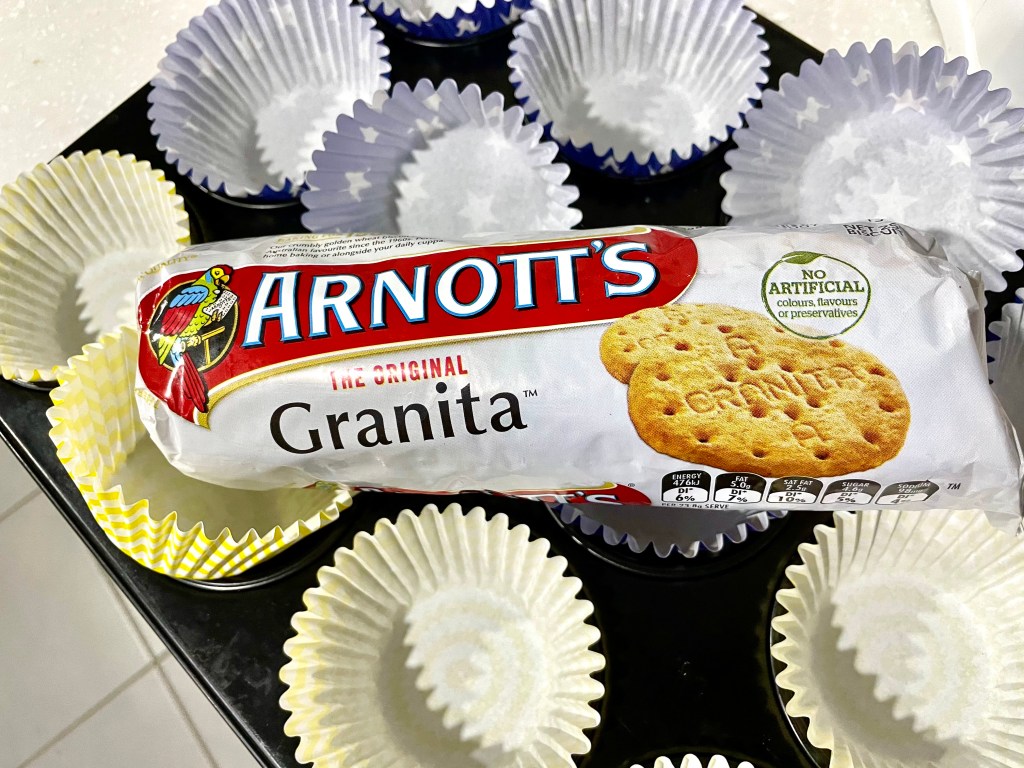
This recipe uses dulce de leche as the “toffee” which is essentially caramel but made with both milk and sugar instead of just sugar. I’ve used Arnott’s Granita biscuits as the pie base but it’s also commonly made with a graham cracker base (it’s just nearly impossible to find graham crackers in Australia). Feel free to use pre-made whipped cream for the topping but I find fresh whipped cream nicer and easier to control the sweetness (and it’s also super satisfying turning a liquid to a whipped “solid”).
This recipe is SUPER easy BUT it does take time to make so plan ahead if you’re making this for a party. Most of the time that goes into this recipe is just waiting for the condensed milk to caramelize into dulce de leche in the oven. Grab a book or put on a movie while the oven does most of the work for you! The rest of the recipe is basic. Just blend up the biscuits with some butter and honey, bake for a few minutes, then top with the dulce de leche, chopped bananas and cream. Done!
A banoffee pie is usually served as an actual regular-sized pie, but since it’s usually just Toby and I on the road and we never have the space to store a whole pie (nor be able to eat it all on our own), so when I bake I like to bake for the entire hospital staff. I always find whole pies and cakes difficult to serve to a big busy team on the go when you have to fuss with plates, forks, knives, storage and the dishes afterwards so I’ve developed a smaller two-bite version with not cutlery required. Feel free to make this into a full-sized pie. Just follow the instructions as-is, but press the base into a pie dish instead of cupcake liners.
Anyways, without further ado, here’s the recipe! If you have any comments or suggestions, I’d love to hear from you in the comment section! You can follow me on instagram, youtube and facebook to see all the recipes I post!
Happy cooking!
Ingredients you’ll need:
- Dulce de leche:
- 1 can (397g) condensed milk
- Biscuit Base:
- 1 package (250g) Arnott’s Granita biscuits
- 125g unsalted butter, melted
- 2 Tbsps honey
- 2 bananas
- Whipped Cream Topping:
- 2 cups (500ml) thickened cream
- 5 Tbsps granulated sugar
- 1 tsp vanilla extract
- 1/2 tsp cream of tartar (optional – but it helps the cream set better and last longer)
Directions:
Preheat oven to 180˚C (350˚F).
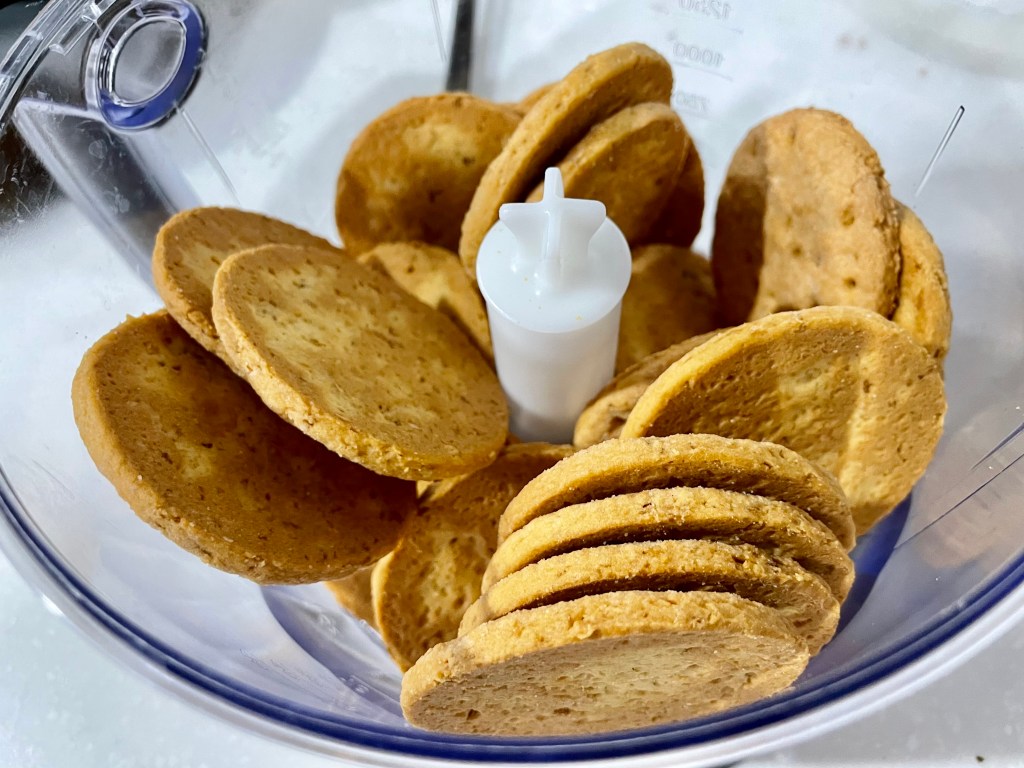


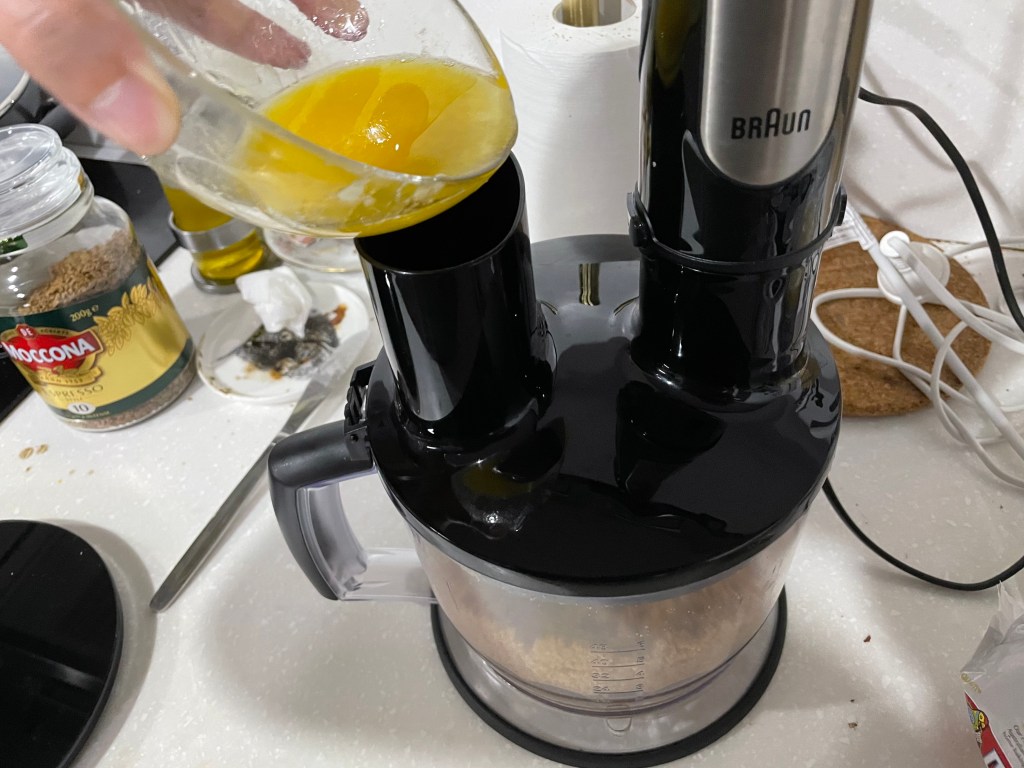

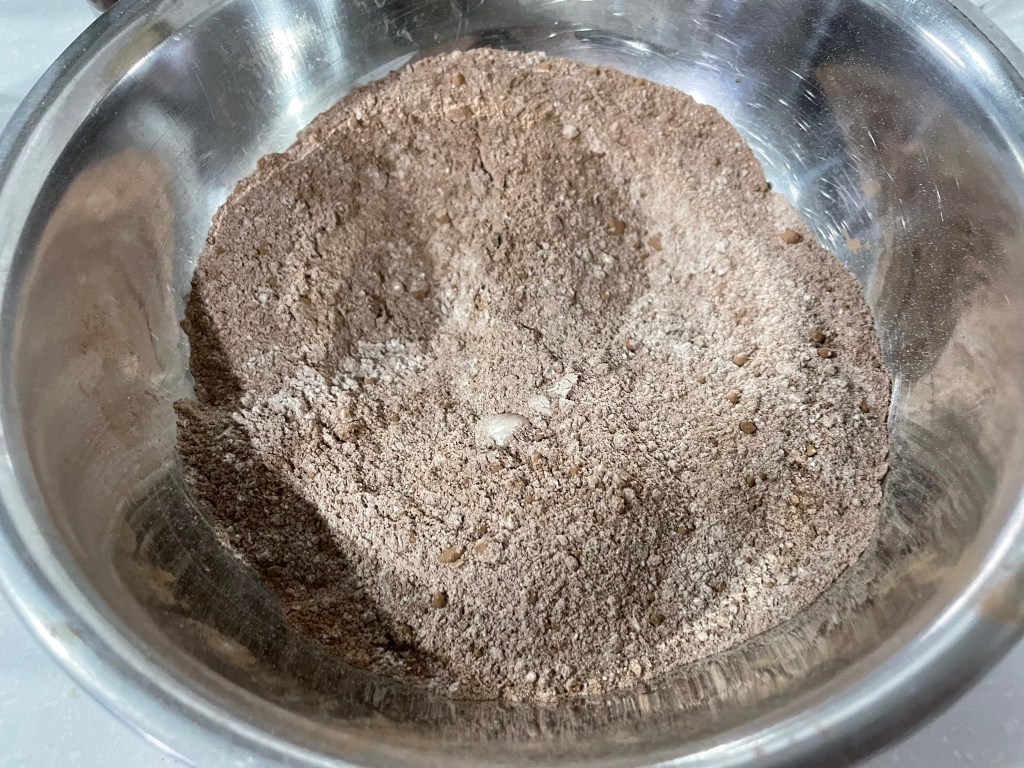
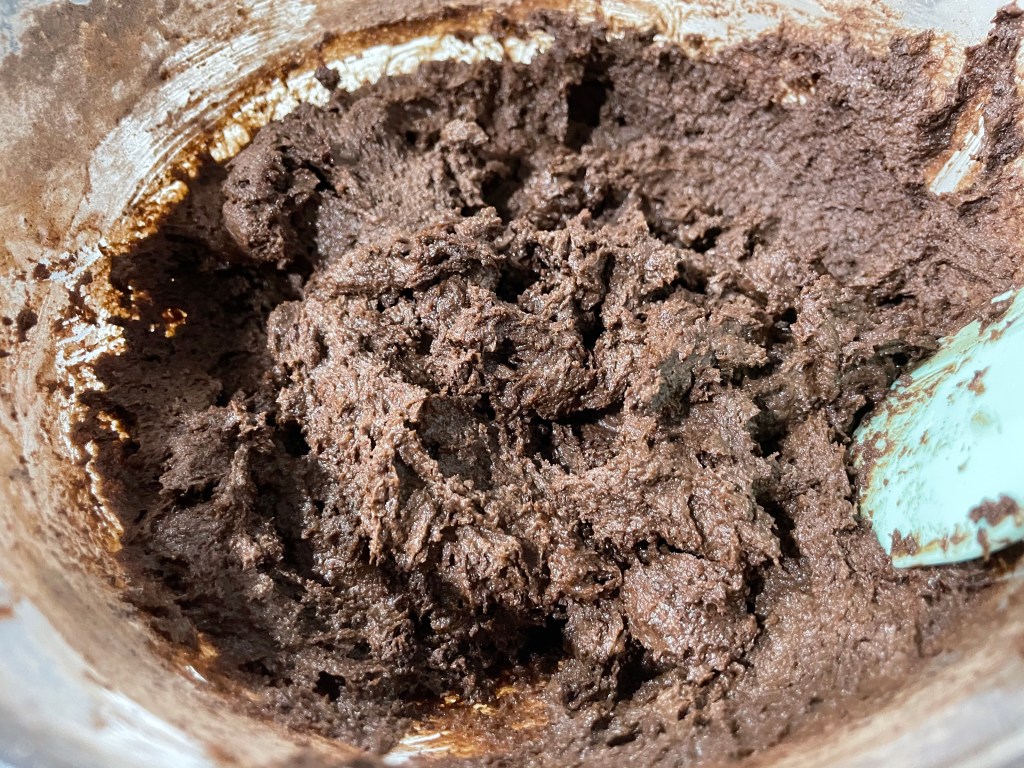
Make the biscuit base: Place the Granita biscuits in a food processor and pulse until completely crumbled. Then add in the melted unsalted butter and honey and continue to pulse until all combined.


Line a muffin tray with cupcake liners (or tart shells if you’ve got them) and place a large heaping tablespoon of the biscuit mixture into each cupcake liner. Press the biscuit mixture firmly into the pan. You can use a 1/4 cup measuring spoon to help you press it down.

Bake in the oven at 180˚C for 8-10 mins until golden brown. Remove gently and let it cool completely.
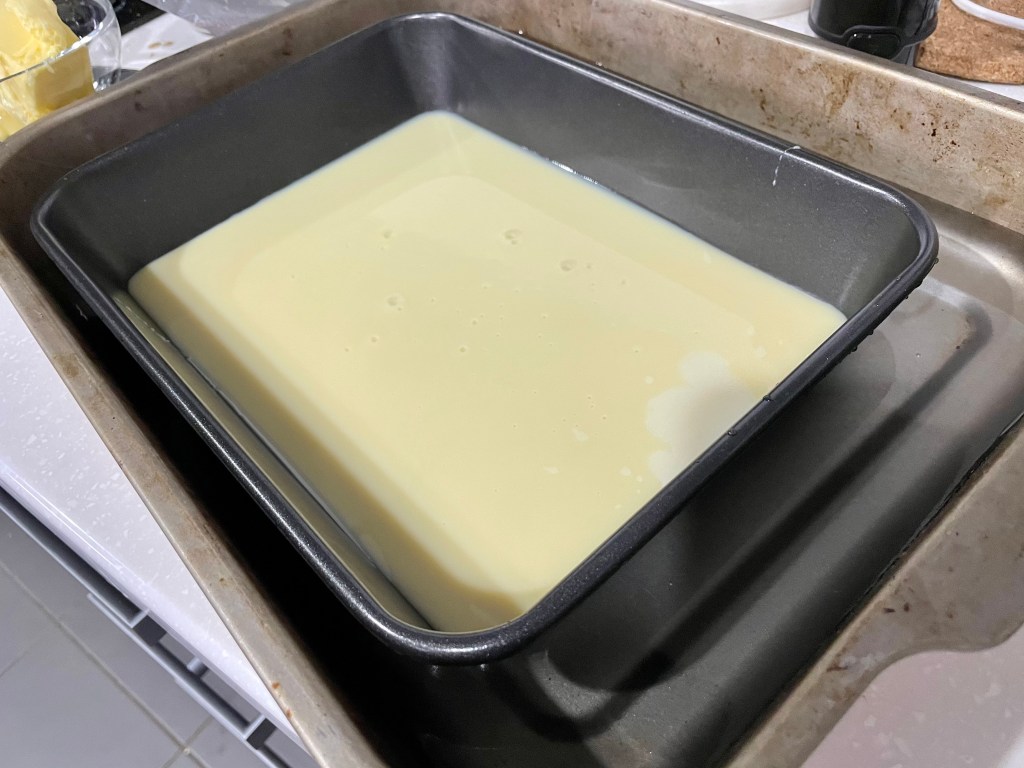


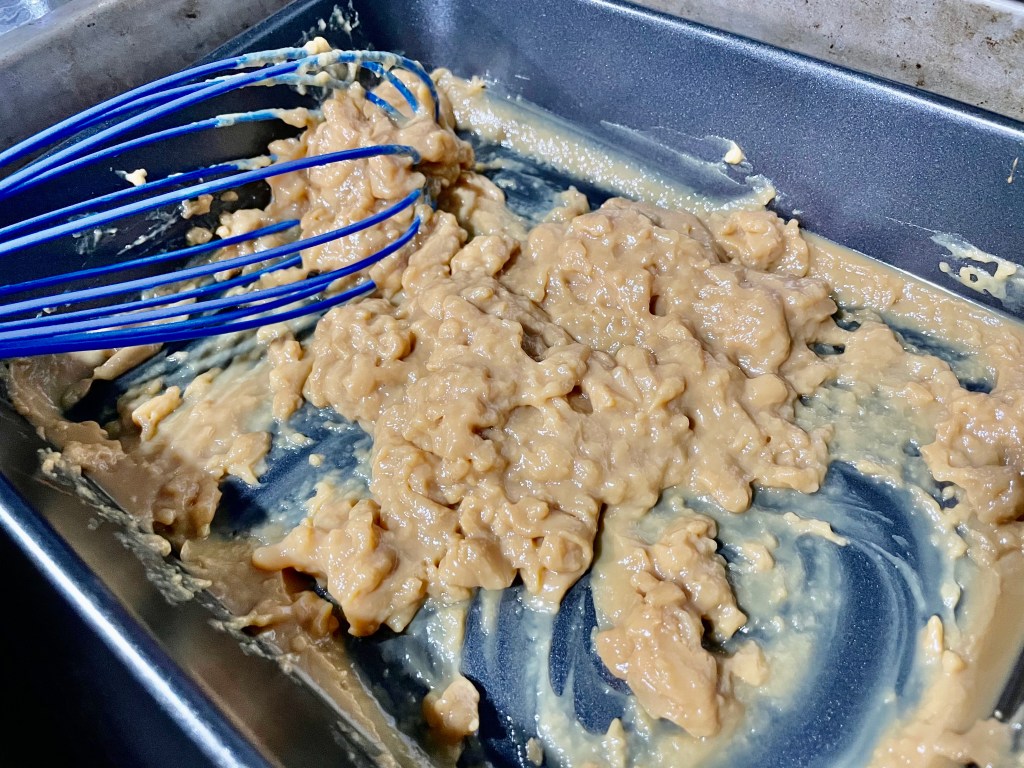

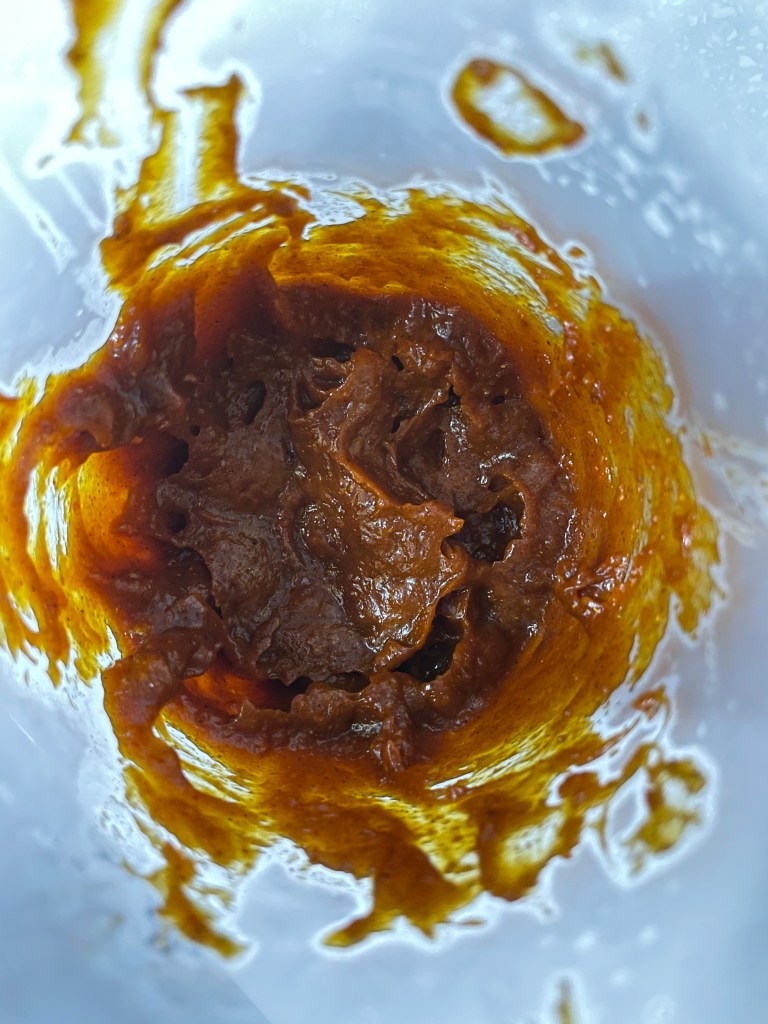
Make the dulce de leche: Pour the entire contents of the condensed milk into a glass* pie dish or a heavy tray and cover with aluminum foil. Place it in a larger tray and pour boiling water in the outer tray until the inner tray is half submerged in water. Bake for 90 mins (still at 180˚C) until the condensed milk is a caramel brown colour. Mix it around and smooth out any large lumps.
* This will still work with a metal pan (as pictured above), but the metal pan won’t be heavy enough to submerge in the water and will float on top of the water instead. A glass dish will be heavy enough to submerge in the hot water. It’s not the end of the world if you don’t have a glass dish and your pan floats. The flavour will be similar but the dulce de leche will be thicker and not as smooth. Flavour will still be similar – you can just cover any lumps with extra bananas or cream :).


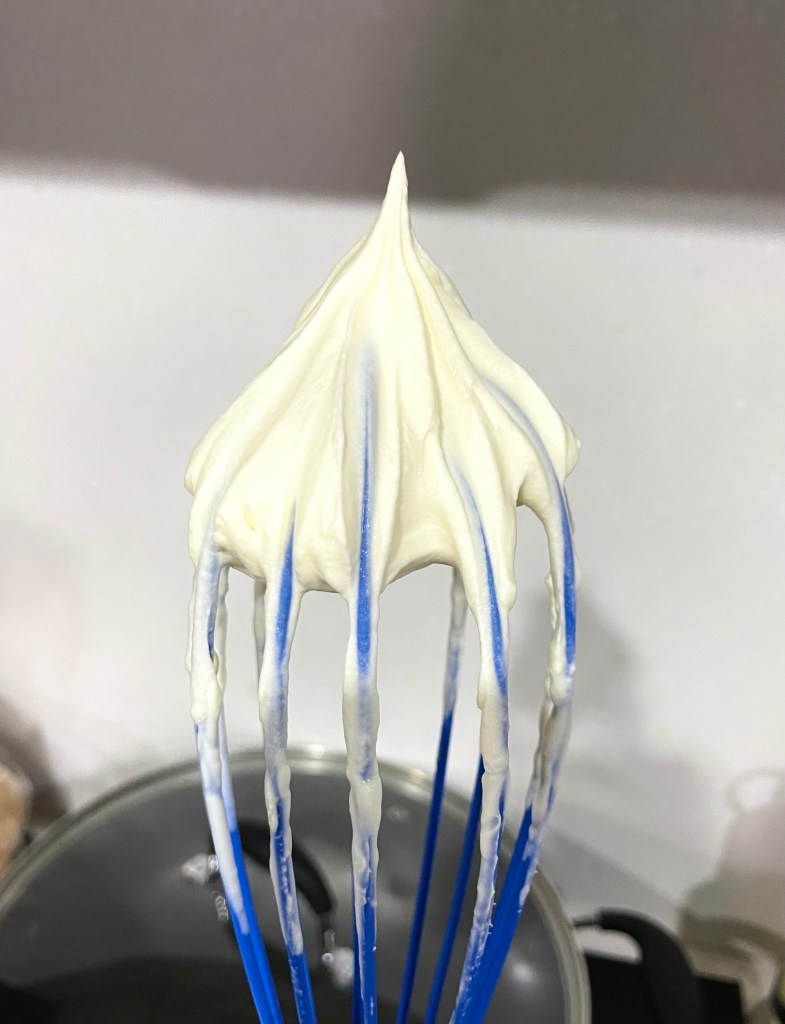
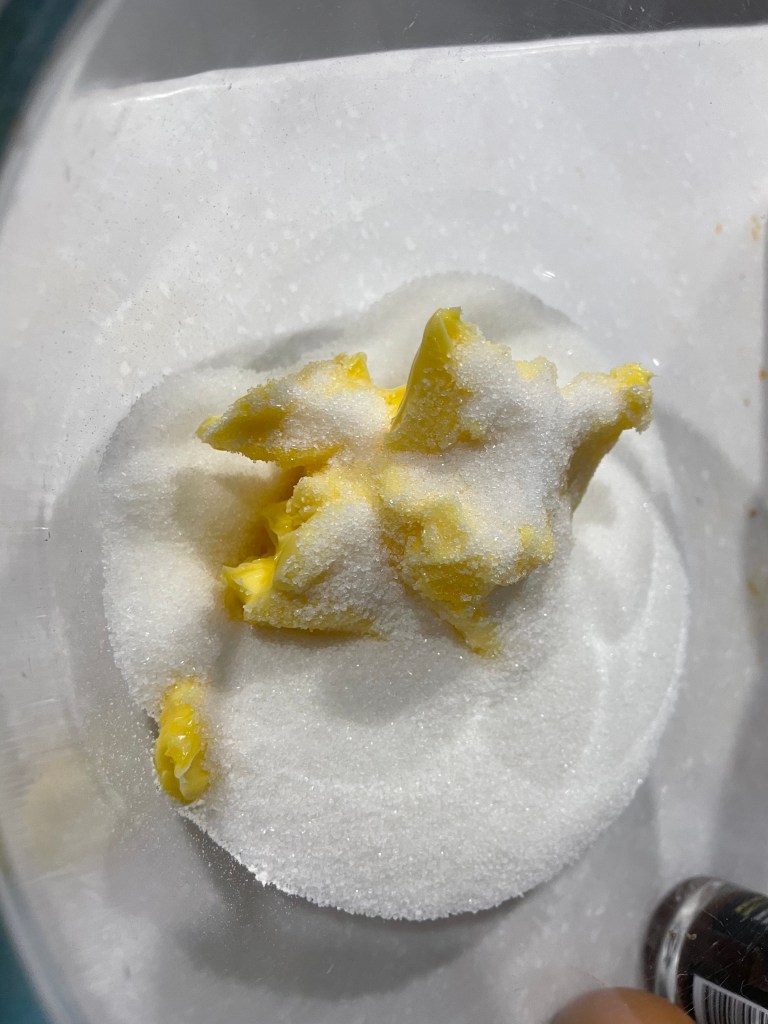
Make the whipped cream topping: While the dulce de leche is cooking, make the cream by adding together the thickened/heavy cream, sugar, vanilla extract and cream of tartar (optional) in a mixing bowl. Whip until you get stiff peaks (be careful not to over whip). Refrigerate until ready to assemble.

Once the bases are cooled and the dulce de leche is ready, assemble the pie: Granita base + spoonful of dulce de leche + banana slices + whipped cream. Remove the cupcake liners before serving. Done!
Tip: If the dulce de leche is difficult to spread out, you can warm it up a little by re-submerging your tray in a warm water bath, or dip a spoon in a little oil and smooth it out in the pie.

Summarized Recipe:
Mini Banoffee Pies
Date Published: April 12th, 2021 | Last Updated: April 12th, 2021
Author: Abby |Category: desserts
Serves: 16 pies | Prep time: 10 mins | Cook time: 2 hours
Ingredients:
- Dulce de leche:
- 1 can (397g) condensed milk
- Biscuit Base:
- 1 package (250g) Arnott’s Granita biscuits
- 125g unsalted butter, melted
- 2 Tbsps honey
- 2 bananas
- Whipped Cream Topping:
- 2 cups (500ml) thickened cream
- 5 Tbsps granulated sugar
- 1 tsp vanilla extract
- 1/2 tsp cream of tartar (optional – but it helps the cream set better and last longer)
Directions:
- Preheat oven to 180˚C (350˚F).
- Make the biscuit base: Place the Granita biscuits in a food processor and pulse until completely crumbled. Then add in the melted unsalted butter and honey and continue to pulse until all combined.
- Line a muffin tray with cupcake liners (or tart shells if you’ve got them) and place a large heaping tablespoon of the biscuit mixture into each cupcake liner. Press the biscuit mixture firmly into the pan. You can use a 1/4 cup measuring spoon to help you press it down. Bake in the oven at 180˚C for 8-10 mins until golden brown. Remove gently and let it cool completely.
- Make the dulce de leche: Pour the entire contents of the condensed milk into a glass* pie dish or a heavy tray and cover with aluminum foil. Place it in a larger tray and pour boiling water in the outer tray until the inner tray is half submerged in water. Bake for 90 mins (still at 180˚C) until the condensed milk is a caramel brown colour. Mix it around and smooth out any large lumps.
- *See notes above under the photos if you don’t have a glass dish
- Make the whipped cream topping: While the dulce de leche is cooking, make the cream by adding together the thickened/heavy cream, sugar, vanilla extract and cream of tartar (optional) in a mixing bowl. Whip until you get stiff peaks (be careful not to over whip). Refrigerate until ready to assemble.
- Assemble the pies: Once the bases are cooled and the dulce de leche is ready, assemble the pie: Granita base + spoonful of dulce de leche + banana slices + whipped cream. Remove the cupcake liners before serving. Done!
- Tip: If the dulce de leche is difficult to spread out, you can warm it up a little by re-submerging your tray in a warm water bath, or dip a spoon in a little oil and smooth it out in the pie.