Date Published: Feb 15th, 2021 | Last Updated: Feb 15th, 2021
Author: Abby |Category: asian, healthy, quick and easy, sides, mains
Serves: 4 | Prep time: 15 mins | Cook time: 20 mins
Jump to recipe |
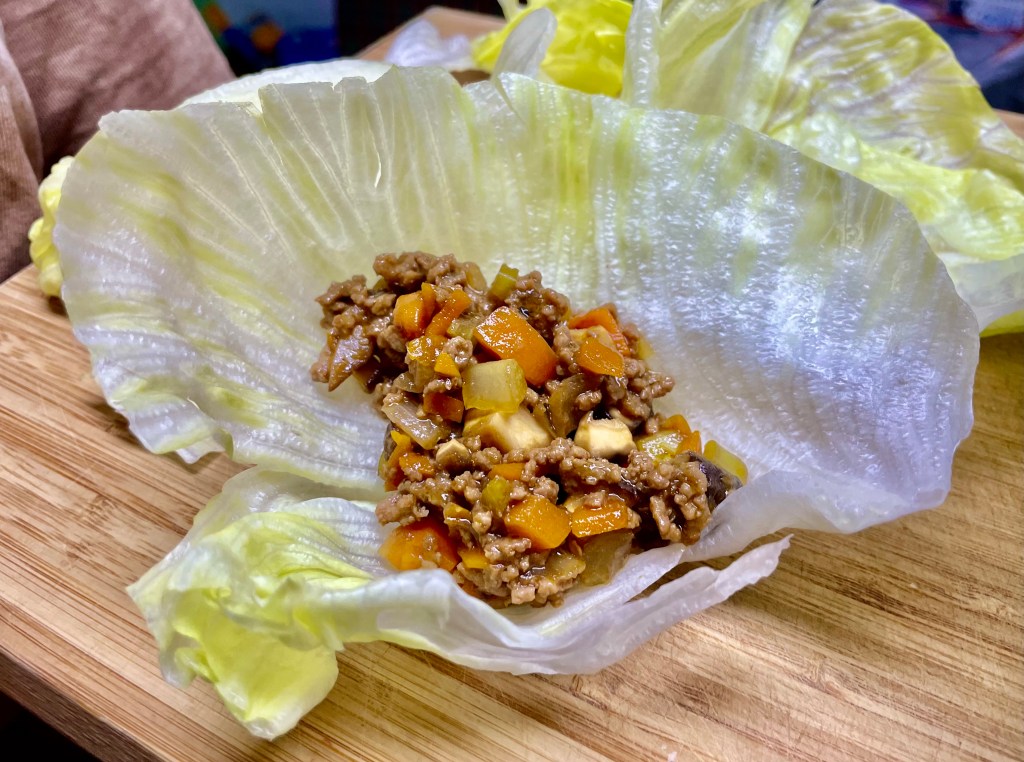
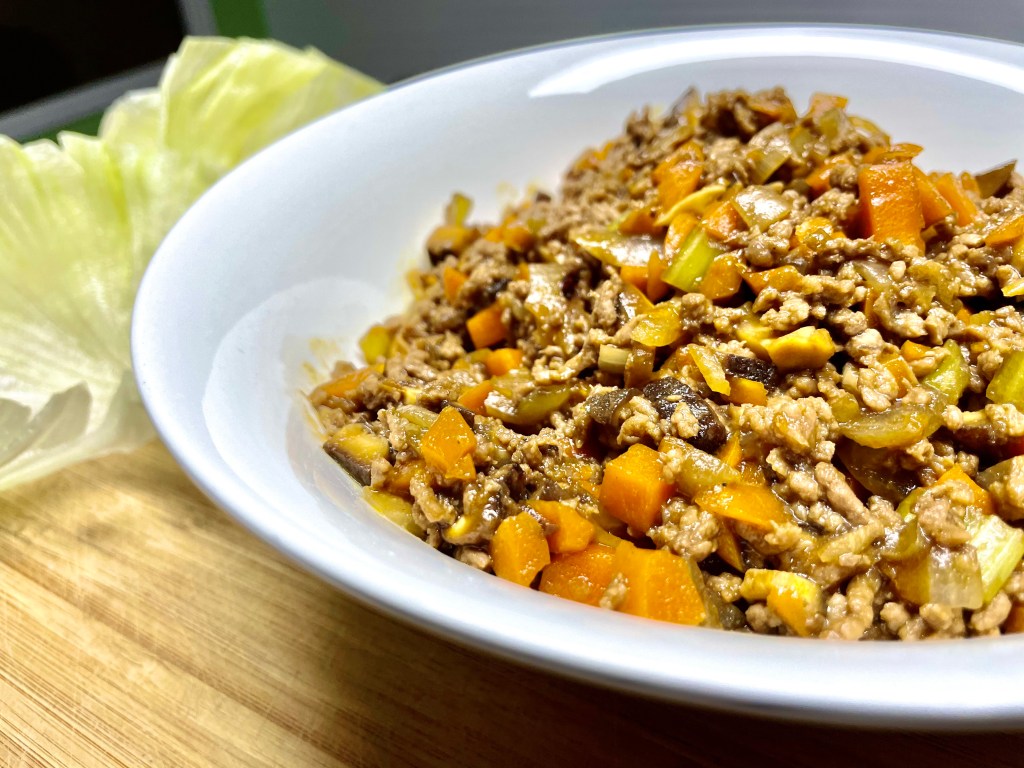
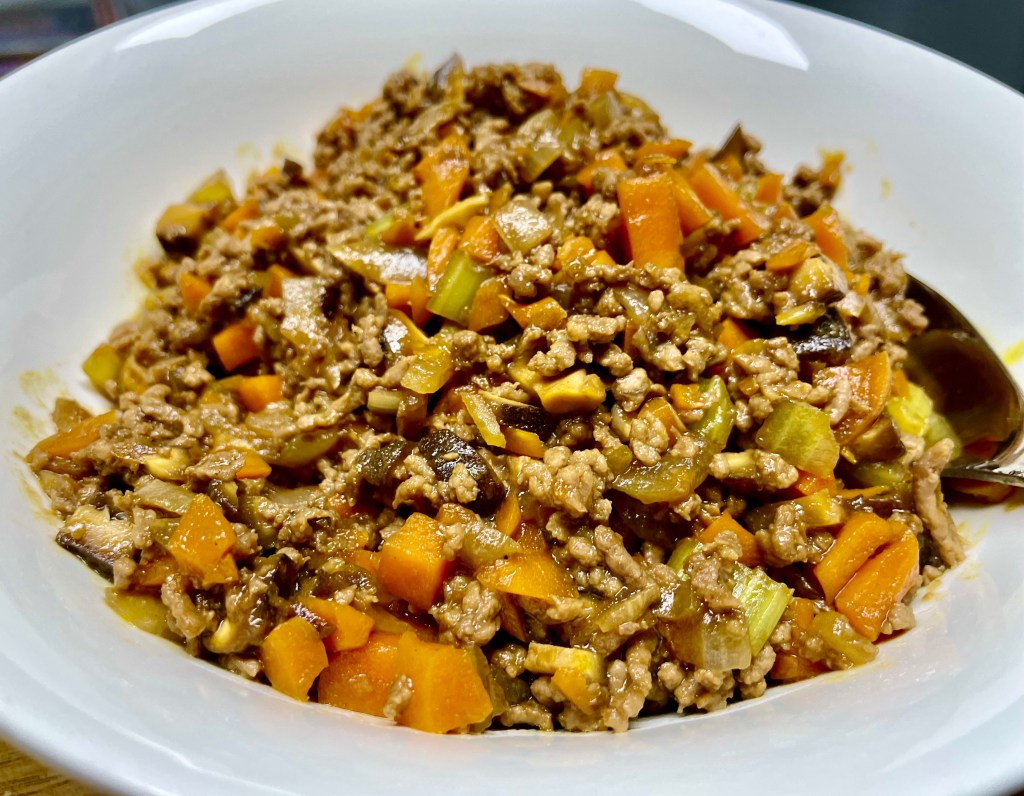
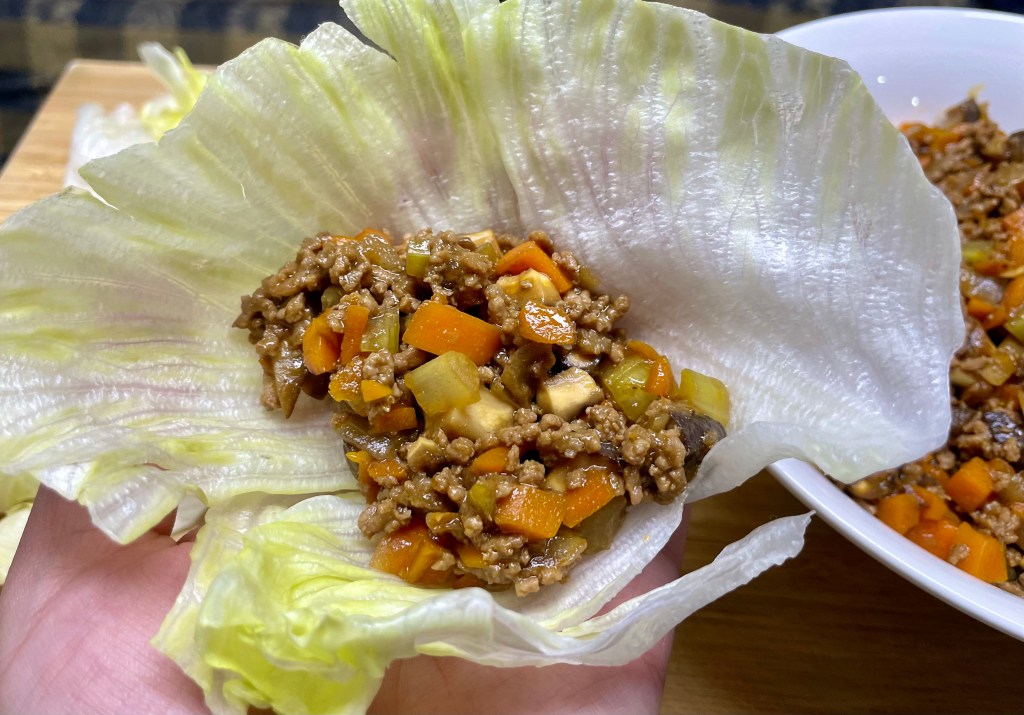
If you’ve never had a san choy bow (aka Chinese lettuce wraps), you’ve been missing out on life, my friend. It’s a boldly flavourful stir-fry of minced veggies and ground pork served with a bowl of lettuce leaves where you DIY the wraps yourselves. The mince stir-fry is meant to be on the salty side and when paired with the crisp lettuce leaves it balances out the saltiness perfectly. The bold sauce is the heart of the dish – in fact, you can change up whatever veggies you want or substitute the protein for whatever you want (even tofu) and it won’t make too much of a difference as long as the sauce is right. It’s often made with oyster sauce, but I’ve chosen Hoisin sauce as my base because Hoisin is life. You may also see water chestnuts in many recipes for that extra crunch, but I struggle to find it nearby in my grocery stores so I use diced celery instead for the crunch and a little extra flavour. If you’re feeling fancy, you can add in some puffed rice noodles in it as well.

San choy bow is a pretty common dish in Chinese restaurants either served as a side dish or as a main – either way, there’s no neat way to eat it. Be prepared to have sauce drizzle down your hands no matter how careful you are. The first time I had it was at a Chinese restaurant in Brampton as a secondary dish to our peking duck – the first dish was the typical crispy duck skin wraps and the second dish was the meat of the duck stir-fried with Hoisin sauce and served in lettuce wraps. It was heaven. This recipe is my version of a san choy bow and its an homage to the dish I’ve loved for so long.
Not only is this dish delicious, it’s actually also pretty healthy, low-carb, gluten-free, and best of all really easy and quick to make! You can make everything in about 20 minutes and its also easily customizable and a great way to sneak veggies into the diet.
Anyways, without further ado, here’s the recipe! If you have any comments or suggestions, I’d love to hear from you in the comment section! You can follow me on instagram, youtube and facebook to see all the recipes I post!
Happy cooking!
Ingredients you’ll need:
- 3 cloves garlic, minced
- 2 tsp ginger, minced
- 1 large onion, diced
- 2 large sticks of celery (or 3 medium ones), finely diced
- 2 medium sized carrots, finely diced
- 8 shiitake mushrooms, finely diced (fresh or dehydrated)
- 500g lean pork mince
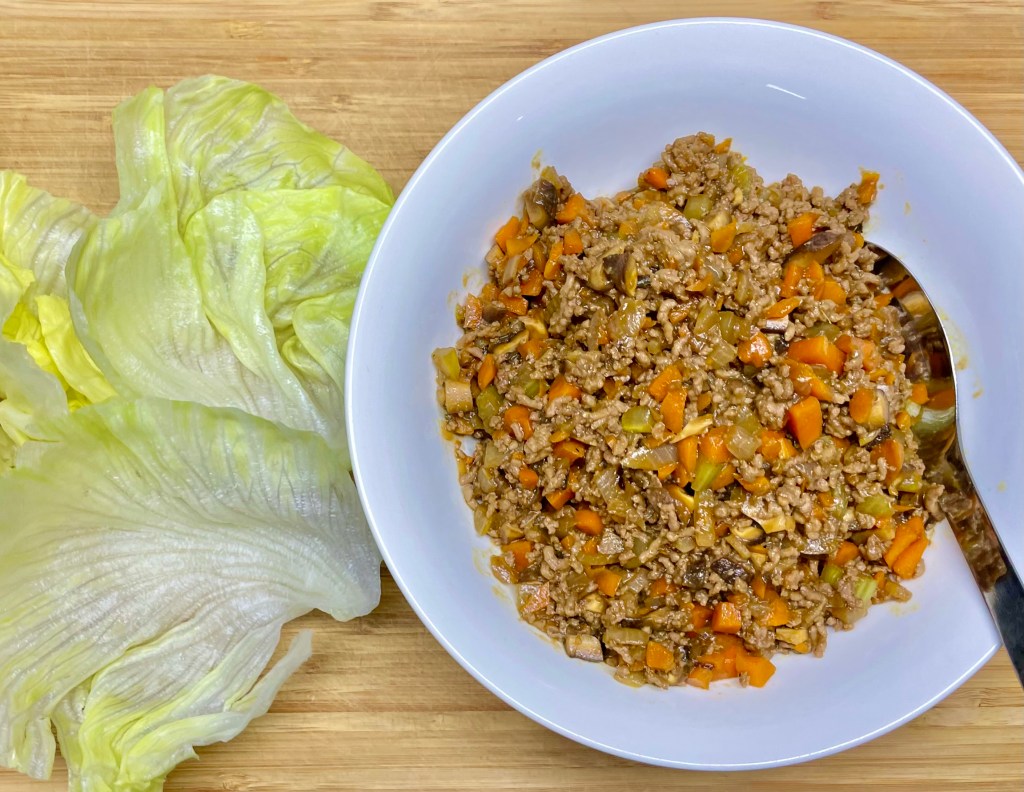
- Iceberg lettuce for wrapping
- Sauce:
- 6 Tbsps Hoisin sauce
- 3 Tbsps soy sauce
- 1.5 Tbsps rice wine vinegar
Directions:

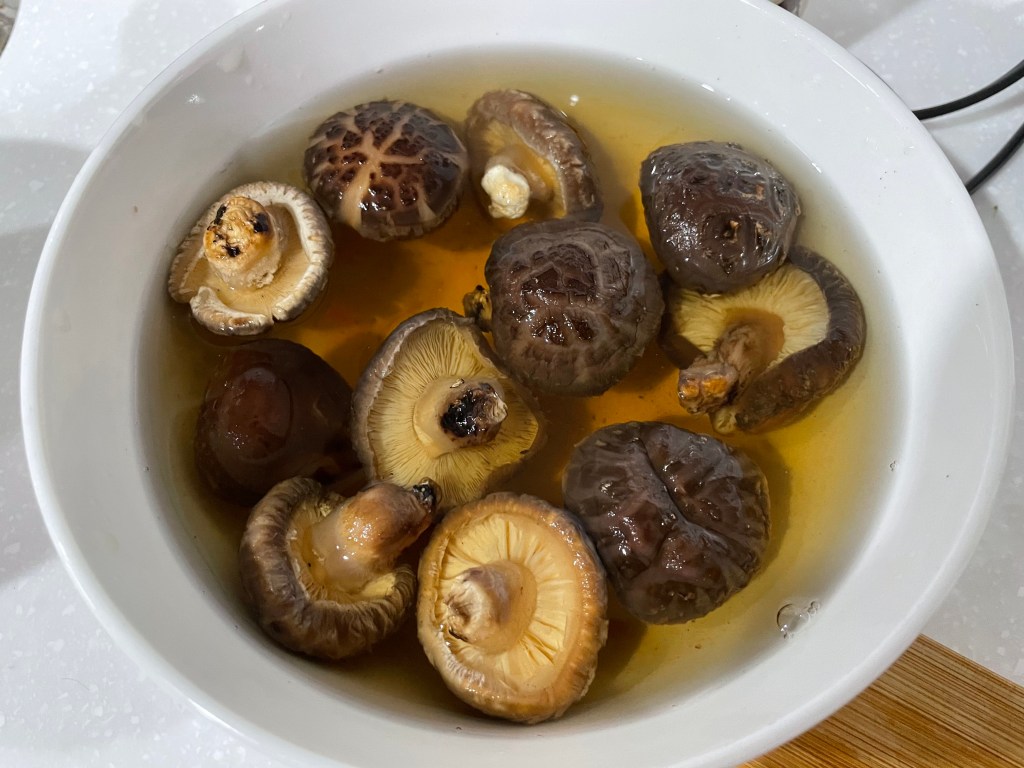
Finely dice all of your veg. Tip: if you’re feeling lazy you can put it in the food processor and pulse it until you get small pieces. If you’re using dehydrated shiitake mushrooms, rehydrate them by soaking them in hot water for 10-15 mins until soft.
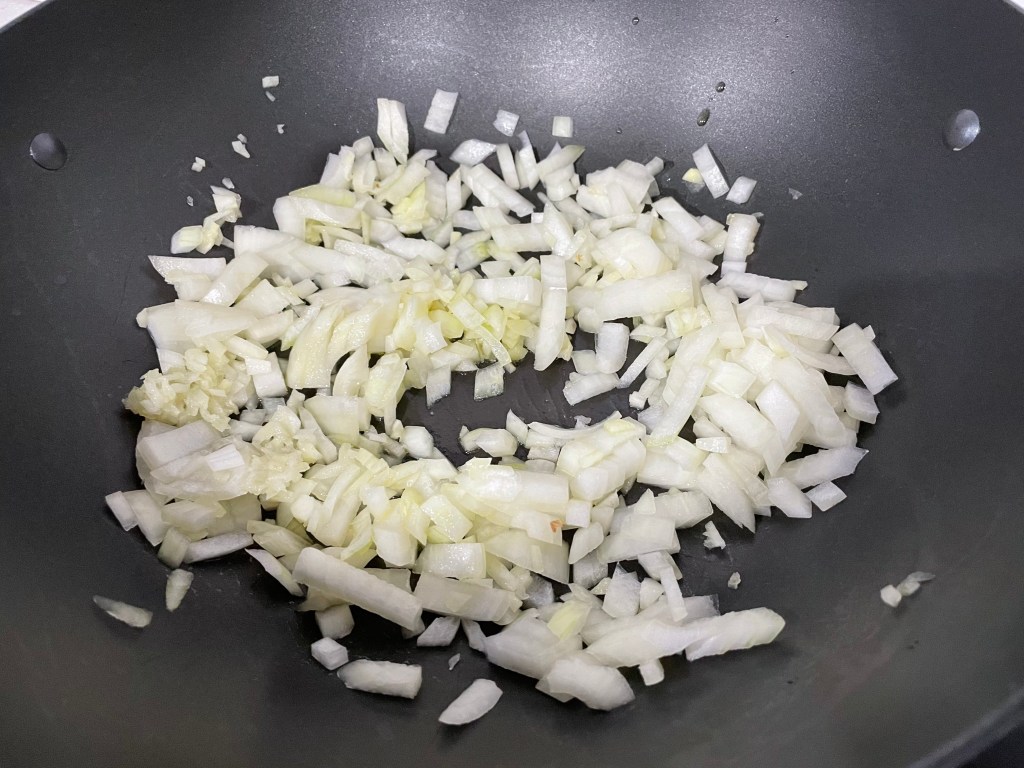
In a wok on MED-HIGH heat, add a few tablespoons of oil and sauté the garlic, ginger and onion for 30 seconds until fragrant.

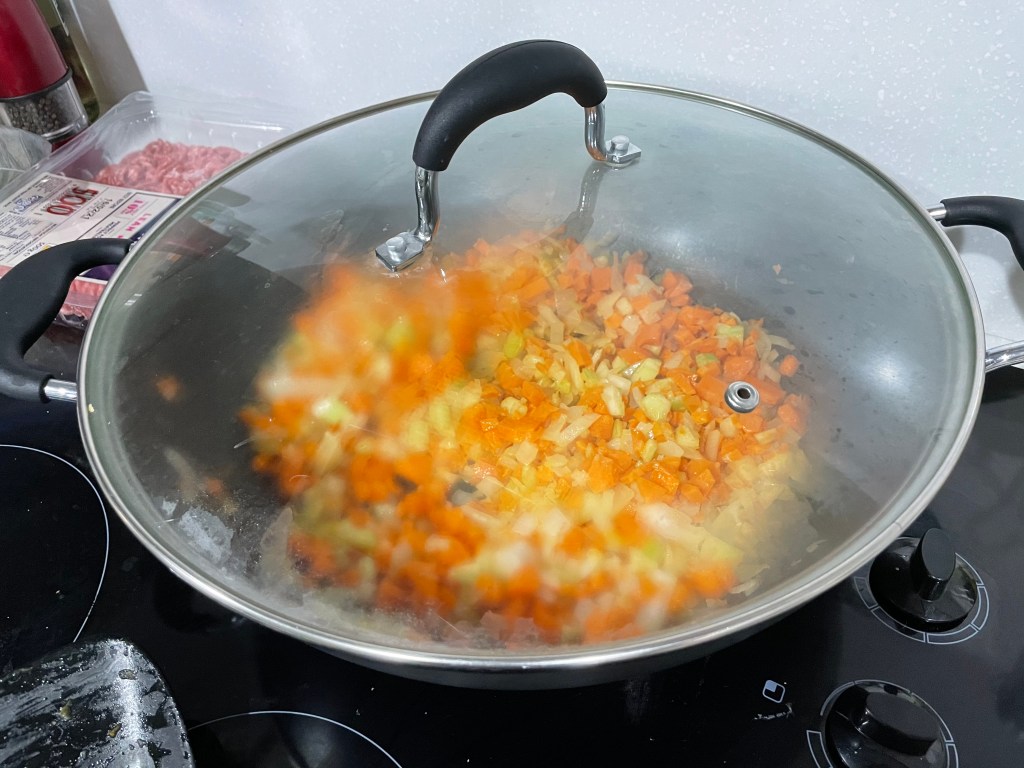

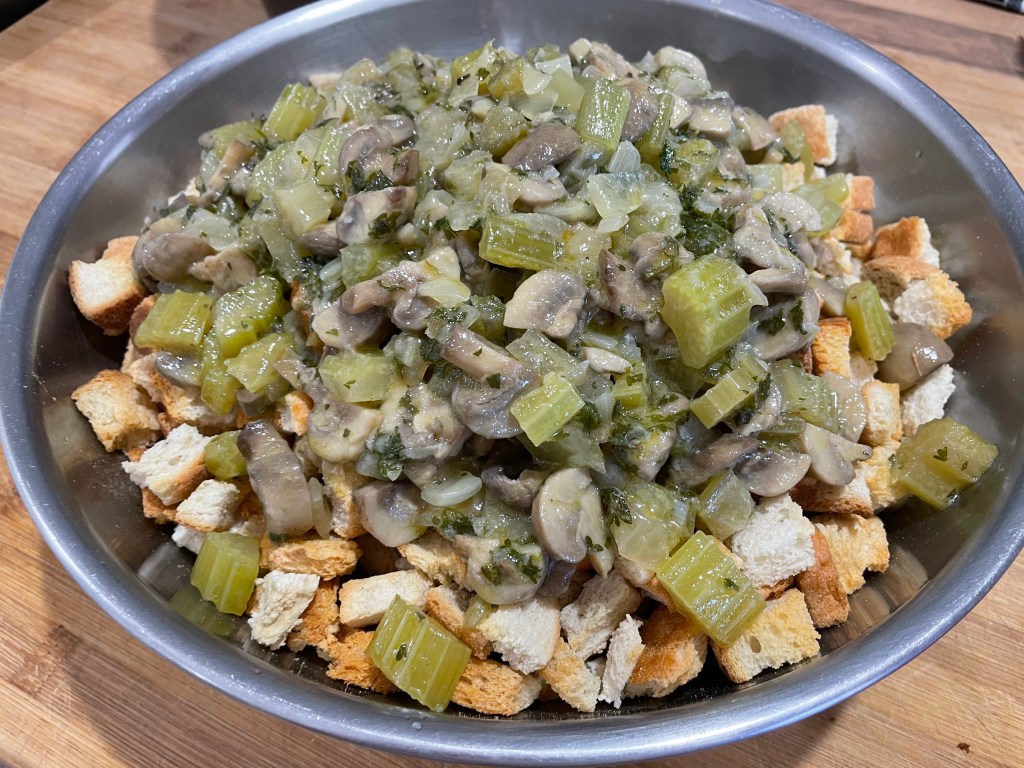
Add in the celery and carrots to the wok and continue sautéing for another 2 mins. Put a lid on the wok, turn the heat down to MED and let the veg steam for 5-10mins until they’re soft enough to break with a spatula. Stir occasionally to ensure the veg doesn’t burn. If the veg seems a bit dry or is burning before it softens, add a tablespoon of water and stir it around then put the lid back on to continue steaming.

While the veg is steaming, you can dice your rehydrated shiitake mushrooms, discarding the hard stems and wash the lettuce leaves. You can also trim the lettuce leaves to shape them like cups if you’re feeling fancy. I usually just eat them whole, but will put in the extra effort to trim them if I’m serving it out to friends.
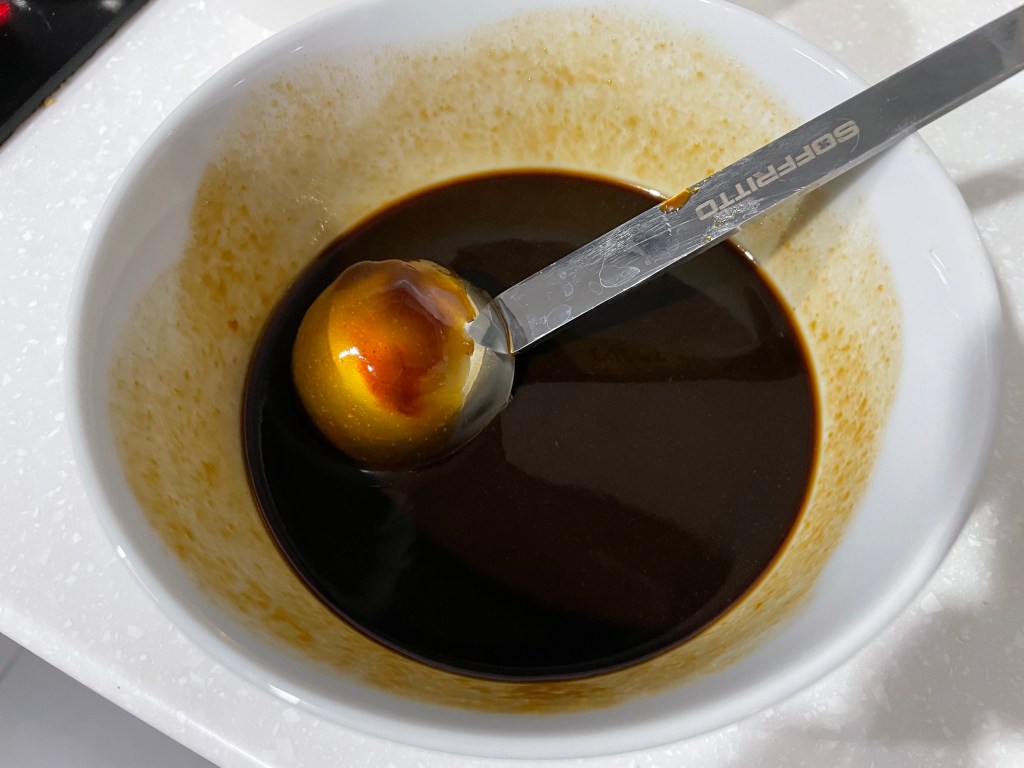
Make the sauce by mixing together the hoisin sauce, soy sauce, and rice wine vinegar. Set aside.

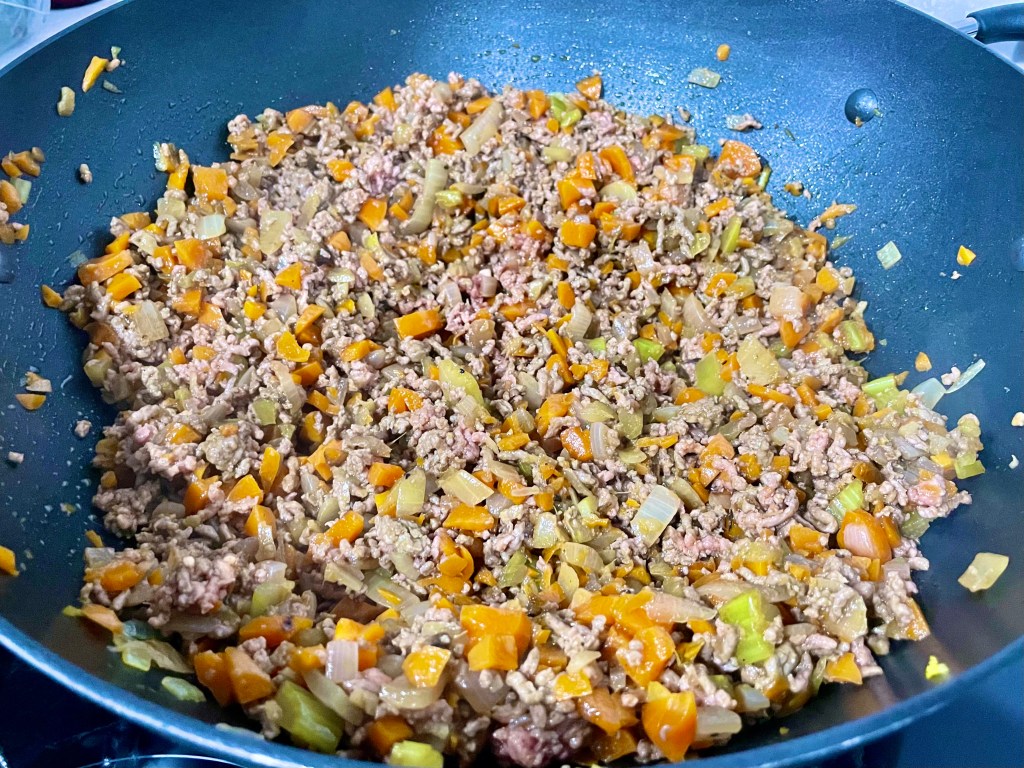


Once the veg has softened, add in the pork mince and mushrooms to the wok and stir-fry on MED-HIGH heat until the pork is cooked. Then pour in the hoisin sauce mixture and stir until combined. Done! Serve with iceberg lettuce leaves for wrapping and lots of napkins for the inevitable sauce to drip down your hands 😜.


Summarized Recipe:
Chinese Lettuce Wraps (My Version of a San Choy Bow)
Date Published: Feb 15th, 2021 | Last Updated: Feb 15th, 2021
Author: Abby |Category: asian, healthy, quick and easy
Serves: 4 | Prep time: 15 mins | Cook time: 20 mins
Ingredients:
- 3 cloves garlic, minced
- 2 tsp ginger, minced
- 1 large onion, diced
- 2 large sticks of celery (or 3 medium ones), finely diced
- 2 medium sized carrots, finely diced
- 8 shiitake mushrooms, finely diced (fresh or dehydrated)
- 500g lean pork mince
- Iceberg lettuce for wrapping
- Sauce:
- 6 Tbsps Hoisin sauce
- 3 Tbsps soy sauce
- 1.5 Tbsps rice wine vinegar
Directions:
- Finely dice all of your veg. Tip: if you’re feeling lazy you can put it in the food processor and pulse it until you get small pieces. If you’re using dehydrated shiitake mushrooms, rehydrate them by soaking them in hot water for 10-15 mins until soft.
- In a wok on MED-HIGH heat, add a few tablespoons of oil and sauté the garlic, ginger and onion for 30 seconds until fragrant.
- Add in the celery and carrots to the wok and continue sautéing for another 2 mins. Put a lid on the wok, turn the heat down to MED and let the veg steam for 5-10mins until they’re soft enough to break with a spatula. Stir occasionally to ensure the veg doesn’t burn. If the veg seems a bit dry or is burning before it softens, add a tablespoon of water and stir it around then put the lid back on to continue steaming.
- While the veg is steaming, you can dice your rehydrated shiitake mushrooms, discarding the hard stems and wash the lettuce leaves.
- You can also trim the lettuce leaves to shape them like cups if you’re feeling fancy. I usually just eat them whole, but will put in the extra effort to trim them if I’m serving it out to friends.
- Make the sauce by mixing together the hoisin sauce, soy sauce, and rice wine vinegar. Set aside.
- Once the veg has softened, add in the pork mince and mushrooms to the wok and stir-fry on MED-HIGH heat until the pork is cooked. Then pour in the hoisin sauce mixture and stir until combined. Done! Serve with iceberg lettuce leaves for wrapping and lots of napkins for the inevitable sauce to drip down your hands 😜.