Date Published: Nov 8th, 2021 | Last Updated: Nov 8th, 2021
Author: Abby |Category: mains, Asian, easy, healthy, soups, Taiwanese
Serves: 4-6 (as a main) | Prep time: 15 mins | Cook time: 45 mins
Jump to recipe |
This recipe is easy and cooks up quickly!
This recipe is near and dear to me. My mom used to make it for us when I was a kid and I don’t think I properly appreciated it until I moved out from home. I had to get a dental procedure done a couple months ago and was instructed not to eat any hard foods for a day or two and the first thing I thought about making was mom’s salty congee. I called her up in Canada on the way home from my procedure and she gave me the rough instructions and ratios for me to figure out (she never writes down recipes and just eyes the ratios when she cooks). I picked up the ingredients before heading home and made it that night for dinner. It was surprisingly super easy and it turned out just like mom’s. It was amazing, nostalgic, and brought me right back to my childhood. I ate 3 bowls in one sitting!

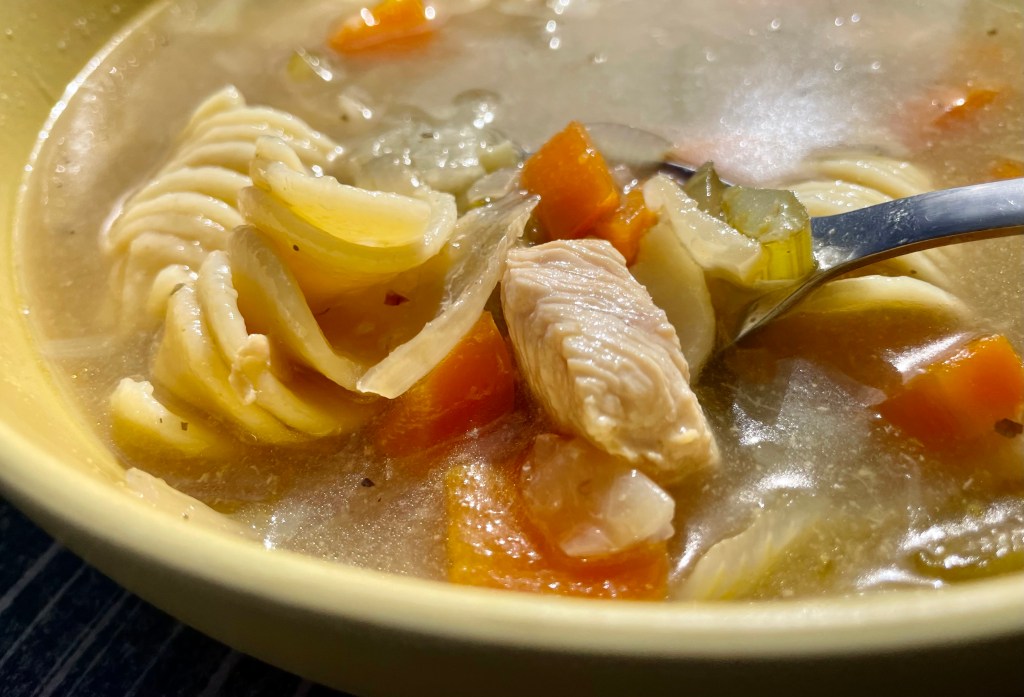
Now I crave this every time I’m sick (Toby has amazingly learned how to make this dish for me for when I’m unwell 😊). It’s so warm and comforting, kind of like the effects of a chicken noodle soup. I hope you enjoy this recipe as much as I do.
Anyways, without further ado, here’s the recipe! If you have any comments or suggestions, I’d love to hear from you in the comment section! You can follow me on instagram, youtube and facebook to see all the recipes I post!
Happy cooking!
Ingredients you’ll need:
- 350g pork mince
- 3/4 Tbsp cornstarch
- 1 cup jasmine rice
- 7 cups (1.75L) water
- 4 cups of cabbage, chopped to 2cm squares
- 1/2 Tbsp salt
- 1/2 Tbsp chicken stock powder
- 2 eggs, beaten
- 3/4 tsp ground white pepper
- 1/2 Tbsp sesame oil
Directions:


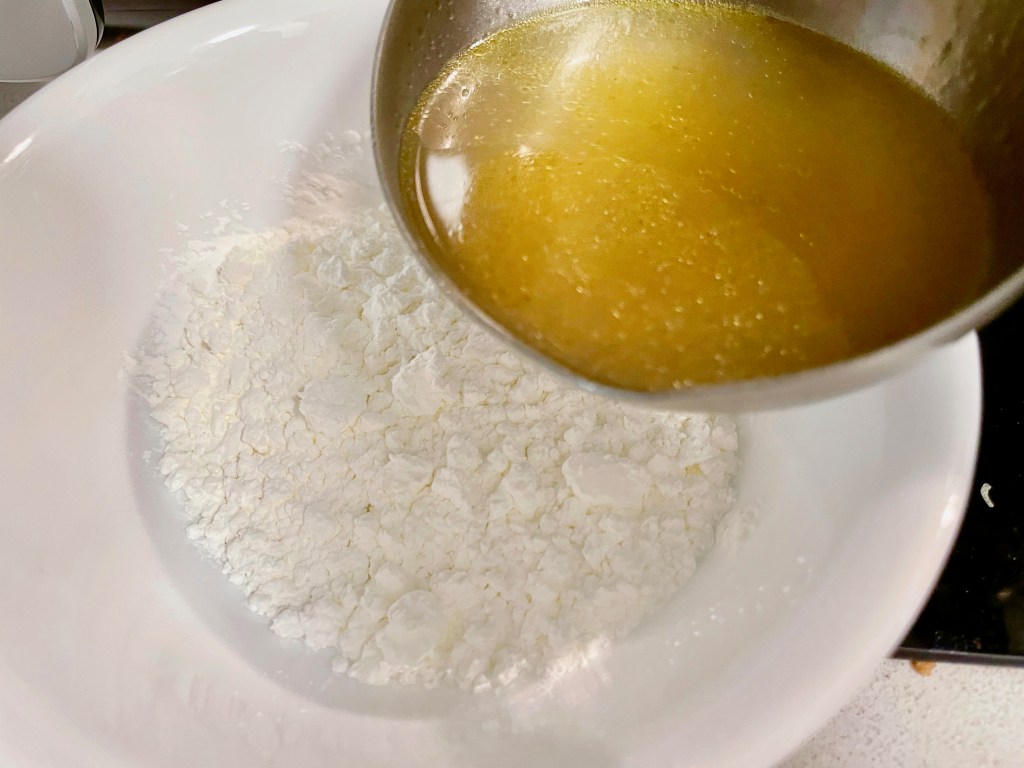
In a bowl, mix the pork mince and cornstarch together (this may be easier to do by hand). Set aside.

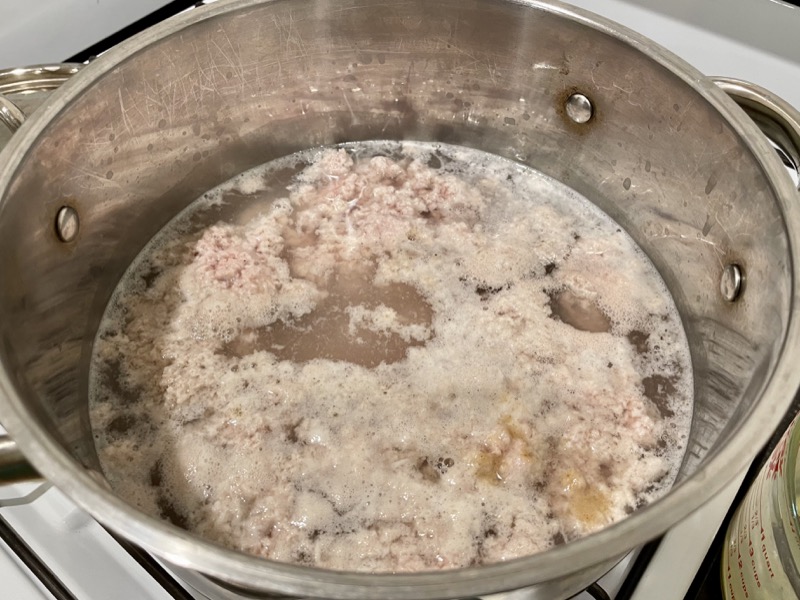
Looks gross, I know – but just wait until the end!
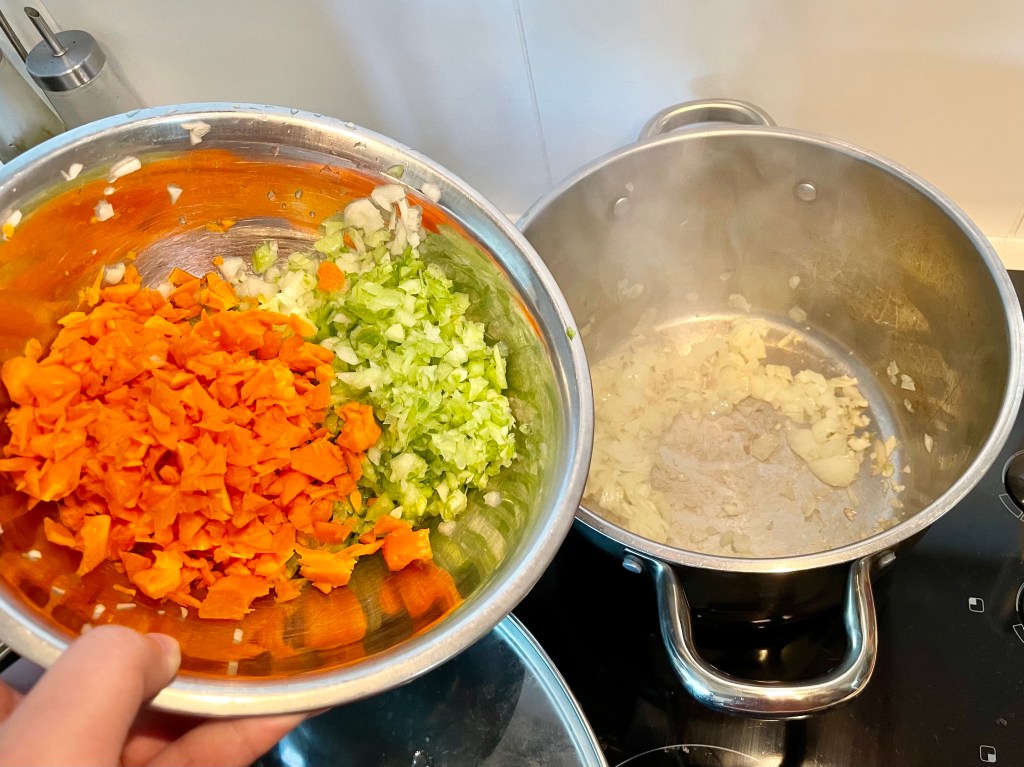
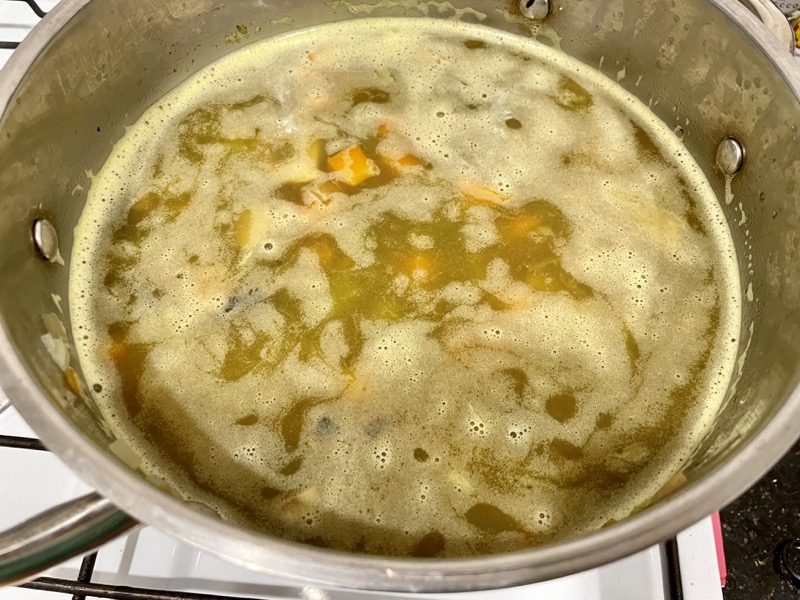
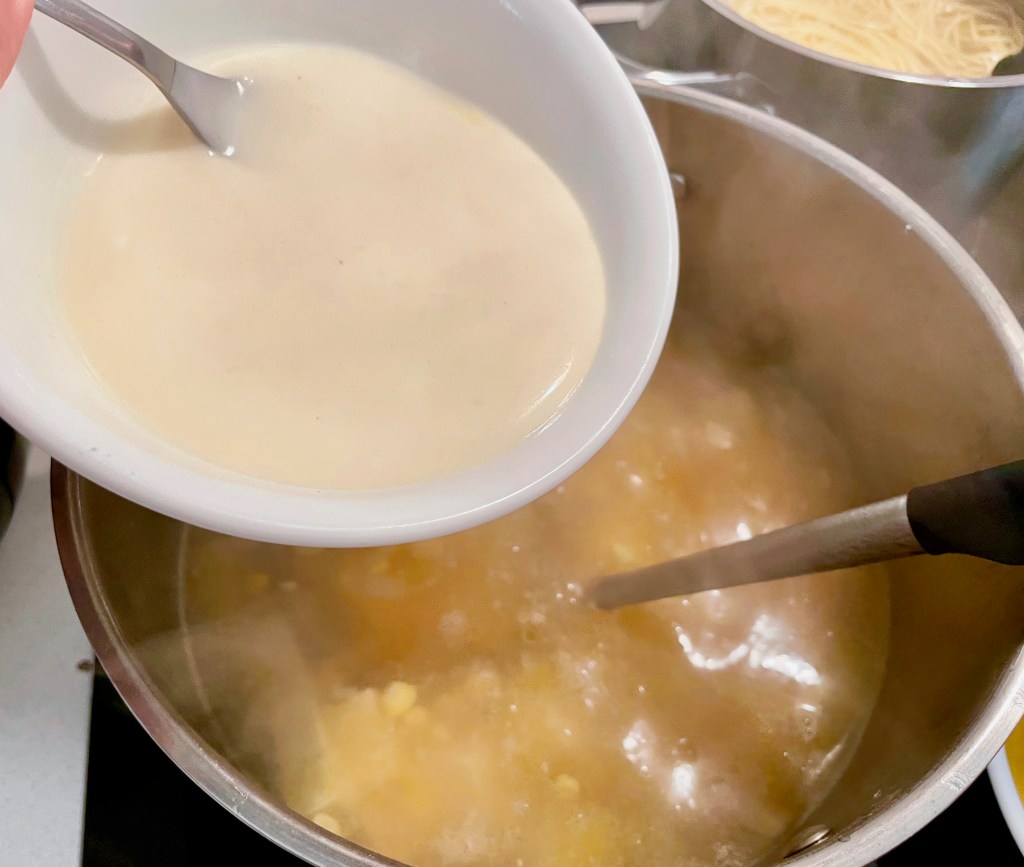
In a large pot, add in the rice, water and pork. Break up the pork into smaller pieces when adding it to the pot and stir. Turn the heat on HIGH and bring it to a boil with the lid on.

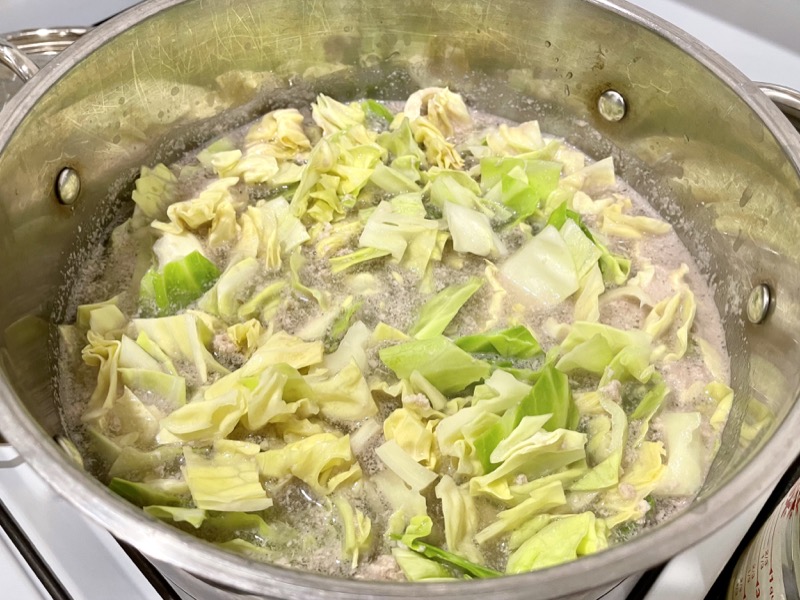


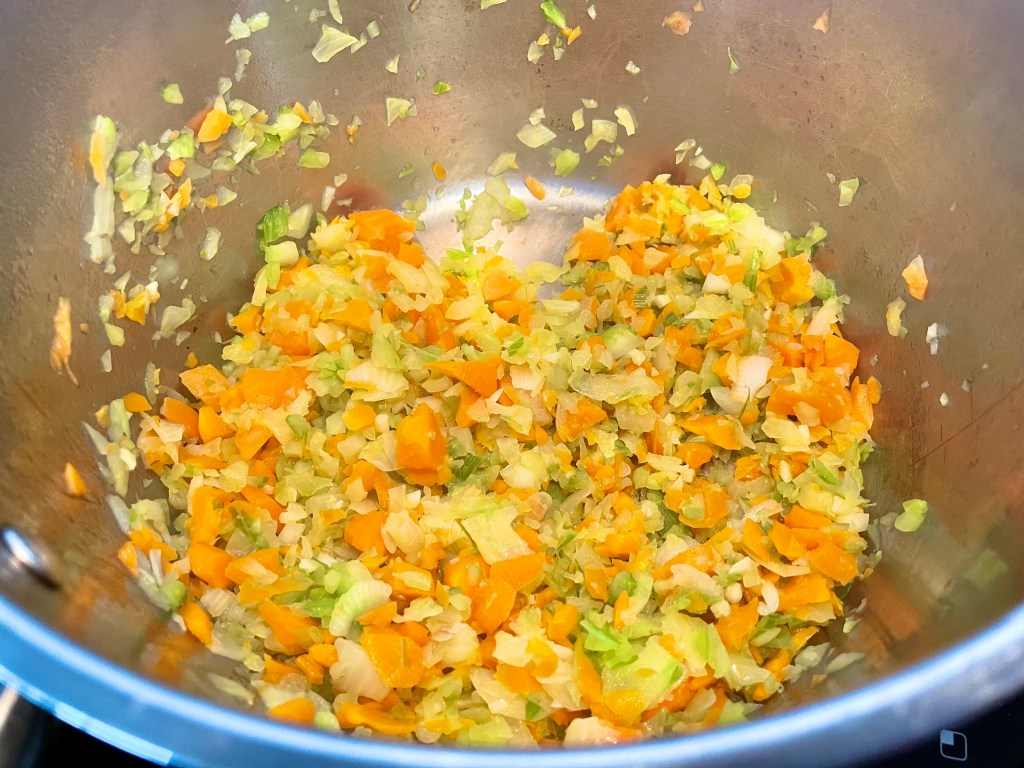
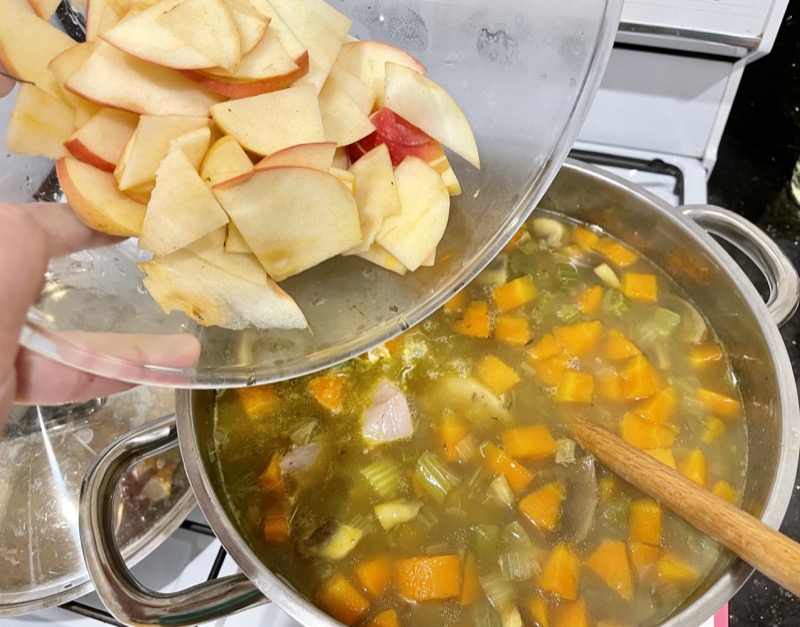
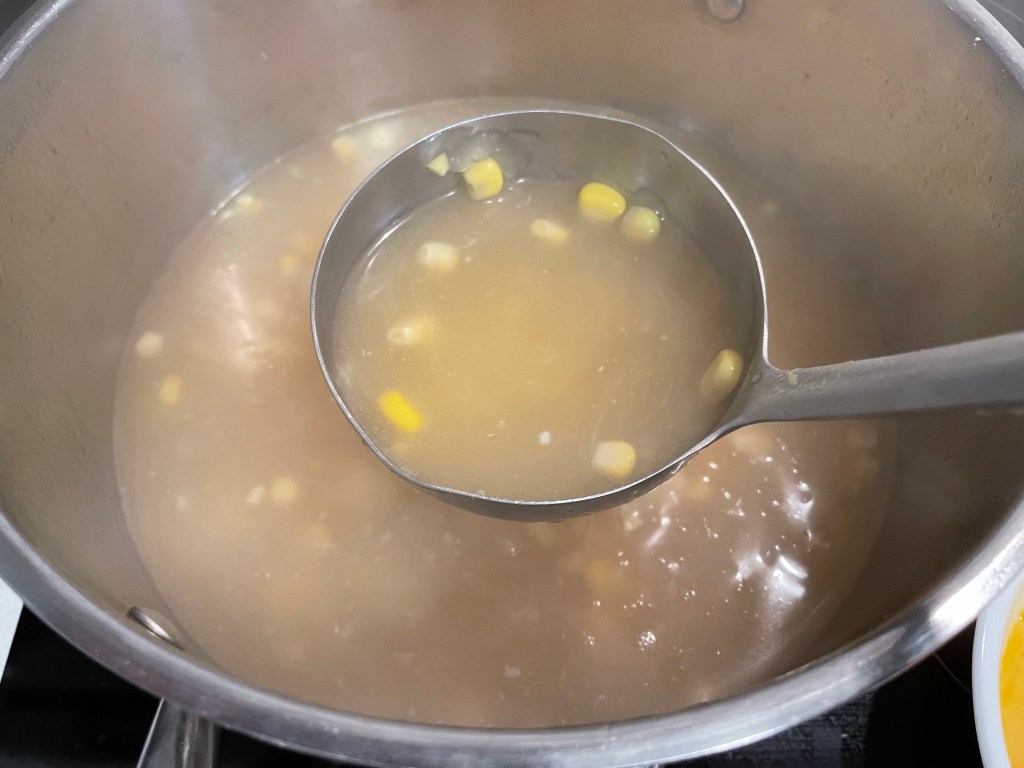
Once the water boils, add in the cabbage, salt and chicken stock powder. When the water boils again, turn the heat down to LOW and let it simmer with the lid on until the congee is to your desired consistency. Stir occasionally to ensure your congee doesn’t stick to the bottom of the pot and burn.
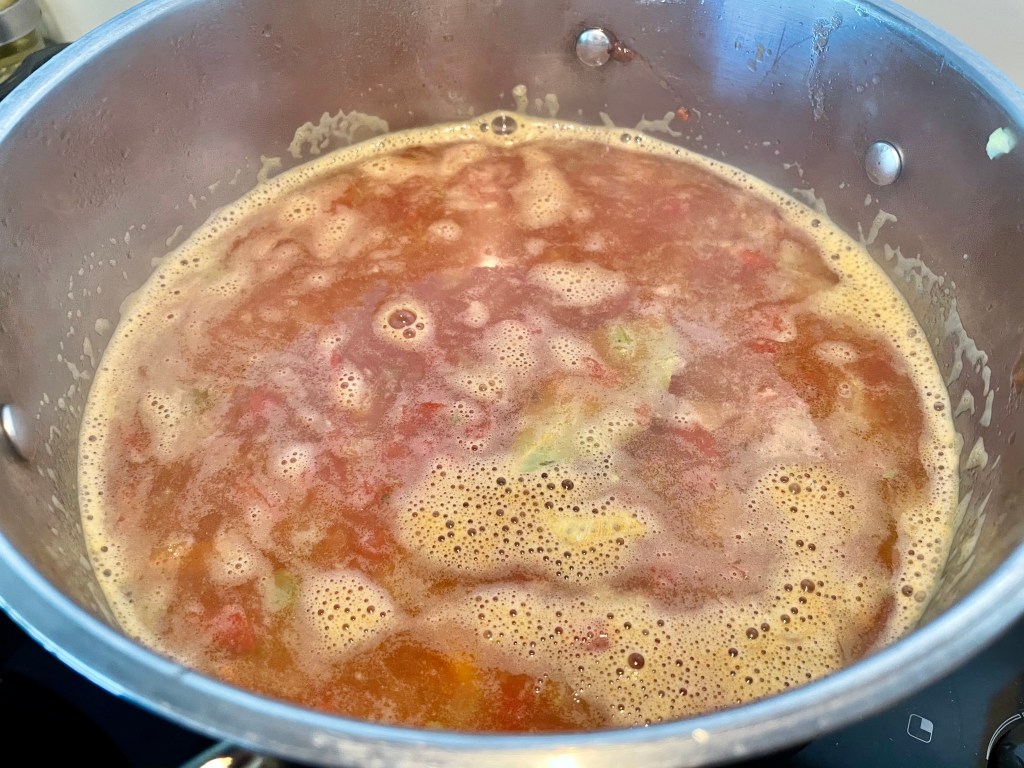
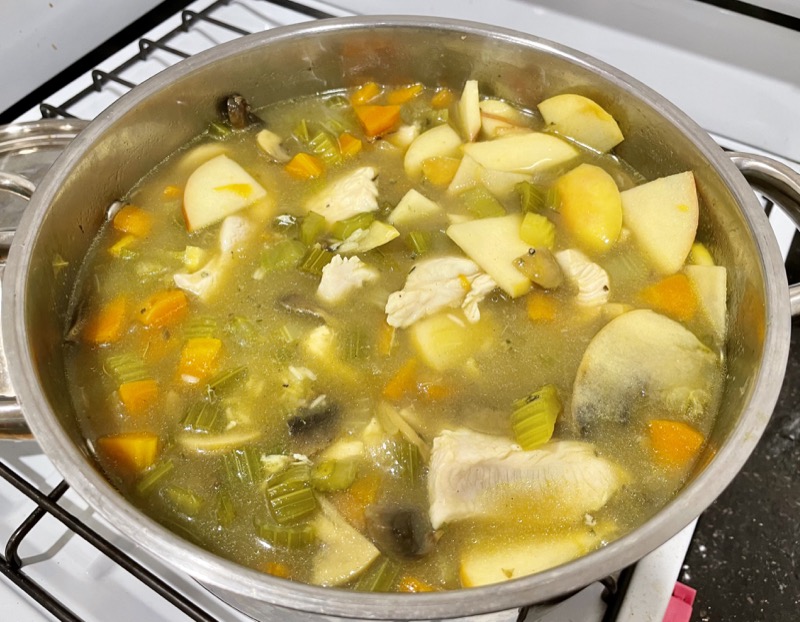
I like my congee thick and porridge-y consistency so I let it simmer a bit longer. If you prefer your congee more watery and soupy, turn off the heat earlier.


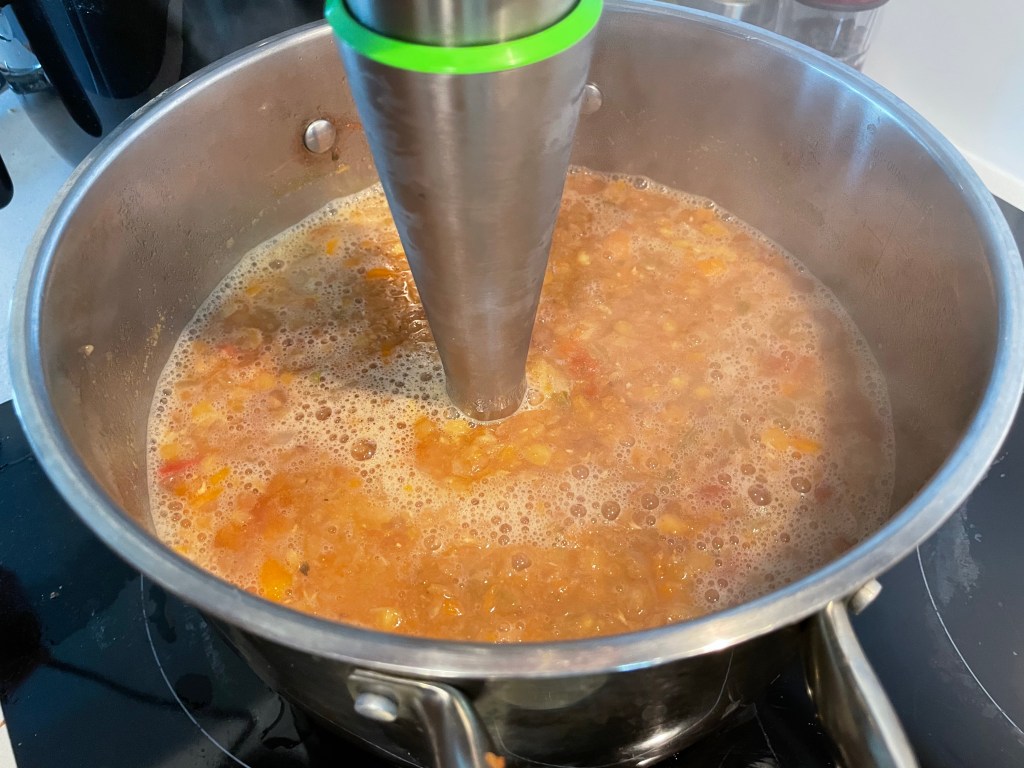
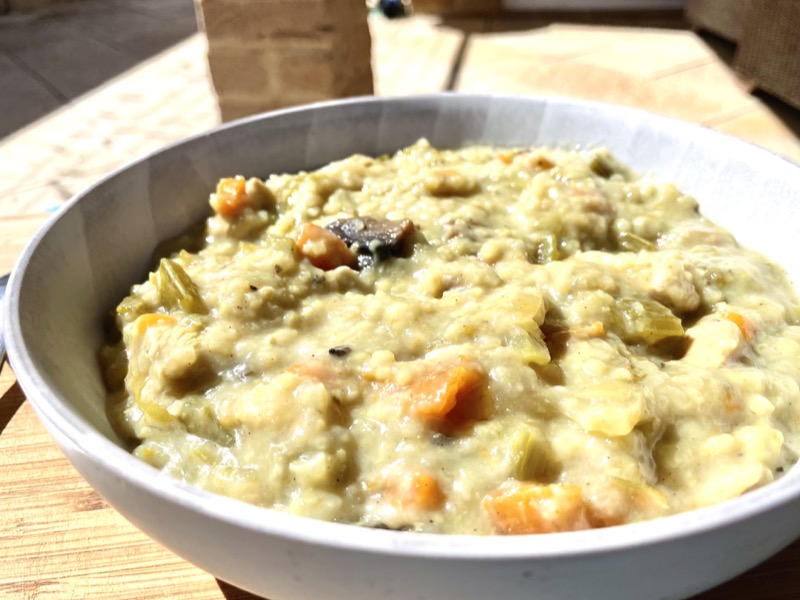
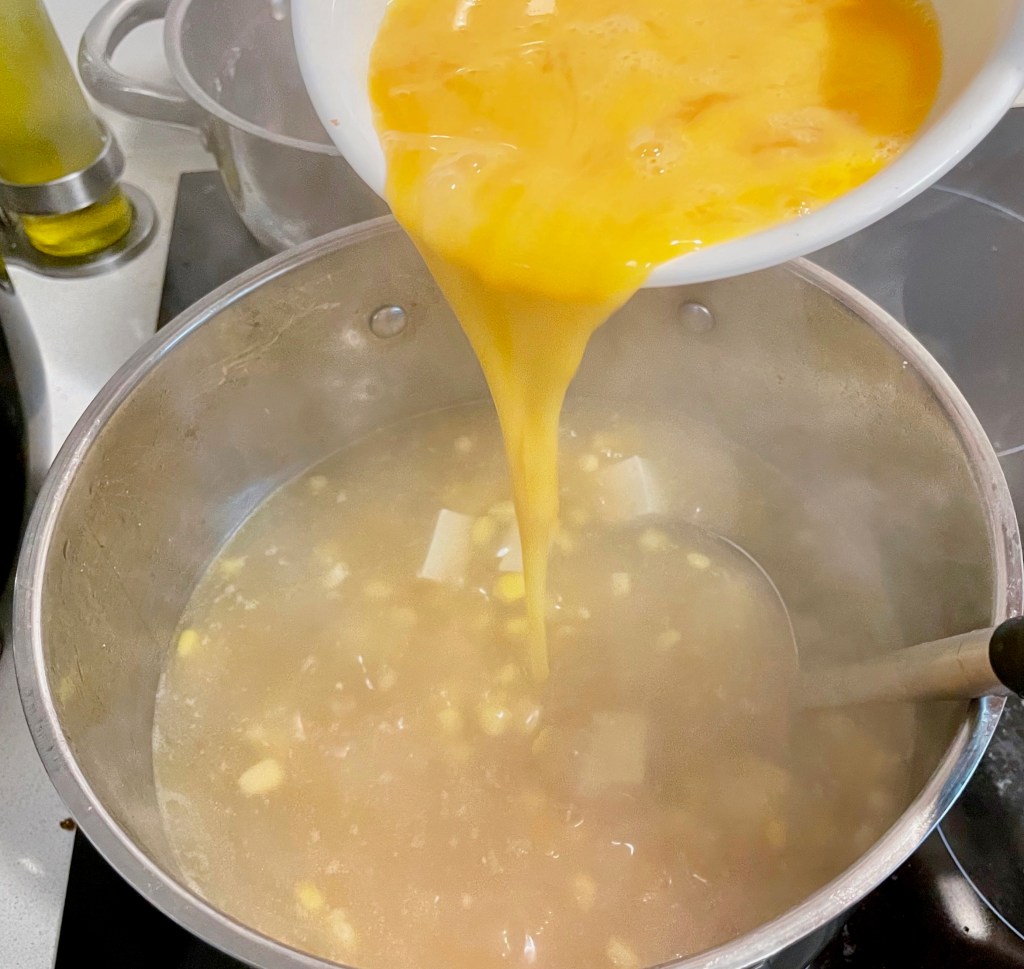
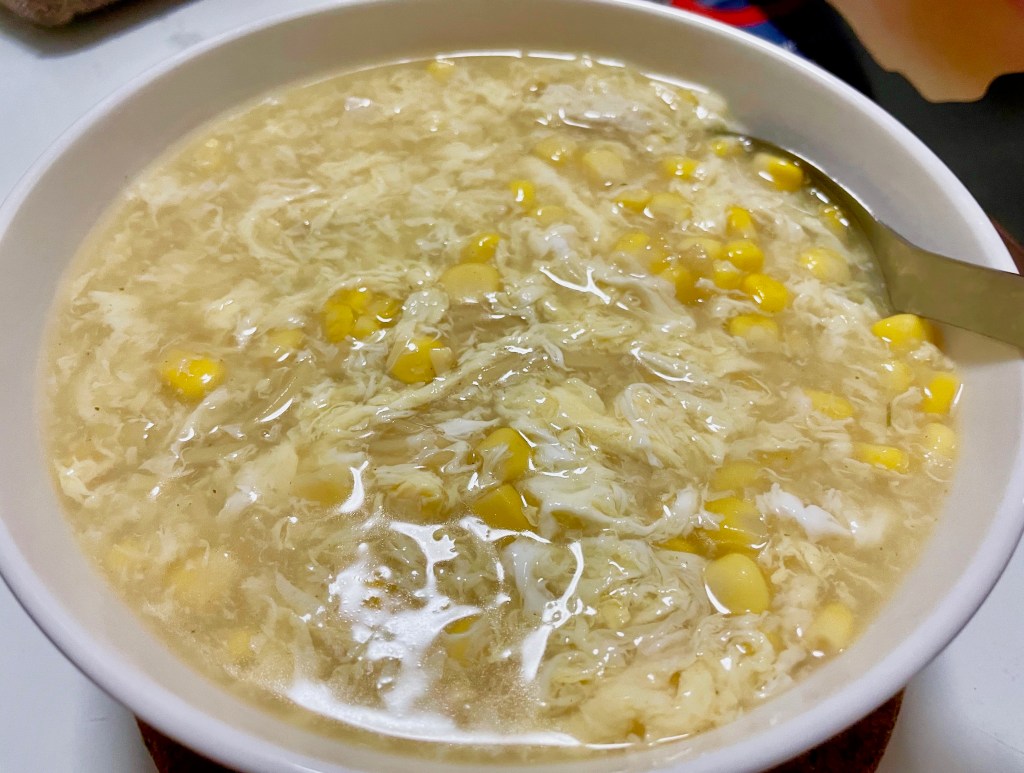
When the congee is to your liking, turn off the heat and immediately add in the beaten eggs. Stir the eggs into the congee until they are cooked (a few seconds). Mix in the white pepper and sesame oil. Add more salt and pepper to taste if you like. Serve!


Summarized Recipe:
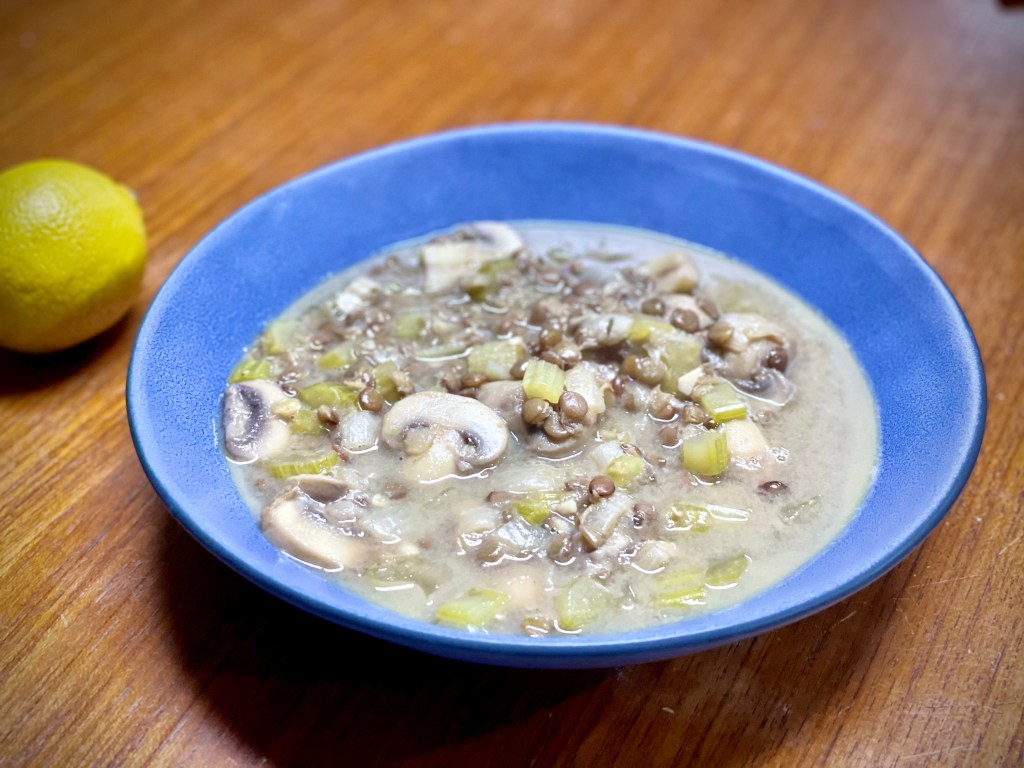
Mom’s Savoury Pork & Cabbage Congee 鹹稀飯
Date Published: Nov 8th, 2021 | Last Updated: Nov 8th, 2021
Author: Abby |Category: mains, Asian, easy, healthy, soups, Taiwanese
Serves: 4-6 (as a main) | Prep time: 15 mins | Cook time: 45 mins
Ingredients:
- 350g pork mince
- 3/4 Tbsp cornstarch
- 1 cup jasmine rice
- 7 cups (1.75L) water
- 4 cups of cabbage, chopped to 2cm squares
- 1/2 Tbsp salt
- 1/2 Tbsp chicken stock powder
- 2 eggs, beaten
- 3/4 tsp ground white pepper
- 1/2 Tbsp sesame oil
Directions:
- In a bowl, mix the pork mince and cornstarch together (this may be easier to do by hand). Set aside.
- In a large pot, add in the rice, water and pork. Break up the pork into smaller pieces when adding it to the pot and stir. Turn the heat on HIGH and bring it to a boil with the lid on.
- Once the water boils, add in the cabbage, salt and chicken stock powder. When the water boils again, turn the heat down to LOW and let it simmer with the lid on until the congee is to your desired consistency. Stir occasionally to ensure your congee doesn’t stick to the bottom of the pot and burn.
- I like my congee thick and porridge-y consistency so I let it simmer a bit longer. If you prefer your congee more watery and soupy, turn off the heat earlier.
- When the congee is to your liking, turn off the heat and immediately add in the beaten eggs. Stir the eggs into the congee until they are cooked (a few seconds). Mix in the white pepper and sesame oil. Add more salt and pepper to taste if you like. Serve!