Date Published: August 12th, 2020 | Last Updated: August 12th, 2020
Author: Abby |Category: sauces/dips, asian
Serves: 2 cups | Prep time: 2 mins | Make time: 10 mins
Jump to recipe |

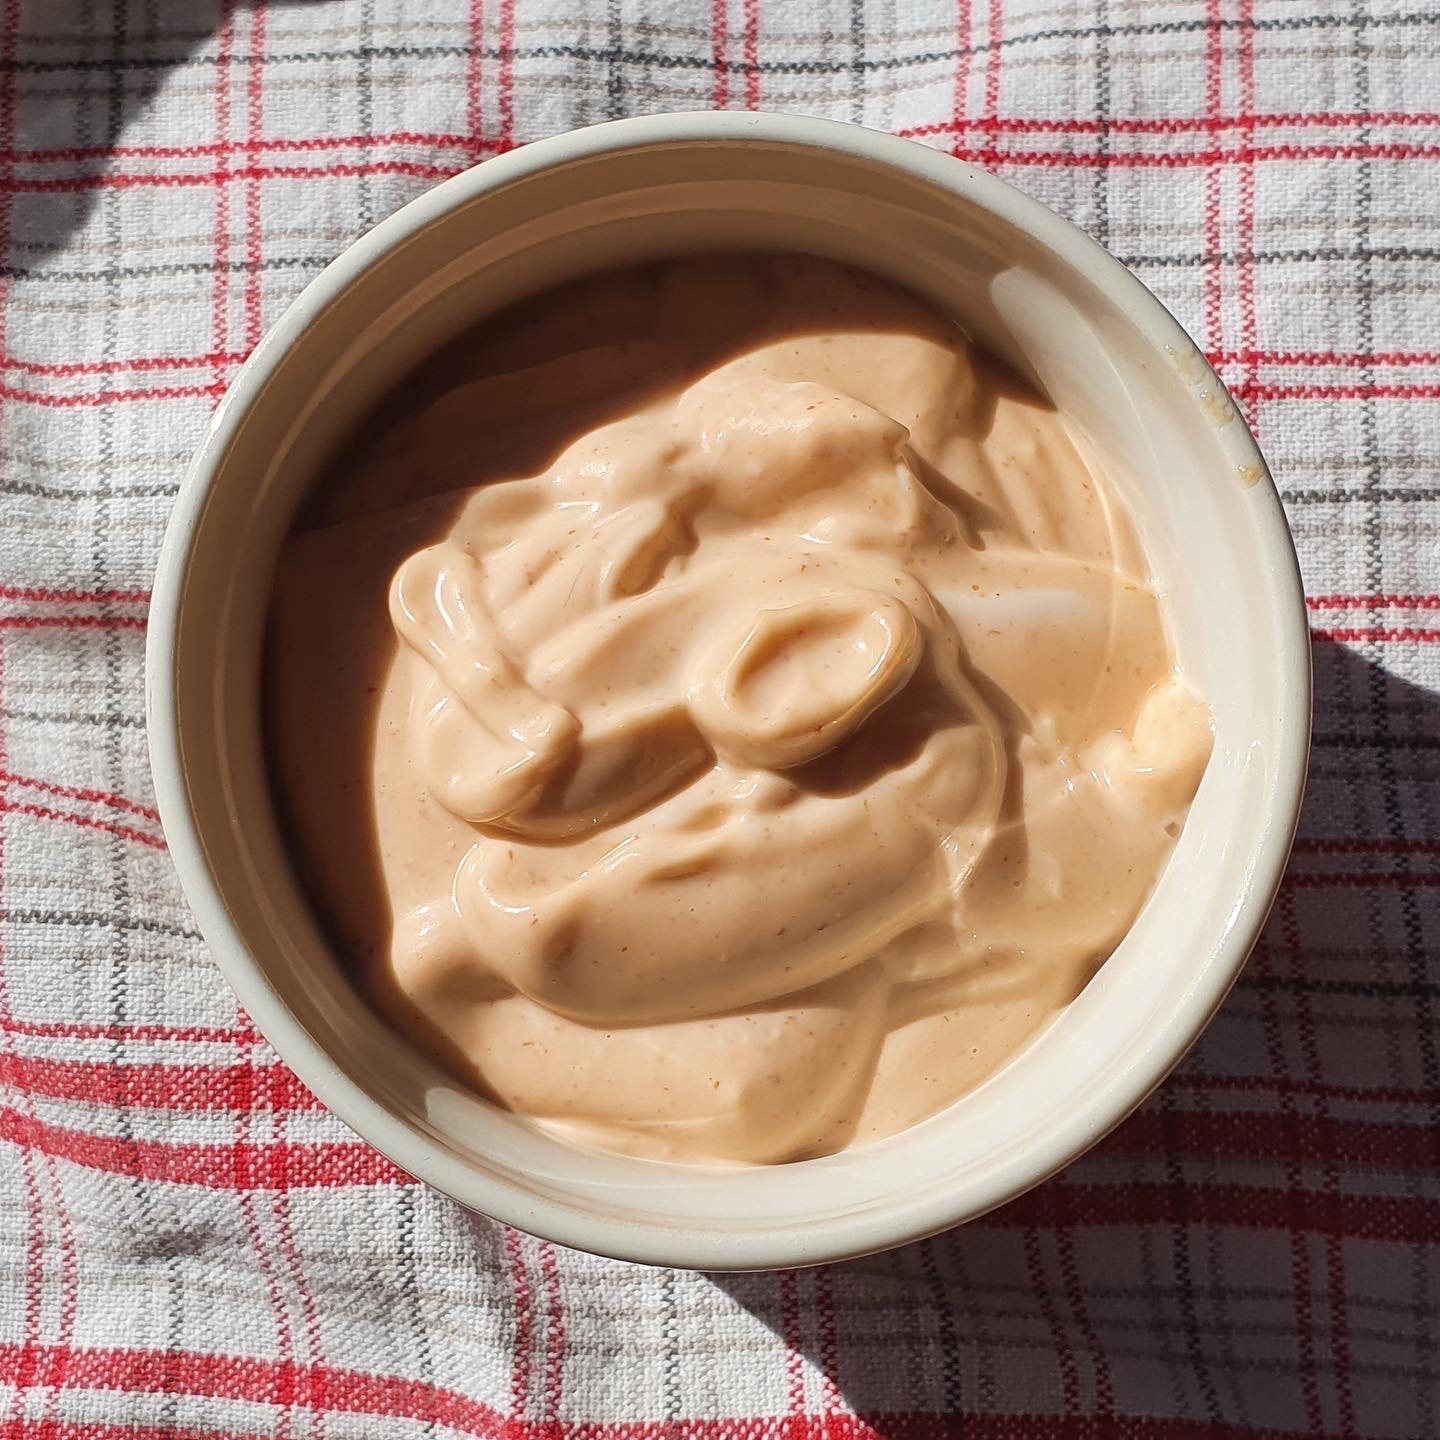
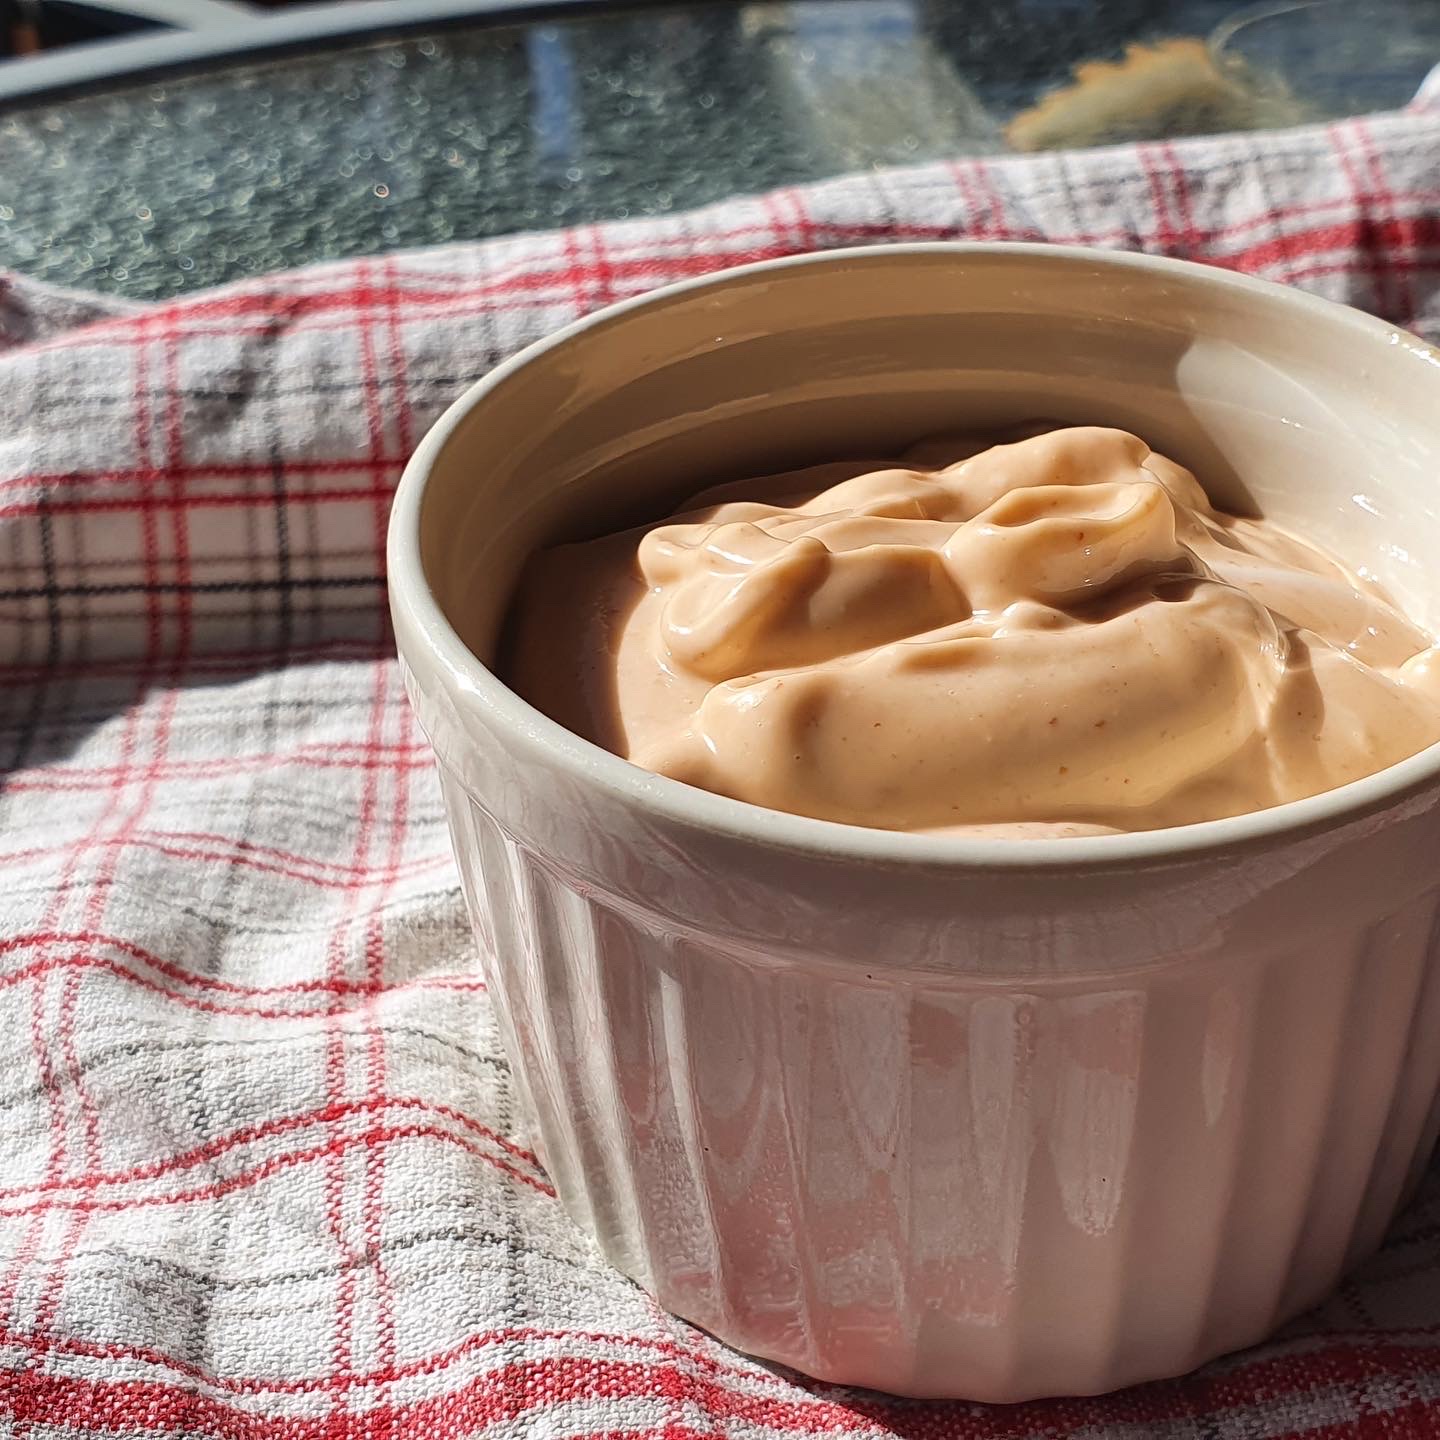
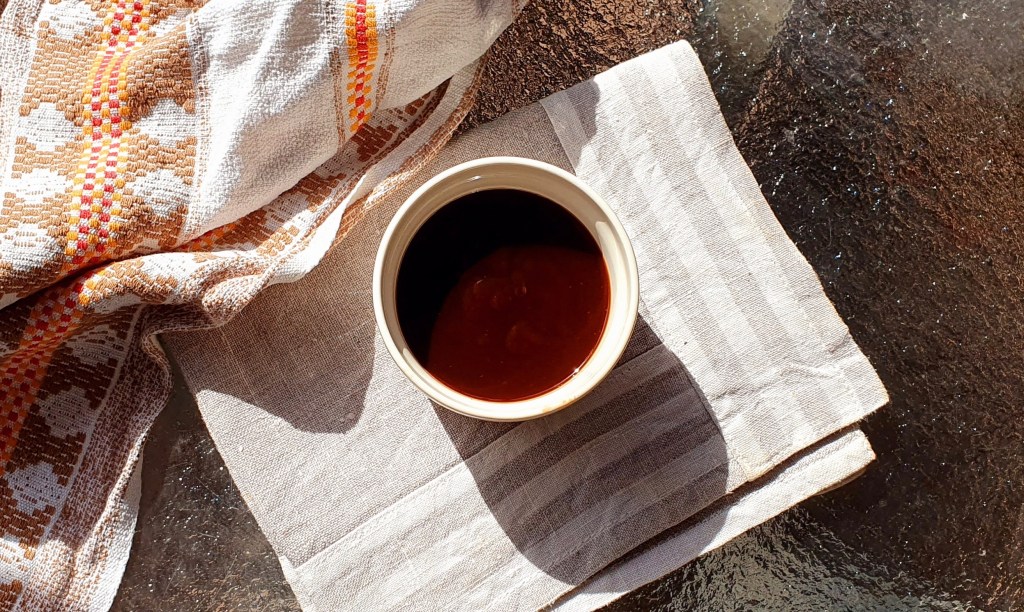
I was SO excited when I learned how to make Taiwanese sweet mayonnaise. It’s the back bone and not so secret sauce to so many classic Taiwanese dishes (usually snack foods): pineapple shrimp balls, breakfast triangle sandwiches, burgers, salads…etc. I’m actually not 100% sure if this originated in Taiwan but anecdotally I’ve only seen Taiwanese brands of this mayo and I’ve never been able to find it outside of Taiwan nor have I seen it used in any dishes outside of Taiwan so therefore I’m dubbing it Taiwanese – prove me wrong!
This mayo is a common staple in many Taiwanese households and it usually comes in a tube-shaped plastic bag where you snip a corner off and squeeze it out over your dish. Taiwanese people don’t eat many raw veggies such as a traditional leafy greens salad but instead we tend to cook our veg (usually blanched or boiled) and in Taiwan you’ll commonly see them squeeze this mayo over the plain veggies for a quick “salad”. Sometimes there’s more mayo than actual veg (I’m looking at you, grandma 😂). I’ve had it over boiled potatoes, asparagus, bamboo, carrots, boiled eggs…etc, all served cold. The direct translation of the common name for this sauce is literally “salad sauce/dressing” (but lots of people call it mayonnaise as well). In fact, when you talk about mayonnaise in Taiwan, most people will think of sweet mayo rather than the tangy version Western countries are used to.

There are only a few ingredients to this recipe and it’s pretty straightforward, but it will help immensely if you’ve got a stand mixer or an electric whisk. It takes a little patience to ensure the sauce doesn’t split but it’s worth it! This recipe makes about 2 cups (which is a LOT), feel free to halve it but it also stores really well in the fridge.
Anyways, without further ado, here’s the recipe! If you have any comments or suggestions, I’d love to hear from you in the comment section! You can follow me on instagram, youtube and facebook to see all the recipes I post!
I’ll be posting some recipes where you can use this mayo, so keep your eyes peeled!
Happy cooking!
Ingredients you’ll need:
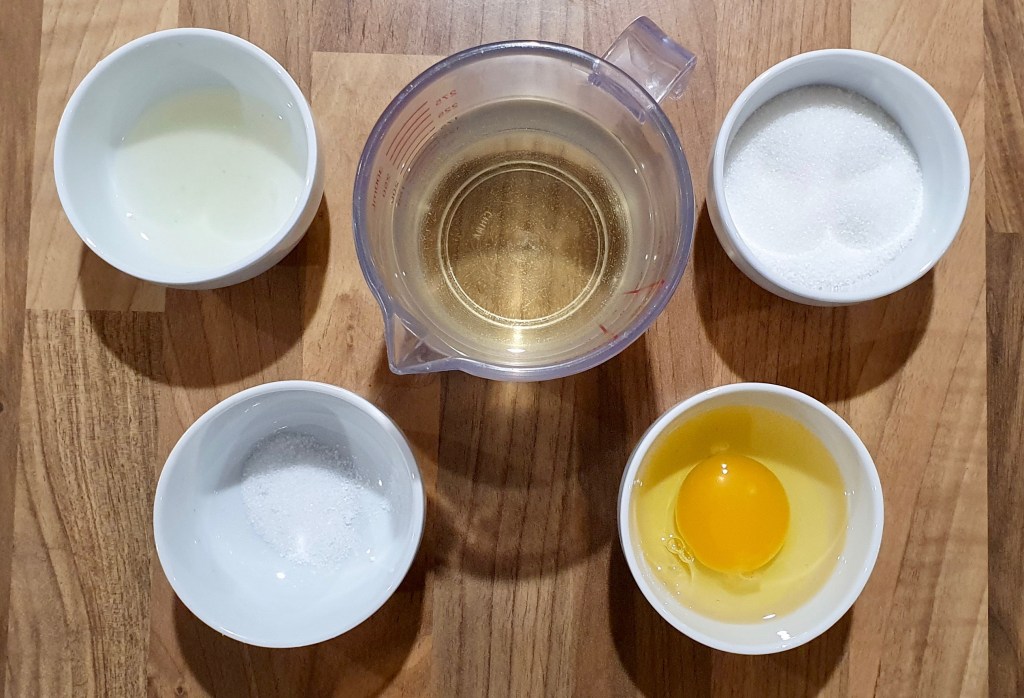
- 80g sugar
- 4g salt
- 1 large egg
- 400ml neutral oil
- 3-5 tsps lemon juice (or more to taste)
This makes roughly 2 cups of sweet mayo which is actually quite a lot! It stores well in an air tight container for about a month but feel free to halve the recipe to make a smaller portion. I find it easiest to halve an egg by whisking it first then weighing it out and divide the weight by two.
Directions:
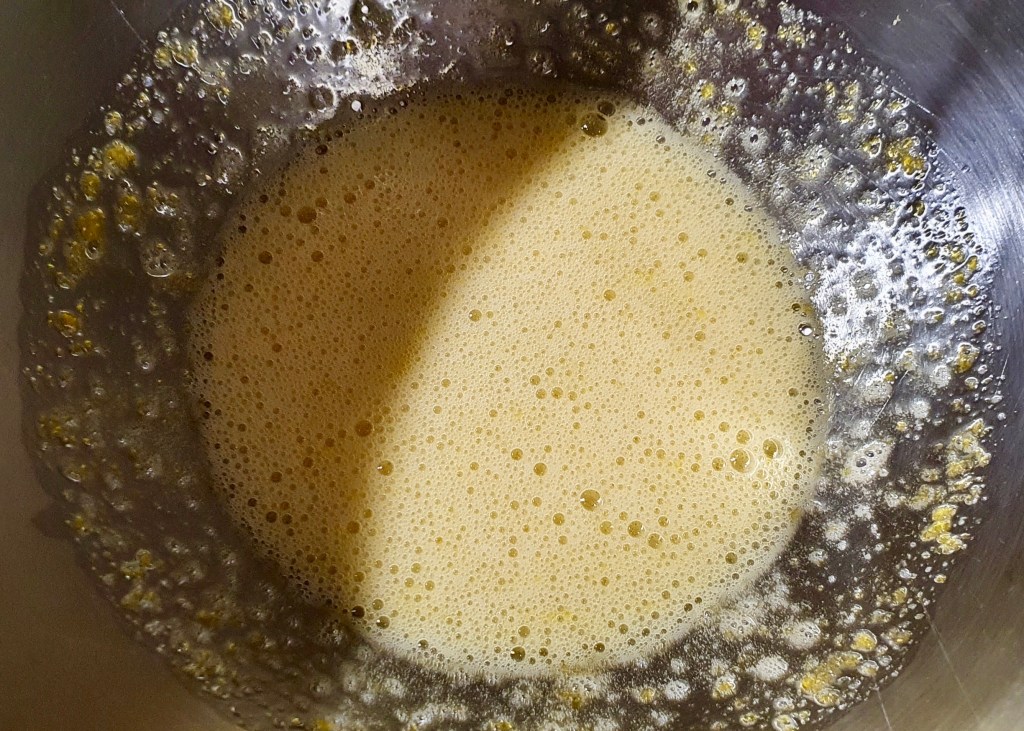
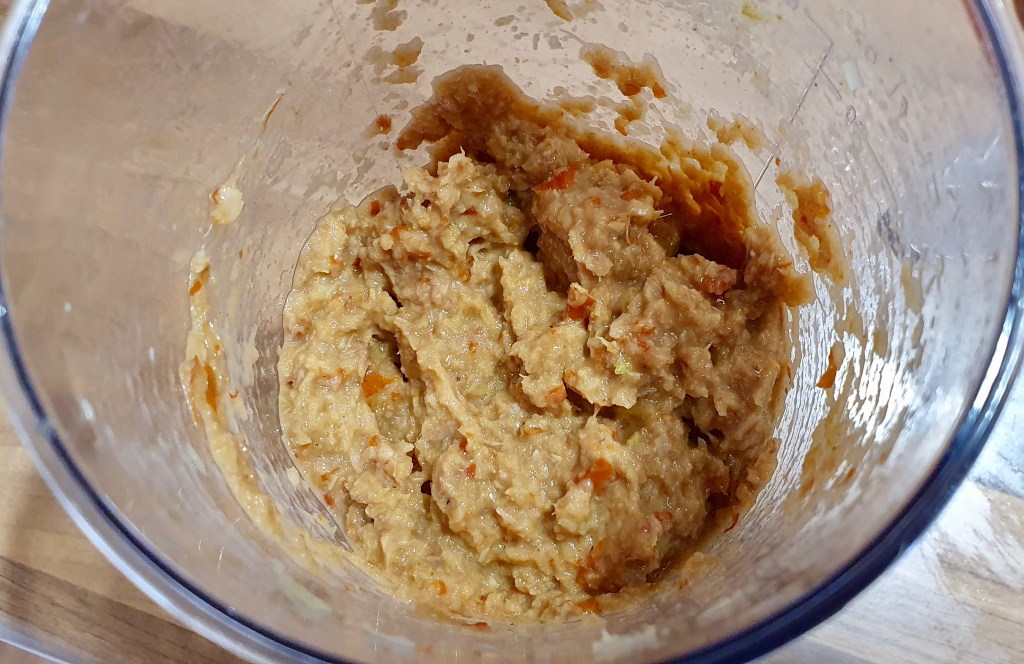
In a stand mixer bowl, add the sugar, salt and egg. Whisk on high speed until it’s combined with small bubbles (see photo above). You can use a hand mixer as well but it’ll take some coordination when you drizzle in the oil.

Continue to mix on high speed and drizzle in 1 tablespoon of oil. Once the oil has been incorporated, then start drizzling the rest of the oil VERY SLOWLY with the mixer on HIGH speed the whole time. When I say slow, I mean painfully slow where you’re pouring in a very thin stream (almost drops). If you’ve ever made hollandaise sauce before, you’ll recognize this pain. If you pour the oil too quickly, it won’t combine properly and your sauce will end up being a separated oily mess. Better to pour the oil too slow than too fast! If you see your mixture thickening and no separation of oil, you’re on the right track!

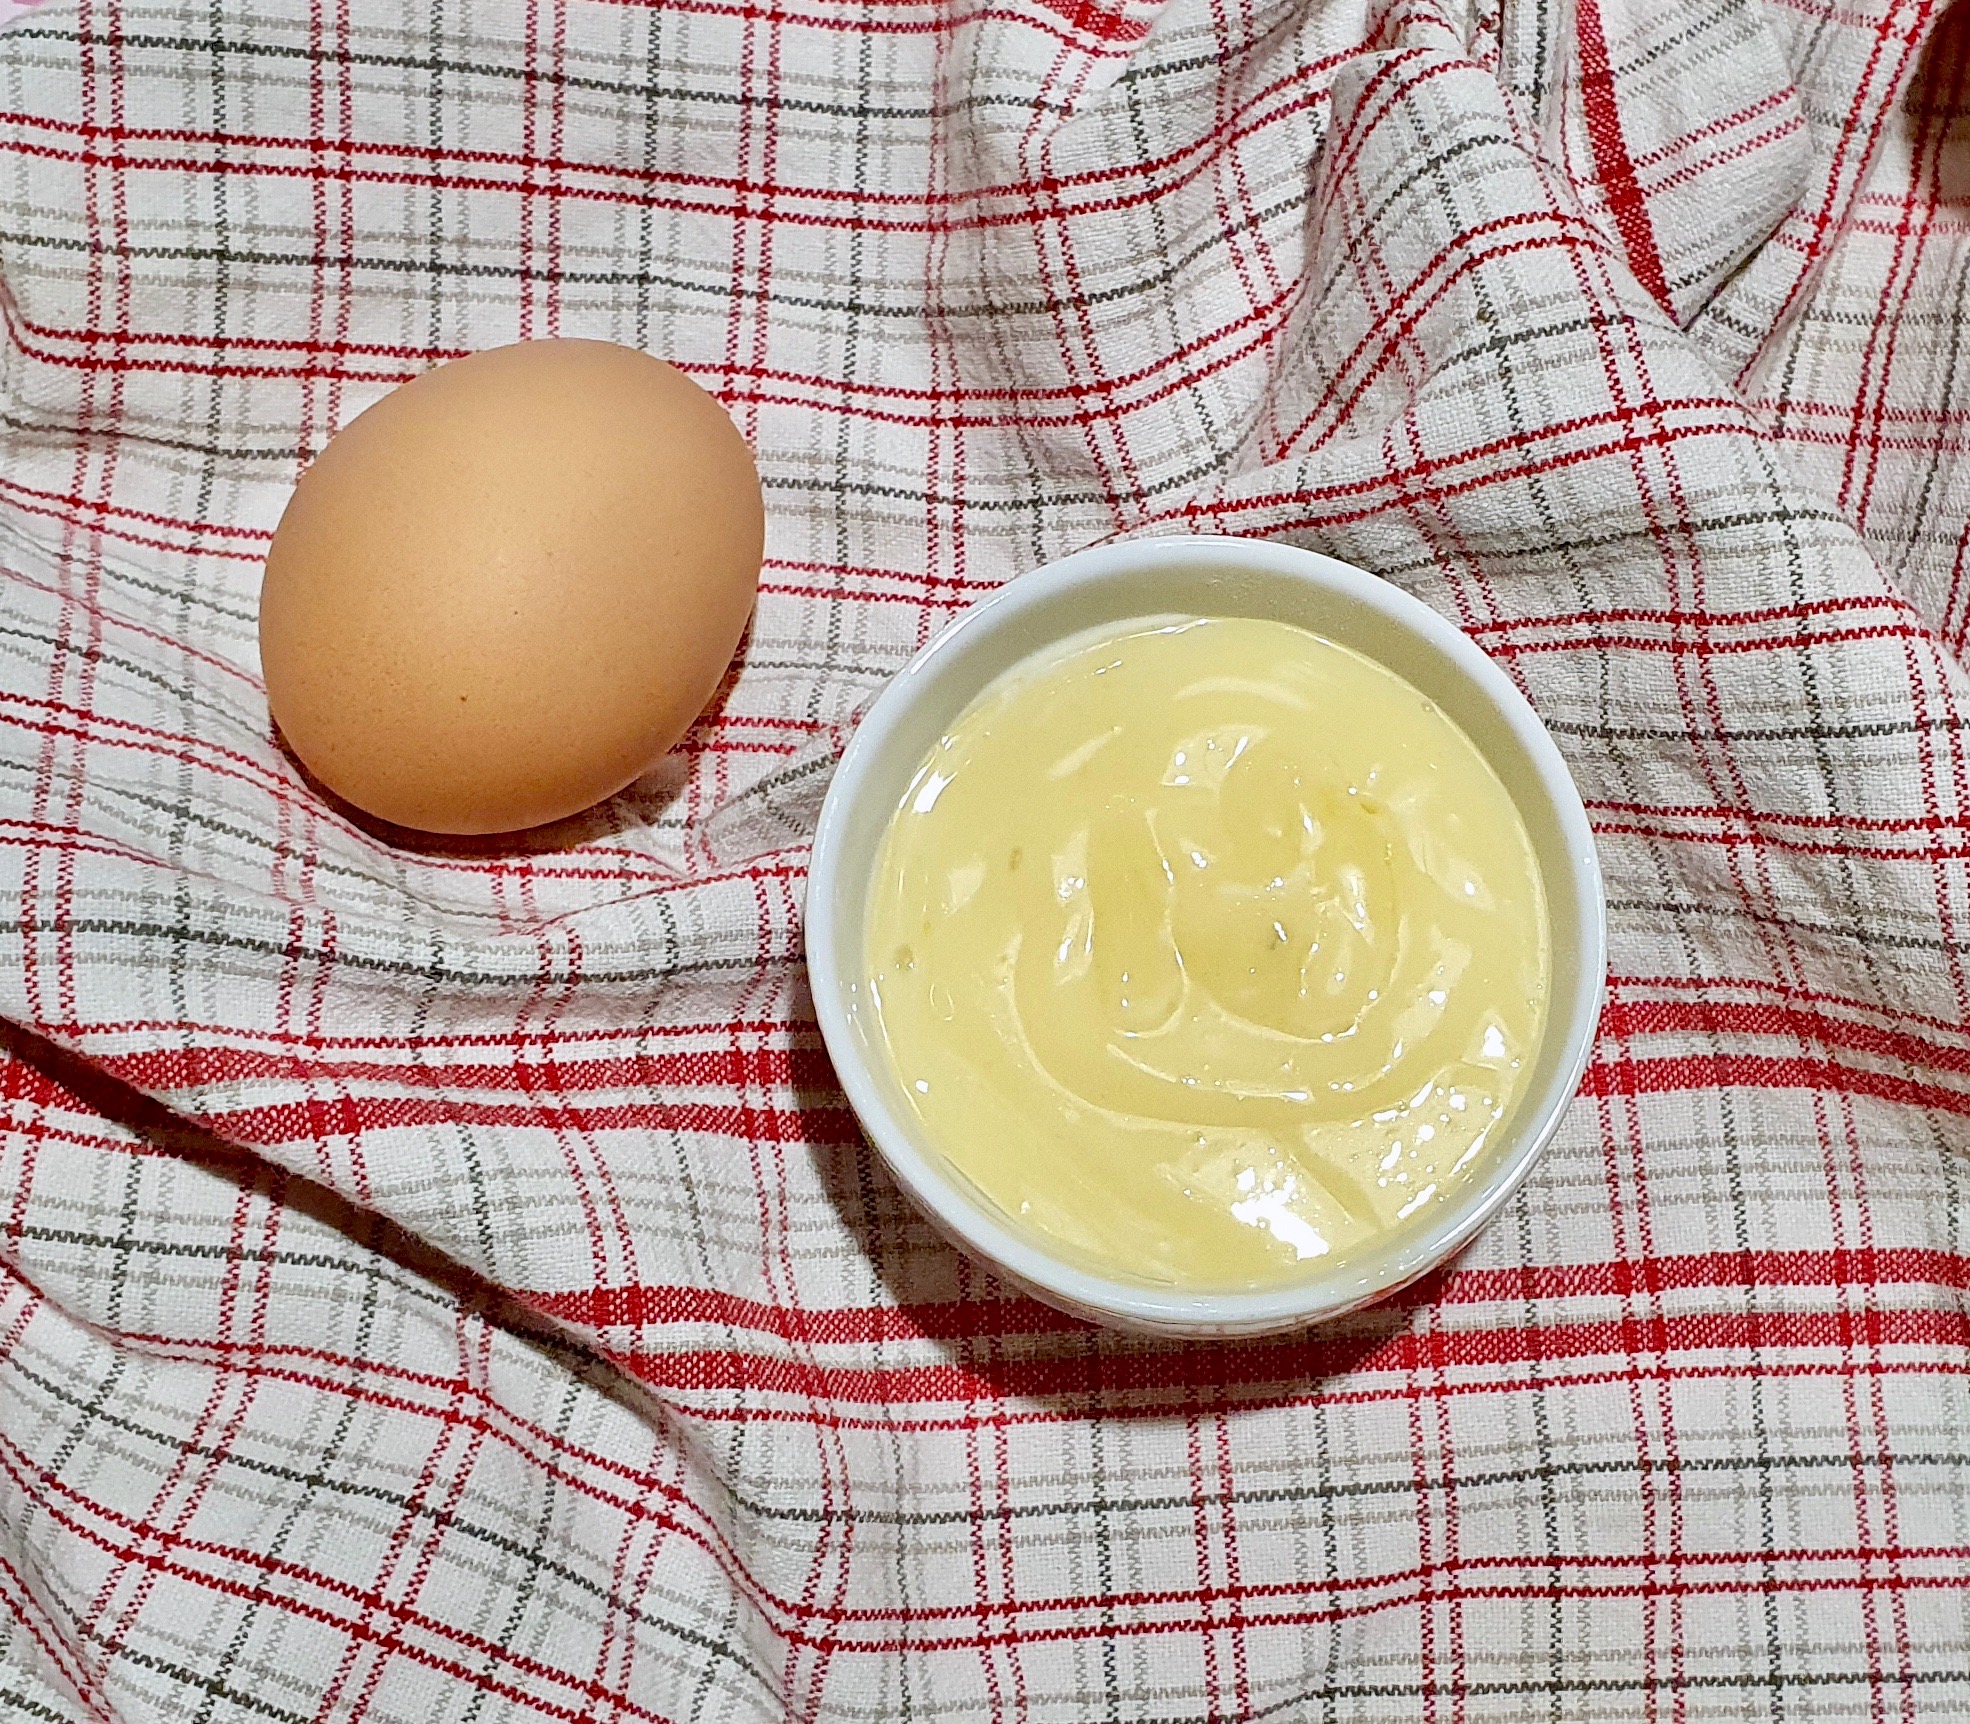
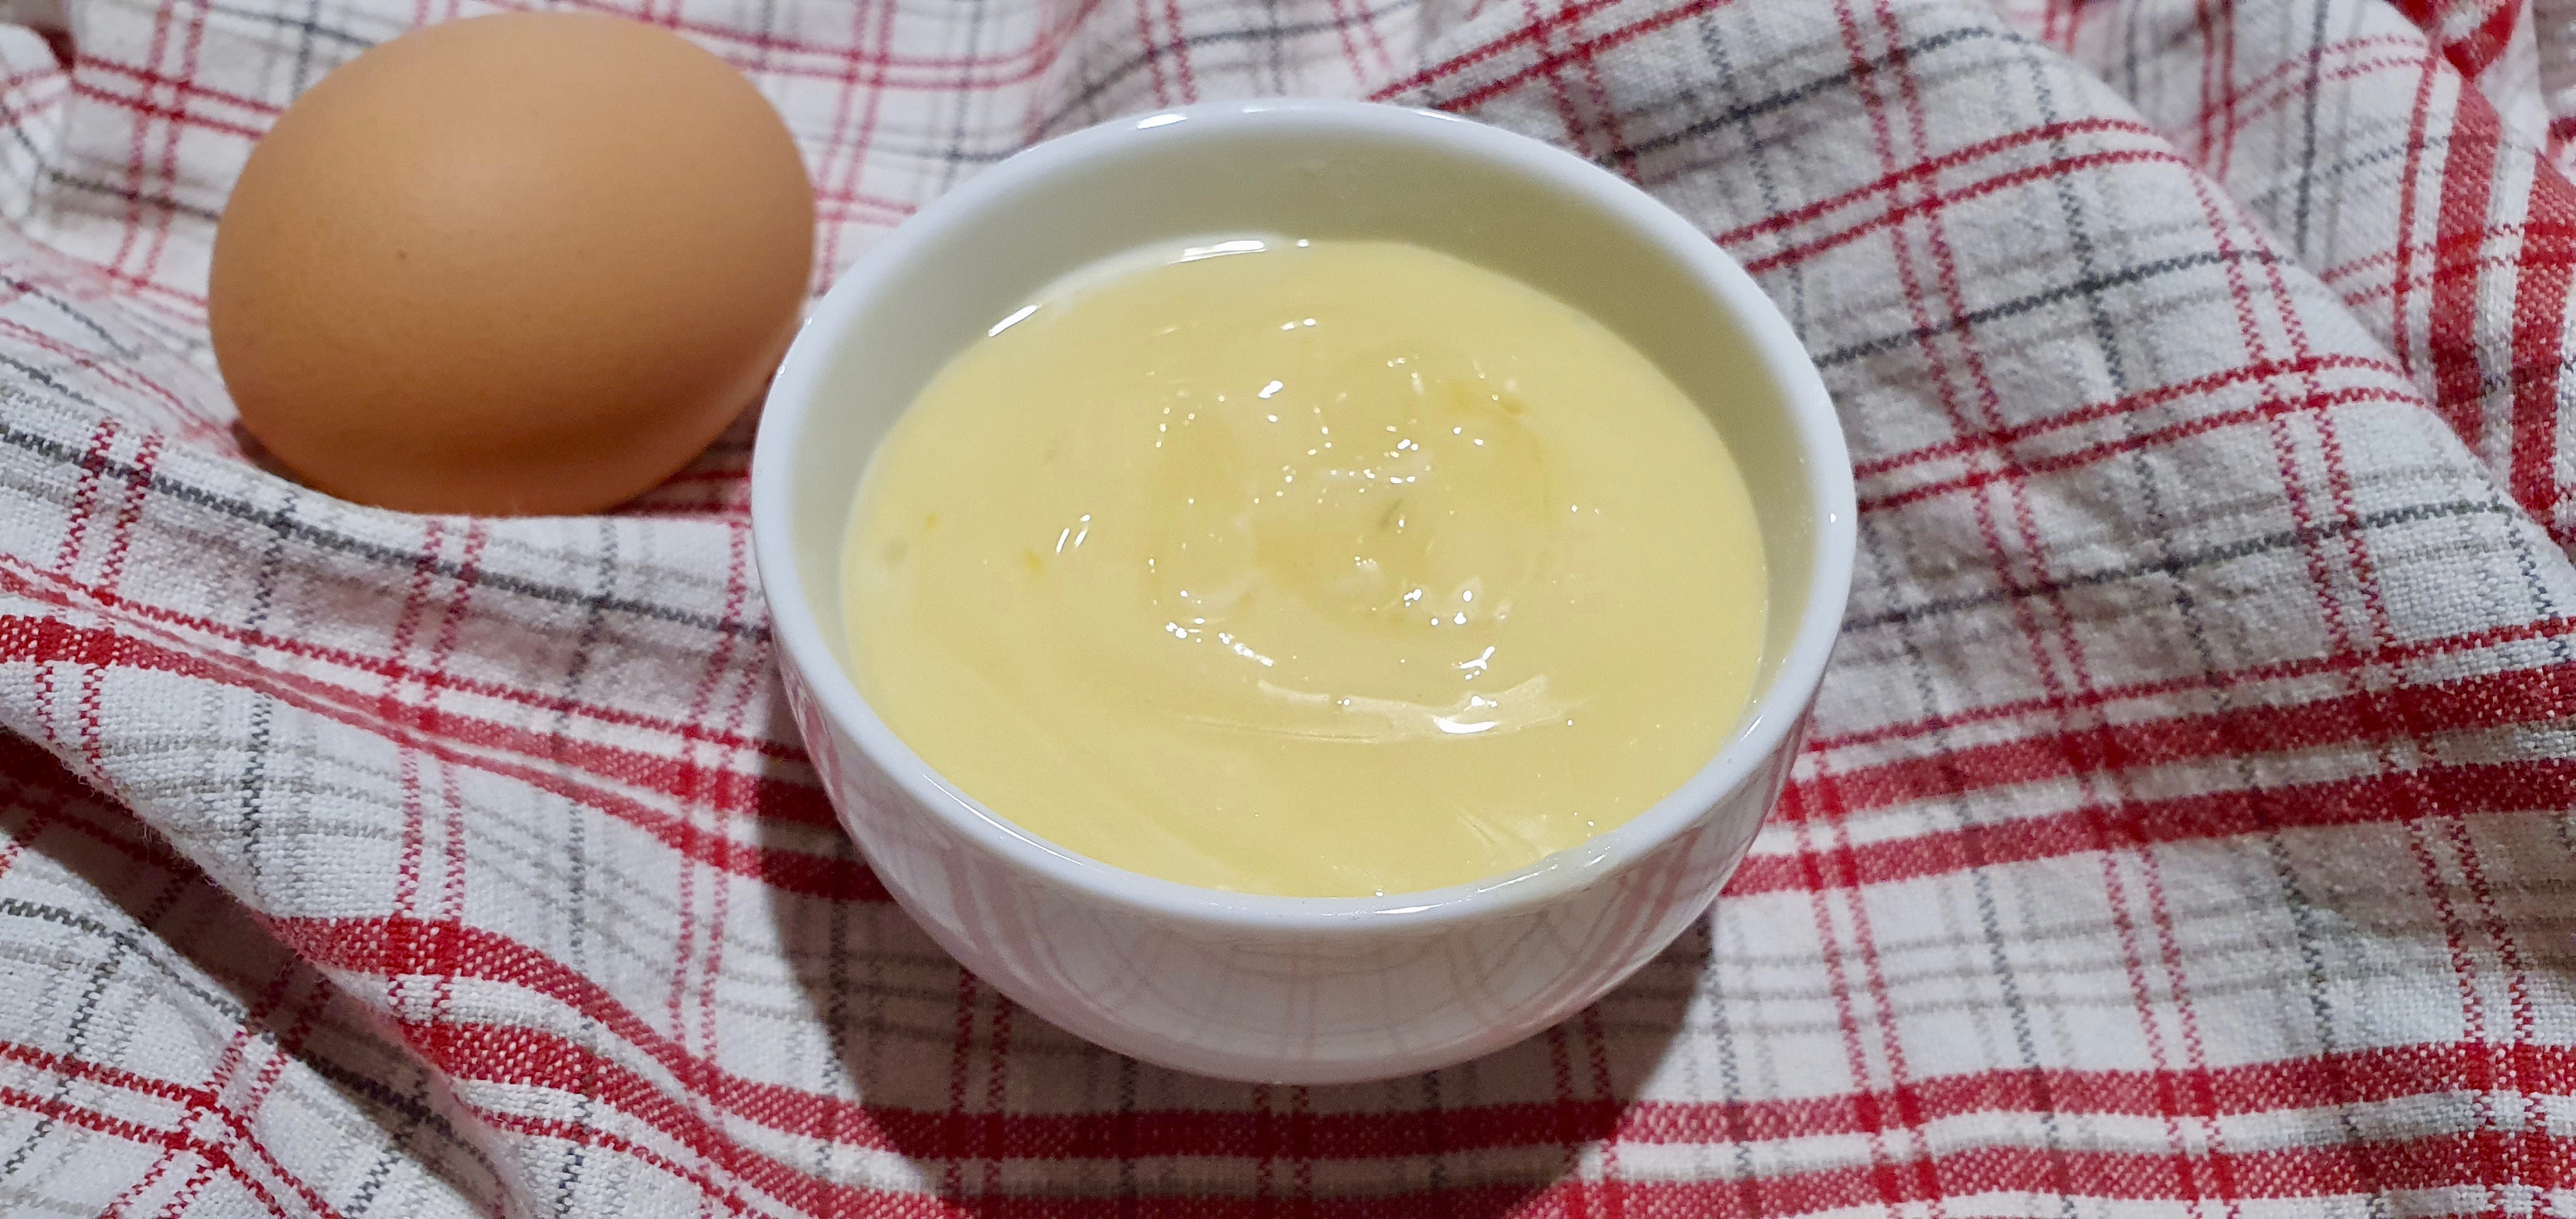
As you continue to add the oil, you’ll get a thicker and thicker smooth sauce. Once you’ve finished adding the oil, drizzle the lemon juice while still whisking on high speed. Once it’s all incorporated, stop the mixer and taste. You should have a smooth sweet mayo with a tang from the lemon. Add more lemon juice if needed since different lemons can vary on their sourness. Done!
Store in an air tight container (ie glass jar) for a few weeks to a month!


Summarized Recipe:
Taiwanese Sweet Mayonnaise 沙拉醬
Date Published: August 12th, 2020 | Last Updated: August 12th, 2020
Author: Abby |Category: sauces/dips, asian
Serves: 2 cups | Prep time: 2 mins | Make time: 10 mins
Ingredients:
- 80g sugar
- 4g salt
- 1 large egg
- 400ml neutral oil
- 3-5 tsps lemon juice (or more to taste)
Directions:
- In a stand mixer bowl, add the sugar, salt and egg. Whisk on high speed until it’s combined with small bubbles (see photo above). You can use a hand mixer as well but it’ll take some coordination when you drizzle in the oil.
- Continue to mix on high speed and drizzle in 1 tablespoon of oil. Once the oil has been incorporated, then start drizzling the rest of the oil VERY SLOWLY with the mixer on HIGH speed the whole time.
- When I say slow, I mean painfully slow where you’re pouring in a very thin stream (almost drops). If you’ve ever made hollandaise sauce before, you’ll recognize this pain. If you pour the oil too quickly, it won’t combine properly and your sauce will end up being a separated oily mess. Better to pour the oil too slow than too fast! If you see your mixture thickening and no separation of oil, you’re on the right track!
- As you continue to add the oil, you’ll get a thicker and thicker smooth sauce. Once you’ve finished adding the oil, drizzle the lemon juice while still whisking on high speed. Once it’s all incorporated, stop the mixer and taste. You should have a smooth sweet mayo with a tang from the lemon. Add more lemon juice if needed since different lemons can vary on their sourness. Done!
Store in an air tight container (ie glass jar) for a few weeks to a month!