Date Published: August 11th, 2020 | Last Updated: August 11th, 2020
Author: Abby |Category: mains, soups, asian, quick and easy
Serves: 4-6 | Prep time: 5 mins | Cook time: 15 mins
Jump to recipe |
Khao Soi? Oh boy! If you’ve never had Khao Soi before, you’re about to have your taste buds obliterated because this dish is THE BOMB (I’ll see myself out). It uses an intense curry paste that’s similar to red curry but with the addition of curry powder (like a yellow curry paste) which is then simmered with coconut milk that results in a luxe creamy coconut curry soup with some heat. This northern Thailand dish is commonly served with egg noodles, chicken, and topped with crispy noodles. There are many variations of this dish and you can easily customize it yourself with extra veg, tofu puffs, fish cakes…etc.
I’m going to admit something here. I’m actually pretty new to Khao Soi and only heard about it a month ago on Masterchef (when Jess made it in the ramen challenge) and I haven’t been able to get it out of my mind since. I LOVE curries, especially Thai curries for their aromas so it’s no surprise that Khao Soi instantly made it straight to the top of my (long) list of dishes to make. Since I’ve never had Khao Soi from Thailand I can’t attest to how “authentic” my recipe is to the real thing but I can guarantee that this recipe is f*cking delicious. I ate two bowls in one sitting the first time I made it! Move over green curry, I actually think this may be my new favourite Thai curry. Since I’m a novice to Khao Soi, I came up with this recipe by reading through a LOT of highly rated “authentic” recipes and compiled all the best parts together. I’m surprised I pulled it off!

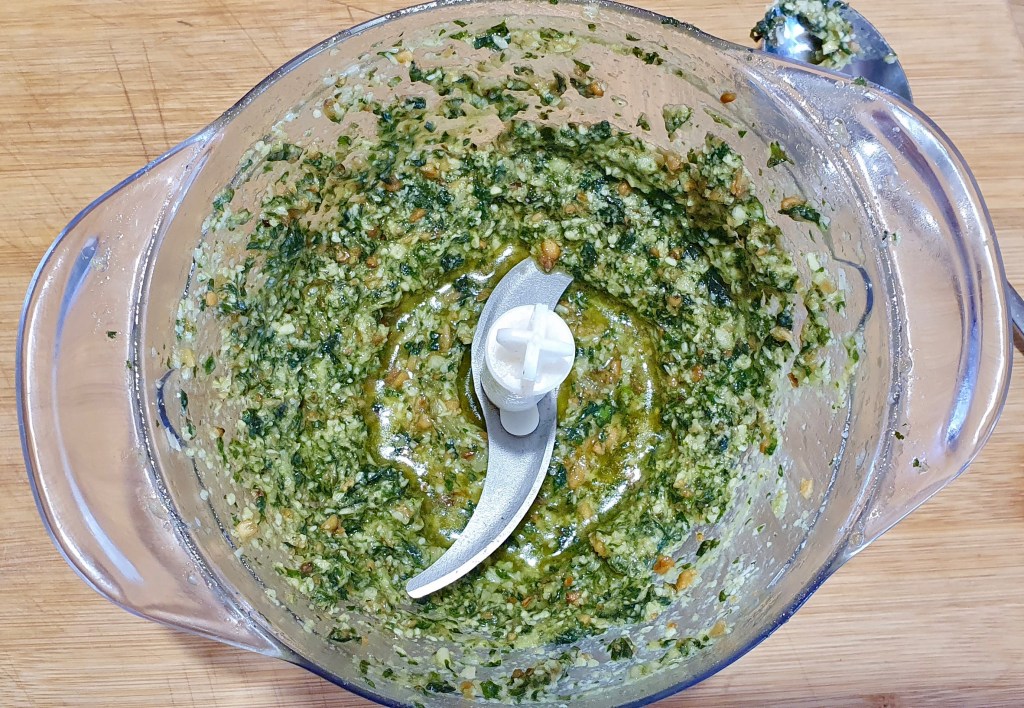
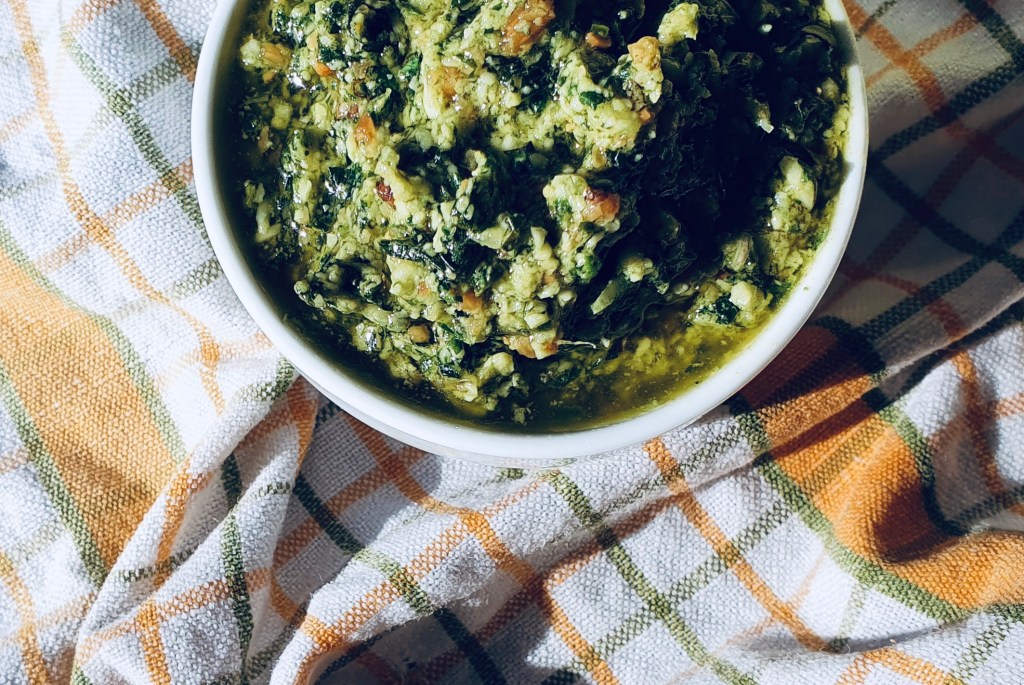
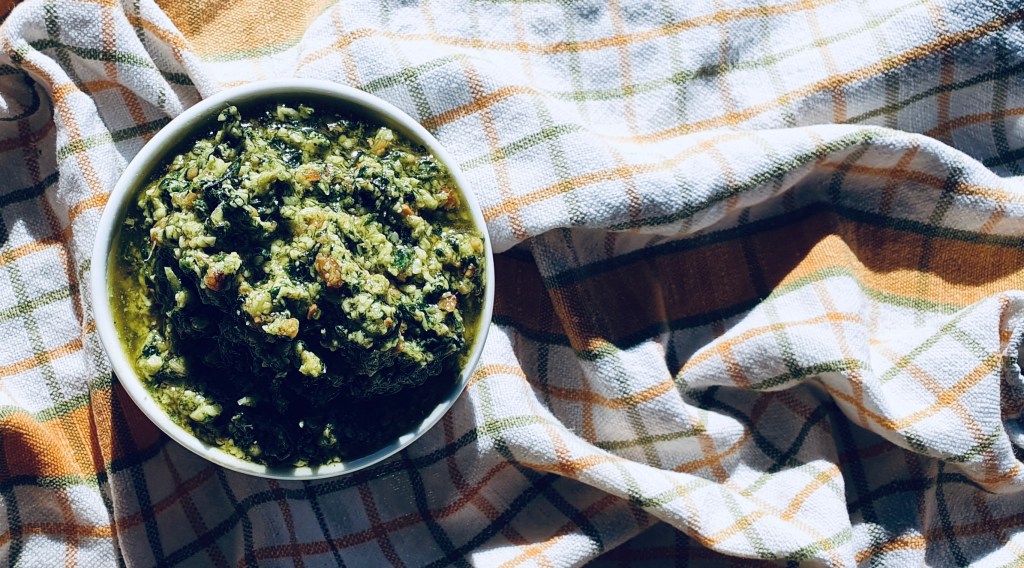
I’m a huge advocate of homemade curry paste because it just has so much vibrant flavours that you can’t get from a can without “freshening it up” with aromatics. I used my pre-made homemade Thai red curry paste for this recipe which saved SO much prep work and made this recipe infinitely easy and fast to come together (I haven’t tried this with canned paste so apologies to anyone that was hoping to use it. If you try it, let me know how it turns out!). This dish takes about 15-20 mins from start to finish. The only thing you need to chop is the chicken! So quick and easy for something SO full of flavour.
Hopefully one day when this pandemic is over I’ll be able to travel to northern Thailand and have Khao Soi to see how it compares. It’s a shame because I was actually in Chiang Mai last year for 3 weeks volunteering at an animal shelter desexing stray dogs and cats. The whole time I was there no one mentioned Khao Soi but I did have some pretty amazing green curry. Ah well, another excuse to travel! 😊
Anyways, without further ado, here’s the recipe! If you have any comments or suggestions, I’d love to hear from you in the comment section! You can follow me on instagram, youtube and facebook to see all the recipes I post!
Happy cooking!
Ingredients you’ll need:

- 4 portions of egg noodles
- Khao Soi paste:
- 1/2 cup homemade Thai red curry paste
- 4 tsps curry powder
- 4 tsps turmeric powder
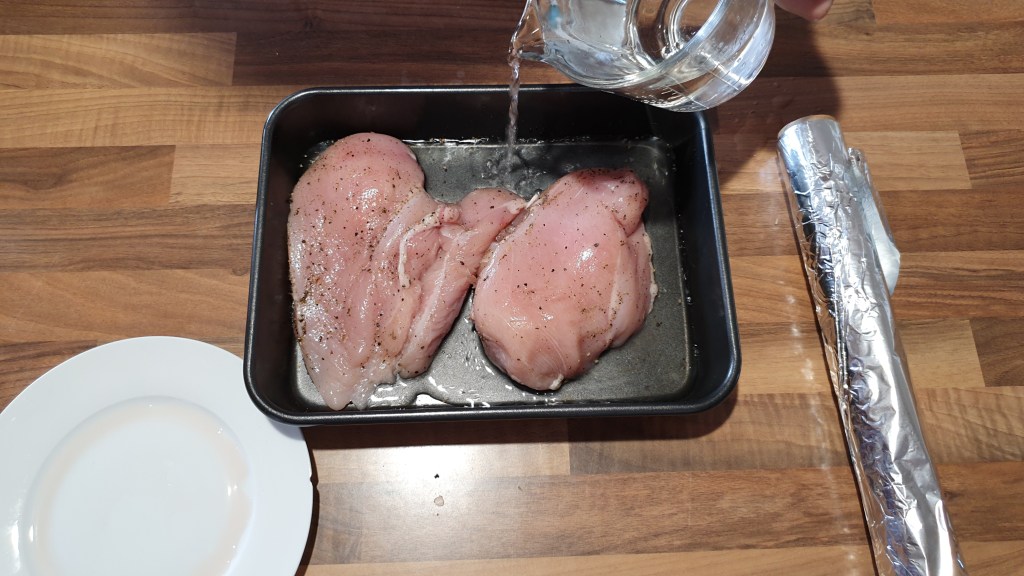
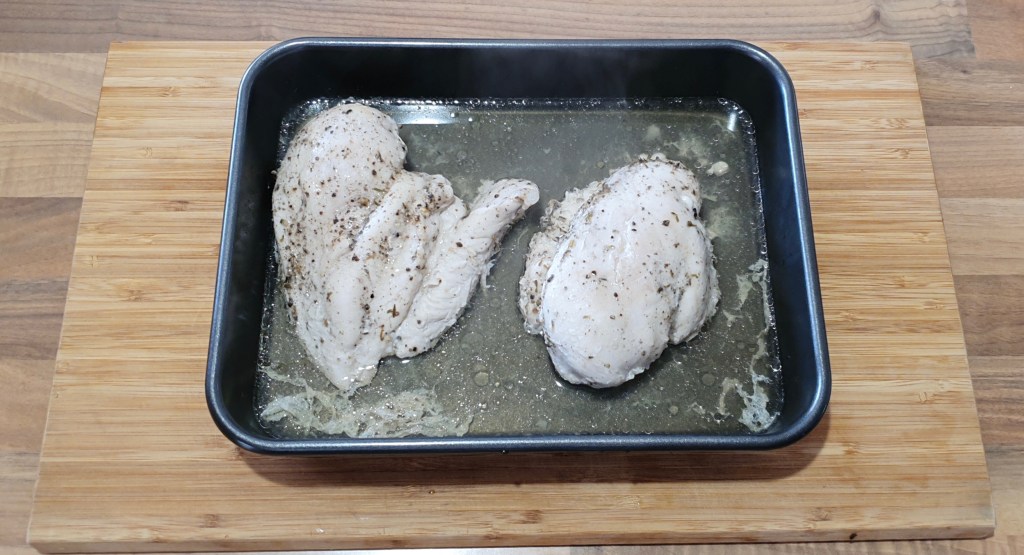
- 1kg chicken thighs (or breast), diced into large pieces (or to preference on how big you prefer your chicken pieces)
- 4 cups (1 litre) reduced salt chicken stock (or vegetable stock)
- 600ml (1 1/2 cans) coconut milk
- 2 Tbsps fish sauce (or more to taste)
- Optional: any additional veg you like
Directions:

Cook the egg noodles according to package instructions. Drain and rinse under cold water. Set aside.
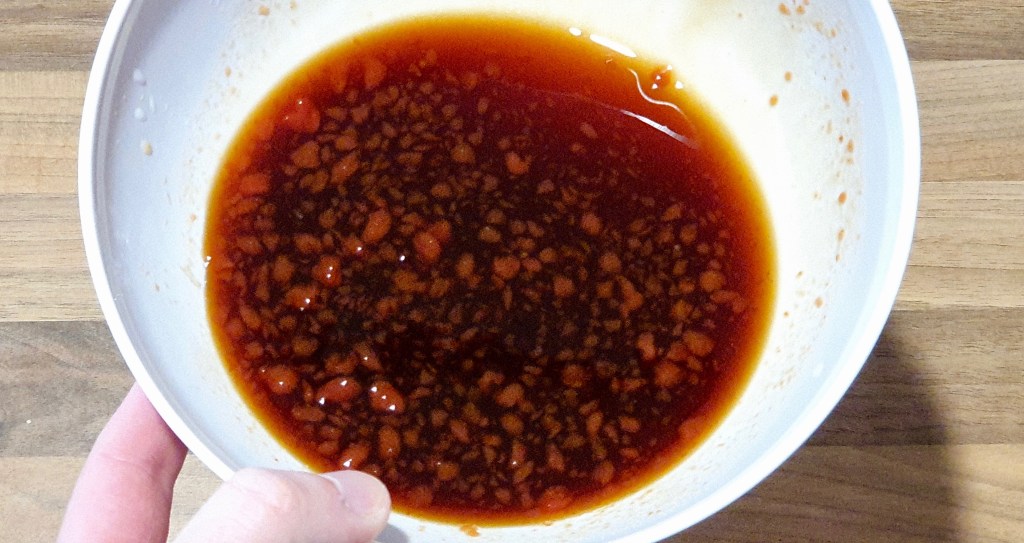
In a bowl, make the khao soi paste by mixing the red curry paste, curry powder and turmeric powder together. Set aside.
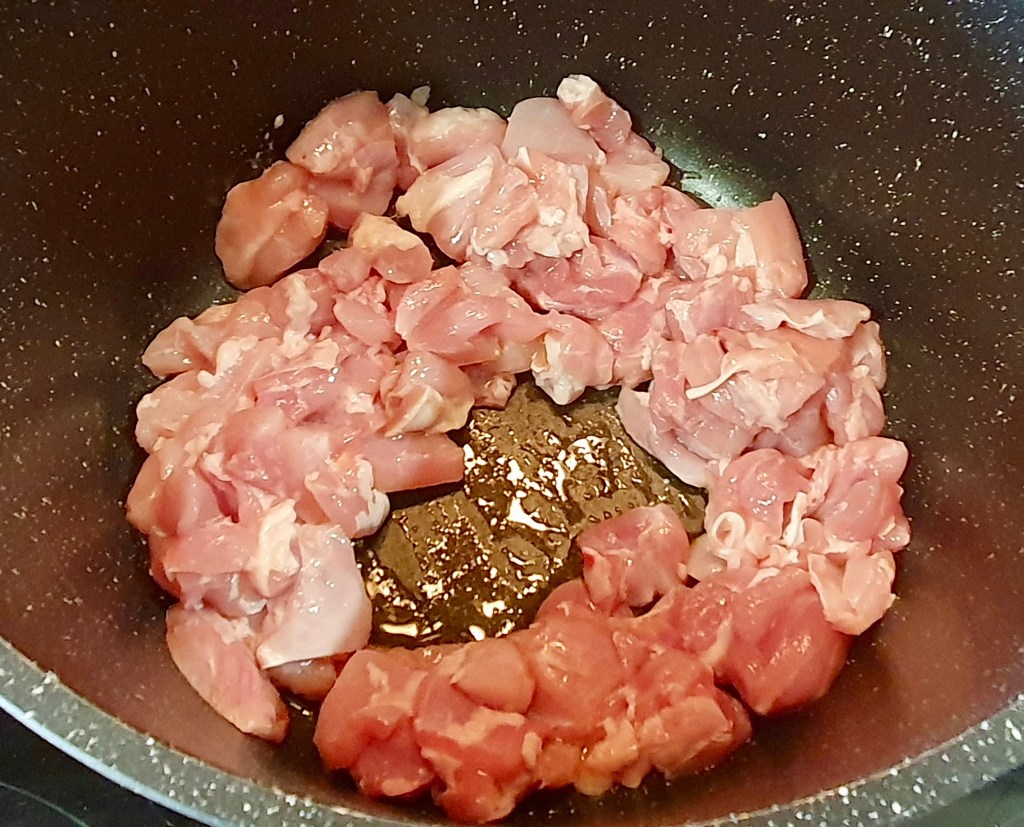

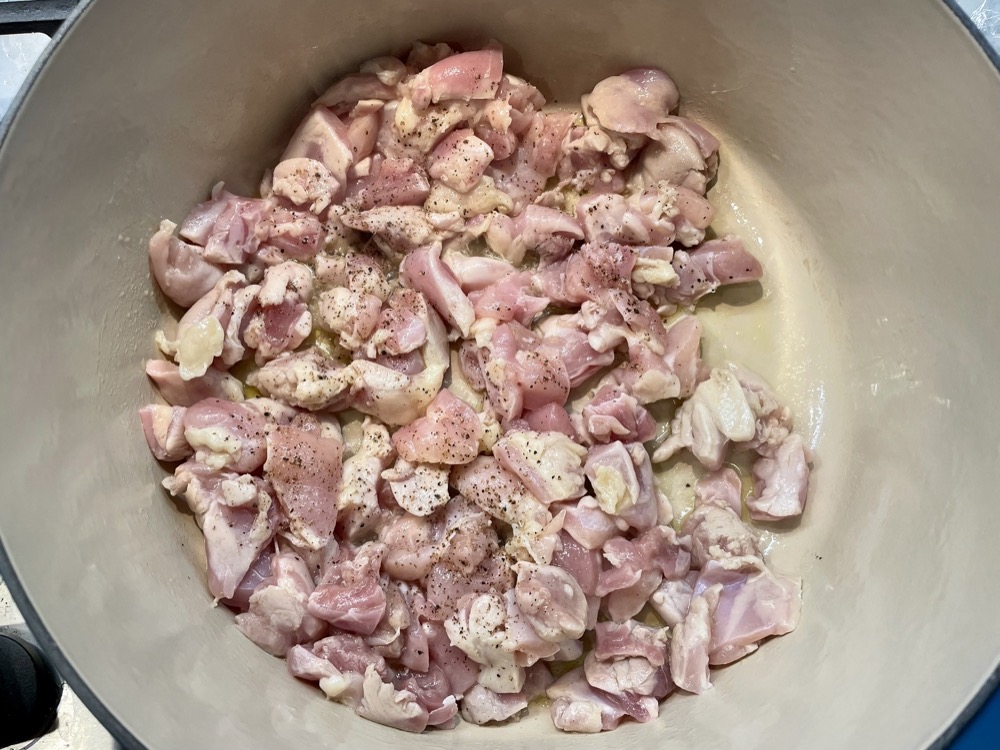
Warm a pot on MED-HIGH heat, add 1-2 Tbsps of oil and sauté the chicken pieces until browned (don’t worry about cooking it all the way through – it’ll finish cooking in the soup). Remove from heat and set aside in a bowl.
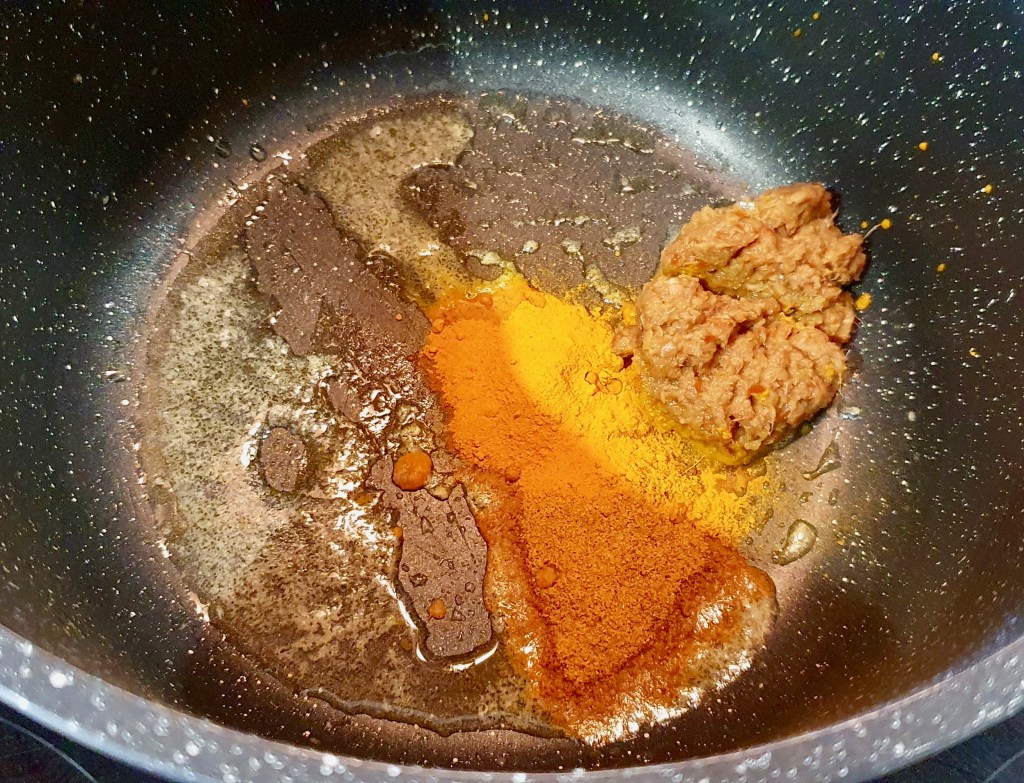

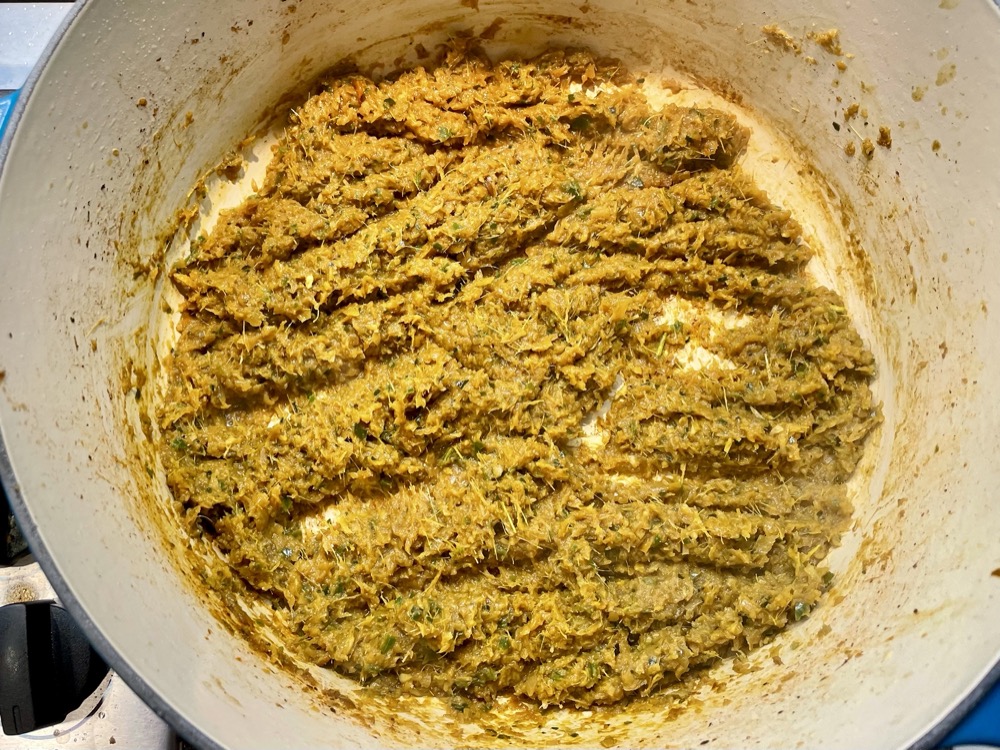
In the same pot, use the leftover oil from the chicken (or add more if there’s not much left) and add the khao soi paste (red curry paste, curry powder and turmeric powder). Quickly sauté for a couple minutes until the paste dries out a little and becomes fragrant.
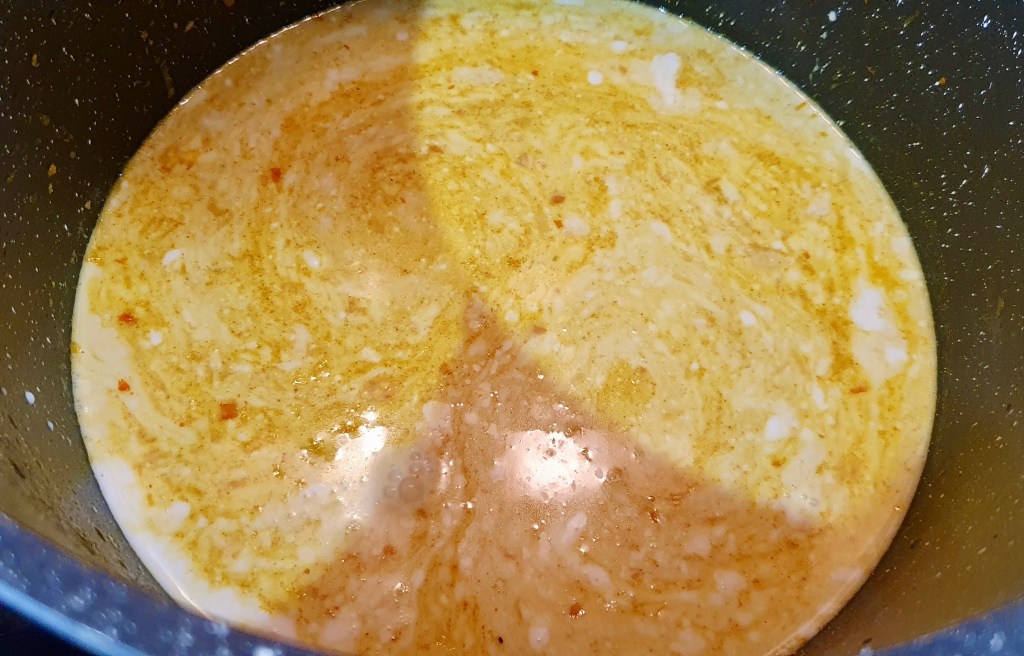


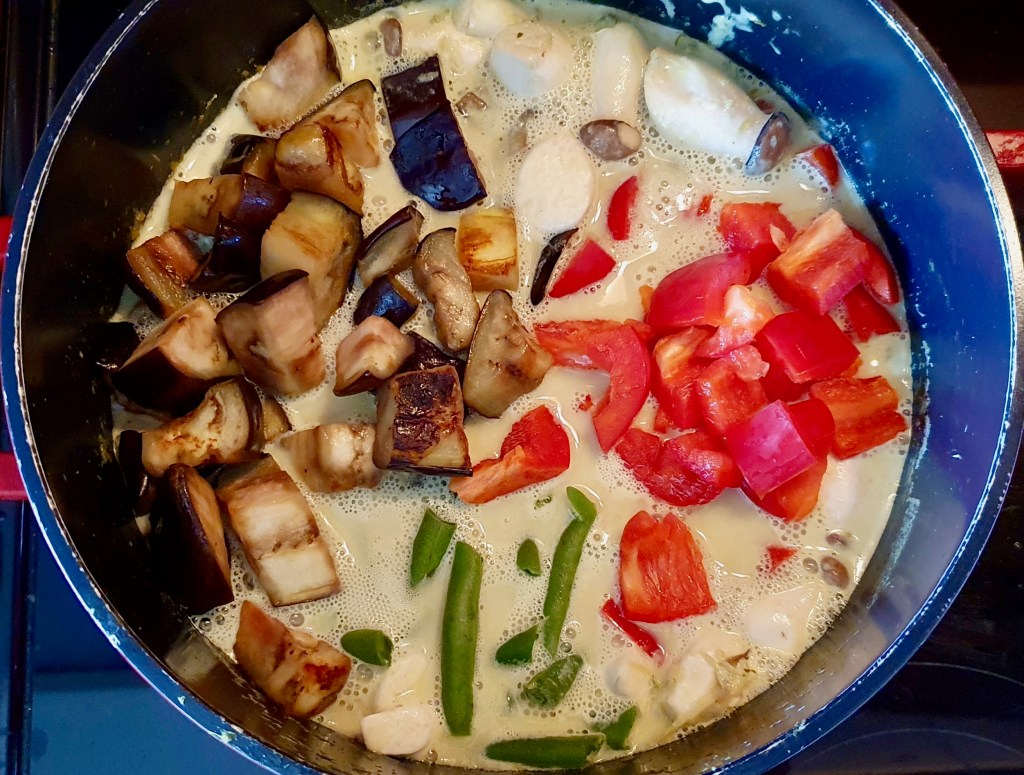
Add in the chicken stock and coconut milk. Stir until no clumps remain from the paste. Simmer the soup for 5 minutes then add in the browned chicken pieces (and any additional veg you like). Simmer for another 5 minutes (or until veggies have cooked – if using). Add the fish sauce. Taste and adjust flavours as needed (if it’s not salty enough you can add more fish sauce or salt, if you prefer your soup creamier add more coconut milk).
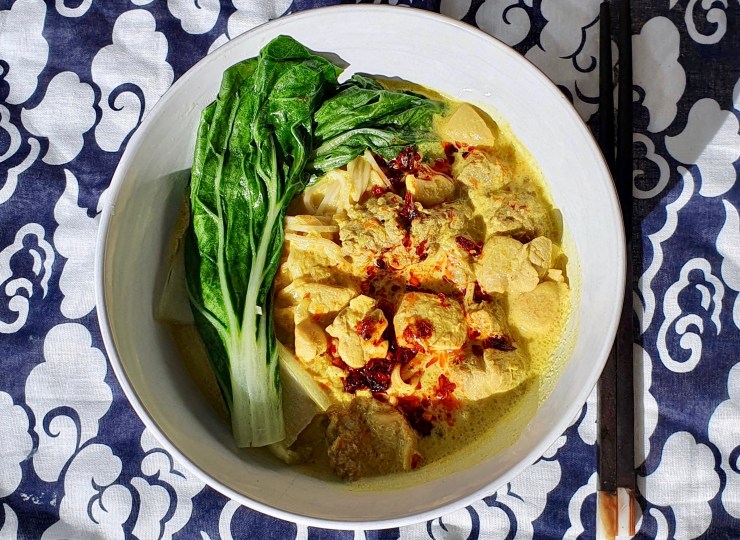
Divide the egg noodles into 4 bowls and ladle the soup with ingredients into each bowl over the noodles. Done!


Summarized Recipe:
Khao Soi (Thai Coconut Curry Noodle Soup)
Date Published: August 11th, 2020 | Last Updated: August 11th, 2020
Author: Abby |Category: mains, soups, asian, quick and easy
Serves: 4-6 | Prep time: 5 mins | Cook time: 15 mins
Ingredients:
- 4 portions of egg noodles
- Khao Soi paste:
- 1/2 cup homemade Thai red curry paste
- 4 tsps curry powder
- 4 tsps turmeric powder
- 1kg chicken thighs (or breast), diced into large pieces (or to preference on how big you prefer your chicken pieces)
- 4 cups (1 litre) reduced salt chicken stock (or vegetable stock)
- 600ml (1 1/2 cans) coconut milk
- 2 Tbsps fish sauce (or more to taste)
- Optional: any additional veg you like
Directions:
- Cook the egg noodles according to package instructions. Drain and rinse under cold water. Set aside.
- In a bowl, make the khao soi paste by mixing the red curry paste, curry powder and turmeric powder together. Set aside.
- Warm a pot on MED-HIGH heat, add 1-2 Tbsps of oil and sauté the chicken pieces until browned (don’t worry about cooking it all the way through – it’ll finish cooking in the soup). Remove from heat and set aside in a bowl.
- In the same pot, use the leftover oil from the chicken (or add more if there’s not much left) and add the khao soi paste (red curry paste, curry powder and turmeric powder). Quickly sauté for a couple minutes until the paste dries out a little and becomes fragrant.
- Add in the chicken stock and coconut milk. Stir until no clumps remain from the paste. Simmer the soup for 5 minutes then add in the browned chicken pieces (and any additional veg you like). Simmer for another 5 minutes (or until veggies have cooked – if using). Add the fish sauce. Taste and adjust flavours as needed (if it’s not salty enough you can add more fish sauce or salt, if you prefer your soup creamier add more coconut milk).
- Divide the egg noodles into 4 bowls and ladle the soup with ingredients into each bowl over the noodles. Done!