Date Published: Aug 23rd, 2021 | Last Updated: Aug 23rd, 2021
Author: Abby |Category: mains, healthy, quick and easy, low cal
Serves: 4 | Prep time: 10 mins | Cook time: 20 mins
Jump to recipe |
Get ready for a SUPER easy and SUPER flavourful chicken shawarma. This is one of our favourite go-to easy and healthy meals during the work week that is not only ridiculously easy, but also packs so much flavour. The recipe for the spice mix is originally from RecipeTinEats.
Easy, Healthy and Damn Delicious
The chicken and its flavourful spices are the star of the dish and its so quick to prepare. Marinade the chicken the night before – although there are lots of spices involved, it takes less than 5 minutes to throw it all together in a container and mix it around. Use a garlic crusher to make it even easier. When you get home after work the next day, all you have to do is grill it!
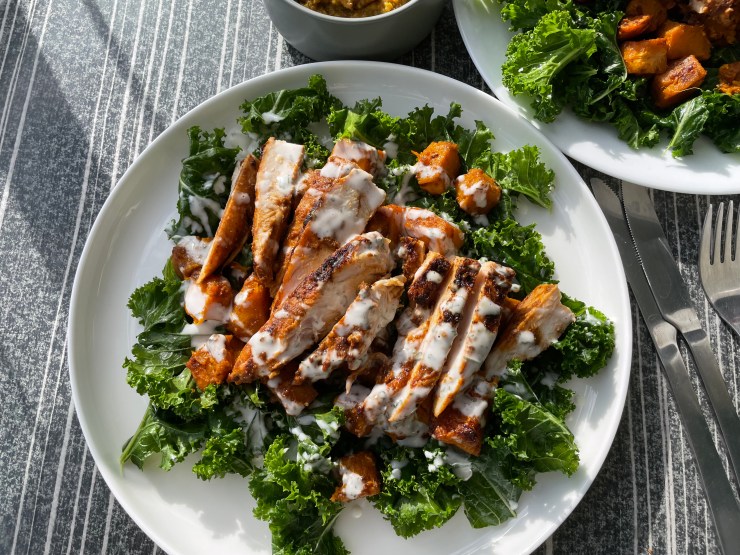
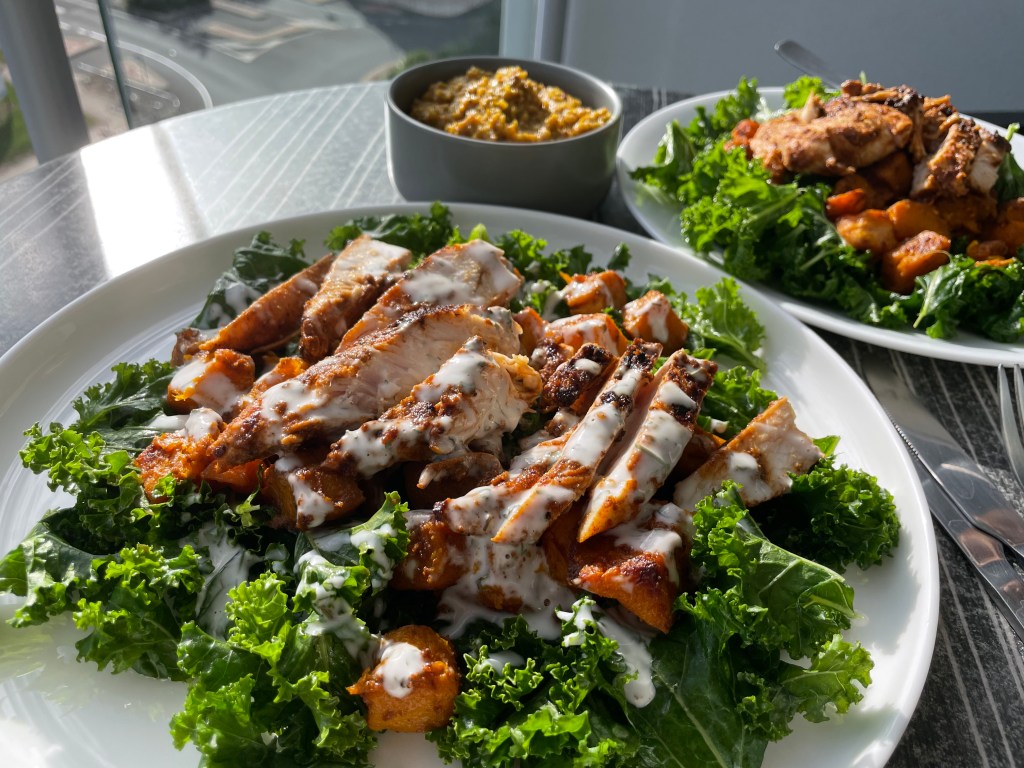
Healthy? There are so many ways you can serve this, but my favourite is over a bed of salad. If I’m feeling lazy or stressed for time, I’ll just buy a bag of pre-washed mixed salad leaves from Woolies or Coles and throw in a few cherry tomatoes and place the sliced chicken overtop served with a dollop of greek yoghurt. It seems basic, but the loud flavours of the chicken will make this plate of food sing – you don’t even need a dressing on top, the yoghurt will be enough to bring it all together. If you’ve got some leftover hummus or tabbouleh in the fridge, chuck it in to bulk it up further.

What is Shawarma?
Shawarma is a popular middle eastern dish classically served as a wrap made up of veggies, meat, and a sauce. The meat is marinaded in a unique blend of spices that smells incredible as it cooks. You’ll often see the meat stacked on a rotating spit and carved intermittently throughout the day as the outside layer cooks. The meat choices are usually either chicken or lamb – I always go for a mix of both, topped with a generous amount of garlic sauce and yoghurt.
In Australia there are kebab shops everywhere and the doner kebab that is served in these shops are very similar to a shawarma, if not the same. I tried to google the differences between a shawarma and a doner kebab and the main difference seems to be the country of origin but otherwise made very similarly.
How to Serve Chicken Shawarma?
There are many ways you can serve a chicken shawarma. Of course, the classic is to wrap it up in a flat bread with some veggies and a garlic sauce or greek yoghurt with hummus. I prefer to serve mine over a bed of veggies to make it an open plate shawarma salad. I’ve tried it with a few combinations and they’ve all been delicious so feel free to mix it up to what you prefer! If you’re serving this at a party, you can make it a DIY table with multiple toppings for everyone to make it themselves. Here are a few combinations we’ve had:
- Wrapped in flat bread with lettuce, cherry tomatoes, red peppers, greek yoghurt and hummus (classic)
- Over a bed of kale and roast pumpkin with greek yoghurt
- Over a bed of lettuce, tabbouleh, and greek yoghurt
Anyways, without further ado, here’s the recipe! If you have any comments or suggestions, I’d love to hear from you in the comment section! You can follow me on instagram, youtube and facebook to see all the recipes I post!
Happy cooking!
Ingredients you’ll need:
- 2 large chicken breasts, butterflied or 1kg chicken thighs (I estimate roughly half a breast per serve)
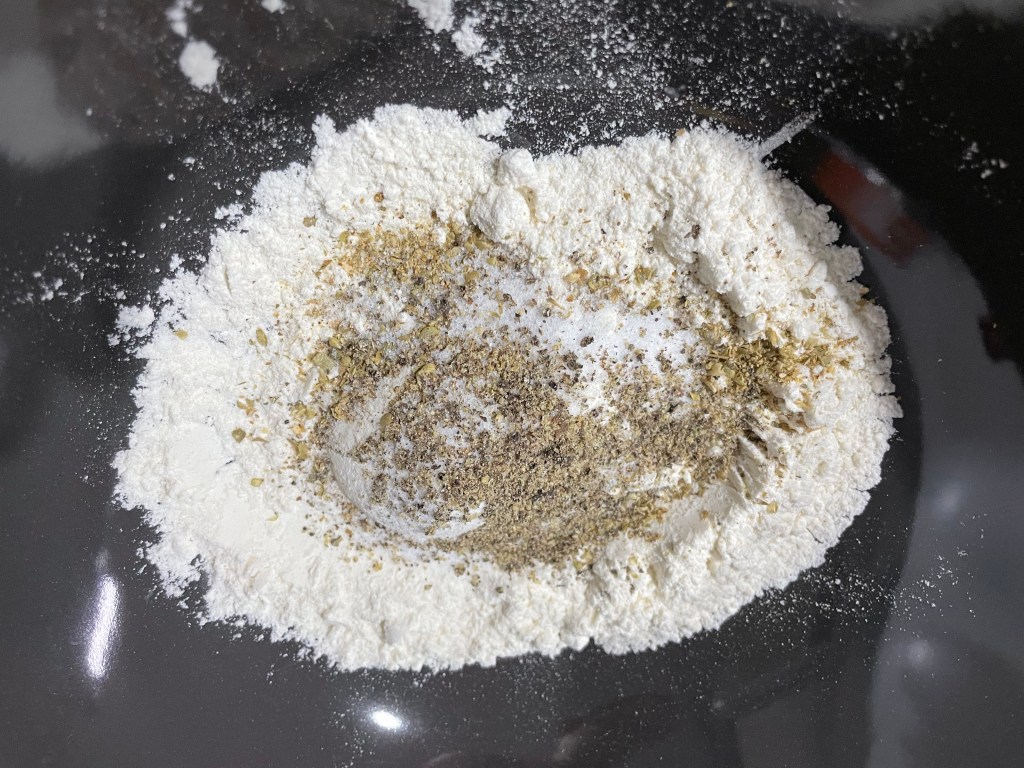
- Spice Blend Marinade:
- 1 large garlic clove, minced
- 1 Tbsp ground coriander
- 1 Tbsp ground cumin
- 1 Tbsp ground cardamon
- 1 tsp ground cayenne pepper
- 2 tsp smoked paprika
- 2 tsp sea salt
- 1/2 tsp ground black pepper
- 2 Tbsps lemon juice
- 3 Tbsps olive oil
- Greek yoghurt
- Diced pumpkin (optional)
- Salad greens to your preference (see above for some ideas on how to serve this)
Directions:

Butterfly the chicken breasts (see tutorial) and pound them down until they’re an even thickness. Skip this step if using chicken thighs.

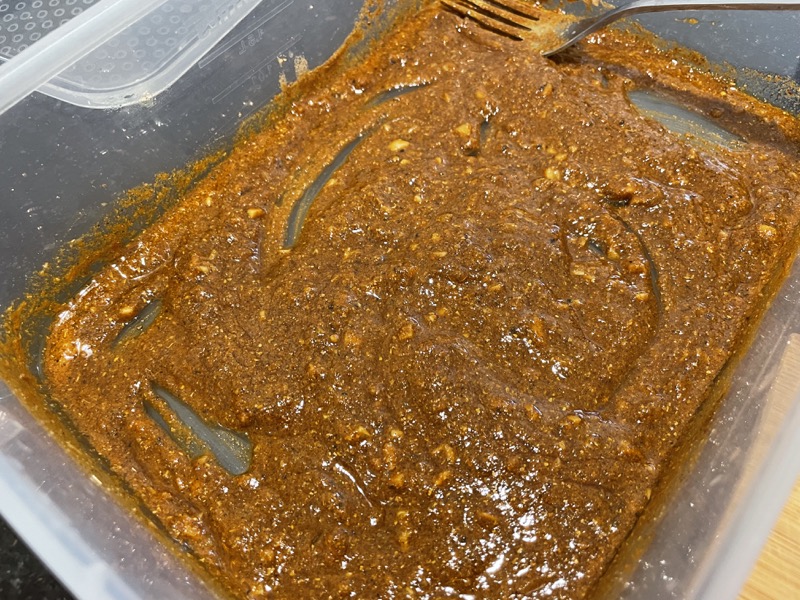


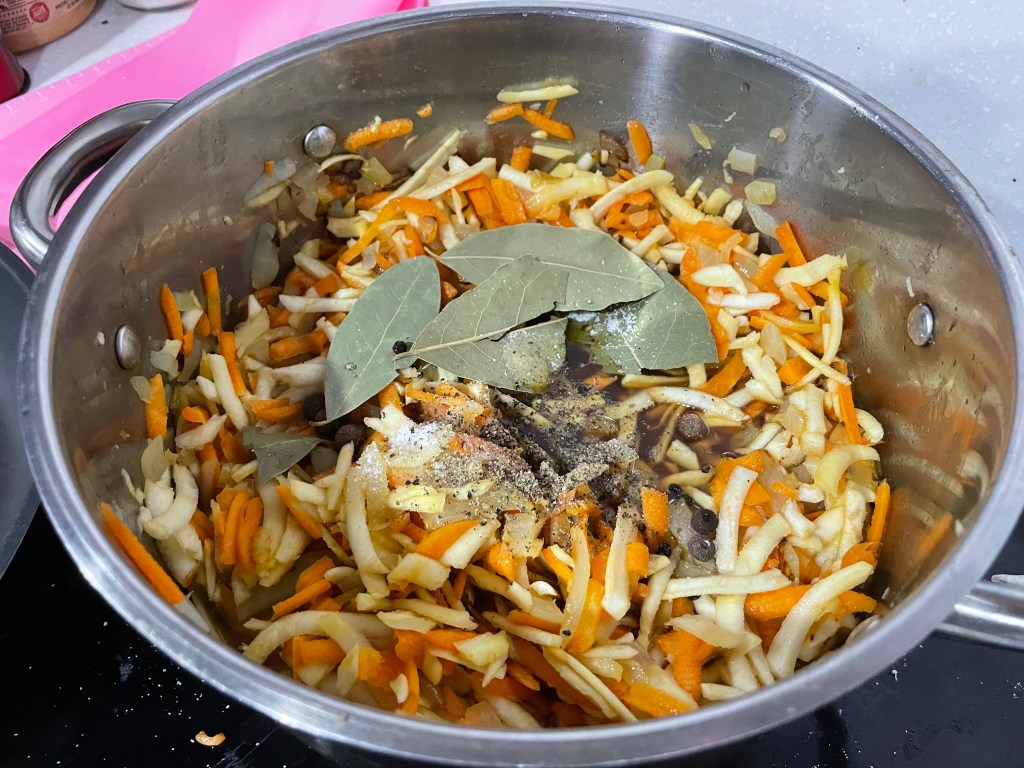
Combine all the ingredients of the spice blend in a bowl (or into the container you’re going to marinade the chicken in to save washing). Add the chicken to the marinade and rub it around the chicken ensuring you’re covering every part of the chicken. Let the chicken marinade in the fridge overnight.
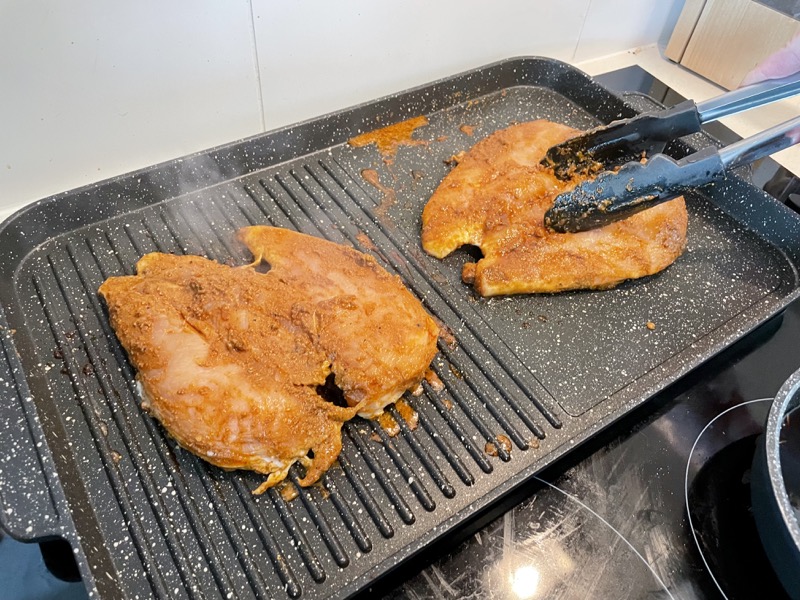
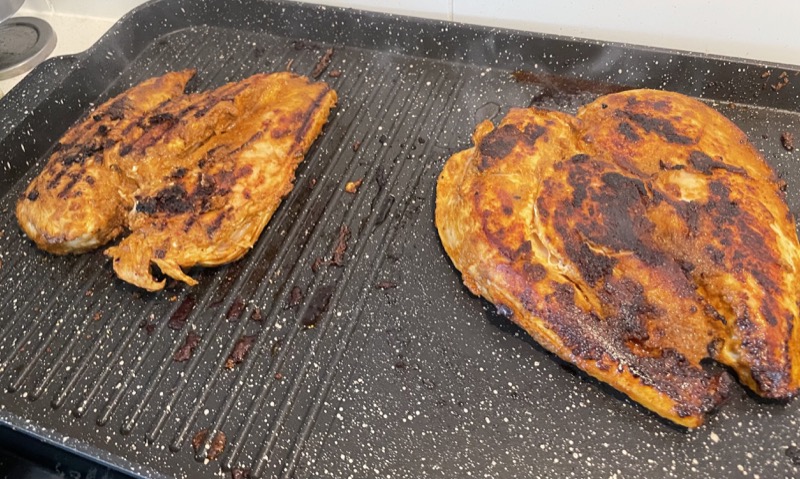

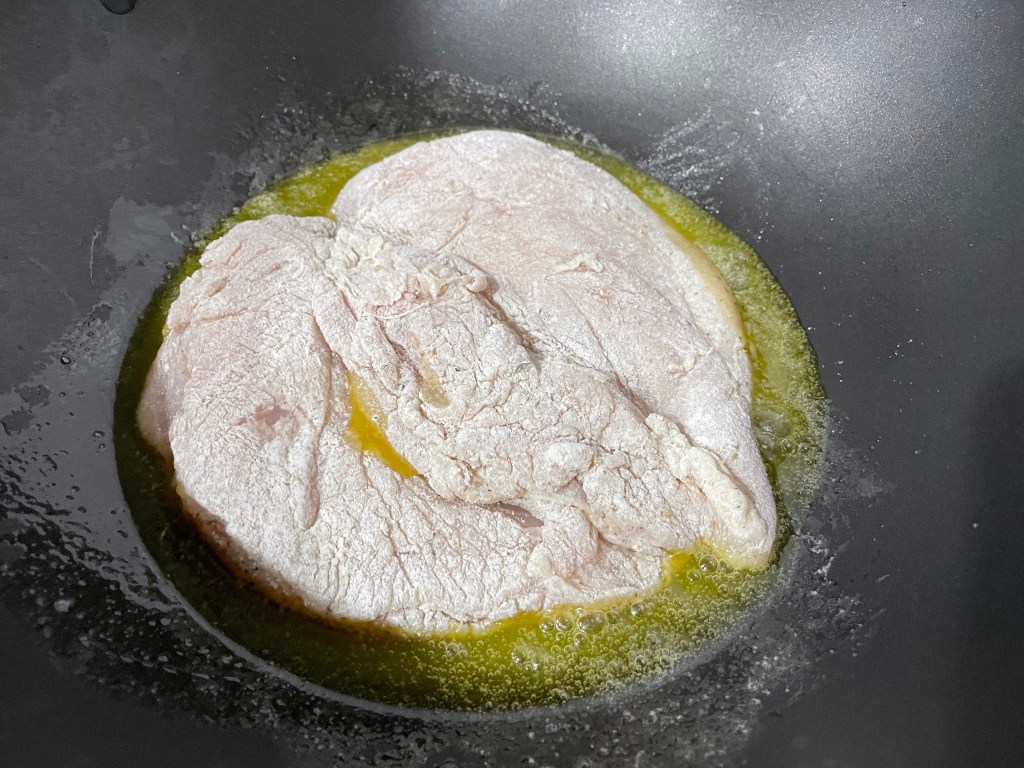
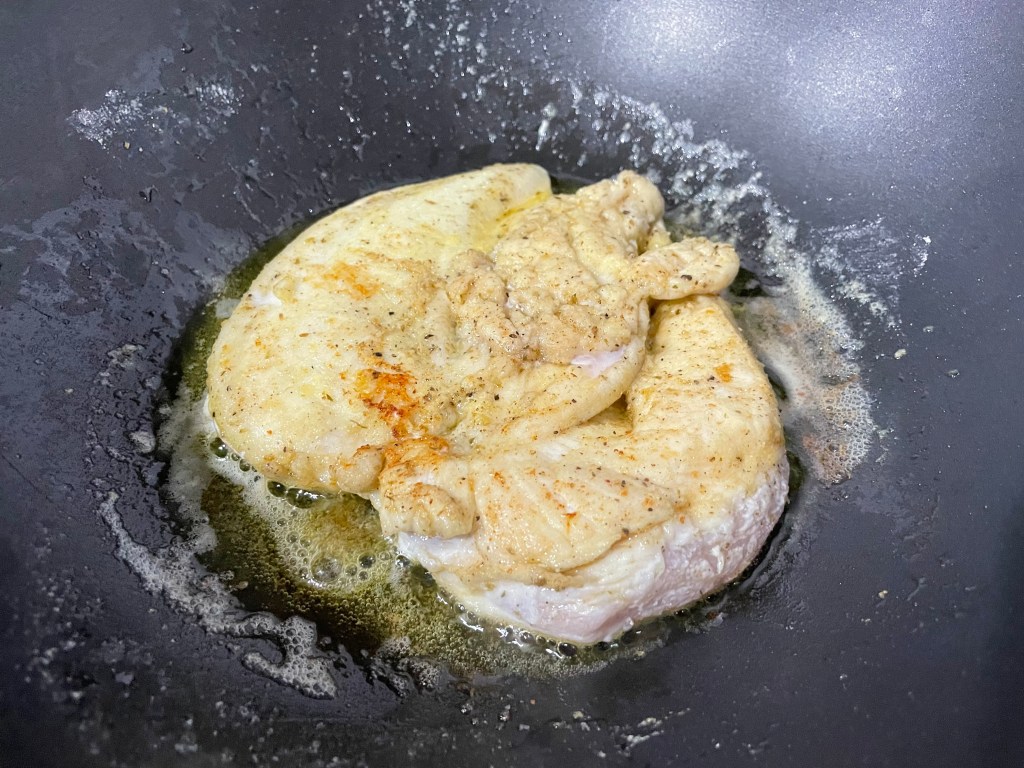
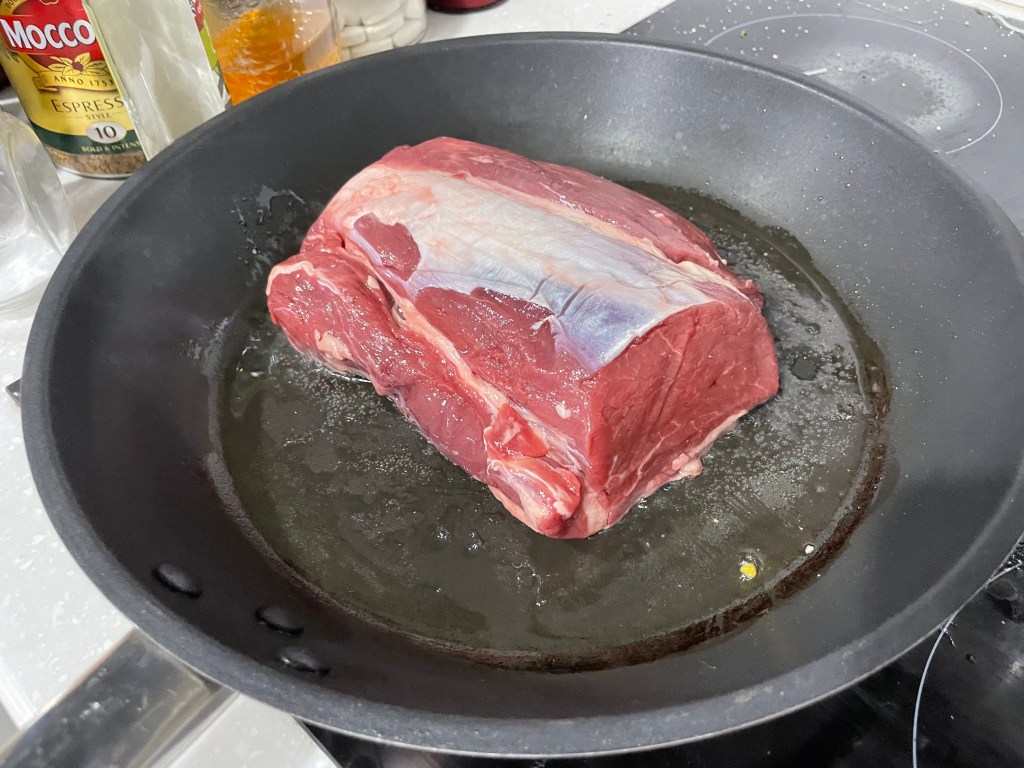
Cook the chicken on a grill or skillet on MED heat 4-5 minutes per side until it’s lightly charred on the outside. Remove from heat and rest on a chopping board for a few minutes before slicing. Once rested, slice the chicken into strips and serve to your preference (see above for some ideas on how to serve it). Add a dollop of Greek yoghurt to the plate or drizzled over the warm chicken. Enjoy!

Optional step: If you’ve got leftover marinade in the container after removing the chicken breasts, toss some diced pumpkin into the container and roast it in the oven or air-fryer at 180˚C for 10-15 mins until cooked through then serve it with the chicken.


Summarized Recipe:
Chicken Shawarma
Date Published: Aug 23rd, 2021 | Last Updated: Aug 23rd, 2021
Author: Abby |Category: mains, healthy, quick and easy, low cal
Serves: 4 | Prep time: 10 mins | Cook time: 20 mins
Ingredients:
- 2 large chicken breasts, butterflied or 1kg chicken thighs
- Spice Blend Marinade:
- 1 large garlic clove, minced
- 1 Tbsp ground coriander
- 1 Tbsp ground cumin
- 1 Tbsp ground cardamon
- 1 tsp ground cayenne pepper
- 2 tsp smoked paprika
- 2 tsp sea salt
- 1/2 tsp ground black pepper
- 2 Tbsps lemon juice
- 3 Tbsps olive oil
- Greek yoghurt
- Diced pumpkin (optional)
- Salad greens to your preference (see above for some ideas on how to serve this)
Directions:
- Butterfly the chicken breasts (see tutorial) and pound them down until they’re an even thickness. Skip this step if using chicken thighs.
- Combine all the ingredients of the spice blend in a bowl (or into the container you’re going to marinade the chicken in to save washing). Add the chicken to the marinade and rub it around the chicken ensuring you’re covering every part of the chicken. Let the chicken marinade in the fridge overnight.
- Cook the chicken on a grill or skillet on MED heat 4-5 minutes per side until it’s lightly charred on the outside. Remove from heat and rest on a chopping board for a few minutes before slicing. Once rested, slice the chicken into strips and serve to your preference (see above for some ideas on how to serve it). Add a dollop of Greek yoghurt to the plate or drizzled over the warm chicken. Enjoy!
- Optional step: If you’ve got leftover marinade in the container after removing the chicken breasts, toss some diced pumpkin into the container and roast it in the oven or air-fryer at 180˚C for 10-15 mins until cooked through then serve it with the chicken.