Date Published: July 31st, 2020 | Last Updated: July 31st, 2020
Author: Abby |Category: asian, mains
Serves: 4-5 | Prep time: 15 mins | Cook time: 45 mins
Jump to recipe |
I LOVE Hainanese Chicken Rice (I feel like I’m starting too many of my posts like this – I guess that’s no surprise since I only upload dishes I love to eat heh heh). I know I say this with a lot of recipes, but this dish is pretty simple and you only need 6 ingredients: chicken, ginger, spring onion, garlic, salt, and rice. These 6 ingredients make up the chicken, the rice and the soup. Add some oil and you can make the dipping sauce too! Since there are a few components to this dish, the recipe is a little lengthy, but once you start cooking you’ll realize that there’s not much difficulty at all.
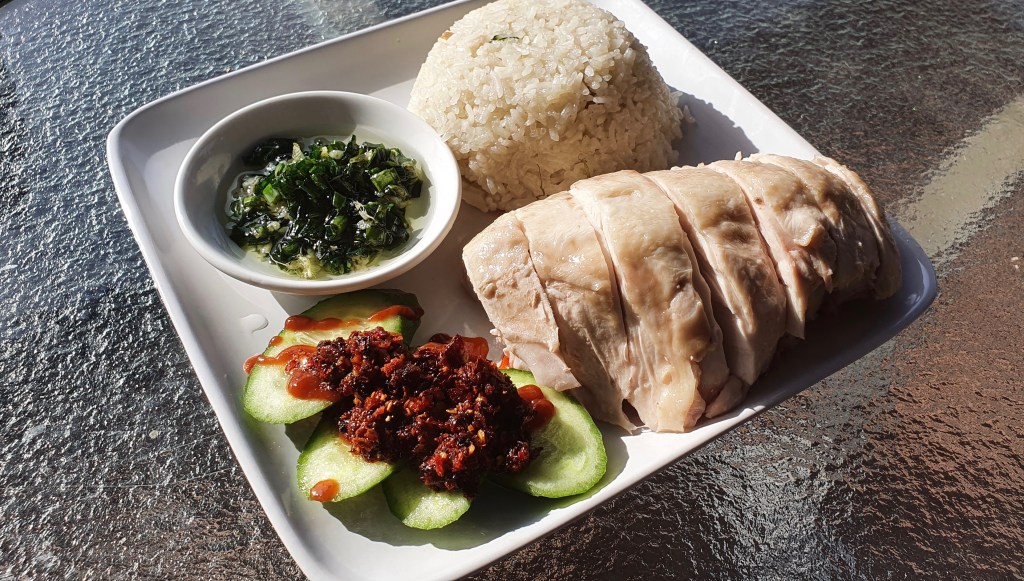
If you’re unfamiliar with what this dish is, Hainanese chicken rice has many variations but the most commonly seen version is usually composed of 5 components: 1) poached chicken, 2) rice cooked in chicken fat and broth, 3) dipping sauce (like spring onion ginger oil, a soy sauce based sauce and/or a chilli paste), 4) chicken broth, and 5) sliced cucumbers as a refresher from the rich flavours. The chicken is meant to be light and let the flavours of the sauces take over accompanied by the rice.
I’ve adapted this recipe from Sarah Tiong’s (mine and Toby’s favourite Masterchef Australia 2020 contestant) new cookbook Sweet, Savoury, Spicy. I’m usually not one for buying cookbooks and also not usually a Masterchef fan, but since the pandemic started this show has been our weekly constant, 4 days a week at 7:30pm. Sarah was known for her bold Asian flavours on the show and we’d always be salivating to whatever dish she whipped up so naturally when her cookbook came out I bought it right away. The recipe is more or less the same but I’ve changed up some minor cooking methods, added photos and rewrote it to make it easier to follow for myself (and you!). I’ve also recorded a video but it’ll take me a little while to edit the footage so sit tight. I’d definitely recommend checking out her cookbook – there’s some really good recipes there like Char Kway Teow!
Anyways, without further ado, here’s the recipe! If you have any comments or suggestions, I’d love to hear from you in the comment section! You can follow me on instagram, youtube and facebook to see all the recipes I post!
Happy cooking!
Ingredients you’ll need:
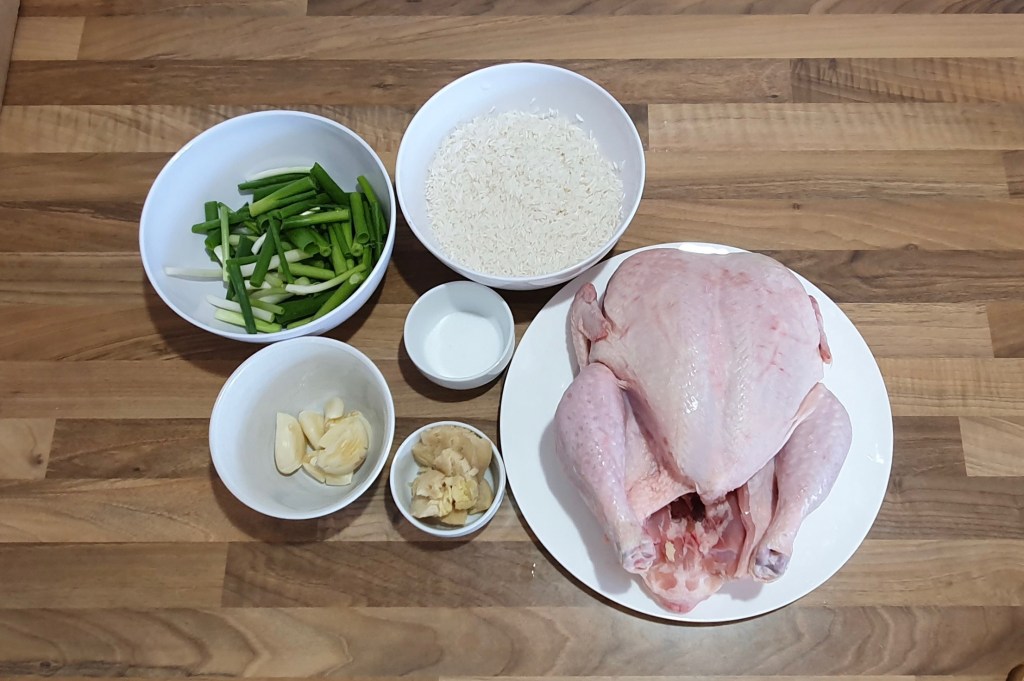
- 1 whole chicken (~1.6kg), rinsed
- 4cm piece of ginger, unpeeled & crushed into pieces
- 10 cloves garlic, peeled & crushed
- 8 spring onions, cut into 7cm pieces
- 1 Tbsp salt
- 2 chicken stock cubes
- 2 cups uncooked jasmine rice
- Optional: 2 pandan leaves, bruised and tied into knots
- 1-2 Tbsp toasted sesame oil
- Cucumber slices to serve (optional)
- Chilli paste/oil to serve (optional)
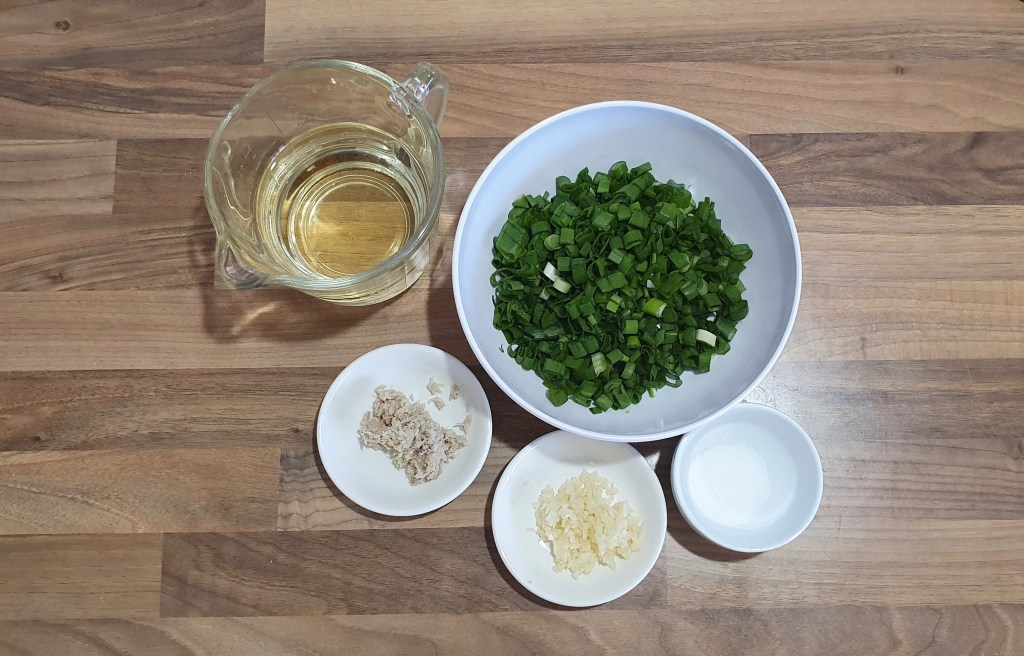
- Optional: Spring Onion and Ginger Oil
- 1 Tbsp ginger, grated
- 2 cloves garlic, finely minced
- 6 spring onions, thinly sliced
- 1 tsp salt
- 1 cup (250ml) neutral oil (canola, vegetable…etc.)
Directions:
Render the chicken fat: (This is an optional step. You can alternatively buy already rendered chicken fat called Schmaltz from the shops.) The rendered chicken fat will be used for the chicken rice.

Before: rear view of a whole chicken placed on its back 
After: view of chicken with the fatty bits cut out 
Opening of the chicken, note the two fatty bits at the entrance 
Close up view of the two fatty bits with skin 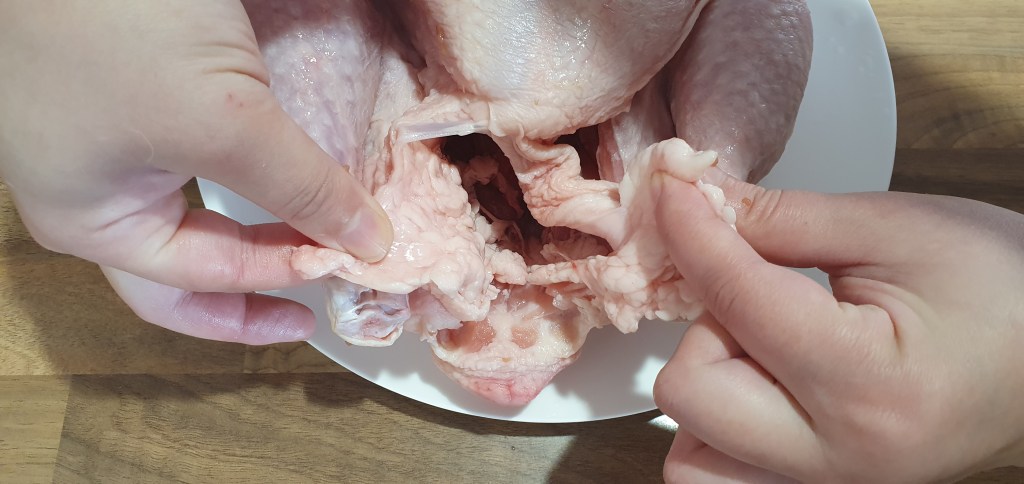
I’m holding the fatty bits with attached skin to cut out 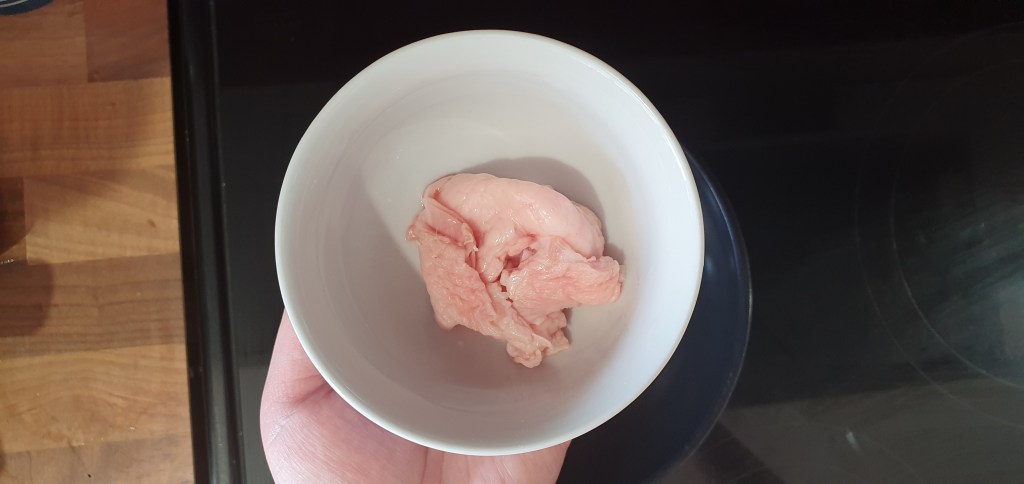
Acquired chicken fat and skin
There are two pieces of chicken fat at the entrance of the chicken cavity. Remove this fat and the accompanying skin by pulling or cutting it out. It doesn’t need to be pretty, you’re just trying to harvest as much fat as you can from this area with the skin. Don’t worry about taking too much skin – you won’t miss it.

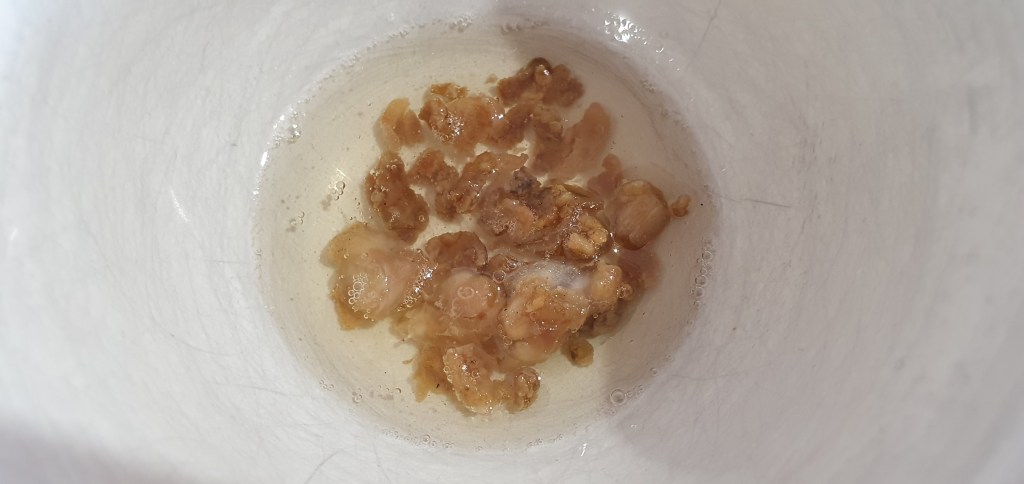
Chop the acquired fat and skin into small pieces and put it in a dry non-stick pan on low-medium heat until the fat melts and the pieces become crispy and brown (see photo below). Be patient. This is a slow process and can take about 20-30mins. While you’re waiting you can start on the chicken.
Cook the chicken: Place the whole chicken in a big pot and fill the pot with cold water until it just covers the chicken. Add the ginger, 5 cloves of garlic, spring onion, salt, and chicken stock cubes to the pot. Stir.

Put a lid on the pot and bring the water to a boil over high heat then reduce the heat to low and simmer for 15 minutes (for larger chickens, cook for 20-25mins). After 15mins, turn off the heat and leave the chicken to poach in the soup for 20 minutes.
While the chicken is cooking, you can prepare the spring onion and ginger oil (follow the link for more thorough step-by-step instructions). (Don’t forget about the rendered fat if it’s still going!)
- In a bowl, mix together ginger, garlic, spring onion, and salt. Set aside.
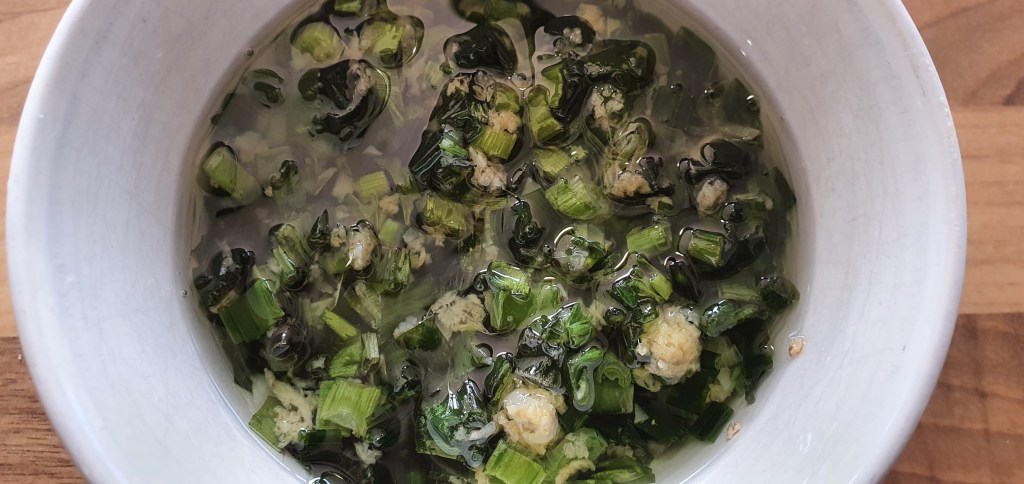
- In a skillet, heat the oil on med-high heat until it just starts to smoke. Add in the ginger, garlic, spring onion and salt and stir for 20 seconds then turn off the heat. Let the ingredients steep in the hot oil and serve when cooled.

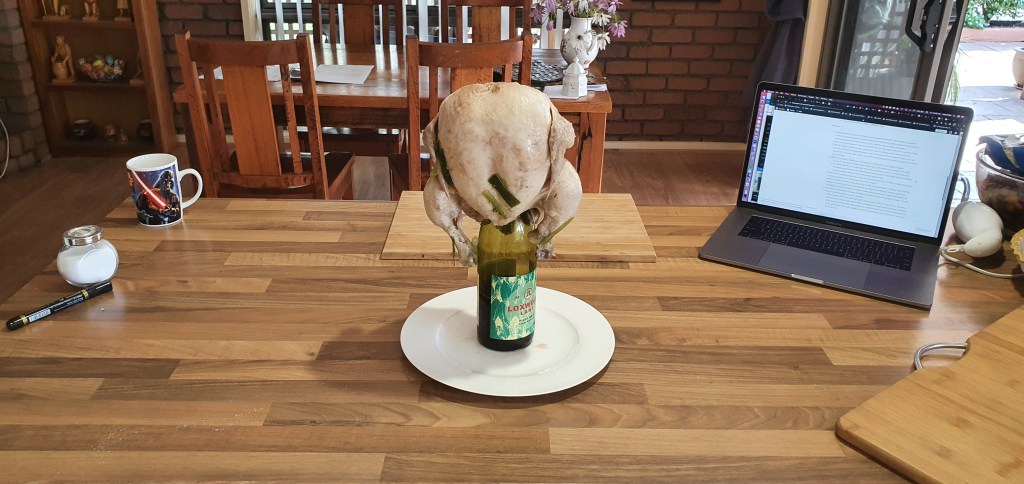
After 20mins, carefully remove the chicken from the broth and rest it for 20mins (ideally hanging off a hook or propped up to let any juices drip off into a bowl).
Chicken rice: While the chicken is resting, make the rice by heating the rendered fat (or 4 Tbsps of schmaltz if you haven’t rendered your own fat) in a medium sized pot (big enough to cook the rice in) on med-high heat and add in the remaining 5 cloves of garlic and uncooked rice. Stir fry the rice in the fat and garlic for a couple minutes until it’s completely coated in the chicken fat and fragrant.

Then cook the rice as normal using the broth that was used to poach the chicken in instead of regular water. You can do this step in a rice cooker or in the same pot over the stove:

How I usually cook rice on the stove by using the same pot: add 3 cups of broth to the rice (and pandan leaves if using) and cook the rice with a lid on over low-medium heat until the broth is absorbed. Once all the liquid has been absorbed, taste and if the rice is still undercooked, add in half a cup of broth at a time and continue to cook with the lid on until cooked. Once rice is ready, turn off the heat and take off the lid and fluff up the rice with a fork.

Once the rice is cooked and the chicken has cooled, rub the chicken all over with sesame oil then carve it into pieces. Done! Serve with sliced cucumber, rice, chilli sauce and the spring onion ginger oil. Enjoy!

Optional: you can serve the chicken broth as a side dish to take advantage of that delicious flavour! Bring it back to a boil and adjust with salt and pepper. If it’s too salty, add boiling water to dilute it. Alternatively, you can put the bones back into the broth from the leftover carcass/bones and simmer on low heat for several hours to create a rich chicken stock that can be used in any other recipes in the future or served as a basic stock. This stock can easily be frozen by straining out all the ingredients first. It’s perfect to use next time you make Hainanese chicken rice and use this concentrated stock instead of chicken stock cubes to poach the chicken and use it to make the rice.


Summarized Recipe:
Hainanese Chicken Rice 海南雞飯
Date Published: July 31st, 2020 | Last Updated: July 31st, 2020
Author: Abby |Category: asian, mains
Serves: 4-5 | Prep time: 15 mins | Cook time: 45 mins
Ingredients:
- 1 whole chicken (~1.6kg), rinsed
- 4cm piece of ginger, unpeeled & crushed into pieces
- 10 cloves garlic, peeled & crushed
- 8 spring onions, cut into 7cm pieces
- 1 Tbsp salt
- 2 chicken stock cubes
- 2 cups uncooked jasmine rice
- Optional: 2 pandan leaves, bruised and tied into knots
- 1-2 Tbsp toasted sesame oil
- Cucumber slices to serve (optional)
- Chilli paste/oil to serve (optional)
- Optional: Spring Onion and Ginger Oil
- 1 Tbsp ginger, grated
- 2 cloves garlic, finely minced
- 6 spring onions, thinly sliced
- 1 tsp salt
- 1 cup (250ml) neutral oil (canola, vegetable…etc.)
Directions:
- Render the chicken fat (optional*): There are two pieces of chicken fat at the entrance of the chicken cavity. Remove this fat and the accompanying skin by pulling or cutting it out. Chop it up into small pieces and put it in a dry non-stick pan on low-med heat until the fat melts and you get crispy pieces (see photo above). This step can take 20-30mins.
- Cook the chicken: While you’re waiting for your fat to render, place the whole chicken in a big pot and fill the pot with cold water until it just covers the chicken. Add the ginger, 5 cloves of garlic, spring onion, salt, and chicken stock cubes to the pot. Stir. Put a lid on the pot and bring the water to a boil over high heat then reduce the heat to low and simmer for 15 minutes (for larger chickens, cook for 20-25mins). After 15mins, turn off the heat and leave the chicken to poach in the soup for 20 minutes.
- While the chicken is cooking, you can prepare the spring onion and ginger oil (follow the link for more thorough step-by-step instructions). (Don’t forget about the rendered fat if it’s still going!)
- In a bowl, mix together ginger, garlic, spring onion, and salt. Set aside.
- In a skillet, heat the oil on med-high heat until it just starts to smoke. Add in the ginger, garlic, spring onion and salt and stir for 20 seconds then turn off the heat. Let the ingredients steep in the hot oil and serve when cooled.
- After 20mins, carefully remove the chicken from the broth and rest it for 20mins (ideally hanging off a hook or propped up to let any juices drip off into a bowl).
- Chicken rice: While the chicken is resting, make the rice by heating the rendered fat (or 4 Tbsps of schmaltz if you haven’t rendered your own fat) in a medium sized pot (big enough to cook the rice in) on med-high heat and add in the remaining 5 cloves of garlic and uncooked rice. Stir fry the rice in the fat and garlic for a couple minutes until it’s completely coated in the chicken fat and fragrant. Then cook the rice as normal using the broth that was used to poach the chicken instead of regular water. You can do this step in a rice cooker or in the same pot over the stove:
- How I usually cook rice on the stove by using the same pot: add 3 cups of broth to the rice (and pandan leaves if using) and cook the rice with a lid on over low-medium heat until the broth is absorbed. Once all the liquid has been absorbed, taste and if the rice is still undercooked, add in half a cup of broth at a time and continue to cook with the lid on until cooked. Once rice is ready, turn off the heat and take off the lid and fluff up the rice with a fork.
- Once the rice is cooked and the chicken has cooled, rub the chicken all over with sesame oil then carve it into pieces. Done! Serve with sliced cucumber, rice, chilli sauce and the spring onion ginger oil. Enjoy!
- Optional: you can serve the chicken broth as a side dish to take advantage of that delicious flavour! Bring it back to a boil and adjust with salt and pepper. If it’s too salty, add boiling water to dilute it. Alternatively, you can put the bones back into the broth from the leftover carcass/bones and simmer on low heat for several hours to create a rich chicken stock that can be used in any other recipes in the future or served as a basic stock. This stock can easily be frozen by straining out all the ingredients first. It’s perfect to use next time you make Hainanese chicken rice and use this concentrated stock instead of chicken stock cubes to poach the chicken and use it to make the rice.