Date Published: August 9th, 2020 | Last Updated: August 9th, 2020
Author: Abby |Category: asian, sides, vegetarian
Serves: 4 | Prep time: 5 mins | Cook time: 15 mins
Jump to recipe |
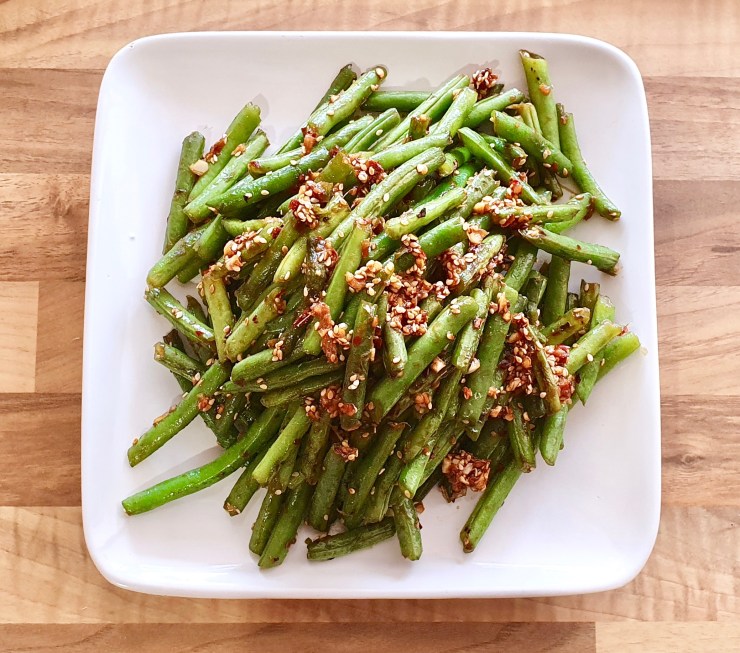
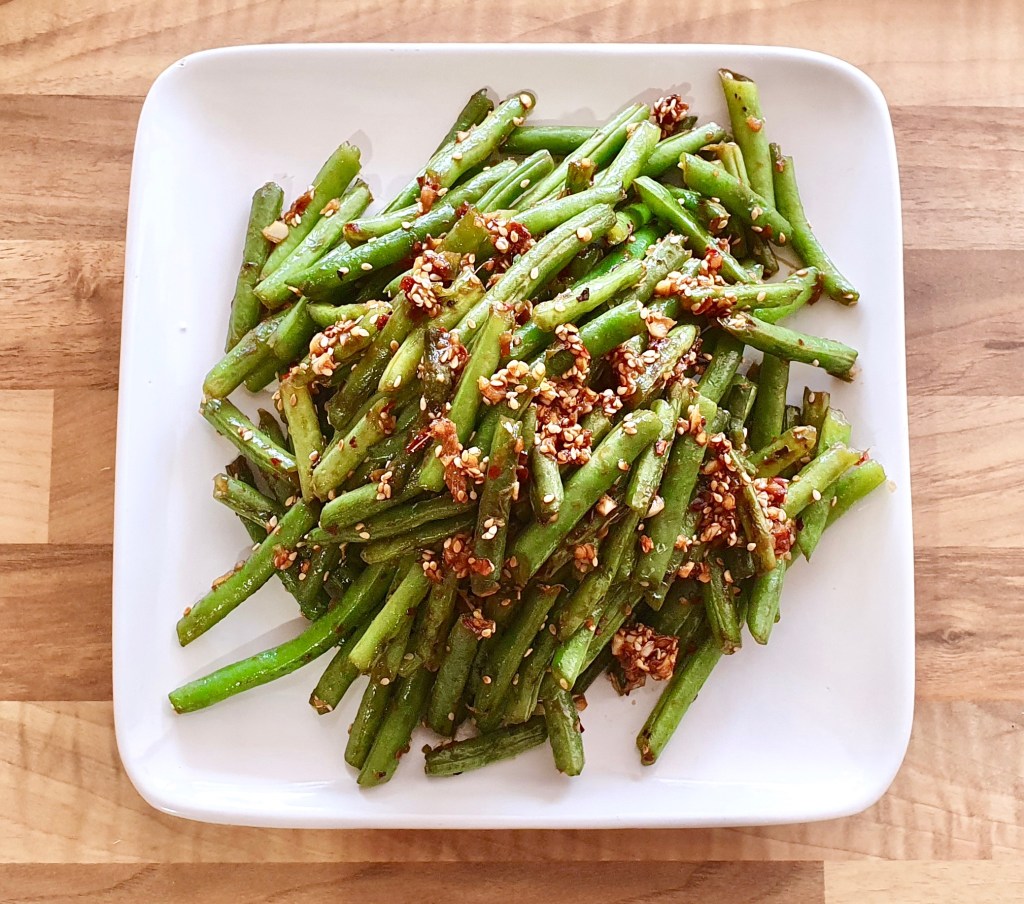
I love cooking with green beans. They’re a common ingredient in a lot of Asian cooking and there’s so many ways you can make them. The flavour of green beans are relatively subtle so I find them fantastic when paired with a bold and flavourful sauce, like in this recipe! These beans are steamed to tenderize, then sautéed in a miso, ginger, and garlic sauce to pack a punch. This recipe is super easy and makes a great quick side dish to pair with a salmon (like my popular maple salmon recipe – click for recipe ) or steak. It only takes 15 minutes to make with minimal clean up :).

Anyways, without further ado, here’s the recipe! If you have any comments or suggestions, I’d love to hear from you in the comment section! You can follow me on instagram, youtube and facebook to see all the recipes I post!
Happy cooking!
Ingredients you’ll need:
- Sauce:
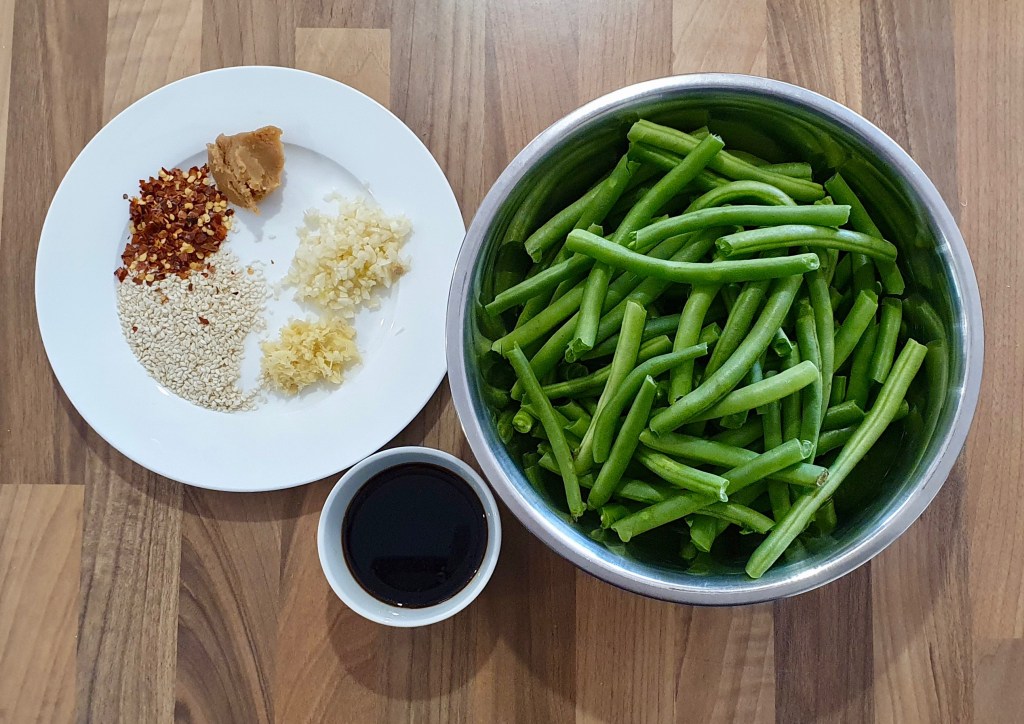
- 2 Tbsps soy sauce
- 1/2 Tbsp miso paste
- 1/2 Tbsp chilli pepper flakes (makes it medium spicy)
- 4 cloves garlic, minced
- 1 tsp fresh ginger, finely minced
- 1 Tbsp sesame seeds
- 1 Tbsp oil
- 600g fresh green beans, trim off ends
Directions:

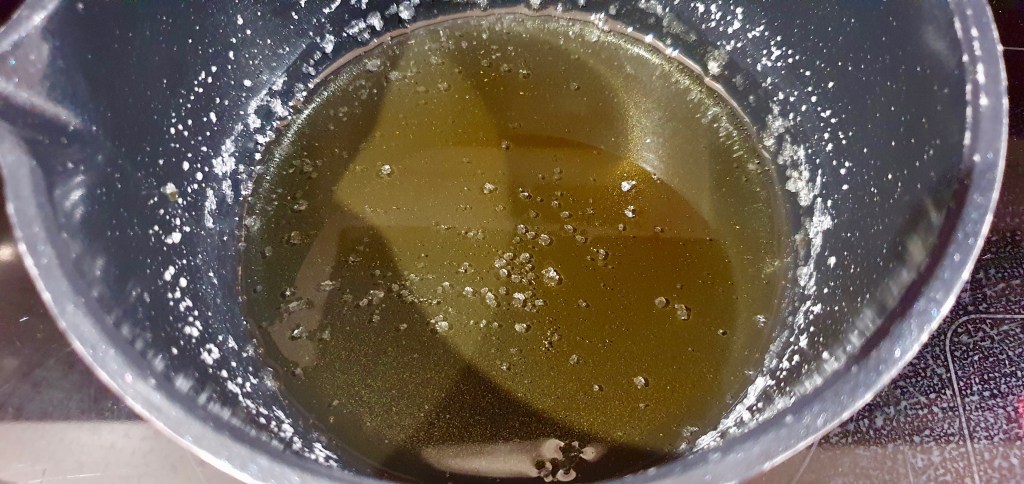
In a bowl, make the sauce by mixing together the soy sauce, miso paste, chilli flakes, garlic and ginger. Set aside.

In a dry pan on medium heat, add the sesame seeds and toast it until light brown. Remove from heat and set aside.

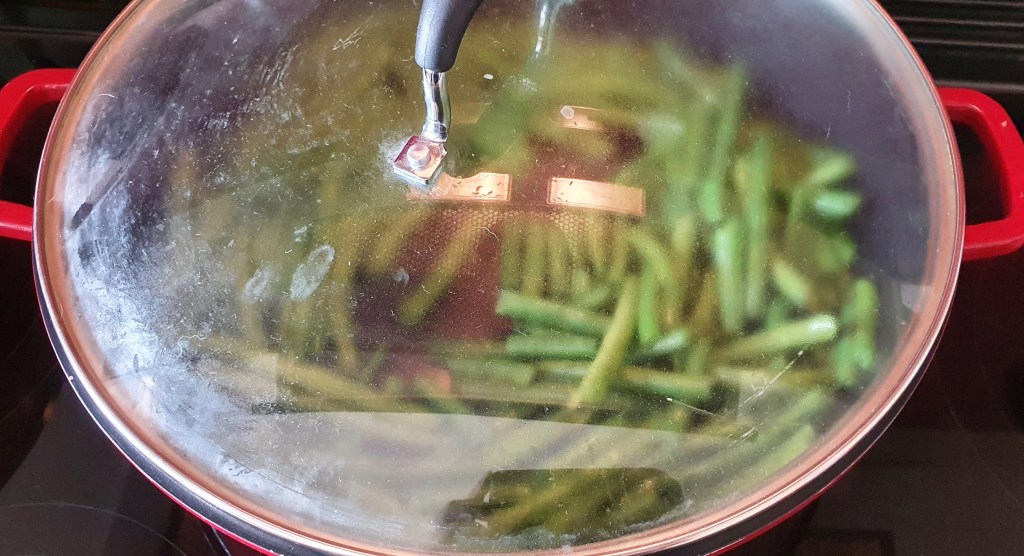
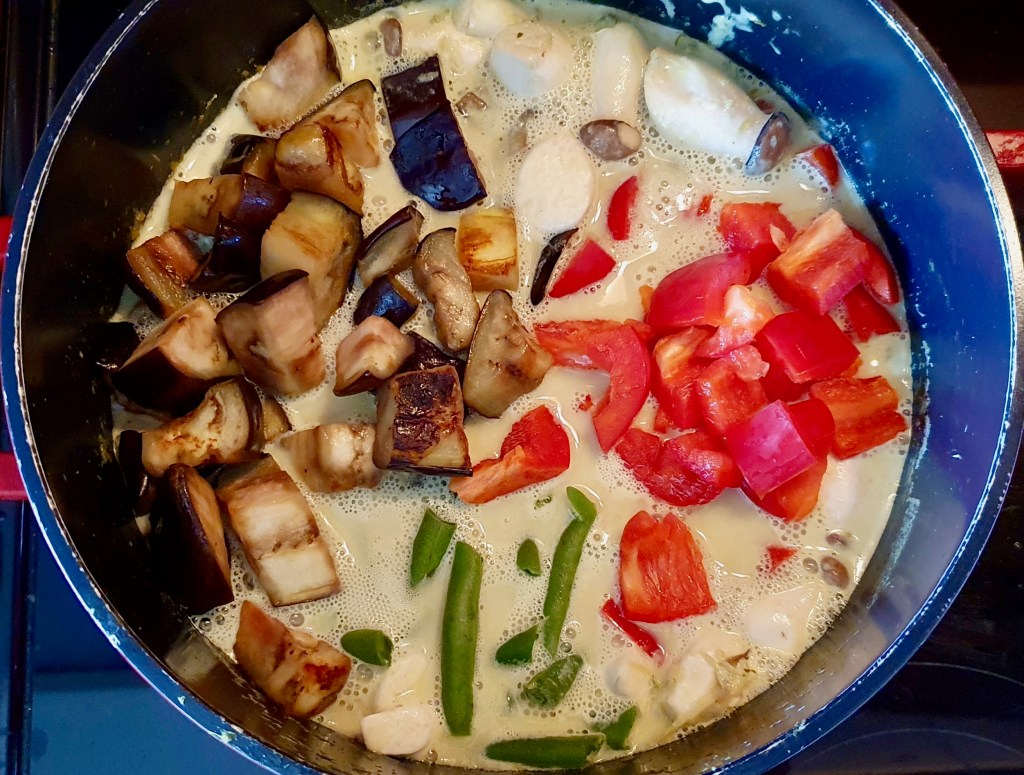
In the same pan, add 1 Tbsp of oil and add in the green beans. Stir-fry for a couple minutes then add in enough water to cover 1cm of the pan. Put the lid on and steam the beans until they’re tender (~5 minutes).
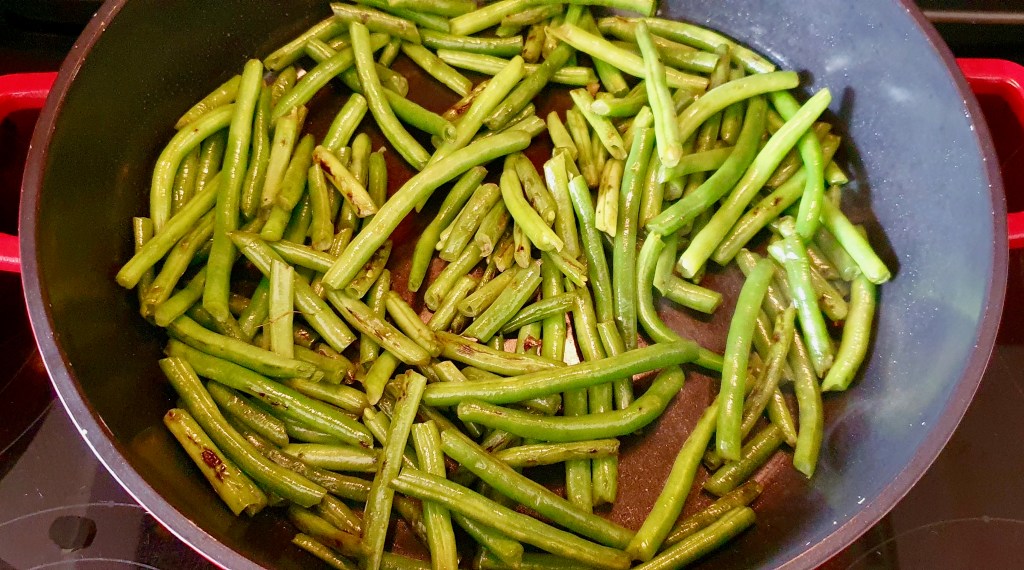

Once tender, remove the lid and bring the heat up to MED-HIGH and continue to stir-fry until the beans are lightly browned. Turn off the heat and add the toasted sesame seeds and the sauce to the pan. Stir quickly to combine. The residual heat from the pan should cook off any liquids. Serve!

Summarized Recipe:
Garlic Miso Green Beans
Date Published: August 9th, 2020 | Last Updated: August 9th, 2020
Author: Abby |Category: asian, sides, vegetarian
Serves: 4 | Prep time: 5 mins | Cook time: 15 mins
Ingredients:
- Sauce:
- 2 Tbsps soy sauce
- 1/2 Tbsp miso paste
- 1/2 Tbsp chilli pepper flakes (makes it medium spicy)
- 4 cloves garlic, minced
- 1 tsp fresh ginger, finely minced
- 1 Tbsp sesame seeds
- 1 Tbsp oil
- 600g fresh green beans, trim off ends
Directions:
- In a bowl, make the sauce by mixing together the soy sauce, miso paste, chilli flakes, garlic and ginger. Set aside.
- In a dry pan on medium heat, add the sesame seeds and toast it until light brown. Remove from heat and set aside.
- In the same pan, add 1 Tbsp of oil and add in the green beans. Stir-fry for a couple minutes then add in enough water to cover 1cm of the pan. Put the lid on and steam the beans until they’re tender (~5 minutes).
- Once tender, remove the lid and bring the heat up to MED-HIGH and continue to stir-fry until the beans are lightly browned. Turn off the heat and add the toasted sesame seeds and the sauce to the pan. Stir quickly to combine. The residual heat from the pan should cook off any liquids. Serve!