Date Published: August 14th, 2020 | Last Updated: August 14th, 2020
Author: Abby |Category: sauces, dips, easy
Serves: 1 cup | Prep time: 30 secs | Cook time: 30 secs
Jump to recipe |
This is one of my favourite dips for anything deep fried: sweet potato fries, hashbrowns, potato cakes, fish and chips…the list goes on. It’s also fantastic in all kinds of mayo-based salads: potato salad, egg salad, tuna salad…YUM! I’m a firm believer that curry powder makes life better ❤️. This 30 second recipe is ridiculously simple. If you can scoop mayo out of a jar, you can make curry mayo!
Anyways, without further ado, here’s the recipe! If you have any comments or suggestions, I’d love to hear from you in the comment section! You can follow me on instagram, youtube and facebook to see all the recipes I post!
Happy cooking!
Ingredients you’ll need:
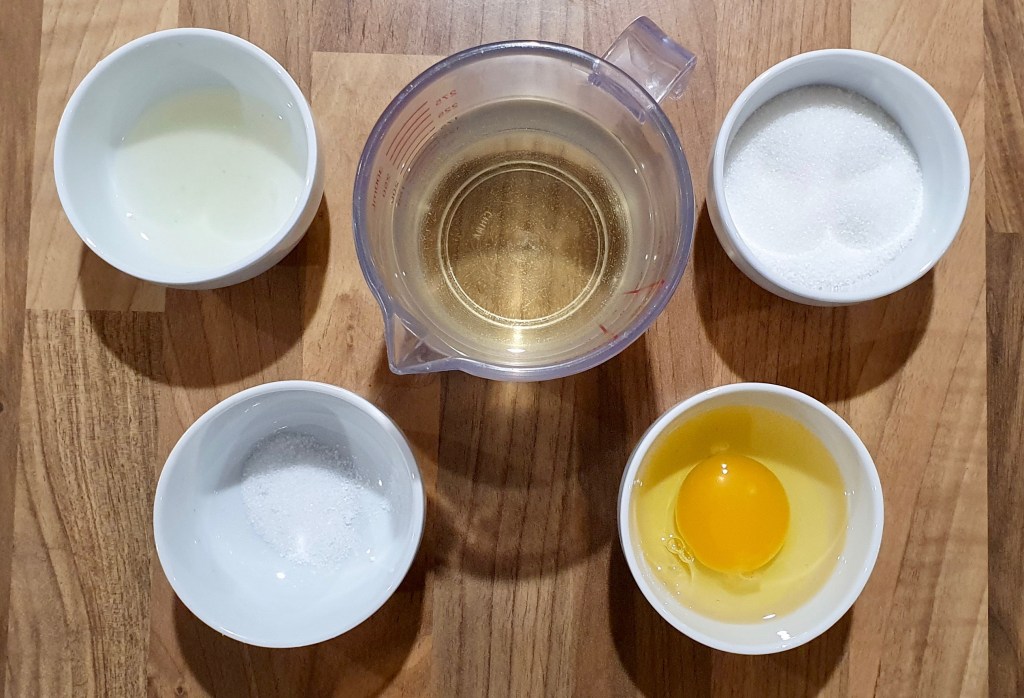
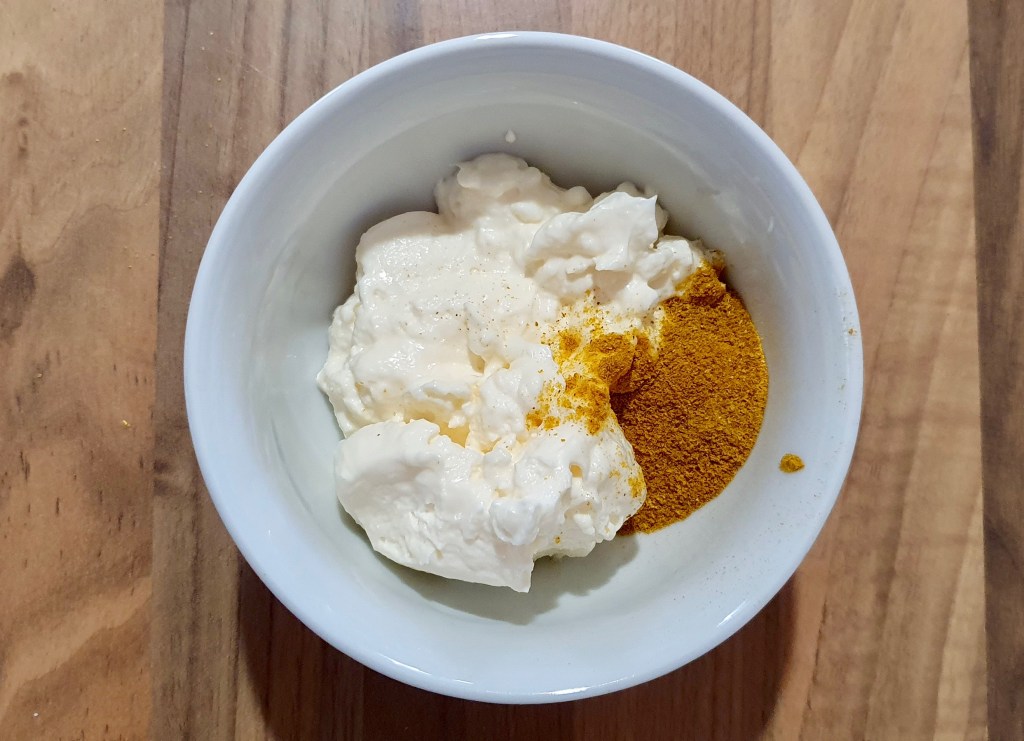
- 1 cup mayonnaise
- 1 tsp curry powder
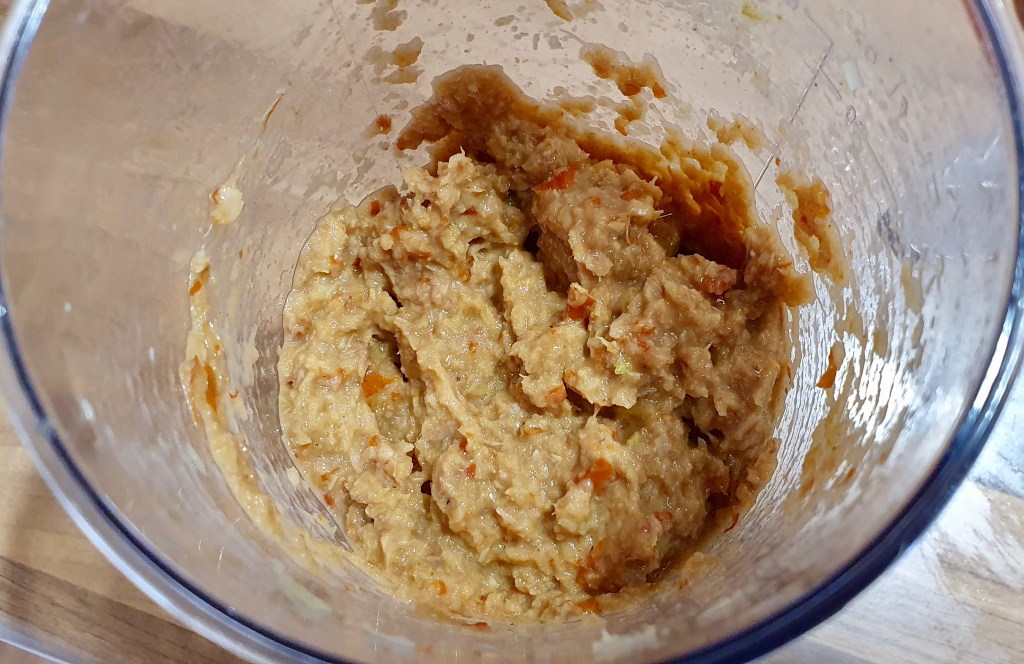
Directions:
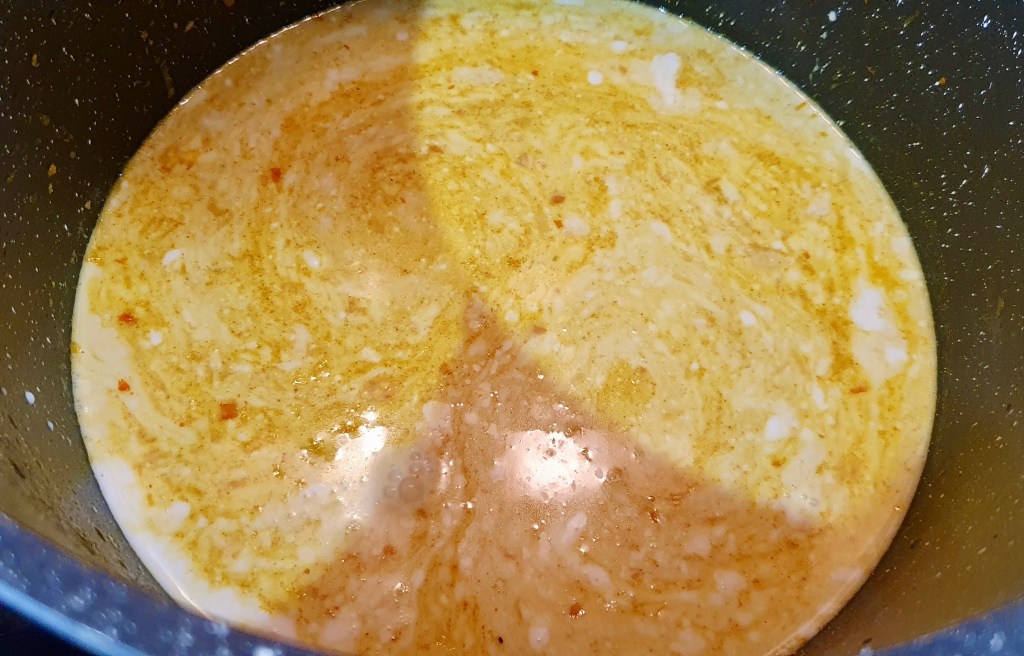
- Mix curry and mayo together. Taste and add more curry if you prefer if stronger. Done!

Summarized Recipe:
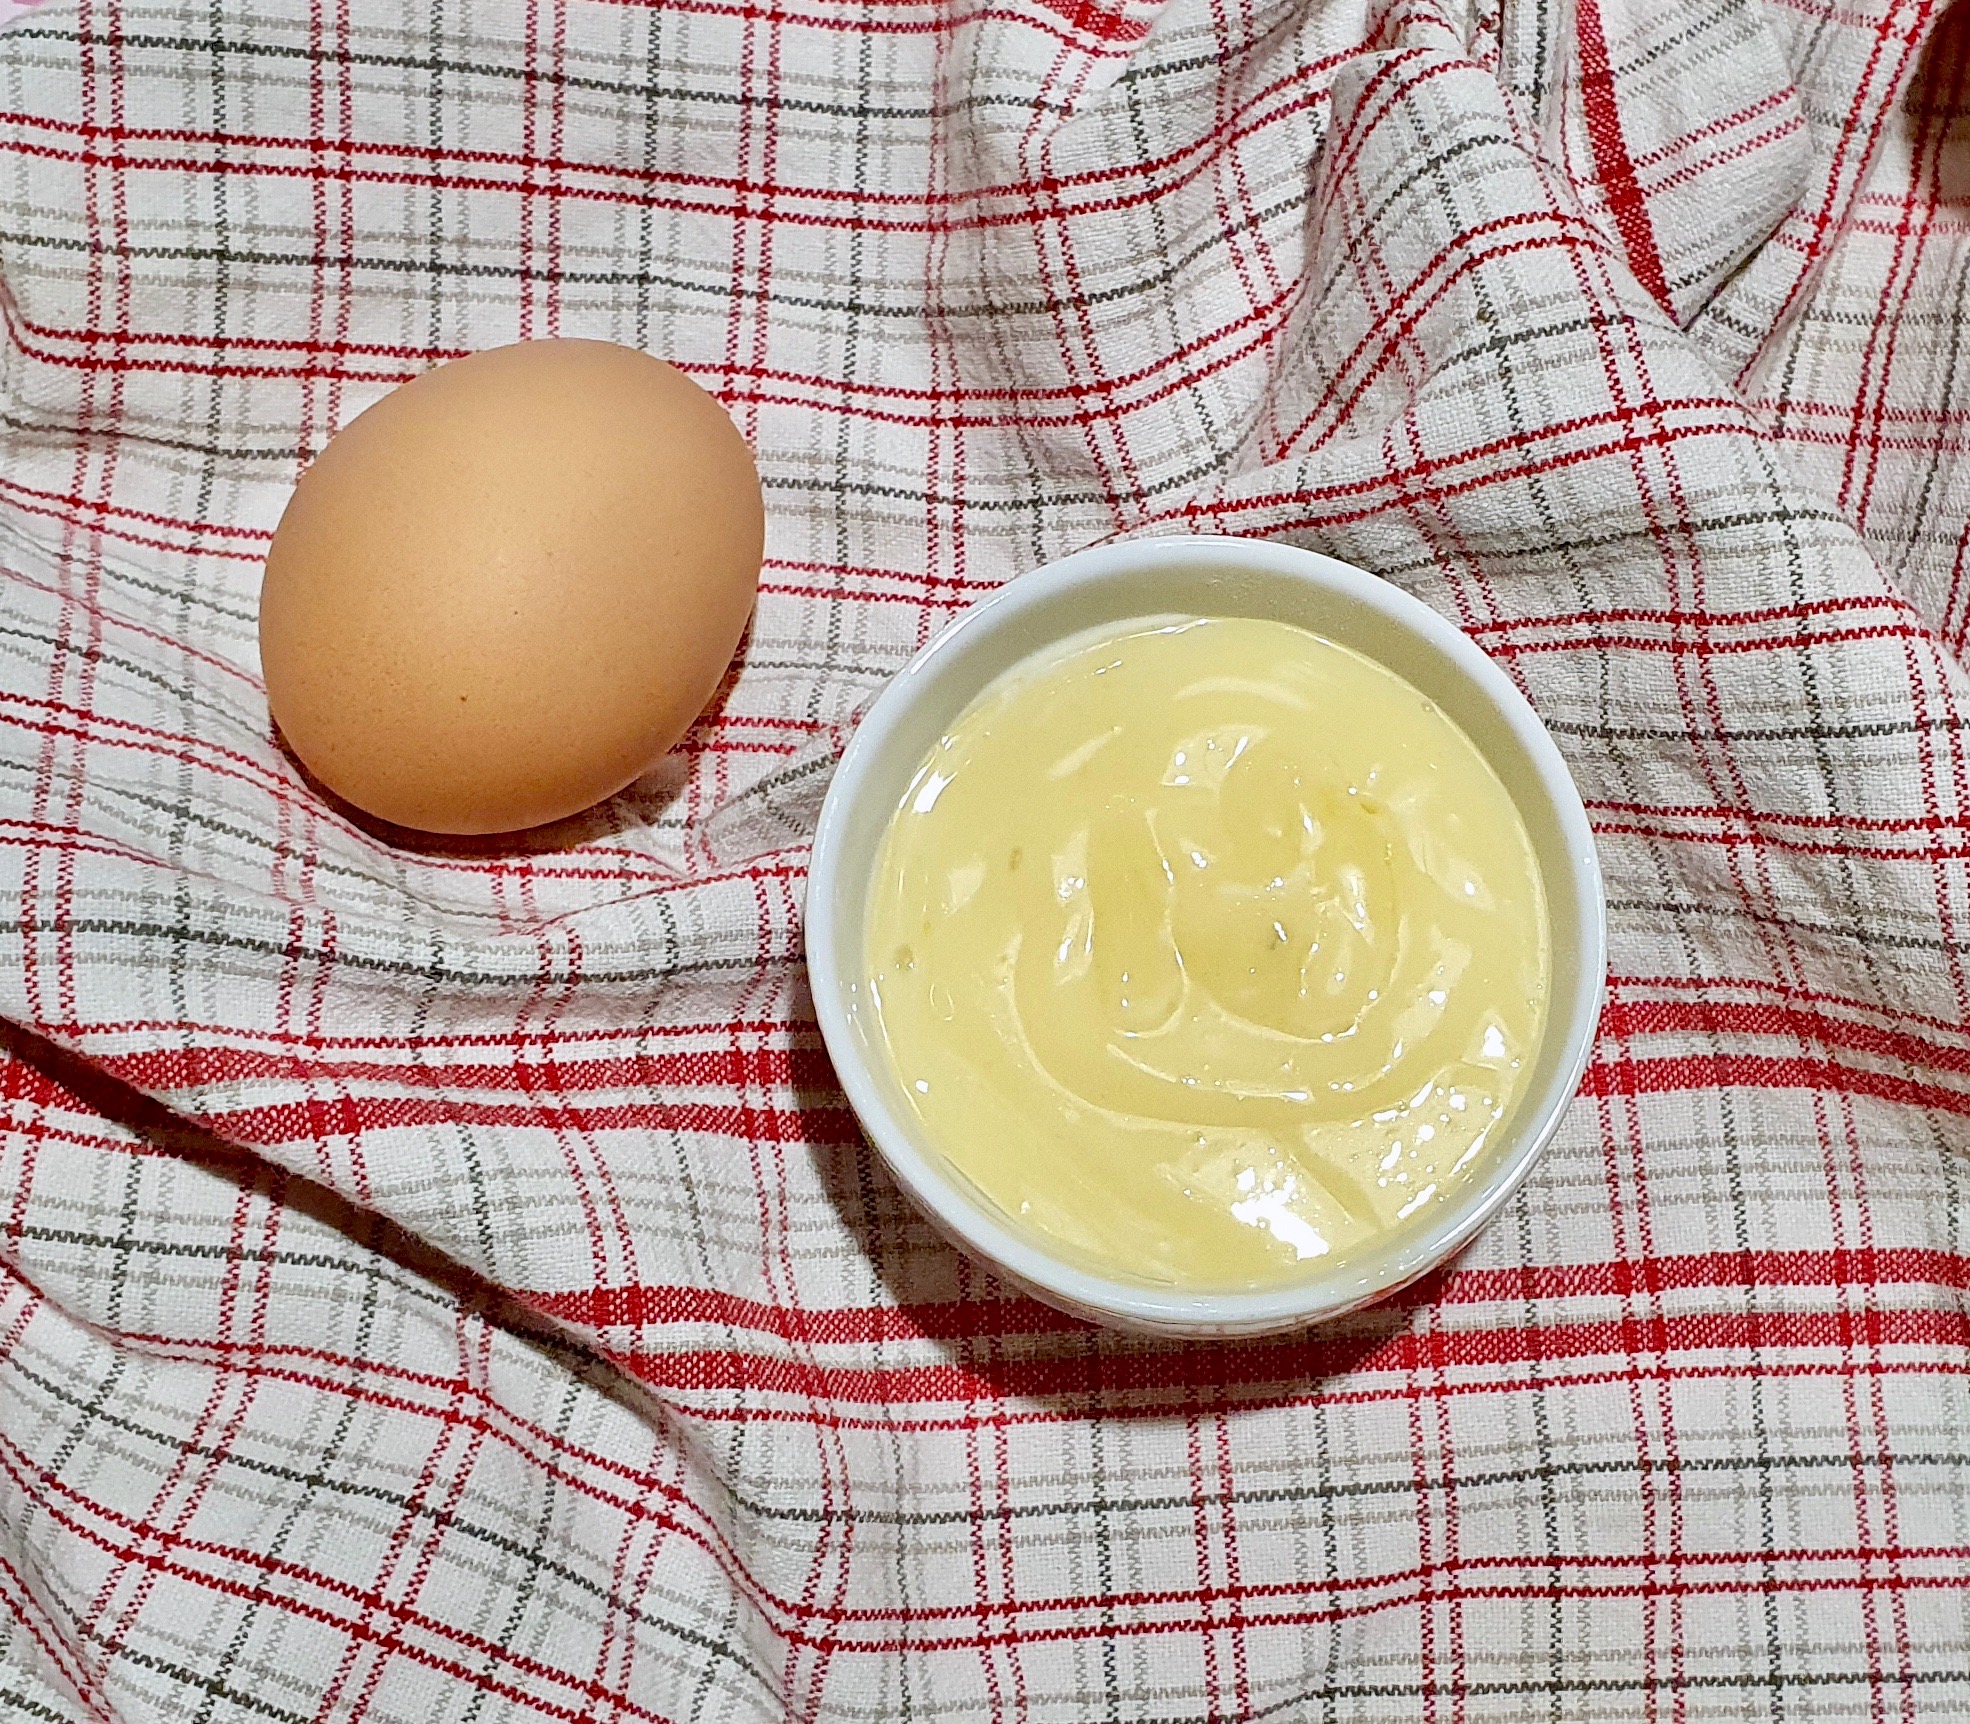
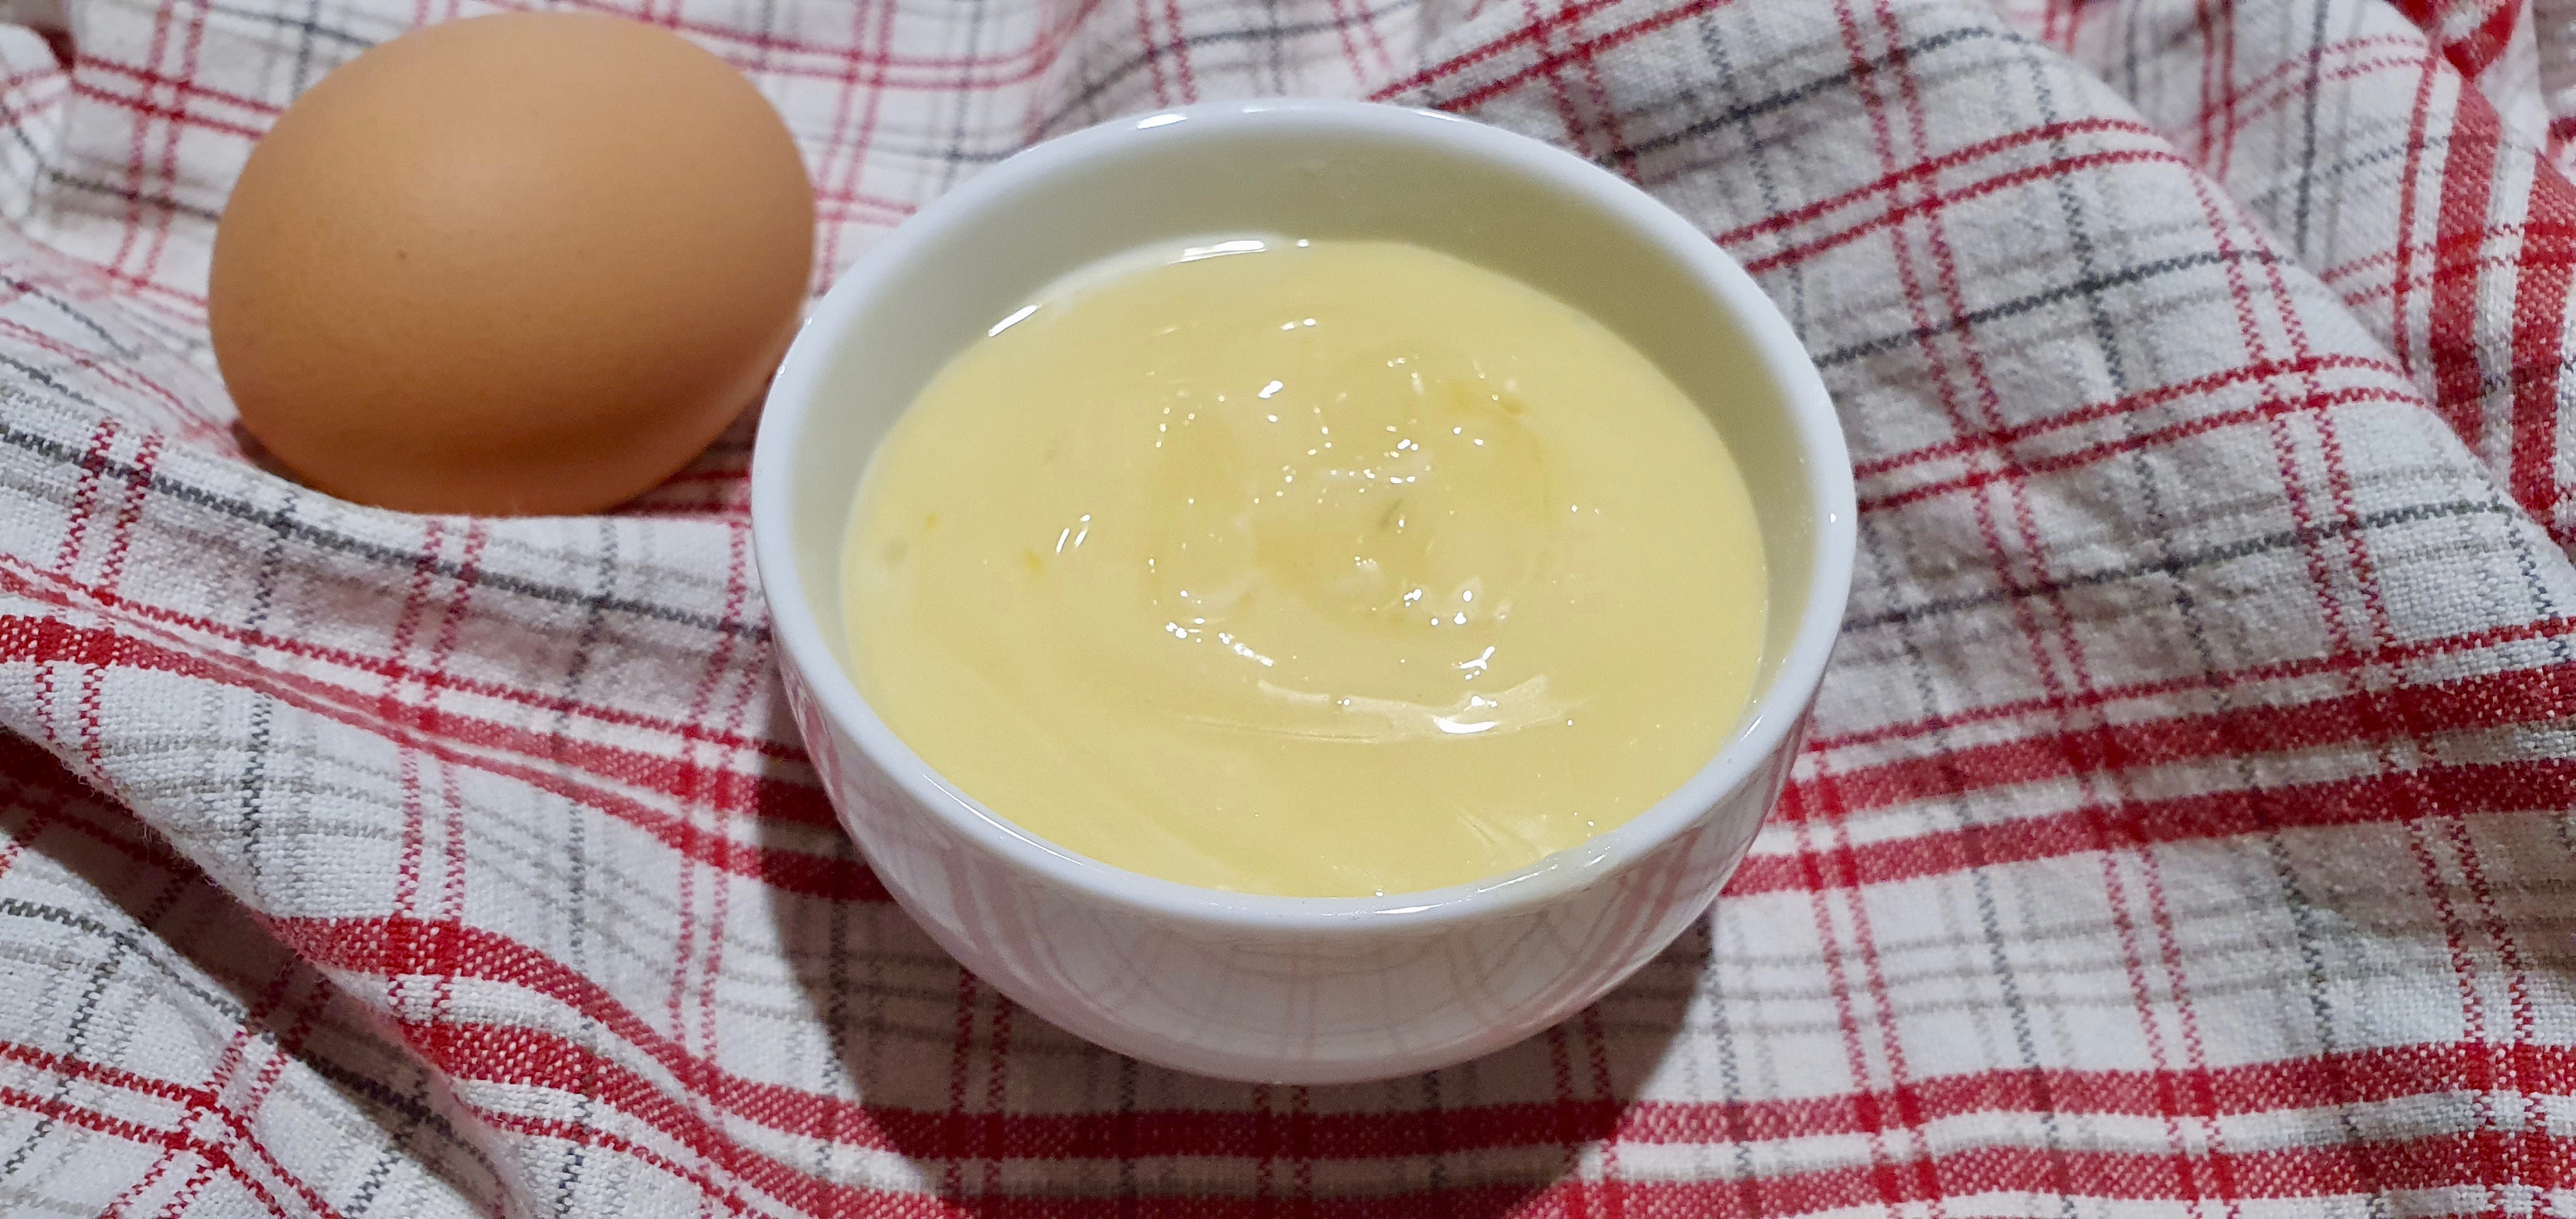
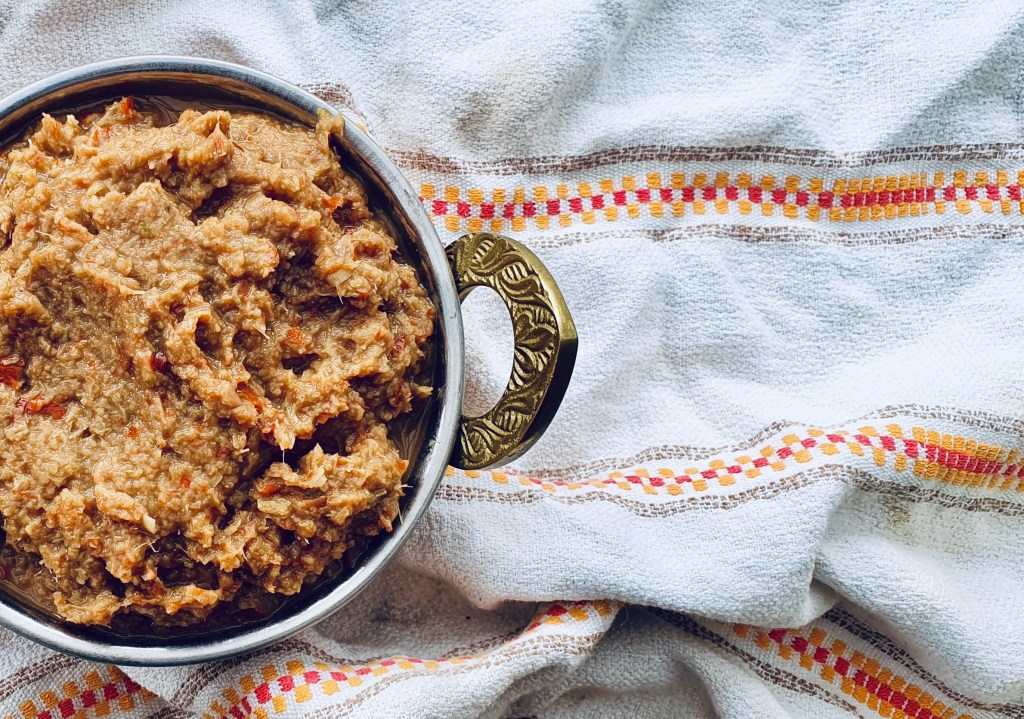
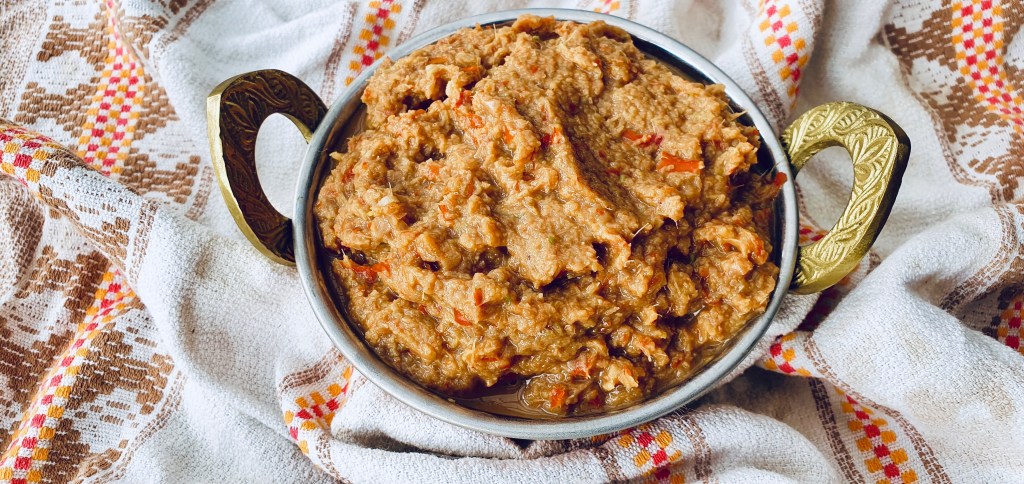
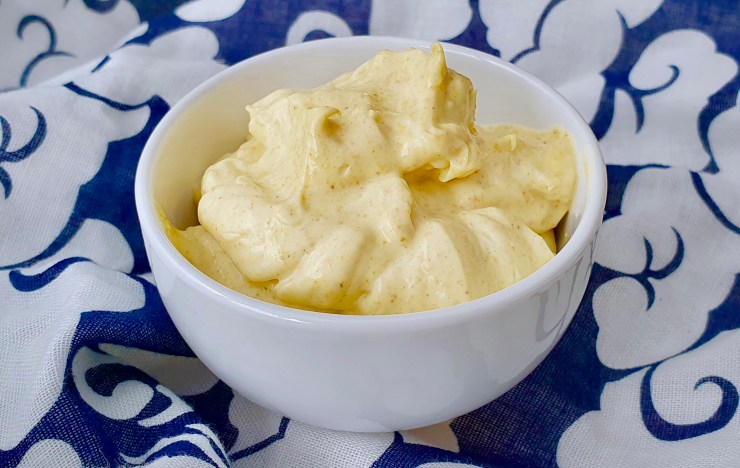
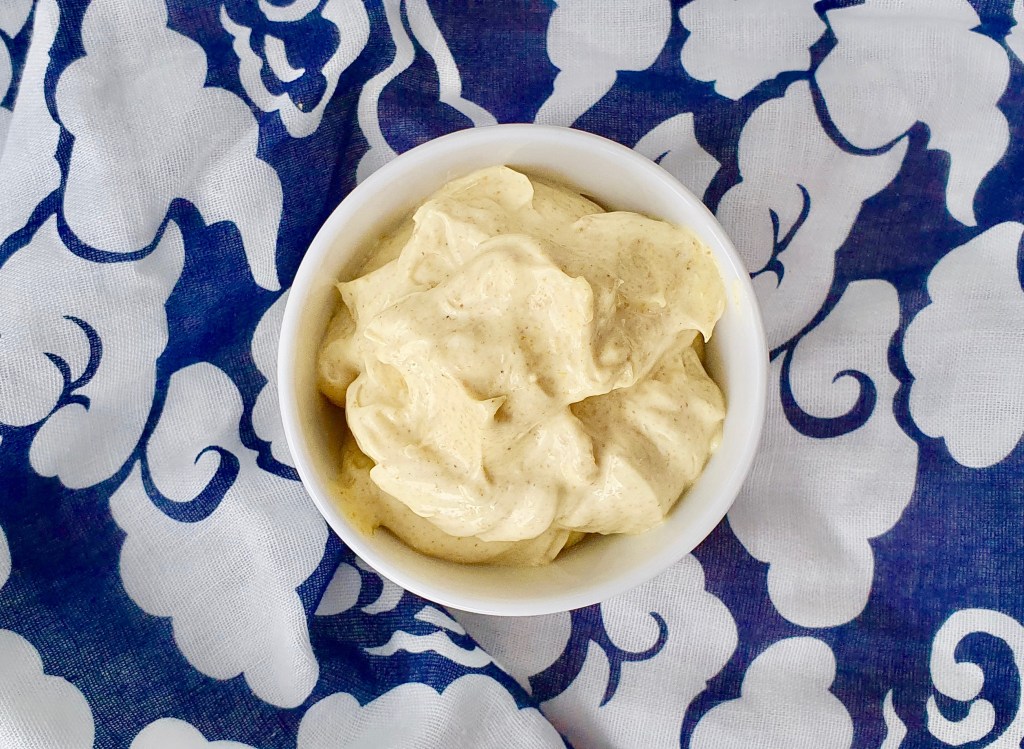
Curry Mayo
Date Published: August 14th, 2020 | Last Updated: August 14th, 2020
Author: Abby |Category: sauces, dips, easy
Serves: 1 cup | Prep time: 30 secs | Cook time: 30 secs
Ingredients:
- 1 cup mayonnaise
- 1 tsp curry powder
Directions:
- Mix curry and mayo together. Taste and add more curry if you prefer if stronger. Done!