Date Published: June 27th, 2021 | Last Updated: June 27th, 2021
Author: Abby |Category: sides, easy, <30mins, healthy, low cal, vegetarian
Serves: 4 (as a side) | Prep time: 15 mins | Cook time: 15 mins
Jump to recipe |
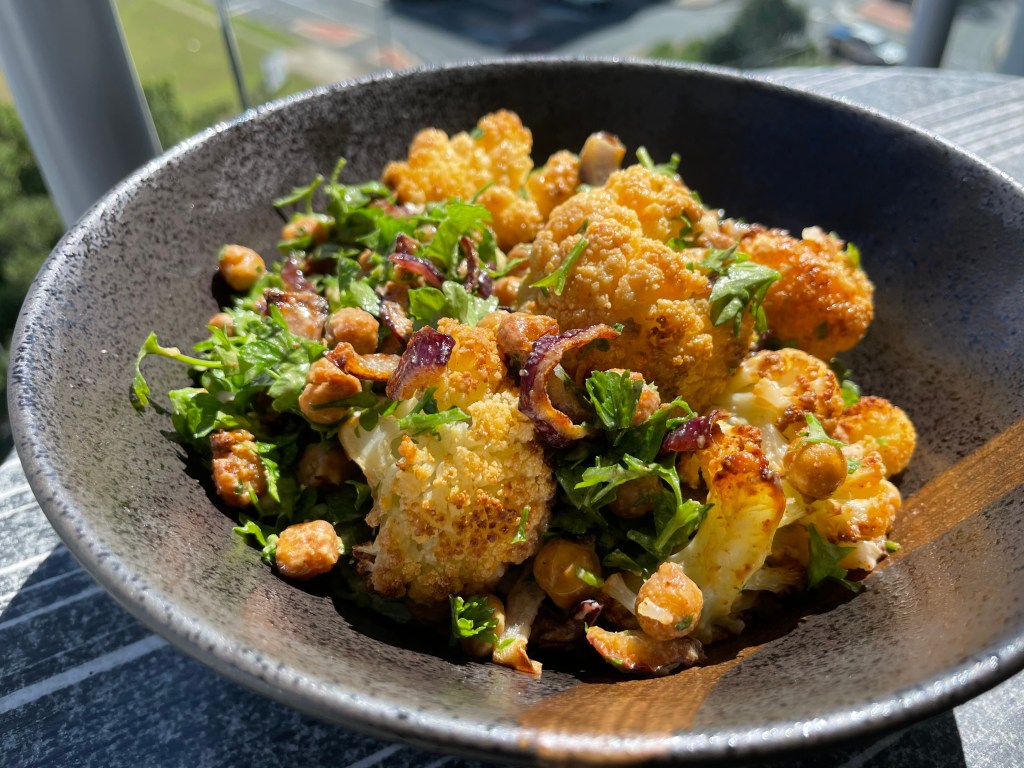
Lemon and curry sounded like a weird combination to me at first, but when I made this recipe for the first time from SimplyRecipes, I instantly fell in love with it and quickly jotted down all my notes to share here.
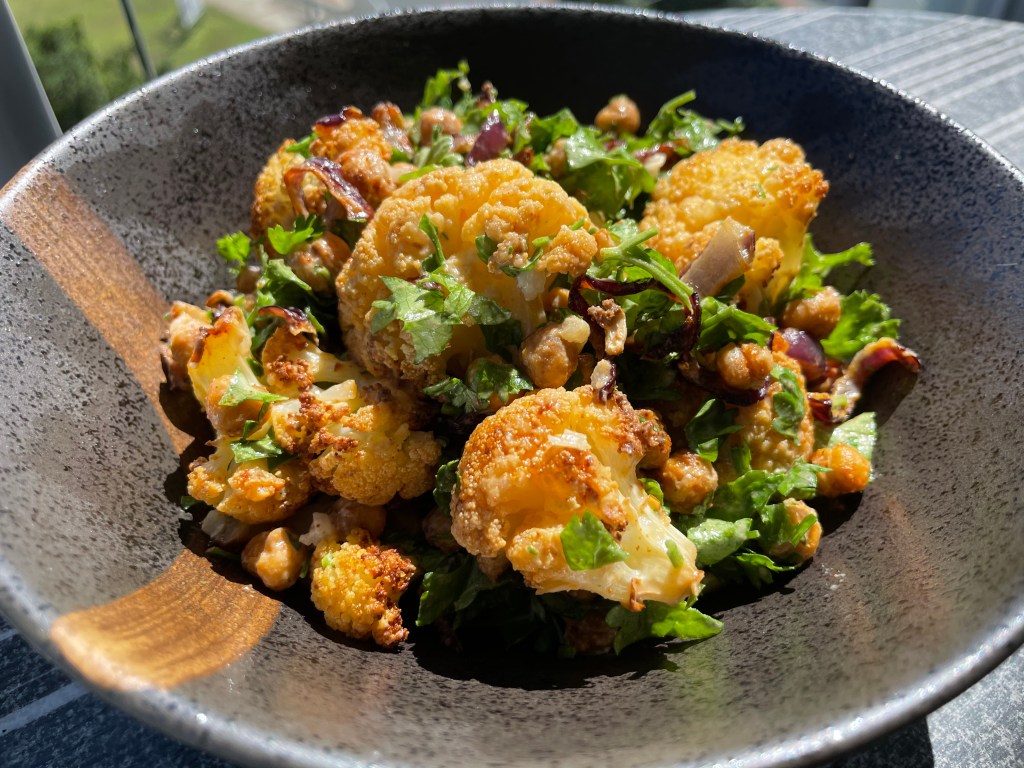
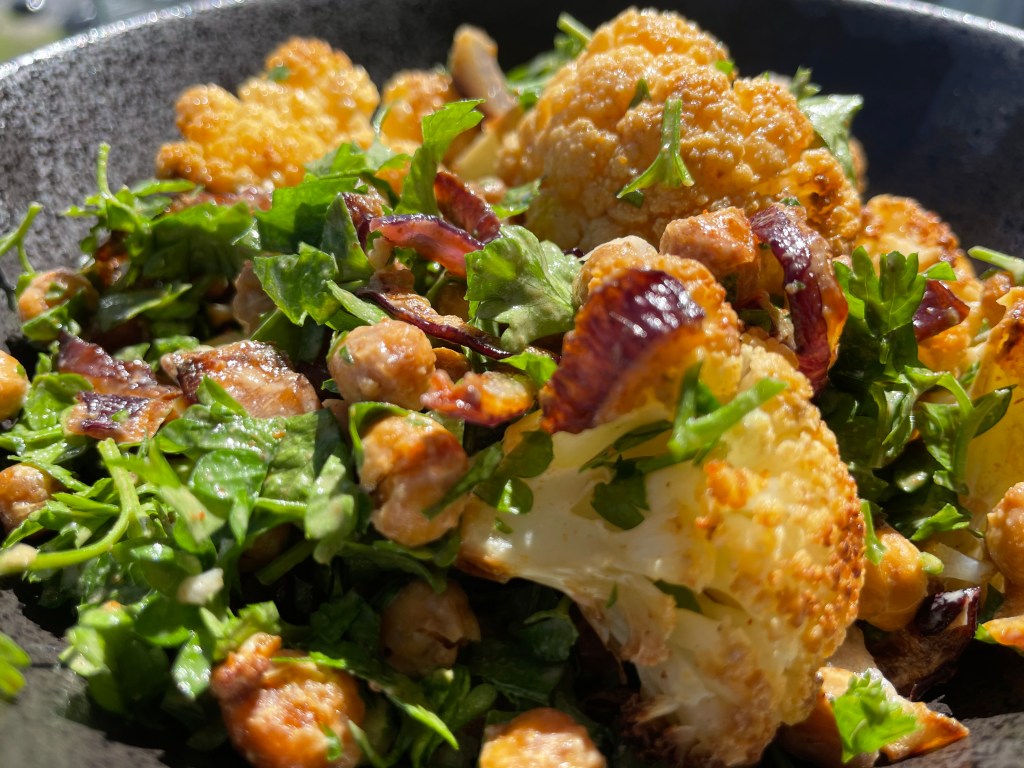
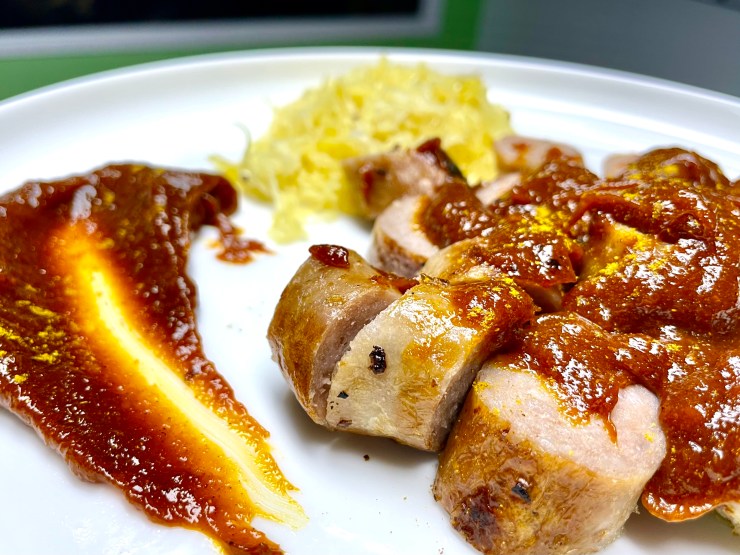
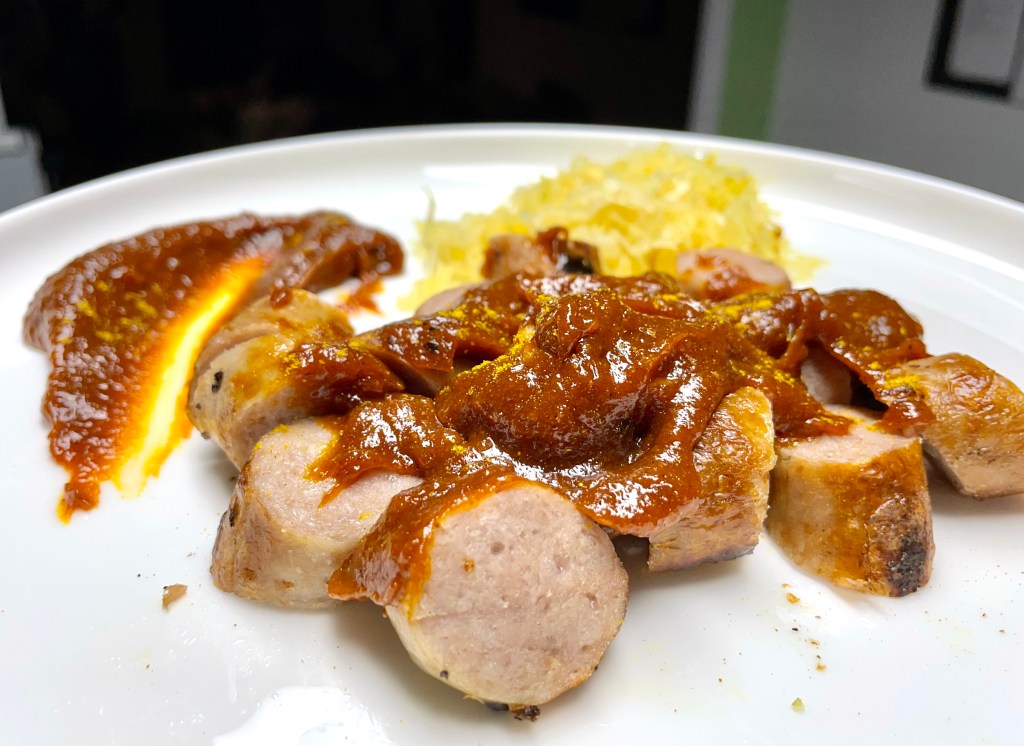
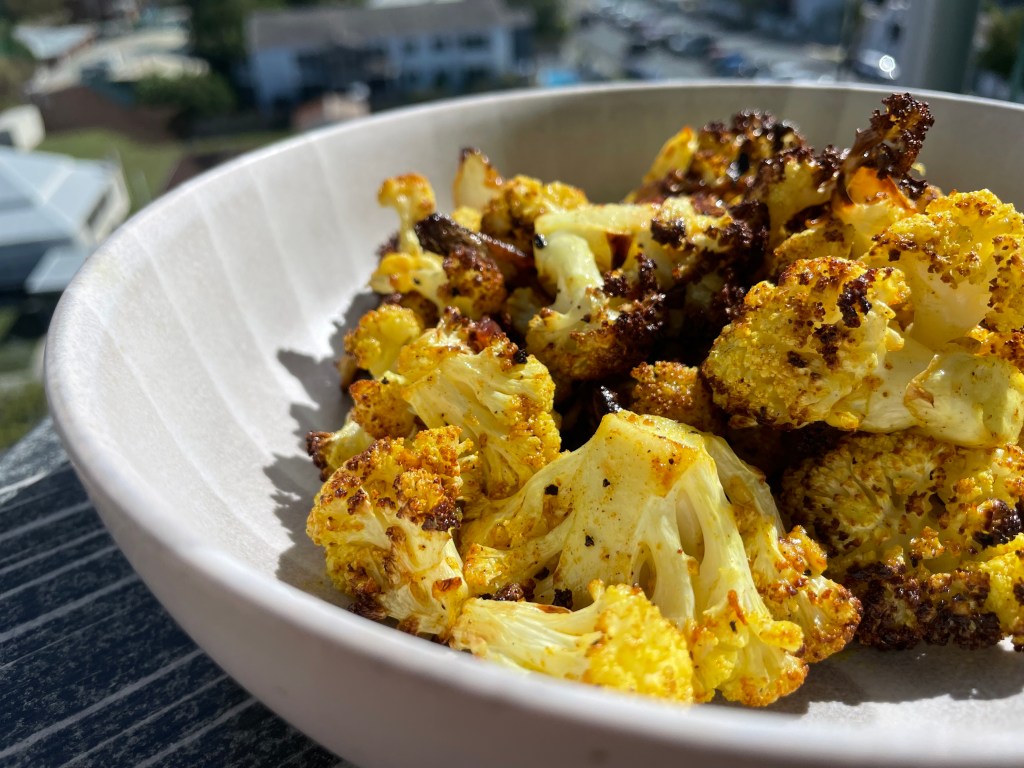
This is an easy side dish that is packed full of flavour. The robust curry spices and the tangy lemon are the main flavours of this dish. You can serve this as a side dish or add some greens to make it a warm salad. This recipe is so simple and quick to make, perfect for an easy late night dinner or an impressive side dish for guests! The recipe is written for the oven, but I make this often in the air fryer for a quicker dinner and easier clean up.

Anyways, without further ado, here’s the recipe! If you have any comments or suggestions, I’d love to hear from you in the comment section! You can follow me on instagram, youtube and facebook to see all the recipes I post!
Happy cooking!
Ingredients you’ll need:
- Seasoning mix:
- 4 cloves garlic, minced
- 2 Tbsps lemon juice
- 1/3 cup (80ml) extra virgin olive oil
- 1.5 tsp yellow curry powder
- 1/4 tsp ground cinnamon
- 1/2 tsp sea salt (cooking salt)
- 1/4 tsp ground black pepper
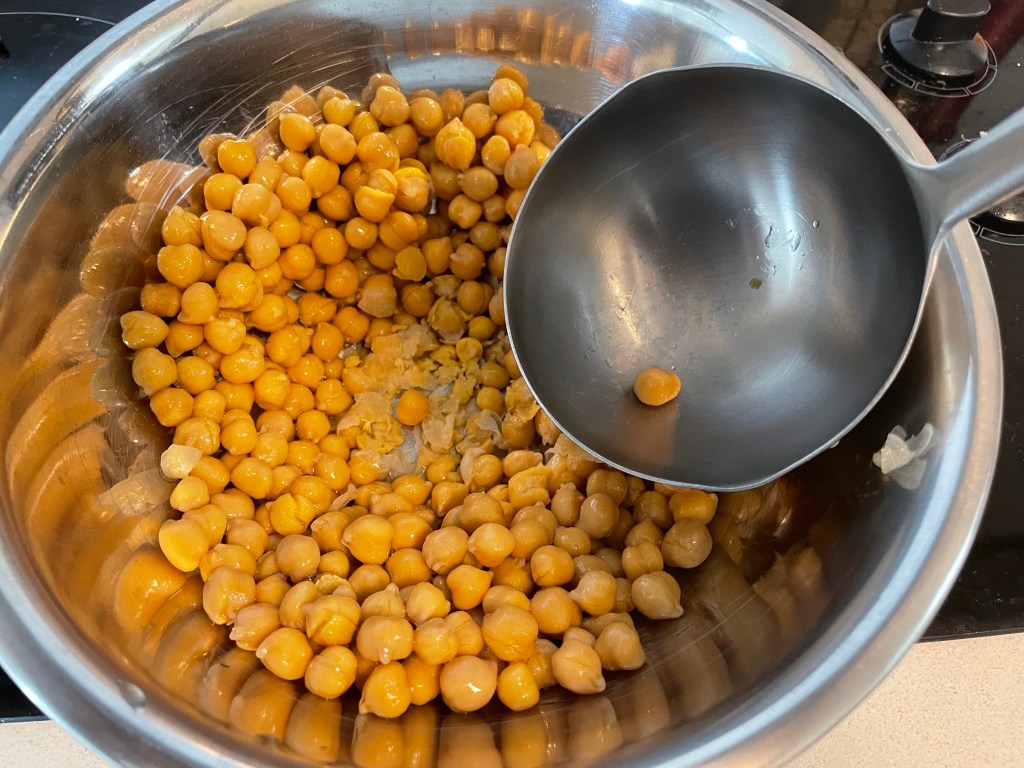
- 1 large cauliflower, cut in into florets
- 1 medium red onion, sliced
Directions:
Preheat oven to 220˚C (425˚F).
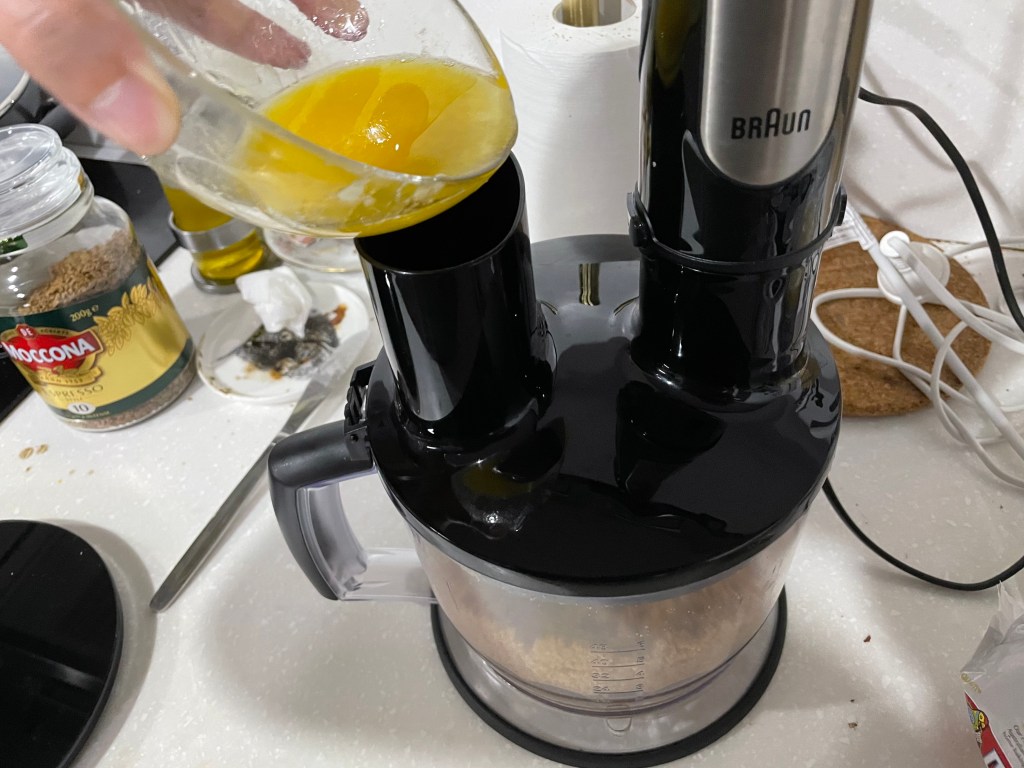
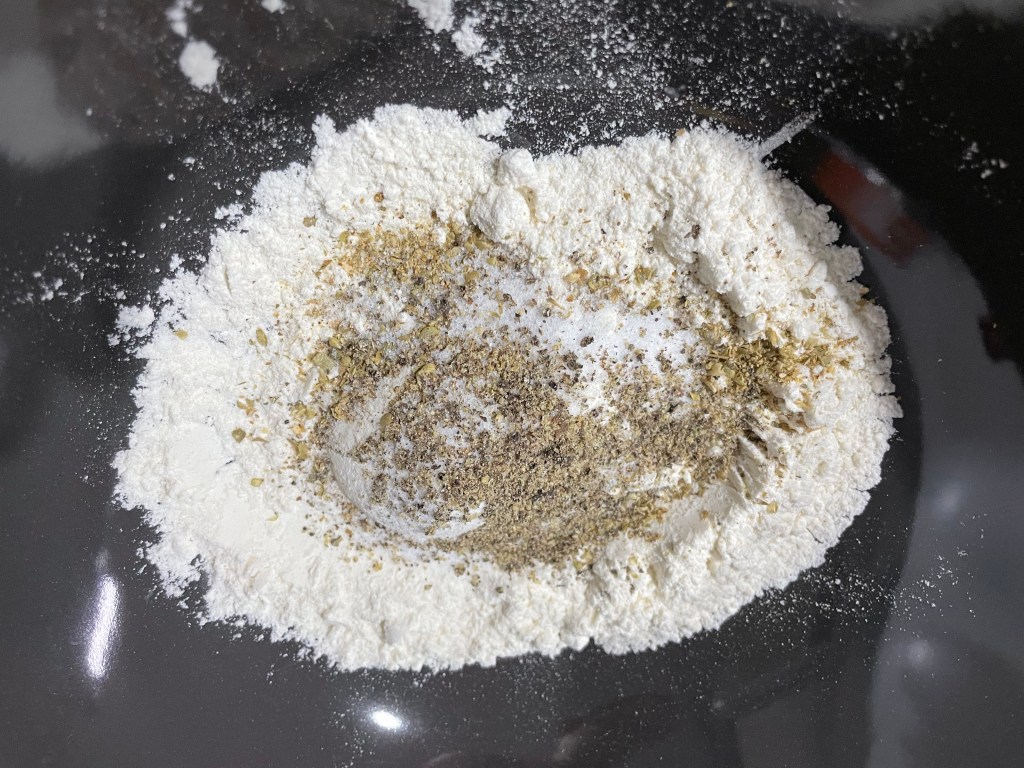
Mix all the seasoning ingredients in a bowl and whisk together until combined: garlic, lemon juice, olive oil, curry powder, cinnamon, salt, and pepper.
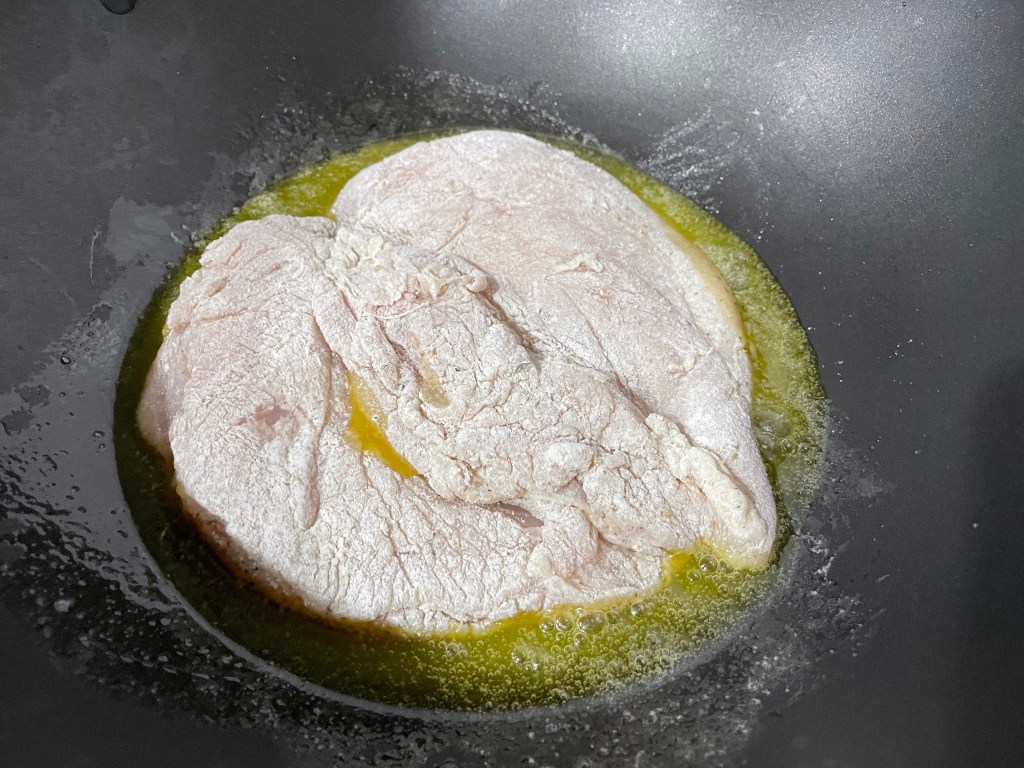
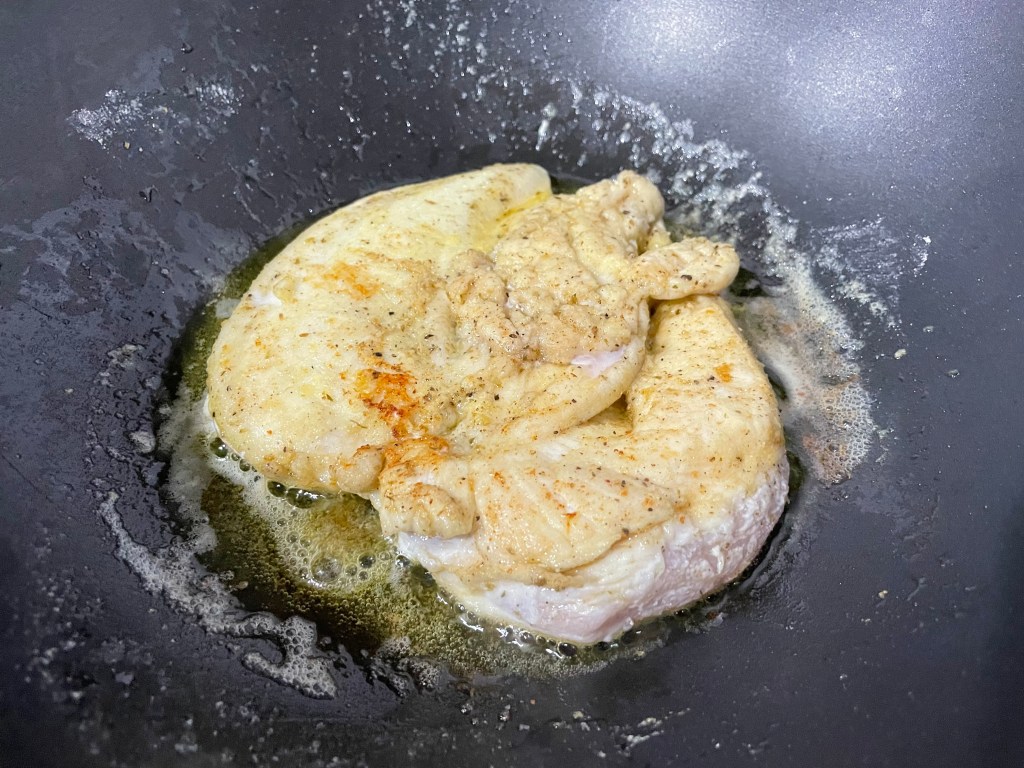
In a large bowl, combine the cauliflower and sliced red onions. Pour the seasoning mixture over and mix until all the cauliflower is coated. Pour the mixture onto a baking tray and roast until edges are golden brown and the cauliflower is tender. Check the cauliflower halfway through and flip it around for even cooking. Serve!

(Air fryer cooking instructions: pour cauliflower mixture into the air fryer and roast at 180˚C for 15 minutes, mixing halfway through to ensure even cooking.)
Tip: I like to cook my cauliflower a little longer to get a little char on the edges for extra depth of flavour.


Summarized Recipe:
Curried Lemon-y Roasted Cauliflower
Date Published: June 27th, 2021 | Last Updated: June 27th, 2021
Author: Abby |Category: sides, easy, <30mins, healthy, low cal, vegetarian
Serves: 4 (as a side) | Prep time: 15 mins | Cook time: 15 mins
Ingredients:
- Seasoning mix:
- 4 cloves garlic, minced
- 2 Tbsps lemon juice
- 1/3 cup (80ml) extra virgin olive oil
- 1.5 tsp yellow curry powder
- 1/4 tsp ground cinnamon
- 1/2 tsp sea salt (cooking salt)
- 1/4 tsp ground black pepper
- 1 large cauliflower, cut in into florets
- 1 medium red onion, sliced
Directions:
- Preheat oven to 220˚C (425˚F).
- Mix all the seasoning ingredients in a bowl and whisk together until combined: garlic, lemon juice, olive oil, curry powder, cinnamon, salt, and pepper.
- In a large bowl, combine the cauliflower and sliced red onions. Pour the seasoning mixture over and mix until all the cauliflower is coated. Pour the mixture onto a baking tray and roast until edges are golden brown and the cauliflower is tender. Check the cauliflower halfway through and flip it around for even cooking. Serve!
(Air fryer cooking instructions: pour cauliflower mixture into the air fryer and roast at 180˚C for 15 minutes, mixing halfway through to ensure even cooking.)
Tip: I like to cook my cauliflower a little longer to get a little char on the edges for extra depth of flavour.