Date Published: March 26th, 2021 | Last Updated: March 26th, 2021
Author: Abby |Category: asian, quick & easy, healthy, low calorie, <30 mins
Serves: 4 | Prep time: 15 mins | Cook time: 20 mins
Jump to recipe |
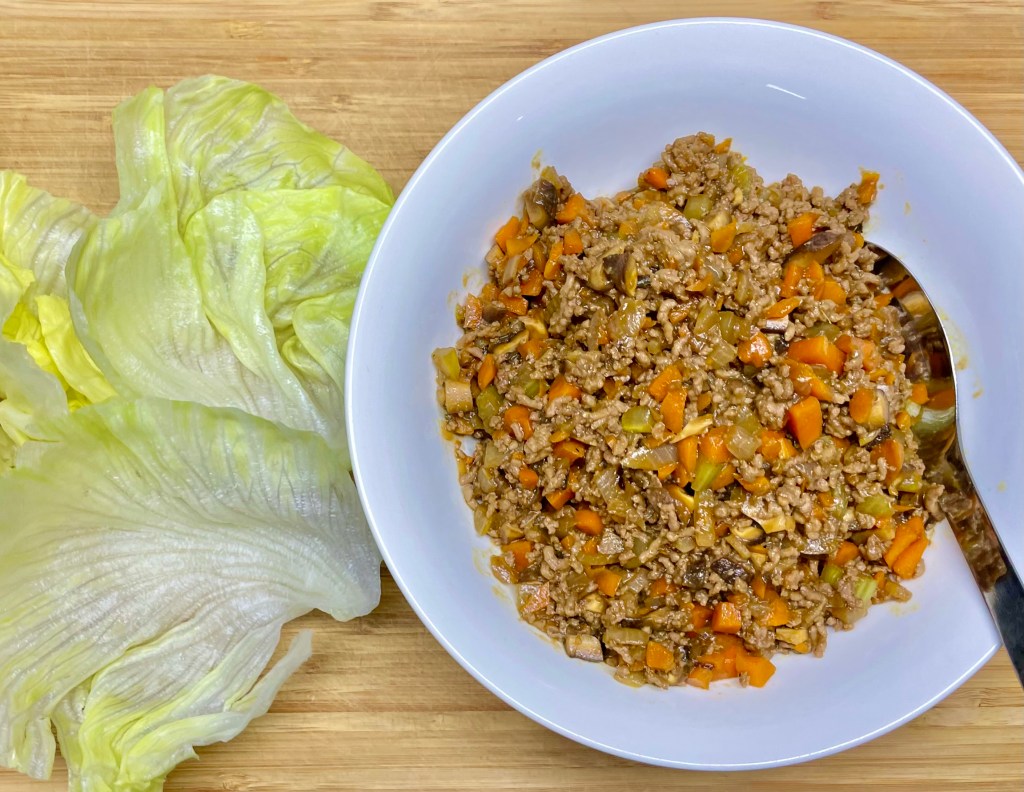
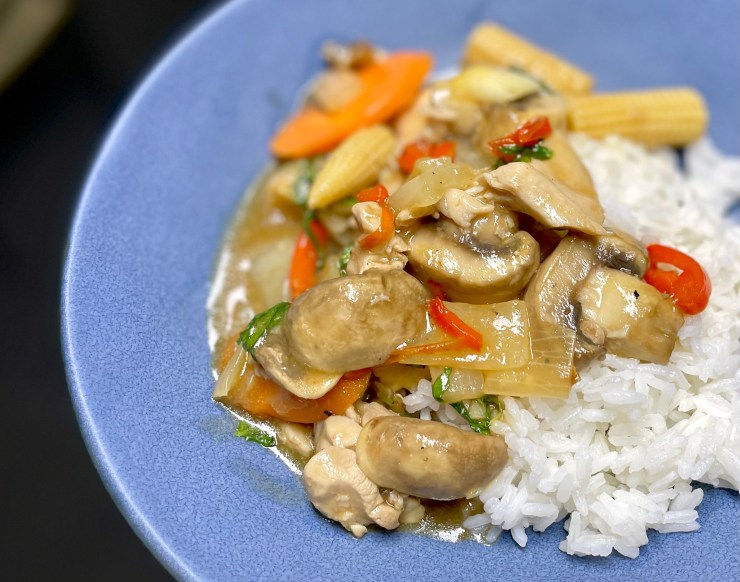
Get ready for a quick and easy, healthy, low-calorie, and flavourful stir-fry! Sounds too good to be true? It isn’t! The great thing about this recipe is that it’s super versatile – you can add just about any veggies you want to this dish, perfect for clearing out the fridge at the end of the week. The flavourful sauce is just oyster sauce but when cooked in all the released juices of the chicken and the liquid from the veggies, it becomes damn delicious and magical. Serve over a warm bed of rice or toss in some noodles.

You can easily change the amount of spiciness of this dish. This recipe is suited for a mild to moderate amount of spice, but feel free to kick it up a notch by adding more chilis or use a spicier type of chilli instead. A good chilli oil would do well in this dish too.
Anyways, without further ado, here’s the recipe! If you have any comments or suggestions, I’d love to hear from you in the comment section! You can follow me on instagram, youtube and facebook to see all the recipes I post!
Happy cooking!
Ingredients you’ll need:
- 2 Tbsps olive oil
- 4 cloves of garlic, minced
- 2 long red chillis, sliced and deseeded (feel free to use a stronger chilli if you prefer it spicier)
- 1 medium onion, diced to 2cm squares
- 6 chicken thighs (~600g), deboned and skinless
- 1.5 tsp white sugar
- 1 tsp ground black pepper
- 1/3 cup oyster sauce
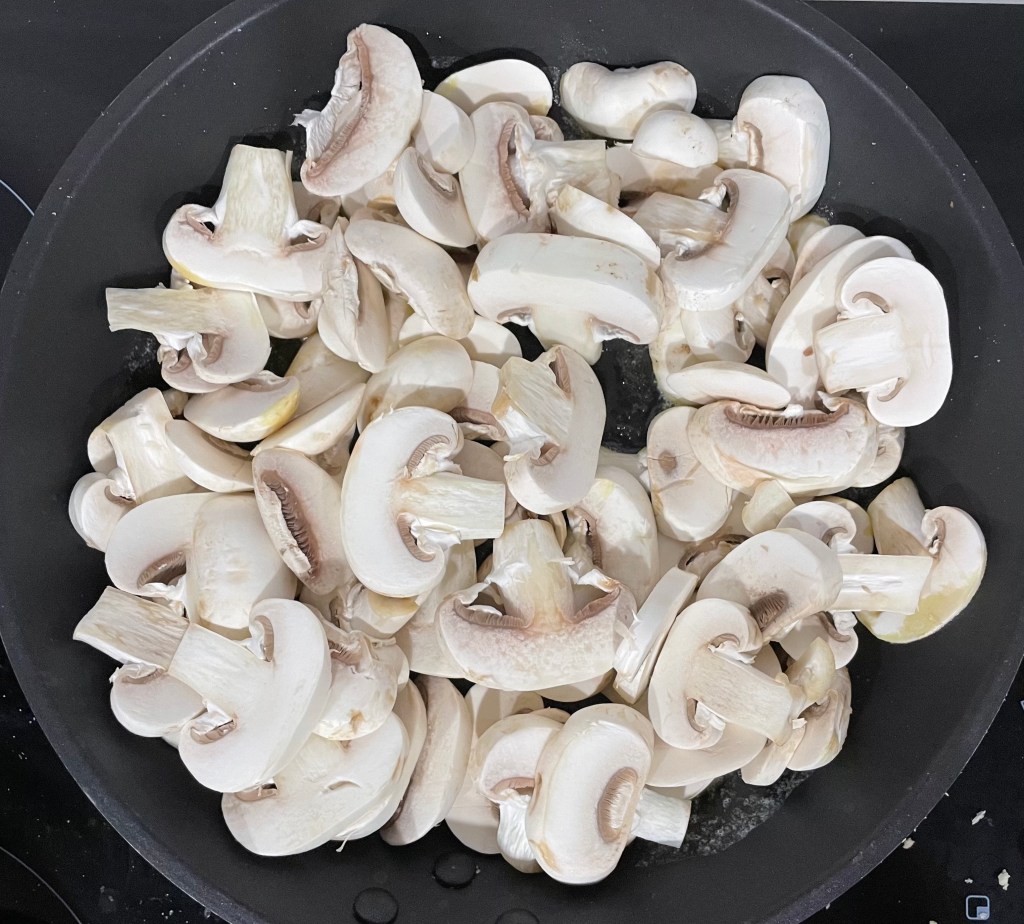
- 300g (3 cups) white button mushrooms
- 1 can of baby corn (fresh is fine as well)
- 1 large carrot, thinly sliced
- 2 Tbsps cornstarch
- 1 handful (~2 cups) of fresh basil leaves
Directions:
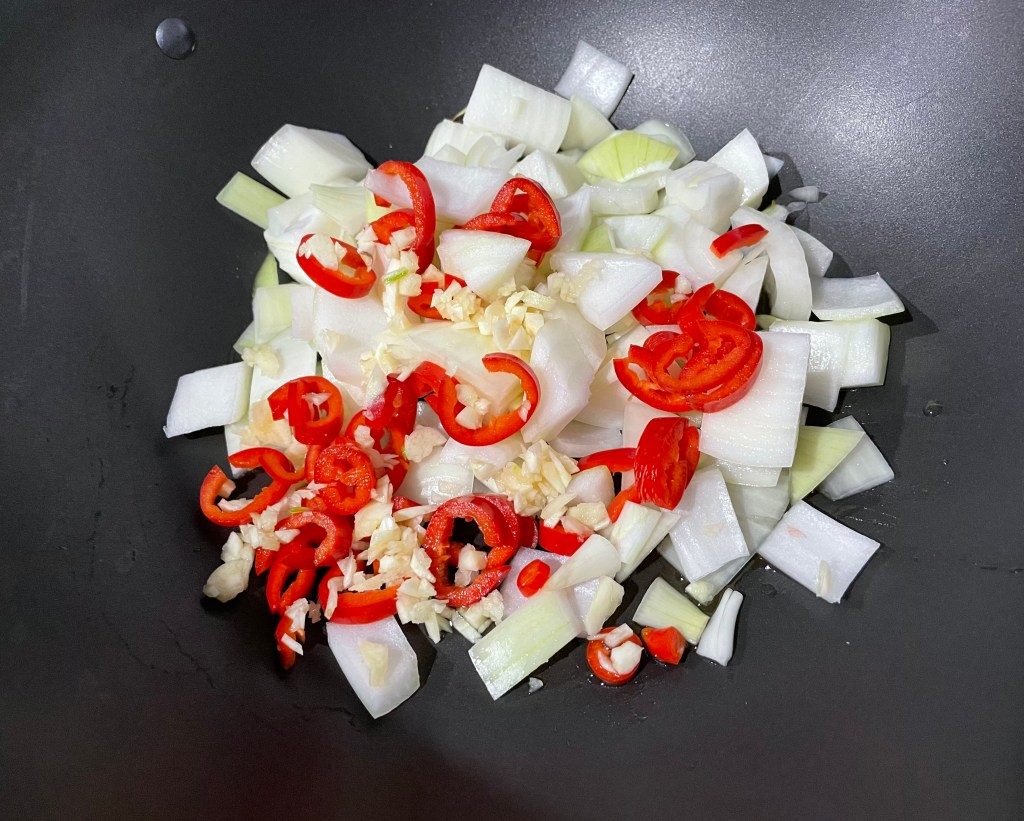

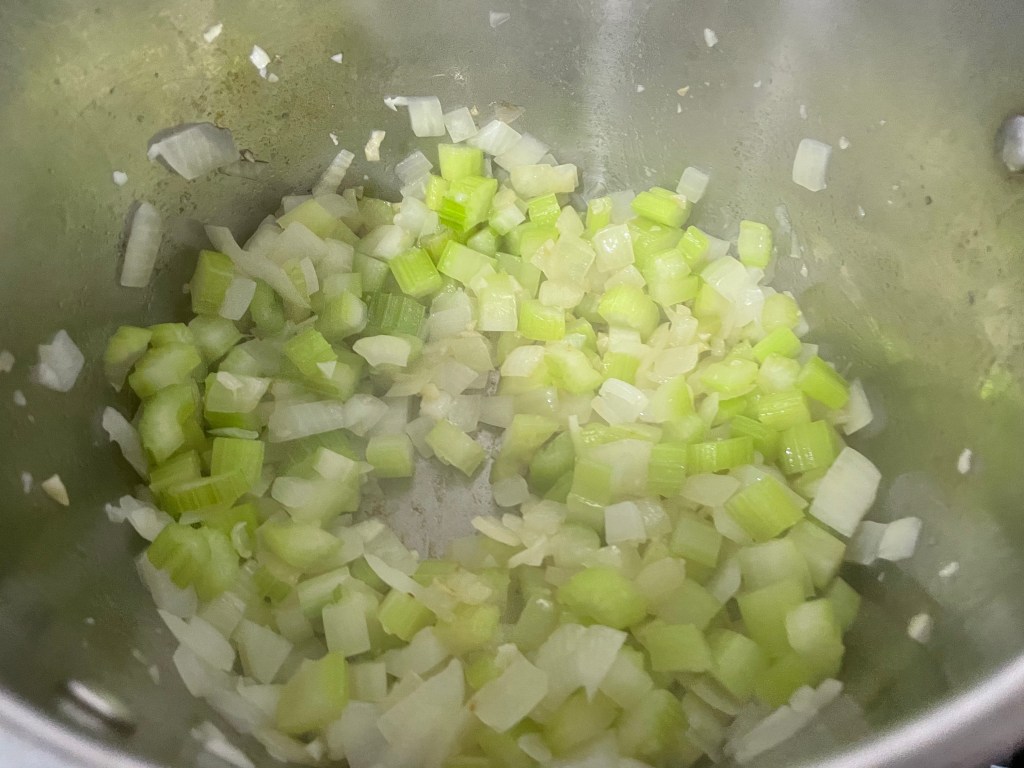
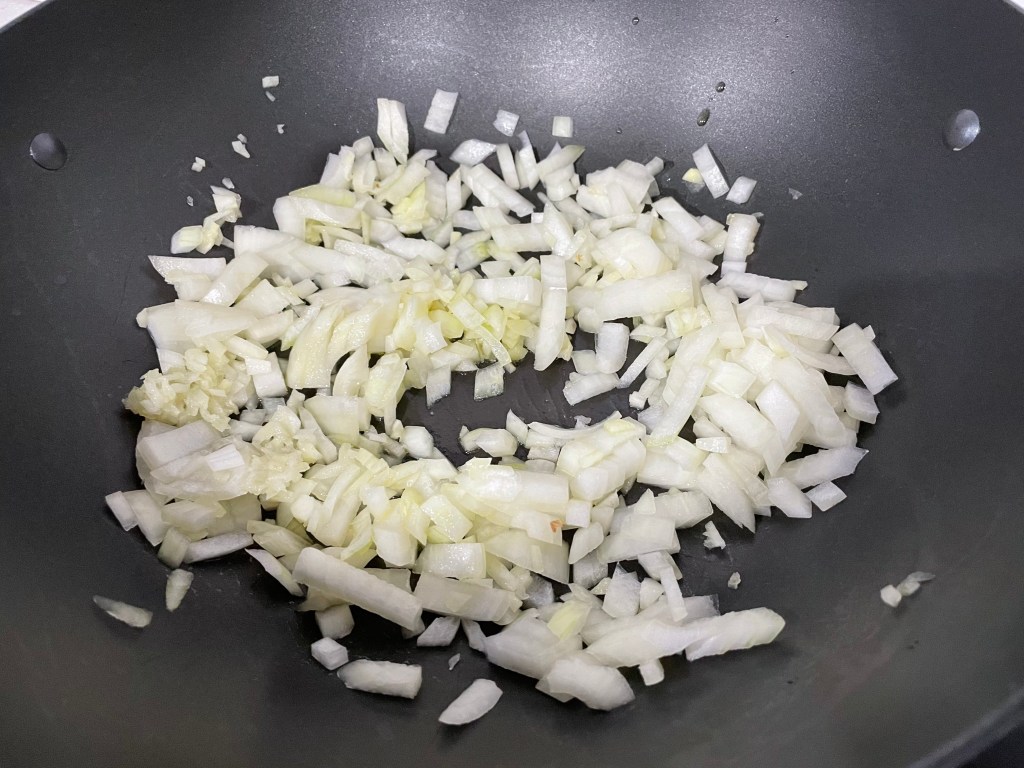
Heat the oil in a large pan/wok on MED-HIGH heat and sauté the garlic, chilli, and diced onion for a few minutes until the onion starts to turn translucent.
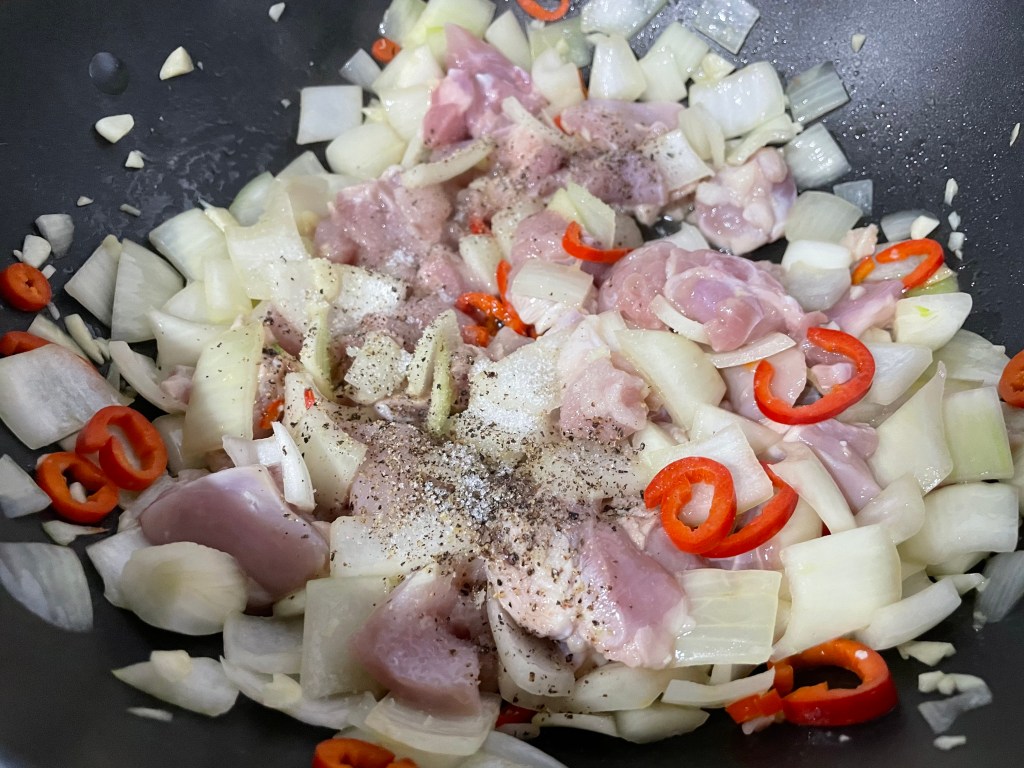

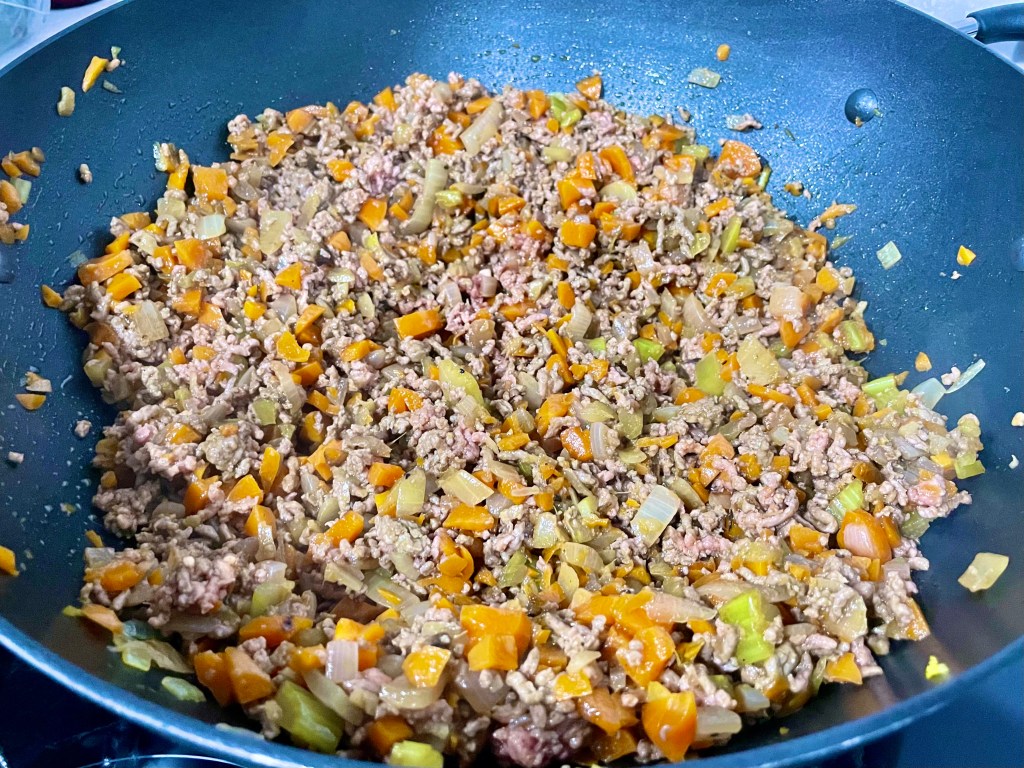
Add in the chicken, sugar, and black pepper, and continue cooking until the outside of the chicken turns white (don’t cook through the chicken completely, just the outside).
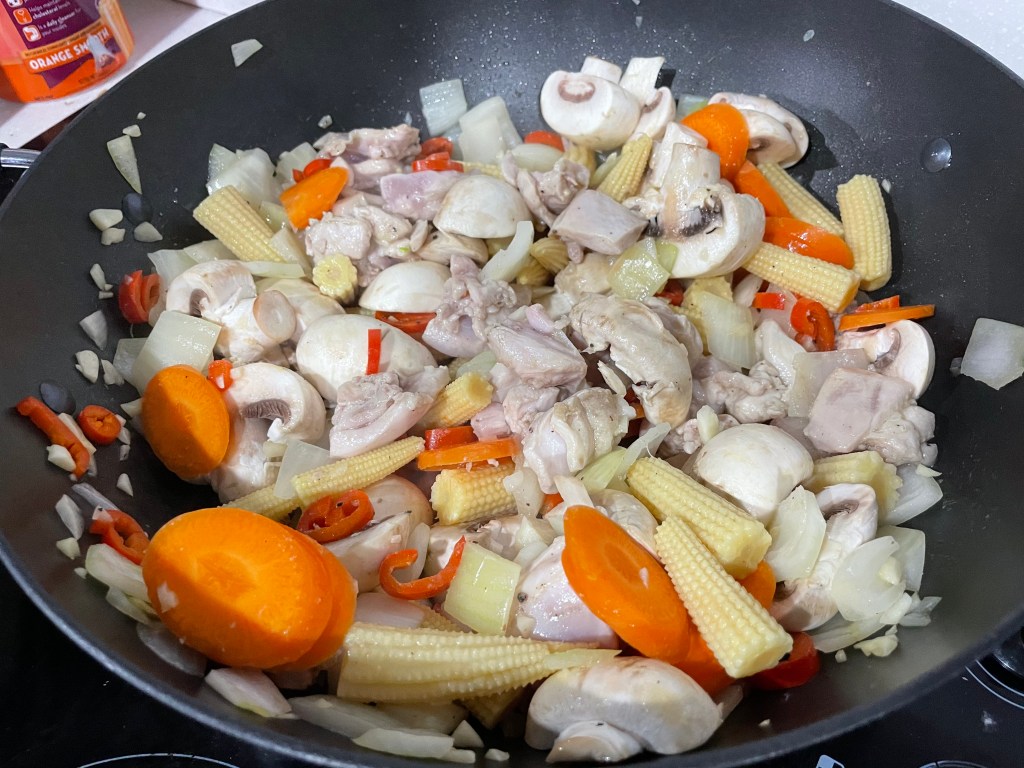
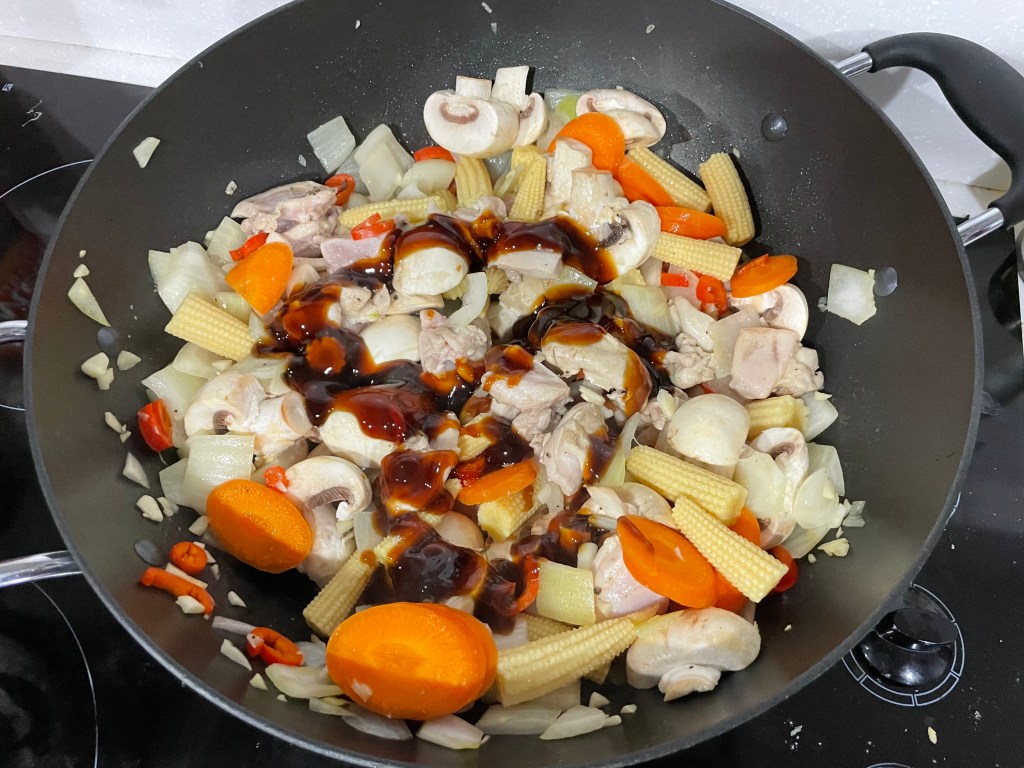
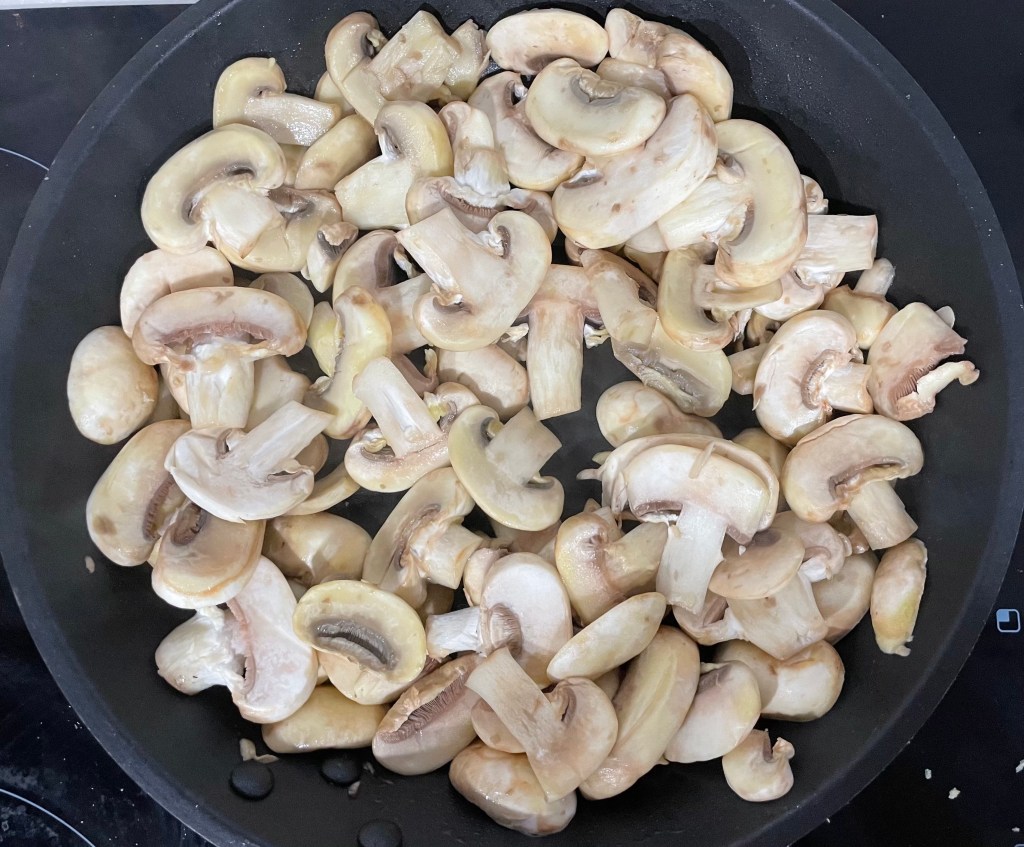
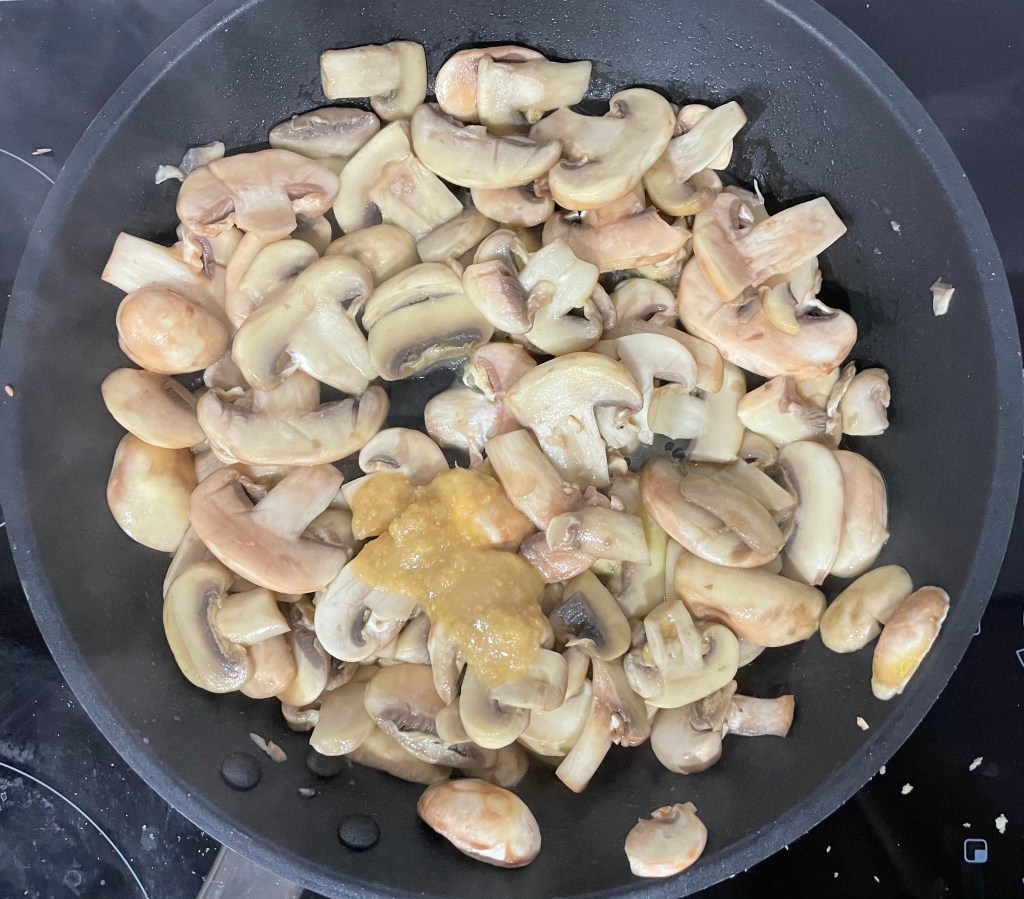
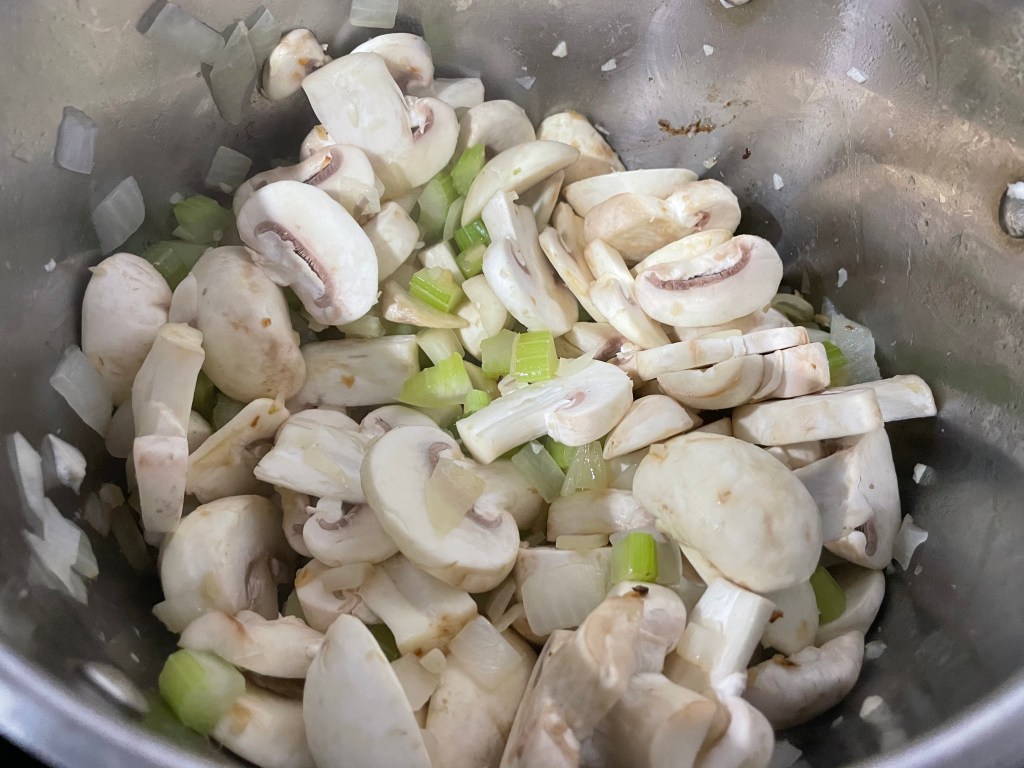
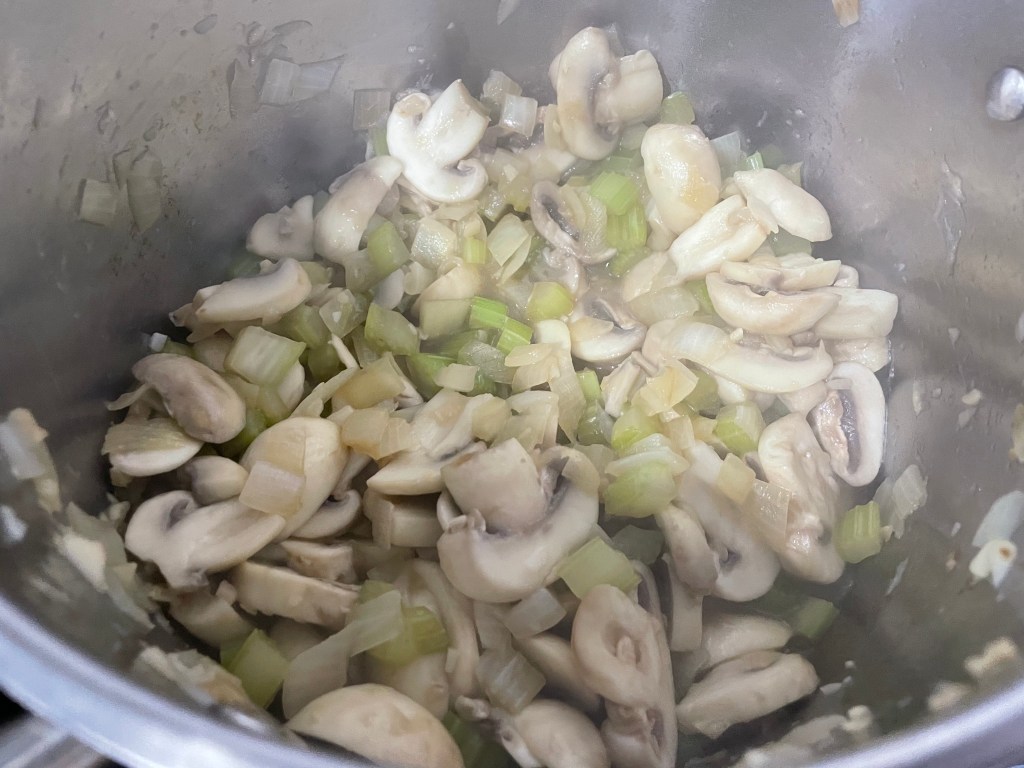
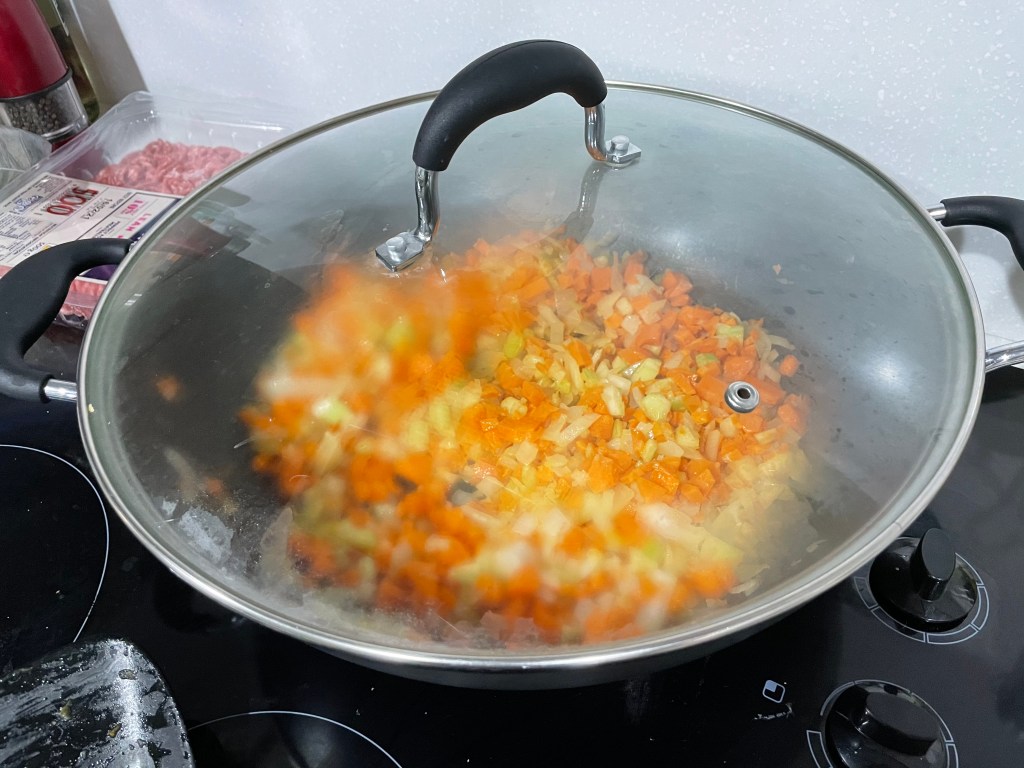
Add the mushrooms, baby corn, carrots, and oyster sauce to the pan and cook until the chicken is done. (The veg should be done at the same time as the chicken.)


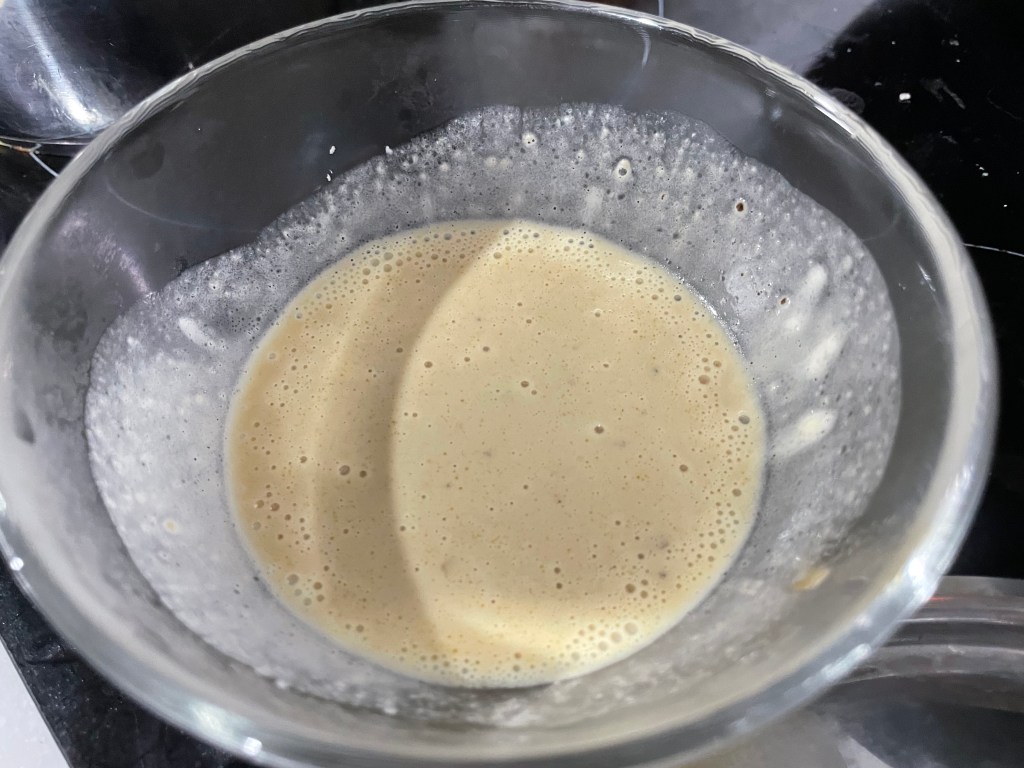


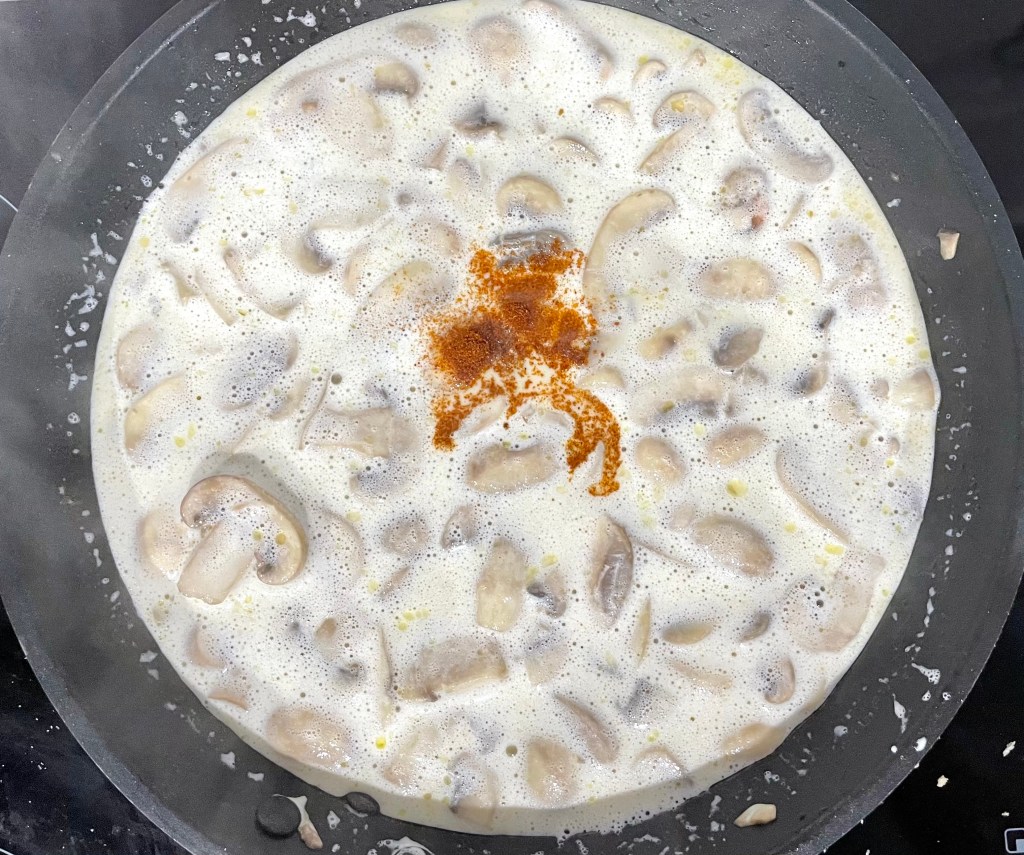
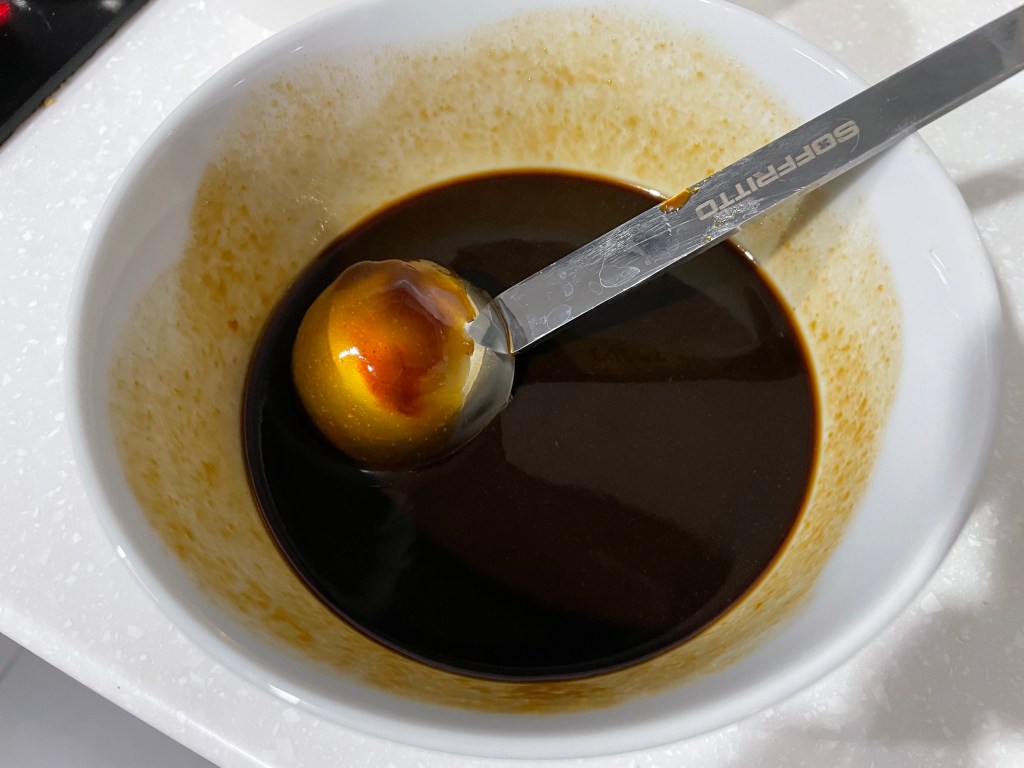
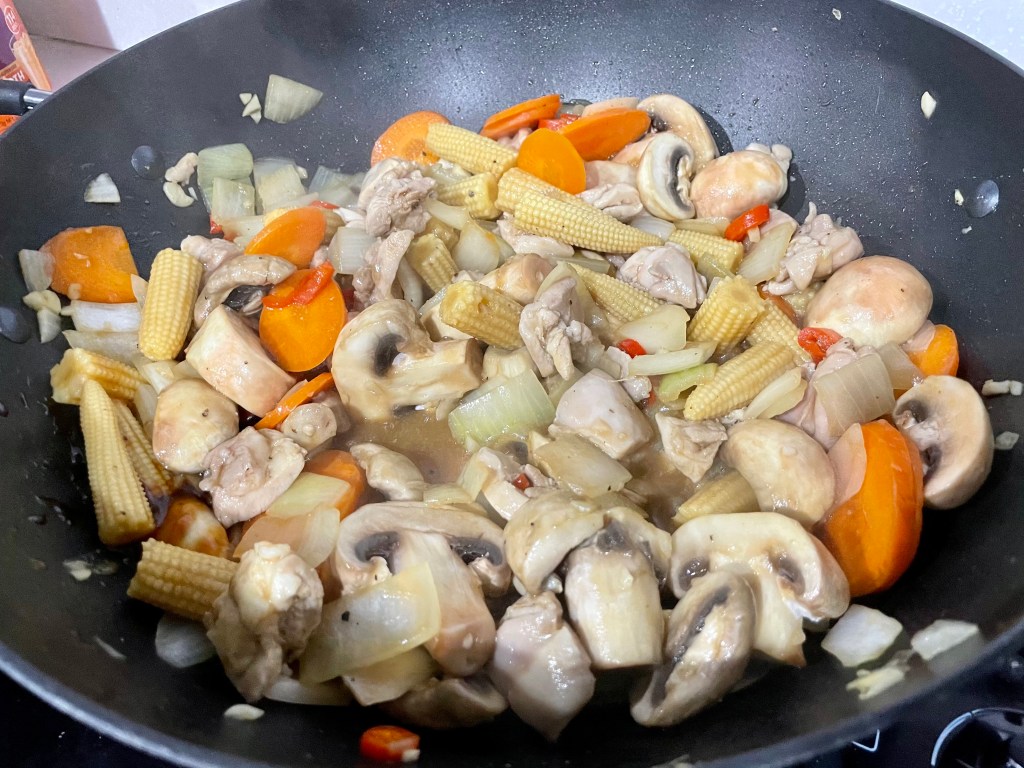
At this stage, your sauce should be runny/watery. Take out a few spoonfuls of the sauce into a small bowl and mix in the cornstarch until well combined. Add the cornstarch mixture back into the pan and mix everything around for a couple minutes. Your sauce should now be thicker.
Feel free to add more cornstarch mixture if you prefer your sauce thicker – just don’t go crazy or else your dish might be goopy.
DO NOT add cornstarch directly to the pan or else it will form clumps. You must dissolve it in a separate bowl first!


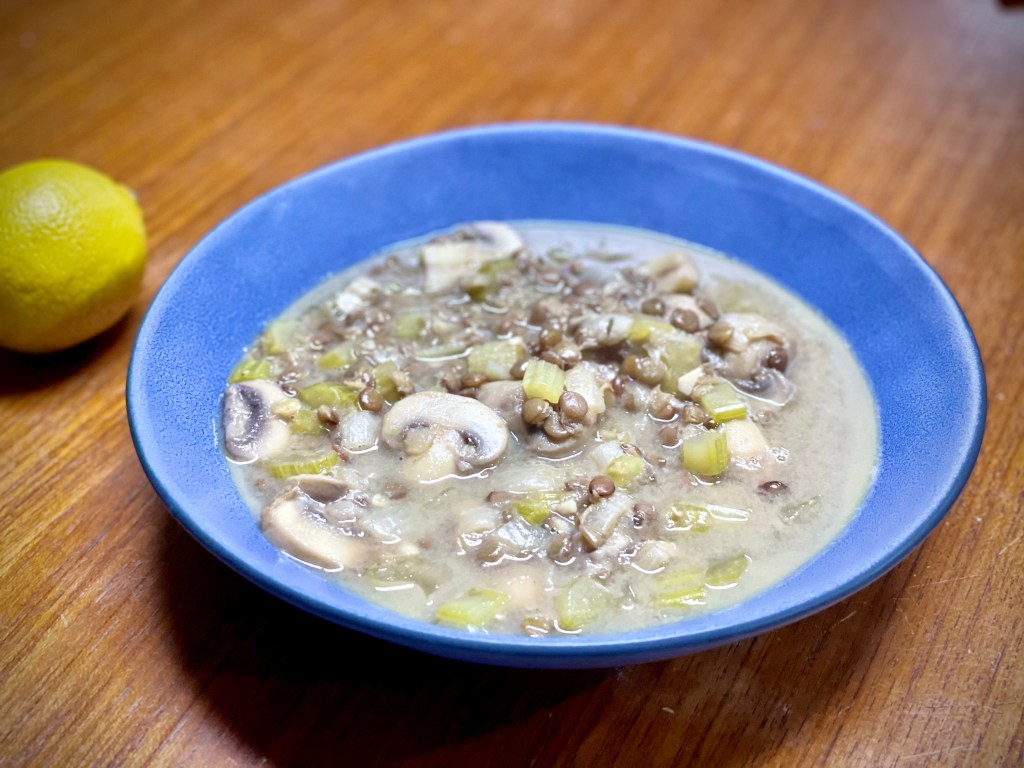
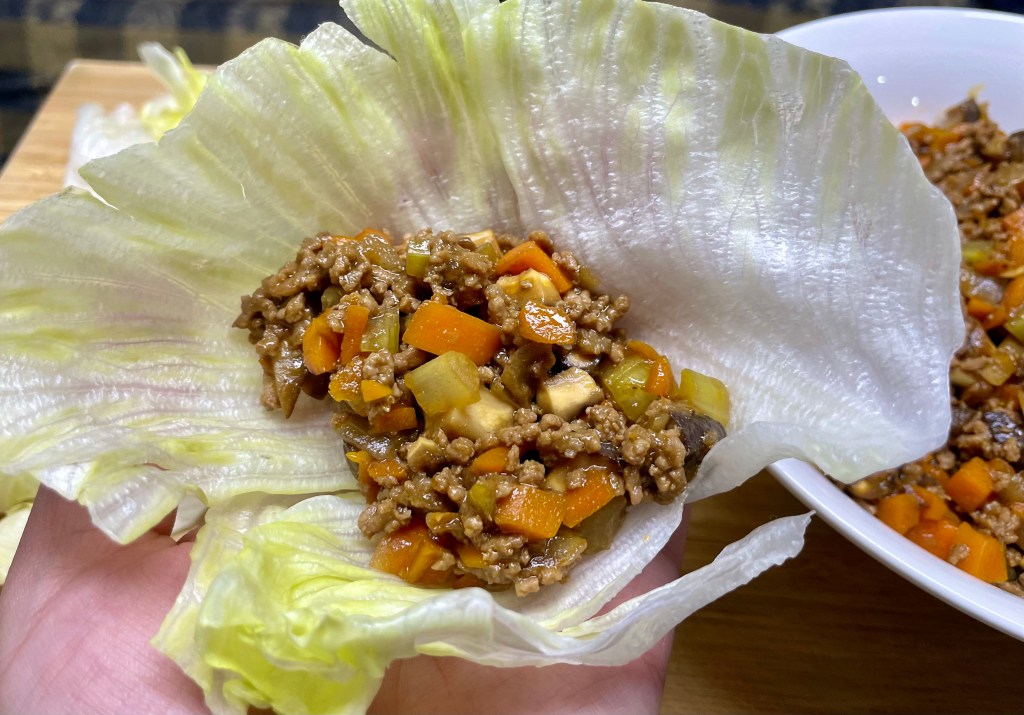
Once the sauce is the right consistency, turn off the heat and stir in the fresh basil leaves. Serve over rice. Enjoy!


Summarized Recipe:
Spicy Basil Chicken Stir-Fry
Date Published: March 26th, 2021 | Last Updated: March 26th, 2021
Author: Abby |Category: asian, quick & easy, healthy, low calorie, <30 mins
Serves: 4 | Prep time: 15 mins | Cook time: 20 mins
Ingredients:
- 2 Tbsps olive oil
- 4 cloves of garlic, minced
- 1 long red chilli, sliced and deseeded
- 1 medium onion, diced to 2cm squares
- 6 chicken thighs (~600g), deboned and skinless
- 1.5 tsp white sugar
- 1 tsp ground black pepper
- 1/3 cup oyster sauce
- 300g (3 cups) white button mushrooms
- 1 can of baby corn (fresh is fine as well)
- 1 large carrot, thinly sliced
- 2 Tbsps cornstarch
- 1 handful (~2 cups) of fresh basil leaves
Directions:
- Heat the oil in a large pan/wok on MED-HIGH heat and sauté the garlic, chilli, and diced onion for a few minutes until the onion starts to turn translucent.
- Add in the chicken, sugar, and black pepper, and continue cooking until the outside of the chicken turns white (don’t cook through the chicken completely, just the outside).
- Add the mushrooms, baby corn, carrots, and oyster sauce to the pan and cook until the chicken is done. (The veg should be done at the same time as the chicken.)
- At this stage, your sauce should be runny/watery. Take out a few spoonfuls of the sauce into a small bowl and mix in the cornstarch until well combined. Add the cornstarch mixture back into the pan and mix everything around for a couple minutes. Your sauce should now be thicker.
- Feel free to add more cornstarch mixture if you prefer your sauce thicker – just don’t go crazy or else your dish might be goopy.
- DO NOT add cornstarch directly to the pan or else it will form clumps. You must dissolve it in a separate bowl first!
- Once the sauce is the right consistency, turn off the heat and stir in the fresh basil leaves. Serve over rice. Enjoy!