Date Published: Oct 10th, 2021 | Last Updated: Oct 10th, 2021
Author: Abby |Category: easy, healthy, snacks, appetizers, low-cal, sides, vegetarian
Serves: 4-6 | Prep time: 30 mins | Cook time: 35 mins
Jump to recipe |
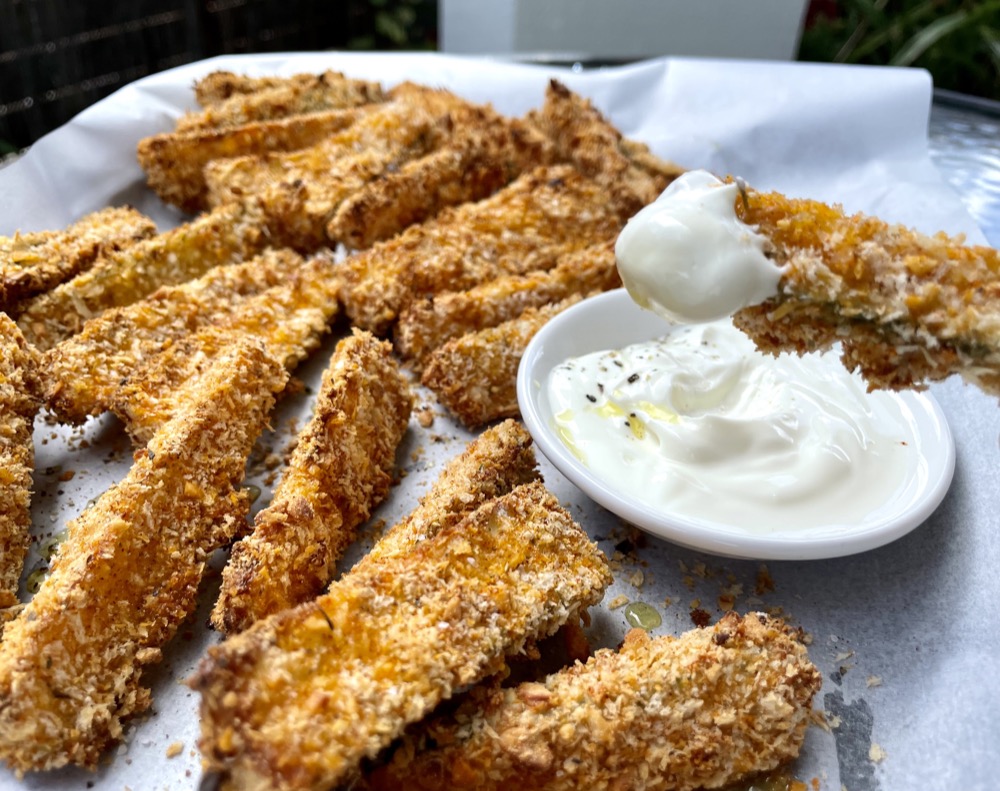
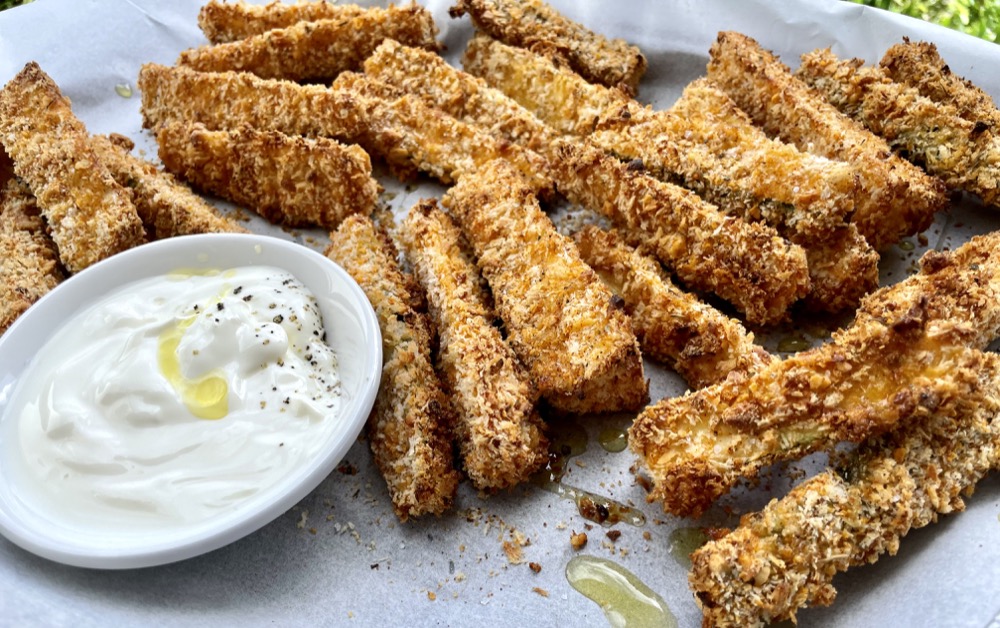
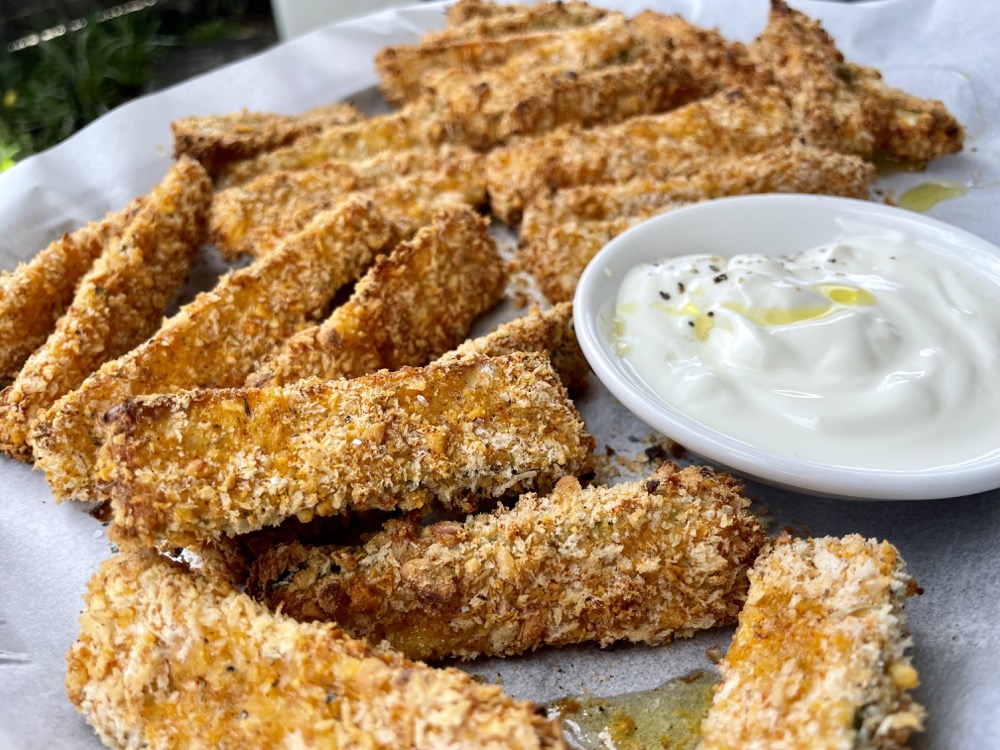
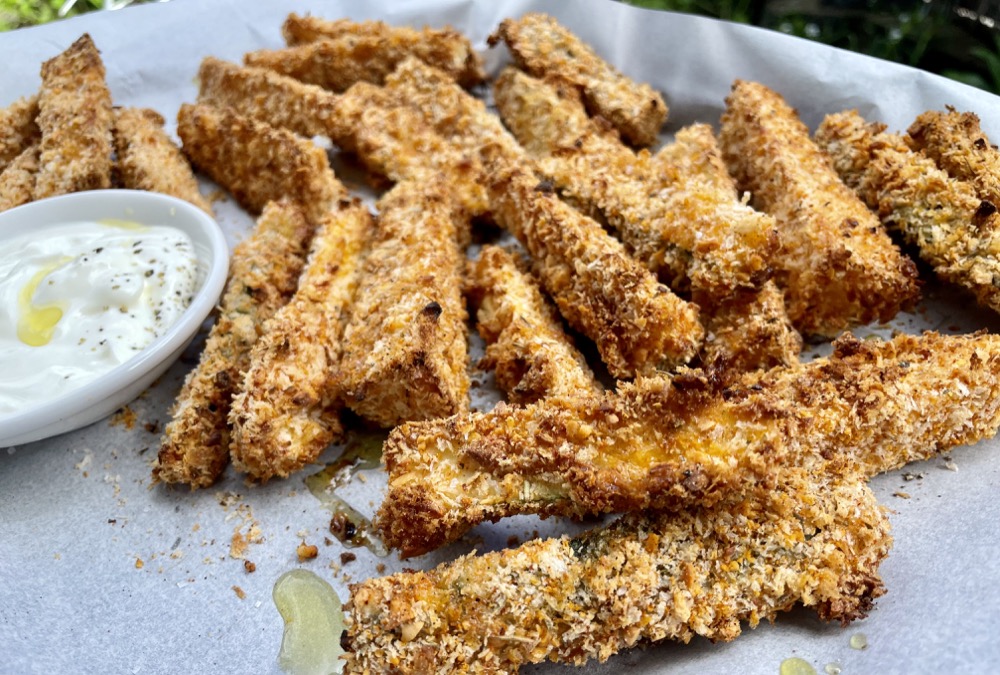
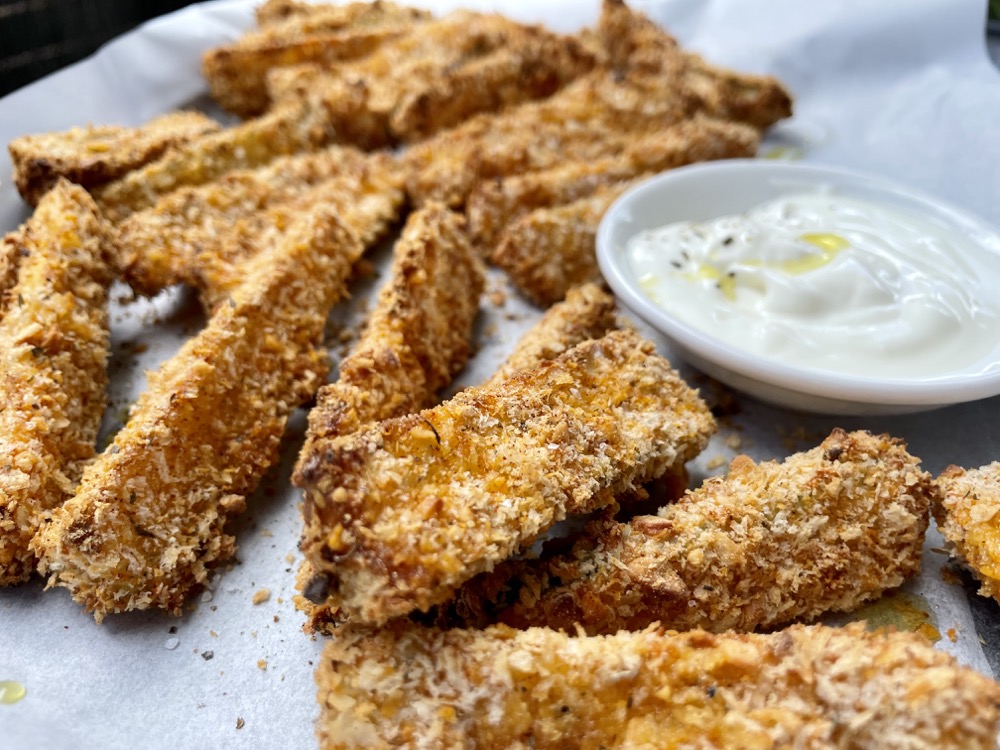
I could eat these all day everyday! Avocado fries are a great way to snack healthy. They’re easy to make, but I’ll admit a little time-consuming since you have to bread each one separately, but they’re SO worth it. You can change up the spices for different flavours but I prefer to keep them simple and let the dipping sauce create the extra flavour. They’re crunchy on the outside and soft & creamy on the inside. Serve it as an appetizer, a snack, or a side to a burger.
To keep with the healthy profile, these fries are baked in the oven instead of deep-frying. The secret to keeping them crispy and crunchy is to bake them on a wire rack so both sides get evenly cooked without any liquid pooling and softening the breading. You can also cook them in an air-fryer but I find it easier to make large batches in the oven. Pair it with any dipping sauce you like! Our favourite is sriracha mayo or toum mixed with Greek yogurt. Mmmmmm. To change it up, you can make zucchini fries using this exact same recipe too – in fact, the steps are identical so I’ve just duplicated the blog post and changed up the ingredients.

Anyways, without further ado, here’s the recipe! If you have any comments or suggestions, I’d love to hear from you in the comment section! You can follow me on instagram, youtube and facebook to see all the recipes I post!
Happy cooking!
Ingredients you’ll need:
- 5 large hass avocados
- 1/2 cup flour
- 2 large eggs
- 1.5 cups panko
- 3/4 cup freshly grated parmesan cheese
- 1.5 tsps Italian seasoning
- 1.5 tsps paprika
Directions:

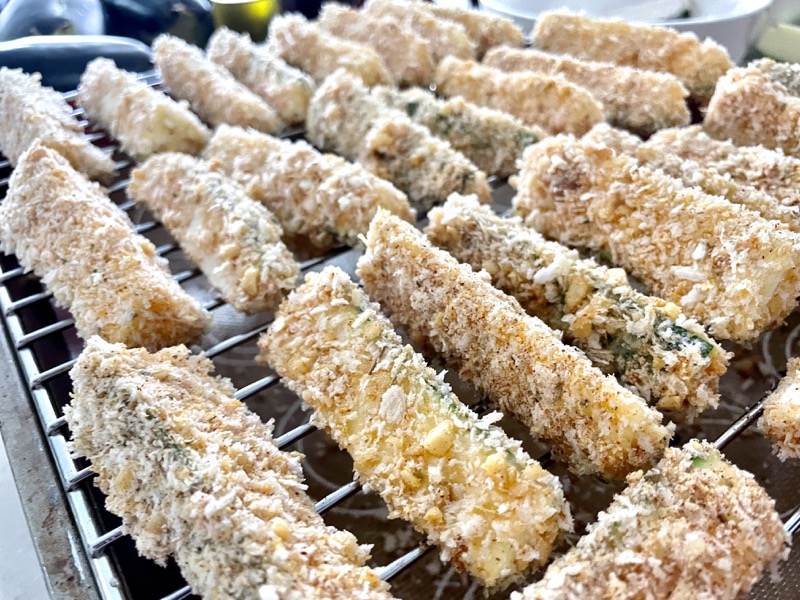
Preheat oven to 200˚C (425˚F). Prepare a greased cooling rack over a baking sheet (see photo).
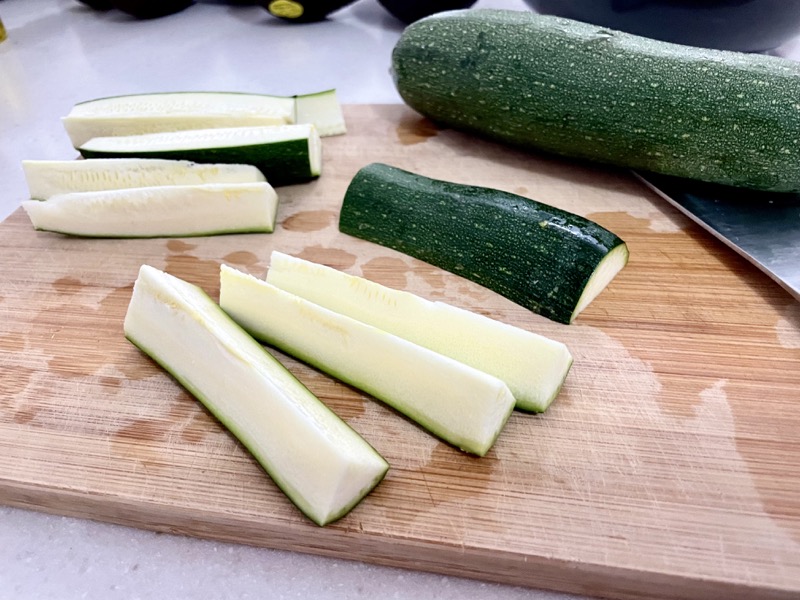
Slice each avocado in half. Remove the seed and use a spoon to scoop out the avocado from the skin. Then slice the avocado halves into strips.
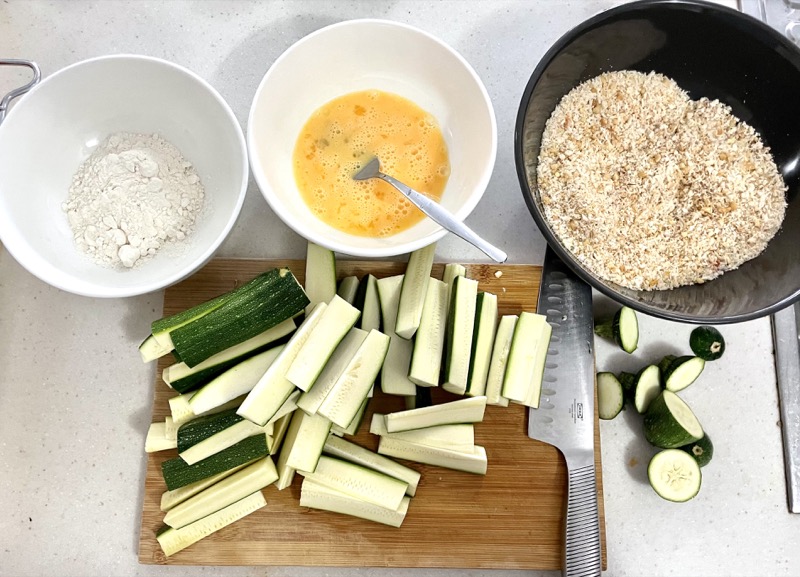
Prepare 3 bowls and put the following in each bowl: 1) Flour, 2) Beaten eggs, 3) Panko, parmesan cheese, Italian seasoning, and paprika.
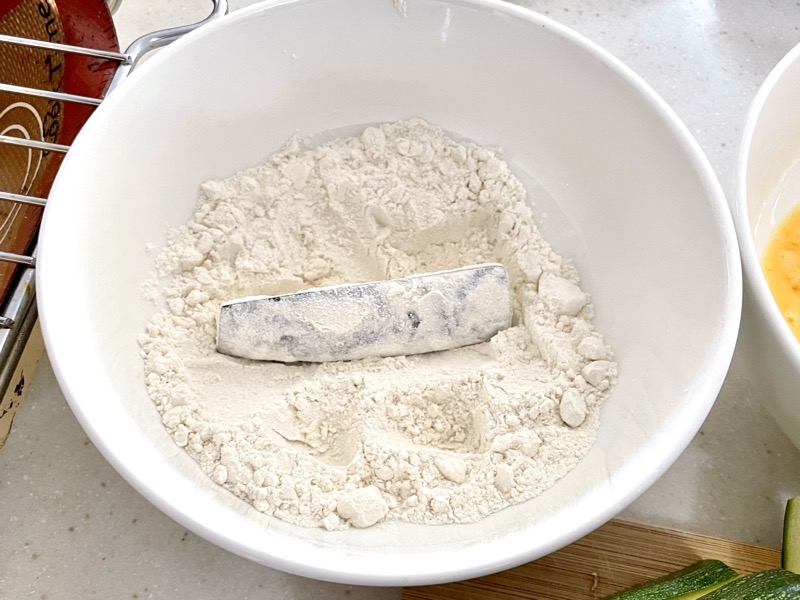


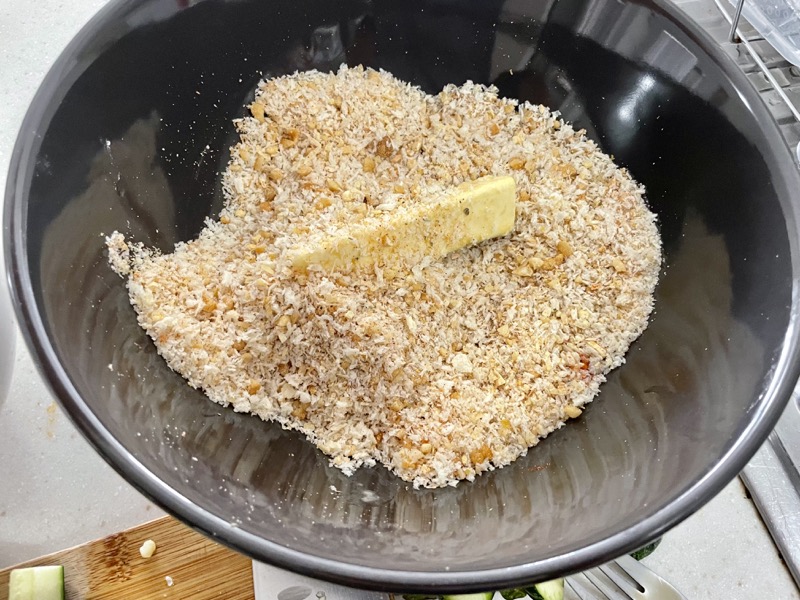
Bread the avocado strips one at a time by first covering it in flour, then dredging it into the beaten eggs, then finally tossing it in the panko/parmesan mixture and pressing down so the coating sticks well to the avocado strip. Place the breaded avocado strip onto the greased cooling rack prepared earlier. Repeat for the rest of the avocado.

Bake in the preheated oven for 20-25 minutes or until golden brown and crispy. Let them cool slightly on the rack before transferring it to a serving plate. Enjoy!
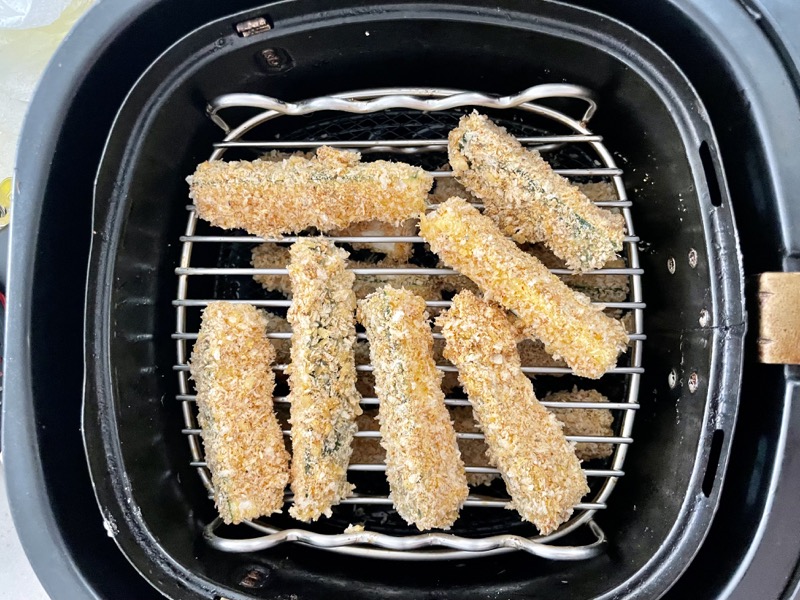
You can alternatively put them in the air fryer at 200˚C for 8-10 minutes.


Summarized Recipe:
Avocado Fries
Date Published: Oct 10th, 2021 | Last Updated: Oct 10th, 2021
Author: Abby |Category: easy, healthy, snacks, appetizers, low-cal, sides, vegetarian
Serves: 4-6 | Prep time: 30 mins | Cook time: 35 mins
Ingredients:
- 5 large hass avocados
- 1/2 cup flour
- 2 large eggs
- 1.5 cups panko
- 3/4 cup freshly grated parmesan cheese
- 1.5 tsps Italian seasoning
- 1.5 tsps paprika
Directions:
- Preheat oven to 200˚C (425˚F). Prepare a greased cooling rack over a baking sheet (see photo).
- Slice each avocado in half. Remove the seed and use a spoon to scoop out the avocado from the skin. Then slice the avocado halves into strips.Prepare 3 bowls and put the following in each bowl:
- Flour
- Beaten eggs
- Panko, parmesan cheese, Italian seasoning, and paprika
- Bread the avocado strips one at a time by first covering it in flour, then dredging it into the beaten eggs, then finally tossing it in the panko/parmesan mixture and pressing down so the coating sticks well to the avocado strip. Place the breaded avocado strip onto the greased cooling rack prepared earlier. Repeat for the rest of the avocado.
- Bake in the preheated oven for 20-25 minutes or until golden brown and crispy. Let them cool slightly on the rack before transferring it to a serving plate. Enjoy!
- You can alternatively put them in the air fryer at 200˚C for 8-10 minutes.