Date Published: Sept 27th, 2021 | Last Updated: Nov 25th, 2025
Author: Abby |Category: <30 mins, appetizers, sauce, easy, vegetarian
Serves: 1 large bowl (4 cups) | Prep time: 15 mins | Mix time: 20 mins
Jump to recipe |
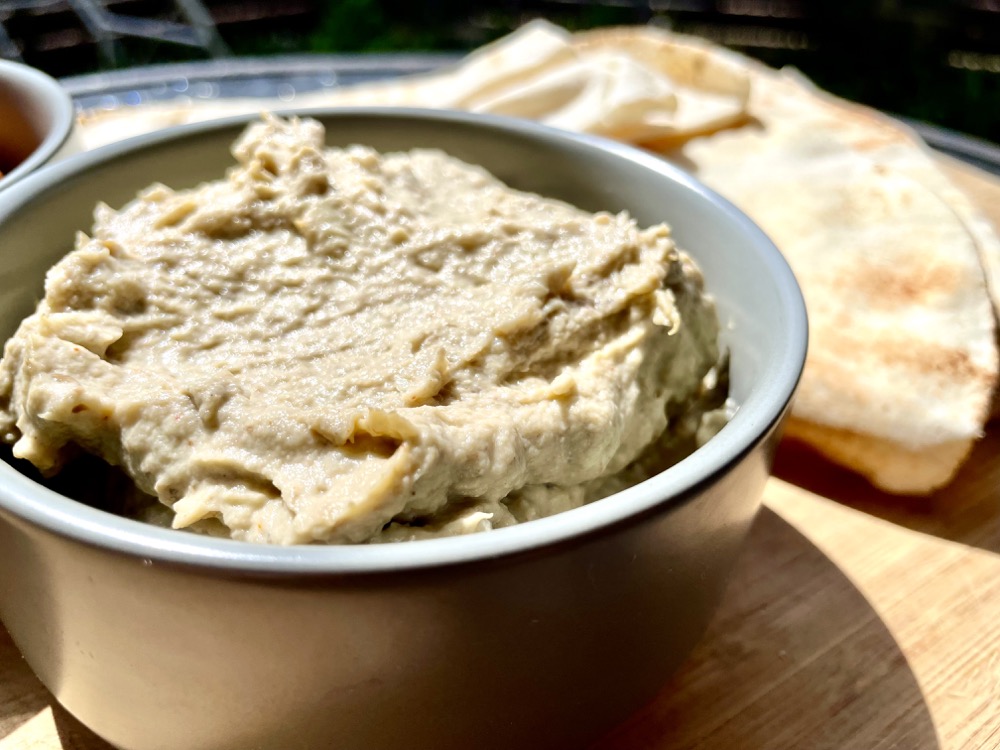
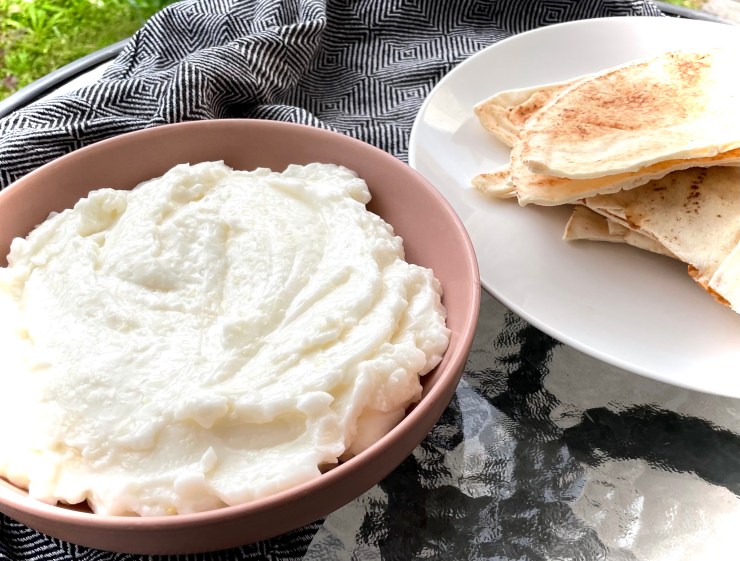
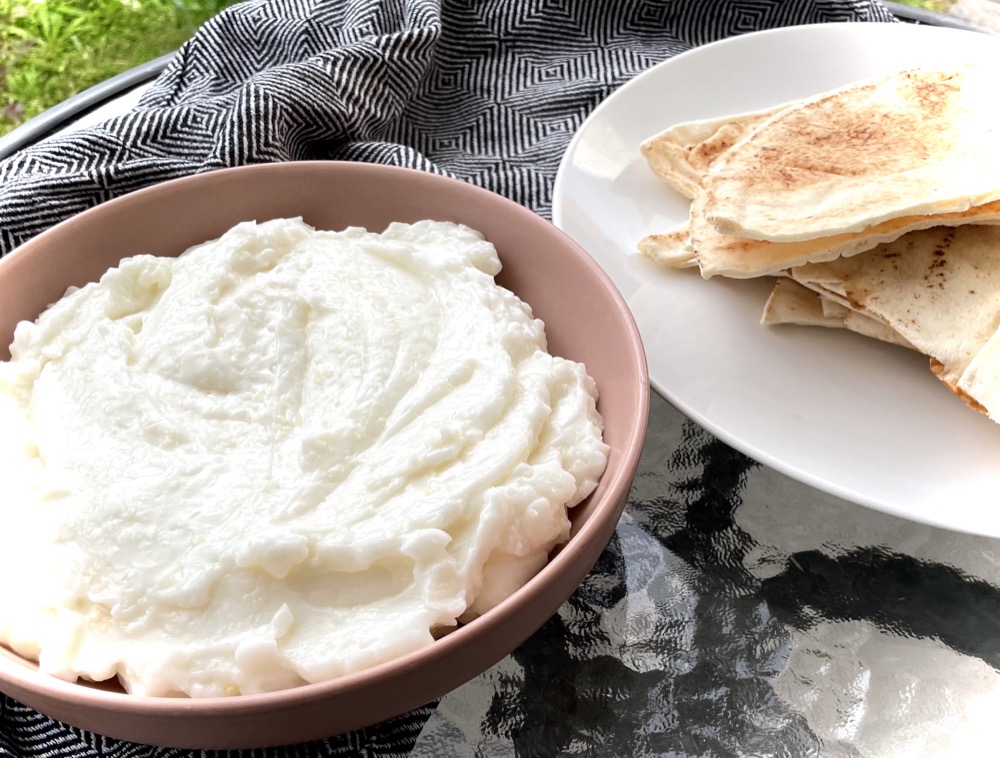
This recipe is for all you garlic lovers out there. If you’ve never had toum before, you’re in for a treat! It’s a Lebanese whipped garlic sauce with the most amazing intense garlic flavour. It goes well with meats, as a sandwich spread, or even a quick way to make garlic bread. It’s made with only 4 easy ingredients: garlic, oil, salt, and lemon juice. Although this sauce is technically easy to make, but it can be time-consuming. The key is patience. You need to drizzle the oil and lemon juice verrrry slowly – if you do it too quickly, the sauce won’t emulsify properly.
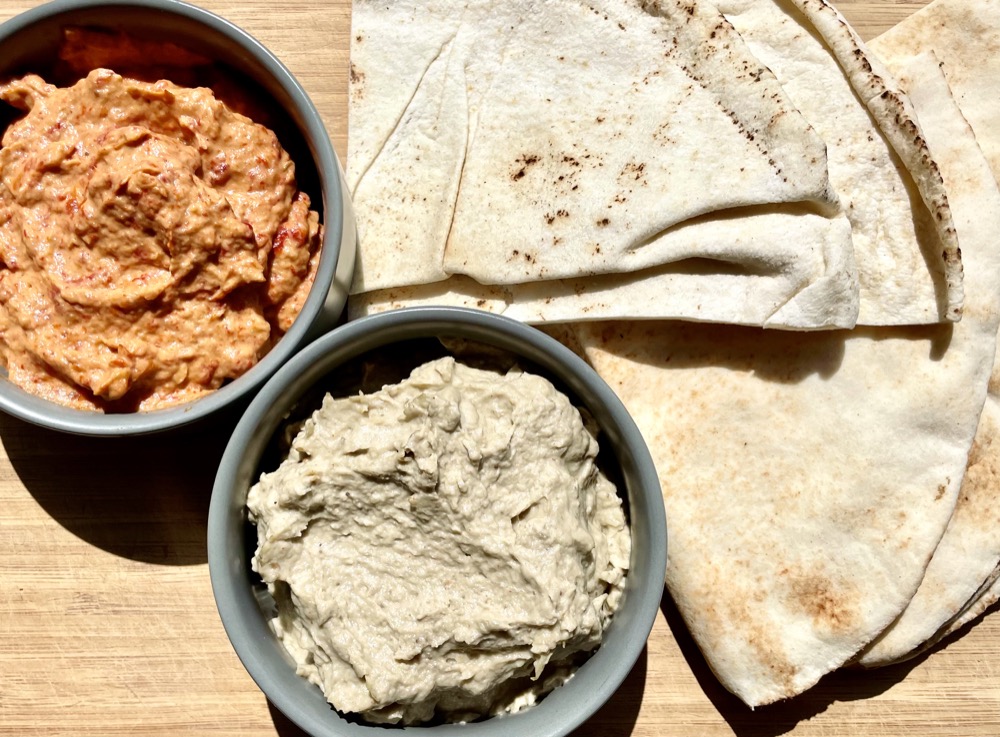
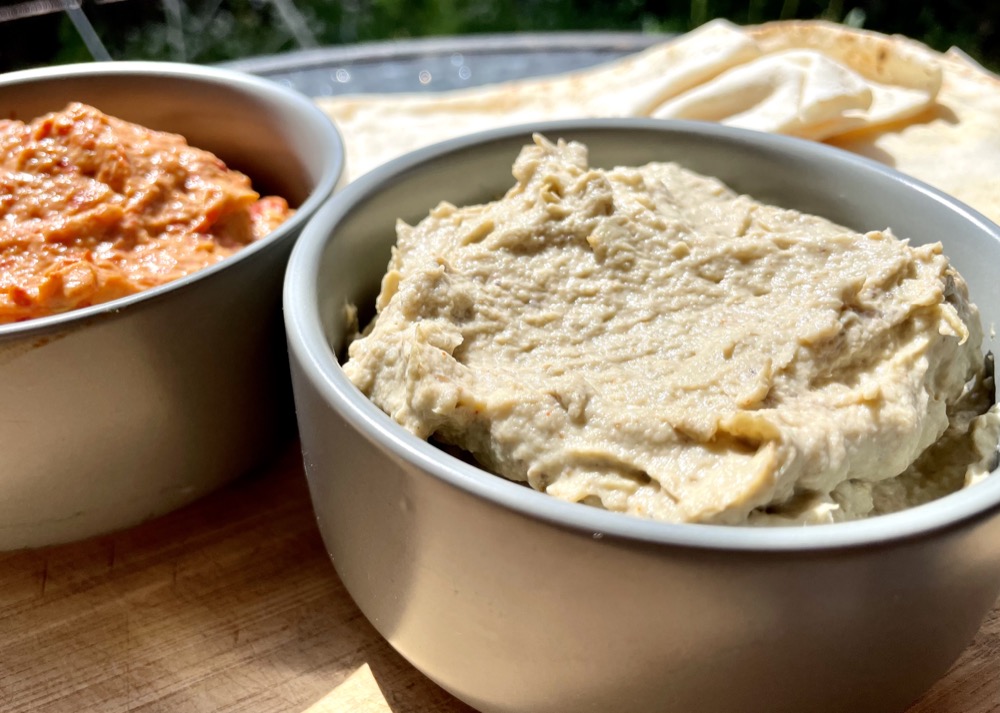
Make sure you use the freshest of ingredients for optimal flavour. This recipe yields a whopping 4 cups, but for the amount of effort you’re going to put in, you might as well make a big batch. It keeps well in the fridge for up to 3 weeks. This sauce also never seems to last long because its so damn delicious and versatile. I’ve just made a fresh batch today to have with shawarma and pita bread, and Toby has already gone through a quarter of it in one sitting. 😅
Anyways, without further ado, here’s the recipe! If you have any comments or suggestions, I’d love to hear from you in the comment section! You can follow me on instagram, youtube and facebook to see all the recipes I post!
Happy cooking!
Ingredients you’ll need:

- 1 cup of garlic cloves (~2 bulbs), peeled with the fibrous tips cut off
- Note: you can also use frozen pre-peeled garlic, however the overall garlic taste will be less punchy
- 2 tsps kosher/cooking salt
- 3 cups neutral oil (putting the oil in the freezer first for 90 minutes will ensure a fool-proof way to prevent your toum from splitting!)
- 1/2 cup fresh lemon juice
Directions:


Put the garlic cloves and salt in a food processor and blend until the garlic is minced.
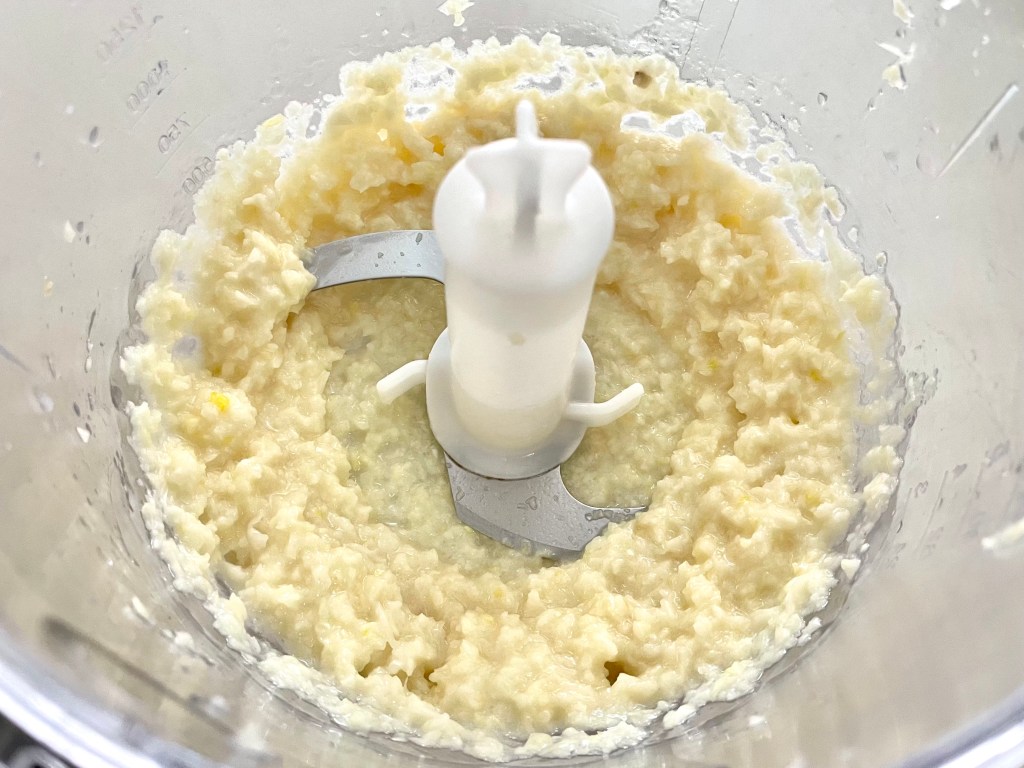
Add in a couple tablespoons of oil and blend until you get a thick paste.


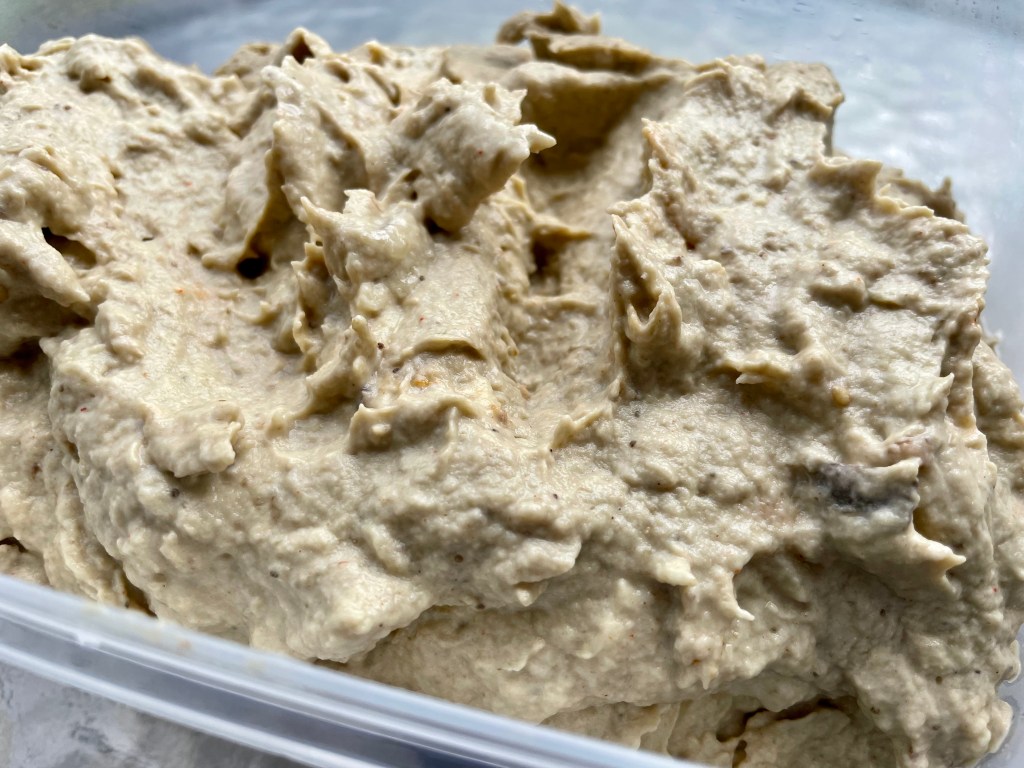
Next, SLOWLY drizzle the oil and lemon juice into the food processor, alternating between the two. Emphasis on the SLOW – you want a 1-2mm stream while you’re drizzling it in. If you pour it in too fast, your sauce will separate and won’t be light and fluffy. This process should take about 10-15 mins. Scrape down the sides as needed. You should have a light and fluffy white garlic paste by the end. Enjoy! Store in an air tight container.

Summarized Recipe:
Toum (Lebanese Garlic Sauce)
Date Published: Sept 27th, 2021 | Last Updated: Nov 25th, 2025
Author: Abby |Category: <30 mins, appetizers, sauce, easy, vegetarian
Serves: 1 large bowl (4 cups) | Prep time: 15 mins | Mix time: 20 mins
Ingredients:
- 1 cup of garlic cloves (~2 bulbs), peeled with the fibrous tips cut off
- Note: you can also use frozen pre-peeled garlic, however the overall garlic taste will be less punchy
- 2 tsps kosher/cooking salt
- 3 cups neutral oil (putting the oil in the freezer first for 90 minutes will ensure a fool-proof way to prevent your toum from splitting!)
- 1/2 cup fresh lemon juice
Directions:
- Put the garlic cloves and salt in a food processor and blend until the garlic is minced.
- Add in a couple tablespoons of oil and blend until you get a thick paste.
- Next, SLOWLY drizzle the oil and lemon juice into the food processor, alternating between the two. Emphasis on the SLOW – you want a 1-2mm stream while you’re drizzling it in. If you pour it in too fast, your sauce will separate and won’t be light and fluffy. This process should take about 10-15 mins. Scrape down the sides as needed. You should have a light and fluffy white garlic paste by the end. Enjoy! Store in an air tight container.