Date Published: June 24th, 2021 | Last Updated: June 24th, 2021
Author: Abby |Category: sides, main, snacks, vegetarian, healthy, appetizer, asian
Serves: 4 | Prep time: 60 mins | Cook time: 30 mins
Jump to recipe |
In an attempt to eat healthier, I stumbled across this recipe by Chez Jorge. Toby has an undying love for Korean Fried Chicken so of course we had to try this recipe as soon as we saw it. The recipe turned out fantastic and the flavours were just like classic Korean fried chicken except we felt guilt-free eating the whole batch in one sitting. Even Toby’s parents were raving about it and asked for the recipe. I’ve made this a handful of times since and always find I run out of the breading ingredients way too early, so I’ve adjusted the recipe to double the coating, but the main recipe is essentially the same. I’d recommend checking out Chez Jorge’s original recipe and the beautiful food photography.

This recipe is on the spicy side so if you’re not a fan of spice, either get a mild gochujang or lessen the amount of it in the sauce. You can serve this as a side dish or eat it as a main with a small side of rice or cold noodles to break up the bold flavours.
I will warn you, this recipe does take some time to prepare and you’ll probably get really tired of breading all the cauliflower florets, but I promise it’s worth it! This recipe is also air fryer-friendly so you can get in a little extra crunch!
Anyways, without further ado, here’s the recipe! If you have any comments or suggestions, I’d love to hear from you in the comment section! You can follow me on instagram, youtube and facebook to see all the recipes I post!
Happy cooking!
Ingredients you’ll need:
- 1 large cauliflower, cut into florets
- 2 cups all purpose flour
- 2 Tbsps potato starch or corn starch
- 2 cups raw almonds
- 3 cups Panko breadcrumbs
- 3 Tbsps white sesame seeds, to finish (optional)
- Buttermilk Brine
- 3 cups milk or any non-dairy milk (ie. soy milk, almond milk)
- 3 Tbsps lemon juice
- 3 tsps cayenne pepper
- 3 tsps white pepper
- 1/2 tsp ginger powder
- 3 tsps garlic powder
- 3 tsps fine sea salt
- Sticky Spicy Sauce
- 2 tsps sesame oil
- 1.5 tsps ginger, grated
- 6 cloves garlic, finely minced
- 1 cup mirin
- 1/4 cup sriracha
- 1/4 cup light soy sauce
- 1/2 cup maple syrup
- 4 tsps rice wine vinegar
- 1/4 cup gochujang (Korean chilli paste)
Directions:

Make the brine: In a large wide-based bowl or pan, mix all the ingredients for the brine (milk, lemon juice, cayenne pepper, white pepper, ginger powder, garlic powder, salt) and add the cauliflower florets in and mix it around. Cover and refrigerate for 45 minutes.
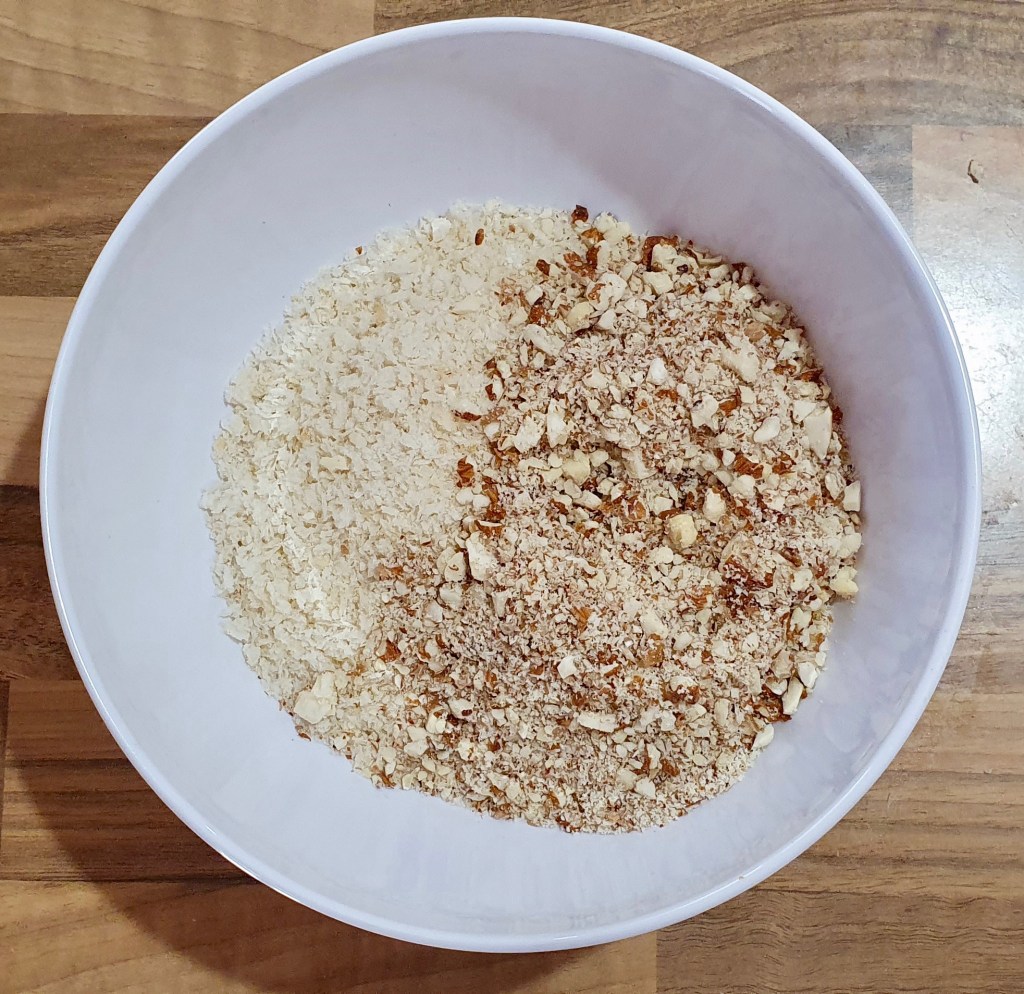
Place the raw almonds in a food processor and pulse until you get small coarse almonds pieces (do not blend – you don’t want it too fine or else you lose the crunch). Transfer the almonds to a bowl and mix with panko and set aside.
In another bowl, mix together the flour and cornstarch. Set aside.

Make the sauce: In a medium skillet on medium heat, fry the garlic and ginger in the sesame oil for 30 seconds then add in the rest of the ingredients (mirin, sriracha, light soy sauce, maple syrup, rice wine vinegar, gochujang). Simmer for a few minutes or until the desired consistency. You should have a sticky sauce. Tip: Don’t make it too thick or else it will be hard to evenly coat all the cauliflower.
Preheat oven to 215˚C (420˚F) and prepare two baking trays lined with parchment paper. You can also do this in an air fryer at 180˚C for 15 minutes.

Bread the cauliflower: Separate the cauliflower from the brine. Bread your cauliflower in this order, making sure to cover all sides:
- Dip into the flour/cornstarch mixture. Shake off excess.
- Dip into the brine. Shake off excess.
- Dip into the almond/panko and gently press it into the cauliflower to help it stick.
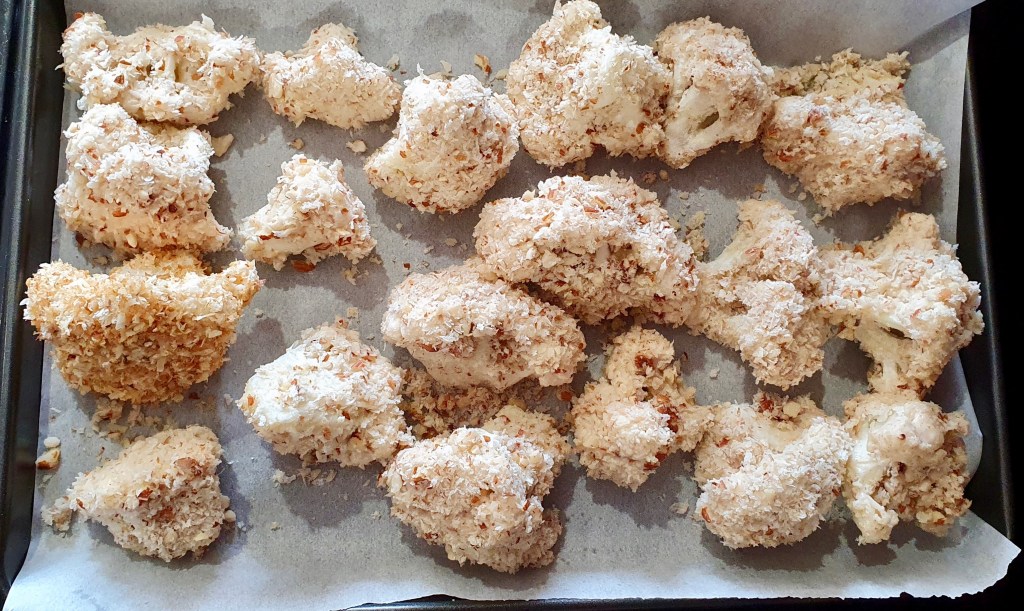
Place the breaded cauliflower on the baking trays and drizzle a bit of olive oil over the top. Bake at 215˚C for roughly 30mins or until golden brown. You can also do this in an air fryer at 180˚C for 15 minutes.
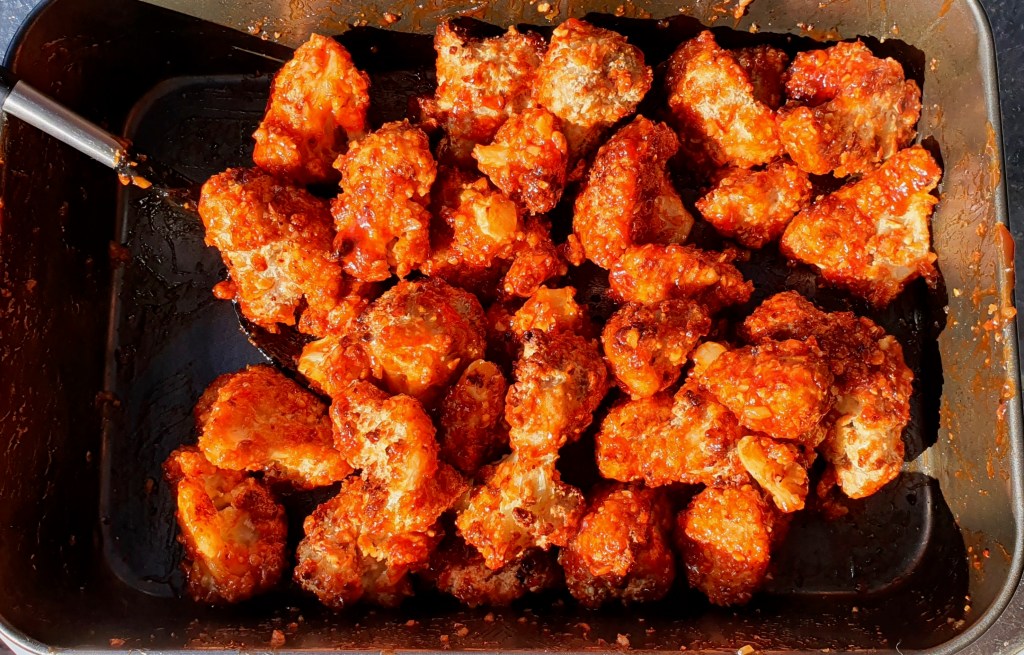
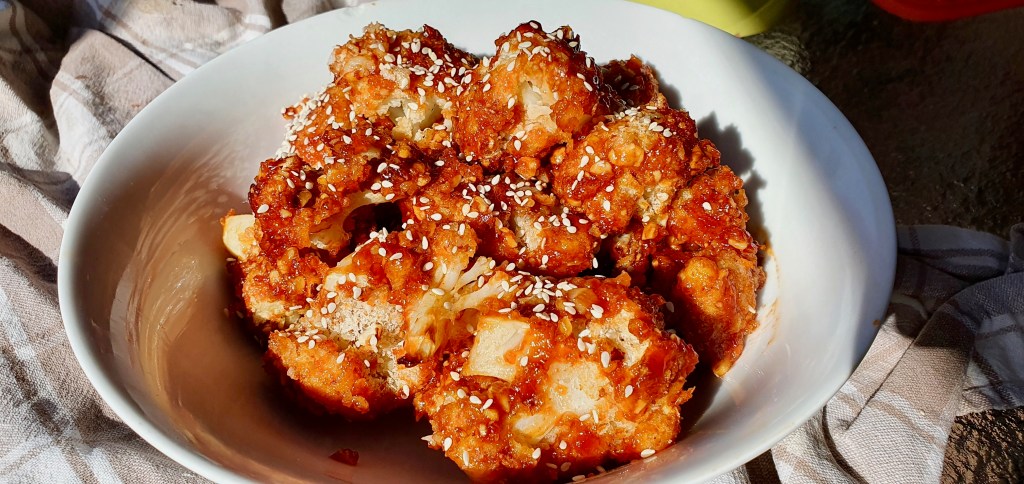
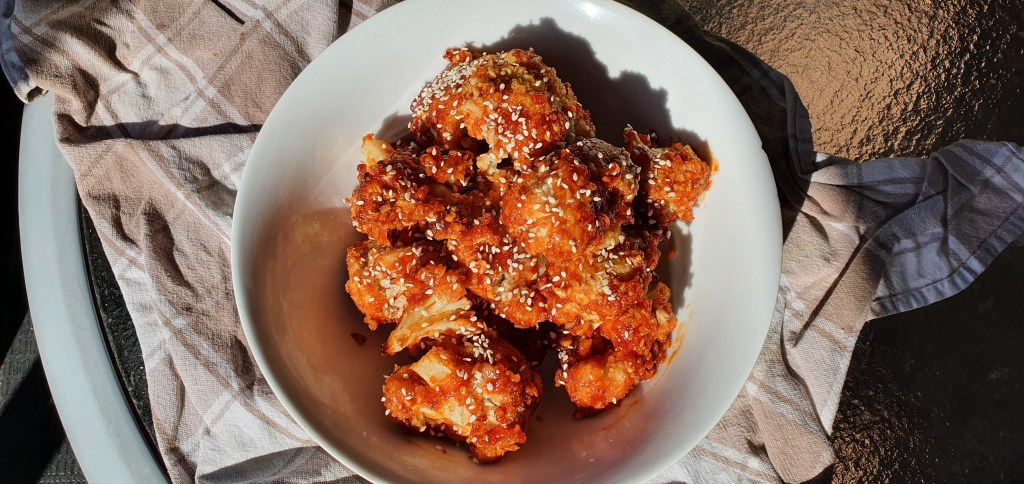
When the cauliflower is almost done, heat up the sauce until it’s hot and immediately toss the cauliflower in the sauce when it comes out the oven. Sprinkle with sesame seeds and serve!

Summarized Recipe:
Not KFC: KBC – Korean Baked Cauliflower in a Sticky Sweet & Spicy Sauce
Date Published: June 24th, 2021 | Last Updated: June 24th, 2021
Author: Abby |Category: sides, main, snacks, vegetarian, healthy, appetizer, asian
Serves: 4 | Prep time: 60 mins | Cook time: 30 mins
Ingredients:
- 1 large cauliflower, cut into florets
- 2 cups all purpose flour
- 2 Tbsps potato starch or corn starch
- 2 cups raw almonds
- 3 cups Panko breadcrumbs
- 3 Tbsps white sesame seeds, to finish (optional)
- Buttermilk Brine
- 3 cups milk or any non-dairy milk (ie. soy milk, almond milk)
- 3 Tbsps lemon juice
- 3 tsps cayenne pepper
- 3 tsps white pepper
- 1/2 tsp ginger powder
- 3 tsps garlic powder
- 3 tsps fine sea salt
- Sticky Spicy Sauce
- 2 tsps sesame oil
- 1.5 tsps ginger, grated
- 6 cloves garlic, finely minced
- 1 cup mirin
- 1/4 cup sriracha
- 1/4 cup light soy sauce
- 1/2 cup maple syrup
- 4 tsps rice wine vinegar
- 1/4 cup gochujang (Korean chilli paste)
Directions:
- Make the brine: In a large wide-based bowl or pan, mix all the ingredients for the brine (milk, lemon juice, cayenne pepper, white pepper, ginger powder, garlic powder, salt) and add the cauliflower florets in and mix it around. Cover and refrigerate for 45 minutes.
- Place the raw almonds in a food processor and pulse until you get small coarse almonds pieces (do not blend – you don’t want it too fine or else you lose the crunch). Transfer the almonds to a bowl and mix with panko and set aside.
- In another bowl, mix together the flour and cornstarch. Set aside.
- Make the sauce: In a medium skillet on medium heat, fry the garlic and ginger in the sesame oil for 30 seconds then add in the rest of the ingredients (mirin, sriracha, light soy sauce, maple syrup, rice wine vinegar, gochujang). Simmer for a few minutes or until the desired consistency. You should have a sticky sauce. Tip: Don’t make it too thick or else it will be hard to evenly coat all the cauliflower.
- Preheat oven to 215˚C (420˚F) and prepare two baking trays lined with parchment paper. You can also do this in an air fryer at 180˚C for 15 minutes.
- Bread the cauliflower: Separate the cauliflower from the brine. Bread your cauliflower in this order, making sure to cover all sides:
- Dip into the flour/cornstarch mixture. Shake off excess.
- Dip into the brine. Shake off excess.
- Dip into the almond/panko and gently press it into the cauliflower to help it stick.
- Place the breaded cauliflower on the baking trays and drizzle a bit of olive oil over the top. Bake at 215˚C for roughly 30mins or until golden brown. You can also do this in an air fryer at 180˚C for 15 minutes.
- When the cauliflower is almost done, heat up the sauce until it’s hot and immediately toss the cauliflower in the sauce when it comes out the oven. Sprinkle with sesame seeds and serve!