Date Published: January 17th, 2020 | Last Updated: January 17th, 2020
Author: Abby |Category: dessert
Serves: 1 tray | Prep time: 20mins | Cook time: 25mins
Jump to recipe |
One day Toby wanted to make brownies for work. We can’t remember exactly what the occasion was for or if it was for a specific person, but I remember googling a recipe for him and stumbled upon the one from Tasty.co. The brownies came out fantastic and were a big hit. We’ve since made it at least half a dozen times and made some minor changes along the way. Because brownies are so sugary and fatty in nature, we pretty much only make these for other people and sneak a couple of squares for ourselves. These are now Toby’s go-to baked goods to bring to any occasion and make an impression – they get rave reviews every time!
The recipe takes a couple of steps but is overall pretty easy to make. The hardest part is trying not to eat them before they cool completely!
Anyways, without further ado, here’s the recipe! If you have any comments or suggestions, I’d love to hear from you in the comment section! You can follow me on instagram, youtube and facebook to see all the recipes I post!
Happy cooking!
Ingredients you’ll need:
- 112g + 112g (4oz + 4oz) chocolate chips or chopped semi-sweet chocolate
- 3/4 cup (95g) all-purpose flour
- 1/4 cup (30 g) cocoa powder
- 1 tsp salt
- 3/4 cups (180g) unsalted butter, melted or softened
- 1 1/4 cups (250g) sugar
- 2 eggs
- 2 tsps vanilla extract
Directions:
Preheat the oven to 180˚C (350°F). Line an 8-inch (20 cm) square baking dish with baking/parchment paper.

Weigh out two bowls of chocolate chips (112g each) and melt one bowl in the microwave 20 seconds at a time until it’s just melted (without cooking it). Set the other bowl of chocolate aside.

In a medium sized bowl, mix together the flour, cocoa powder and salt. Set aside.
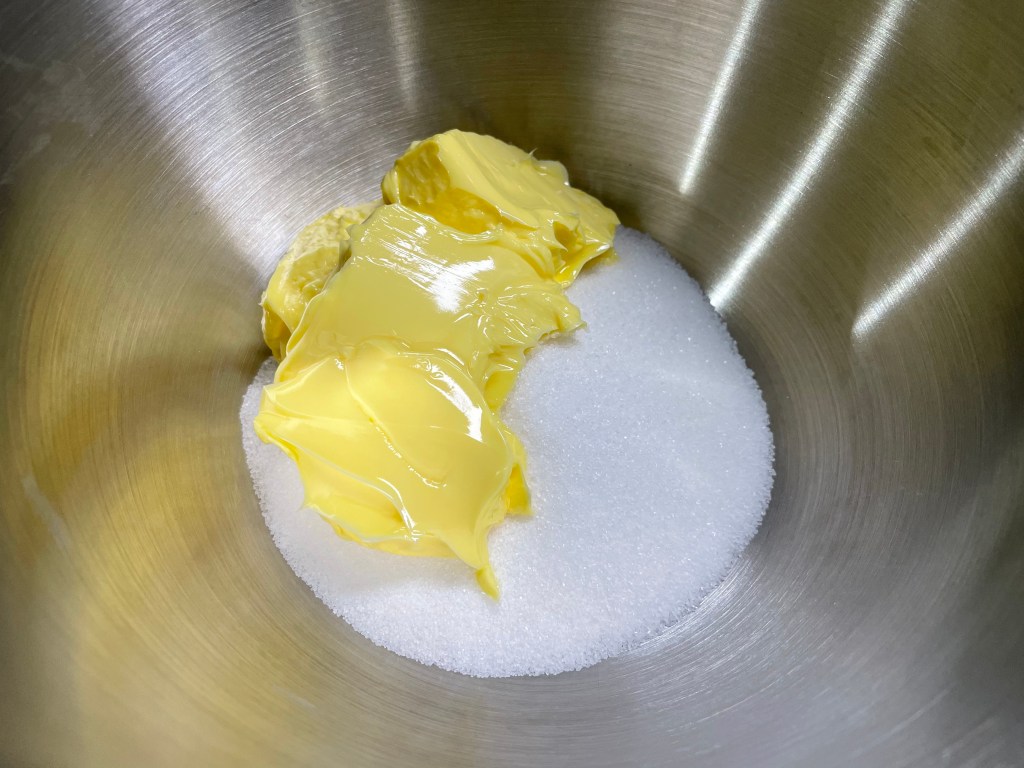
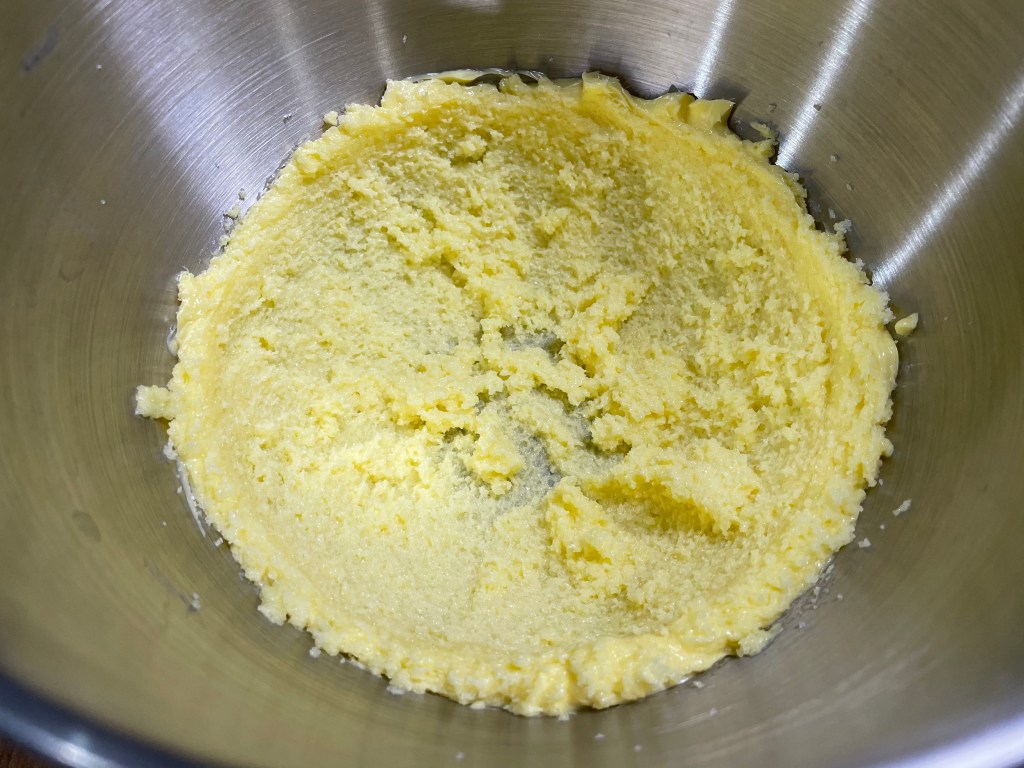


In a large bowl or stand mixer, whisk the butter and sugar until combined, then add in the eggs and vanilla and continue to whisk until its somewhat fluffy and lighter in colour.
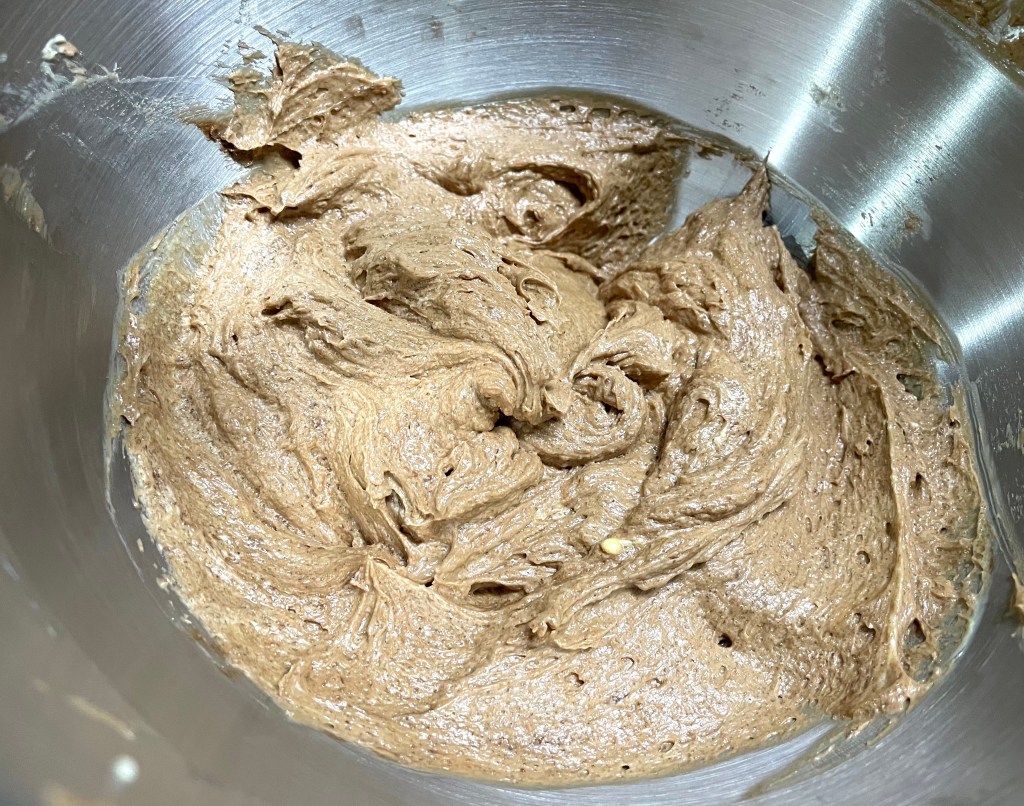
Next whisk in the melted chocolate (make sure it’s not too hot or else it will cook the eggs).

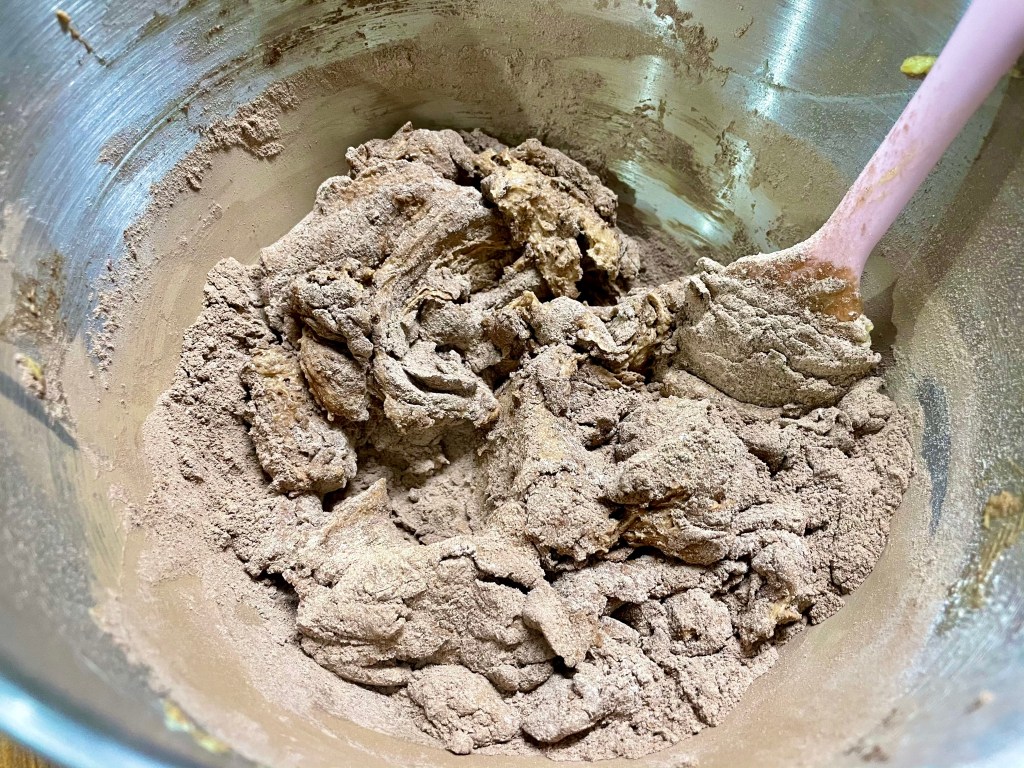

Sift the flour/cocoa powder/salt mixture into your batter and use a spatula to fold the ingredients together – don’t over mix it otherwise the brownies will be denser and cake-like.


Fold in the unmelted chocolate chips and pour the batter in the prepared baking dish.

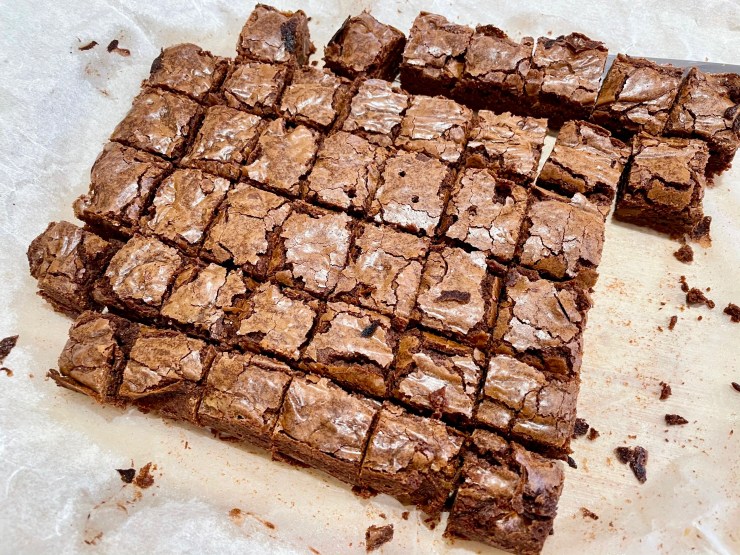
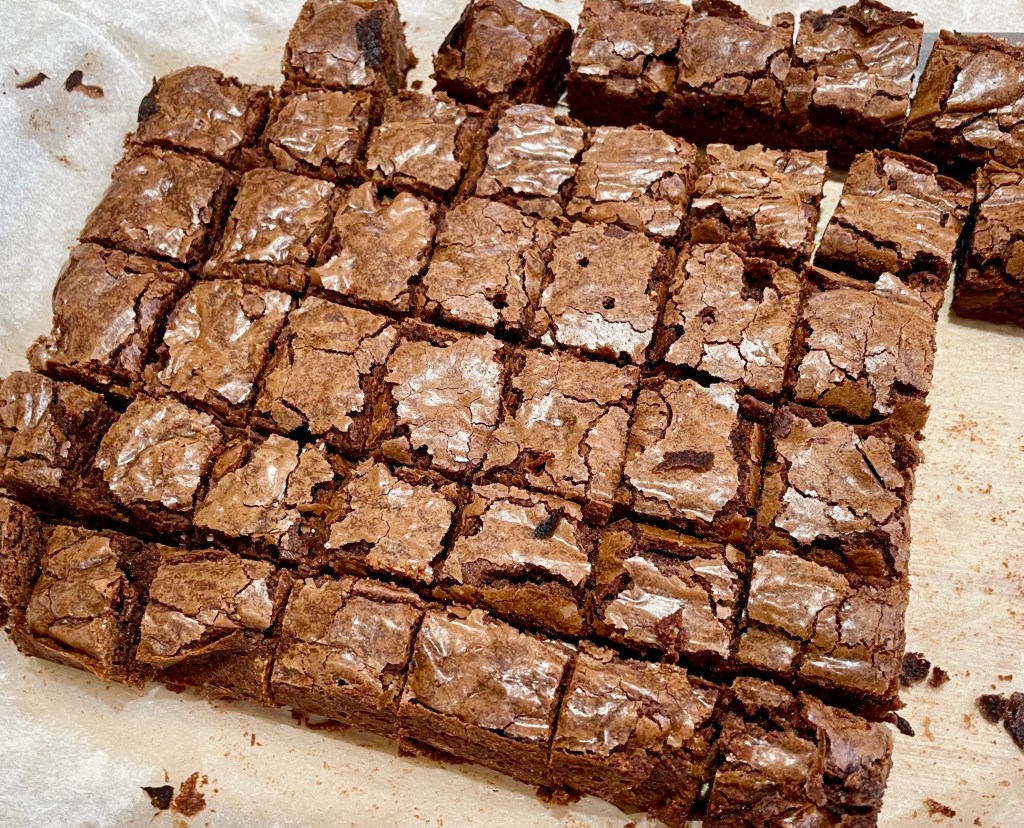
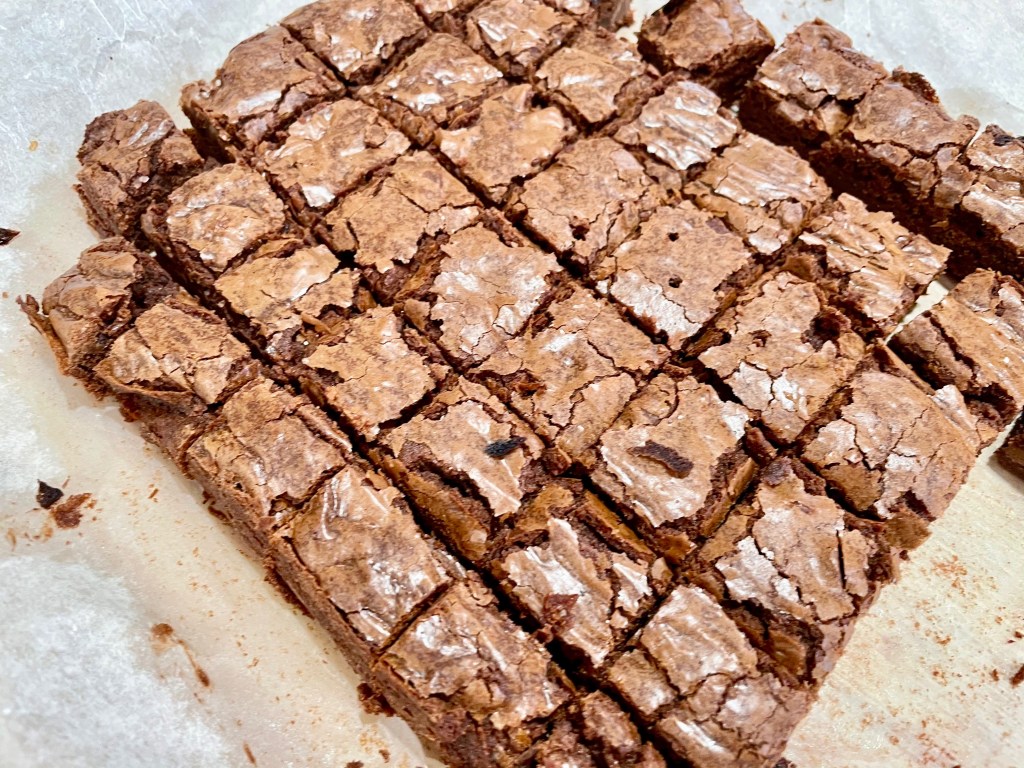
Bake for 20-25 minutes until an inserted toothpick comes out clean (the less you bake it, the more fudgy your brownies will be). Let it cool completely then slice. Enjoy!
Summarized Recipe:
Fudgy Brownies to Impress
Date Published: January 17th, 2020 | Last Updated: January 17th, 2020
Author: Abby |Category: dessert
Serves: 1 tray | Prep time: 20mins | Cook time: 25mins
Ingredients:
- 112g + 112g (4oz + 4oz) chocolate chips or chopped semi-sweet chocolate
- 3/4 cup (95g) all-purpose flour
- 1/4 cup (30 g) cocoa powder
- 1 tsp salt
- 3/4 cups (180g) unsalted butter, melted or softened
- 1 1/4 cups (250g) sugar
- 2 eggs
- 2 tsps vanilla extract
Directions:
- Preheat the oven to 180˚C (350°F). Line an 8-inch (20 cm) square baking dish with baking/parchment paper.
- Weigh out two bowls of chocolate chips (112g each) and melt one bowl in the microwave 20 seconds at a time until it’s just melted (without cooking it). Set the other bowl of chocolate aside.
- In a medium sized bowl, mix together the flour, cocoa powder and salt. Set aside.
- In a large bowl or stand mixer, whisk the butter and sugar until combined, then add in the eggs and vanilla and continue to whisk until its somewhat fluffy and lighter in colour.
- Next whisk in the melted chocolate (make sure it’s not too hot or else it will cook the eggs).
- Sift the flour/cocoa powder/salt mixture into your batter and use a spatula to fold the ingredients together – don’t over mix it otherwise the brownies will be denser and cake-like.
- Fold in the unmelted chocolate chips and pour the batter in the prepared baking dish.
- Bake for 20-25 minutes until an inserted toothpick comes out clean (the less you bake it, the more fudgy your brownies will be). Let it cool on the bench completely then slice. Enjoy!