Date Published: July 24th, 2020 | Last Updated: July 24th, 2020
Author: Abby |Category: snacks, quick and easy, < 30mins
Serves: 2 | Prep time: 15 mins | Cook time: 25 mins
Jump to recipe |
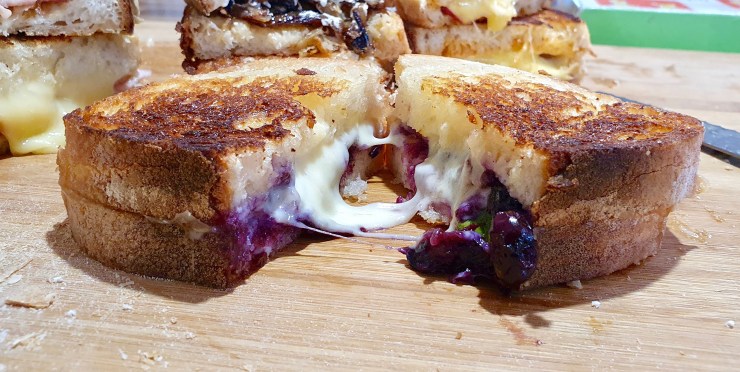
Blueberries and spinach in a grilled cheese makes this sandwich healthy, right?? This sandwich works with a lot of different types of cheeses but my favourite would have to be white cheddar or havarti. The syrupy blueberries paired with the ooey-gooey cheese is just too good to not try.
Grilled cheese (or toasties in Australia), are THE ultimate comfort food. It’s quick, easy, and indulgent. Nothing beats the ooey-gooey cheesiness of a good crisp grilled cheese.
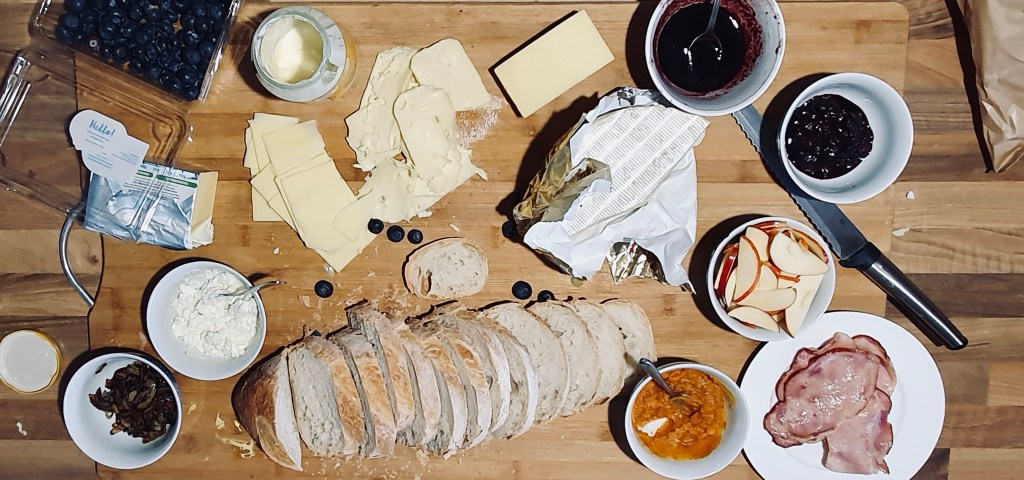
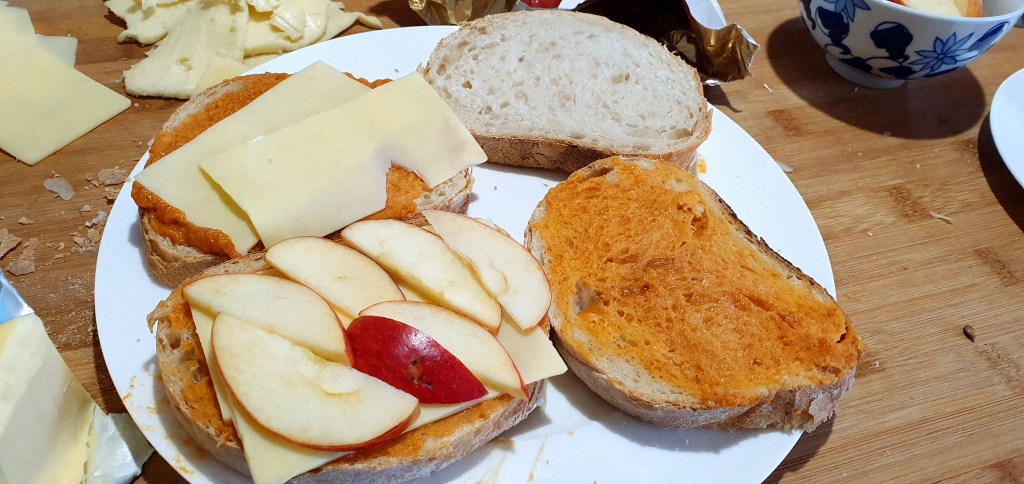
This post is a continuation of the grilled cheese lunch marathon we had last week. You can read more about it in yesterday’s sriracha butter apple grilled cheese post.
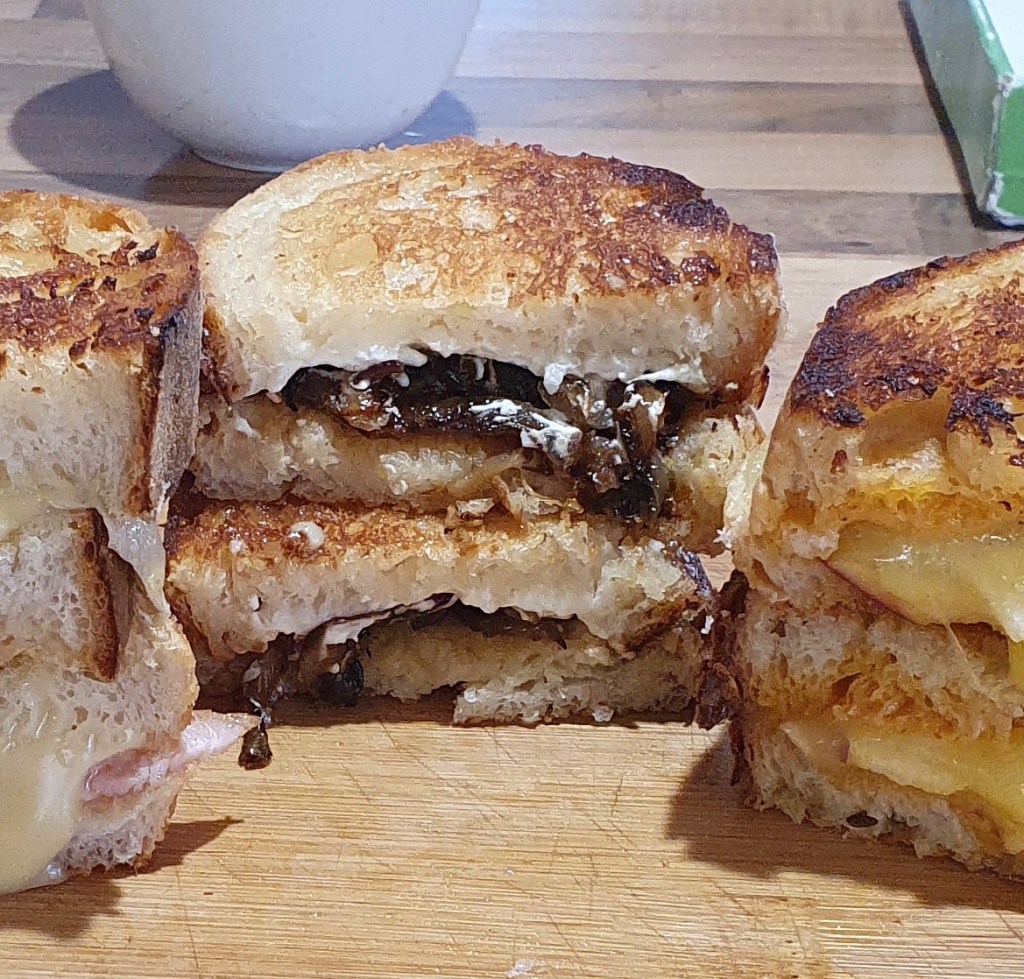
We made:
- Sriracha butter apple grilled cheese
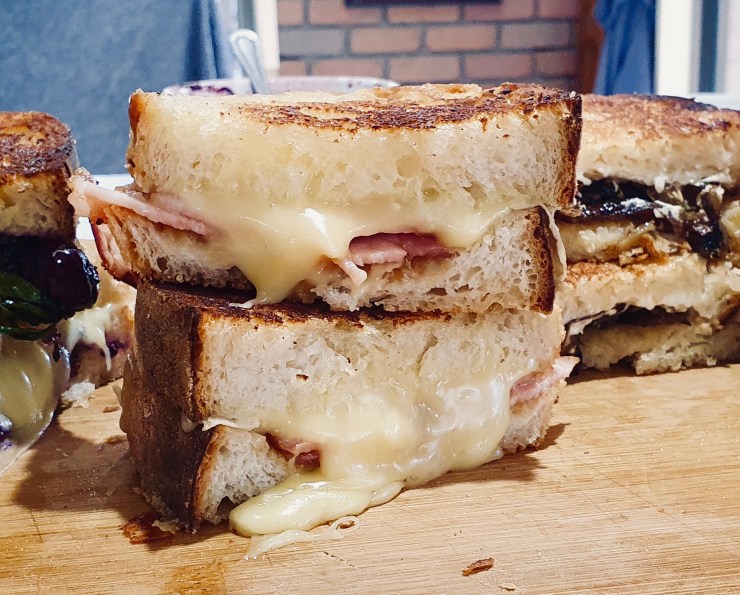
- Bacon Brie and Apricot grilled cheese
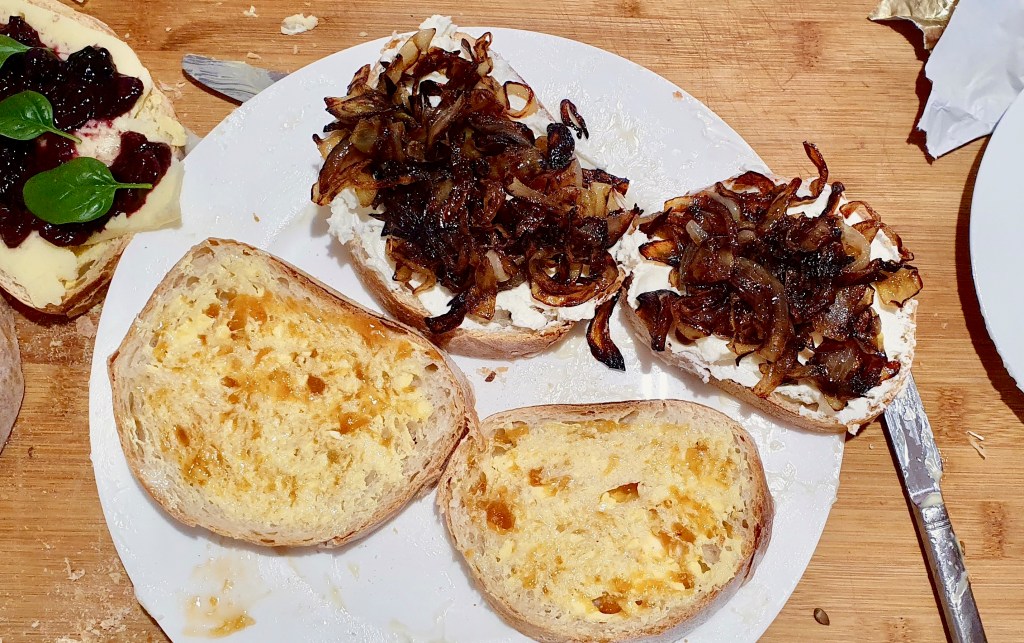
- Goat cheese caramelized onions and fig grilled cheese
- Spinach Balsamic Blueberry grilled cheese (this recipe)

I came across this recipe back nearly 5 years ago from Amanda k. by the Bay and it’s still as delicious as ever! I’ve since experimented with different cheeses and my favourites so far are a sharp white cheddar or havarti. I tried it with mozzarella recently and although still good, I felt that the bold flavours of the balsamic blueberry overpowered the subtlety of the mozarella.
Unlike my other recipes, I didn’t make a video for these sandwiches since the instructions are fairly straightforward (let me know in the comments if you’d like me to make a video). I was also a little too excited when making these sandwiches and forgot to take some photos of the process 😅. I’ll update this post with more photos the next time I make them again (which probably won’t be long).
Anyways, without further ado, here’s the recipe!
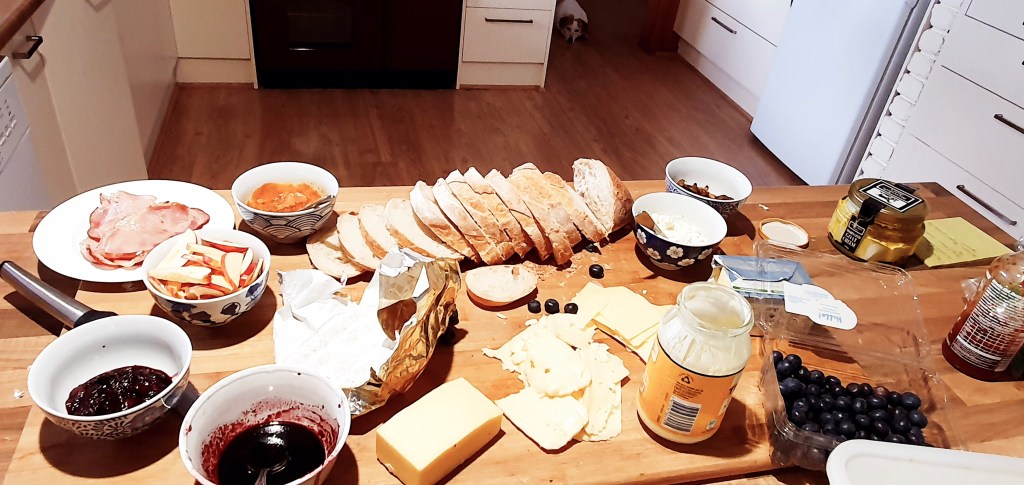
Ingredients you’ll need:
- 1 cup blueberries
- 2 Tbsps balsamic vinegar
- 3 Tbsps brown sugar
- Mayonnaise for spreading – this is the secret to a crisp golden grilled cheese! Mayo gives a nicer crisp and colour compared to butter.
- 4 slices of white bread (I like to use sourdough, but whatever white bread you’ve got works)
- 1 cup of baby spinach leaves
- Enough cheese for 2 sandwiches – white cheddar, coon, havarti…etc

Directions:
In a small saucepan on medium heat, combine the blueberries, balsamic vinegar and brown sugar. Let it come to a slow simmer and cook until the blueberries have started to soften. Gently crush some of the blueberries with your spatula (don’t crush all of them too flat or else you’ll lose some of that delicious blueberry flavour). When finished, strain your mixture through a sieve and set aside to cool. Keep the drained juices as an option to drizzle with later.
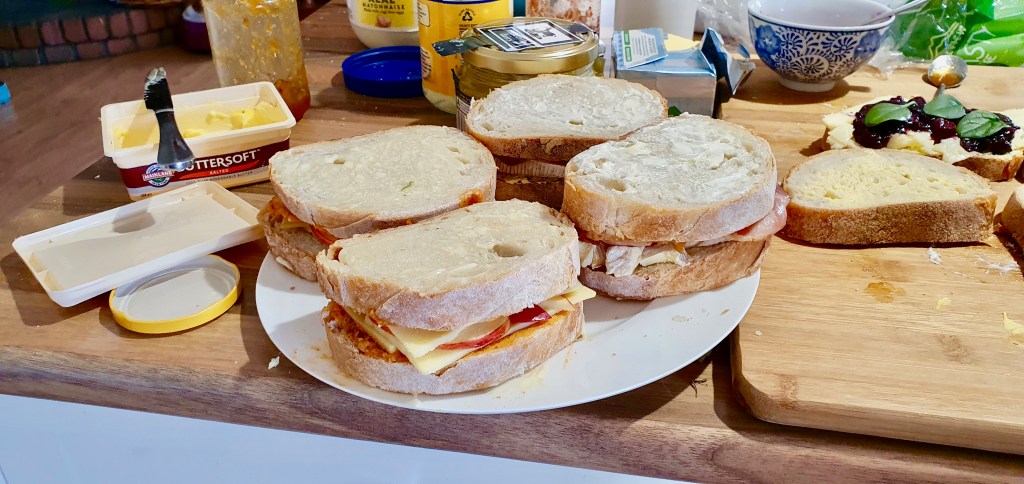
Spread mayonnaise on one side of each slice of bread (this will be the outside of the sandwich that you will toast to get that crisp golden colour).
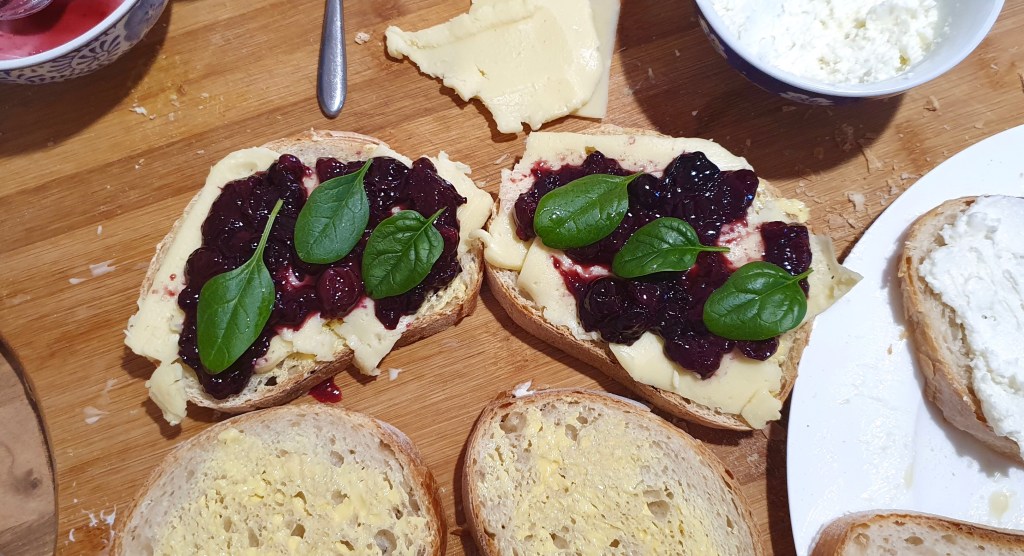
Assemble your grilled cheese with the mayonnaise side facing the outside. Add a layer of your cheese, then top it with the balsamic blueberries, spinach, more cheese, and then the other slice of bread (again, mayo on the outside).
(Incase that sentence was confusing, your layers should be: mayonnaise + bread + cheese + balsamic blueberries + cheese + bread + mayonnaise).
Make sure you grill this sandwich right away or else you risk the bread going a little soggy from the blueberry mixture.

Get a pan on the stove on medium heat and once your pan is heated, place your sandwich in the pan (you don’t need any oil in the pan because the mayonnaise on the outside of your sandwich will act as your oil base).
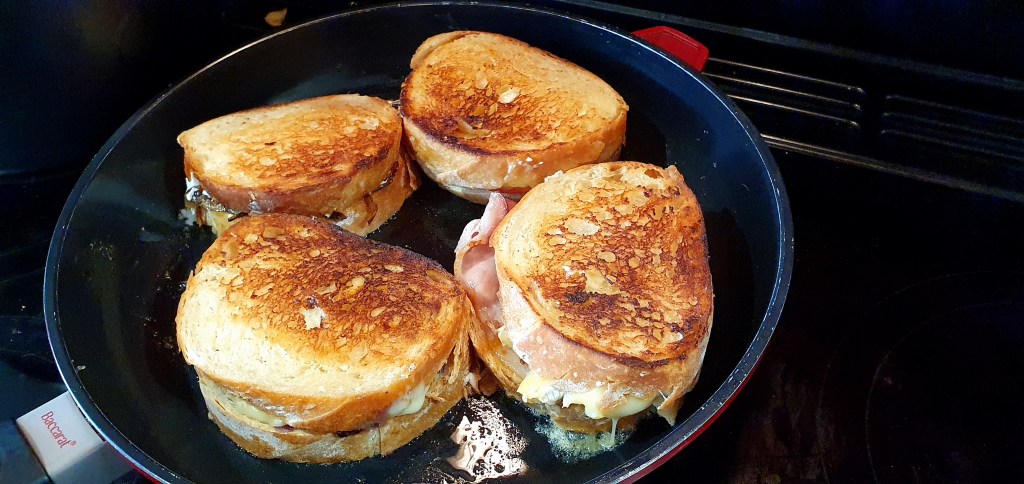
Toast your sandwich until the bread is a beautiful crisp golden brown and the cheese is melty (~3-5mins), then carefully flip your sandwich over and toast the other side. (Tip: if your sandwich is quite tall, you can gently flatten your sandwich as your cheese melts. This will help compact your sandwich and make it less messy to eat.) Once your second side is toasted and your cheese is melted, repeat with your second sandwich and serve immediately! Optional: drizzle your sandwich with a bit of that reserved juices strained from the balsamic blueberries. Enjoy!!

If you have any comments or suggestions, I’d love to hear from you in the comment section. You can follow me on instagram, youtube and facebook to see all the recipes I post!
Happy cooking!
Summarized Recipe:
Spinach balsamic blueberry grilled cheese
Date Published: July 24th, 2020 | Last Updated: July 24th, 2020
Author: Abby |Category: snacks, quick and easy, <30mins
Serves: 2 | Prep time: 15 mins | Cook time: 25 mins
Ingredients:
- 1 cup blueberries
- 2 Tbsps balsamic vinegar
- 3 Tbsps brown sugar
- Mayonnaise for spreading – this is the secret to a crisp golden grilled cheese! Mayo gives a nicer crisp and colour compared to butter.
- 4 slices of white bread (I like to use sourdough, but whatever white bread you’ve got works)
- 1 cup of baby spinach leaves
- Enough cheese for 2 sandwiches – white cheddar, coon, havarti…etc
Directions:
- In a small saucepan on medium heat, combine the blueberries, balsamic vinegar and brown sugar. Let it come to a slow simmer and cook until the blueberries have started to soften. Gently crush some of the blueberries with your spatula (don’t crush all of them too flat or else you’ll lose some of that delicious blueberry flavour). When finished, strain your mixture through a sieve and set aside to cool. Keep the drained juices as an option to drizzle with later.
- Spread mayonnaise on one side of each slice of bread (this will be the outside of the sandwich that you will toast to get that crisp golden colour).
- Assemble your grilled cheese with the mayonnaise side facing the outside. Add a layer of your cheese, then top it with the balsamic blueberries, spinach, more cheese, and then the other slice of bread (again, mayo on the outside).
- Get a pan on the stove on medium heat and once your pan is heated, place your sandwich in the pan. Toast your sandwich until the bread is a beautiful crisp golden brown and the cheese is melty (~3-5mins), then carefully flip your sandwich over and toast the other side. Once your second side is toasted and your cheese is melted, repeat with your second sandwich and serve immediately. Enjoy!!
- Optional: drizzle your sandwich with a bit of that reserved juices strained from the balsamic blueberries.