Date Published: Feb 20th, 2025 | Last Updated: Feb 20th, 2025
Author: Abby |Category: < 30mins, easy, soup, vegetarian, mains, quick
Serves: 6 as a main | Prep time: 15 mins | Cook time: 30 mins
Jump to recipe |
There’s something about Panera’s Broccoli Cheddar Soup that just spells out warm and cozy. This recipe is a copycat version of said soup. It’s quick, easy, and in no way light on the calories. It packs in the butter, cream, milk, and cheese. This soup is to be made for those indulgent meals where you just don’t give a f*ck. It’s an easy crowd pleaser and a big pot can be whipped up in no time. Feel free to add in shredded chicken and extra chicken to round out this soup.
Anyways, without further ado, here’s the recipe! If you have any comments or suggestions, I’d love to hear from you in the comment section! You can follow me on instagram, youtube and facebook to see all the recipes I post!
Happy cooking!
This recipe is adapted from The Girl Who Ate Everything.
Ingredients you’ll need:
- 113g (1 stick) unsalted butter
- 1 large onion, diced
- 1/2 cup all-purpose flour
- 4 cups (1L) chicken broth
- 2 cups heavy cream
- 2 cups whole milk
- 1 large head (500g) of broccoli, cut into bite sized pieces
- 1 large (~2 cups) carrot, julienned or grated large through large holes
- 500g cheddar cheese, shredded
- 1/2 tsp ground nutmeg
- Salt & pepper to taste
Directions:
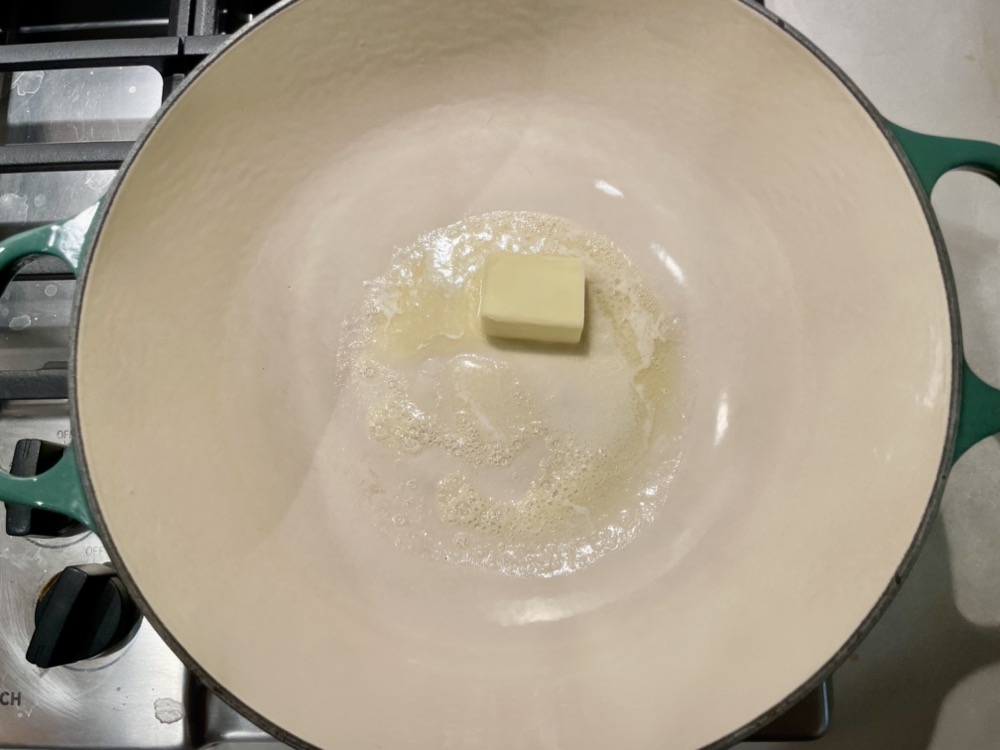
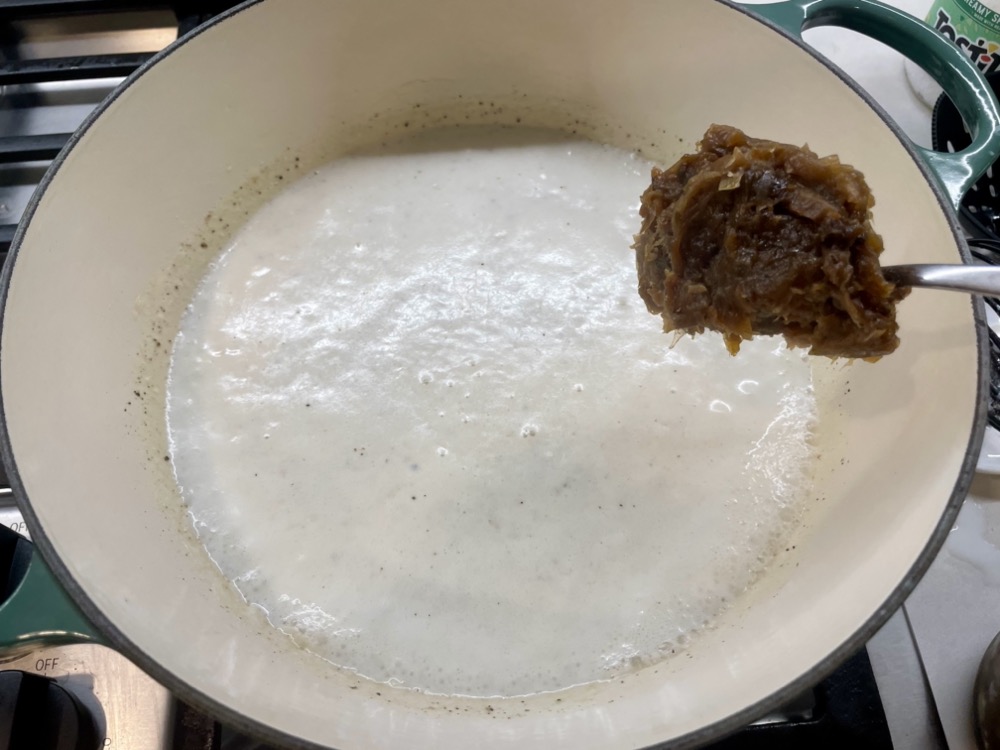
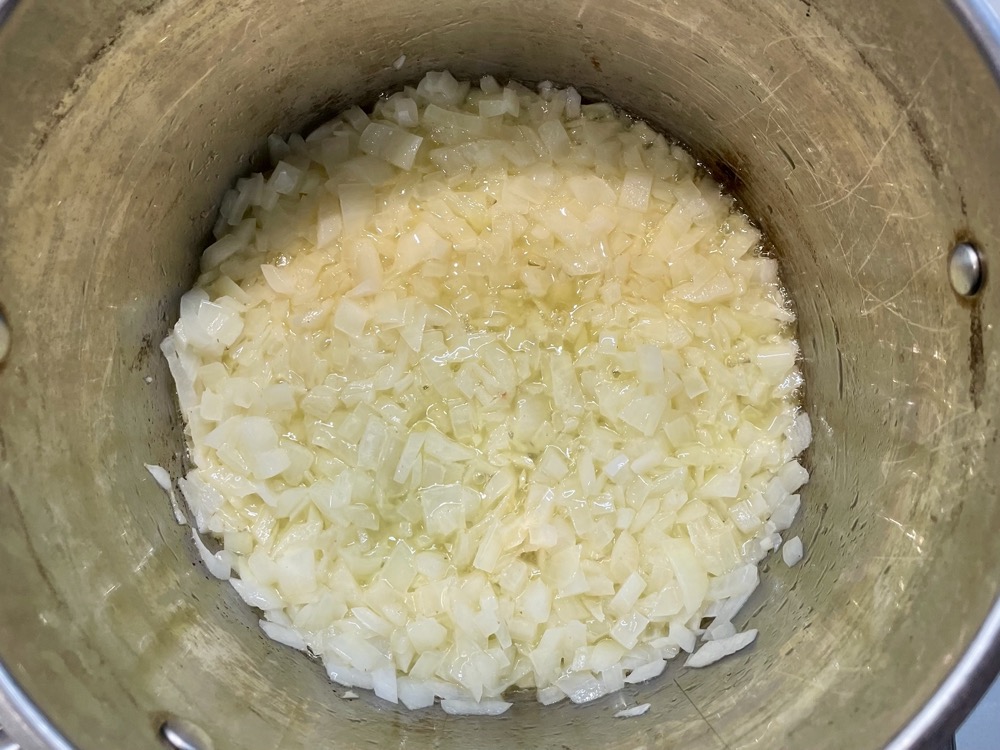
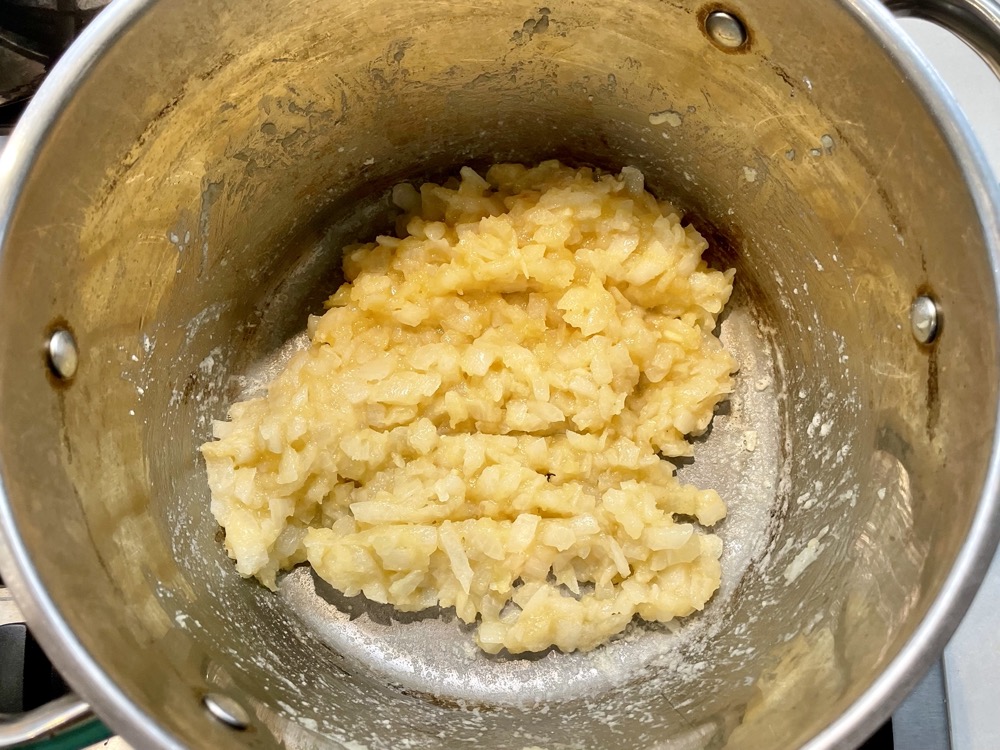
In a large pot on MED heat, melt the 1 stick of butter then add in the diced onions. Cook for 3-4 minutes until the onions soften.


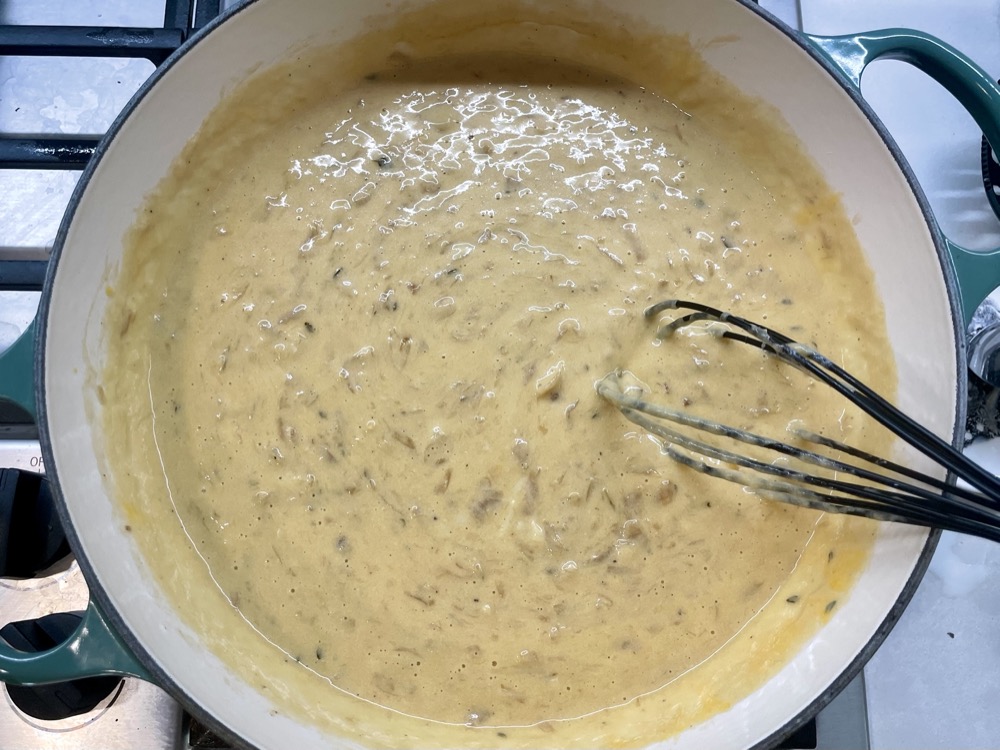
Sprinkle the 1/2 cup of flour over the onions and mix well. Continue to cook for 1-2 minutes while continuously stirring.

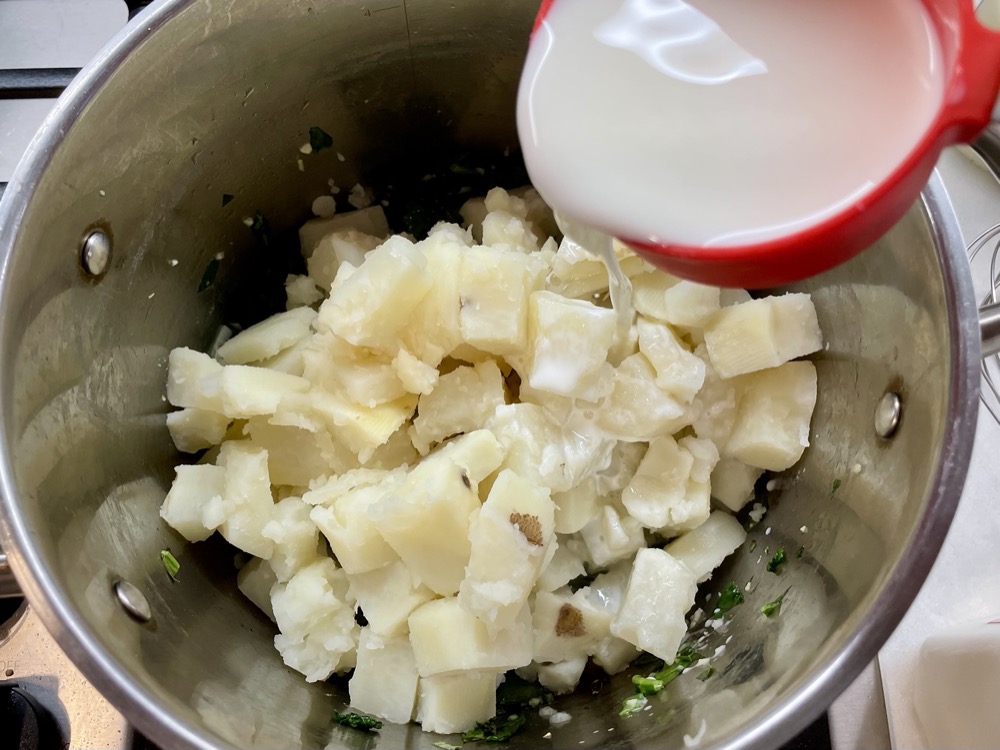
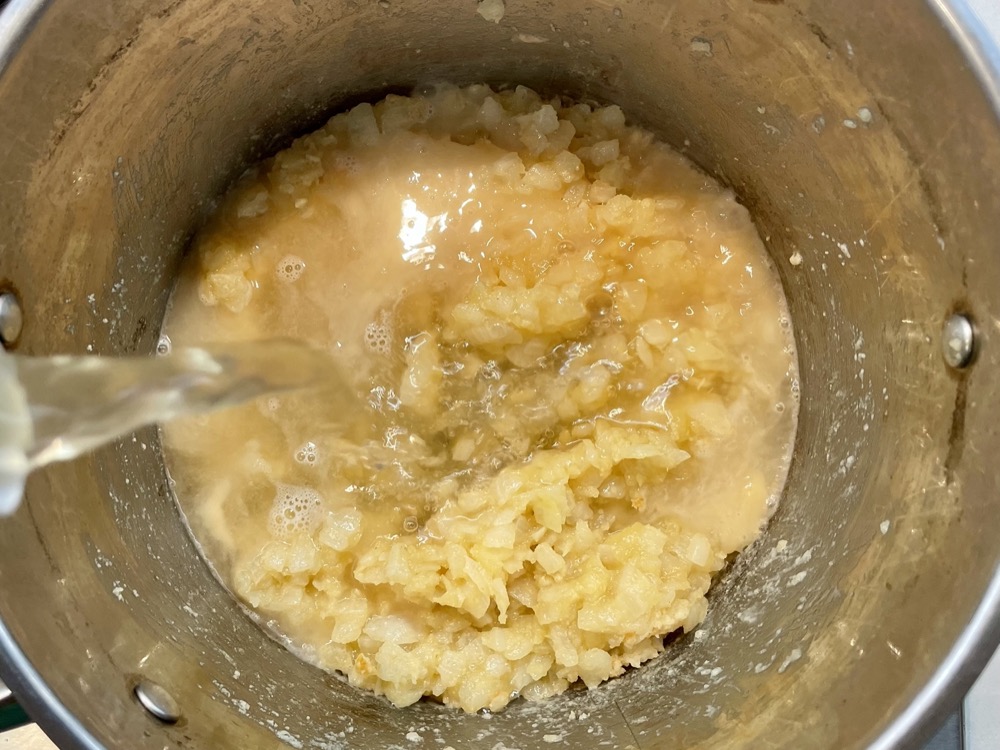
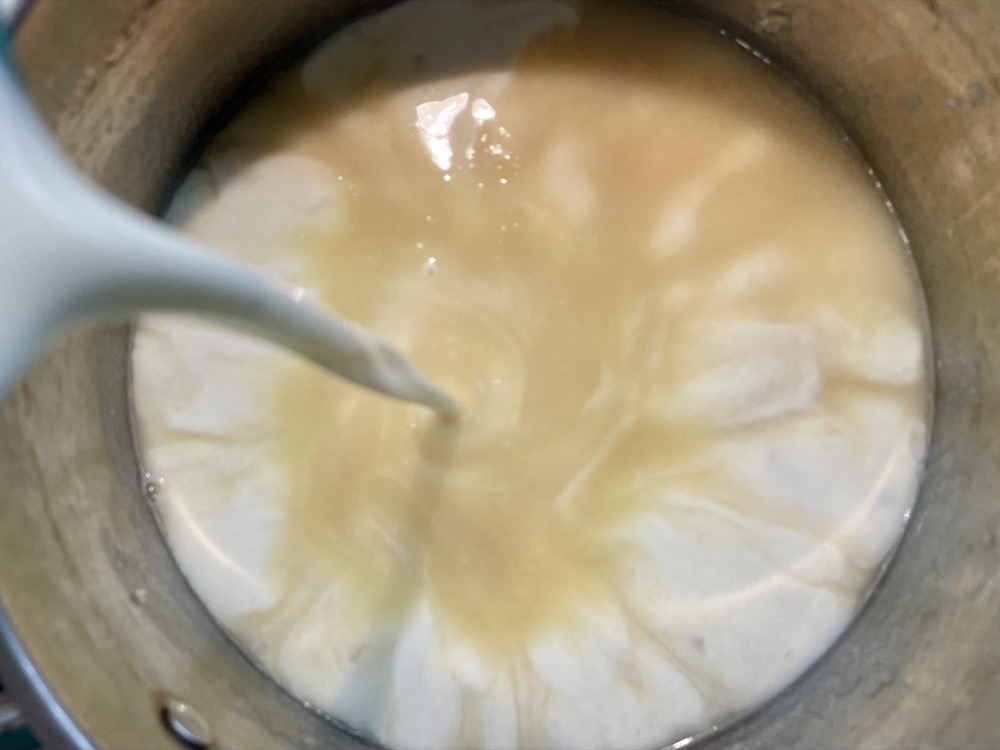
Pour in the 4 cups of chicken stock, 2 cups of heavy cream, and 2 cups of milk. Mix well, then turn the heat up to HIGH to bring the soup to a boil, then turn it down LOW-MED.
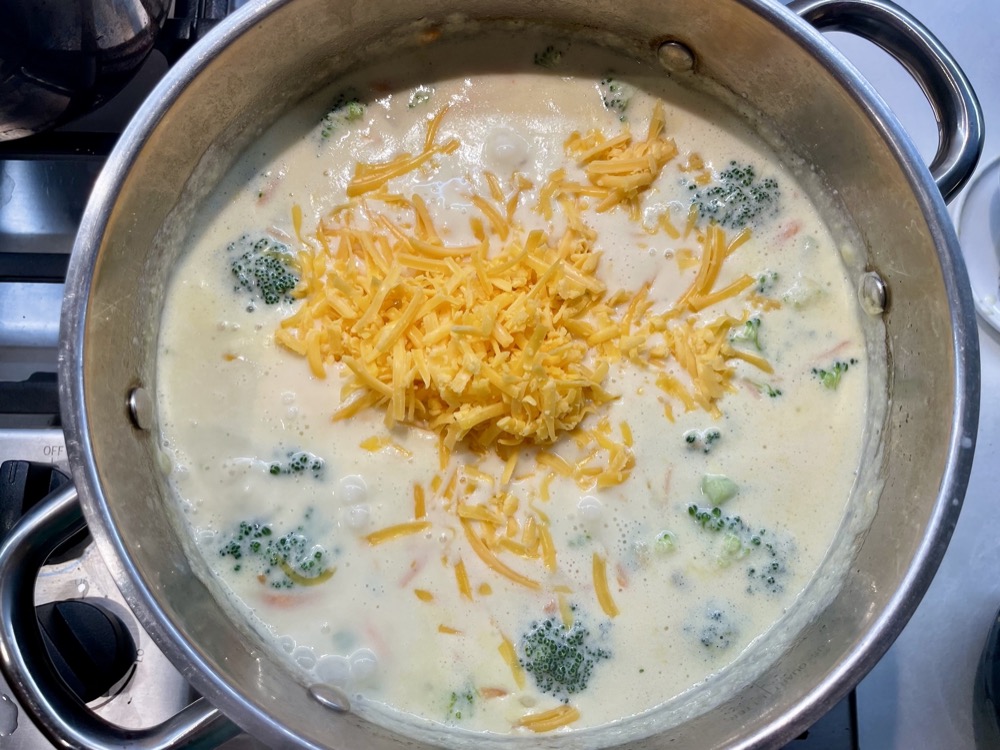
Add in the broccoli and carrots and continue to simmer for 15-20 minutes until the vegetables are cooked.


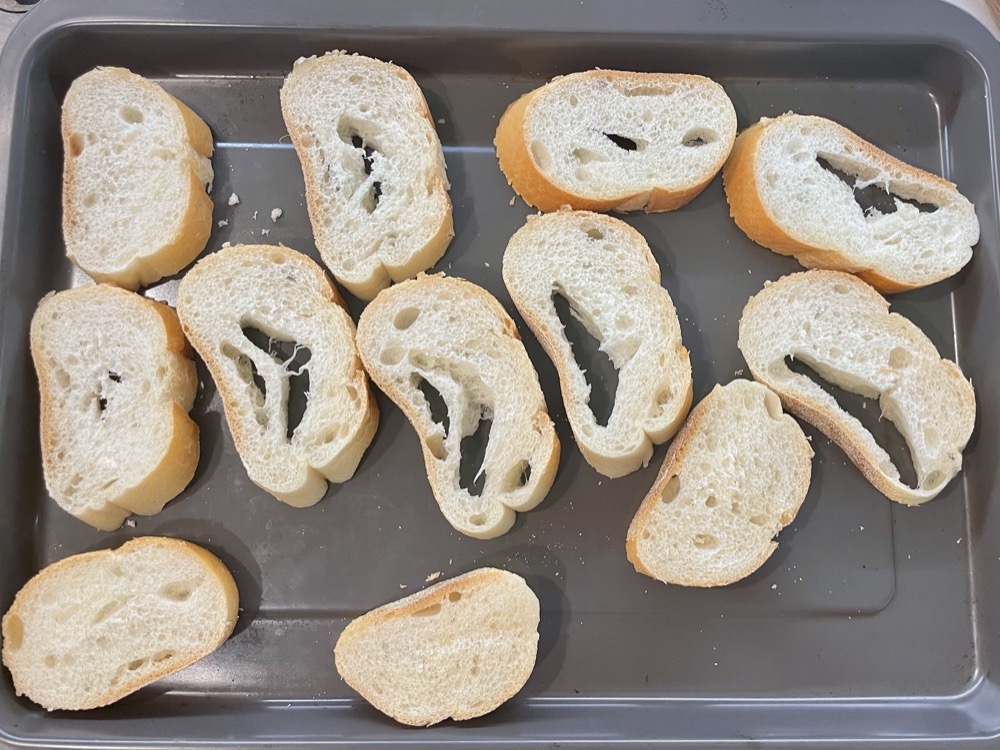
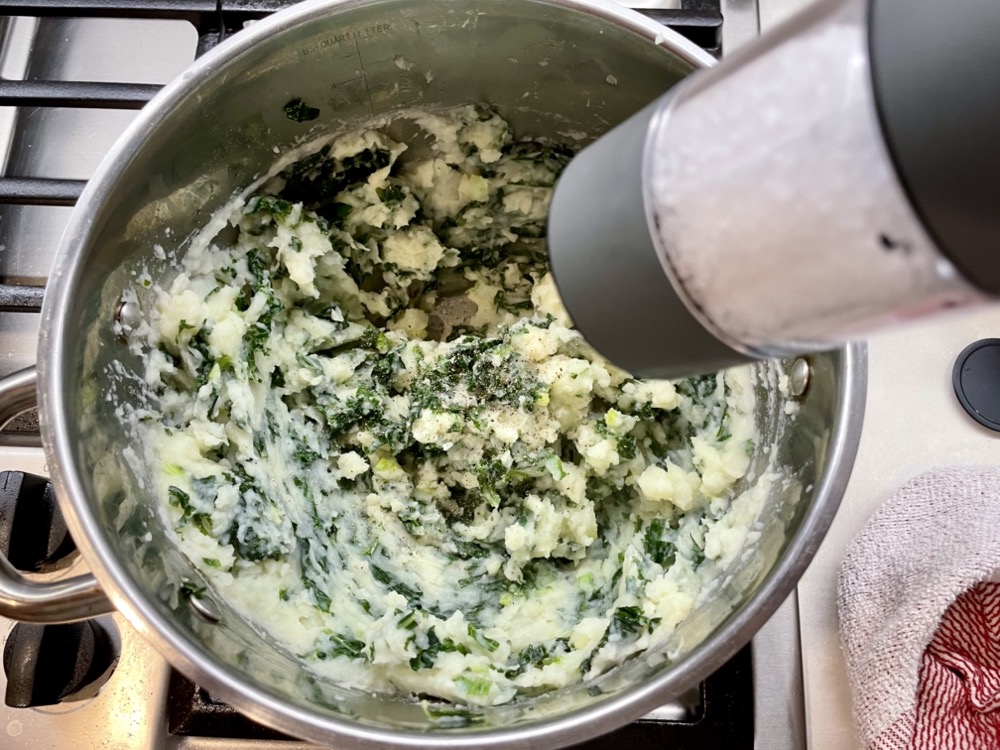
Add the cheddar cheese and ground nutmeg. Stir until the cheese has fully melted then taste and adjust salt and pepper to your liking. Done! Serve with some bread and an additional sprinkle of cheddar cheese on top.

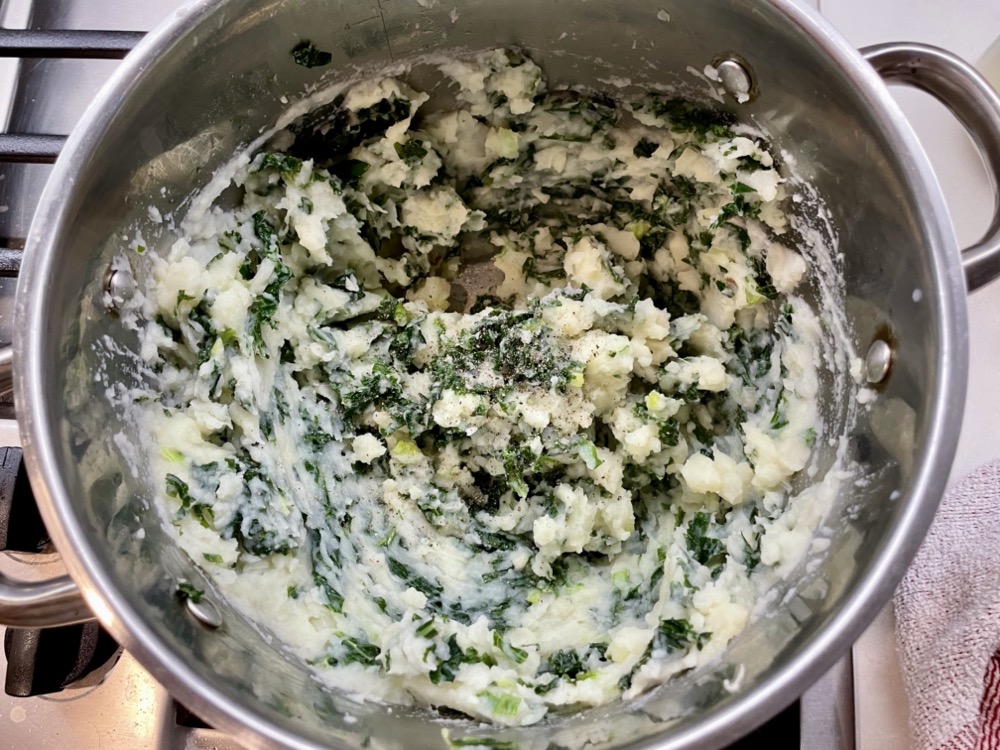
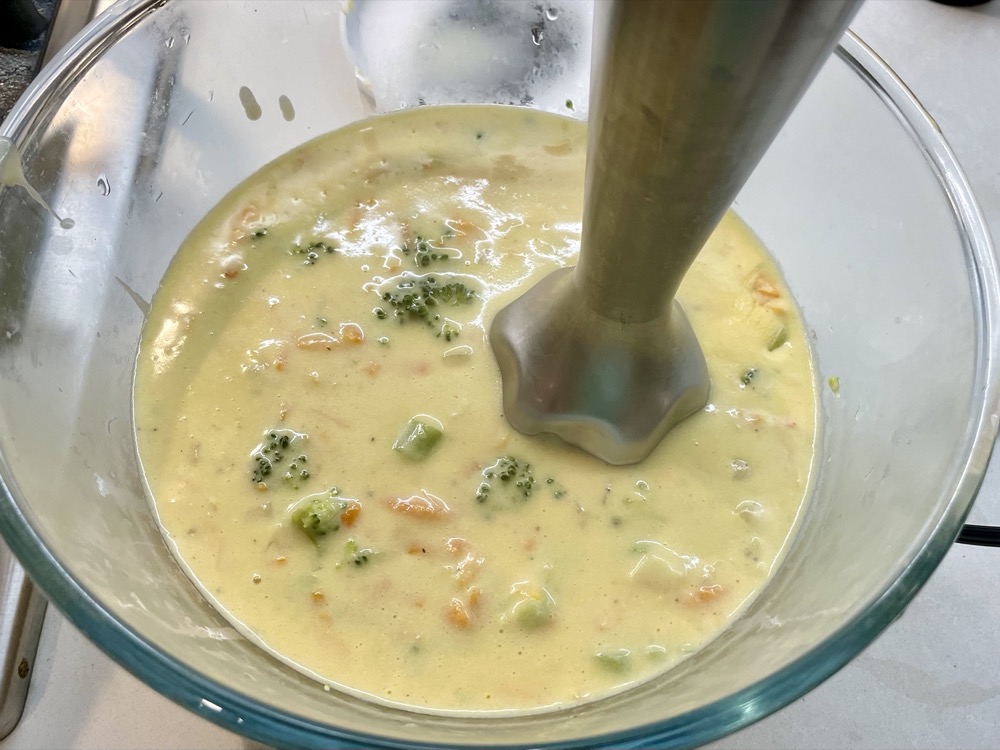
Optional step: to make the soup thicker, you can remove 4-5 ladles of soup into a separate bowl and blend until thickened then pour it back into the pot.


Summarized Recipe:
Broccoli Cheddar Soup (a Panera copycat)
Date Published: Feb 20th, 2025 | Last Updated: Feb 20th, 2025
Author: Abby |Category: < 30mins, easy, soup, vegetarian, mains, quick
Serves: 6 as a main | Prep time: 15 mins | Cook time: 30 mins
Ingredients:
- 113g (1 stick) unsalted butter
- 1 large onion, diced
- 1/2 cup all-purpose flour
- 4 cups (1L) chicken broth
- 2 cups heavy cream
- 2 cups whole milk
- 1 large head (500g) of broccoli, cut into bite sized pieces
- 1 large (~2 cups) carrot, julienned or grated through large holes
- 500g cheddar cheese, shredded
- 1/2 tsp ground nutmeg
- Salt & pepper to taste
Directions:
- In a large pot on MED heat, melt the 1 stick of butter then add in the diced onions. Cook for 3-4 minutes until the onions soften.
- Sprinkle the 1/2 cup of flour over the onions and mix well. Continue to cook for 1-2 minutes while continuously stirring.
- Pour in the 4 cups of chicken stock, 2 cups of heavy cream, and 2 cups of milk. Mix well, then turn the heat up to HIGH to bring the soup to a boil, then turn it down LOW-MED.
- Add in the broccoli and carrots and continue to simmer for 15-20 minutes until the vegetables are cooked.
- Add the cheddar cheese and ground nutmeg. Stir until the cheese has fully melted then taste and adjust salt and pepper to your liking. Done! Serve with some bread and an additional sprinkle of cheddar cheese on top.
- Optional step: to make the soup thicker, you can remove 4-5 ladles of soup into a separate bowl and blend until thickened then pour it back into the pot.