Date Published: August 2nd, 2020 | Last Updated: August 2nd, 2020
Author: Abby |Category: breads, easy, snacks, vegetarian
Serves: 8 (or 4 large ones) | Prep time: 1.5hrs (from start of dough) | Cook time: 10 mins
Jump to recipe | Watch the video
This is mine and Toby’s go-to snack. We divide a batch of basic dough and freeze them ahead of time and when we feel like snacking, we’ll defrost it for a couple hours, roll it out then spread za’atar over it and bake. It’s so quick and simple – in under 15 minutes we have freshly baked za’atar manakish. If we’re feeling a little more indulgent, we’ll sometimes use our defrosted dough to make halloumi cheese pies out – which is also super easy (click here for the recipe)!

Za’atar (Lebanese spice mix) 
This is our favourite brand of za’atar!
If you’re unfamiliar, Za’atar is a blend of Lebanese spieces that usually include oregano, sumac, thyme, and sesame seeds. It’s packed full of earthy flavours with a lemon-y acidity from the sumac. I’ll admit when I first I tried it, I didn’t think too much of it, but Toby kept buying the manakish and after a few sneaky bites here and there over time, now I can’t get enough! Lots of shops sell za’atar but everyone has their own ratios of spices so they can taste vastly different depending on the brand. Our favourite brand is called “Za’atar extra” (pictured above) where we buy from A1 bakery in Dandenong. It’s on my to-do list to try and recreate their spice mix just incase we move and can’t find this brand anywhere else (I’ll post it if I’m ever successful).

Side story: This dish has sentimental value to me. When I first started dating Toby (my now fiancé), he took me to a small Lebanese bakery shop in Werribee called A1 bakery and ordered two cheese pies and an “oregano pizza” as he called it. Between the two of us, I’m usually the one introducing him to good restaurants and new foods. This is the first place he took me to that really impressed me. The halloumi cheese pies were to die for but the “oregano pizza” was just okay for me. As time went on, we’d keep going back to the bakery and the “oregano pizza” really grew on me (which we later learned the proper name was: za’atar manakish). After we moved out of the Werribee area, we had to drive 40mins to the closest A1 bakery in Dandenong to get the cheese pies and manakish, but it was worth it. It was magical every time. At our last trip, Toby surprised me with a packet of za’atar seasoning that the bakery sold and suggested we try making it at home during quarantine for some fun. After reading through a handful of recipes online, I made a compilation of them all and combined it into this recipe. We made it for the first time a few months ago and it came out A-MAZING! We’ve made it countless times since.

The recipe is a bit word-y but it’s actually super easy once you make it. The dough is made from the basic dough recipe which gives it a beautiful fluffiness if you roll it out thick and a nice crispy crunchy texture if you roll it out thin. I hope you enjoy it as much as we do! If za’atar isn’t your jam, you can always turn the dough into halloumi cheese pies :D.
Anyways, without further ado, here’s the recipe! If you have any comments or suggestions, I’d love to hear from you in the comment section! You can follow me on instagram, youtube and facebook to see all the recipes I post!
Happy cooking!
Ingredients you’ll need:
- One dough ball from the basic dough recipe (click link to follow recipe)
- 1/2 cup za’atar (Lebanese spice mix)
- 1/2 cup extra virgin olive oil
Directions:


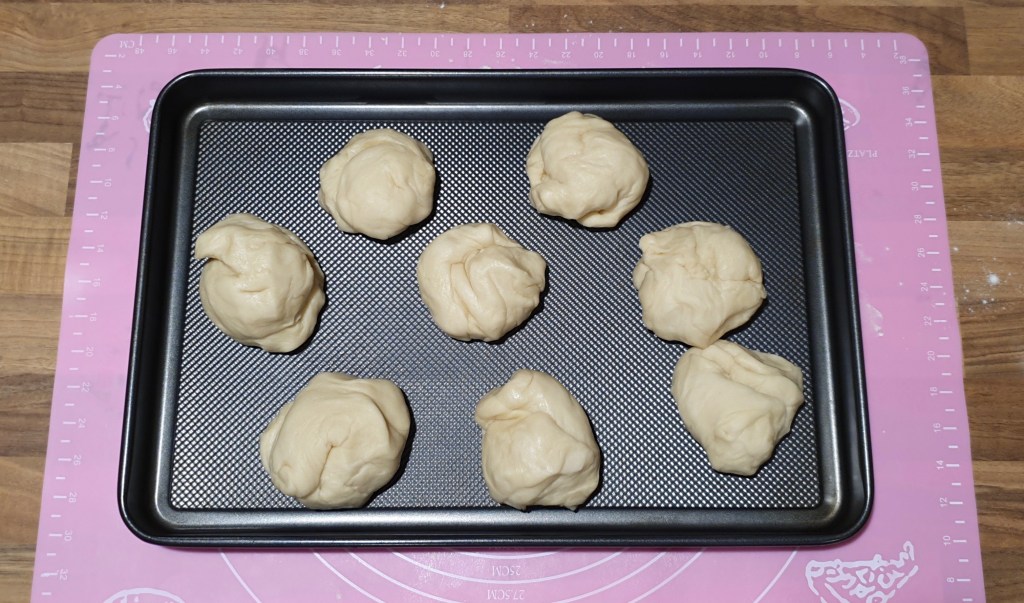
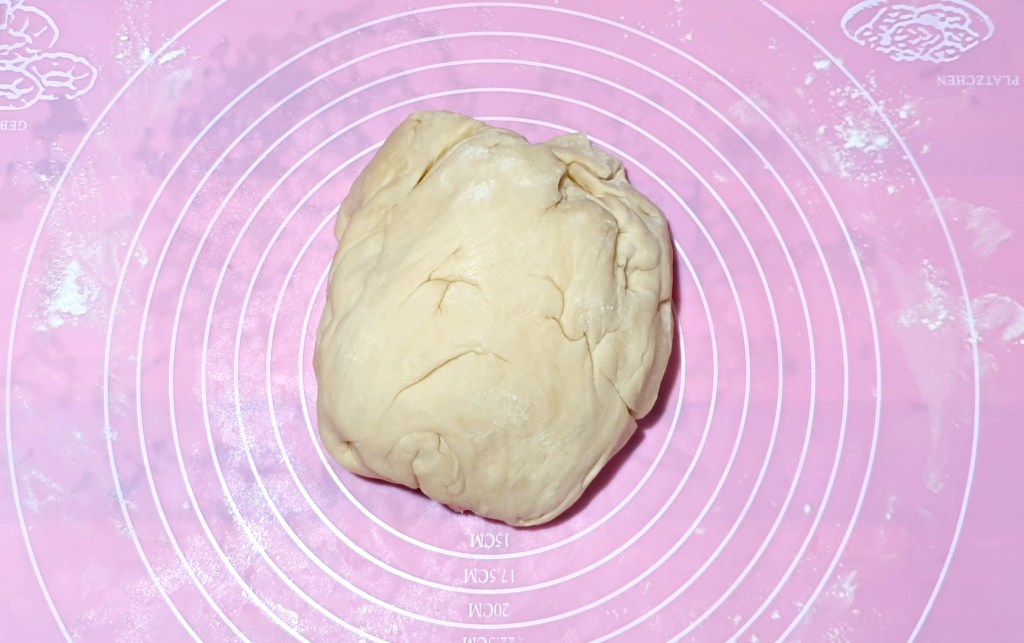
Make one dough ball from the basic dough recipe and let it proof for 1 hour until doubled in size (click here for tips on how to proof your dough in the oven). Once risen, punch the dough and knead a couple times on a floured surface to get rid of any air pockets. Divide the dough into 8 equal pieces (or bigger if you prefer your manakish larger) and let it rest for 10 minutes.
Preheat the oven to 200˚C.

In a bowl combine the za’atar with the olive oil and mix.

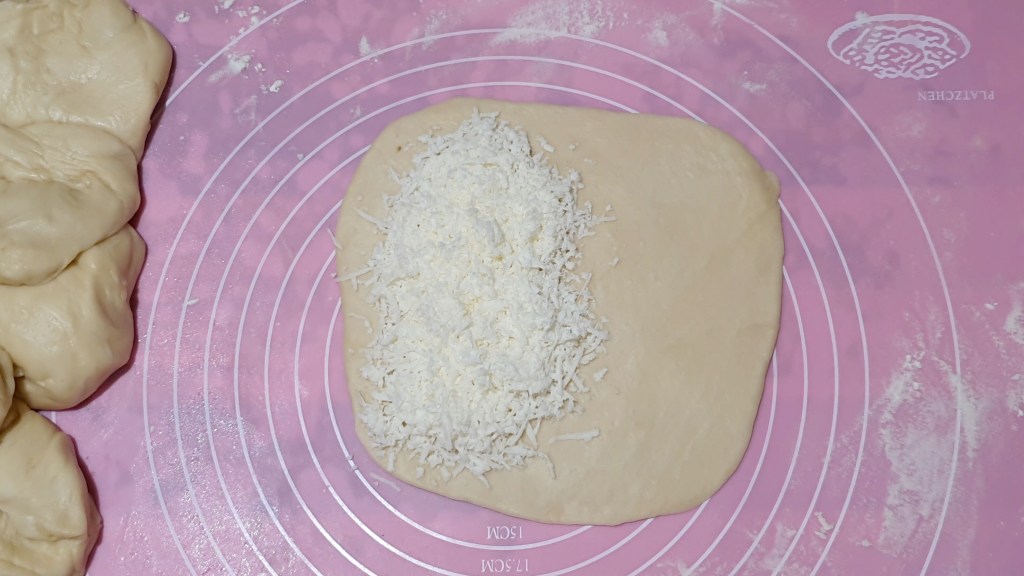
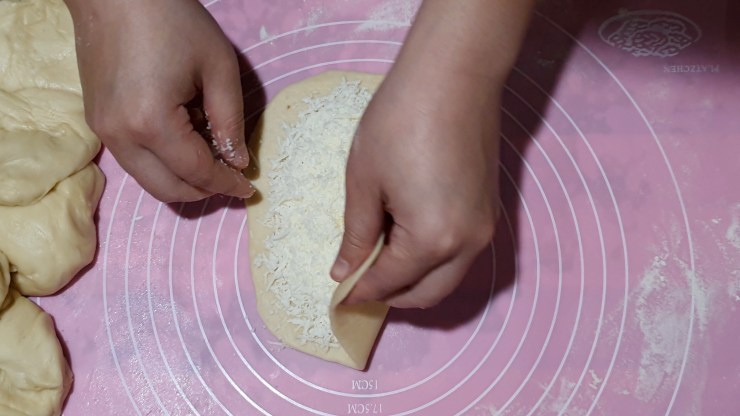
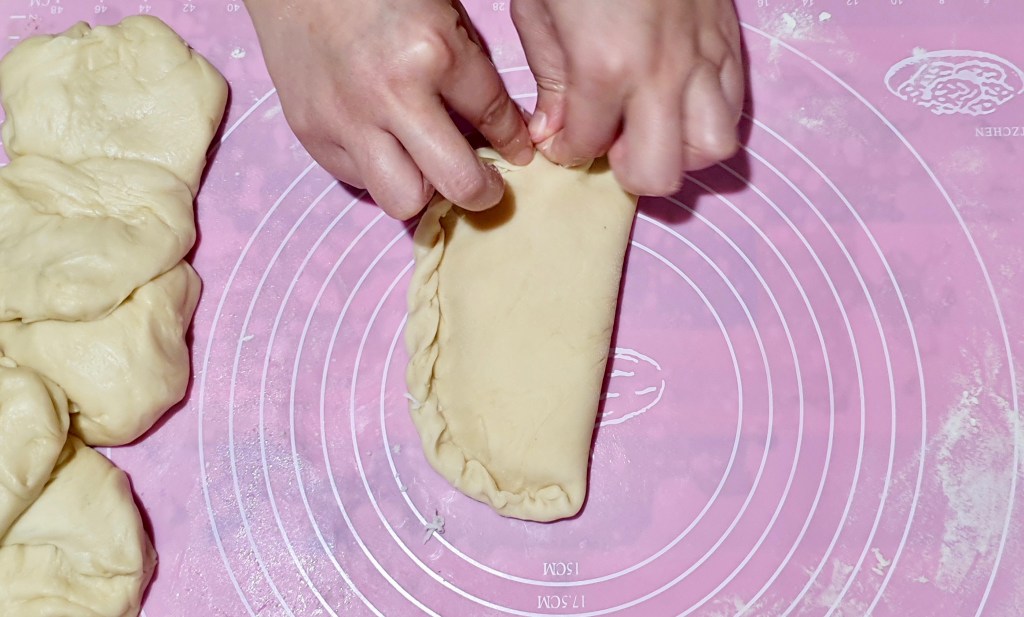
After the dough has rested, knead each ball a couple times on a floured surface then roll it out to 5mm thick (or to preference – the thinner you roll it, the crispier your flatbread and the thicker it is, the more fluffy it will be). Transfer the dough onto a greased baking tray. (It’s important to transfer the dough to the tray FIRST before spreading the za’atar otherwise it may get a little messy!)

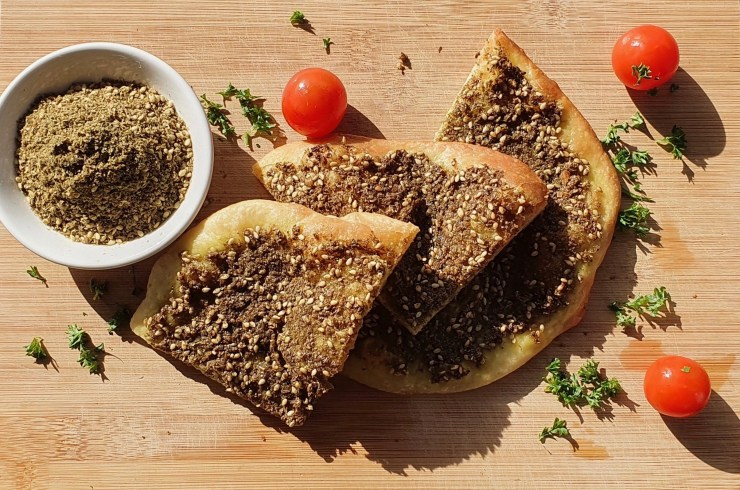
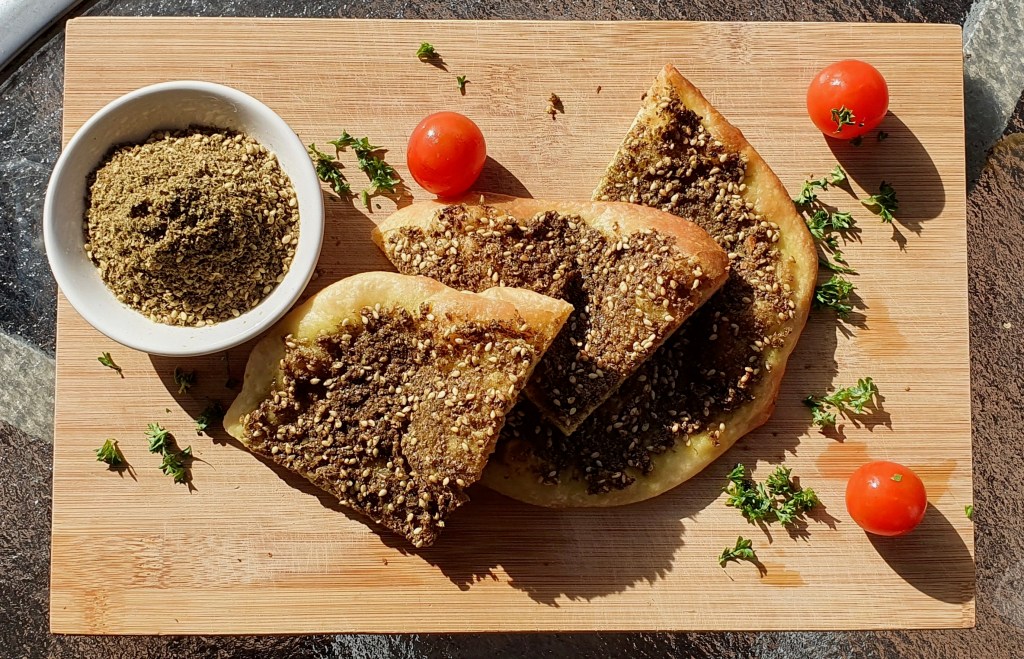
Mix and spread your za’atar mixture over the dough and bake in the oven at 200˚C for 7-10 minutes until the edges are golden. Let it sit for 5 minutes before serving so the olive oil gets soaked into the bread. Enjoy!


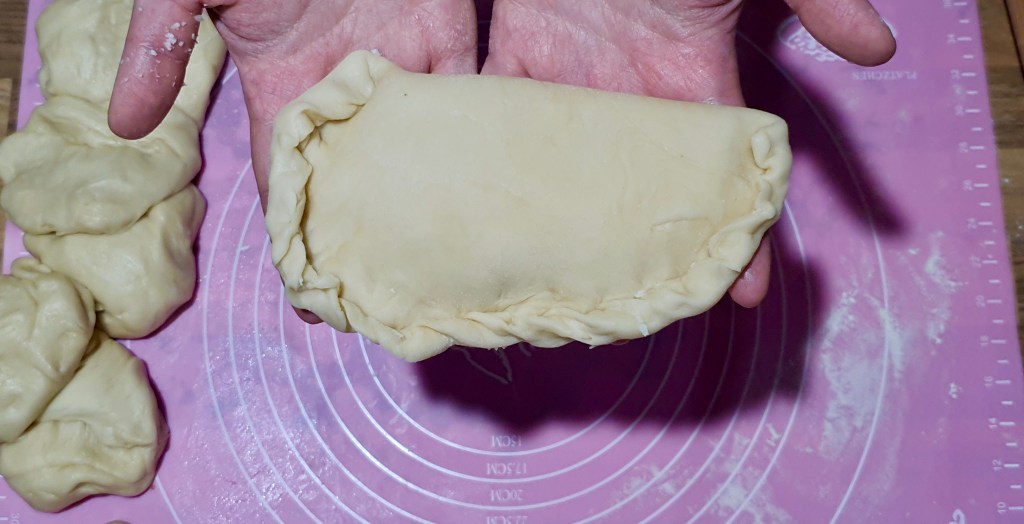
Tip: If you don’t want to make an entire batch, you can freeze the divided dough balls by wrapping them in cling wrap and just defrost the dough a few hours before you want to use it. You don’t need to rest it, just roll it out and spread za’atar over it (use roughly 2 Tbsps of olive oil + 2 Tbsps za’atar per flatbread). This makes a quick and easy late night snack!

Did you try this recipe? I’d love your feedback or any comments on what you thought! Leave a message below and follow me on facebook and instagram (@polyphagicabby). 🙂
Watch the Video Tutorial!
Summarized Recipe:
Za’atar Manakish
Date Published: August 2nd, 2020 | Last Updated: August 2nd, 2020
Author: Abby |Category: breads, easy, snacks
Serves: 8 (or 4 large ones) | Prep time: 1.5hrs (from start of dough) | Cook time: 10 mins
Ingredients:
- One dough ball from the basic dough recipe (click link to follow recipe)
- 1/2 cup za’atar spice mix
- 1/2 cup extra virgin olive oil
Directions:
- Make one dough ball from the basic dough recipe and let it proof for 1 hour until doubled in size (click here for tips on how to proof your dough in the oven). Once risen, punch the dough and knead a couple times on a floured surface to get rid of any air pockets. Divide the dough into 8 equal pieces (or bigger if you prefer your manakish larger) and let it rest for 10 minutes.
- Preheat the oven to 200˚C.
- In a bowl combine the za’atar with the olive oil and mix.
- After the dough has rested, knead each ball a couple times on a floured surface then roll it out to 5mm thick (or to preference – the thinner you roll it, the crispier your flatbread and the thicker it is, the more fluffy it will be). Transfer the dough to a greased baking tray.
- Mix and spread your za’atar mixture over the dough and bake in the oven at 200˚C for 7-10 minutes until the edges are golden. Let it sit for 5 minutes before serving so the olive oil gets soaked into the bread. Enjoy!
Tip: If you don’t want to make an entire batch, you can freeze the divided dough balls by wrapping them in cling wrap and just defrost the dough a few hours before you want to use it. You don’t need to rest it, just roll it out and spread za’atar over it (use roughly 2 Tbsps of olive oil + 2 Tbsps za’atar per flatbread). This makes a quick and easy late night snack!