Date Published: March 22nd, 2021 | Last Updated: March 22nd, 2021
Author: Abby |Category: soups, vegetarian, easy, quick, healthy
Serves: 4 | Prep time: 15 mins | Cook time: 45 mins
Jump to recipe |
Of all the soups I make, this is probably one of the top go-to soups that Toby and I put together the most often. Why? Because it’s damn delicious, damn easy, healthy, low calorie and and filling. It even makes for an easy clean up. Sounds too good to be true, eh? The best part is that you don’t need to follow this recipe to a tee. You can add whatever veg you like to the roasting pan – which is a perfect way to sneak in extra veg for picky eaters or an even better way to clear out the fridge. All you gotta do to make this delicious soup is to roast the veggies, add some chicken stock, and blend it all up. That’s all! No cream, no butter, just a buttload of veg that keeps you full. If you ever follow the NY Times Cooking Blog, they occasionally post “no recipe recipes” which I think is a term that perfectly describes this type of recipe.


I’ve written the recipe as a guide to the basic version of the soup but feel free to swap out or add in any of the ingredients – the combinations of this soup are endless. I’ve made it with cauliflower, red pepper, zucchini…etc. If you want to bulk up this soup even more, you can add in rice and chicken as well. To make it indulgent, add a cup of cream at the end.

Anyways, without further ado, here’s the recipe! If you have any comments or suggestions, I’d love to hear from you in the comment section! You can follow me on instagram, youtube and facebook to see all the recipes I post!
Happy cooking!
Ingredients you’ll need:
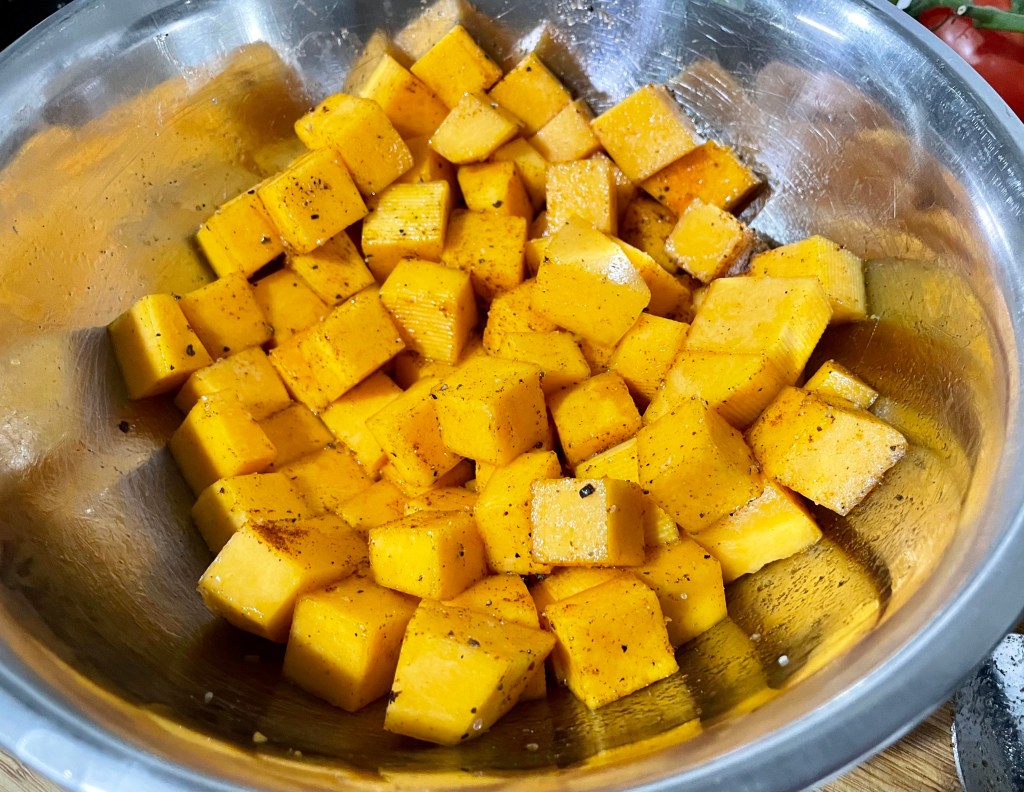
- 1kg (~6 cups) pumpkin, peeled and diced
- 3 cups (3 large stalks) celery, diced
- 1 large onion, peeled and cut into quarters or eighths
- 6 cloves of garlic, peeled and lightly smashed
- 1.5 tsps paprika
- 1/2 tsp salt
- 1/4 cup olive oil
- 1 litre (4 cups) chicken stock
- 4 cups loosely packed (120g) baby spinach leaves
- Salt and pepper to taste
Directions:
Preheat oven to 180˚C (375˚F).
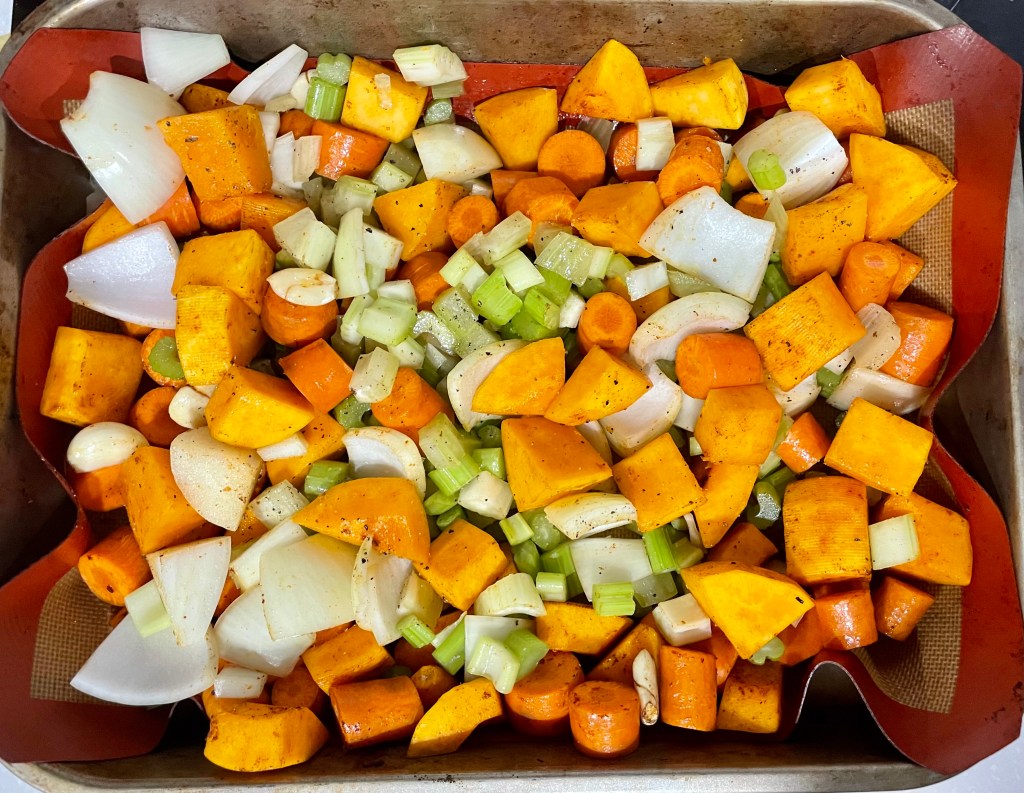
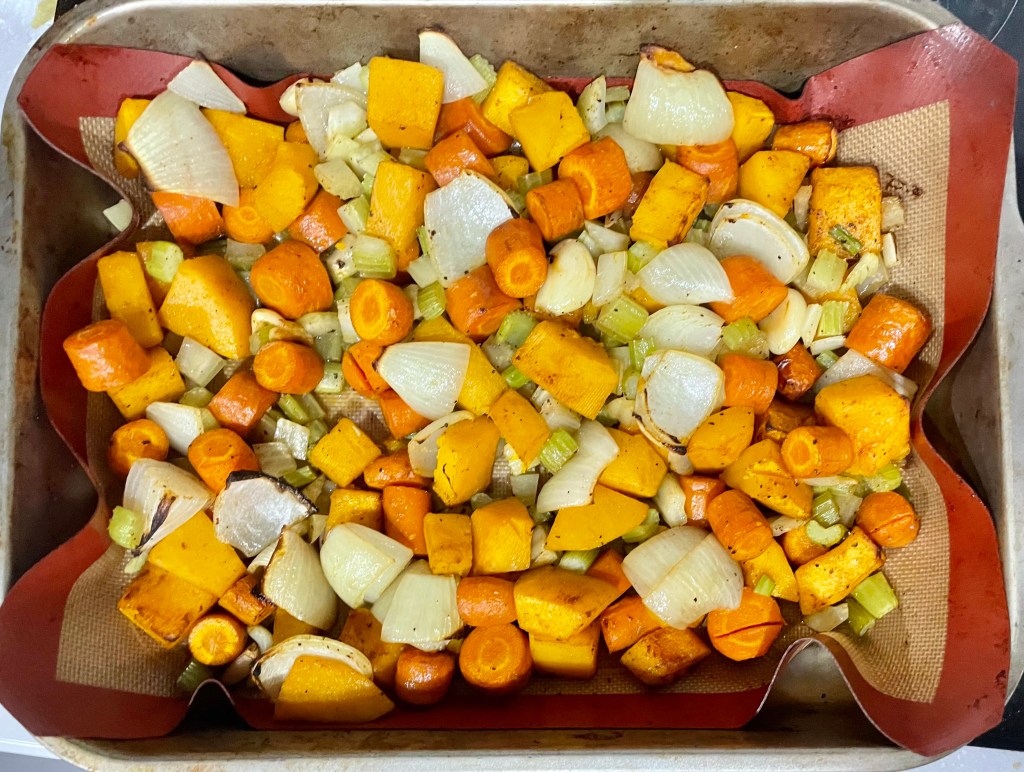
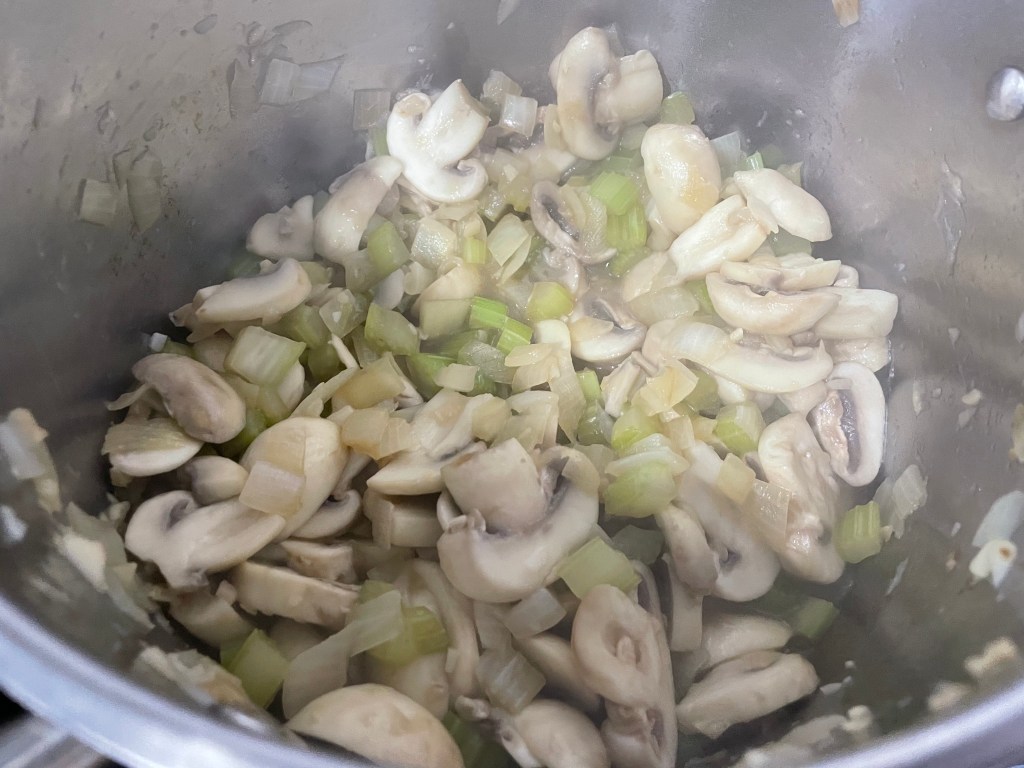
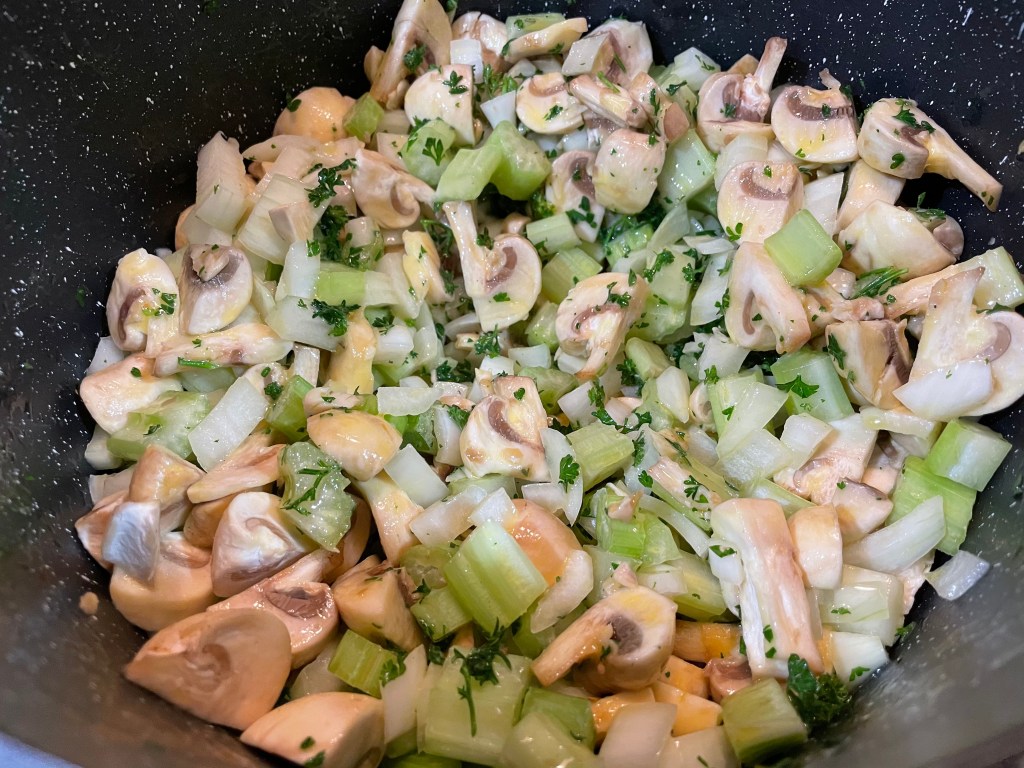
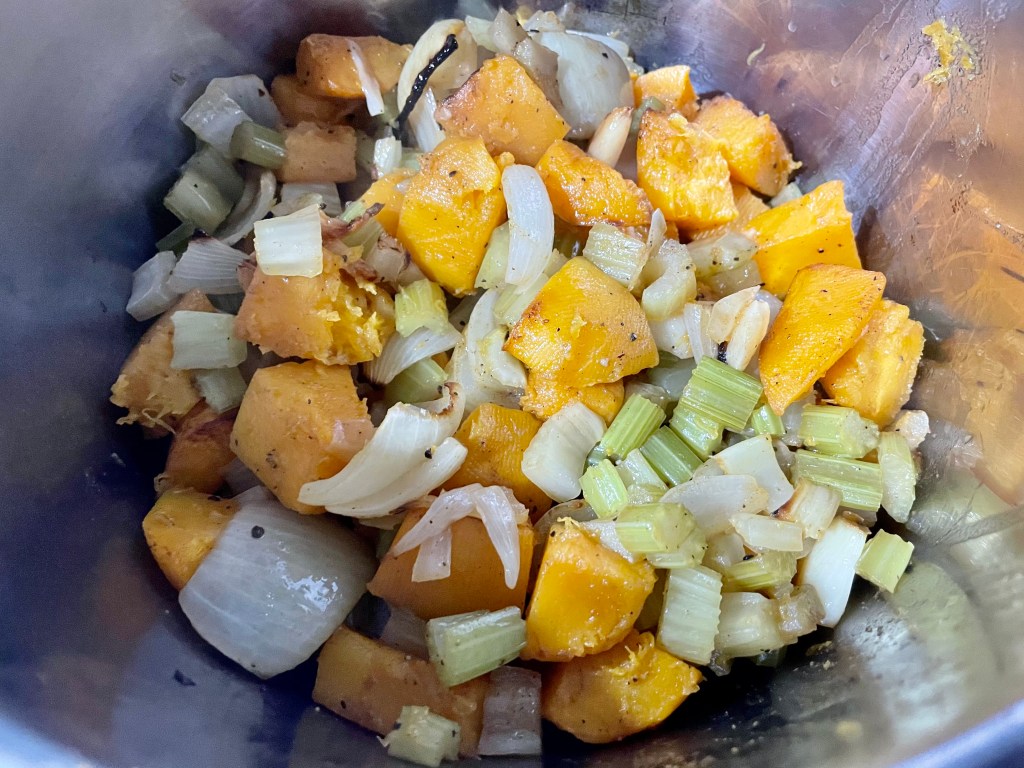
Roast the veggies: In a large baking tray, add in: pumpkin, celery, onion, garlic, paprika, salt, and olive oil. Mix it all around and roast in the preheated oven until all the veggies are soft and breaks apart easily when cut with a wooden spoon (30-45 mins). Toss the veggies around halfway through to ensure even cooking.


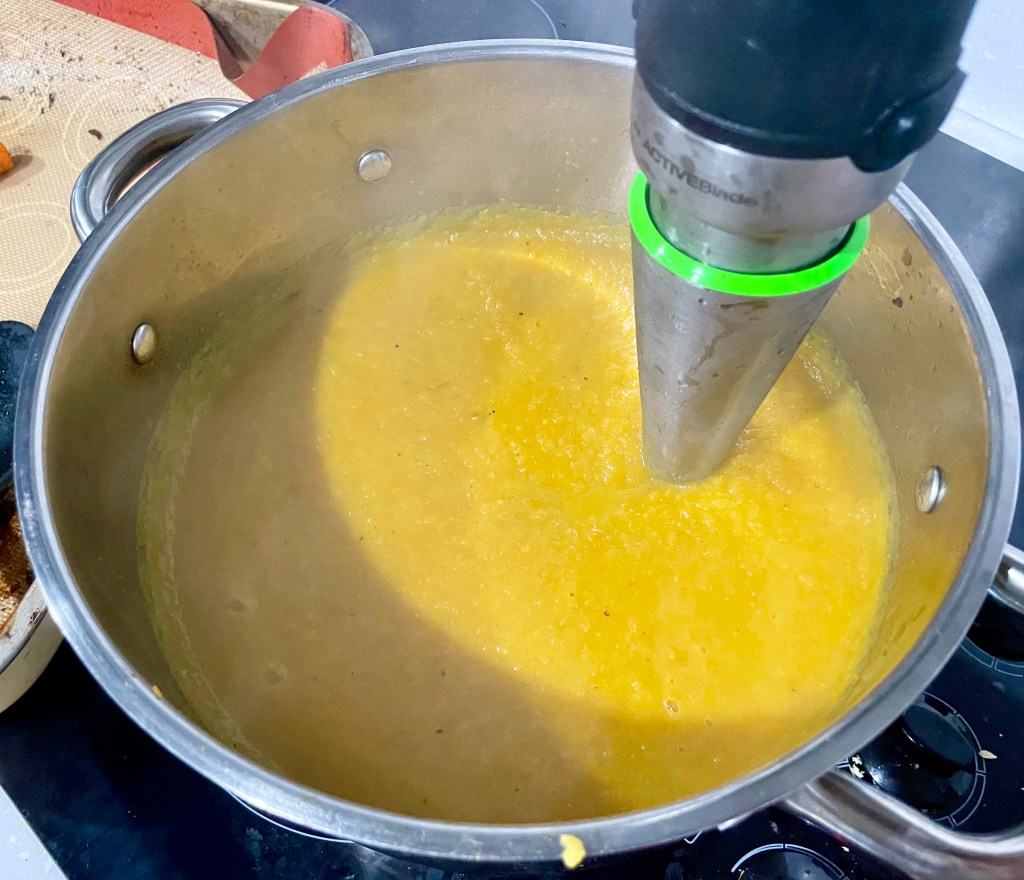
Once the veggies are cooked, empty the contents of the baking tray into a pot and add in the chicken stock. Turn the heat on to MED-HIGH and let the soup come to a boil. Once the soup comes to a boil, turn the heat OFF and remove the pot from the heat*. Then use an immersion/stick blender and blend the soup until smooth.
*It’s very important that you remove the pot from heat before you start blending otherwise when the thickened soup starts boiling again it starts to splatter everywhere!

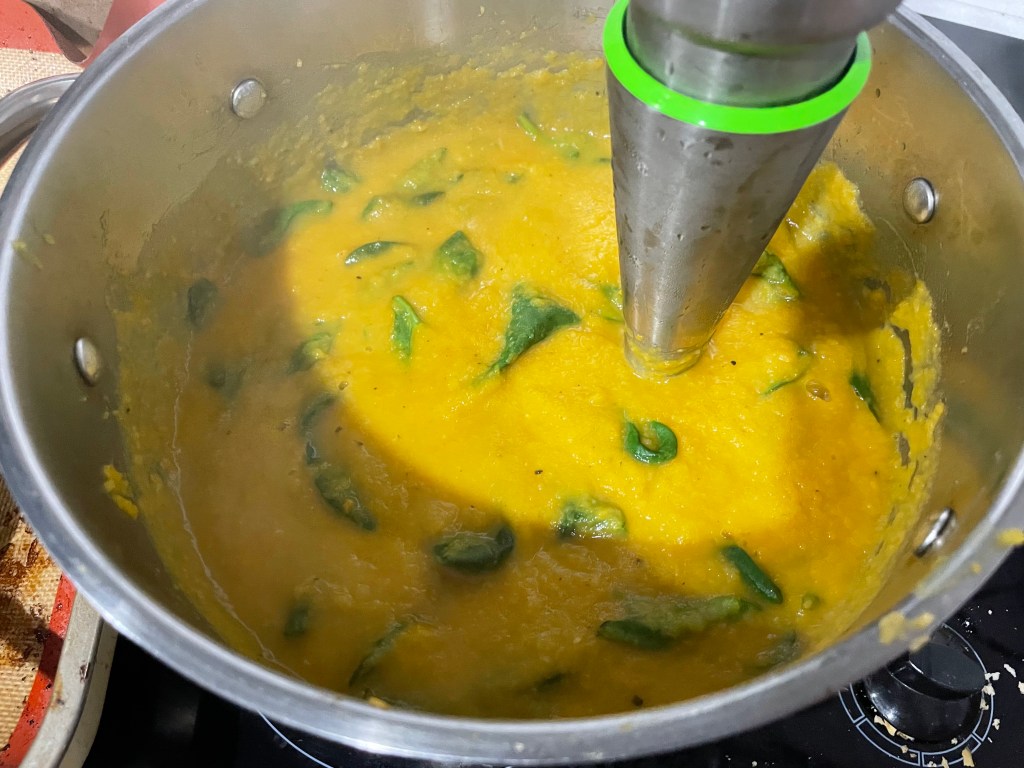
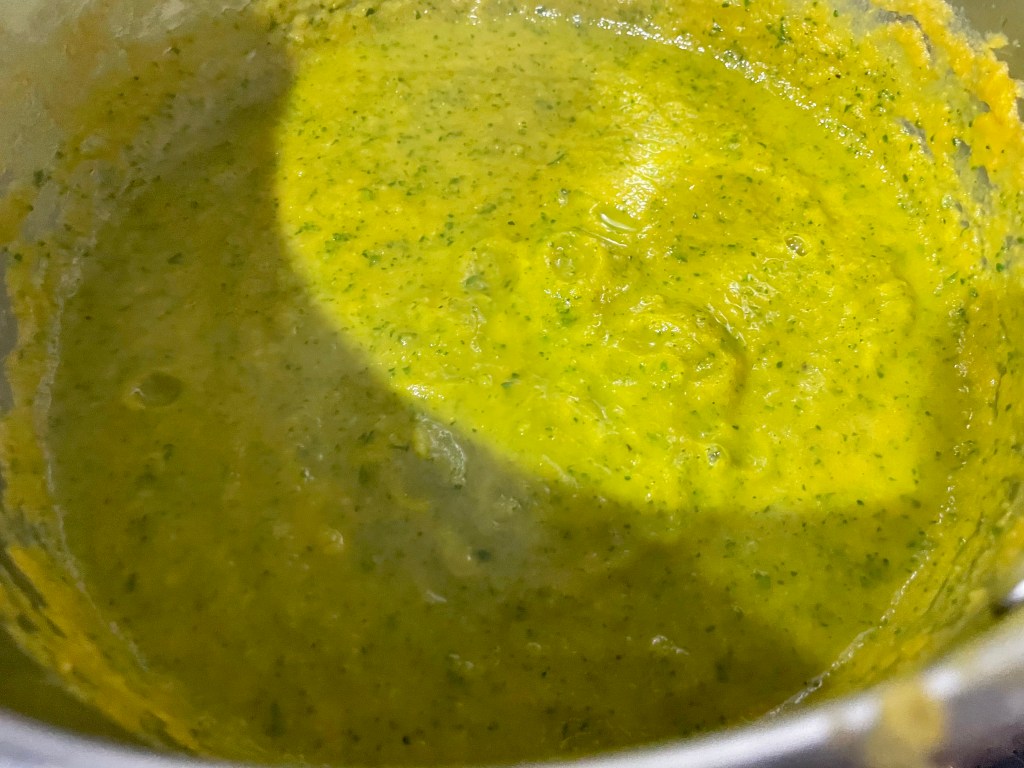
Add in the spinach and submerge it into the soup until the leaves become soft, then blend the soup again until everything is combined. Salt and pepper to taste. Serve hot!
(Tip: If you’re feeling indulgent you can add 1 cup of heavy cream at the end. I always leave out the cream to make it a healthy soup.)


Summarized Recipe:
Favourite Roasted Pumpkin Spinach Soup
Date Published: March 22nd, 2021 | Last Updated: March 22nd, 2021
Author: Abby |Category: soups, vegetarian, easy, quick, healthy
Serves: 4 | Prep time: 15 mins | Cook time: 45 mins
Ingredients:
- 1kg (~6 cups) pumpkin, peeled and diced
- 3 cups (3 large stalks) celery, diced
- 1 large onion, peeled and cut into quarters or eighths
- 6 cloves of garlic, peeled and lightly smashed
- 1.5 tsps paprika
- 1/2 tsp salt
- 1/4 cup olive oil
- 1 litre (4 cups) chicken stock
- 4 cups loosely packed (120g) baby spinach leaves
- Salt and pepper to taste
Directions:
- Preheat oven to 180˚C (375˚F).
- Roast the veggies: In a large baking tray, add in: pumpkin, celery, onion, garlic, paprika, salt, and olive oil. Mix it all around and roast in the preheated oven until all the veggies are soft and breaks apart easily when cut with a wooden spoon (30-45 mins). Toss the veggies around halfway through to ensure even cooking.
- Once the veggies are cooked, empty the contents of the baking tray into a pot and add in the chicken stock. Turn the heat on to MED-HIGH and let the soup come to a boil. Once the soup comes to a boil, turn the heat OFF and remove the pot from the heat*. Then use an immersion/stick blender and blend the soup until smooth.
- *It’s very important that you remove the pot from heat before you start blending otherwise when the thickened soup starts boiling again it starts to splatter everywhere!
- Add in the spinach and submerge it into the soup until the leaves become soft, then blend the soup again until everything is combined. Salt and pepper to taste. Serve hot!
(Tip: If you’re feeling indulgent you can add 1 cup of heavy cream at the end. I always leave out the cream to make it a healthy soup.)