Date Published: Sept 26th, 2021 | Last Updated: Sept 26th, 2021
Author: Abby |Category: soups, healthy, easy, mains, <30 mins, low-cal, vegetarian
Serves: 4-6 (1 large pot) | Prep time: 10 mins | Cook time: 40 mins
Jump to recipe |
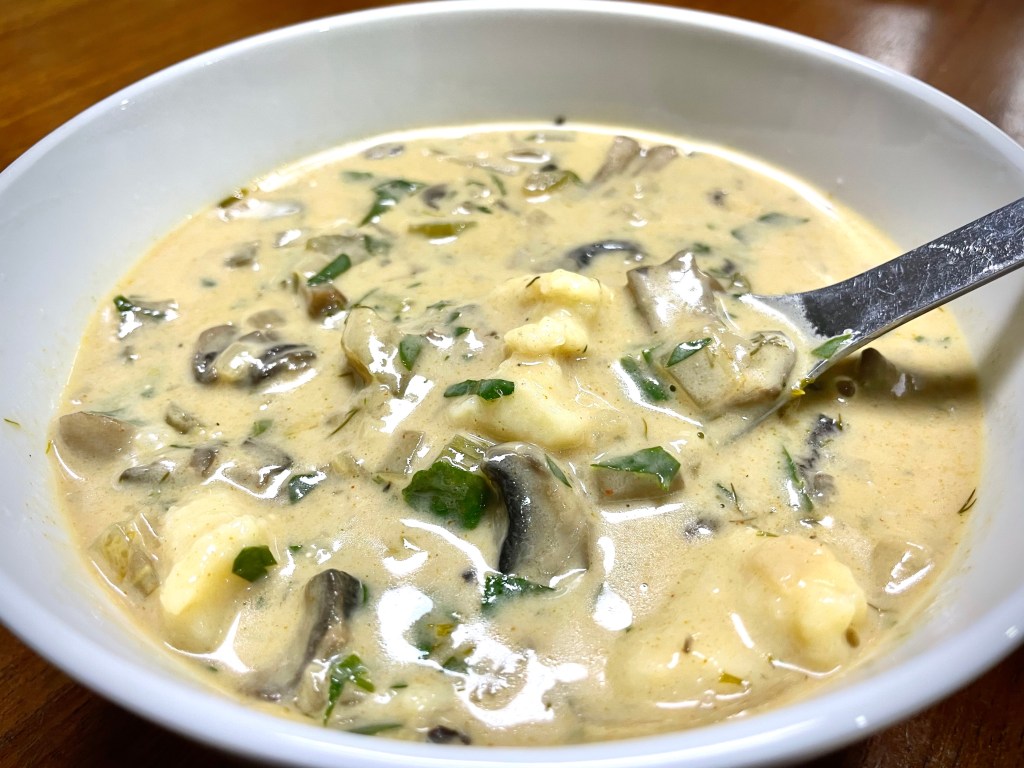
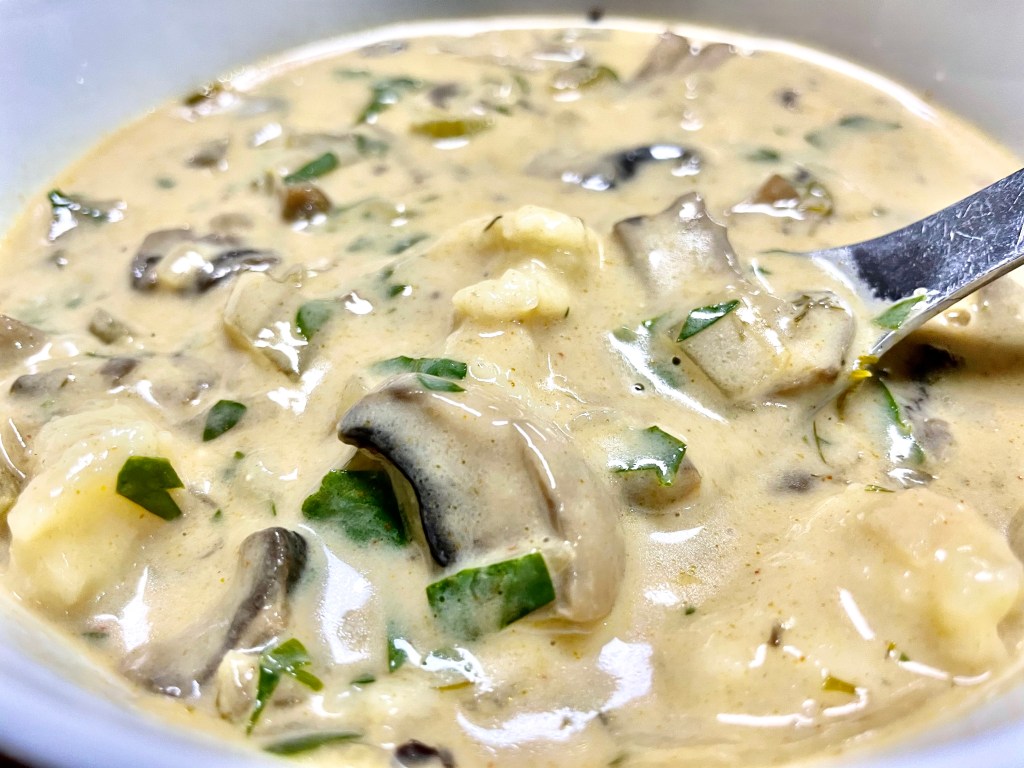
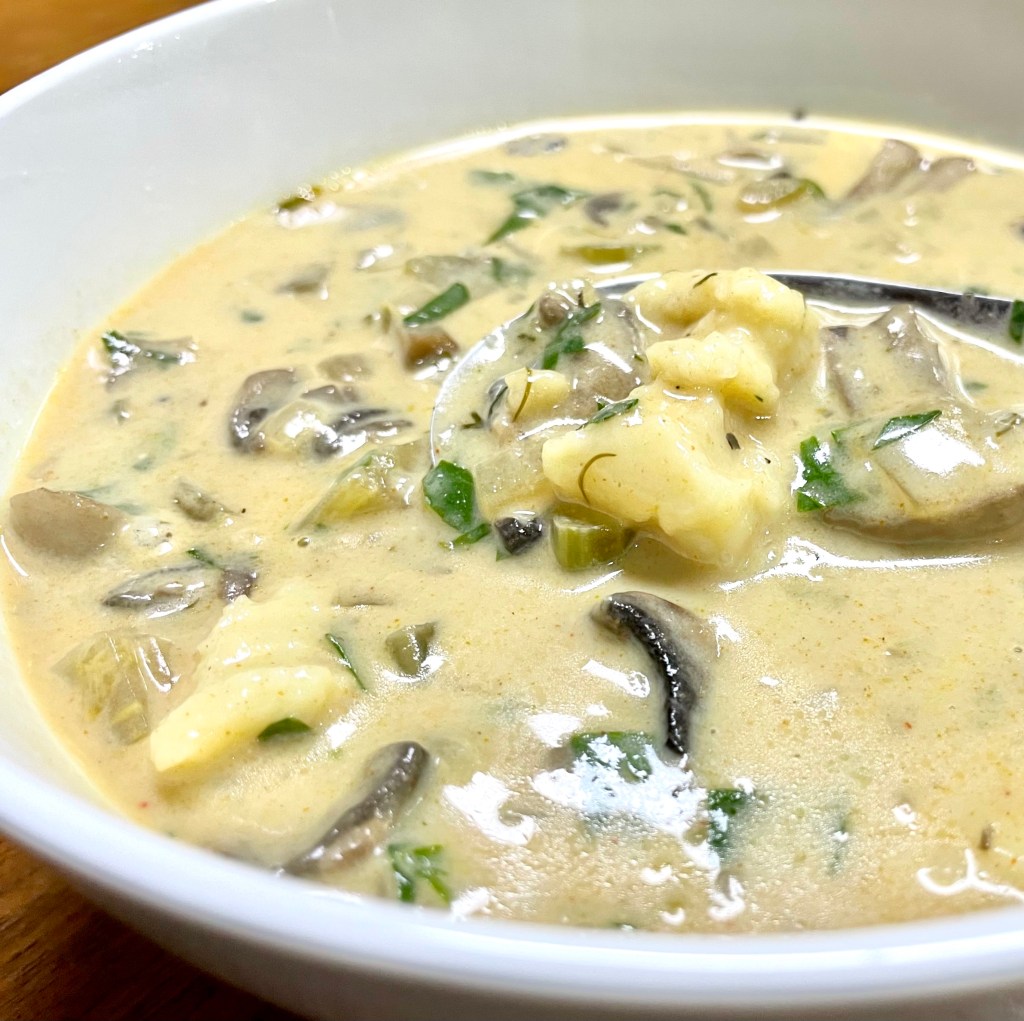
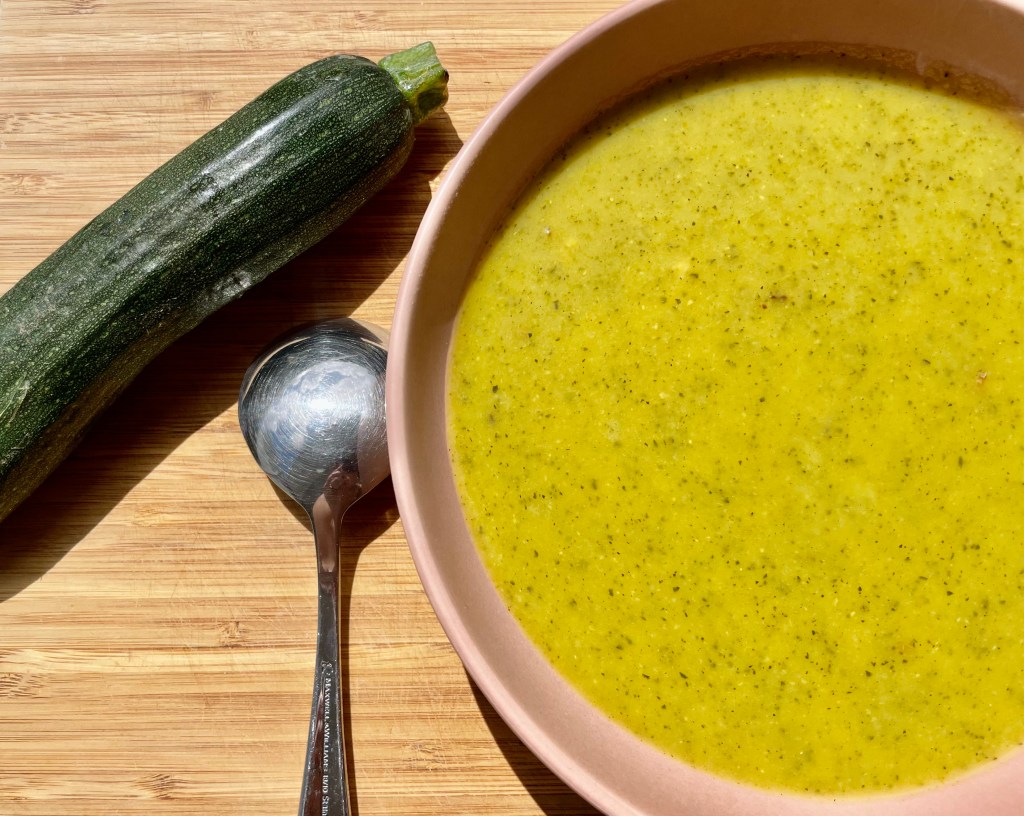
This curry zucchini soup is quick, easy and healthy. The bulk of the soup is just zucchinis so its also low in calories as well. This is the perfect weekday meal with minimal effort. Serve it with some croutons, bread, or even toss in leftover shredded roast chicken or vegetables.
Anyways, without further ado, here’s the recipe! If you have any comments or suggestions, I’d love to hear from you in the comment section! You can follow me on instagram, youtube and facebook to see all the recipes I post!
Happy cooking!
Ingredients you’ll need:
- 1 Tbsp olive oil
- 1 large onion, diced
- 4 cloves of garlic, minced
- 5 zucchinis, diced (~8 cups)
- 1/2 tsp kosher salt
- 3 tsps curry powder
- 6 cups chicken stock (or vegetable stock)
- 1/3 cup basmati rice
- Cayenne powder to taste (optional)
Directions:

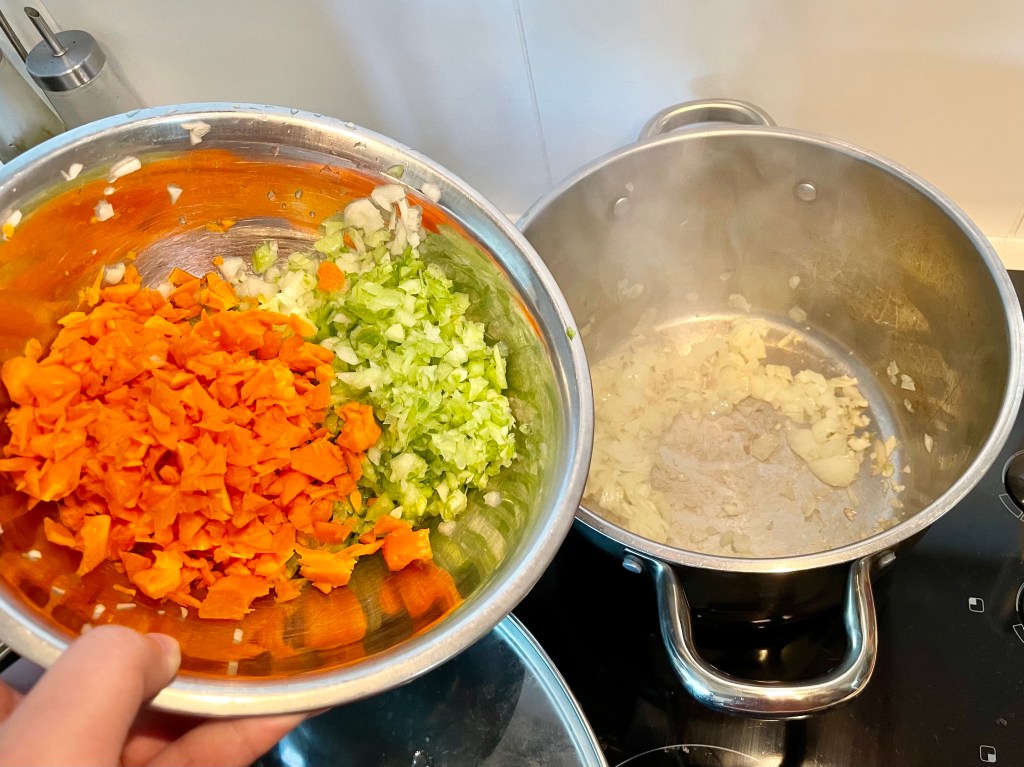
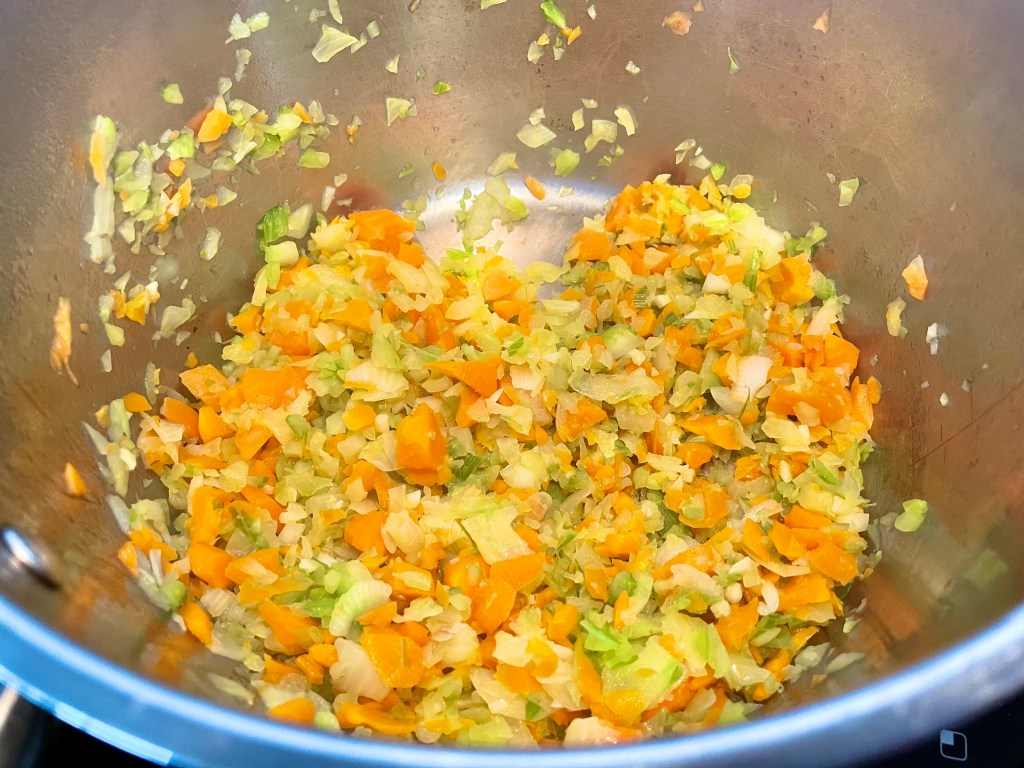
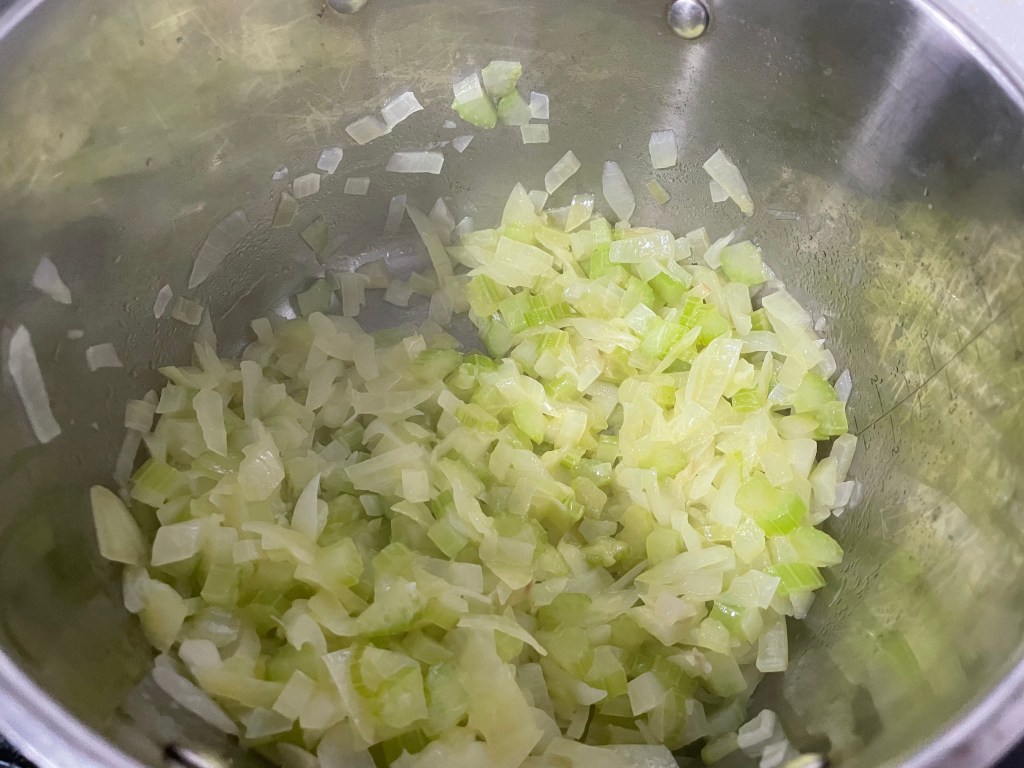
- In a large pot on MED heat, sauté the onion and garlic in olive oil until the onion starts to soften (~5mins).
(A yellow onion will be fine. I only had red onion on hand at the time.)
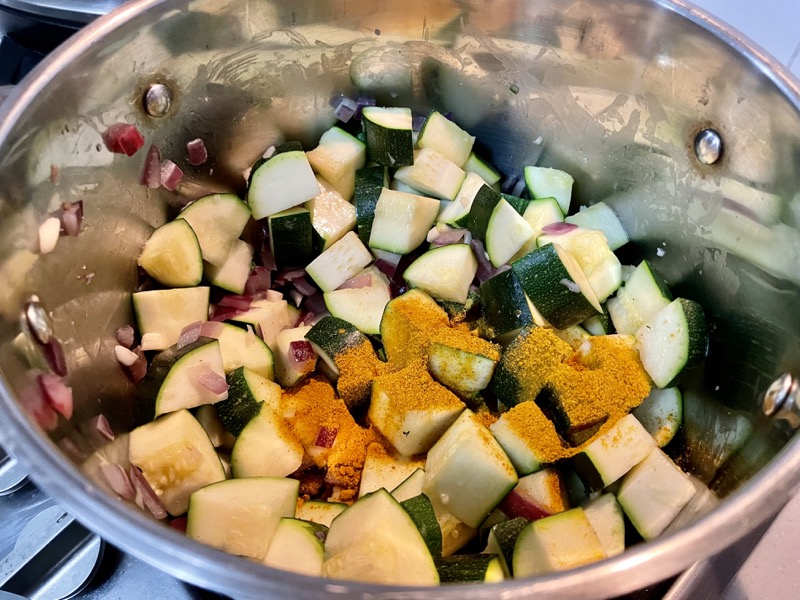

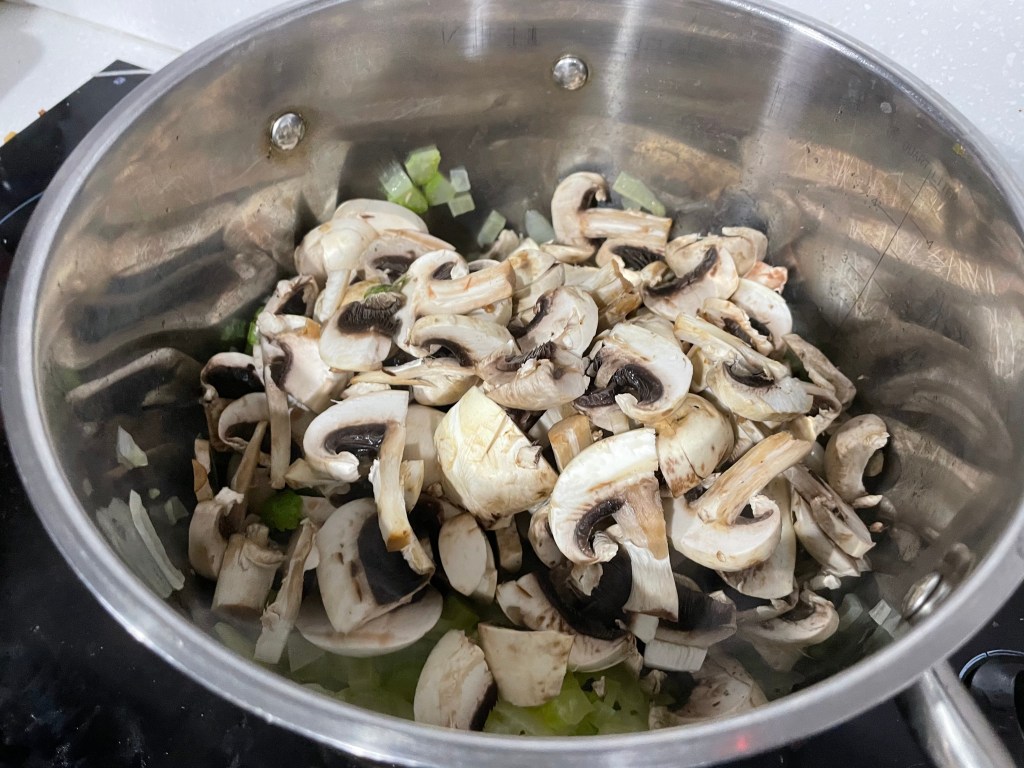
2. Add in the zucchinis, salt, and curry powder and cook for another minute.
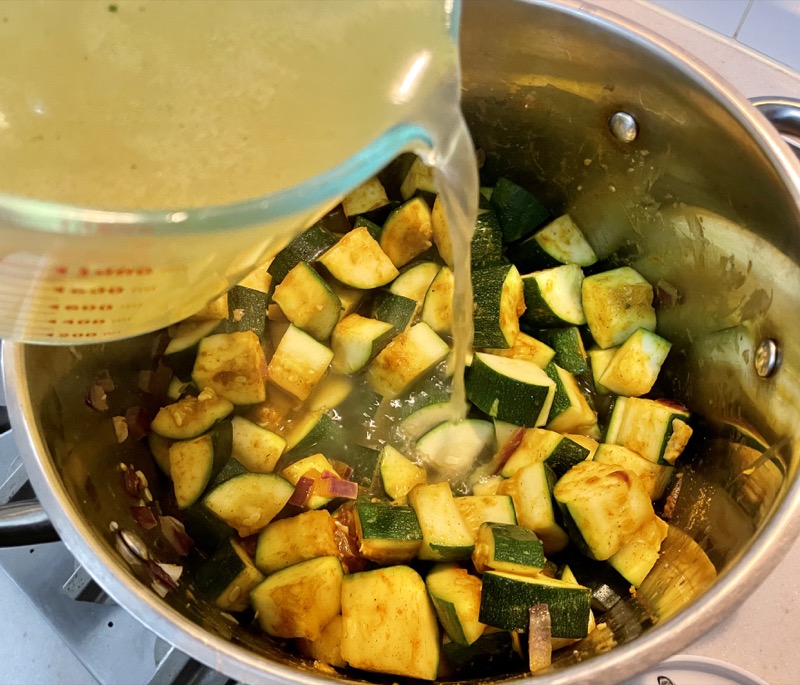

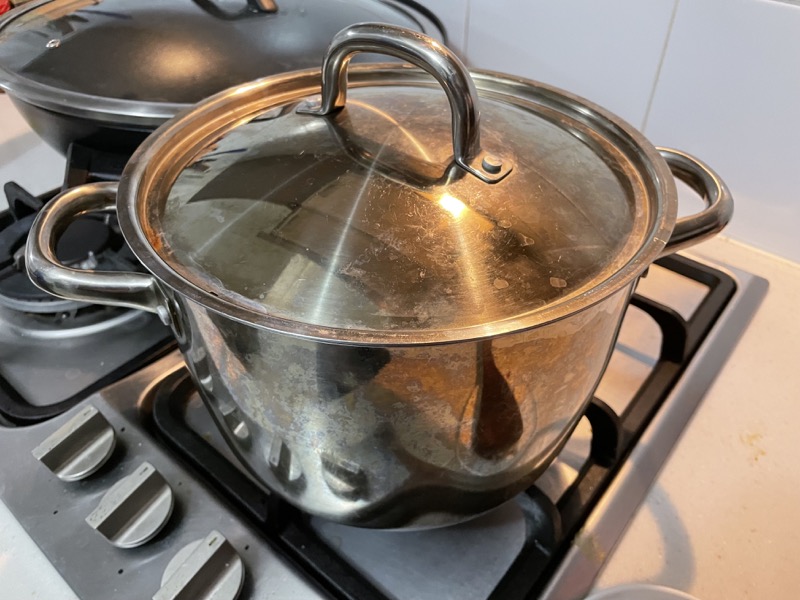
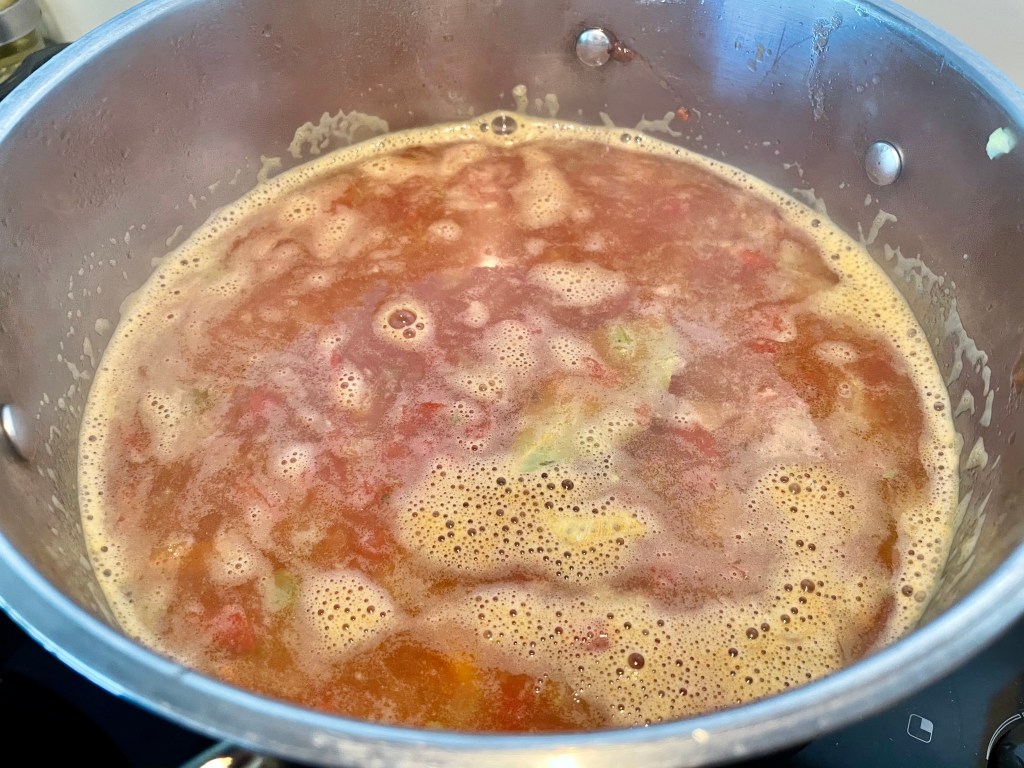
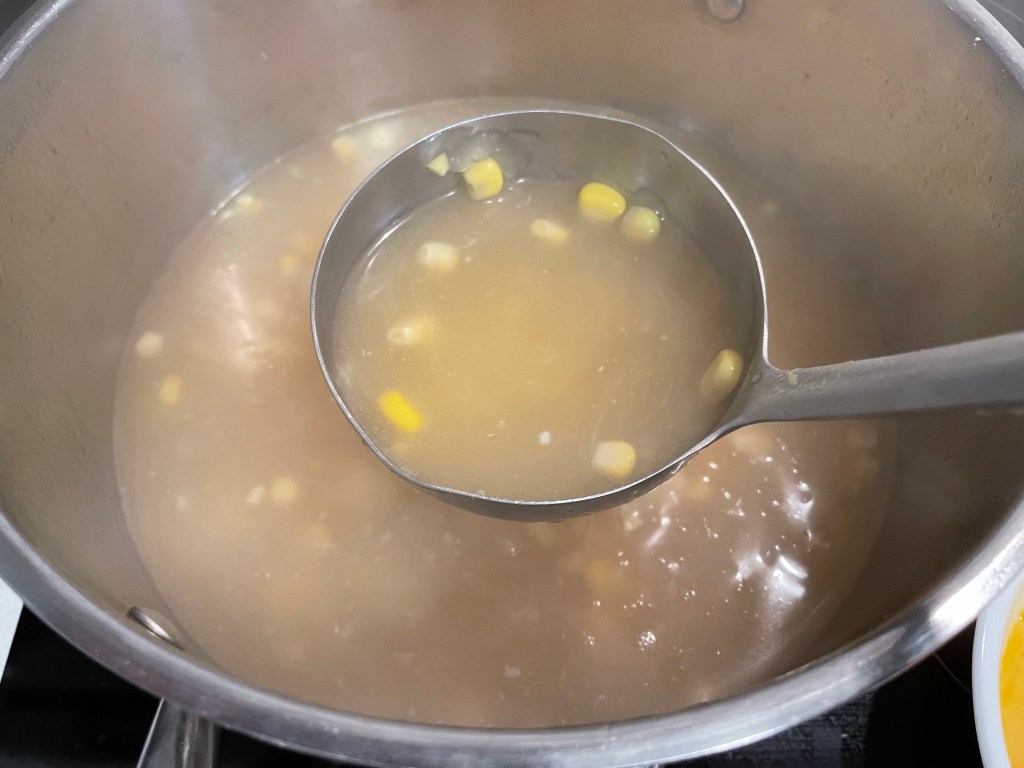
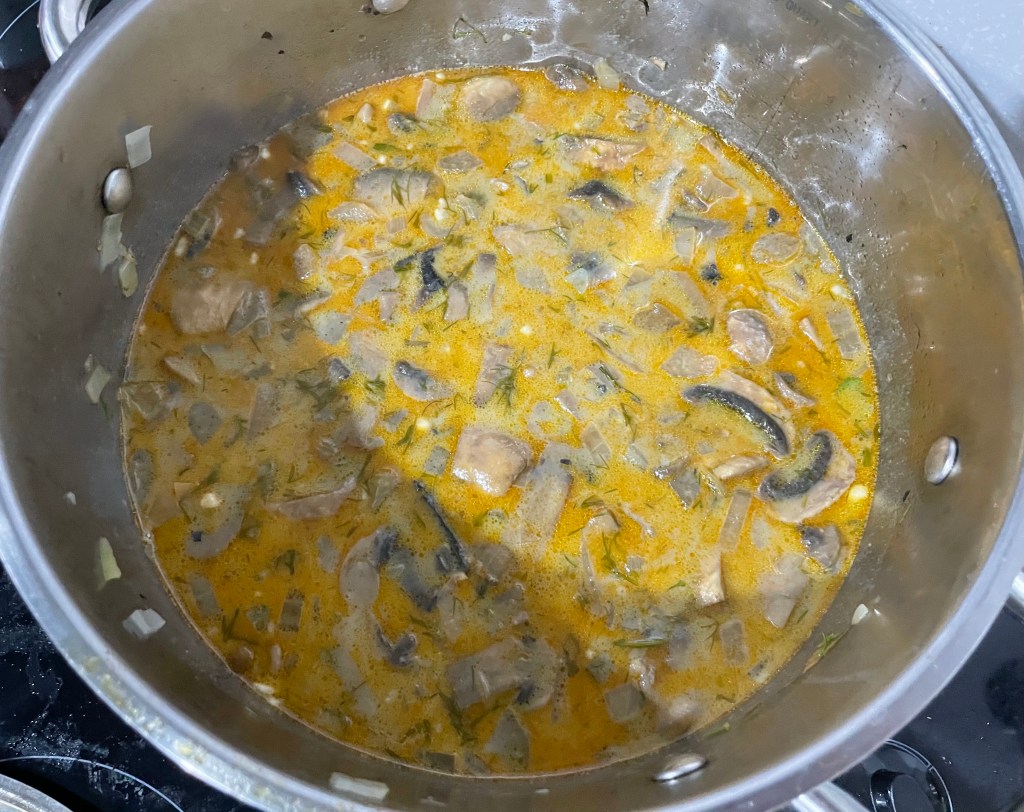
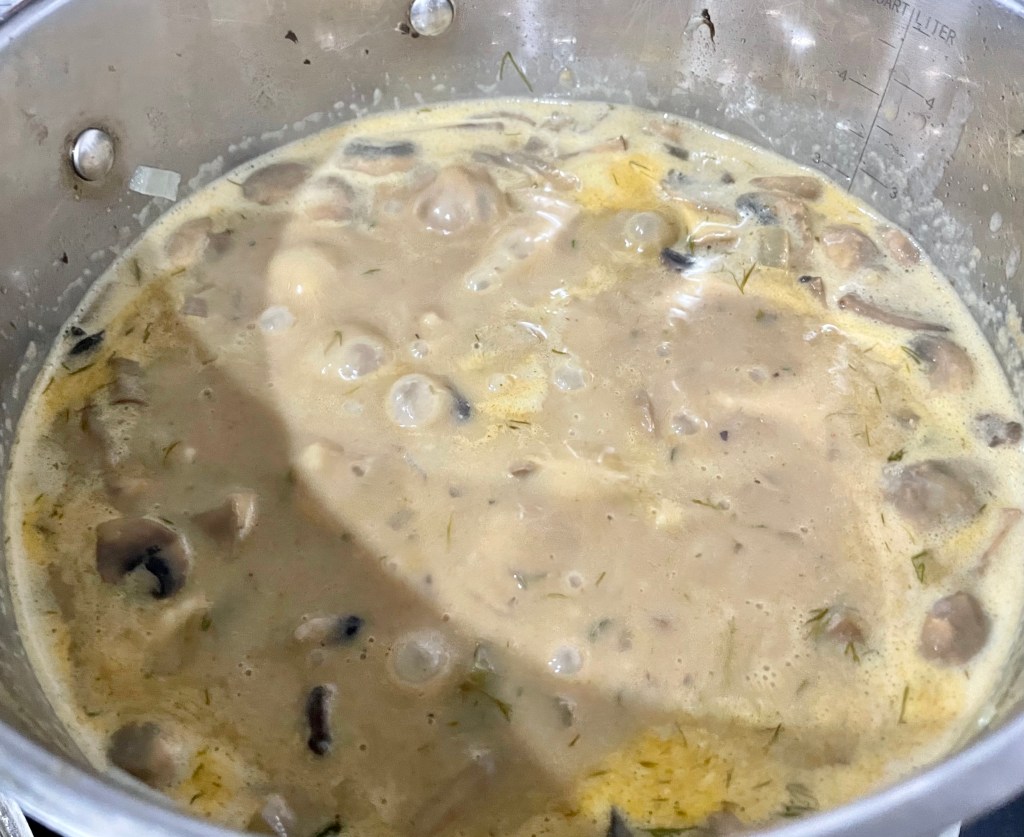
3. Next add the chicken stock and rice. Turn the heat up to HIGH until it boils, then reduce the heat to gently simmer for 30 mins with the lid on (or until the zucchini is very soft).


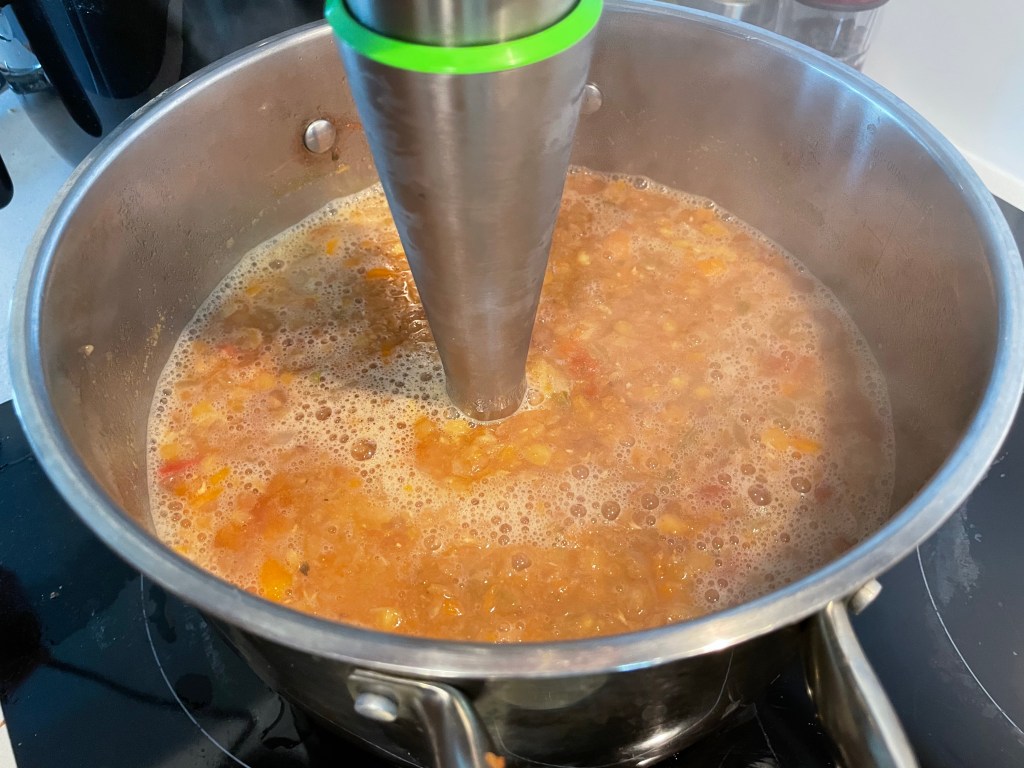
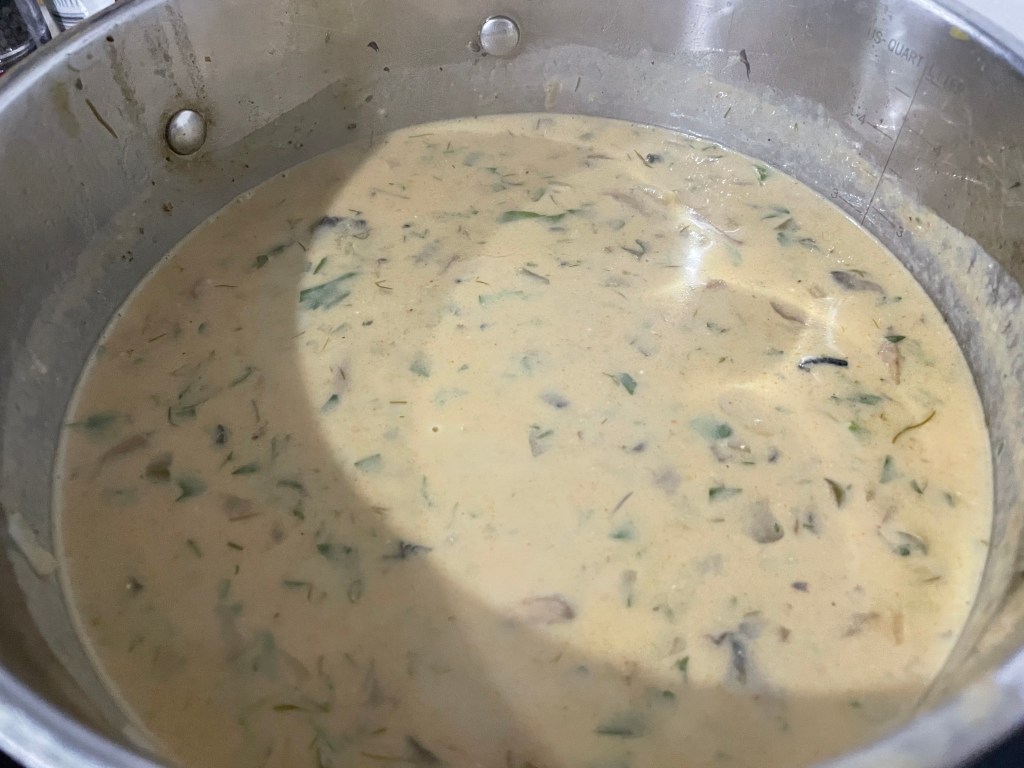
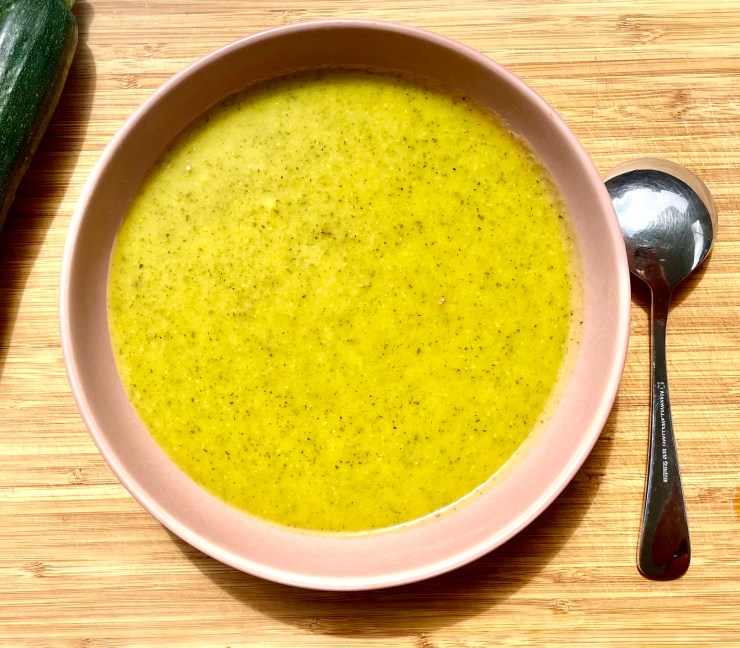
4. After 30 mins, take the pot off heat and use a stick blender to purée the soup until smooth. Return the pot back onto heat and adjust salt, black pepper, and cayenne to taste. Enjoy!


Summarized Recipe:
Curry Zucchini Soup
Date Published: Sept 26th, 2021 | Last Updated: Sept 26th, 2021
Author: Abby |Category: soups, healthy, easy, mains, <30 mins, low-cal, vegetarian
Serves: 4-6 (1 large pot) | Prep time: 10 mins | Cook time: 40 mins
Ingredients:
- 1 Tbsp olive oil
- 1 large onion, diced
- 4 cloves of garlic, minced
- 5 zucchinis, diced (~8 cups)
- 1/2 tsp kosher salt
- 3 tsps curry powder
- 6 cups chicken stock (or vegetable stock)
- 1/3 cup basmati rice
- Cayenne powder to taste (optional)
Directions:
- In a large pot on MED heat, sauté the onion and garlic in olive oil until the onion starts to soften (~5mins).
- Add in the zucchinis, salt, and curry powder and cook for another minute.
- Next add the chicken stock and rice. Turn the heat up to HIGH until it boils, then reduce the heat to gently simmer for 30 mins with the lid on (or until the zucchini is very soft).
- After 30 mins, take the pot off heat and use a stick blender to purée the soup until smooth. Return the pot back onto heat and adjust salt, black pepper, and cayenne to taste. Enjoy!