Date Published: August 5th, 2020 | Last Updated: Feb 15th, 2025
Author: Abby |Category: mains, asian, < 30mins
Serves: 4-6 | Prep time: 15 mins | Cook time: 20 mins
Jump to recipe |
I can never pass up a good curry no matter the cuisine. I just love the creaminess and the intense flavours. Thai curries hold a special place in my belly, especially the green curry. The green colour comes from the use of the milder green chilli pepper, kaffir lime, cilantro/coriander and sometimes basil. I love the aroma and the fact that I can pack it full of veggies and have it all swim around in the aromatic coconut sauce.
Although the flavours are complex, making a Thai curry is actually really straight forward and simple as long as you have the green curry paste, which is where most of the flavour (and effort) comes from. I was surprised how quickly it all came together when I made it for the first time. You can buy pretty decent packaged Thai curry pastes from pretty much any supermarket these days and for pretty cheap too, but if you’re like me and have the need to conquer seemingly complex recipes, you can make your own with the green curry paste recipe. I’ve written this recipe for the intention of using the homemade curry paste, however if you want to use the canned pastes, you’ll have to “freshen” it up by sautéing in some garlic and ginger to bring the flavours out.


This recipe is easily customizable with any veggies and protein you like and in any proportion. I’ve written it based on my favourite veg to put in this curry but feel free to change it up to your liking. The beauty of this curry is that because of its strong flavours, you can also put in whatever protein you like. I’ve colour-coded the recipes so it’s easier to follow if you want to make chicken, beef or fish. The other great thing about this recipe is that it’s all done in one pot so there’s minimal clean up!
Anyways, without further ado, here’s the recipe! If you have any comments or suggestions, I’d love to hear from you in the comment section! You can follow me on instagram, youtube and facebook to see all the recipes I post!
Happy cooking!
Ingredients you’ll need:

- 1.5 Tbsp coconut oil
- Protein of choice: (optional)
- Chicken: 400g (~4) skinless boneless chicken thighs (or breast), diced into bite-sized pieces or sliced thinly (depending on how you like it)
- Beef: 400g, sliced thinly. Any steak cut will be good.
- Fish: 400g, diced into chunks. Use whatever fish you like. I tend to like using salmon or a white fish.
- Vegetarian: no need for meat, just add more veggies!
- 1 Tbsp coconut oil
- Any veggies you like in your curry. I’ve written this recipe based on my favourite veg, but feel free to change it up and do you. Just keep in mind their proportions to the chicken, otherwise you may end up with a veggie curry (which is fine too if you prefer less chicken). These are what I usually add:
- 1 1/2 cups King oyster mushrooms, roughly chopped
- 1 1/2 cups green beans, trimmed and snapped in halves
- 1 cup baby corn
- 1 1/2 cups eggplant, diced
- 1 1/2 cups red bell peppers/capsicum, chopped
- 10 Thai basil leaves
- 1 cup homemade Thai green curry paste (click link for recipe)
- Please note: this recipe was written to be used with the homemade Thai green curry paste. If you want to use canned Thai green curry paste (Maesri is the go-to brand), you’ll need to “freshen” up the paste to bring out more flavour by sautéing one can (114g) it in 3 cloves of garlic and 2 Tbsps of minced ginger. I do recommend making the curry paste yourself if you’ve got time – it’s so much more aromatic.
- 800ml (2 cans) coconut milk
- 1/2 Tbsp fish sauce (or more to taste)
- Sea salt + black pepper to taste
- Sugar to taste
- Serve with Jasmine rice
Directions:
Prepare your protein (if using):
If using chicken:
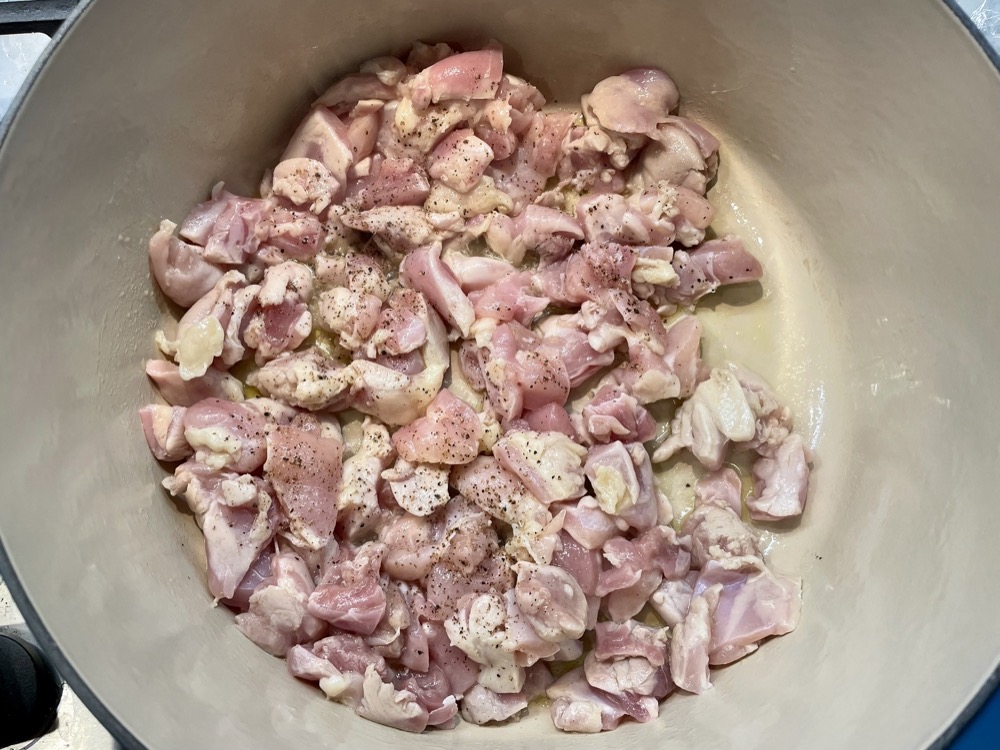
In medium pot on MED-HIGH heat melt the coconut oil and add in the chicken pieces (you may have to do this in batches if they’re too crowded – see tip*) and cook until lightly brown on the outside. Don’t worry about it cooking all the way through – it will finish cooking in the curry.
*Tip: You want to put the chicken pieces in the pot in a single layer to sear the outside. If you overcrowd the chicken or are overlapping them, you will likely have too much liquid released and end up boiling the chicken. Depending on the size of your pot, you may have to cook it in 2 or 3 batches.
After you’ve browned all the chicken pieces, remove them from the pot and set aside.
If using beef:
In medium pot on MED-HIGH heat melt the coconut oil and add in the beef pieces and quickly cook for a few minutes until lightly brown on the outside. Don’t worry about it cooking all the way through – it will finish cooking in the curry.
After you’ve browned all the beef pieces, remove them from the pot and set aside.
If using fish:
You don’t need to do any cooking beforehand. Just have it cut up in bite-sized pieces and add it later on with the veggies.
Cook your veggies: In the same pot, cook each of your desired veggies separately and set aside.


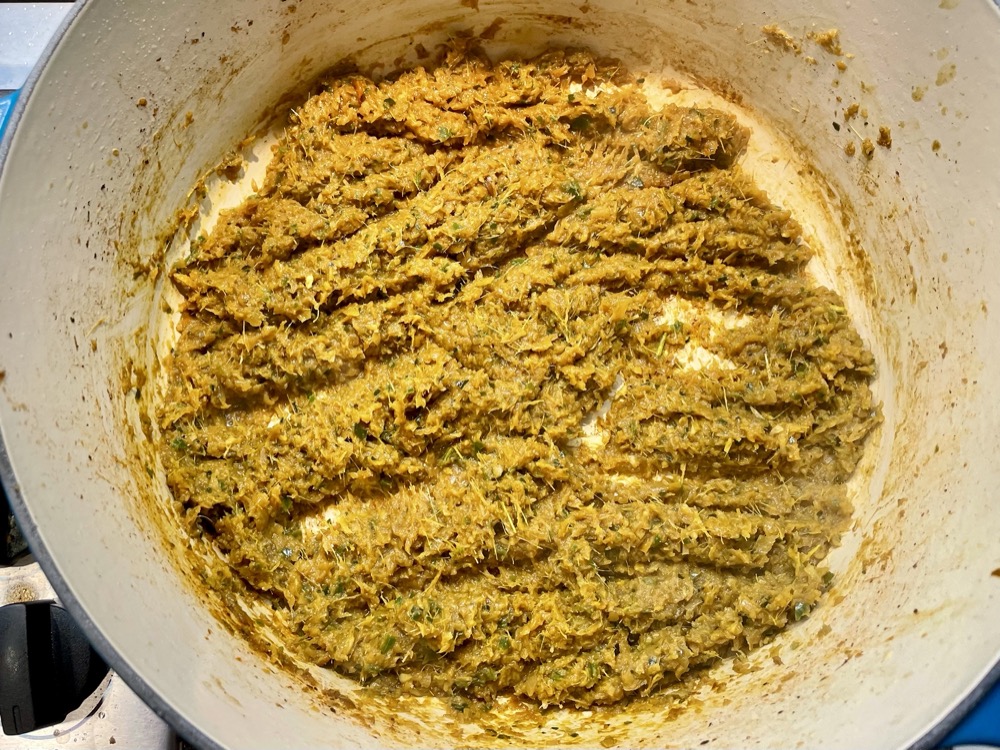
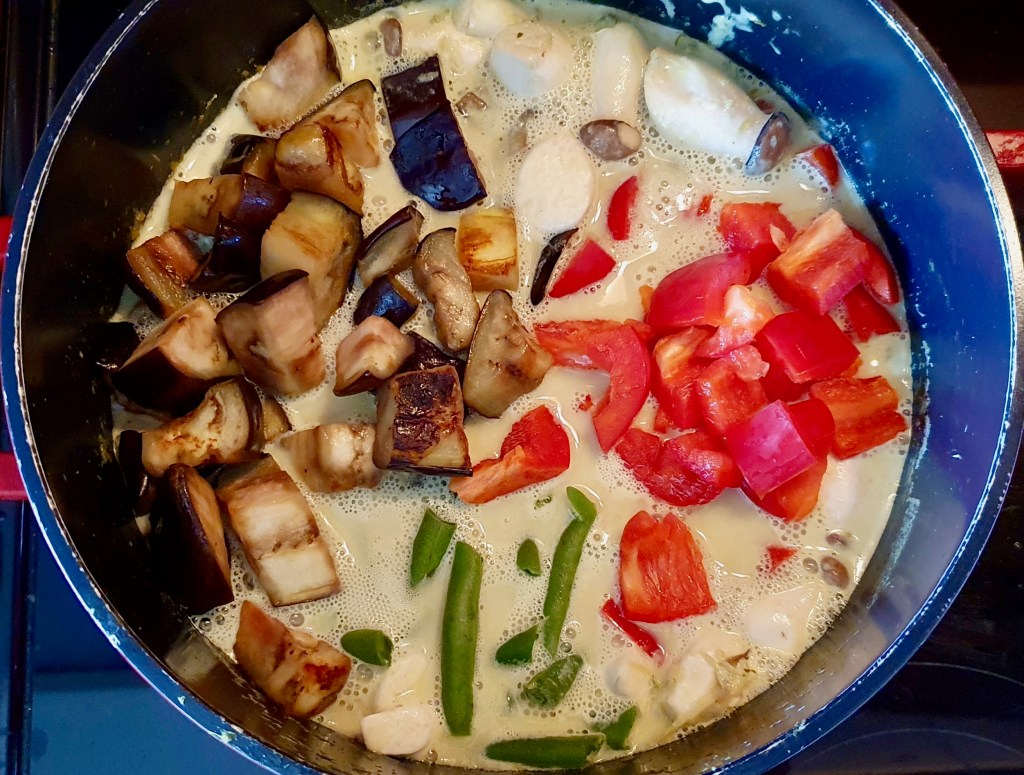
Once all your vegetables are cooked, still in the same pot on MED-HIGH heat, discard any excess liquids and melt 1 Tbsp coconut oil. Add the green curry paste and stir for a few minutes to toast the paste. When the excess liquid has evaporated and you’re left with a semi-dry paste, add in the coconut milk. Let the curry come to a boil then reduce the heat to LOW and simmer for 15 minutes.


Next, add in your cooked veggies and choice of protein (if using) and continue to cook the curry without the lid for another few minutes until your protein has fully cooked through. Turn off the heat and taste. If not salty enough add more fish sauce, add sugar if not sweet enough. Done! Serve over a bed of Jasmine rice.

Tip: If you want to turn this into a soup, add in 1 extra cup (250ml) of chicken stock. Feel free to add in some noodles too!


Summarized Recipe:
Thai Green Curry (Chicken, Beef, Fish or Veg)
Date Published: August 5th, 2020 | Last Updated: Feb 15th, 2025
Author: Abby |Category: mains, asian, < 30mins
Serves: 4-6 | Prep time: 15 mins | Cook time: 20 mins
Ingredients:
- 1.5 Tbsp coconut oil
- Protein of choice:
- Chicken: 400g (~4) skinless boneless chicken thighs (or breast), diced into bite-sized pieces or sliced thinly (depending on how you like it)
- Beef: 400g, sliced thinly. Any steak cut will be good.
- Fish: 400g, diced into chunks. Use whatever fish you like. I tend to like using salmon or a white fish.
- Vegetarian: no need for meat, just add more veggies!
- 1 Tbsp coconut oil
- 1 cup homemade Thai green curry paste (click link for recipe)
- Please note: this recipe was written to be used with the homemade Thai green curry paste. If you want to use canned Thai green curry paste (Maesri is the go-to brand), you’ll need to “freshen” up the paste to bring out more flavour by sautéing one can (114g) it in 3 cloves of garlic and 2 Tbsps of minced ginger. I do recommend making the curry paste yourself if you’ve got time – it’s so much more aromatic.
- 800ml (2 cans) coconut milk
- Any veggies you like in your curry. I’ve written this recipe based on my favourite veg, but feel free to change it up and do you. Just keep in mind their proportions to the chicken, otherwise you may end up with a veggie curry (which is fine too if you prefer less chicken). These are what I usually add:
- 1 1/2 cups King oyster mushrooms, roughly chopped
- 1 1/2 cups green beans, trimmed and snapped in halves
- 1 cup baby corn
- 1 1/2 cups eggplant, diced
- 1 1/2 cups red bell peppers/capsicum, chopped
- 10 Thai basil leaves
- 1/2 Tbsp fish sauce (or more to taste)
- Sugar to taste
- Serve with Jasmine rice
Directions:
- Cook your protein (if using):
- If using chicken:
- In medium pot on MED-HIGH heat melt the coconut oil and add in the chicken pieces (you may have to do this in batches if they’re too crowded – see tip*) and cook until lightly brown on the outside. Don’t worry about it cooking all the way through – it will finish cooking in the curry.
- *Tip: You want to put the chicken pieces in the pot in a single layer to sear the outside. If you overcrowd the chicken or are overlapping them, you will likely have too much liquid released and end up boiling the chicken. Depending on the size of your pot, you may have to cook it in 2 or 3 batches.
- After you’ve browned all the chicken pieces, remove them from the pot and set aside.
- In medium pot on MED-HIGH heat melt the coconut oil and add in the chicken pieces (you may have to do this in batches if they’re too crowded – see tip*) and cook until lightly brown on the outside. Don’t worry about it cooking all the way through – it will finish cooking in the curry.
- If using beef:
- In medium pot on MED-HIGH heat melt the coconut oil and add in the beef pieces and quickly cook for a few minutes until lightly brown on the outside. Don’t worry about it cooking all the way through – it will finish cooking in the curry.
- After you’ve browned all the beef pieces, remove them from the pot and set aside.
- If using fish:
- You don’t need to do any cooking beforehand. Just have it cut up in bite-sized pieces and add it later on with the veggies.
- If using chicken:
- Cook your veggies: In the same pot, cook each of your desired veggies separately and set aside.
- Once all your vegetables are cooked, still in the same pot on MED-HIGH heat, discard any excess liquids and melt 1 Tbsp coconut oil. Add the green curry paste and stir for a few minutes to toast the paste. When the excess liquid has evaporated and you’re left with a semi-dry paste, add in the coconut milk. Let the curry come to a boil then reduce the heat to LOW and simmer for 15 minutes.
- Next, add in your cooked veggies and protein (if using) and continue to cook the curry without the lid for another few minutes until your protein has fully cooked through. Turn off the heat and taste. If not salty enough add more fish sauce, add sugar if not sweet enough. Done! Serve over a bed of Jasmine rice.
Tip: If you want to turn this into a soup, add in 1 extra cup (250ml) of chicken stock. Feel free to add in some noodles too!