Date Published: Jan 31st, 2025 | Last Updated: Jan 31st, 2025
Author: Abby |Category: breads, how-to, easy, <30 mins, appetizers, basics, pastry, snacks, vegetarian
Serves: 1 pan | Prep time: 1.5 hours | Cook time: 25 minutes
Jump to recipe |
Making your own focaccia bread is incredibly easy and so customizable. With this recipe, you can make any flavour of focaccia you like and you can be as creative and artistic as you like. Go crazy with your focaccia art!
This recipe uses my basic dough recipe, which can be used for so many other things as well – think halloumi cheese pie, za’atar manakish (Lebanese flatbread), pizza dough, flat bread! You can follow the recipe for the basic dough here, but I’ve also outlined the gist of the recipe in a series of photos in this post.

My Go-To Basic Dough
This is my go-to recipe for a basic bread-based dish (ie. flatbread, pizza, manakish, cheese pocket…etc). It only requires 5 ingredients + water and comes together so easily. Make it an hour or two ahead of time and…
Keep reading
Anyways, without further ado, here’s the recipe! If you have any comments or suggestions, I’d love to hear from you in the comment section! You can follow me on instagram, youtube and facebook to see all the recipes I post!
Happy cooking!
Ingredients you’ll need:
- One ball of basic dough, after proofing: follow the instructions here
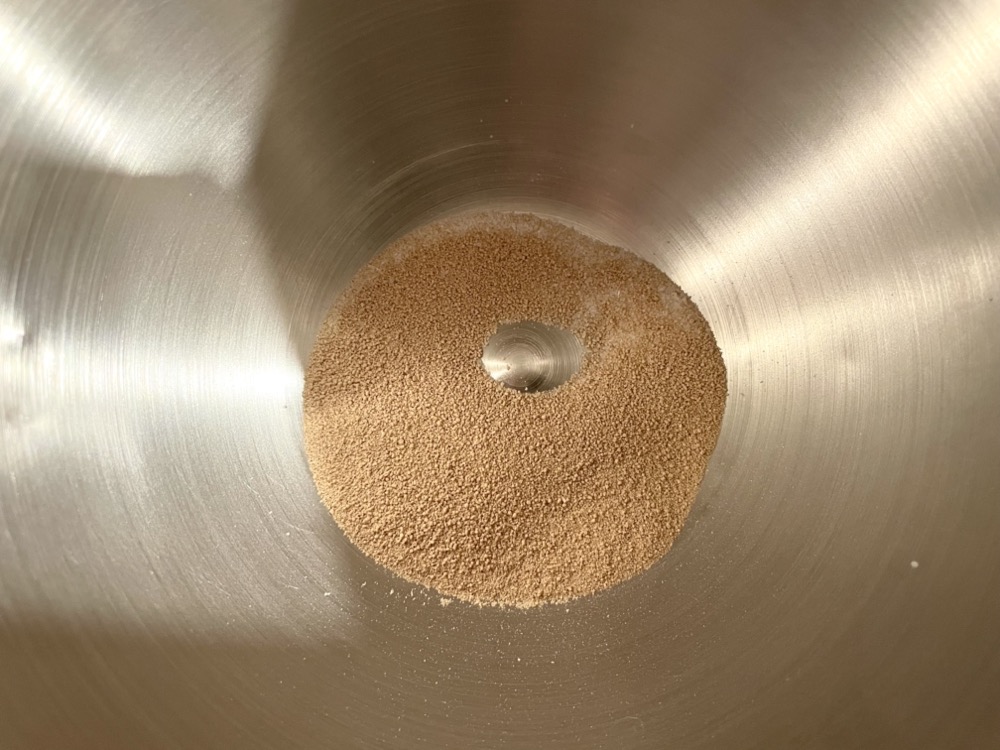
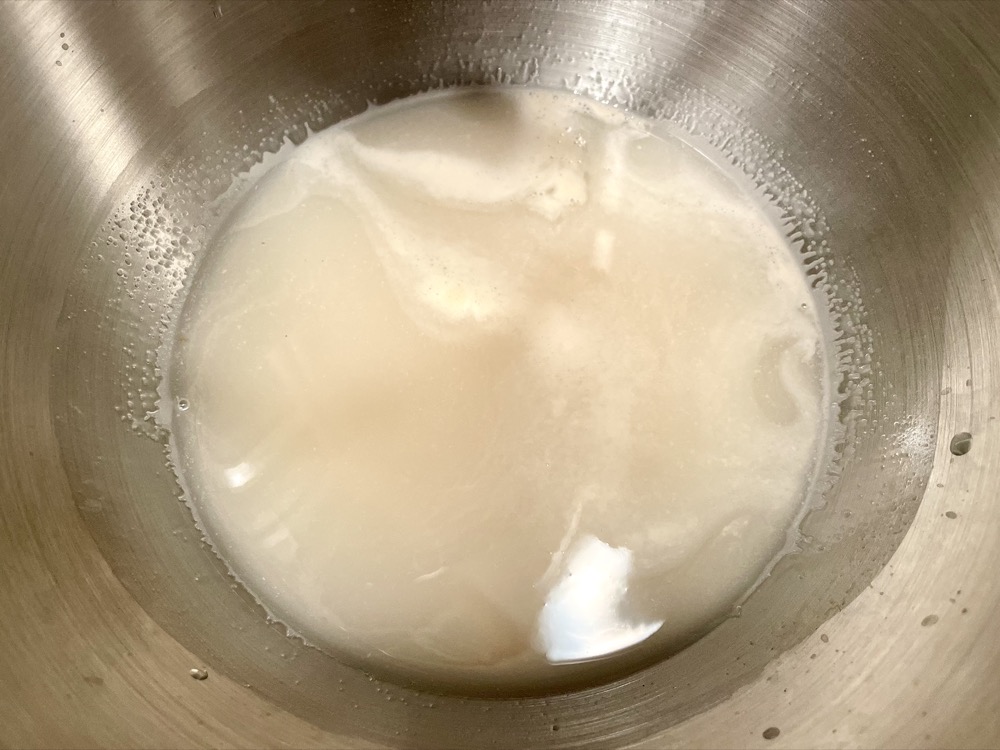
- 1 Tbsp (1 packet) active dry yeast
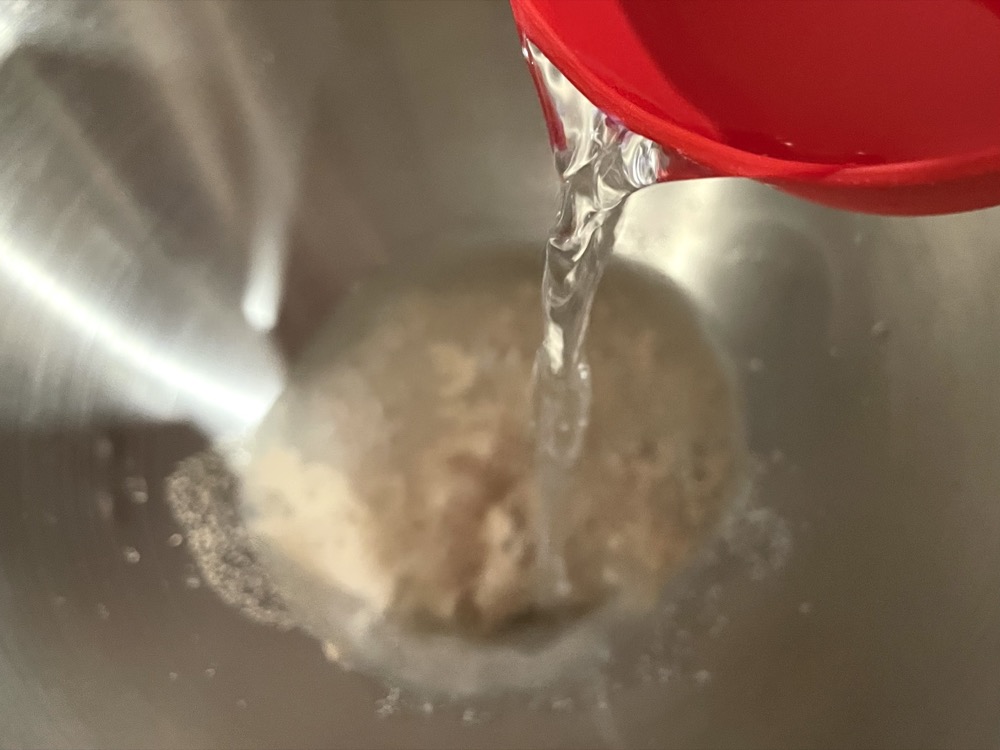
- 1 Tbsp granulated sugar
- 1 cup (250ml) warm water
- 3 cups (432g) all purpose flour + extra for dusting/kneading
- 1 tsp salt
- 1/2 cup (125ml) olive oil
- 3 + 2 Tbsps extra virgin olive oil
- + Any toppings you want (tomatoes, black olives, caramelized onions, feta cheese, parmesan, basil, honey…etc.)
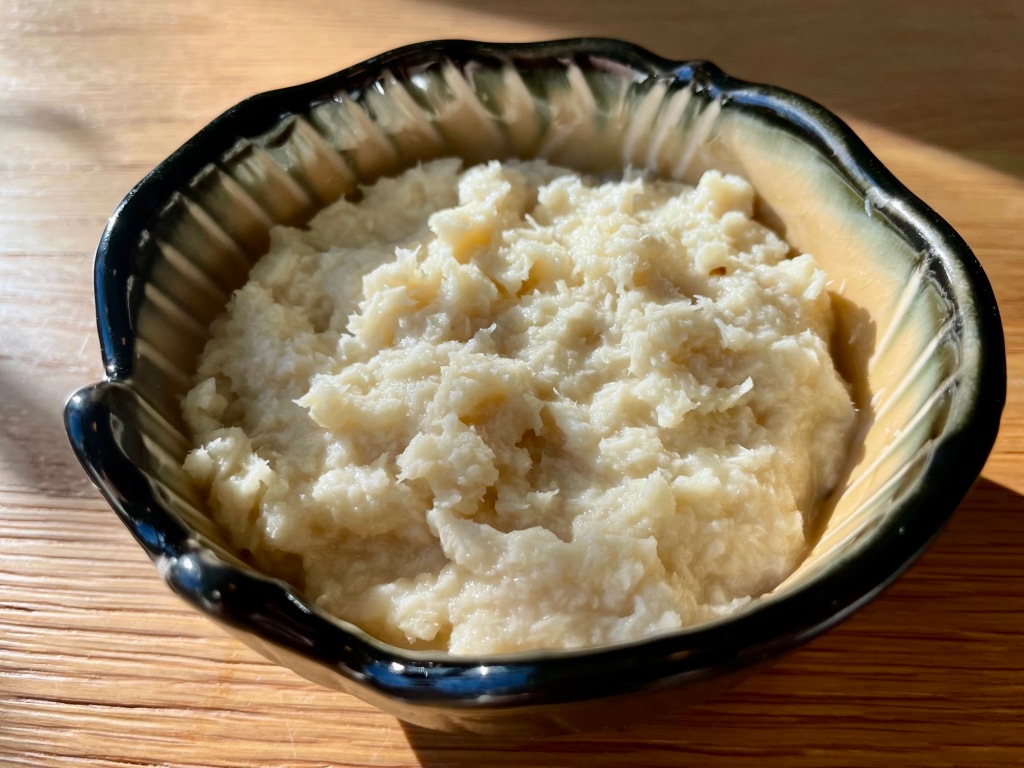
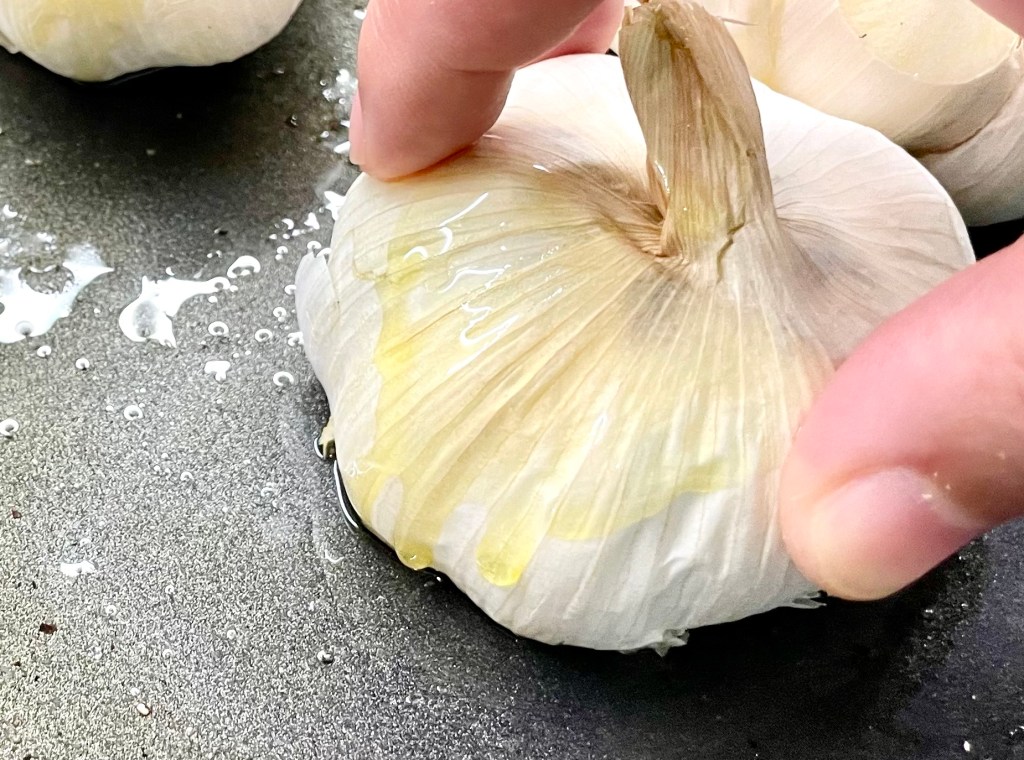
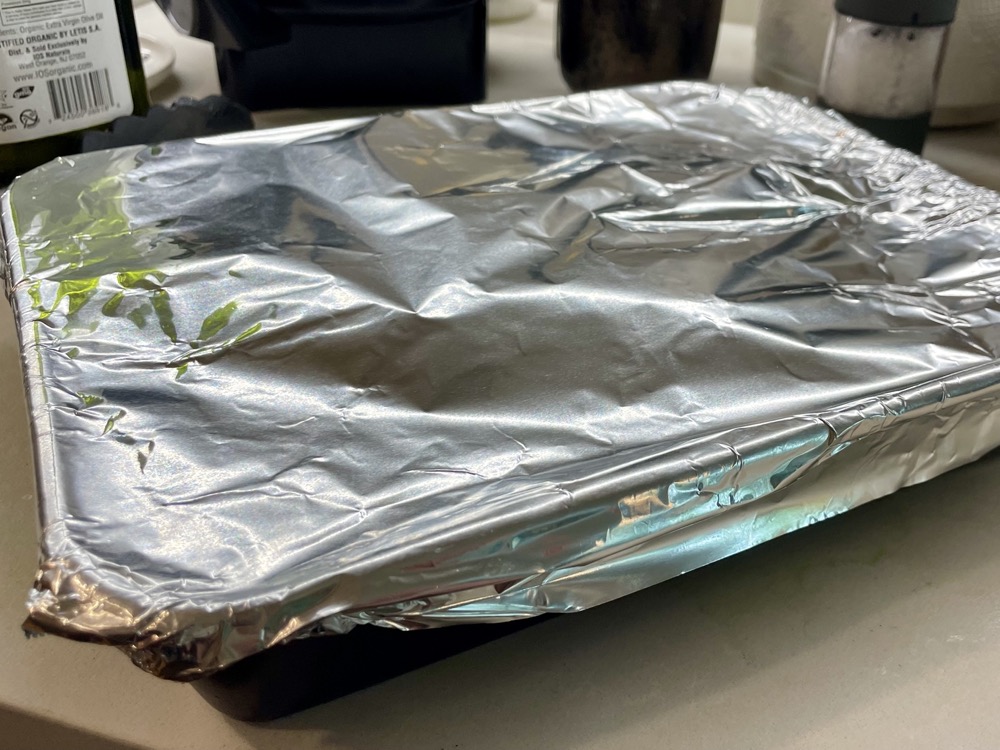
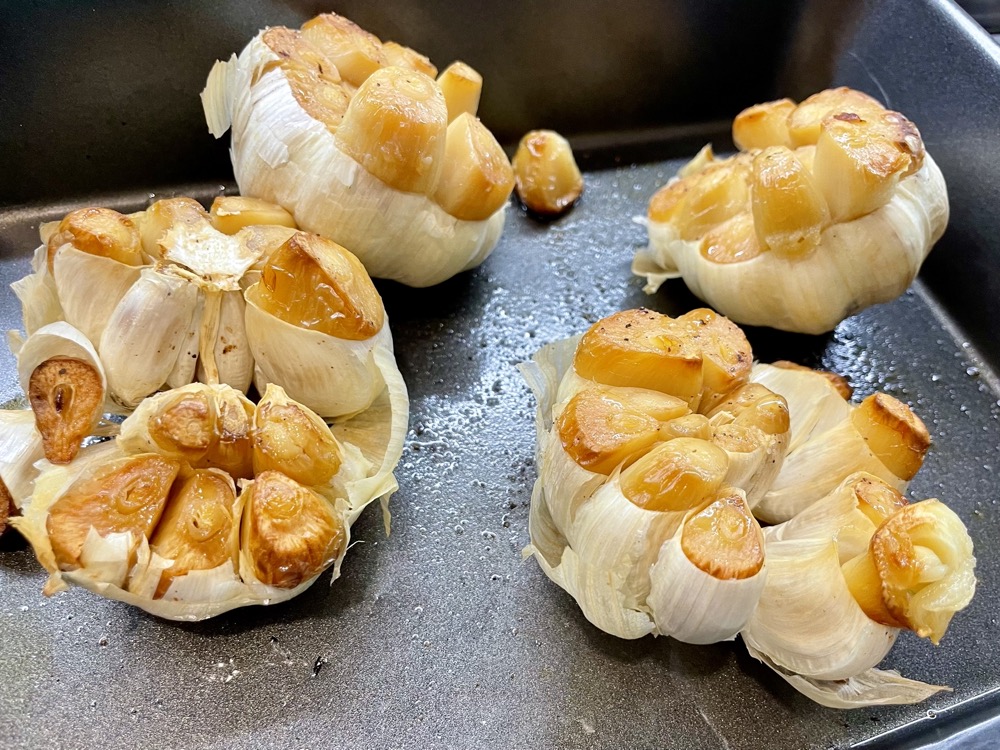
- I like to infuse the olive oil with rosemary, lemon zest and garlic as a topping
Directions:
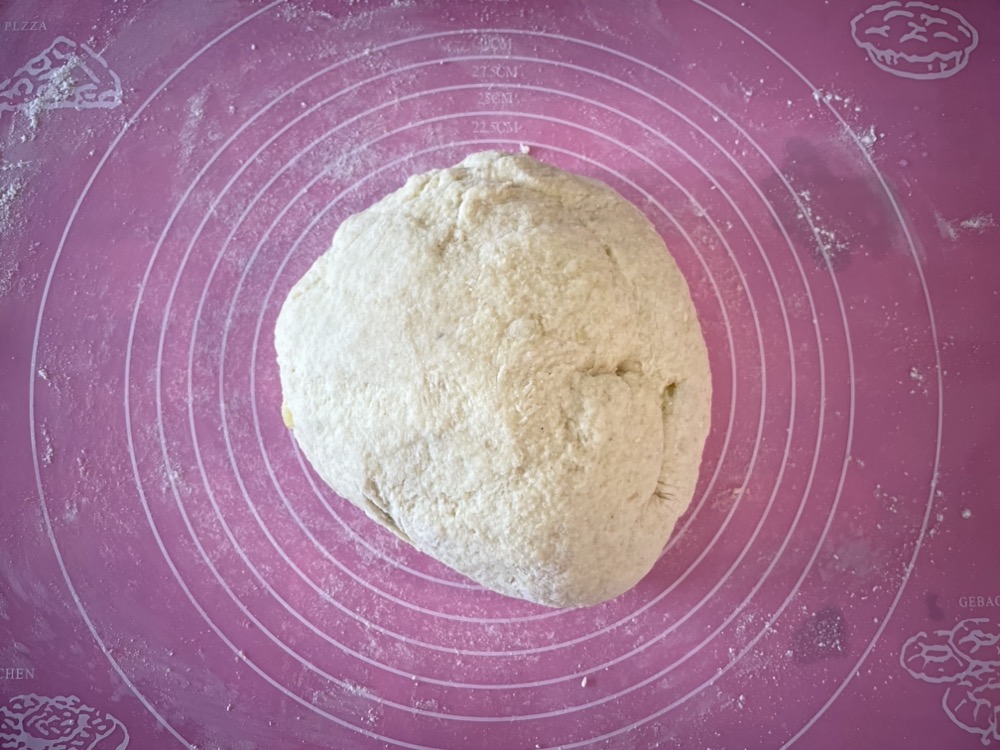
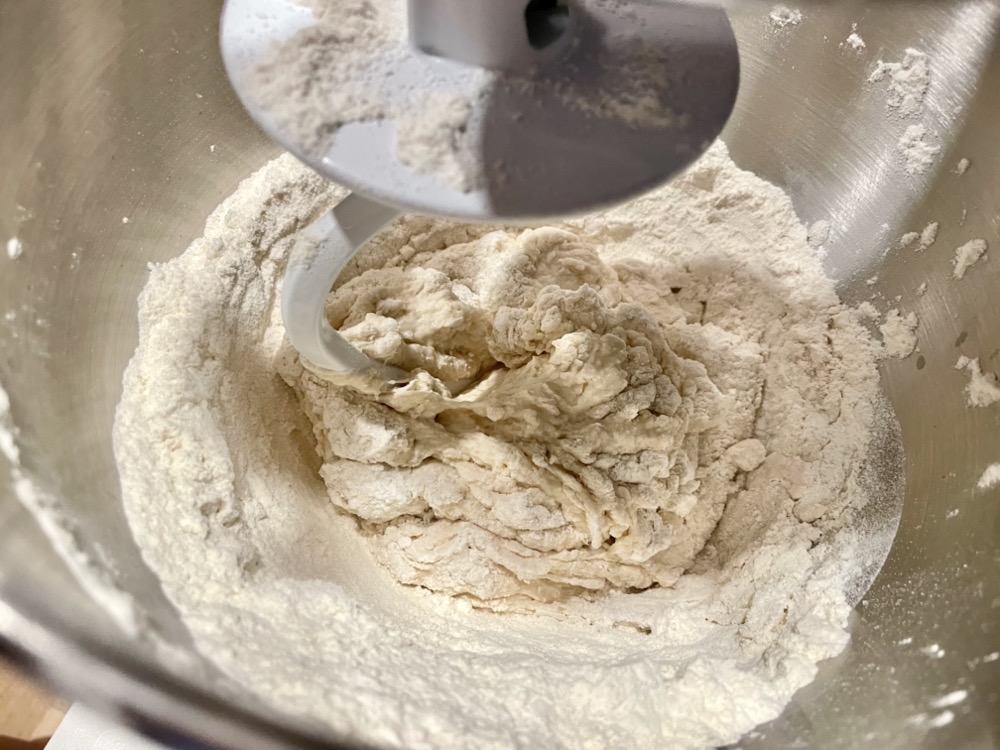
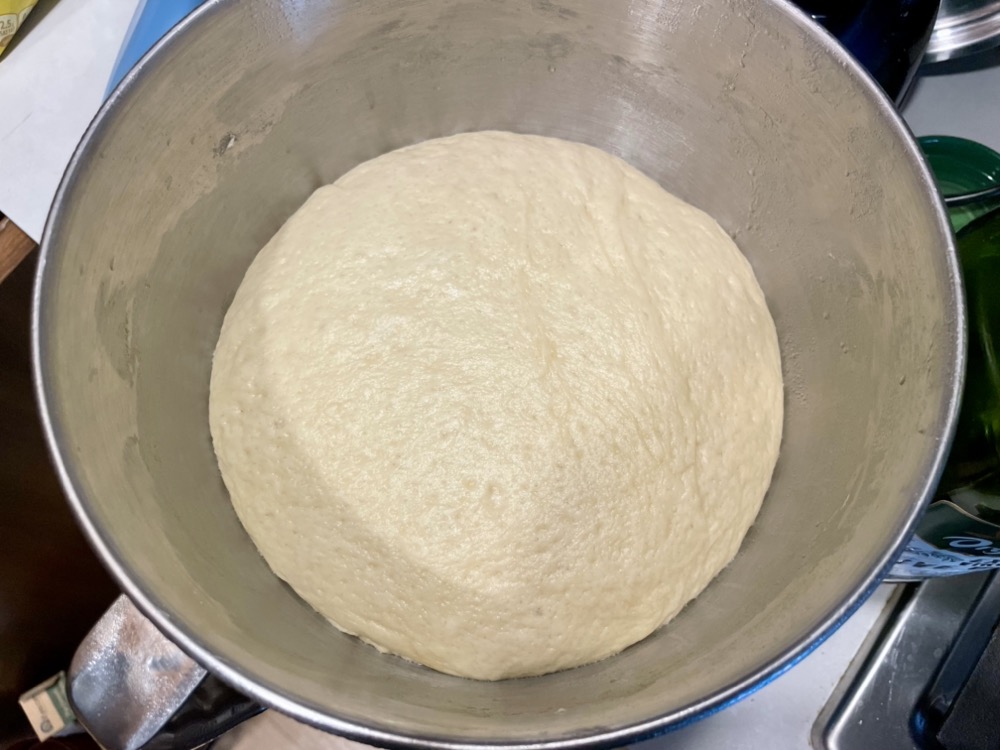
Make one basic dough ball (you can double the recipe for a thicker focaccia): follow the instructions here, I’ve summarized the process in a series of photos below.


Preheat the oven to 400˚F/200˚C.
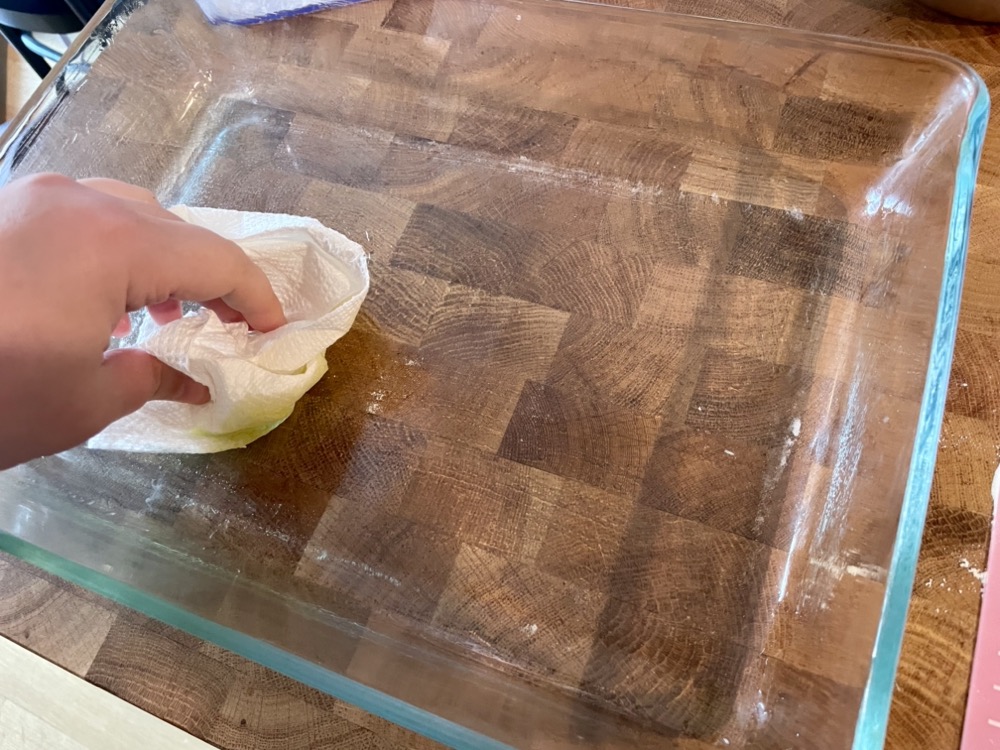
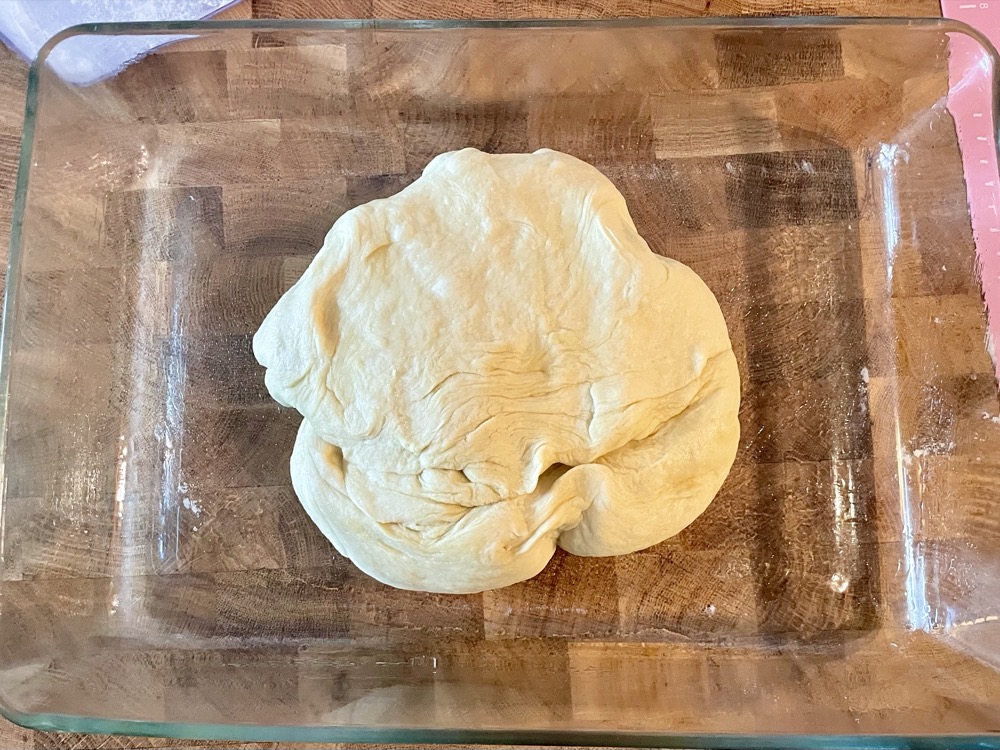
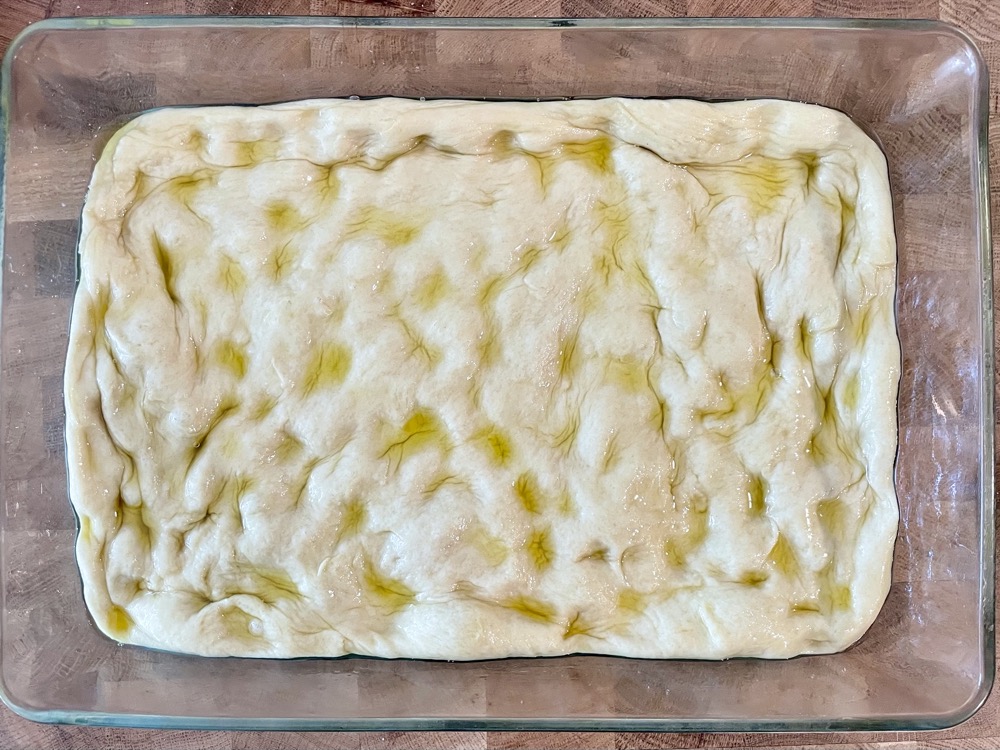
Place a couple tablespoons of olive oil in a 9″x13″ pan and spread it around to coat the entire pan, including the sides and edges. Place your dough ball in the pan and gently spread it out to the edges ensuring even thickness. If your dough is difficult to spread out to the edges and is tearing, wait 5-10 mins and try again (letting the dough rest relaxes the gluten).


Cover with a clean tea towel and set aside for another 20 minutes to relax the dough.

Use your fingers and make indents all over dough to release any air pockets.


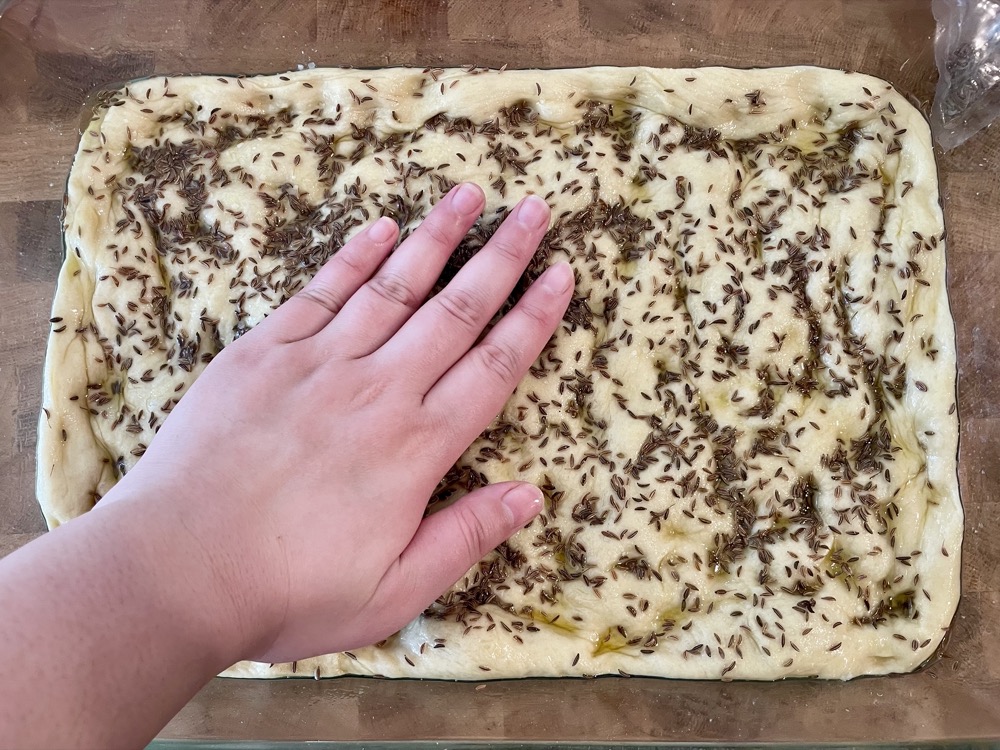
Brush 3 Tbsps of olive oil over the bread then add your choice of toppings (I used caraway seeds and salt in the photos). Gently press down on the toppings into the bread and use your fingers to make indents again.


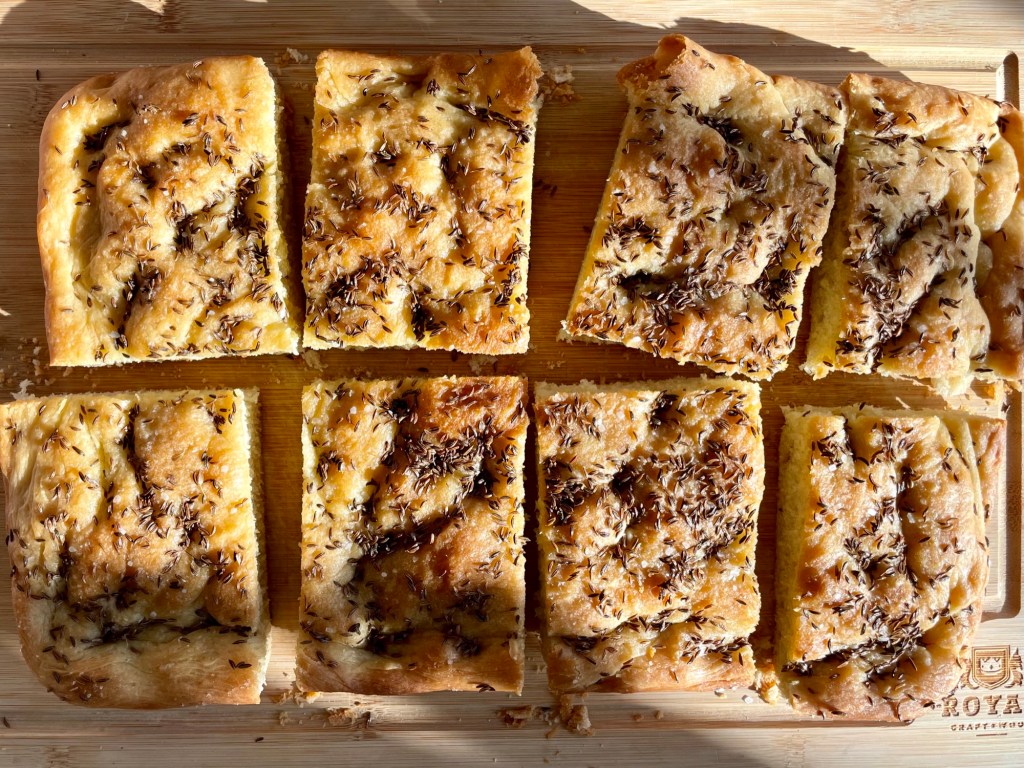
Bake in the preheated oven on the middle rack for 20-25 mins until the top is golden. Rotate your pan halfway through so the top cooks evenly.


After baking, brush on another 2 Tbsps of olive oil over the top. Let it rest for a few minutes then transfer on a cooling rack and let it cool completely before slicing. Enjoy!


Summarized Recipe:
Easy Focaccia Bread
Date Published: Jan 31st, 2025 | Last Updated: Jan 31st, 2025
Author: Abby |Category: breads, how-to, easy, <30 mins, appetizers, basics, pastry, snacks, vegetarian
Serves: 1 pan | Prep time: 1.5 hours | Cook time: 25 minutes
Ingredients:
- One ball of basic dough, after proofing:
- 1 Tbsp (1 packet) active dry yeast
- 1 Tbsp granulated sugar
- 1 cup (250ml) warm water
- 3 cups (432g) all purpose flour + extra for dusting/kneading
- 1 tsp salt
- 1/2 cup (125ml) olive oil
- 3 + 2 Tbsps extra virgin olive oil
- + Any toppings you want (tomatoes, black olives, caramelized onions, feta cheese, parmesan, basil, honey…etc.)
- I like to infuse the olive oil with rosemary, lemon zest and garlic as a topping
Directions:
- Make one basic dough ball (you can double the recipe for a thicker focaccia)
- Preheat the oven to 400˚F/200˚C.
- Place a couple tablespoons of olive oil in a 9″x13″ pan and spread it around to coat the entire pan, including the sides and edges.
- Place your dough ball in the pan and gently spread it out to the edges ensuring even thickness. Cover with a clean tea towel and set aside for 20 minutes to relax the dough.
- If your dough is difficult to spread out to the edges and is tearing, wait 5-10 mins and try again (letting the dough rest relaxes the gluten).
- After 20 minutes, use your fingers and make indents all over dough to release any air bubbles.
- Brush 3 Tbsps of olive oil over the bread then add your choice of toppings (I used caraway seeds and salt in the photos). Gently press down on the toppings into the bread and use your fingers to make indents again.
- Bake in the preheated oven on the middle rack for 20-25 mins until the top is golden. Rotate your pan halfway through so the top cooks evenly.
- After baking, brush on another 2 Tbsps of olive oil over the top. Let it rest for a few minutes then transfer on a cooling rack and let it cool completely before slicing. Enjoy!