Date Published: August 19th, 2020 | Last Updated: August 19th, 2020
Author: Abby |Category: salads, vegetarian, easy
Serves: 4 (as side servings) | Prep time: 20 mins | Mix time: 30 secs
Jump to recipe |
I love Greek salad. It’s so refreshing and easy to make, perfect for a hot summer’s day or paired with a delicious roast lamb. The dressing only takes 3 ingredients to make and the salad components are easily adjustable to whatever proportion you like. Toby’s not a big fan of olives so I tend to go easy on them when I’m making this salad but feel free to double or even triple the amount of any of the salad ingredients. This salad is healthy (if you don’t go crazy on the feta) and so delicious. If you’re making this ahead of time, I’d suggest holding off on the dressing until right before you serve it because the salt content from the dressing will draw out water from the veg and you’ll end up with a soggy salad.
Anyways, without further ado, here’s the recipe! If you have any comments or suggestions, I’d love to hear from you in the comment section! You can follow me on instagram, youtube and facebook to see all the recipes I post!
Happy cooking!
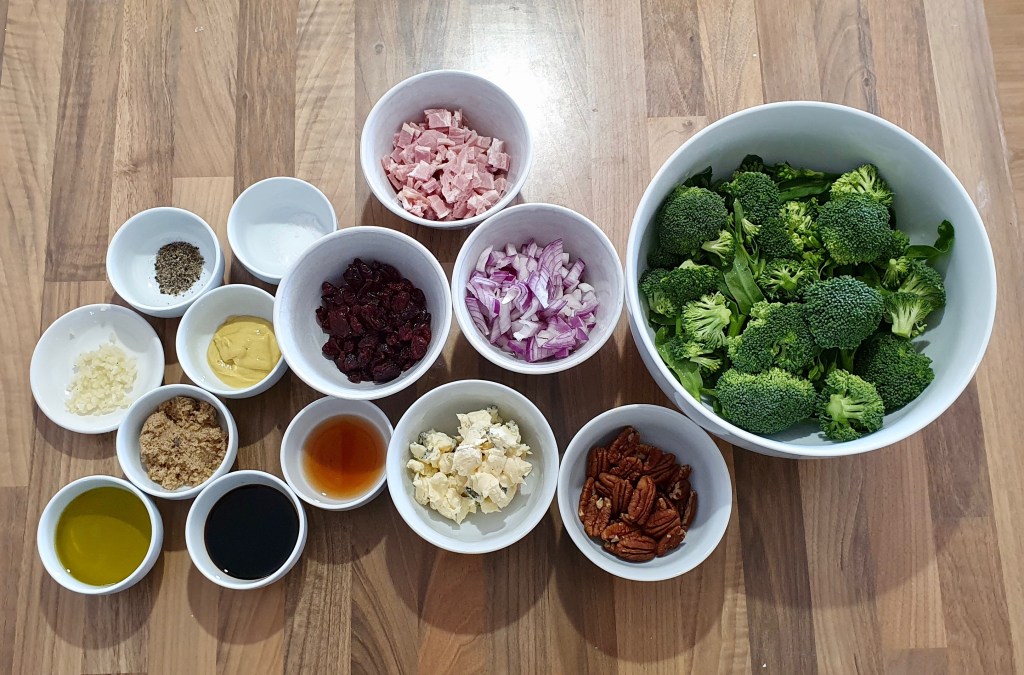
Ingredients you’ll need:

- Dressing:
- 1/4 cup olive oil
- 3 tsps lemon juice
- 1 tsp red wine vinegar
- Salad:
- 2 cups cherry tomatoes, halved (or 3 large ripe tomatoes, chopped)
- 2 medium Lebanese cucumbers, chopped
- 1 small red onion, chopped or sliced
- 1 cup feta cheese, roughly chopped or crumbled
- 1 1/2 teaspoons dried oregano
- 15 black olives, pitted and sliced (or more to taste)
- salt and pepper to taste
Directions:

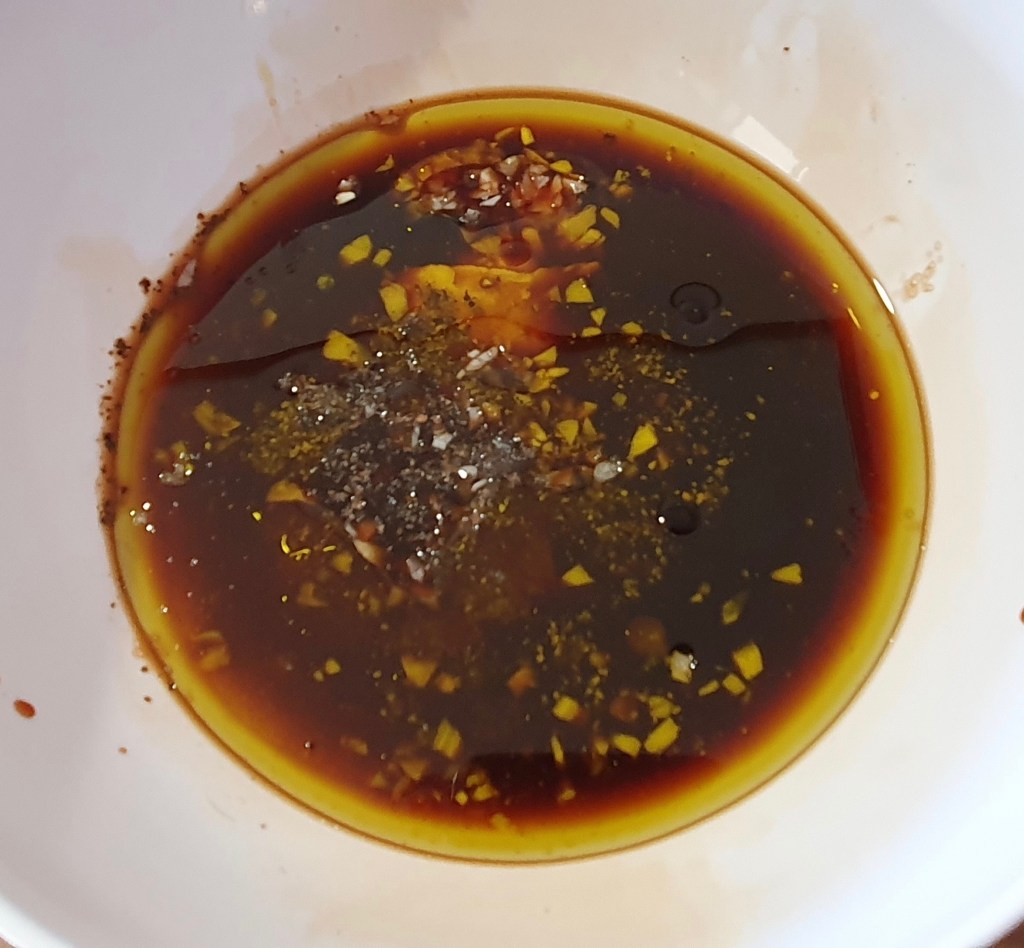
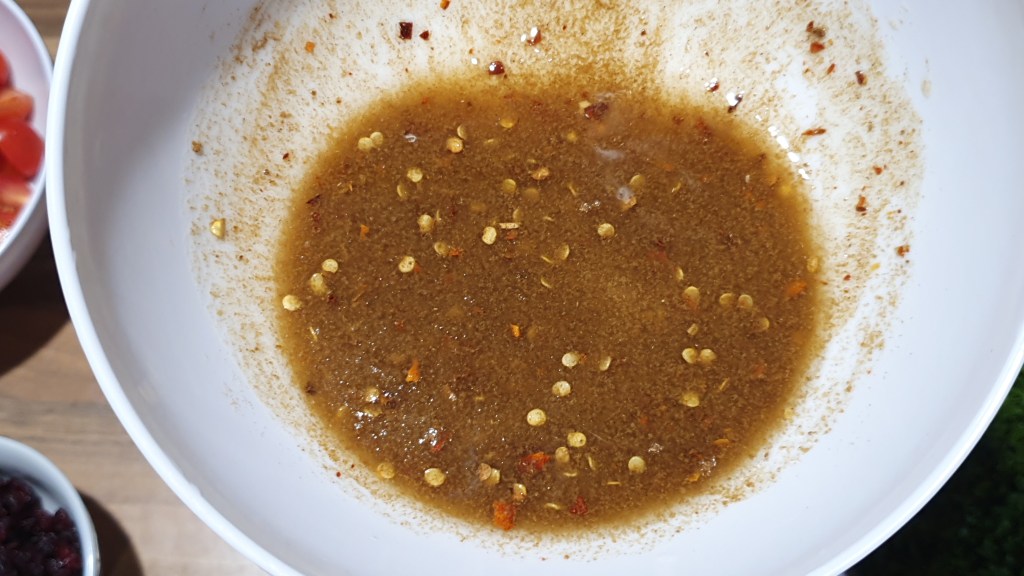
Make the dressing by whisking together the olive oil, lemon juice and red wine vinegar in a bowl. Set aside.

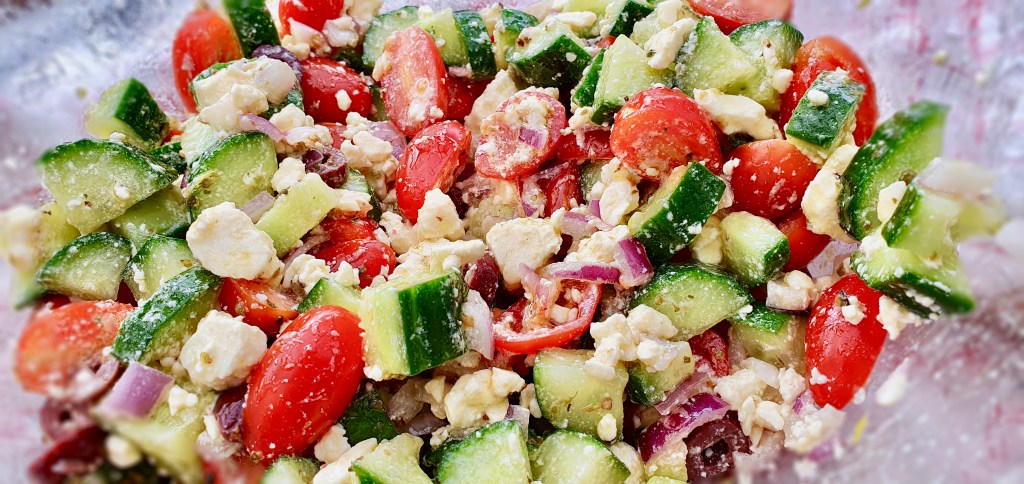
Assemble the salad by mixing the rest of the ingredients into a large bowl: tomatoes, cucumbers, red onion, feta, oregano, and olives.
Pour the dressing over the salad and toss. Salt and pepper to taste. Enjoy!
*Note: if you’re making this ahead of time, don’t add the dressing until you’re ready to serve, otherwise the salt content from the dressing will cause the veg in the salad to release their liquids and you’ll end up with a wet sloppy salad.


Summarized Recipe:
Classic Greek Salad
Date Published: August 19th, 2020 | Last Updated: August 19th, 2020
Author: Abby |Category: salads, vegetarian, easy, healthy
Serves: 4 (as side servings) | Prep time: 20 mins | Mix time: 30 secs
Ingredients:
- Dressing:
- 1/4 cup olive oil
- 3 tsps lemon juice
- 1 tsp red wine vinegar
- Salad:
- 2 cups cherry tomatoes, halved (or 3 large ripe tomatoes, chopped)
- 2 medium Lebanese cucumbers, chopped
- 1 small red onion, chopped or sliced
- 1 cup feta cheese, roughly chopped or crumbled
- 1 1/2 teaspoons dried oregano
- 15 black olives, pitted and sliced (or more to taste)
- salt and pepper to taste
Directions:
- Make the dressing by whisking together the olive oil, lemon juice and red wine vinegar in a bowl. Set aside.
- Assemble the salad by mixing the rest of the ingredients into a large bowl: tomatoes, cucumbers, red onion, feta, oregano, and olives.
- Pour the dressing over the salad and toss. Salt and pepper to taste. Enjoy!
- *Note: if you’re making this ahead of time, don’t add the dressing until you’re ready to serve, otherwise the salt content from the dressing will cause the veg in the salad to release their liquids and you’ll end up with a wet sloppy salad.