Date Published: March 25th, 2025 | Last Updated: March 25th, 2025
Author: Abby |Category: < 30 mins, Asian, easy, quick, sides
Serves: 4 | Prep time: 10 minutes | Cook time: 15 minutes
Jump to recipe |
What is Chicken Rice?
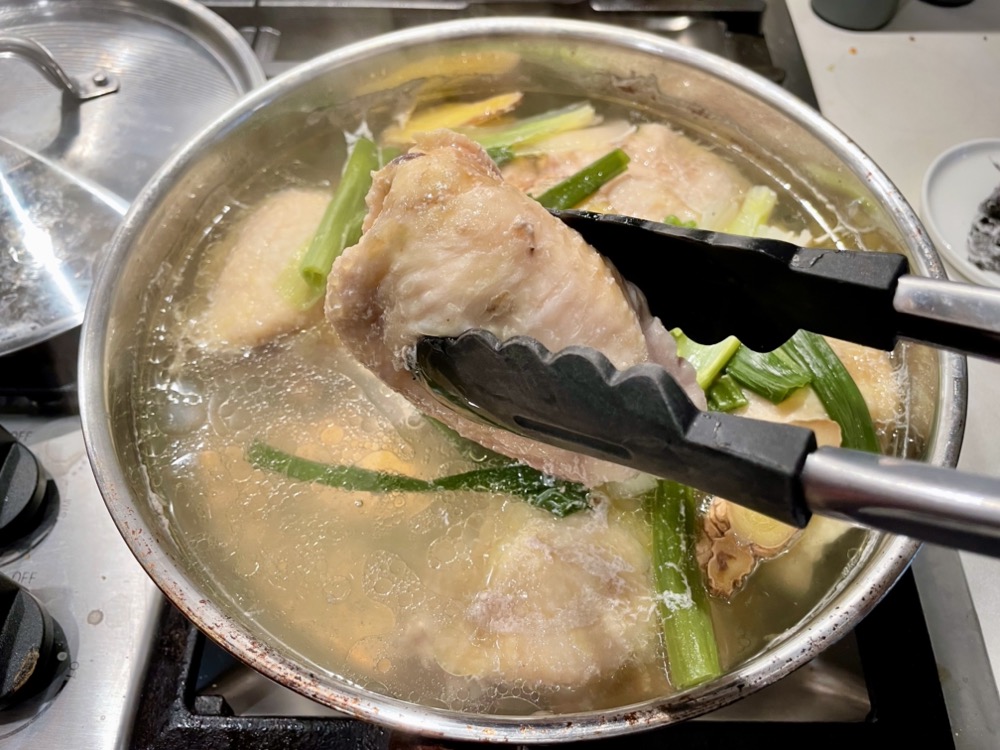
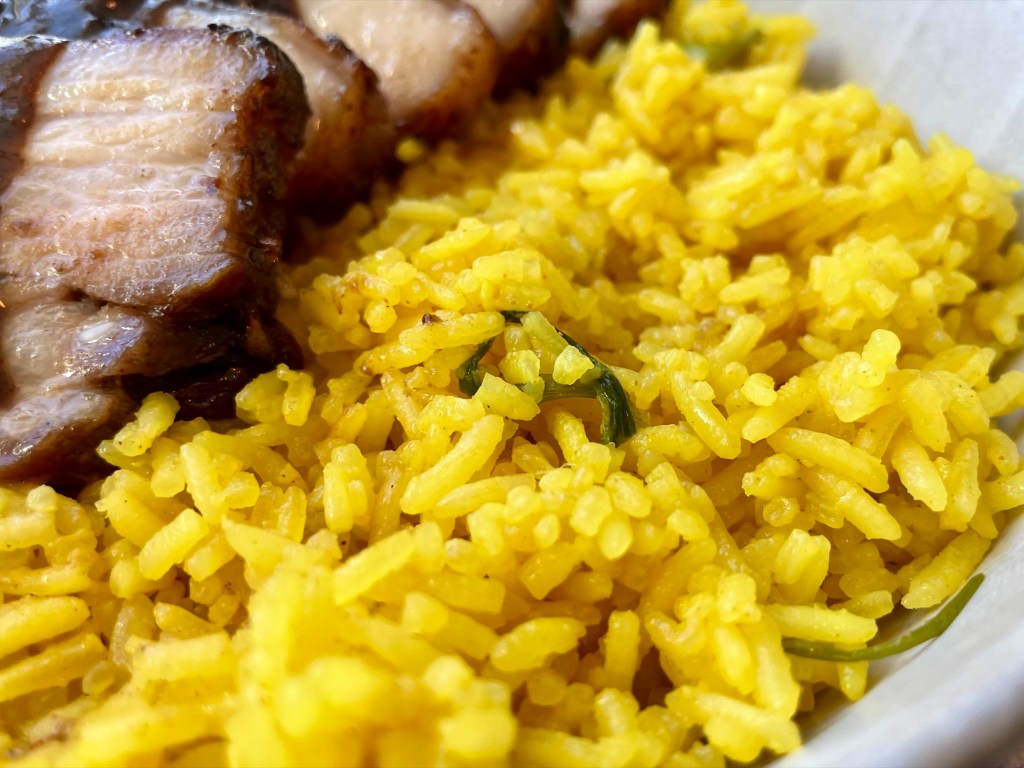
If you’ve ever had Hainanese Chicken Rice, you’ll know that it’s a poached chicken dish served with a flavourful savoury chicken flavoured rice. This recipe is for that rice, which is so damn good that I decided that it needs a separate recipe post for itself and unlike the Hainanese Chicken Rice recipe, you don’t need to cook a whole chicken just to make this rice. This rice is packed with chicken flavour by using chicken fat (or schmaltz), chicken stock, and chicken stock powder.

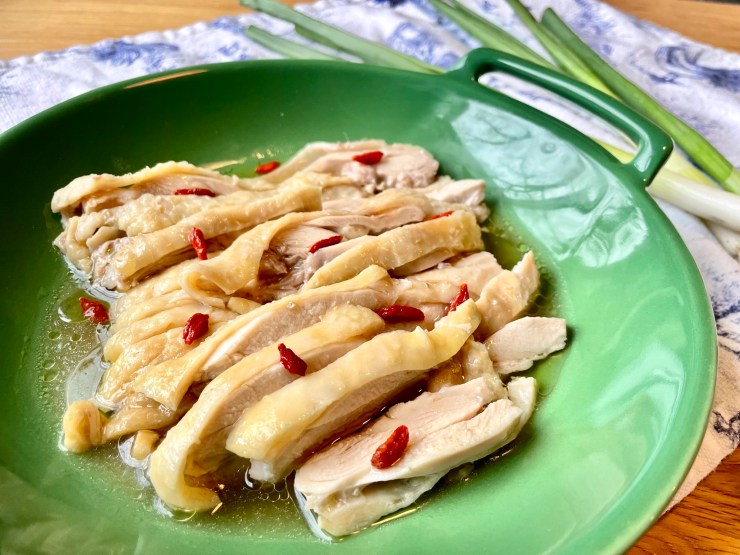
Hainanese Chicken Rice 海南雞飯
I seriously LOVE Hainanese Chicken Rice. I know I say this with a lot of recipes, but this dish is pretty simple and you only need 6 ingredients: chicken, ginger,…
Keep readingWhy is the rice yellow?
Short answer: I have no idea. Possible answer: aesthetics? In some Malaysian/Singaporean restaurants, the chicken rice is yellow in colour due to the additional of turmeric powder. Some places will even add turmeric to their chicken poaching liquid so the skin is also tinted yellow. I can’t find an exact reason for this, but my guess is due to the aesthetics of the dish 🤷🏻♀️. The turmeric here is purely optional and does not add any additional flavour, so feel free to leave it out if you wish!
Stove top vs Instant Pot?
In this recipe I’ve included instructions for both stove top and Instant Pot cooking methods. There’s not much difference between either – if anything, the stove top is actually a little faster, but the Instant Pot saves you the effort from having to constantly keep an eye on it so it doesn’t stick to the bottom of the pot and burn.
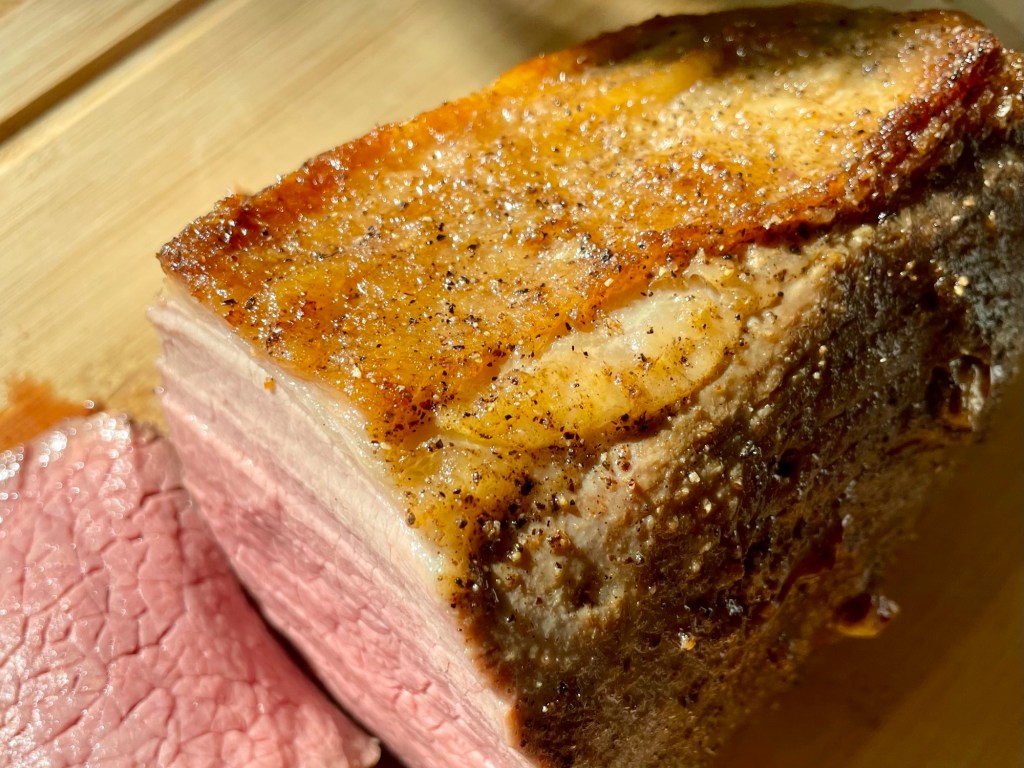
What is Schmaltz?
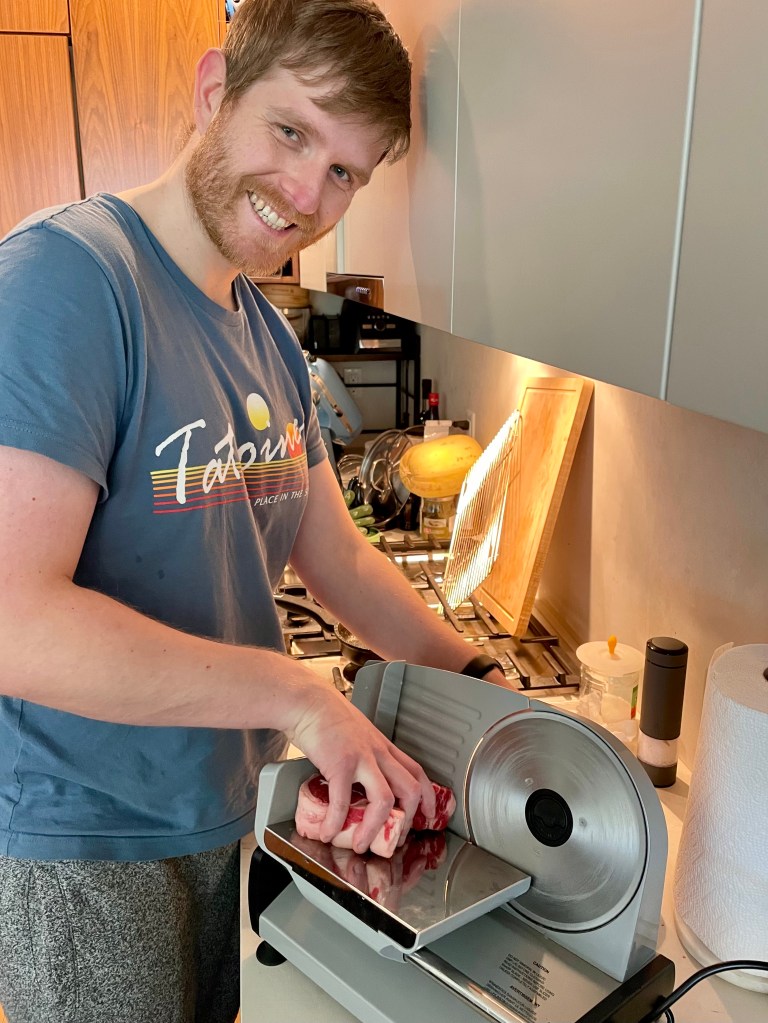
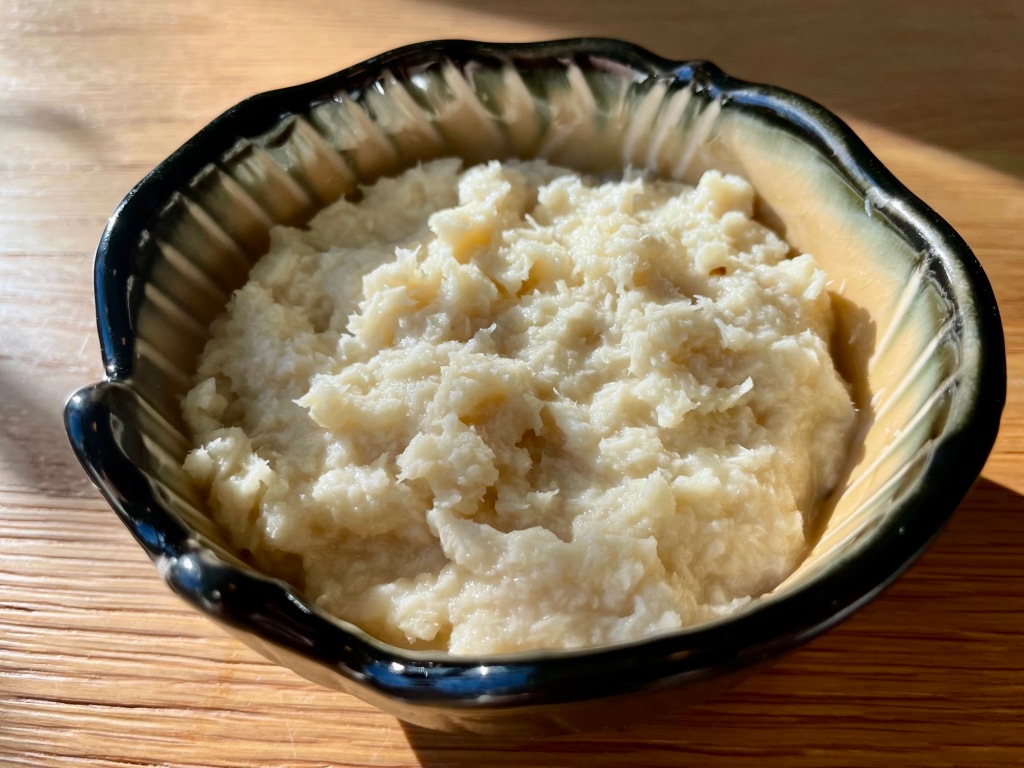
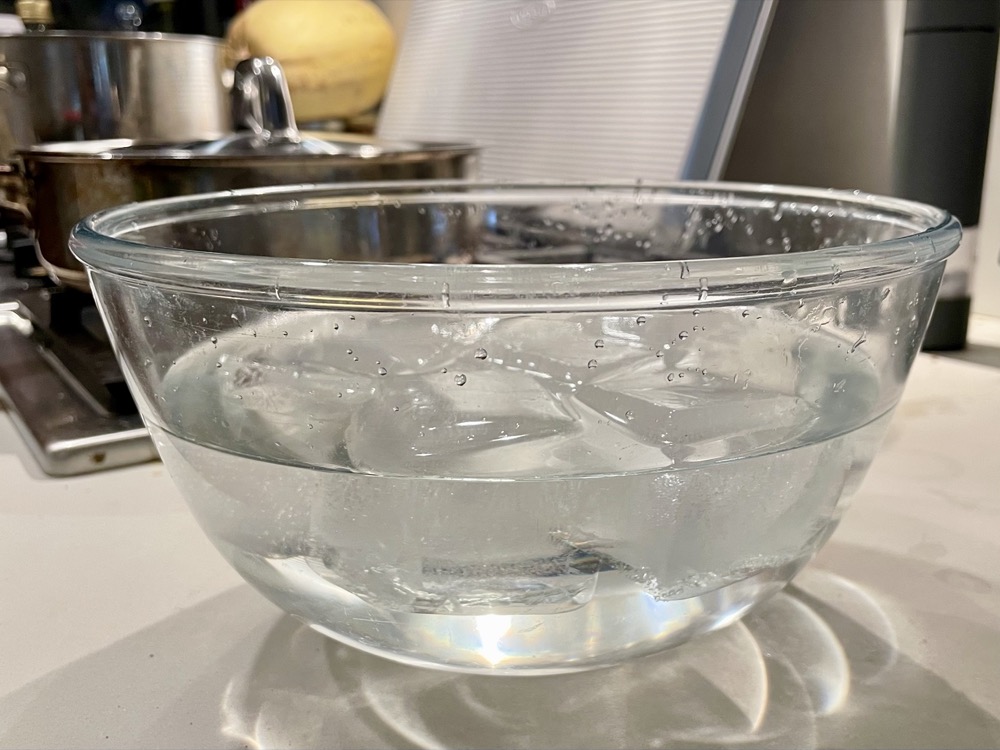
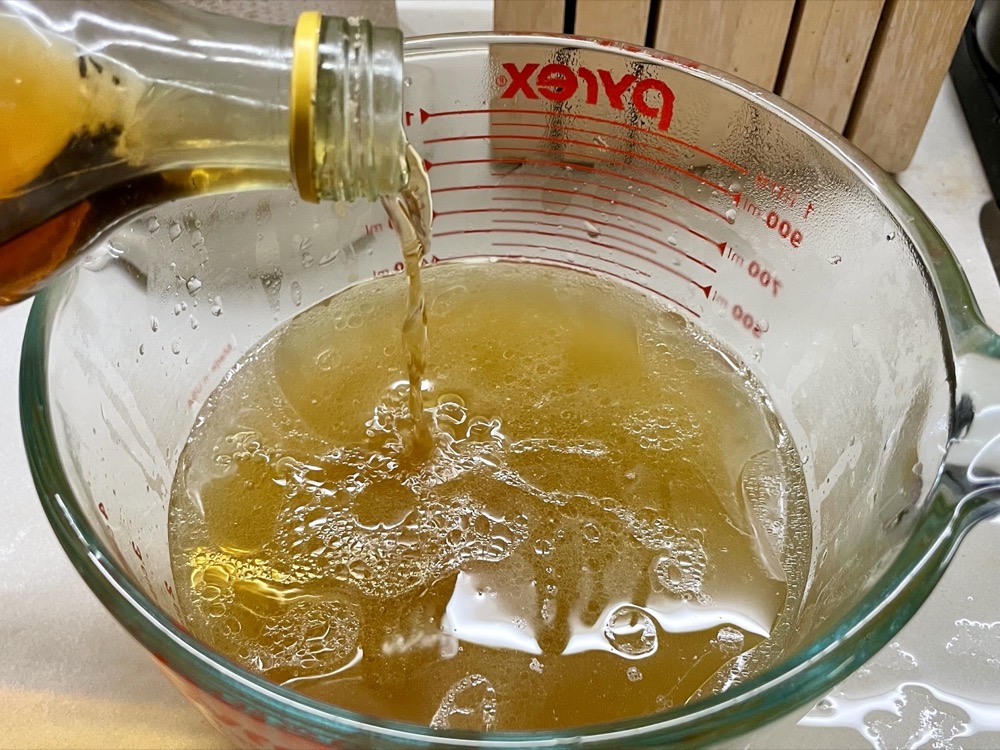
Schmaltz is rendered chicken fat that is commonly used in Jewish cooking. It typically comes in a glass jar and you should be able to find it at Whole Foods (labelled as rendered chicken fat) or jewish grocery stores. I found a large container of it at my local farmer’s market and froze them in ice cube trays for easy use. It keeps for ages.
If you can’t find rendered chicken fat, you can render it yourself. Ask your local butcher if they have any chicken fat or chicken skins and let it slowly cook down on the stove until you get a clear oil.
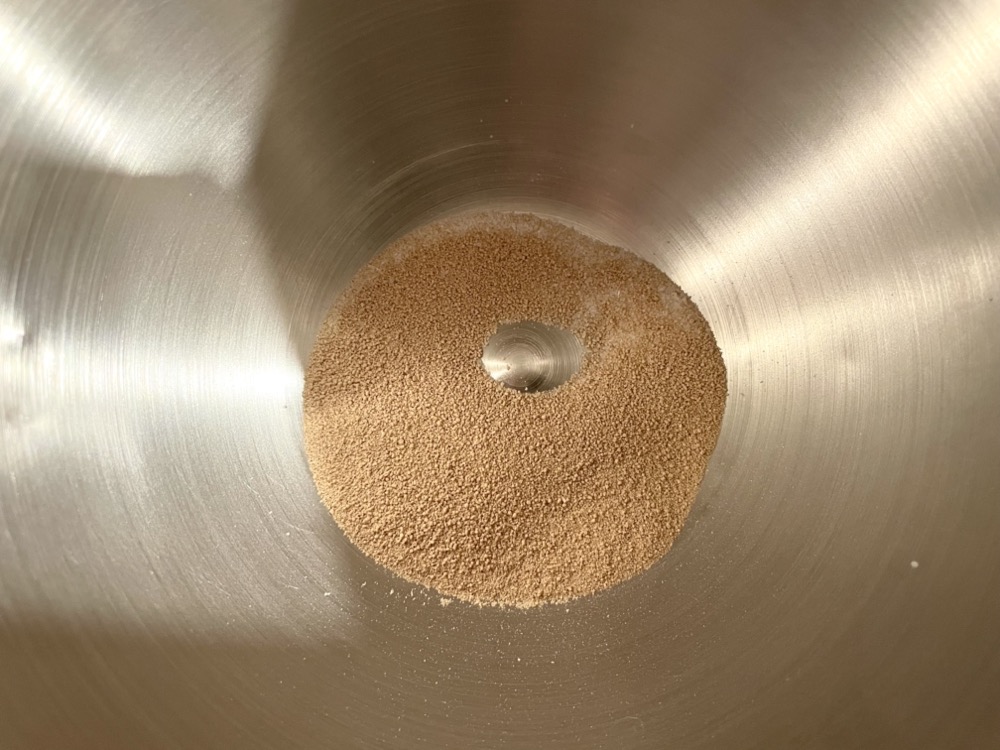
What is Asian Chicken Powder 雞粉?

Asian Chicken Powder 雞粉 is a flavourful chicken bouillon powder that usually has the addition of MSG. It’s a common ingredient used in many dishes to enhance the flavours in a pinch and add a boost of chicken aroma. I like the Lee Kum Kee Brand, but Knorr makes one that’s pretty good as well. If you can’t find it Chicken Powder, you can use regular chicken bouillon instead.
Anyways, without further ado, here’s the recipe! If you have any comments or suggestions, I’d love to hear from you in the comment section! You can follow me on instagram, youtube and facebook to see all the recipes I post!
Happy cooking!
Ingredients you’ll need:
- 4 Tbsps rendered chicken fat/schmaltz
- 5 cloves of garlic, minced
- 2 cups Jasmine rice, rinsed
- 1/2 tsp ground turmeric (optional, for colour)
- 4 cups chicken stock (3 cups if using Instant pot?)
- 2.5 tsps Asian chicken stock powder 雞粉
- 2 green onions, trimmed and sliced to 4cm pieces
- 2 slices of ginger
Stove Top Directions:
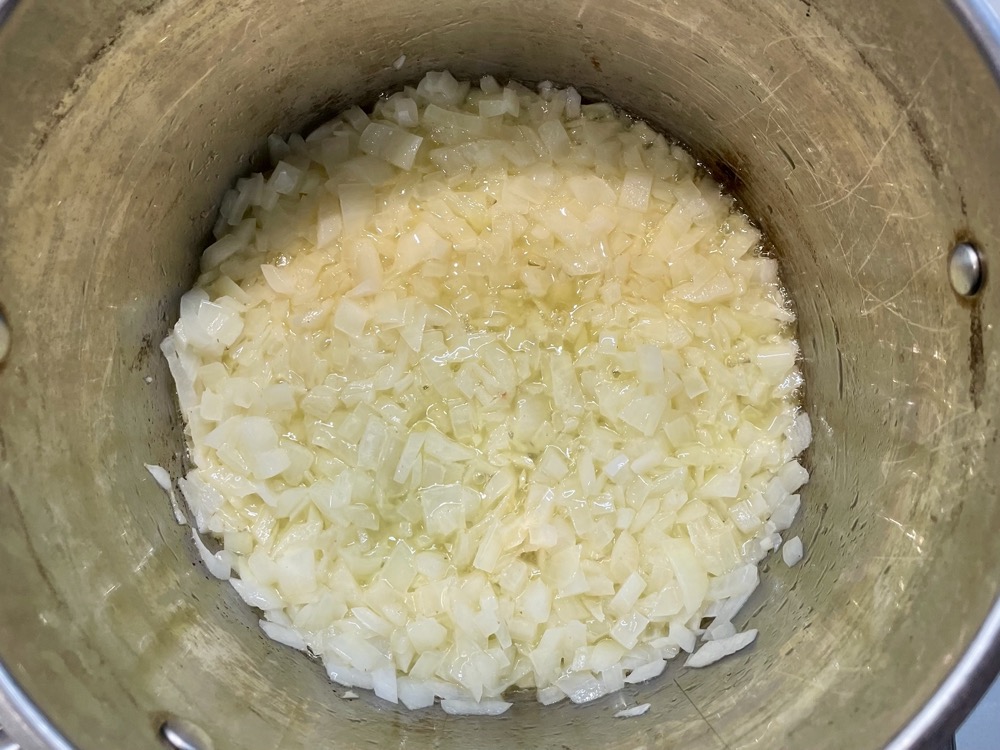
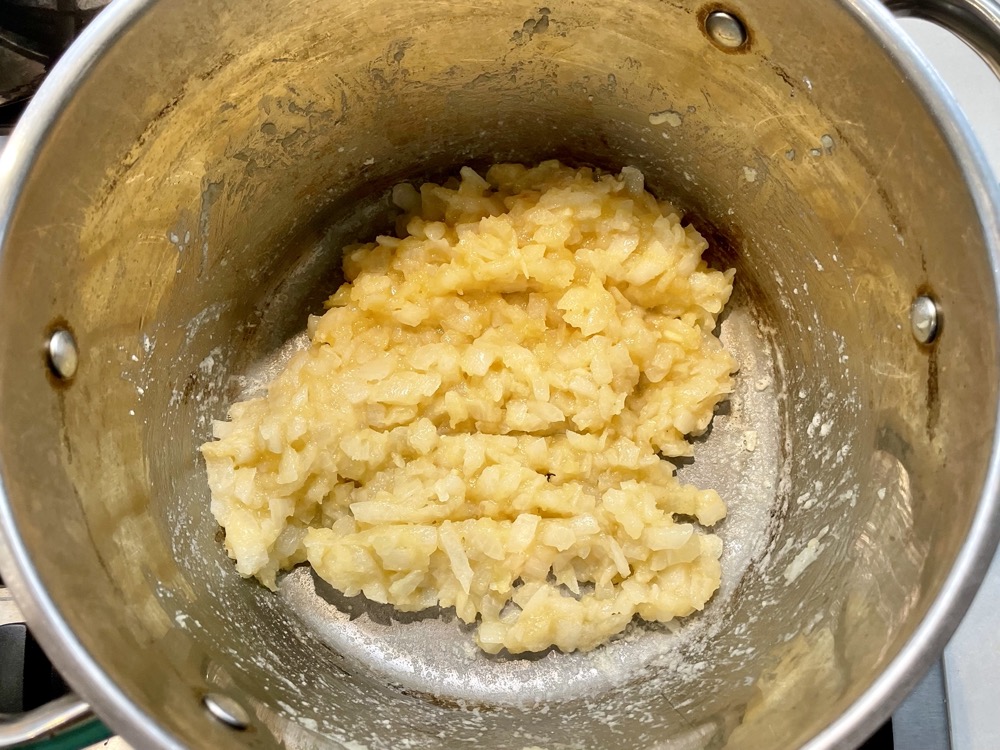
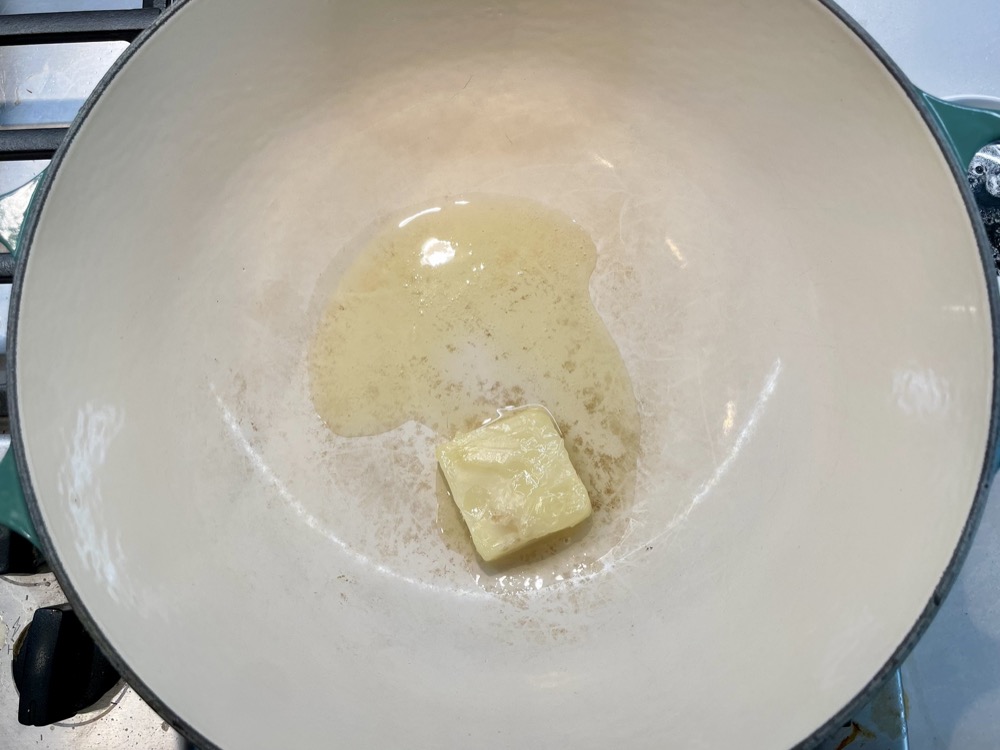
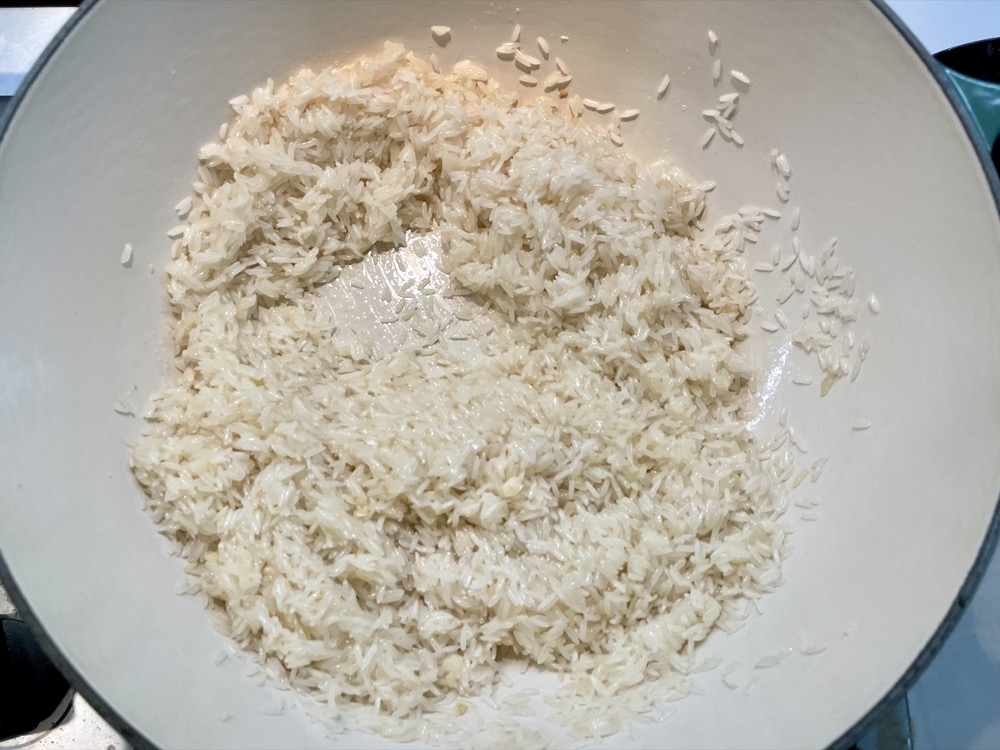
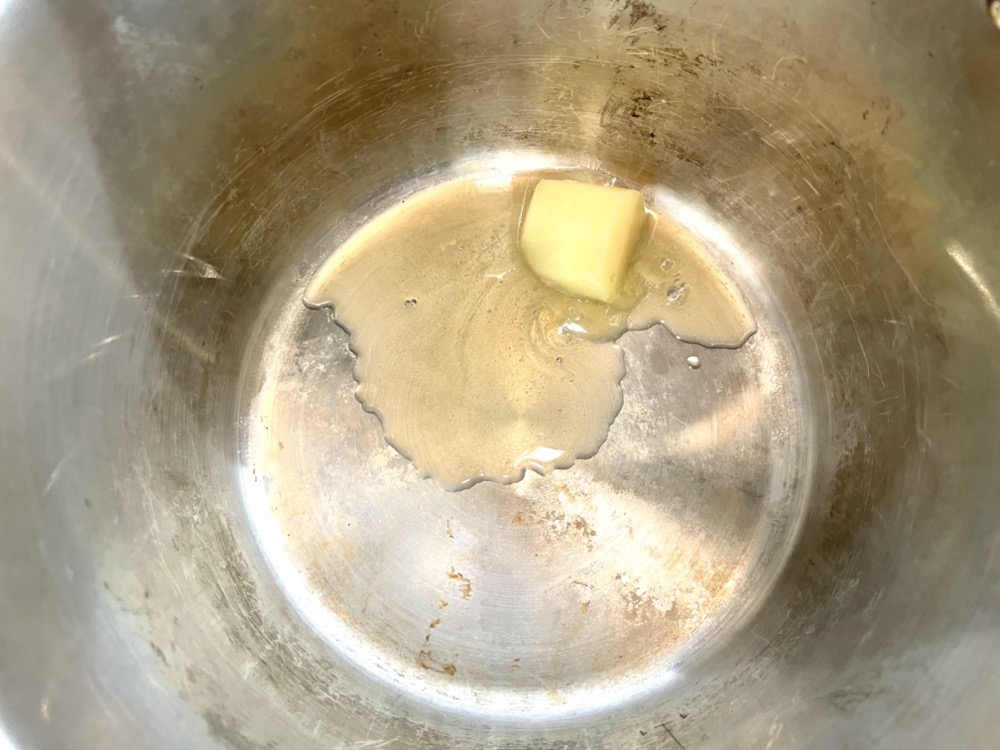
In a medium sized pot on MED heat, melt 4 Tbsps of chicken fat/schmaltz and sauté the minced garlic in the fat for 30 seconds until fragrant.

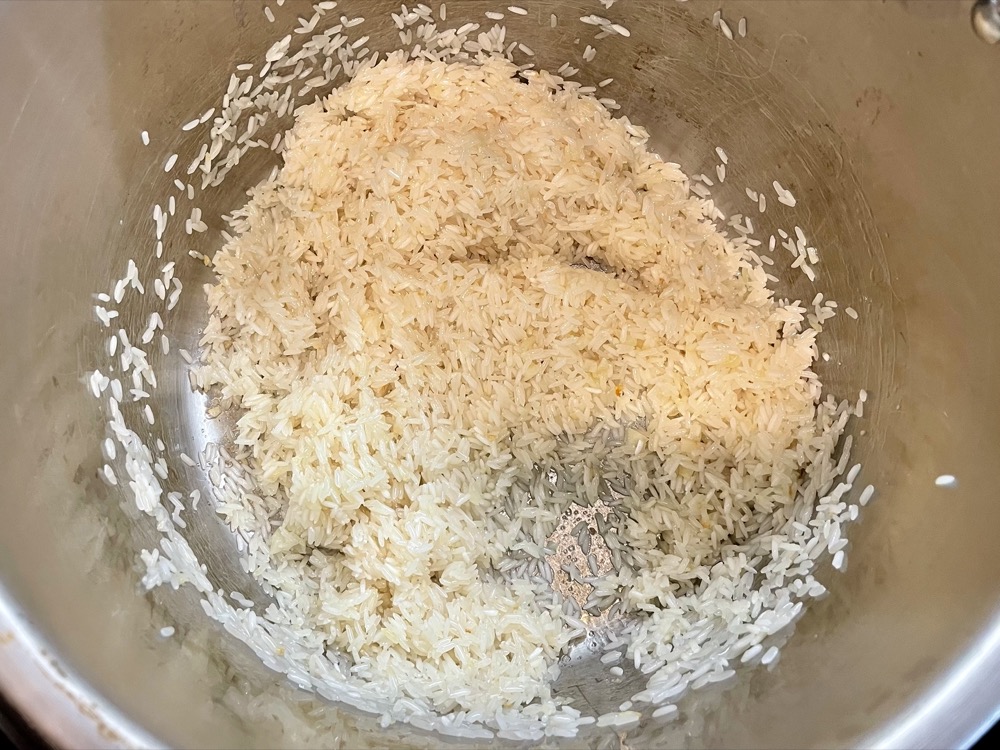
Add in the Jasmine rice and continue to sauté for 1-2 minutes until the rice heats up and is covered in the fat.

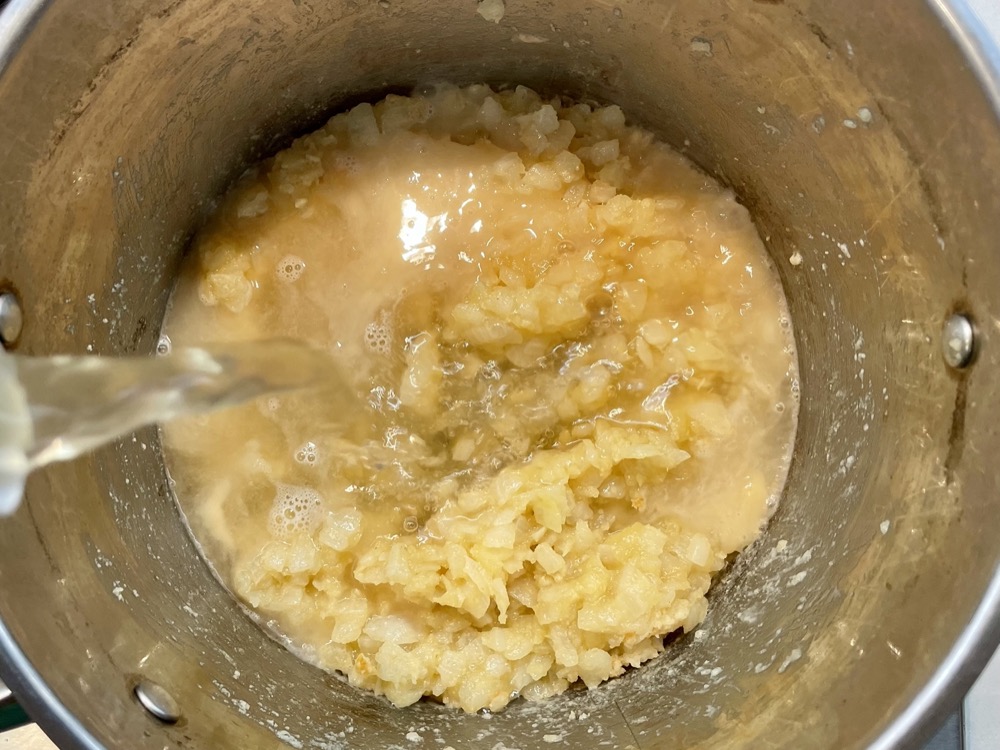
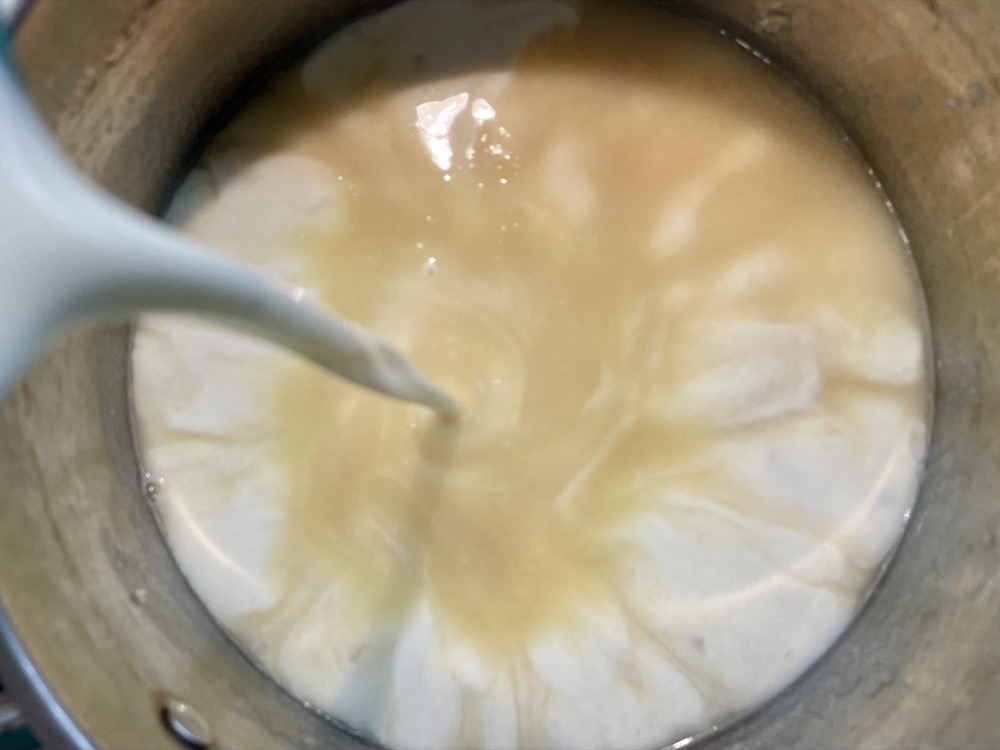
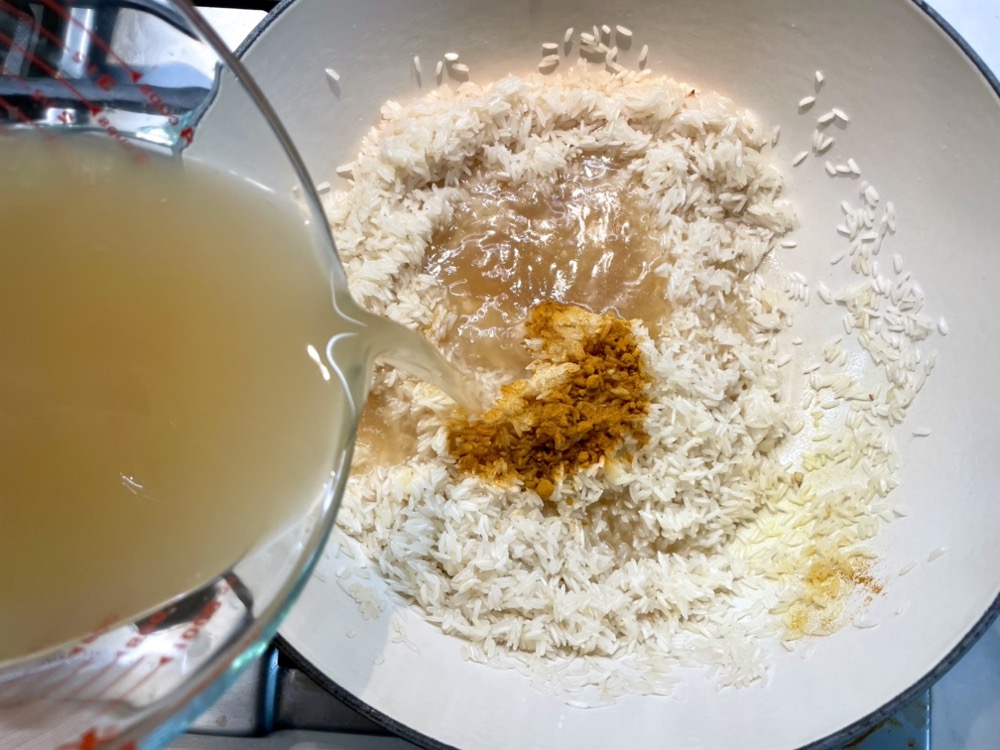
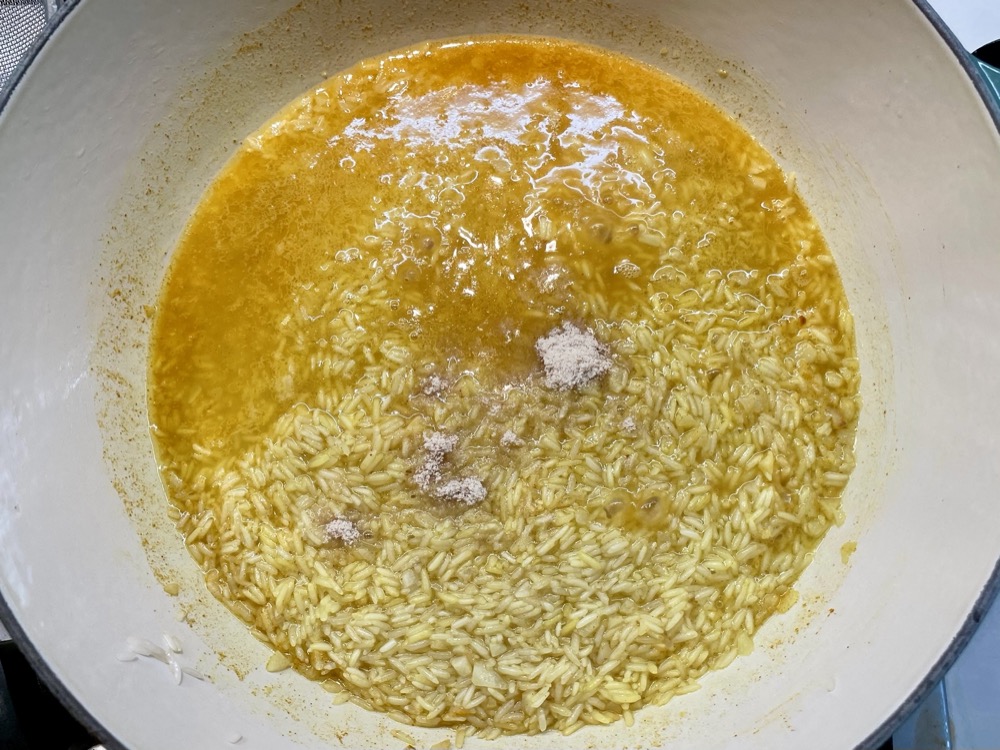
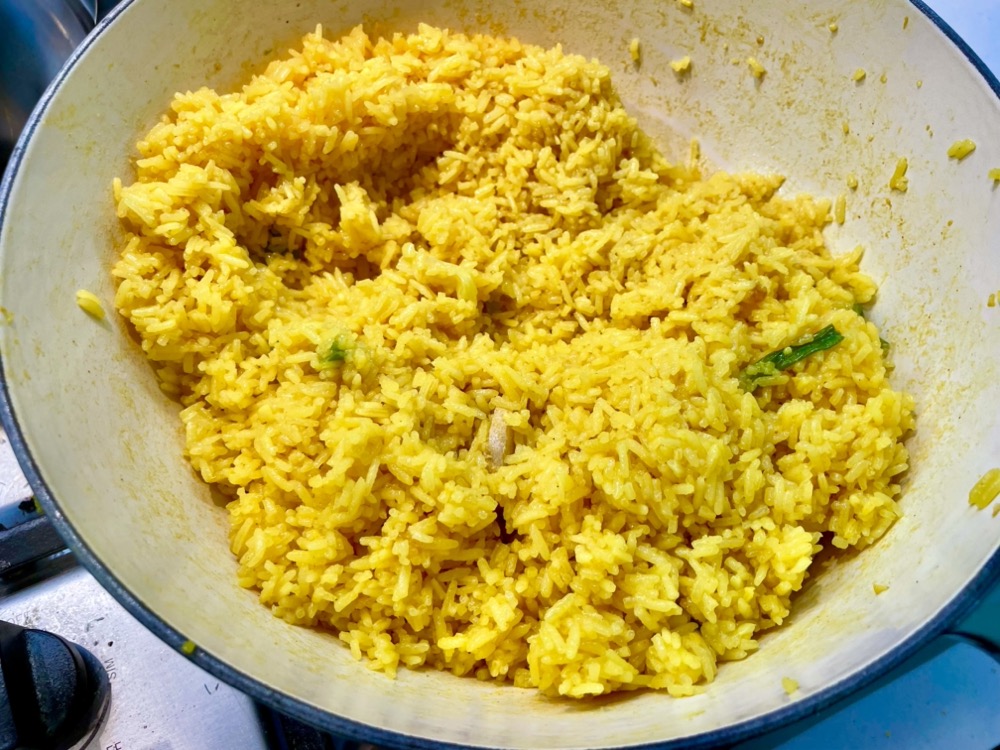
Next, add in the 1/2 tsp ground turmeric (if using), 4 cups chicken stock, 2.5 tsps chicken stock powder, green onion, and ginger. Mix it all around, let the liquid come to a simmer, then turn the heat down to LOW and put a lid on. Let the rice cook until soft (~10-15 minutes), stirring occasionally and making sure nothing sticks to the bottom of the pot. Add more chicken stock if the rice is getting too dry before it finishes cooking.


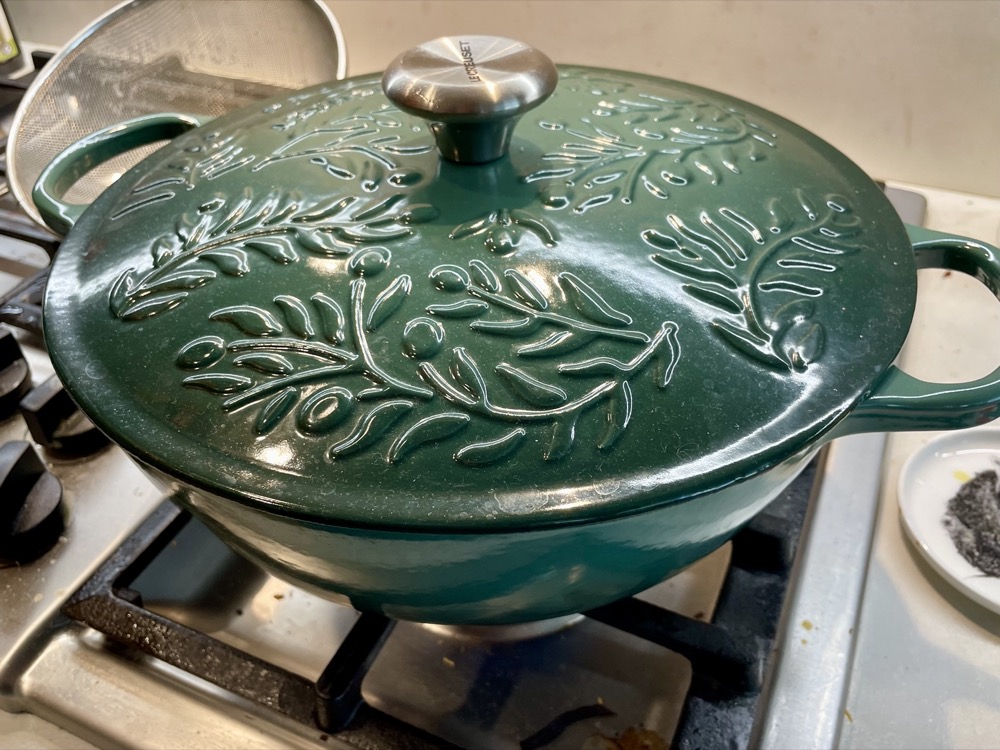
When the rice is done, fluff it up with a fork. Let the rice sit for 10-15 minutes before serving for best flavour. Enjoy!
Instant Pot Directions:
In an Instant Pot, start the sauté setting on MED heat and melt 4 Tbsps of chicken fat/schmaltz. Add the minced garlic and sauté it in the fat for 30 seconds until fragrant.

Add in the Jasmine rice and continue to sauté for 1-2 minutes until the rice heats up and is covered in the fat.

Cancel the Instant Pot sauté setting and add in the rest of the ingredients: 1/2 tsp ground turmeric (if using), 3 cups chicken stock, 2.5 tsps chicken stock powder, green onion, and ginger. Mix well, put on the lid, and set it to Pressure Cook on HIGH for 3 minutes and a 15 minute natural release.


Once finished, carefully release the rest of the steam, then open the lid. Fluff up the rice with a fork and let it sit for 10-15 minutes before serving for best flavour. Enjoy!


Summarized Recipe:
Asian Chicken Rice
Date Published: March 25th, 2025 | Last Updated: March 25th, 2025
Author: Abby |Category: < 30 mins, Asian, easy, quick, sides
Serves: 4 | Prep time: 10 minutes | Cook time: 15 minutes
Ingredients:
- 4 Tbsps rendered chicken fat/schmaltz
- 5 cloves of garlic, minced
- 2 cups Jasmine rice, rinsed
- 1/2 tsp ground turmeric (optional, for colour)
- 4 cups chicken stock (3 cups if using Instant pot?)
- 2.5 tsps Chicken stock powder – ASIAN BRAND
- 2 green onions, trimmed and sliced to 4cm pieces
- 2 slices of ginger
Stove Top Directions:
- In a medium sized pot on MED heat, melt 4 Tbsps of chicken fat/schmaltz and sauté the minced garlic in the fat for 30 seconds until fragrant.
- Add in the Jasmine rice and continue to sauté for 1-2 minutes until the rice heats up and is covered in the fat.
- Next, add in the 1/2 tsp ground turmeric (if using), 4 cups chicken stock, 2.5 tsps chicken stock powder, green onion, and ginger. Mix it all around, let the liquid come to a simmer, then turn the heat down to LOW and put a lid on. Let the rice cook until soft (~10-15 minutes), stirring occasionally and making sure nothing sticks to the bottom of the pot. Add more chicken stock if the rice is getting too dry before it finishes cooking.
- When the rice is done, fluff it up with a fork. Let the rice sit for 10-15 minutes before serving for best flavour. Enjoy!
Instant Pot Directions:
- In an Instant Pot, start the sauté setting on MED heat and melt 4 Tbsps of chicken fat/schmaltz. Add the minced garlic and sauté it in the fat for 30 seconds until fragrant.
- Add in the Jasmine rice and continue to sauté for 1-2 minutes until the rice heats up and is covered in the fat. Cancel the Instant Pot sauté setting and add in the rest of the ingredients: 1/2 tsp ground turmeric (if using), 3 cups chicken stock, 2.5 tsps chicken stock powder, green onion, and ginger. Mix well, put on the lid, and set it to Pressure Cook on HIGH for 3 minutes and a 15 minute natural release.
- Once finished, carefully release the rest of the steam, then open the lid. Fluff up the rice with a fork and let it sit for 10-15 minutes before serving for best flavour. Enjoy!