Date Published: August 6th, 2020 | Last Updated: August 6th, 2020
Author: Abby |Category: snacks, easy, <15mins
Serves: 4 | Prep time: 10 mins | Cook time: 30 secs
Jump to recipe |
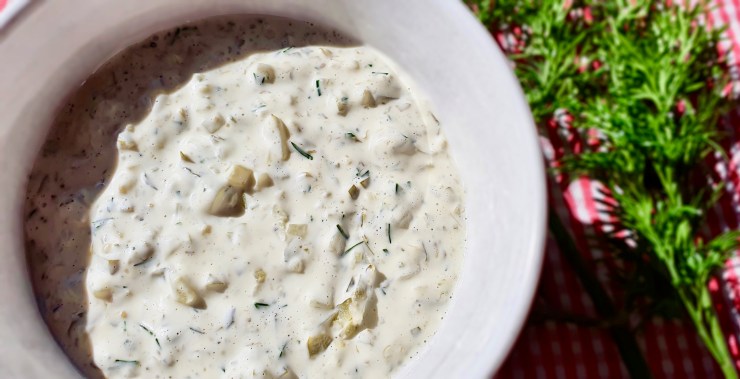
This is by far my favourite version of a tuna salad. The addition of dill and curry with the crunch of the pickle all infused into the creamy mayo brings this to the next level. You’ve got to try it. It’s packed with flavour and so easy and quick to put together for a quick snack or lunch. Serve it in a sandwich, in a tuna melt, or even as a dip with some crackers. (Recipe adapted from Allrecipes with changes to ingredients and proportions.)
If you have any comments or suggestions, I’d love to hear from you in the comment section! You can follow me on instagram, youtube and facebook to see all the recipes I post!
Happy cooking!
Ingredients you’ll need:

- 200g (~2 cans) tuna in springwater , drained very well (the drier the tuna the better, otherwise you’ll have a sludgy tuna salad)
- 1/3 – 1/2 cup mayonnaise (depends on how creamy you prefer it)
- 3 Tbsps parmesan cheese
- 5 Tbsps (36g) pickles, finely chopped (or 3 Tbsps sweet pickle relish)
- 1/2 tsp curry powder
- 1 Tbsp dried parsley
- 1 tsp dried dill weed
- 1/2 tsp garlic powder
- Fresh ground pepper to taste
- 1/4 tsp dried minced onion flakes (optional)
Directions:
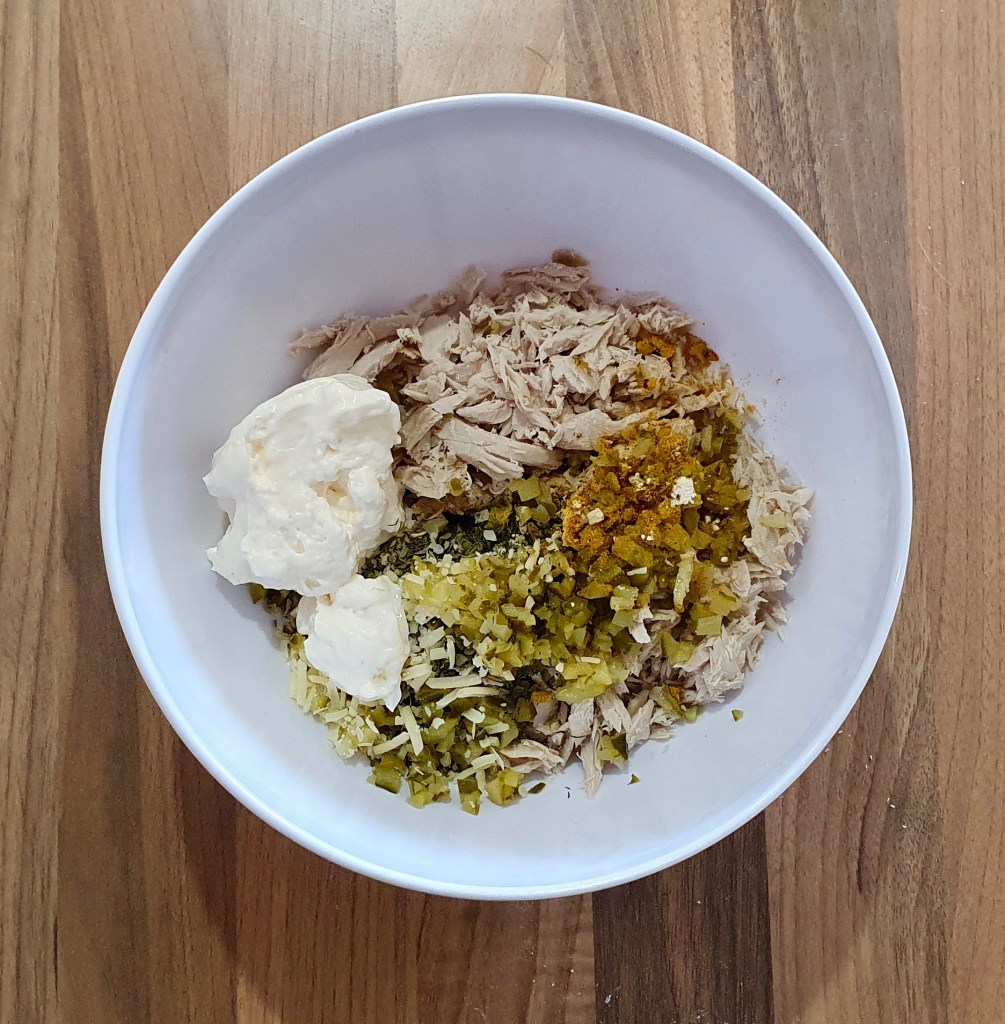


Mix everything together and taste. Adjust salt and pepper as needed. If you prefer a creamier tuna salad, add more mayonnaise. If you want it crunchier, add more chopped pickles or even some cucumber or red bell peppers/capsicums.
Chill for 20 minutes before serving to let the flavours infuse. Done!

Summarized Recipe:
Curry Tuna Salad
Date Published: August 6th, 2020 | Last Updated: August 6th, 2020
Author: Abby |Category: snacks, easy, <15mins
Serves: 4 | Prep time: 10 mins | Cook time: 30 secs
Ingredients:
- 200g (2 cans) tuna in springwater , drained
- 1/3 to 1/2 cup mayonnaise (depending on how creamy you like your tuna salad)
- 3 Tbsps parmesan cheese
- 5 Tbsps (36g) pickles, finely chopped (or 3 Tbsps sweet pickle relish)
- 1/2 tsp curry powder
- 1 Tbsp dried parsley
- 1 tsp dried dill weed
- 1/2 tsp garlic powder
- Fresh ground pepper to taste
- 1/4 tsp dried minced onion flakes
Directions:
- Mix everything together and taste. Adjust salt and pepper as needed. If you prefer a creamier tuna salad, add more mayonnaise. If you want it crunchier, add more chopped pickles or even some cucumber or red bell peppers/capsicums.
- Refrigerate for 20 minutes before serving to let the flavours infuse. Done!
Serve in a sandwich, as a tuna melt, or with crackers!