Date Published: August 19th, 2020 | Last Updated: August 19th, 2020
Author: Abby |Category: sauces/dips, easy
Serves: 1 cup | Prep time: 10 mins | Cook time: 30 secs
Jump to recipe |

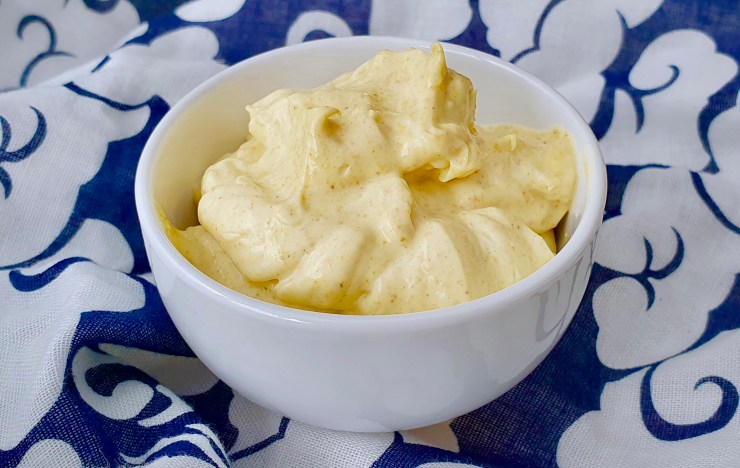
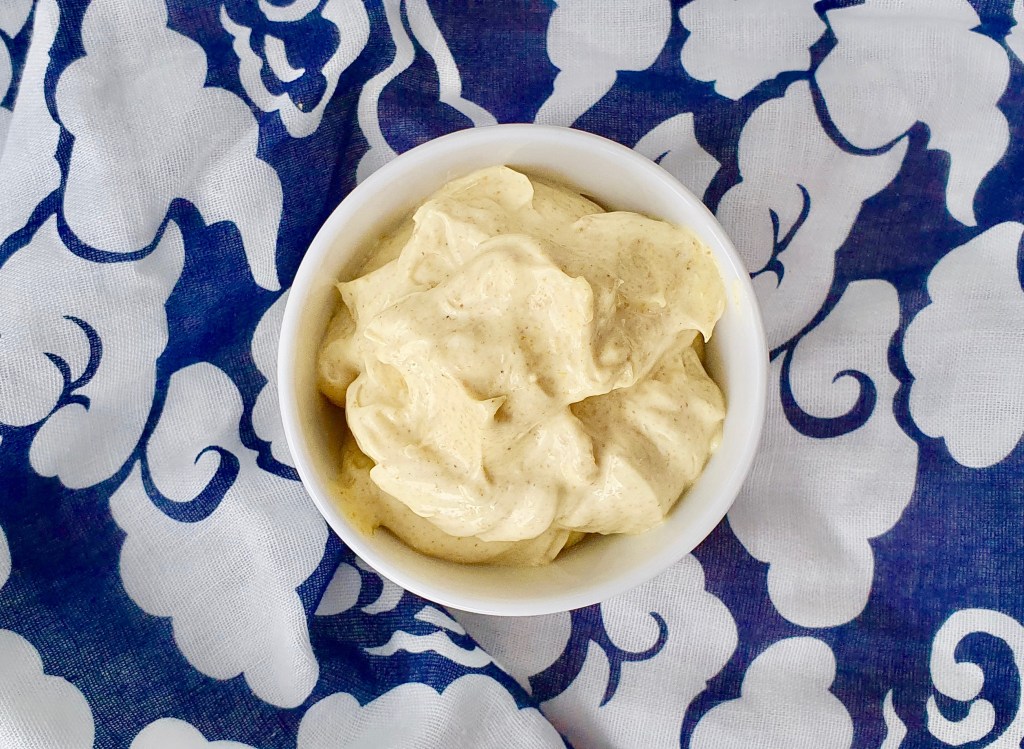
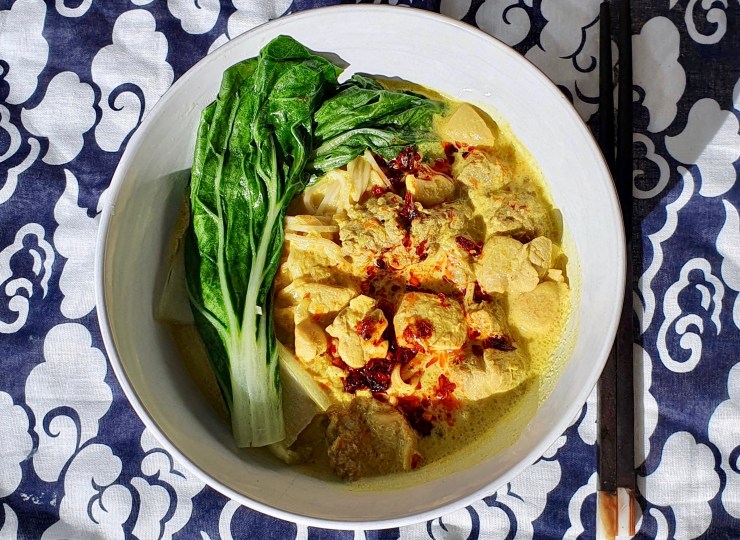
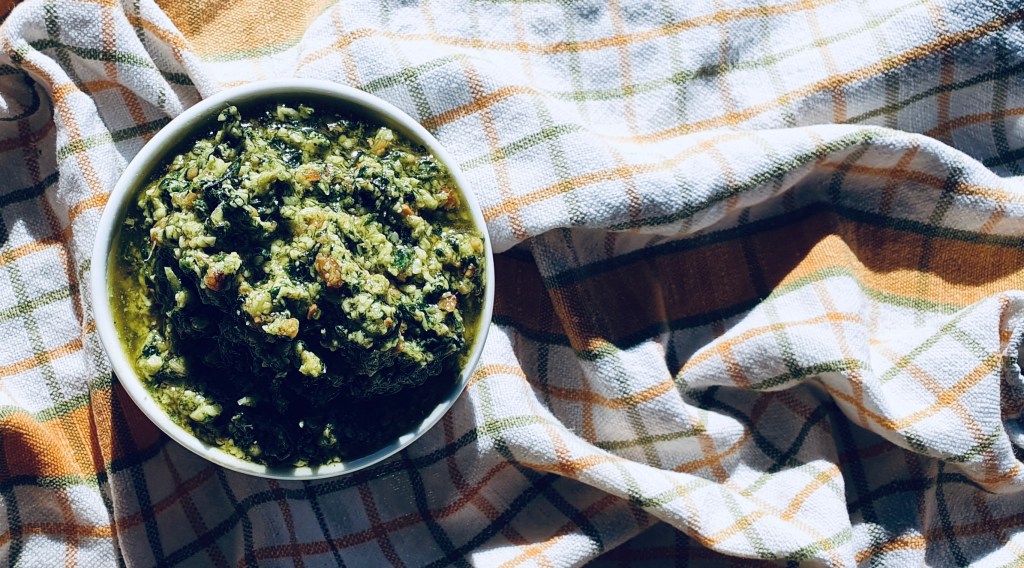
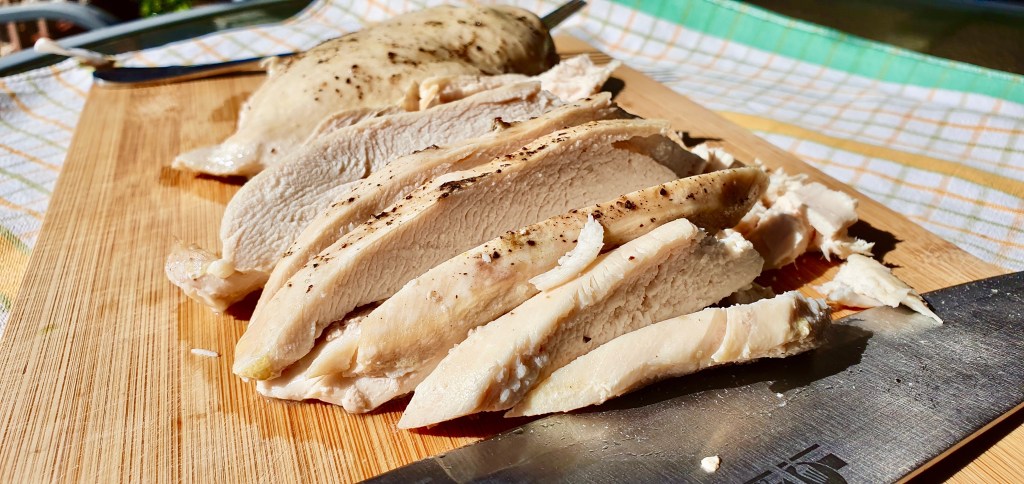
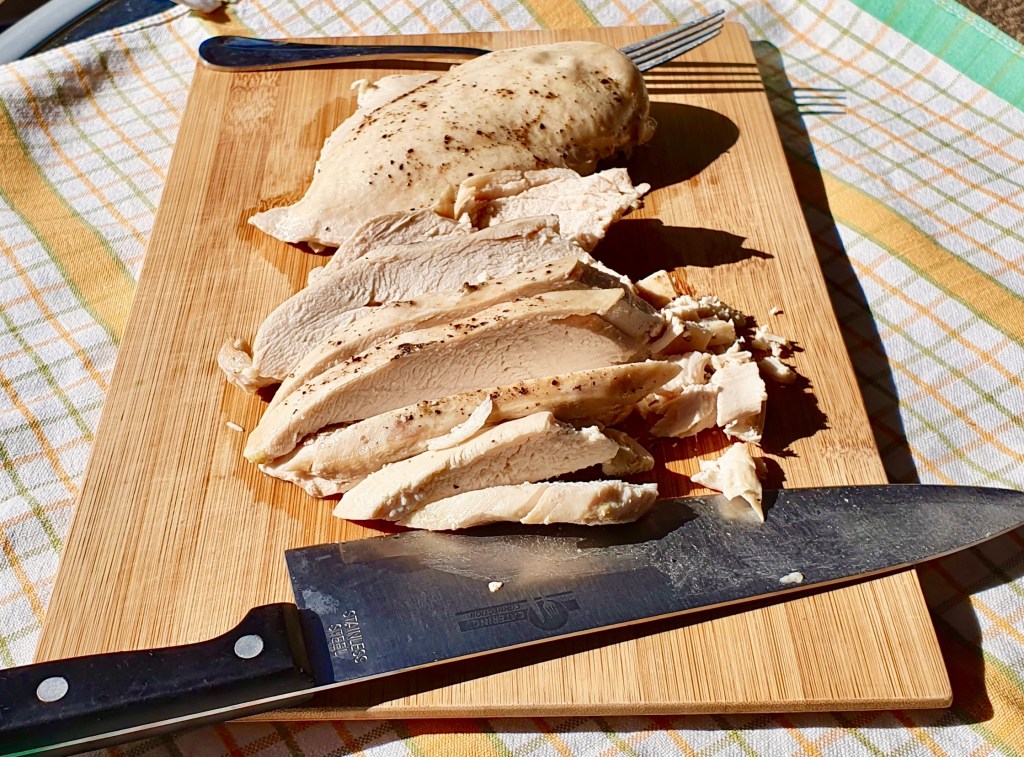
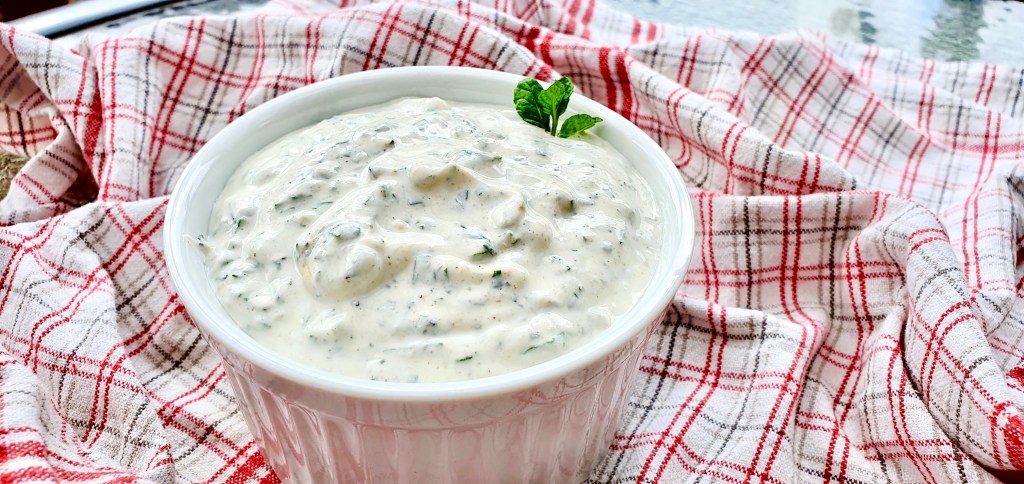
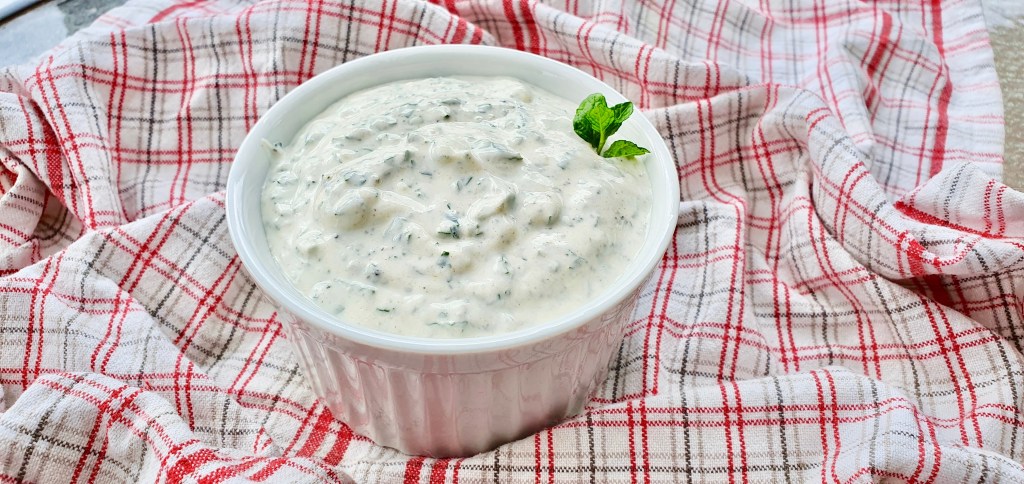
Lamb is a pretty popular meat in Australia and it’s commonly paired with a mint sauce/jelly. Toby and I made our first roast lamb a couple months ago and it was so delicious that we’ve made it 3 more times since (recipe here). The lamb we made had such beautiful strong flavours from the rub that I decided to make a more subtle mint sauce using Greek yogurt. The sauce was a big hit with the fam and I’m sharing it here with you today! There’s only a few ingredients required to make this creamy sauce. The mint flavour is more subtle compared to a traditional mint sauce but it works well with the lemon and garlic and the addition of cumin adds a little extra depth to compliment the lamb. You can also use this sauce as a dressing over a quick cucumber salad to have on its own or as a side with the lamb.
Anyways, without further ado, here’s the recipe! If you have any comments or suggestions, I’d love to hear from you in the comment section! You can follow me on instagram, youtube and facebook to see all the recipes I post!
Happy cooking!
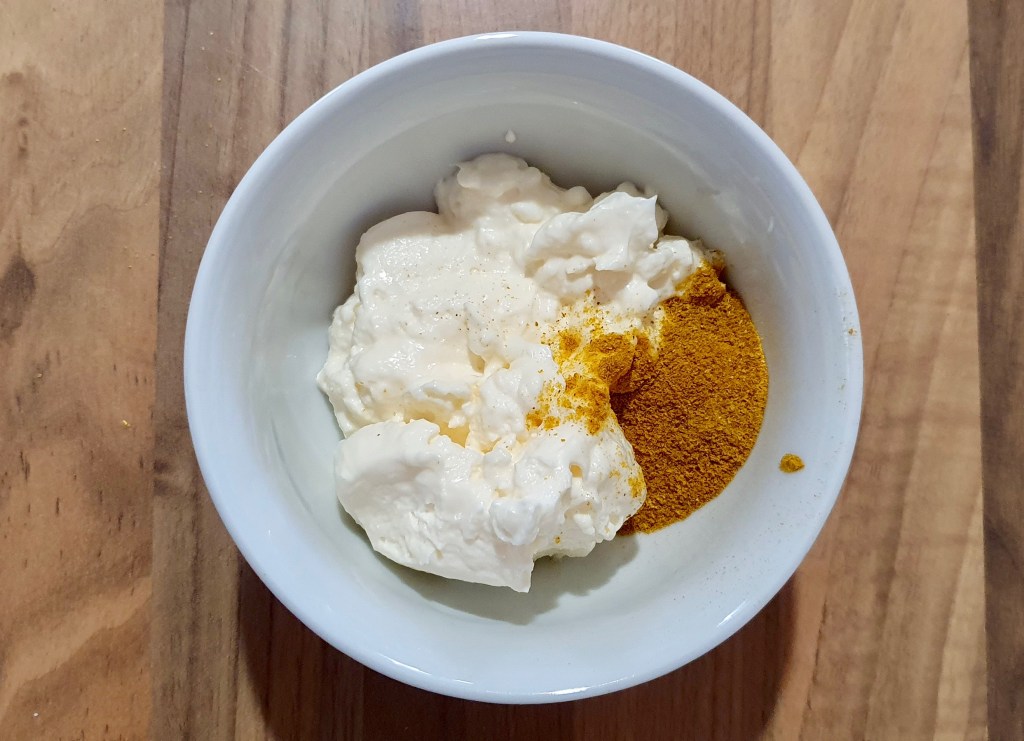
Ingredients you’ll need:

- 1 cup (245g) greek yogurt
- 1/2 cup mint leaves, chopped
- 1 large clove garlic, minced
- 1/2 Tbsp lemon juice
- 1/2 tsp ground cumin
- 1/4 tsp salt
- 1/2 tsp black pepper
Directions:
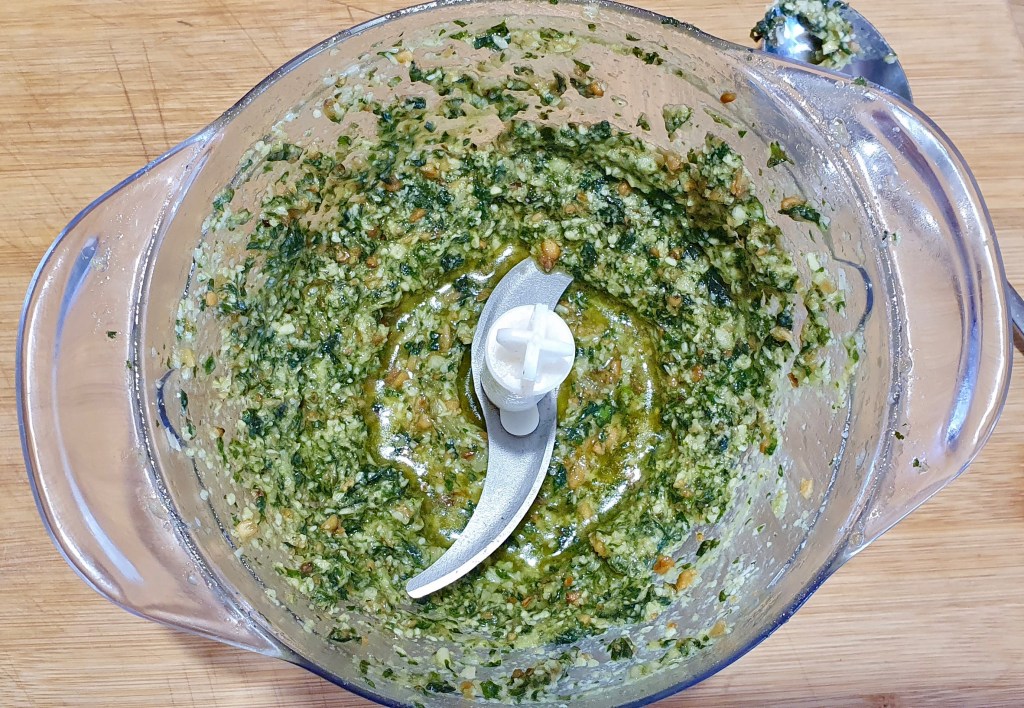
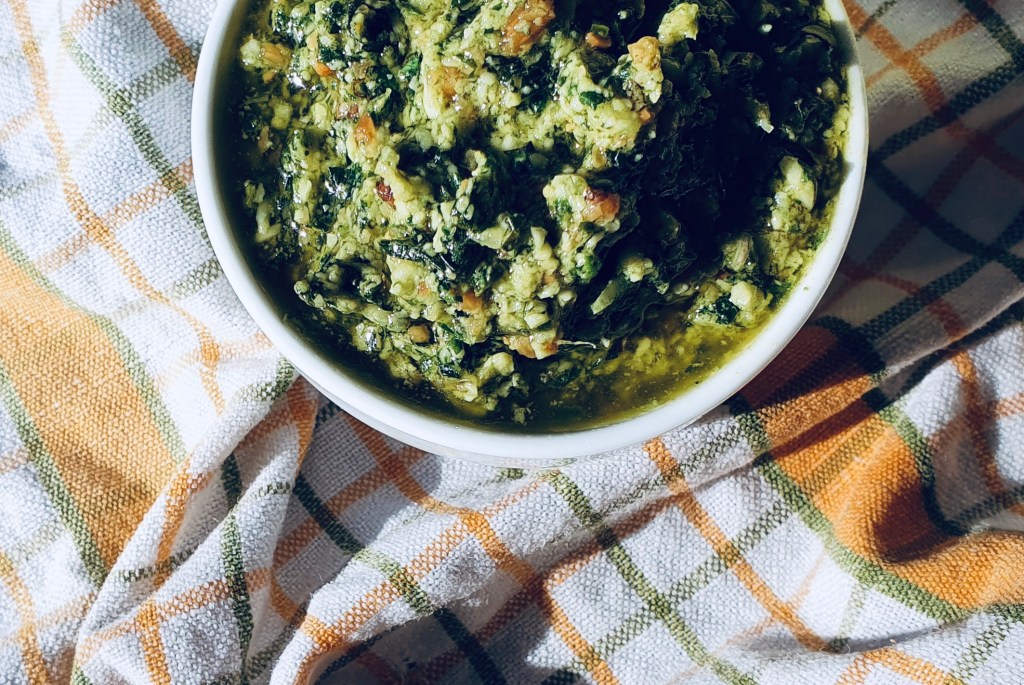
Mix all the ingredients in a bowl. Taste adjust lemon, salt or pepper as needed. Done!
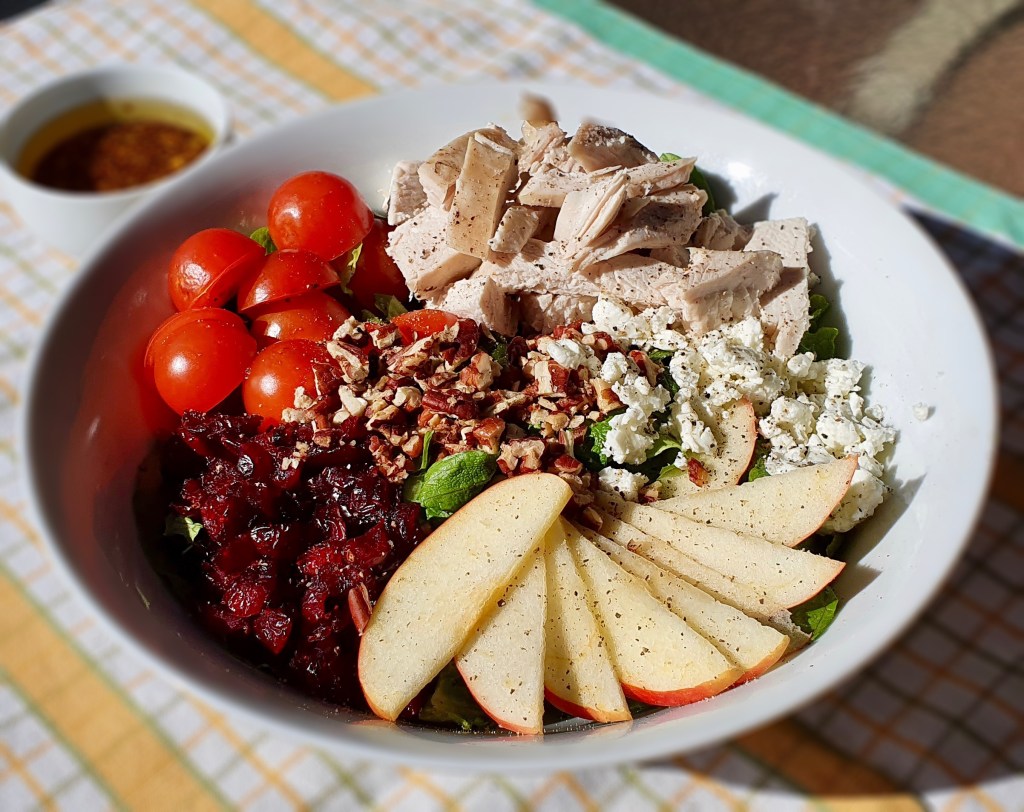
Try it with the garlic rosemary lamb roast. Mmmmmm.


Summarized Recipe:
Creamy Mint Yogurt Sauce
Date Published: August 18th, 2020 | Last Updated: August 18th, 2020
Author: Abby |Category: sauces/dips, easy
Serves: 1 cup | Prep time: 10 mins | Cook time: 30 secs
Ingredients:
- 1 cup (245g) greek yogurt
- 1/2 cup mint leaves, chopped
- 1 large clove garlic, minced
- 1/2 Tbsp lemon juice
- 1/2 tsp ground cumin
- 1/4 tsp salt
- 1/2 tsp black pepper
Directions:
- Mix all the ingredients in a bowl. Taste adjust lemon, salt or pepper as needed. Done!