Date Published: Dec 17th, 2024 | Last Updated: Dec 17th, 2024
Author: Abby |Category: mains, vegetarian, easy, <30 mins, healthy
Serves: 4 | Prep time: 20 mins | Cook time: 20 mins
Jump to recipe |
Get ready to save this to your repertoire, because this easy one pan herb-crusted baked fish recipe is so simple and quick to put together that you’ll end up with a 5 star dish with loads of flavour in very little time! There’s also minimal clean up, perfect for a busy weeknight dinner (or just those days you just don’t feel like putting in much effort).
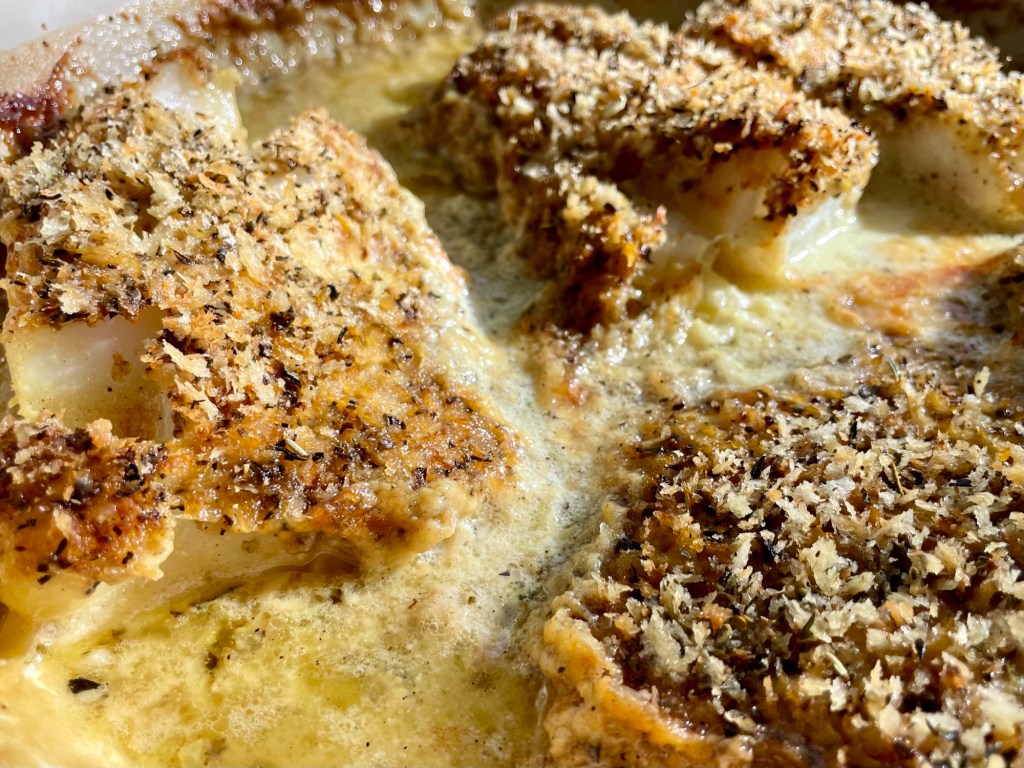
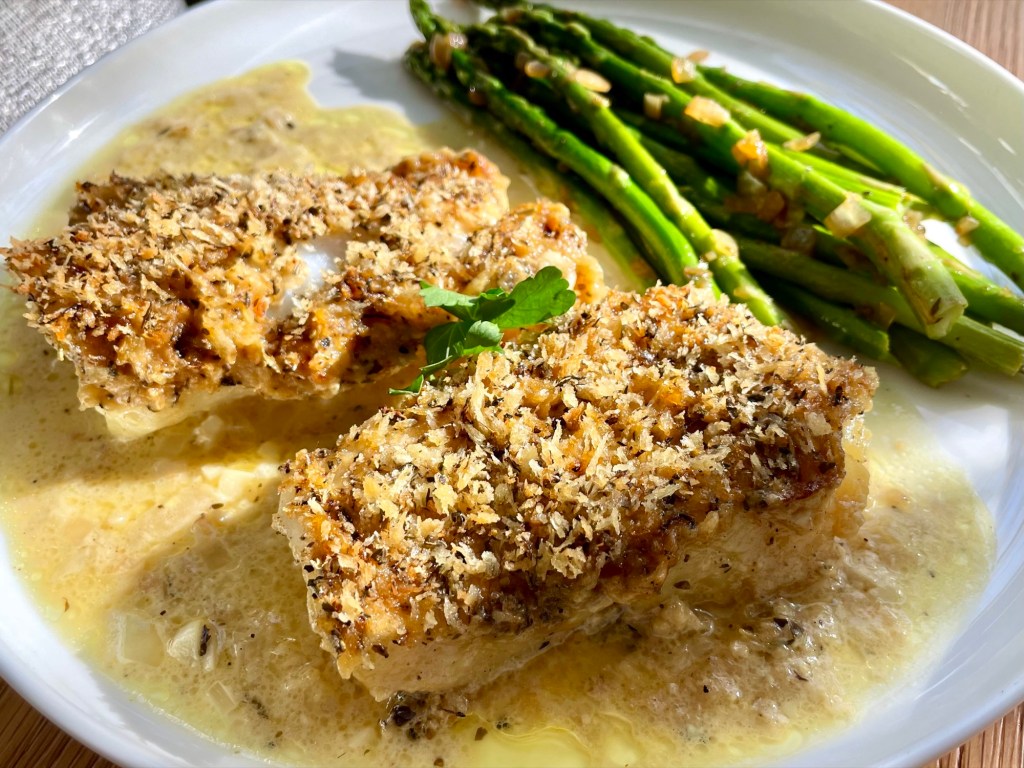
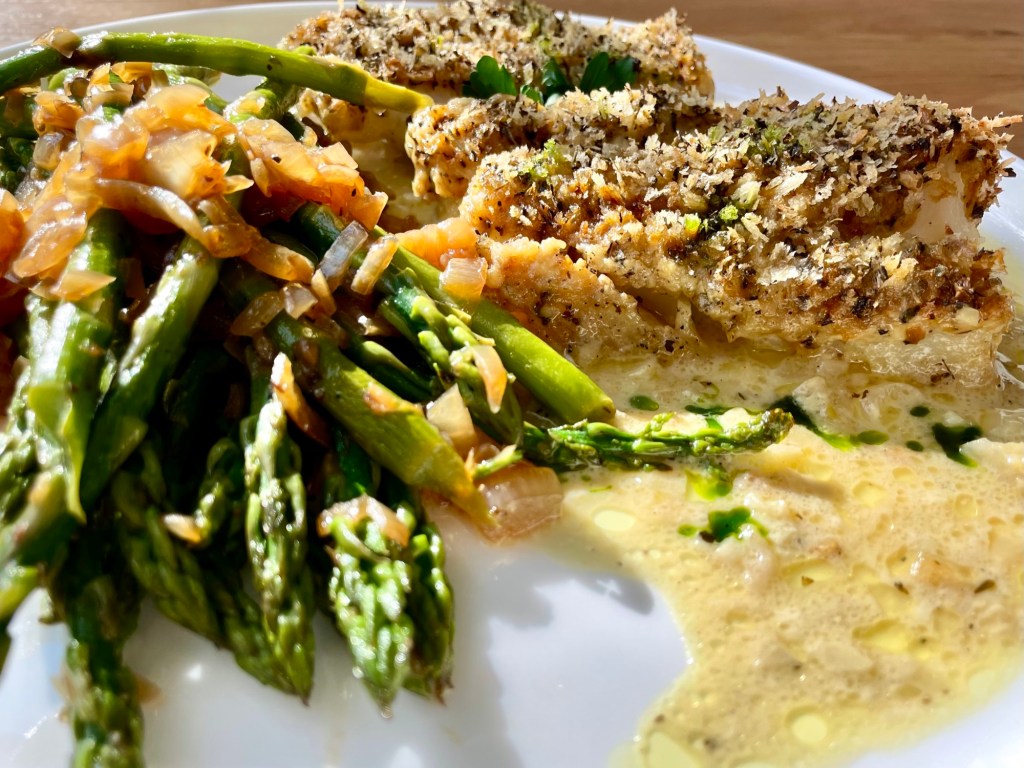
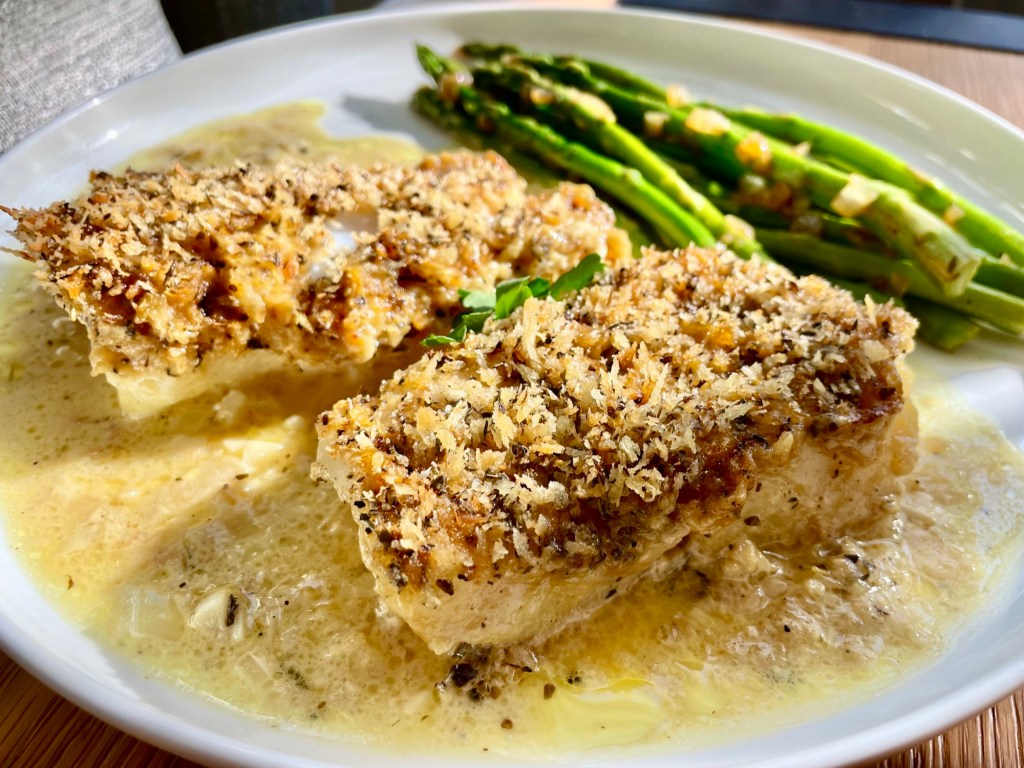
The fish is cooked in a rich lemony creamy sauce that melds perfectly with the juices released from the fish while baking and the crust provides the aroma of herbs while giving a crunchy texture that contrasts the soft fish. Feel free to pair it with whatever side you like – I’d recommend something with a crunch such as asparagus or broccolini.
Anyways, without further ado, here’s the recipe! If you have any comments or suggestions, I’d love to hear from you in the comment section! You can follow me on instagram, youtube and facebook to see all the recipes I post!
Happy cooking!
Ingredients you’ll need:
- 4 portions (roughly 750g/1.6lbs) of fillets of any mild white fish, cut to the same size, skinless & boneless (ie. cod, tilapia, halibut, barramundi, sole…etc.) – I use cod but any white fish will do
- Salt & pepper
- Herb Crust:
- 1/2 cup Panko breadcrumbs
- 1 Tbsp Italian seasoning
- 1/4 tsp garlic powder
- 1 Tbsp olive oil
- Pinch of salt
- Sauce:
- 113g (1 stick) unsalted butter
- 1/4 cup yellow onion, finely minced
- 3 garlic cloves, minced
- 1/2 cup heavy cream
- 3 Tbsp Dijon mustard
- 2 Tbsps lemon juice
- 1/4 tsp salt
- 1/4 tsp fresh ground black pepper
- 1/2 – 1 tsp mayonnaise over each fillet
- To garnish: fresh parsley, chopped
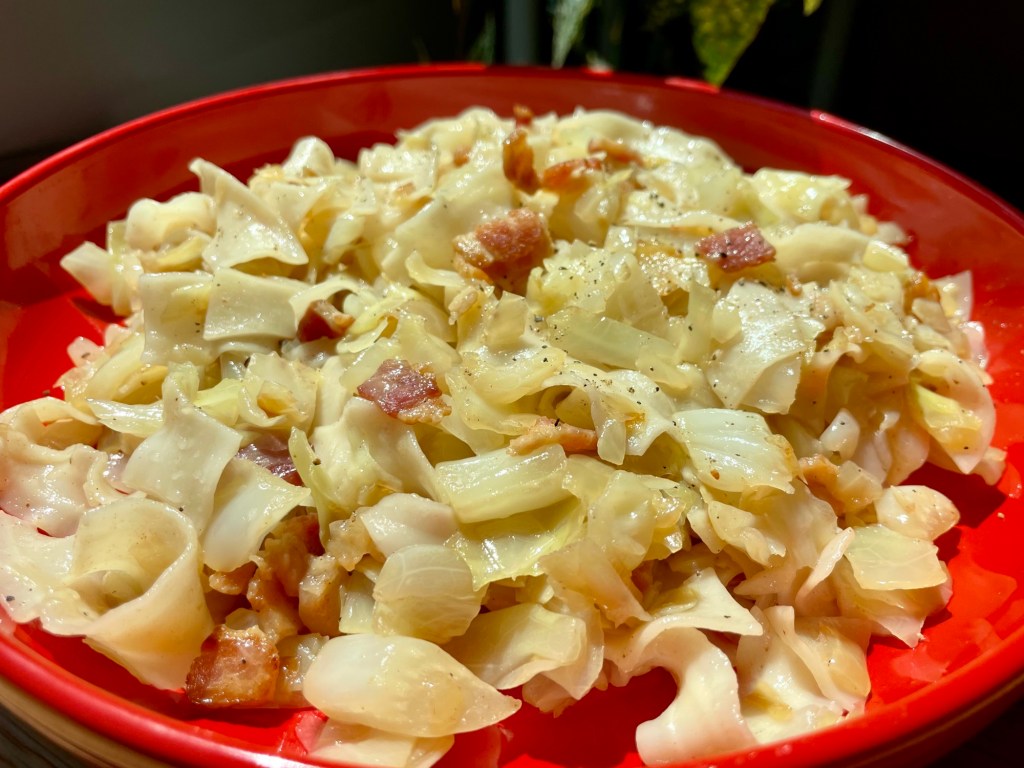
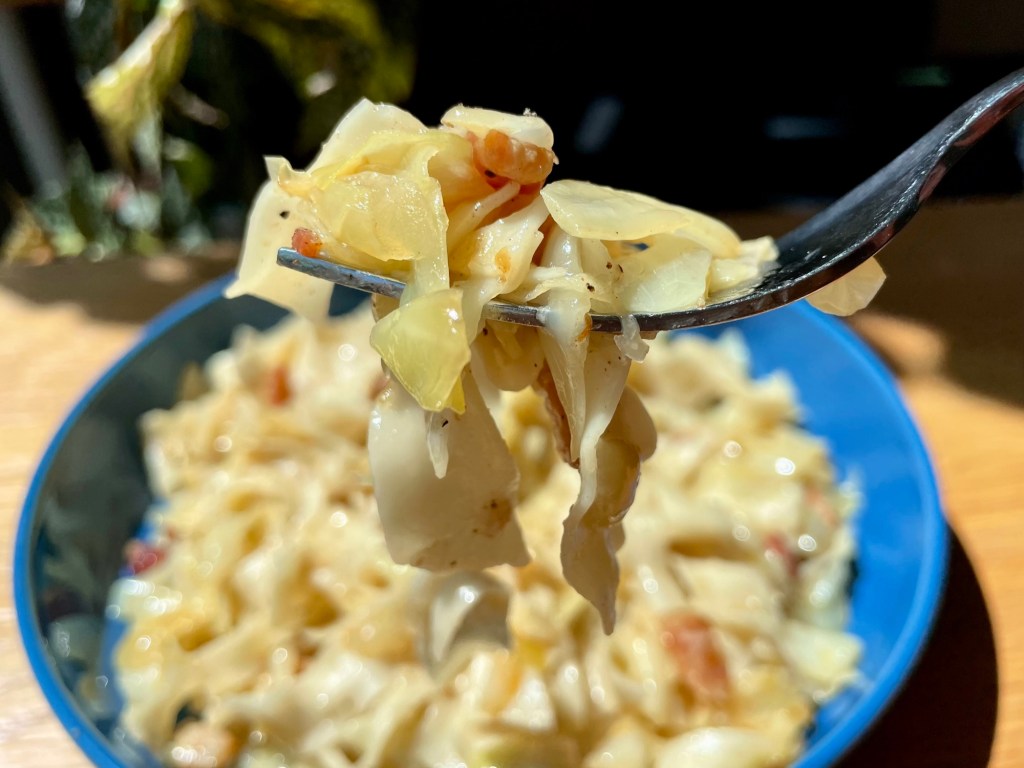
- Serve with: any crunchy vegetable side dish (ie. green beans, cabbage, roasted fennel…etc.)
Directions:
Preheat oven to 400˚F/200˚C.
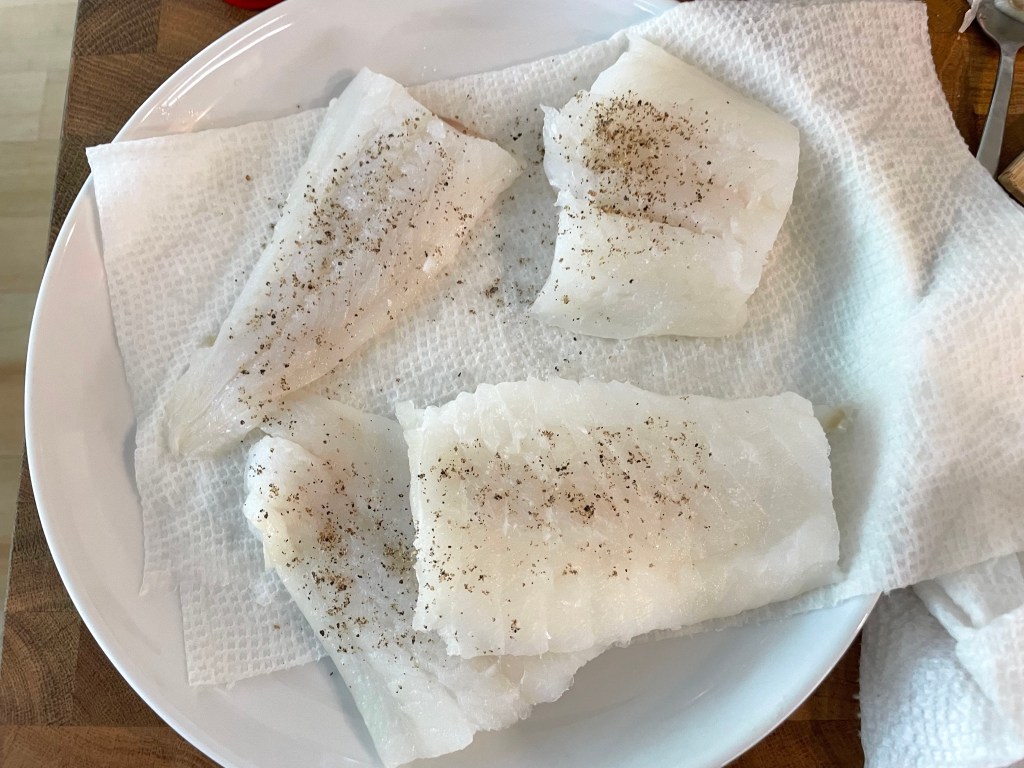
Rinse and pat dry your fish fillets then salt and pepper both sides and set aside.
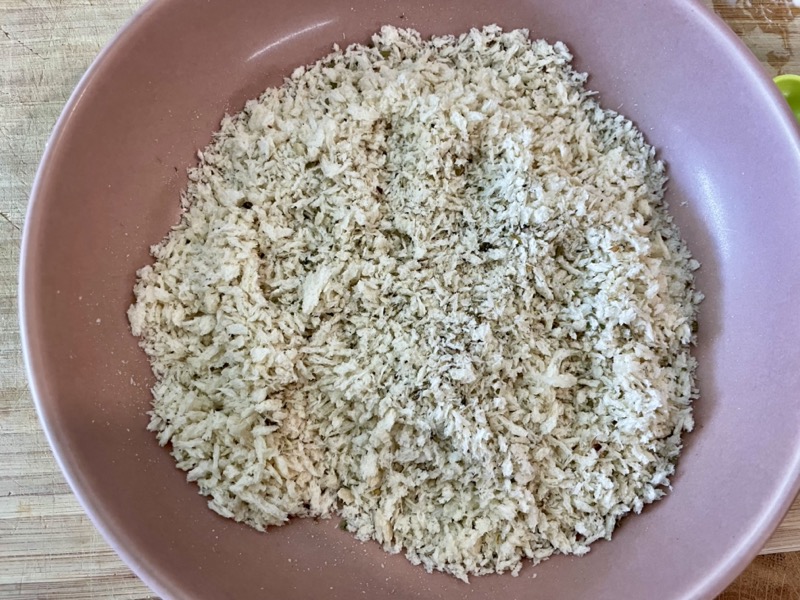
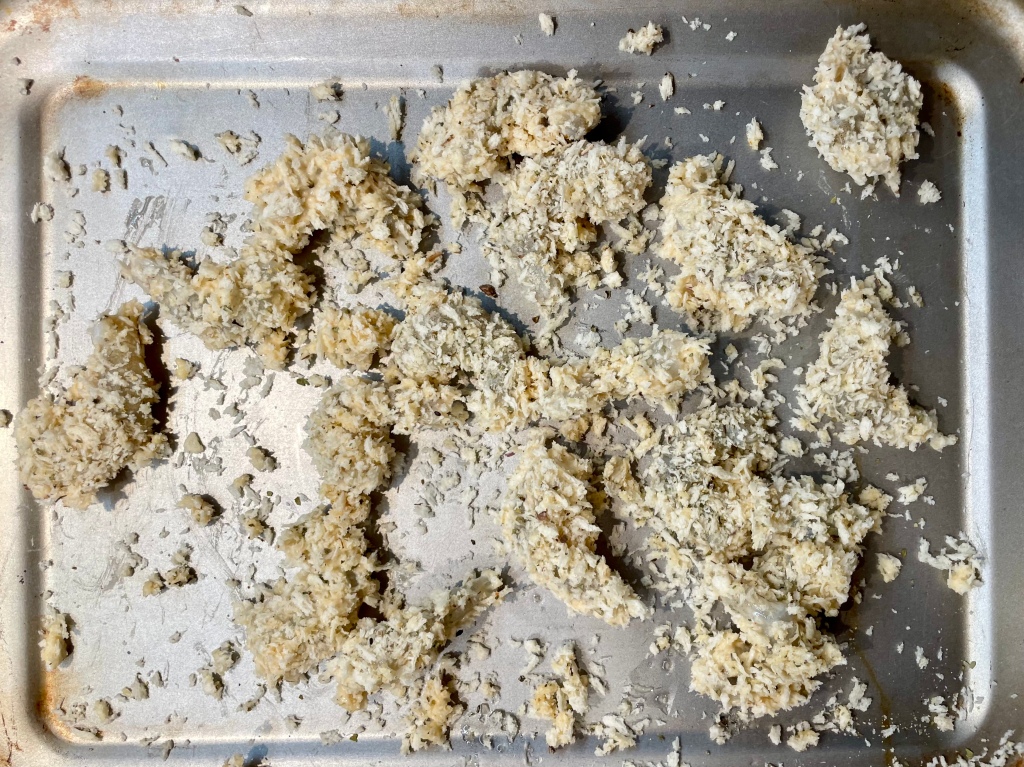
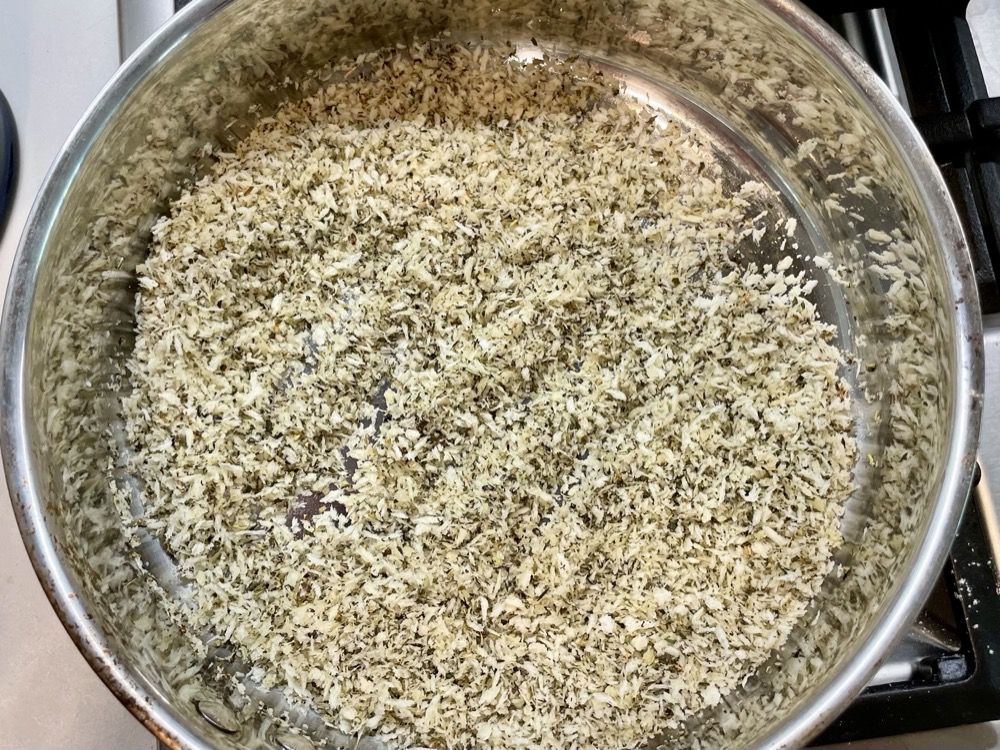
Make the crumb mixture: In an oven-proof wide base pan*, mix the crumb mixture together: 1/2 cup panko, 1 Tbsp Italian seasoning, 1/4 tsp garlic powder, 1 Tbsp olive oil, pinch of salt. Toast the mixture in the pan on LOW-MED heat for 3-5 minutes until golden brown then transfer it to a shallow bowl or plate and set aside to let it cool.


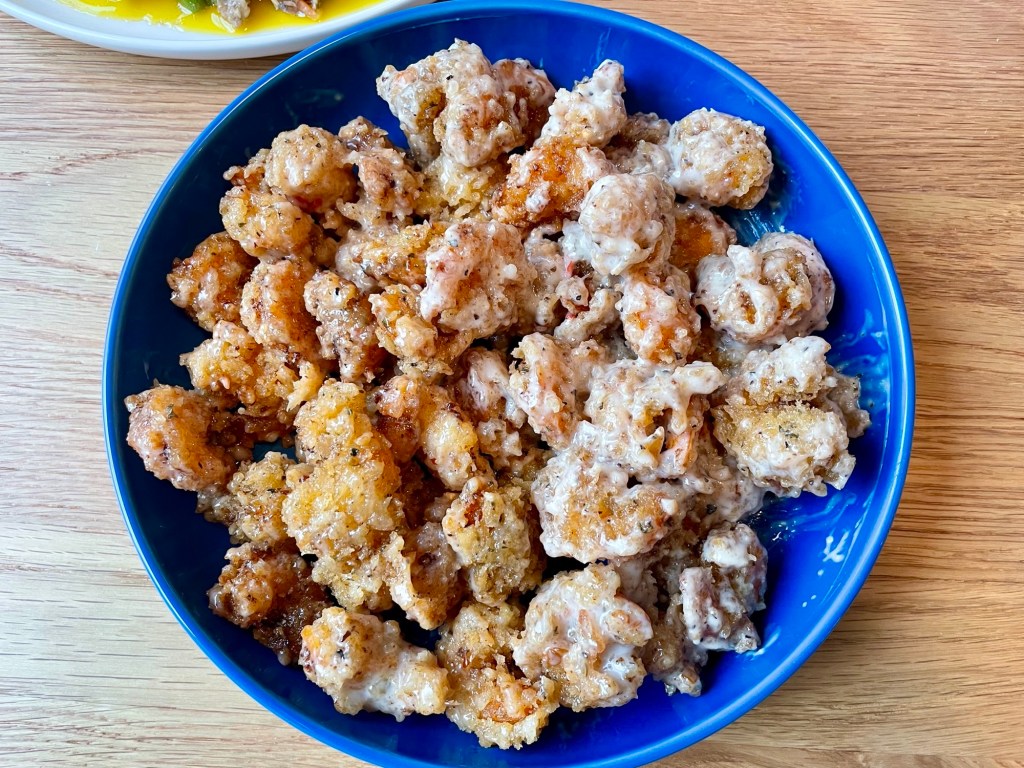
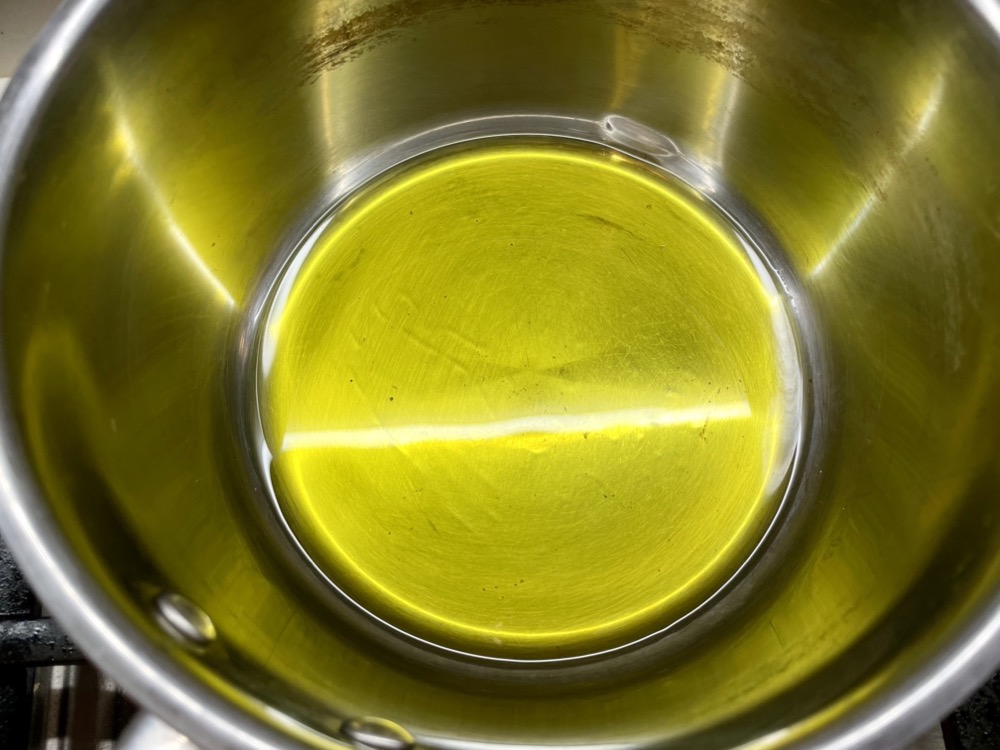
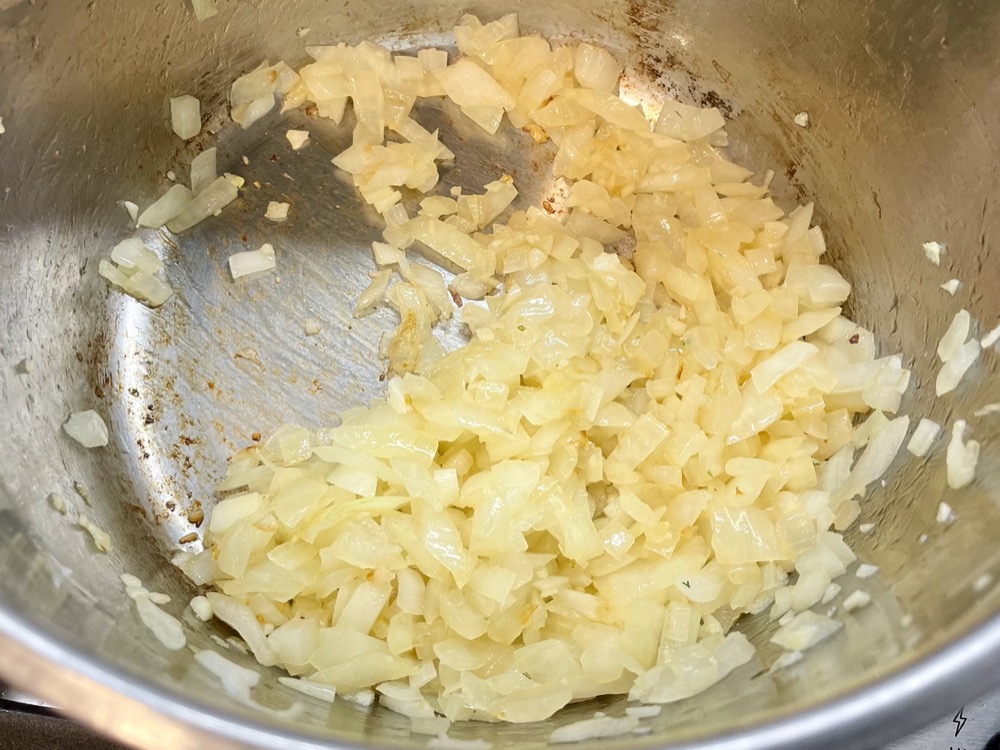
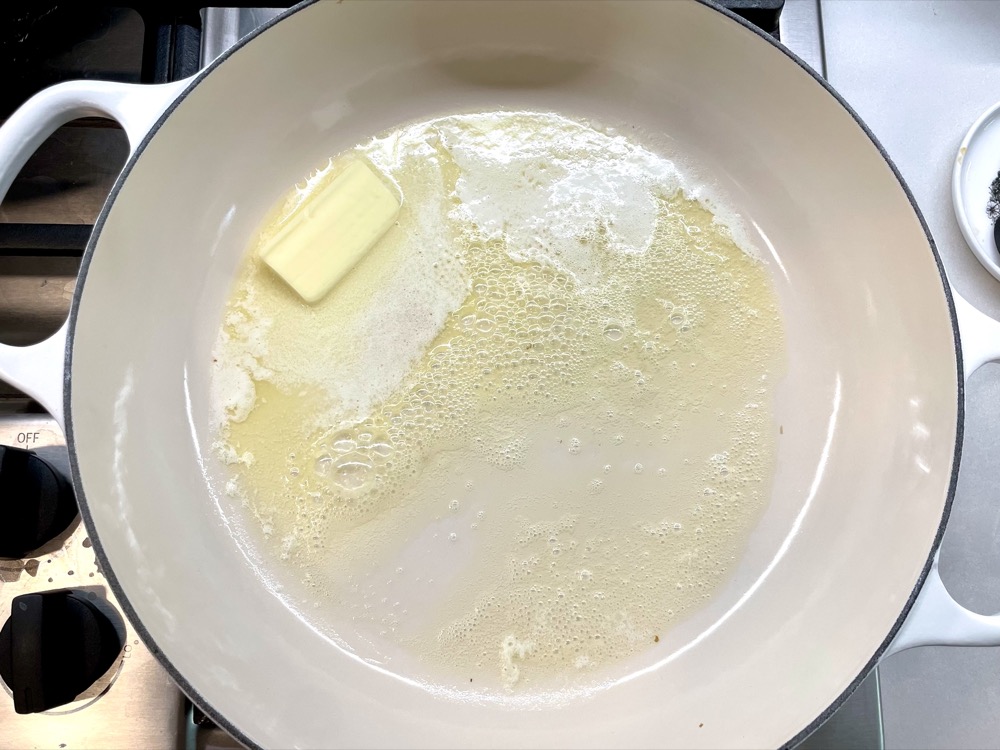
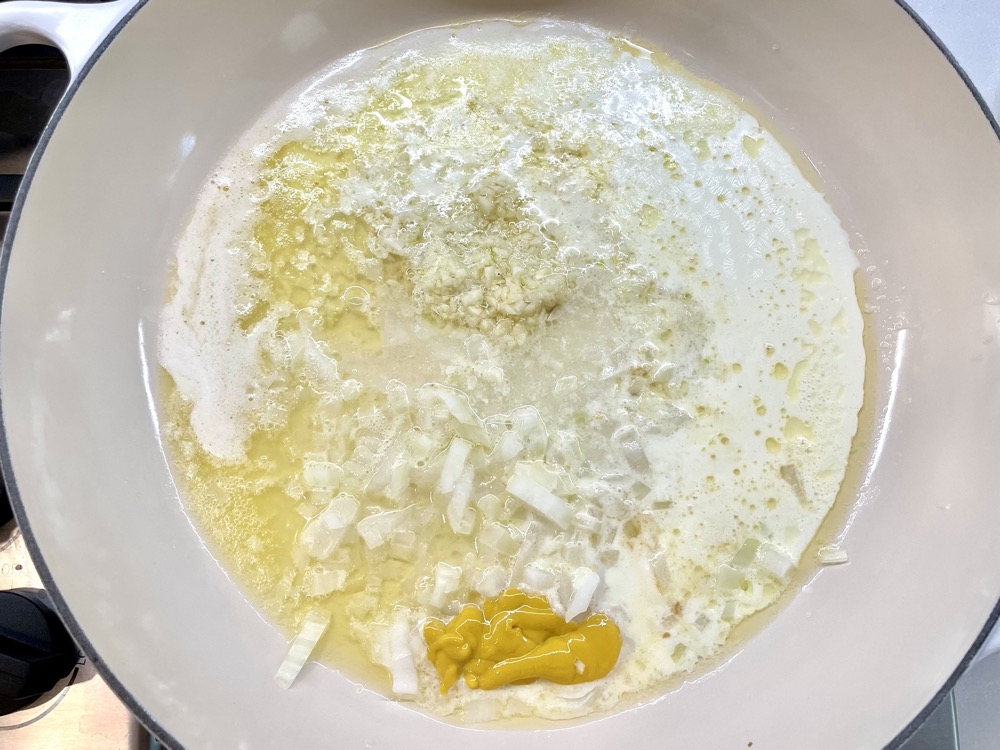
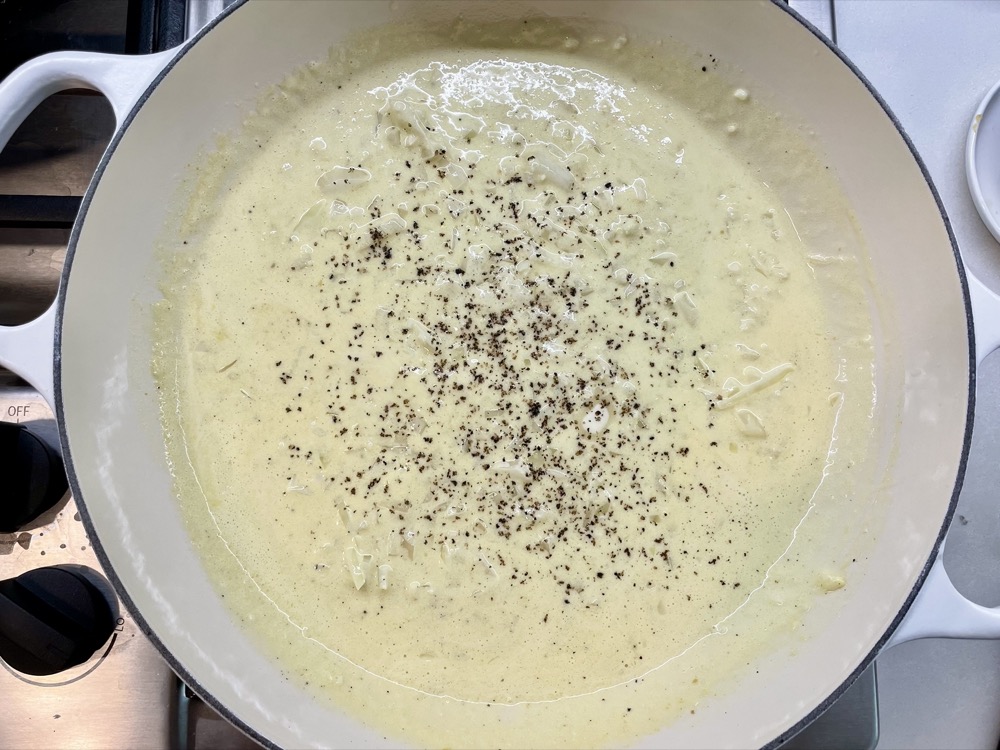
Make the sauce: In the same pan you used to toast the breadcrumbs, melt the 1 stick of butter on LOW-MED heat. Then add in the minced onion, and garlic and sauté for 30 seconds until fragrant. Next add the 1/2 cup heavy cream, 3 Tbsps Dijon mustard, 2 Tbsps lemon juice, 1/4 tsp ground black pepper, and 1/4 tsp salt. Mix everything around and taste to adjust salt, pepper, and lemon as needed. Turn off the heat. Don’t worry if your sauce tastes a bit too strong at this point, it will mellow out once you bake it with the fish.

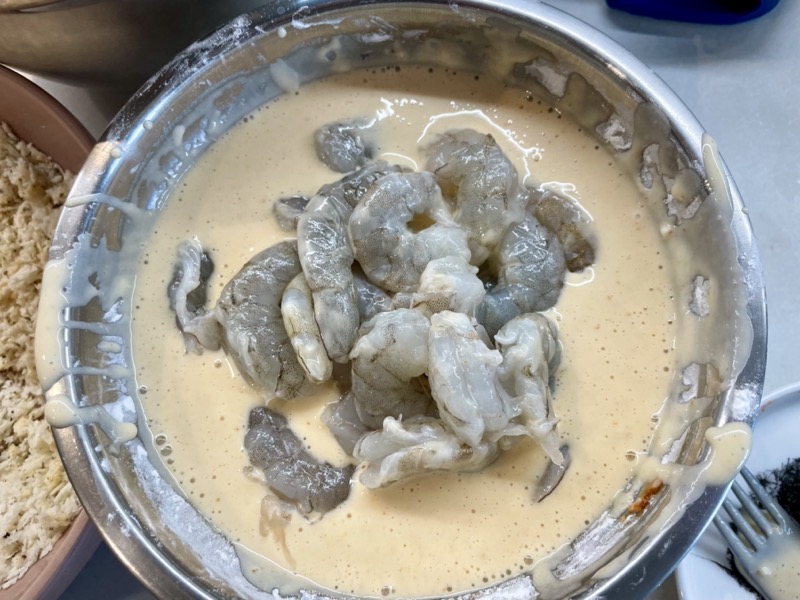
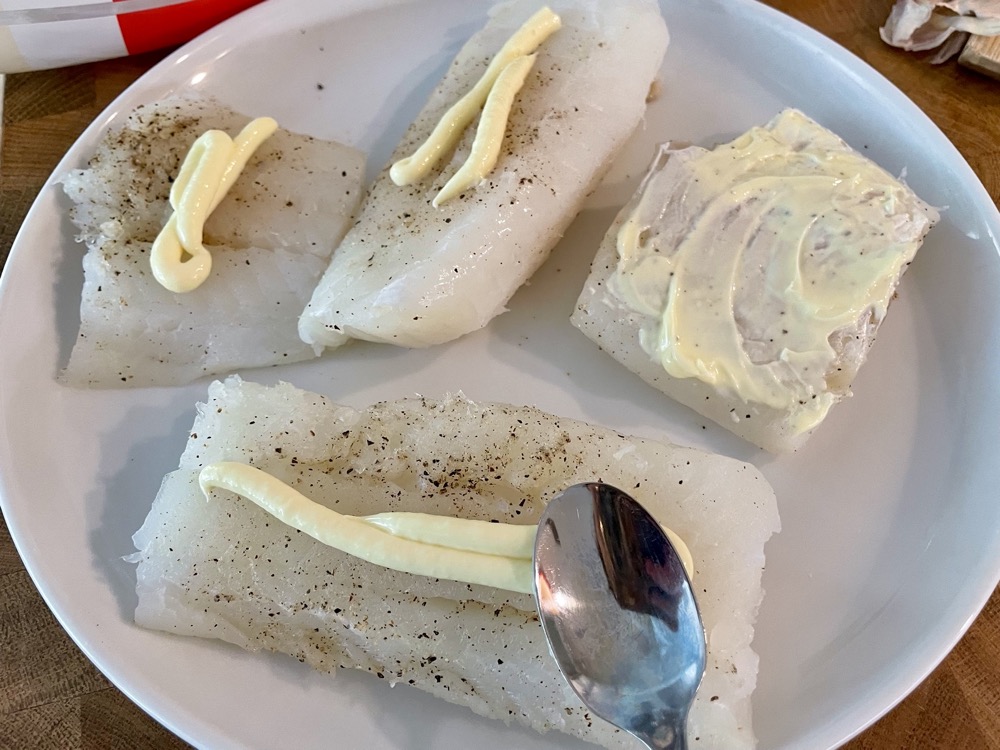
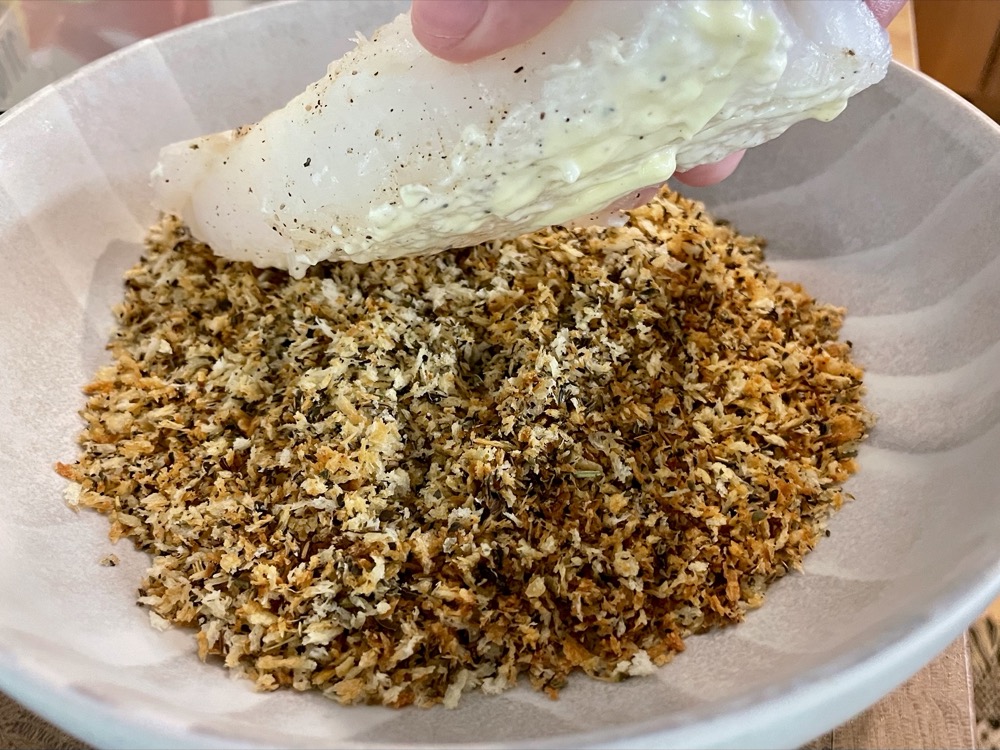
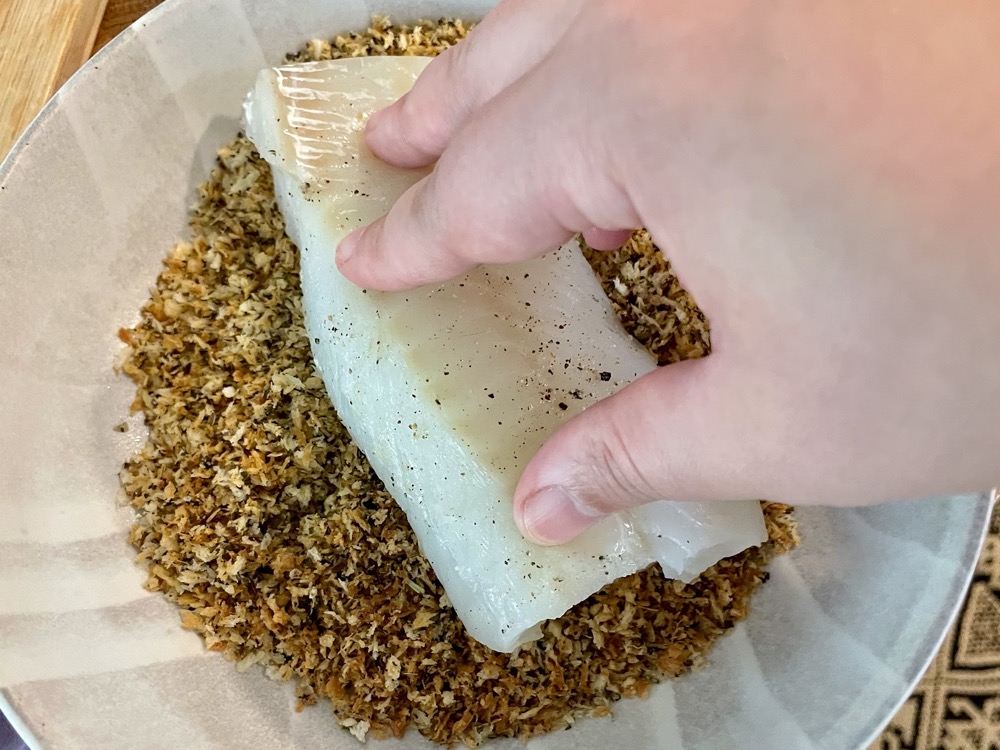
Crumb the fish: Apply a thin layer of mayonnaise onto one side of each fish fillet (~1/2 – 1 tsp of mayonnaise depending on the size of your fillet), then place the fillet mayonnaise-side down into the toasted crumb mixture (from step 3) and gently press down to get the crumb mixture to stick to the fish. Place the fillet crumb side up into the sauce in the pan (from step 4). Repeat with the rest of the fillets until they are all crumbed.


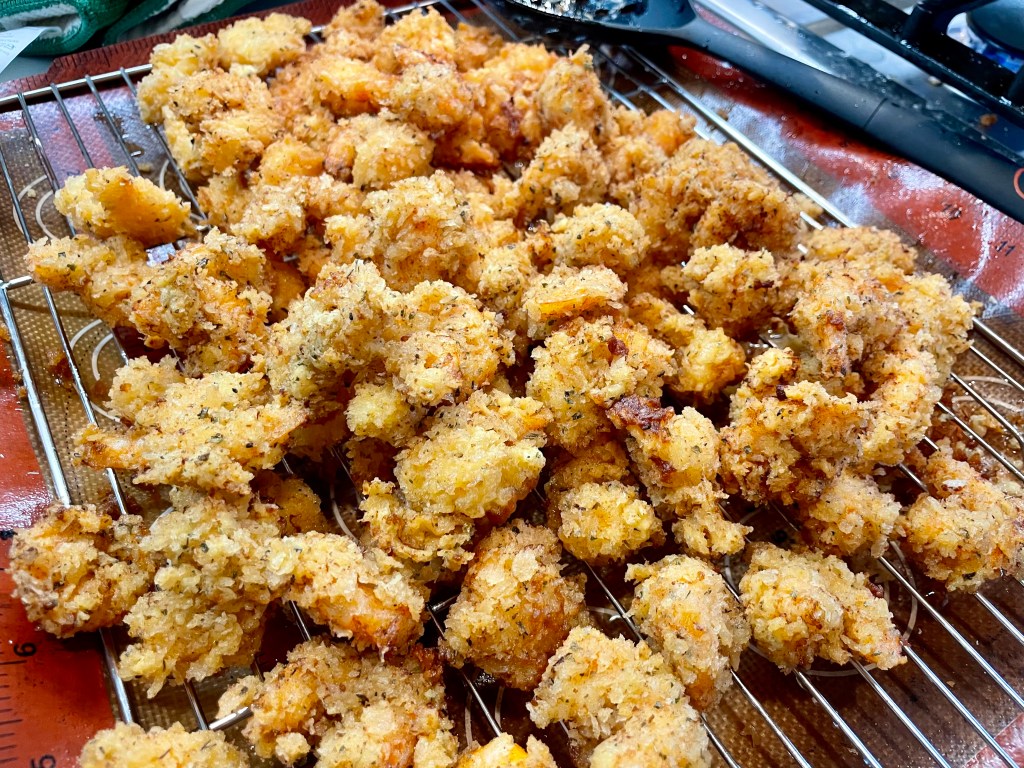
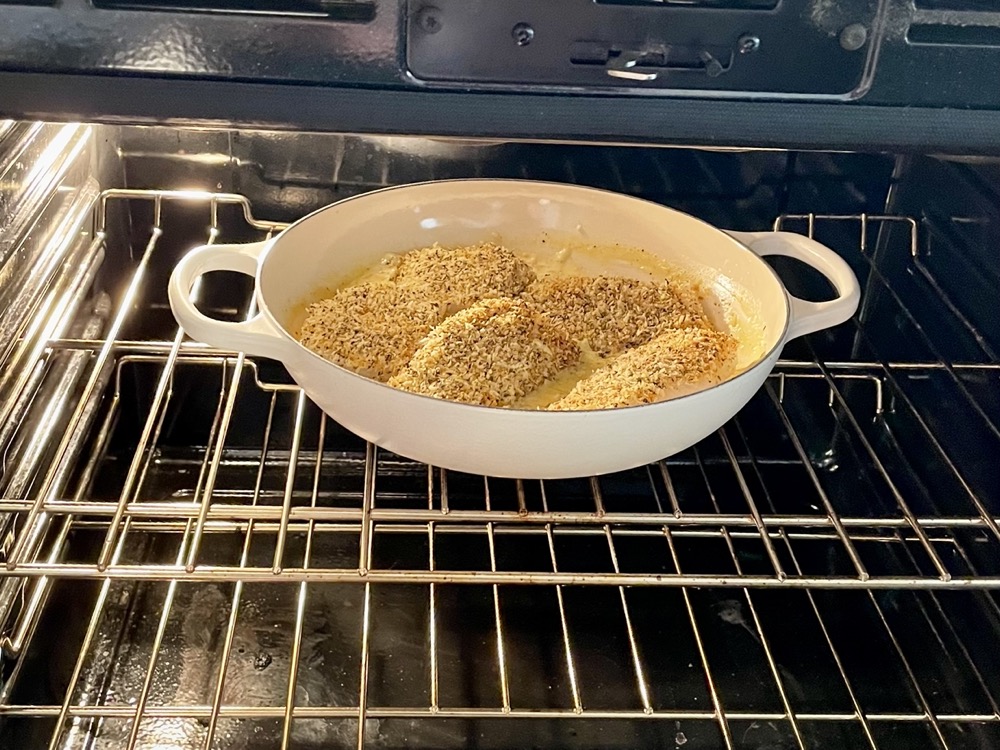
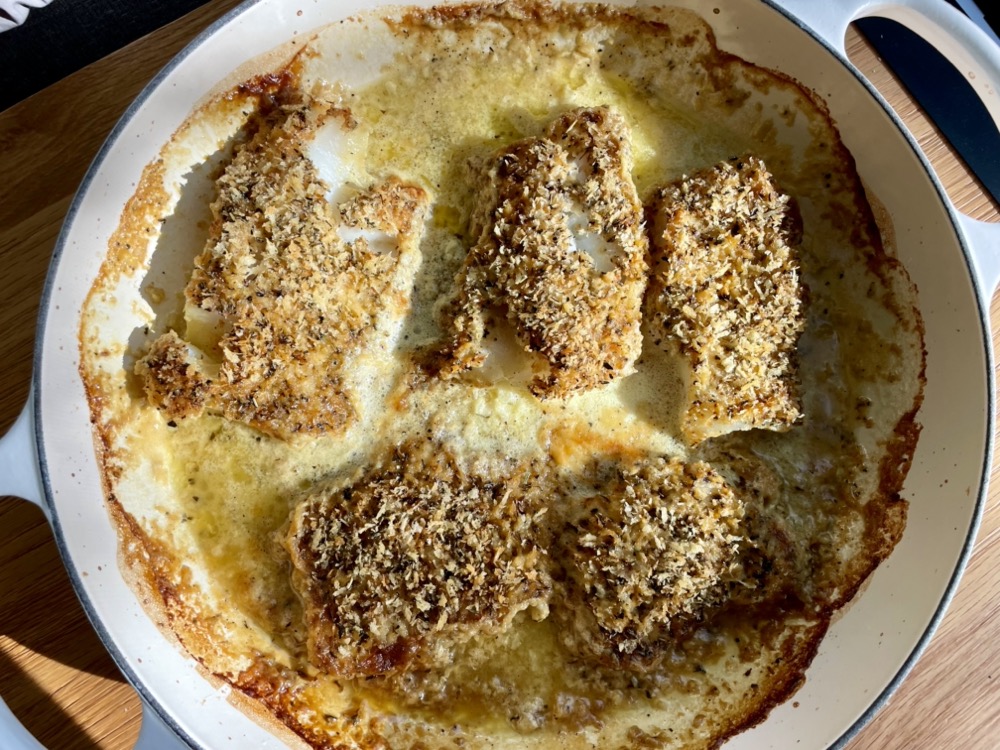
Bake in the preheated oven until the fish is fully cooked (~10-15 minutes for a 2cm thick fillet). The fish is done when it is no longer translucent and flakey, or the internal temperature reaches a minimum of 145°F/63°C.
While the fish is baking, you can prepare a quick side dish such as blanched green beans or steamed broccoli. I recommend something crunchy to contrast the soft texture of the fish.
Sprinkle fresh chopped parsley overtop the fish before serving and pair with the vegetable side dish of choice. Enjoy!
*Note: if you don’t have an oven-proof pan, make everything in a regular pan and pour the sauce into a 9×13″ baking dish and lay the fish overtop.
Summarized Recipe:
Herb-Crusted White Fish with a Lemon Cream Sauce
Date Published: Dec 17th, 2024 | Last Updated: Dec 17th, 2024
Author: Abby |Category: mains, vegetarian, easy, <30 mins, healthy
Serves: 4 | Prep time: 20 mins | Cook time: 20 mins
Ingredients:
- 4 portions (roughly 750g/1.6lbs) of fillets of any mild white fish, cut to the same size, skinless & boneless (ie. cod, tilapia, halibut, barramundi, sole…etc.) – I use cod but any white fish will do
- Salt & pepper
- Herb Crust:
- 1/2 cup Panko breadcrumbs
- 1 Tbsp Italian seasoning
- 1/4 tsp garlic powder
- 1 Tbsp olive oil
- Pinch of salt
- Sauce:
- 113g (1 stick) unsalted butter
- 1/4 cup yellow onion, finely minced
- 3 garlic cloves, minced
- 1/2 cup heavy cream
- 3 Tbsp Dijon mustard
- 2 Tbsps lemon juice
- 1/4 tsp salt
- 1/4 tsp fresh ground black pepper
- 1/2 – 1 tsp mayonnaise over each fillet
- To garnish: fresh parsley, chopped
- Serve with: any crunchy vegetable side dish (ie. green beans, cabbage, roasted fennel…etc.)
Directions:
- Preheat oven to 400˚F/200˚C.
- Rinse and pat dry your fish fillets then salt and pepper both sides and set aside.
- Make the crumb mixture:
- In an oven-proof wide base pan*, mix the crumb mixture together: 1/2 cup panko, 1 Tbsp Italian seasoning, 1/4 tsp garlic powder, 1 Tbsp olive oil, pinch of salt.
- Toast the mixture in the pan on LOW-MED heat for 3-5 minutes until golden brown then transfer it to a shallow bowl or plate and set aside to let it cool.
- Make the sauce:
- In the same pan you used to toast the breadcrumbs, melt the 1 stick of butter on LOW-MED heat.
- Then add in the minced onion, and garlic and sauté for 30 seconds until fragrant.
- Next add the 1/2 cup heavy cream, 3 Tbsps Dijon mustard, 2 Tbsps lemon juice, 1/4 tsp ground black pepper, and 1/4 tsp salt. Mix everything around and taste to adjust salt, pepper, and lemon as needed. Turn off the heat.
- Don’t worry if your sauce tastes a bit too strong at this point, it will mellow out once you bake it with the fish.
- Crumb the fish:
- Apply a thin layer of mayonnaise onto one side of each fish fillet (~1/2 – 1 tsp of mayonnaise depending on the size of your fillet), then place the fillet mayonnaise-side down into the toasted crumb mixture (from step 3) and gently press down to get the crumb mixture to stick to the fish.
- Place the fillet crumb side up into the sauce in the pan (from step 4). Repeat with the rest of the fillets until they are all crumbed.
- Bake in the preheated oven until the fish is fully cooked (~10-15 minutes for a 2cm thick fillet). The fish is done when it is no longer translucent and flakey, or the internal temperature reaches a minimum of 145°F/63°C.
- While the fish is baking, you can prepare a quick side dish such as blanched green beans or steamed broccoli. I recommend something crunchy to contrast the soft texture of the fish.
- Sprinkle fresh chopped parsley overtop the fish before serving and pair with the vegetable side dish of choice. Enjoy!
*Note: if you don’t have an oven-proof pan, make everything in a regular pan and pour the sauce into a 9×13″ baking dish and lay the fish overtop.