Date Published: Sept 5th, 2022 | Last Updated: Sept 5th, 2022
Author: Abby |Category: easy, <15mins, appetizer, asian, sides, healthy, low-cal, snacks
Serves: depends on how much you make | Prep time: 5 mins | Cook time: 5 mins per batch
Jump to recipe |
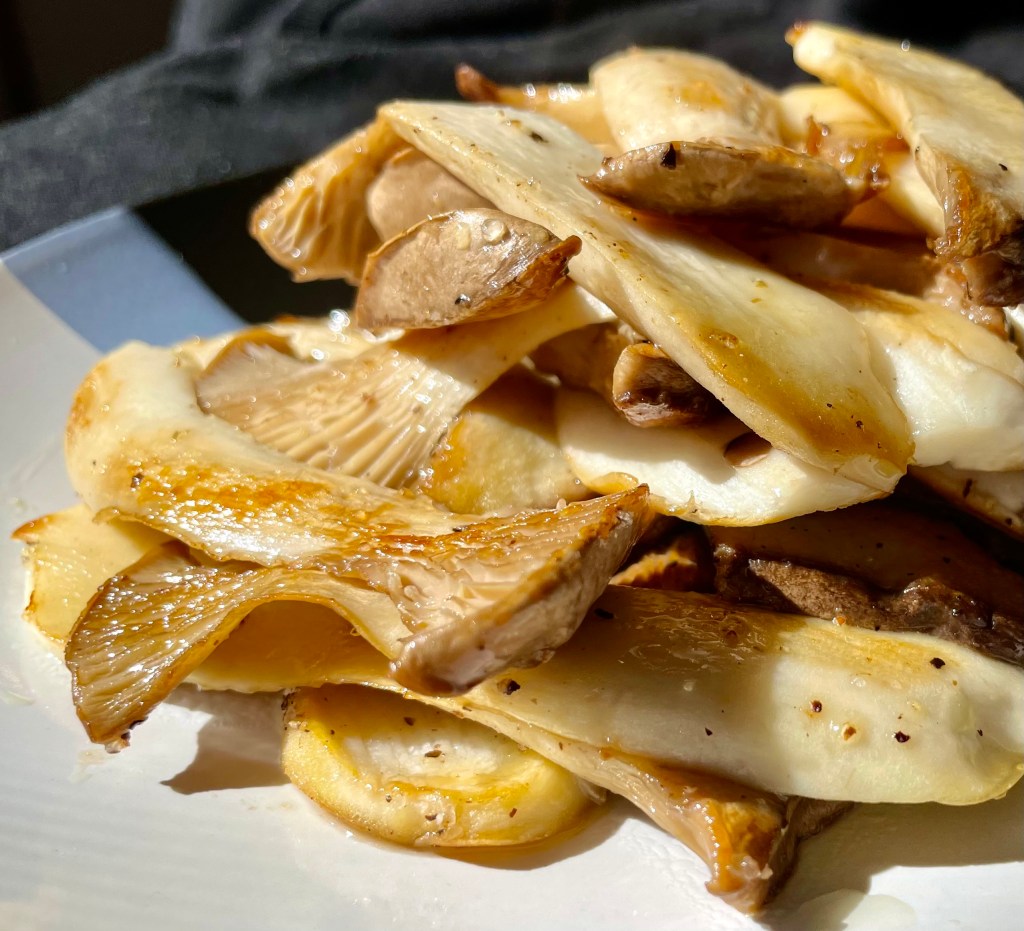
This recipe is simple, so easy, and cooks up quickly! King Oyster mushrooms are perfect for grilling due to its texture and also has a great chew. It makes a super quick appetizer, side dish or a snack. There’s not much to this recipe other than slicing the mushrooms and grilling or pan-frying with some salt and pepper. Done!
You can make as much or as little as your want. The mushrooms shrink a little when you cook them so keep that in mind. I always double the amount I plan to serve because I snack on them as I wait for the next batch to cook because they’re so damn delicious.
Anyways, without further ado, here’s the recipe! If you have any comments or suggestions, I’d love to hear from you in the comment section! You can follow me on instagram, youtube and facebook to see all the recipes I post!
Happy cooking!
Ingredients you’ll need:
- Olive oil
- King oyster mushrooms, sliced lengthwise to 1.5cm thickness (in any amount you want)
- Salt & pepper
Directions:
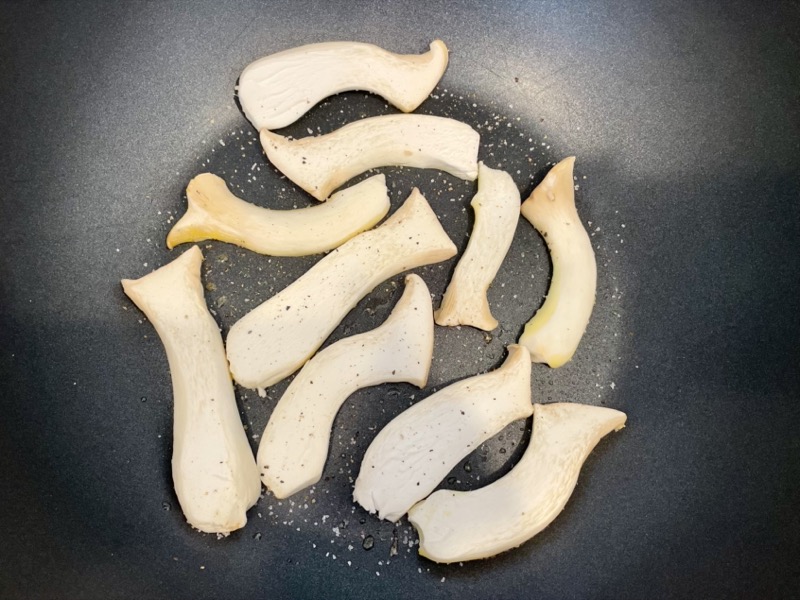


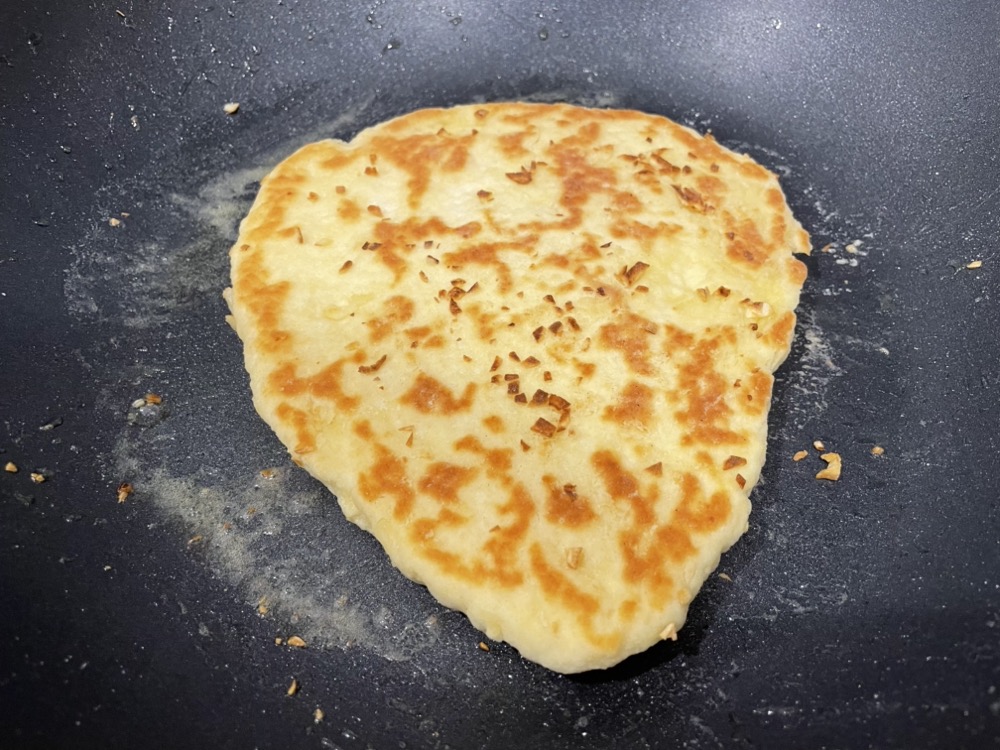
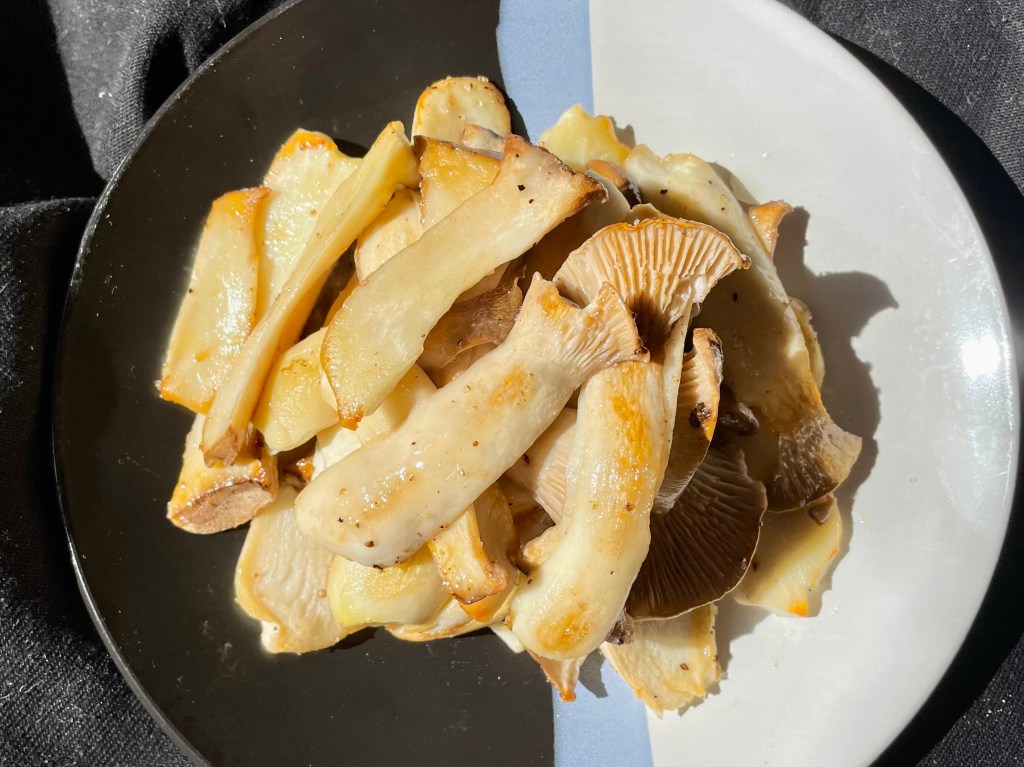
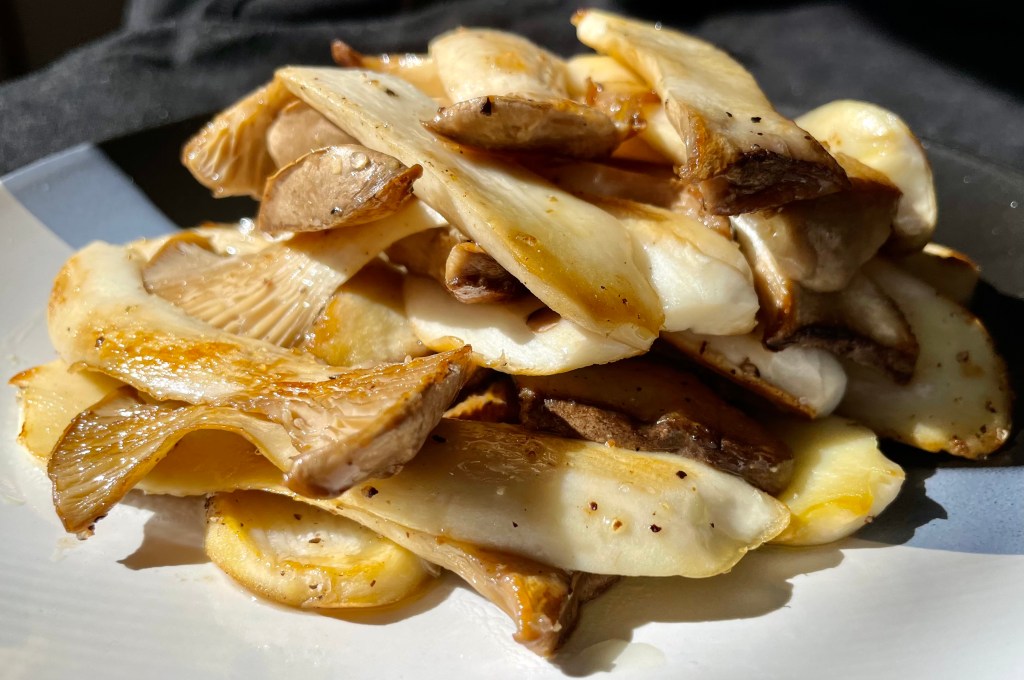
In a large skillet or grill top on MED-HIGH heat, add a small drizzle of olive oil. Make sure the pan is very hot. Add the sliced king oyster mushrooms to the pan in a single layer (you may have to do this in multiple batches if you have a lot of mushrooms). Sprinkle salt and pepper over the top. Cook each side for 1-2 minutes until slightly golden brown. Remove from pan and repeat with the remaining mushrooms, adding in another small drizzle of olive oil each time. Serve immediately.

Summarized Recipe:
Grilled King Oyster Mushrooms
Date Published: Sept 5th, 2022 | Last Updated: Sept 5th, 2022
Author: Abby |Category: easy, <15mins, appetizer, asian, sides, healthy, low-cal, snacks
Serves: depends on how much you make | Prep time: 5 mins | Cook time: 5 mins per batch
Ingredients:
- Olive oil
- King oyster mushrooms, sliced lengthwise to 1.5cm thickness (in any amount you want)
- Salt & pepper
Directions:
- In a large skillet or grill top on MED-HIGH heat, add a small drizzle of olive oil. Make sure the pan is very hot. Add the sliced king oyster mushrooms to the pan in a single layer (you may have to do this in multiple batches if you have a lot of mushrooms). Sprinkle salt and pepper over the top. Cook each side for 1-2 minutes until slightly golden brown. Remove from pan and repeat with the remaining mushrooms, adding in another small drizzle of olive oil each time. Serve immediately.