Date Published: July 21st, 2024 | Last Updated: July 21st, 2024
Author: Abby |Category: mains, healthy, low-cal, vegetarian
Serves: 6 | Prep time: 20 mins | Cook time: 30 mins
Jump to recipe |
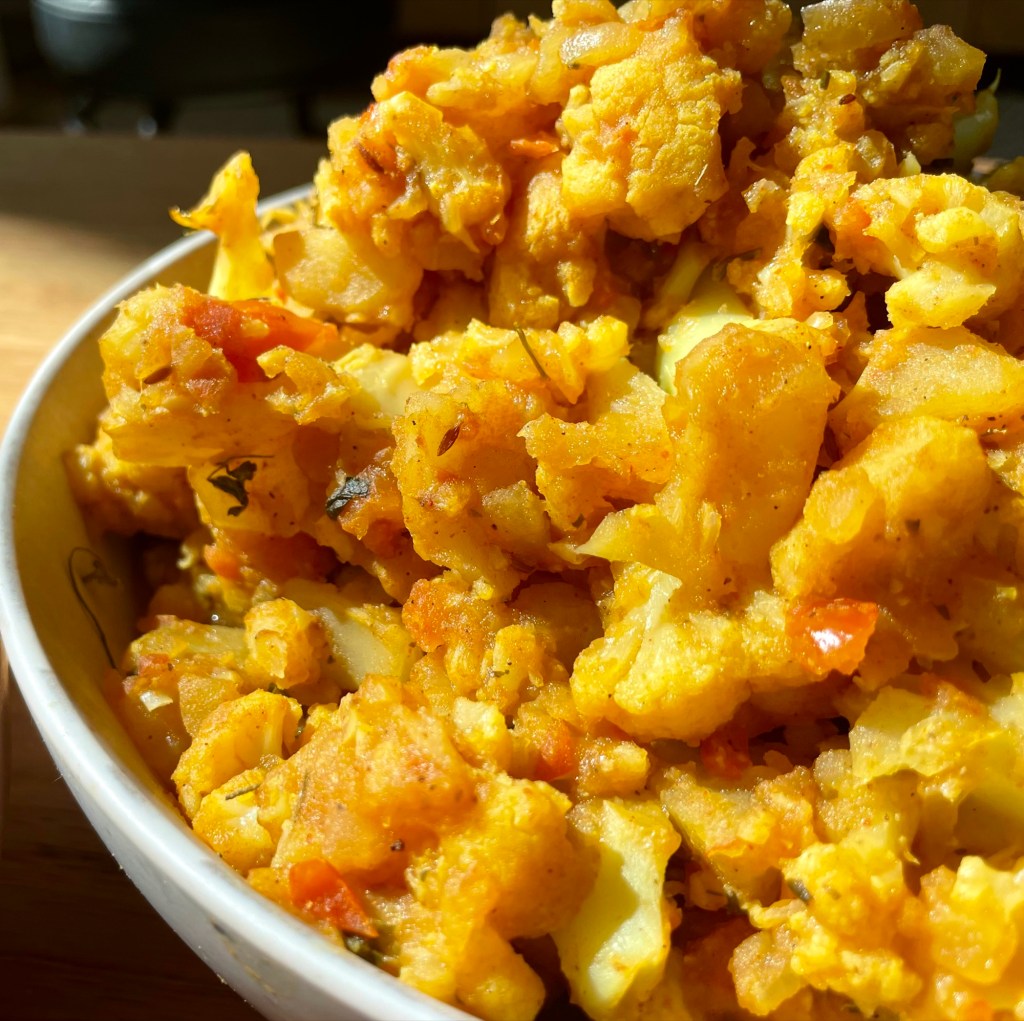
What better way to use up cauliflower than to make it into a delicious and flavourful aloo gobi! If you’re unfamiliar with aloo gobi, it’s a vegetarian Indian dish that is made up of cauliflower, potatoes, and onions, all cooked in a mixture of fragrant spices. Not only is it a great dish, but it’s also healthy and relatively low calories for something so flavourful – in fact, I’ll often make this when I’m on a diet but don’t feel like a week of salads.
This recipe is originally from: Indian Healthy Recipes but with a few tweaks.
A Quick Note on Chilli Powder
This recipe uses Kashmiri chilli powder, which is an Indian chilli powder variety that’s not too spicy and it is what gives the dish its orangey/red colour. It can be a bit hard to find unless you’ve got an Indian grocer near you, but if you can’t find it, a good substitute is gochugaru, which is a Korean chilli powder. Do NOT substitute with cayenne pepper which is a MUCH spicier chilli powder. If you absolutely can’t find Kashmiri chilli powder nor gochugaru, then you can substitute with 1 part cayenne powder: 3 parts paprika.
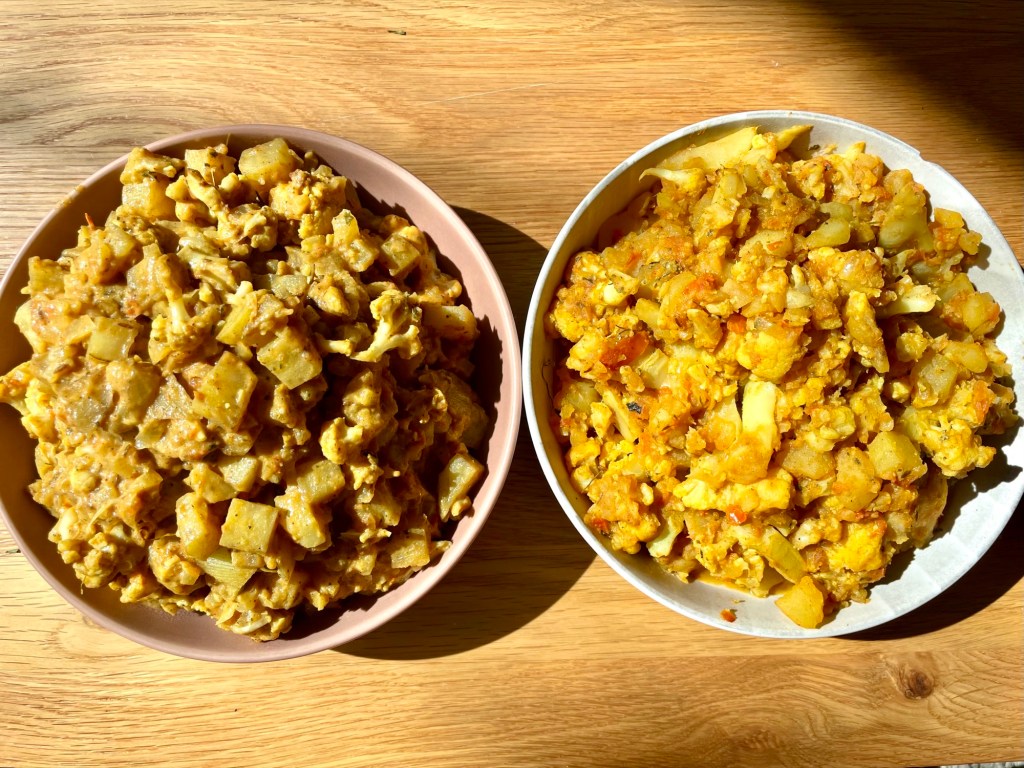
This is a dry dish (no sauce). If you prefer something saucy and more curry-like, try the recipe for aloo gobi masala here (slightly more in calories, but with even more flavour)!

Aloo Gobi Masala (Saucy Curried Cauliflower & Potatoes)
This masala version is a saucy version of the traditional aloo gobi dish. If you’re unfamiliar with aloo gobi, it’s a vegetarian Indian dish that is made up of cauliflower,…
Anyways, without further ado, here’s the recipe! If you have any comments or suggestions, I’d love to hear from you in the comment section! You can follow me on instagram, youtube and facebook to see all the recipes I post!
Happy cooking!
Ingredients you’ll need:
- Spice mix:
- 1/2 tsp kashmiri chili powder (or gochugaru – Korean chilli powder)
- 1/4 tsp turmeric powder
- 1 tsp garam masala
- 1 tsp coriander powder
- 1/2 tsp cumin powder
- 1/2 tsp cumin seeds
- 1/2 Tbsp ginger, grated
- 1/2 Tbsp garlic, finely minced
- 1 medium brown onion, diced fine
- 2 medium (~500g) Yukon gold potatoes, peeled and cut into 1 inch cubes
- 1 large cauliflower head, cut into 1.5 inch florets
- 2 medium tomatoes, finely chopped
- 1 Tbsp dried fenugreek leaves
- Salt to taste
- Serve with carb of choice (rice, roti, naan…etc.).
Directions:


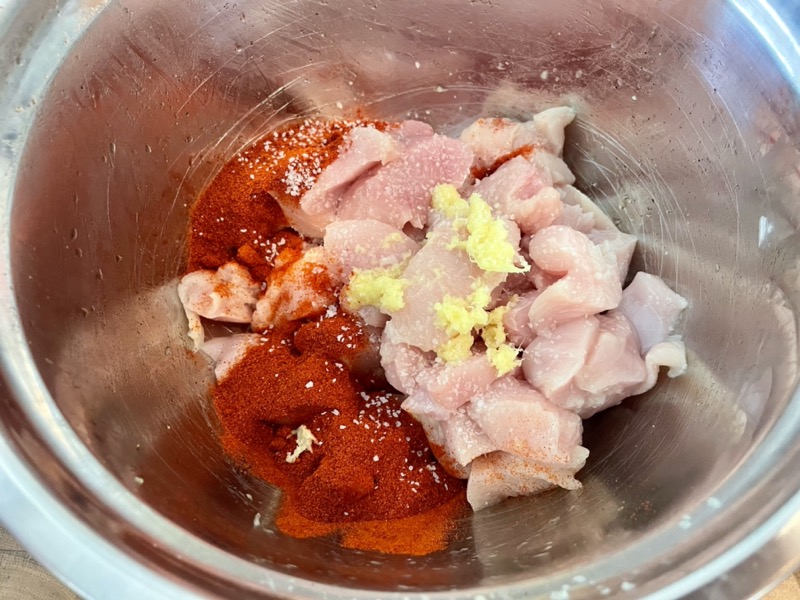
Make your spice mix by mixing chilli powder, turmeric powder, garam masala, coriander powder, and cumin powder in a bowl. Set aside.
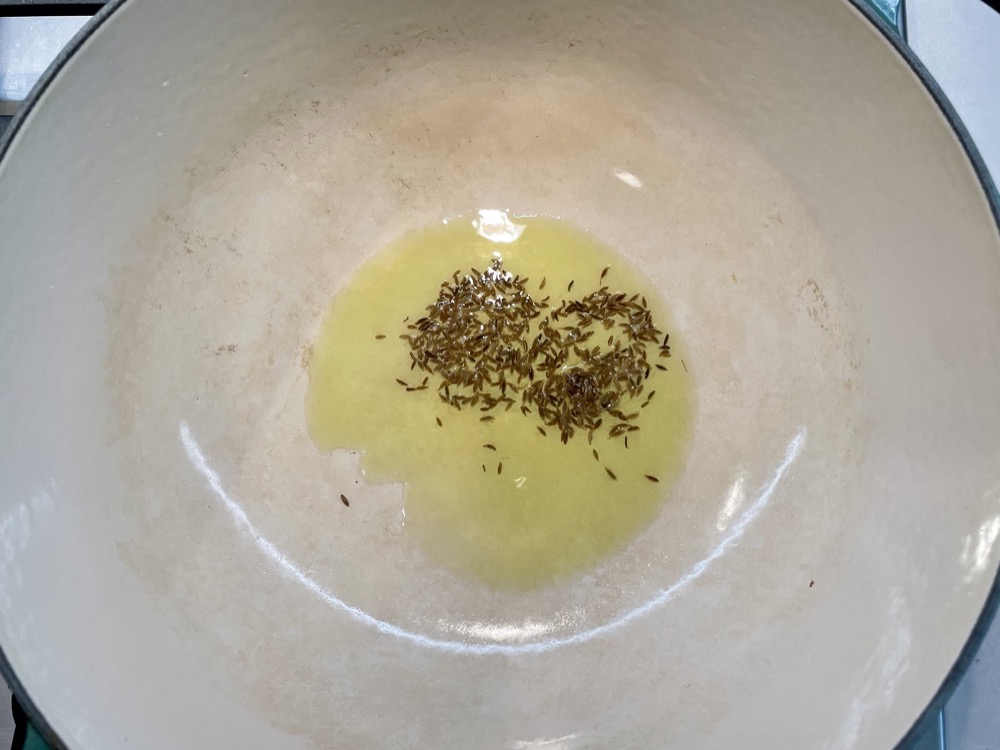

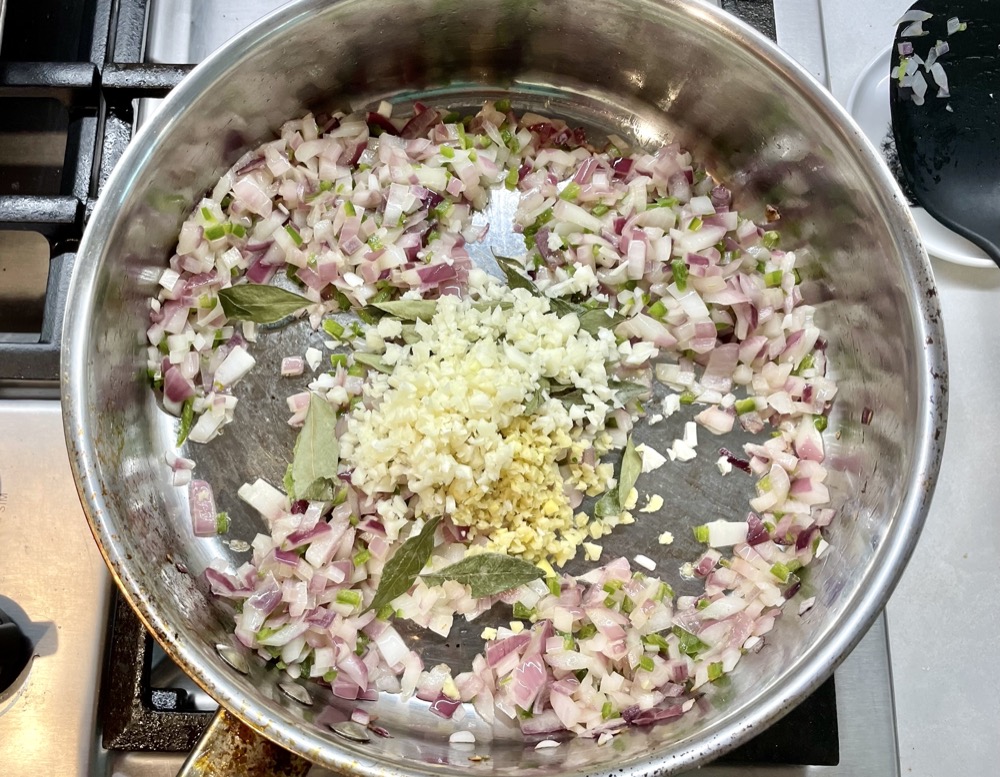
In a pan on MED heat, add a drizzle of oil and add in cumin seeds. Once the seeds start to sizzle, add in the grated ginger and garlic and sauté for 30 seconds until fragrant.
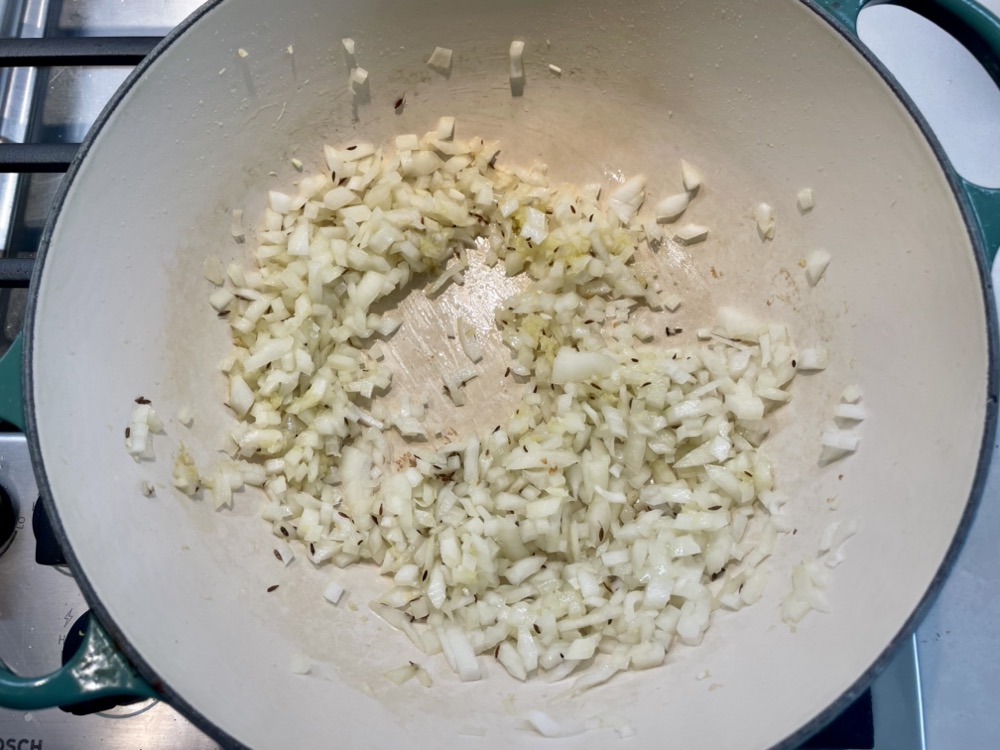
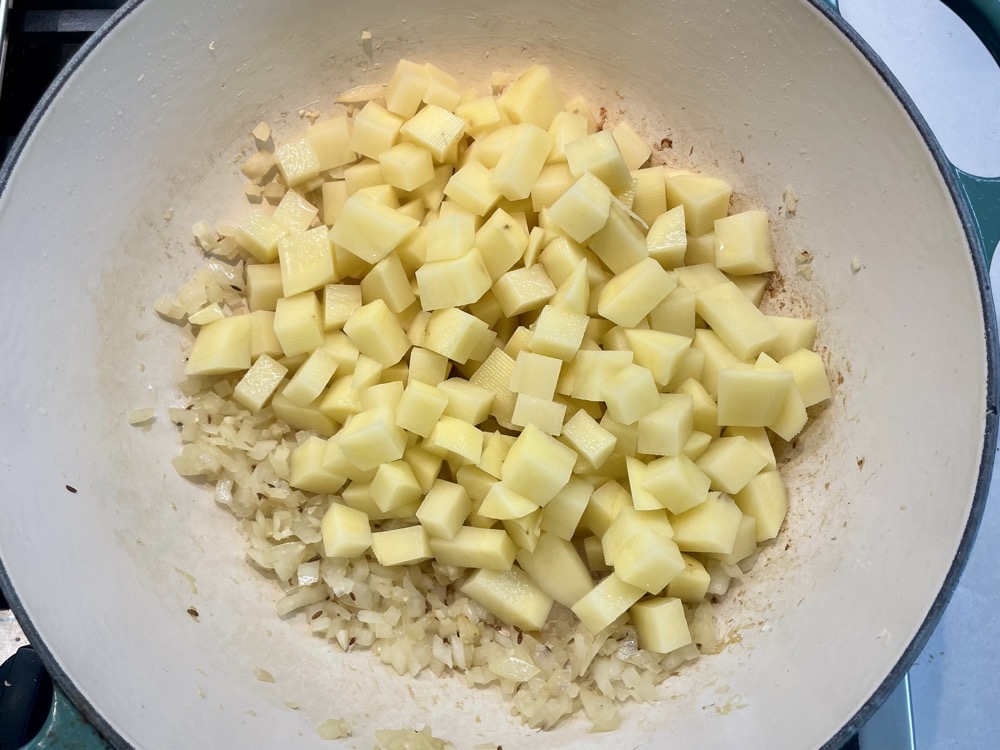
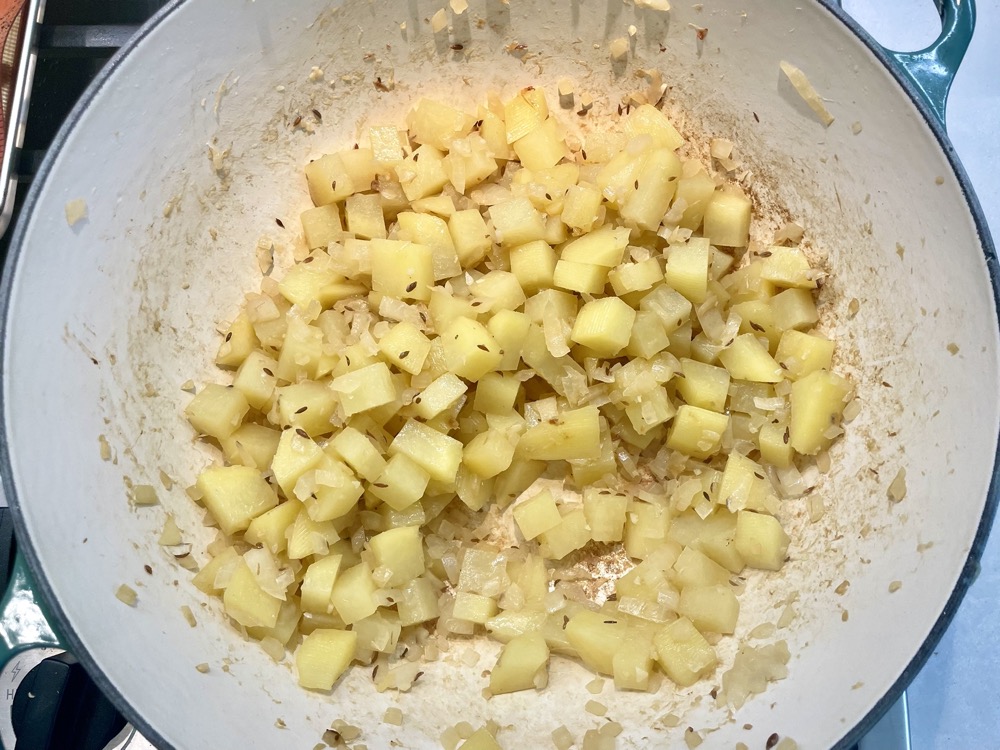
Add in the onions and continue to sauté until the onion softens and turns translucent (3-4 minutes). Add in the diced potatoes with a pinch of salt and cook for 5-6 minutes until they’re halfway cooked (slightly softened).
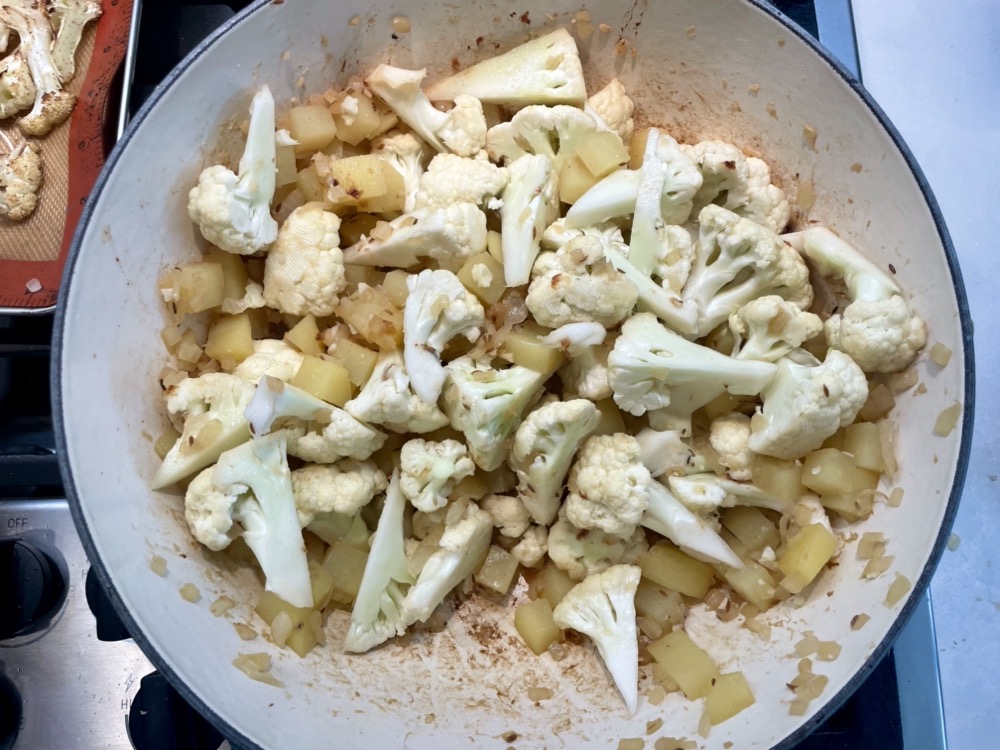
Once the potatoes are halfway cooked, add in the cauliflower florets with another pinch of salt and continue to sauté for another 3 minutes.
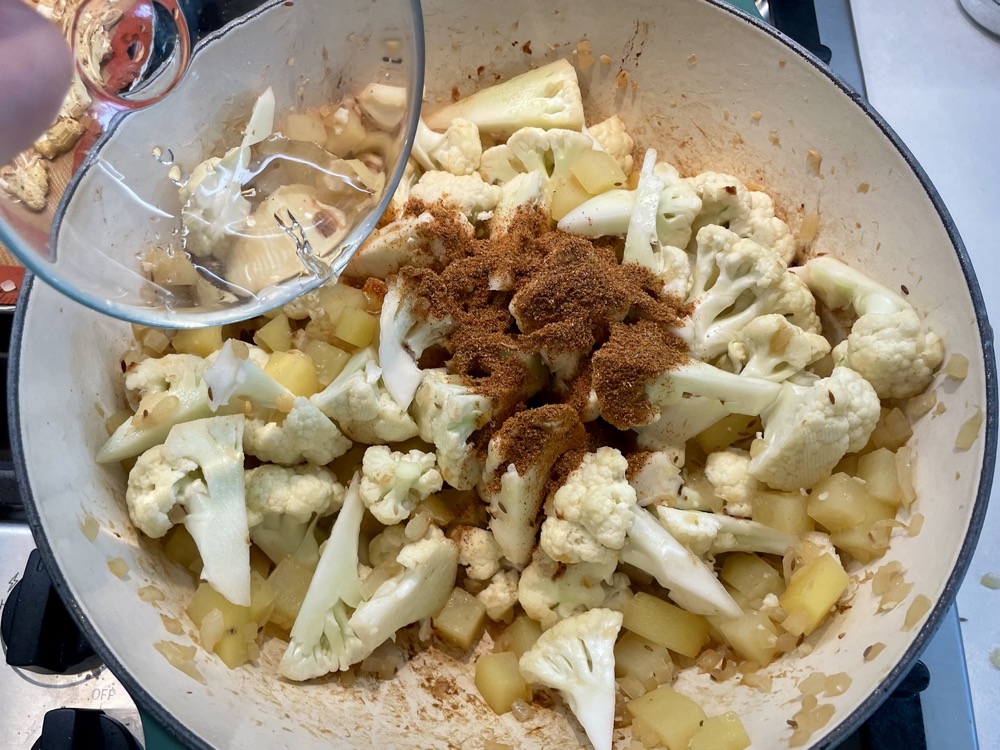
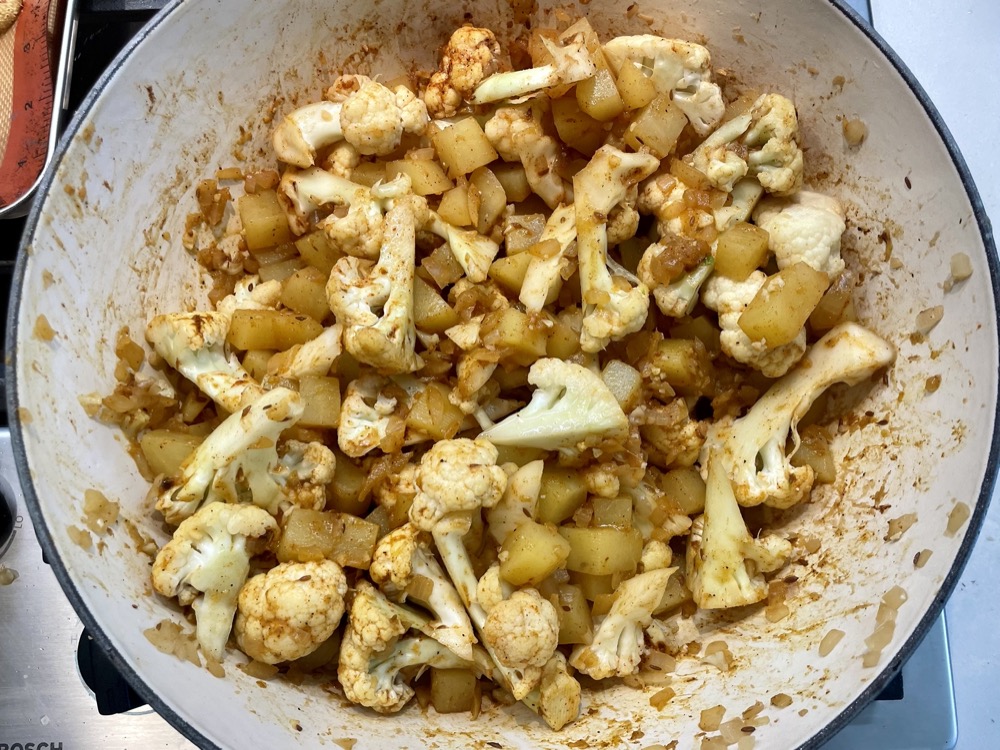

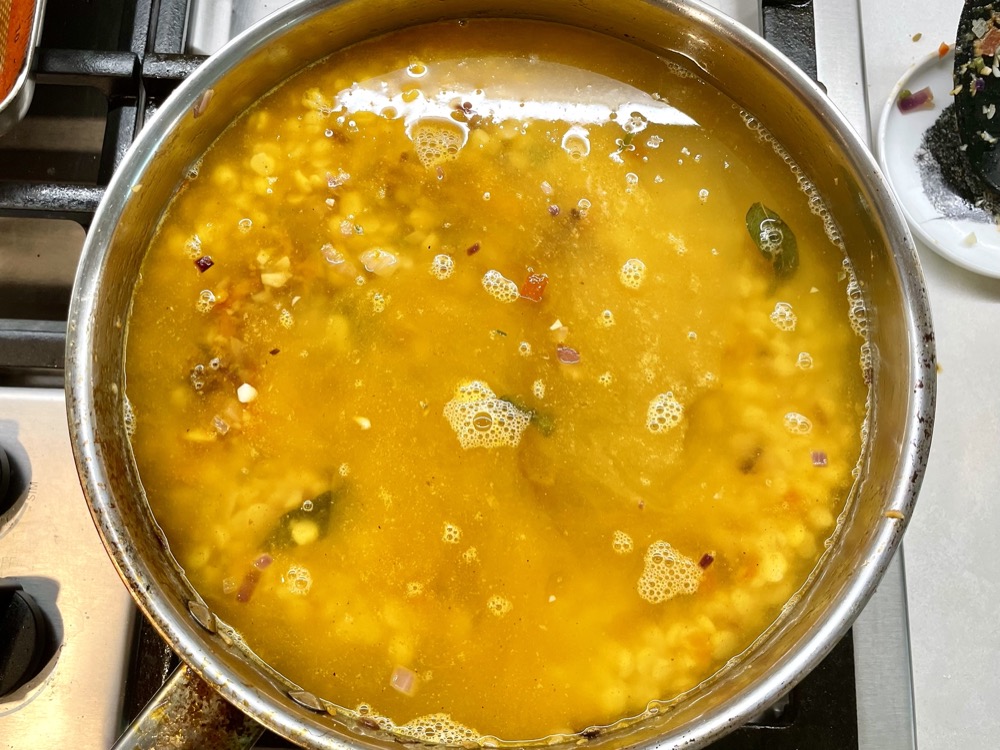
Then add in the spice mix (from step 1) and 1/2 cup of water. Mix well and cook with a lid on until both the potatoes and cauliflower are ALMOST fork-tender (5-8 mins) – the cauliflower should have a slight crunch. Be sure to stir every few minutes so nothing sticks to the bottom of the pan. Add a small amount of water if the dish gets too dry.
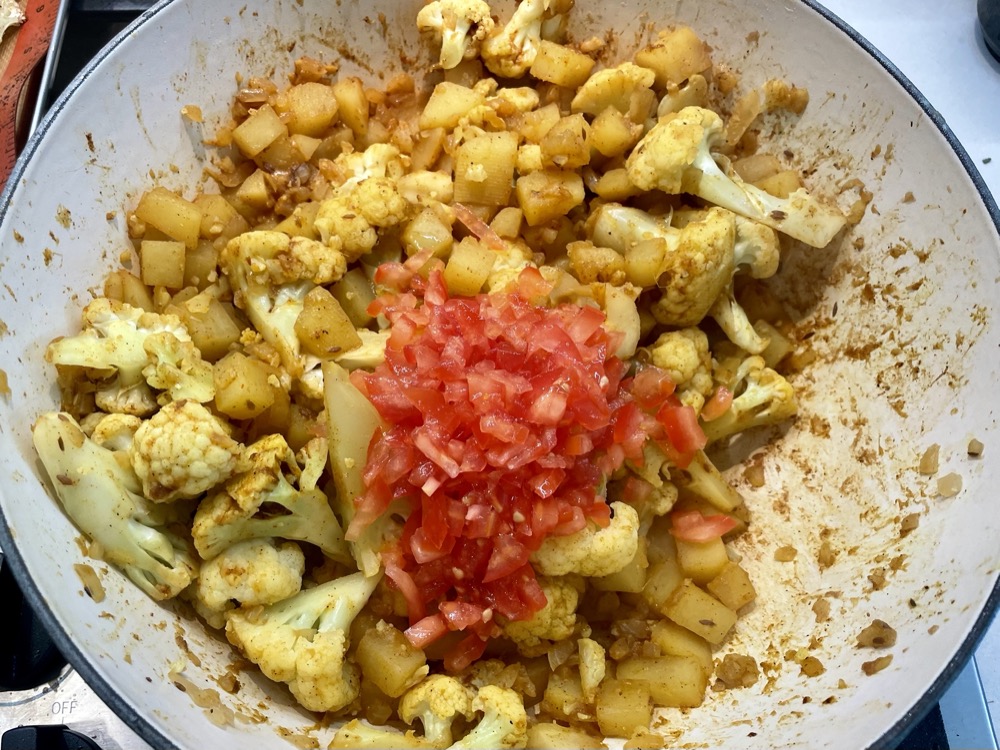
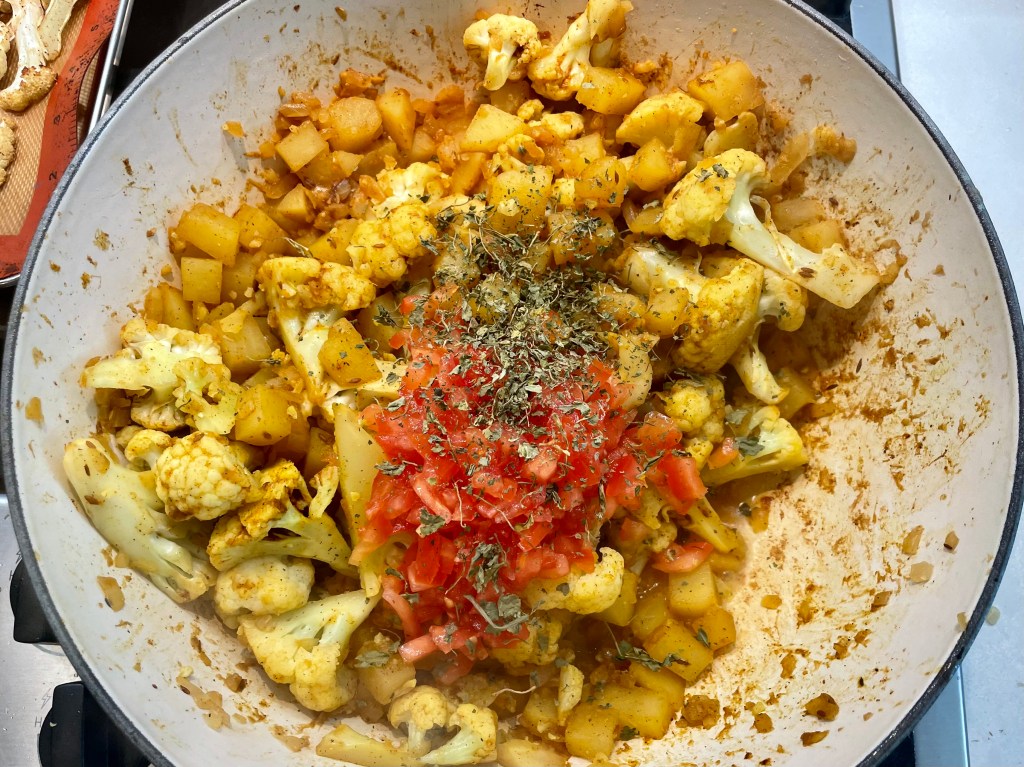

Add in the diced tomatoes and crush in the fenugreek leaves and sauté for 2-3 minutes until the tomatoes have cooked down a little and the potato and cauliflower are fork-tender and fully cooked. Taste and adjust salt to taste. Turn off the heat and serve with carb of choice (rice, roti, naan…etc.).
Summarized Recipe:
Aloo Gobi (Curried Cauliflower)
Date Published: July 21st, 2024 | Last Updated: July 21st, 2024
Author: Abby |Category: mains, healthy, low-cal, vegetarian
Serves: 6 | Prep time: 20 mins | Cook time: 30 mins
Ingredients:
- Spice mix:
- 1/2 tsp kashmiri chili powder (or gochugaru – Korean chilli powder)
- 1/4 tsp turmeric powder
- 1 tsp garam masala
- 1 tsp coriander powder
- 1/2 tsp cumin powder
- 1/2 tsp cumin seeds
- 1/2 Tbsp ginger, grated
- 1/2 Tbsp garlic, finely minced
- 1 medium brown onion, diced fine
- 2 medium (~500g) Yukon gold potatoes, peeled and cut into 1 inch cubes
- 1 large cauliflower head, cut into 1.5 inch florets
- 2 medium tomatoes, finely chopped
- 1 Tbsp dried fenugreek leaves
- Salt to taste
- Serve with carb of choice (rice, roti, naan…etc.).
Directions:
- Make your spice mix by mixing chilli powder, turmeric powder, garam masala, coriander powder, and cumin powder in a bowl. Set aside.
- In a pan on MED heat, add a drizzle of oil and add in cumin seeds. Once the seeds start to sizzle, add in the grated ginger and garlic and sauté for 30 seconds until fragrant.
- Add in the onions and continue to sauté until the onion softens and turns translucent (3-4 minutes).
- Add in the diced potatoes with a pinch of salt and cook for 5-6 minutes until they’re halfway cooked (slightly softened).
- Once the potatoes are halfway cooked, add in the cauliflower florets with another pinch of salt and continue to sauté for another 3 minutes.
- Then add in the spice mix (from step 1) and 1/2 cup of water. Mix well and cook with a lid on until both the potatoes and cauliflower are ALMOST fork-tender (5-8 minutes) – the cauliflower should have a slight crunch. Be sure to stir every few minutes so nothing sticks to the bottom of the pan. Add a small amount of water if the dish gets too dry.
- Add in the diced tomatoes and crush in the fenugreek leaves and sauté for 2-3 minutes until the tomatoes have cooked down a little and the potato and cauliflower are fork-tender and fully cooked. Taste and adjust salt to taste. Turn off the heat and serve with carb of choice (rice, roti, naan…etc.).