Date Published: Feb 13th, 2024 | Last Updated: Feb 13th, 2024
Author: Abby |Category: Czech, sides, breads, vegetarian
Serves: 8-10 | Prep time: 1 hour | Cook time: 1.5 hours total (20-30mins per dumpling)
Jump to recipe |
What are Czech Dumplings or Knedlíky?
Knedlíky or dumplings are a staple side dish in Czech food. I see it as THE carb in a Czech meal. Similar to noodles in Asian food or pasta in Italian food, if there’s something rich, saucy, or soupy, you bet it’ll be served with a knedlíky.
There are a few different kinds of dumplings, but the two most common ones I’ve seen in Czech are the fluffy bread dumplings (houskové knedlíky) and the denser potato dumplings (bramborové knedlíky). The lighter bread dumplings are made with a yeast dough so it’s fluffy but still with a bit of structure and chew and best served with a saucy dish such as svičkova to soak up all the flavours whereas the potato dumplings are much more dense and is like eating a side dish of potatoes that can balance the richness of a dish such as something served with sauerkraut like a vepřo knedlo zelo. Of the two, the bread dumplings are more commonly seen and you can very easily buy them at the supermarket in Czech instead of making them fresh, but I don’t think anyone will be angry if you use them interchangeably. This recipe is for the potato dumplings (bramborové knedlíky). If you want to make the bread dumplings, you can find the recipe here.


Do I need to use a special type of flour?
These dumplings are traditionally made with ‘sharp flour’ or ‘continental flour’ which is a coarser flour made from hard wheat that is common in Europe, but actually super difficult to find in regular grocery stores. As a result, this recipe uses a 3:2 ratio mix of all-purpose flour and farina/cream of wheat to achieve the same texture.
Although these dumplings are pretty easy to make, please allow enough time to cook them all. If you don’t have a big pot, you may have to cook them one or two at a time (which is what I always end up doing) and it takes 20-30 mins each time (allow 1.5 hours to cook all 4). If you’ve got extra pots and the stove space, boil them all at once in separate pots so they’re all ready at the same time! I don’t know why it took me so long to think of this.
How do I freeze leftover knedlíky?
Every recipe for knedlíky I’ve seen always makes WAY more than what you need. My guess is that since you’re going through all the effort of making them, you might as well make a bigger batch and freeze them to have on hand. This recipe is no different. If you follow the instructions, you’ll have enough knedlíky for 8 – 10 people. I had thought about halving the recipe when I was writing it, but then remembered how well they keep in the freezer and how easy it is to have dumplings in a pinch when you’re short on time or too lazy to put in the effort, so I left the proportions alone.
I find it best to freeze leftover dumplings in slices rather than a log so it defrosts quickly. You can either freeze them in single portions or altogether in a bag, but make sure you separate the slices a little so it’ll be easier to separate when you only want to defrost a few slices. I freeze them in a ziploc bag or you can wrap it up in cling wrap individually.
To defrost and reheat: The best way to get the best texture is to steam them, especially if you are reheating from frozen. However, I’m lazy and I take out my desired portion and leave it in the fridge the night before then microwave them with a sprinkle of water before serving.
*Note: This recipe and its instructions have been adapted from Cook Like Czechs (who’s got way more beautiful-looking dumplings than I could ever achieve – check it out).
Anyways, without further ado, here’s the recipe! If you have any comments or suggestions, I’d love to hear from you in the comment section! You can follow me on instagram, youtube and facebook to see all the recipes I post!
Happy cooking!
Ingredients you’ll need:
- 900g yellow/Yukon gold potatoes
- 260g (1.5 cups) all-purpose flour
- 160g (just under 1 cup) cream of wheat/farina
- 1/2 Tbsp cornstarch or potato starch
- 1 tsp kosher/cooking salt
- 1 egg, whisked
Directions:
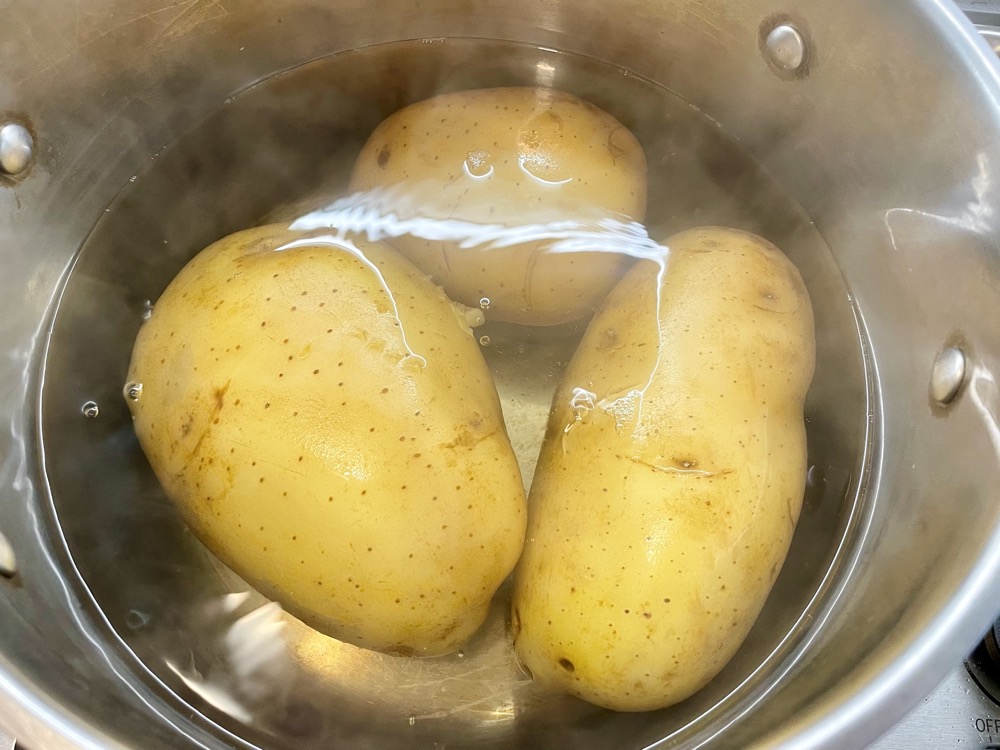
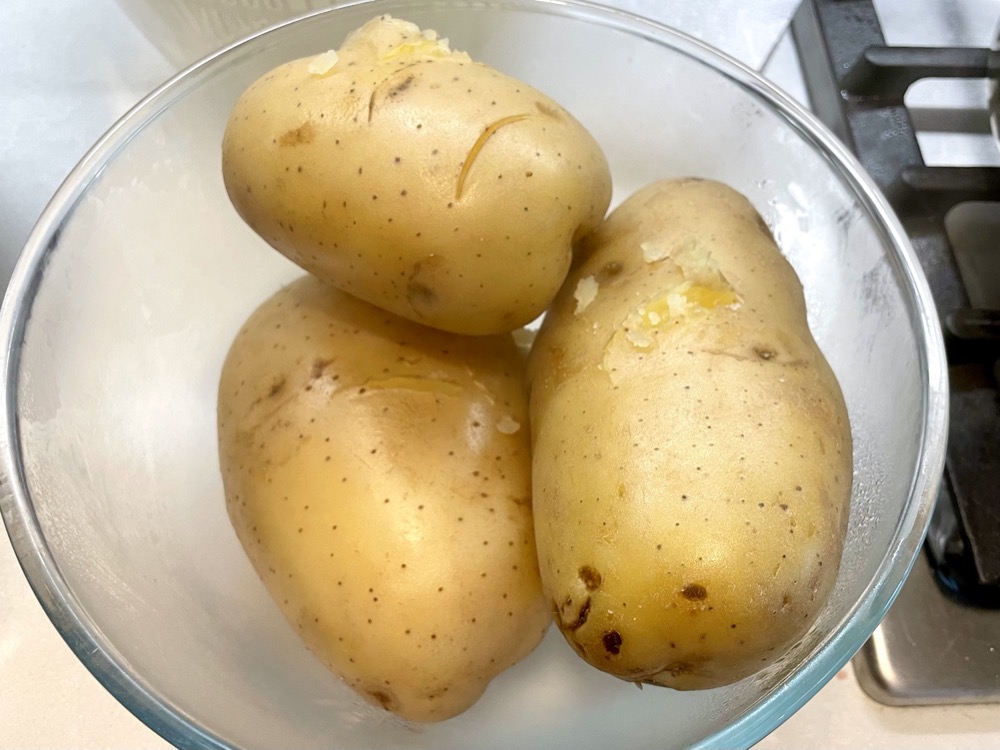
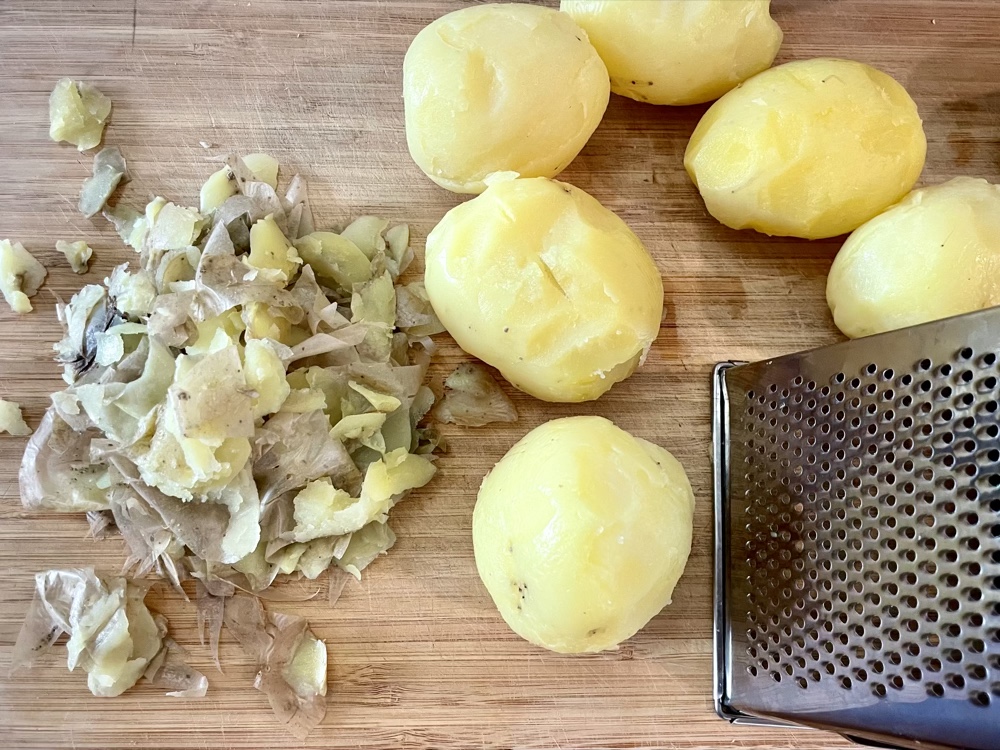

Prepare the potatoes (make ahead of time): Boil the potatoes with the skin on until soft and easily pierced with a fork (20-30mins). Drain the potatoes and let it cool down completely (1-2 hours, or overnight). Once cooled, peel and discard the potato skin and use a hand grater to finely grate (use the small grating hole) the peeled potatoes into a bowl and set aside.
To save time, boil the potatoes the day before and let it cool overnight then peel and grate it the next day. Don’t peel or grate it too early or else the potato will start drying out.


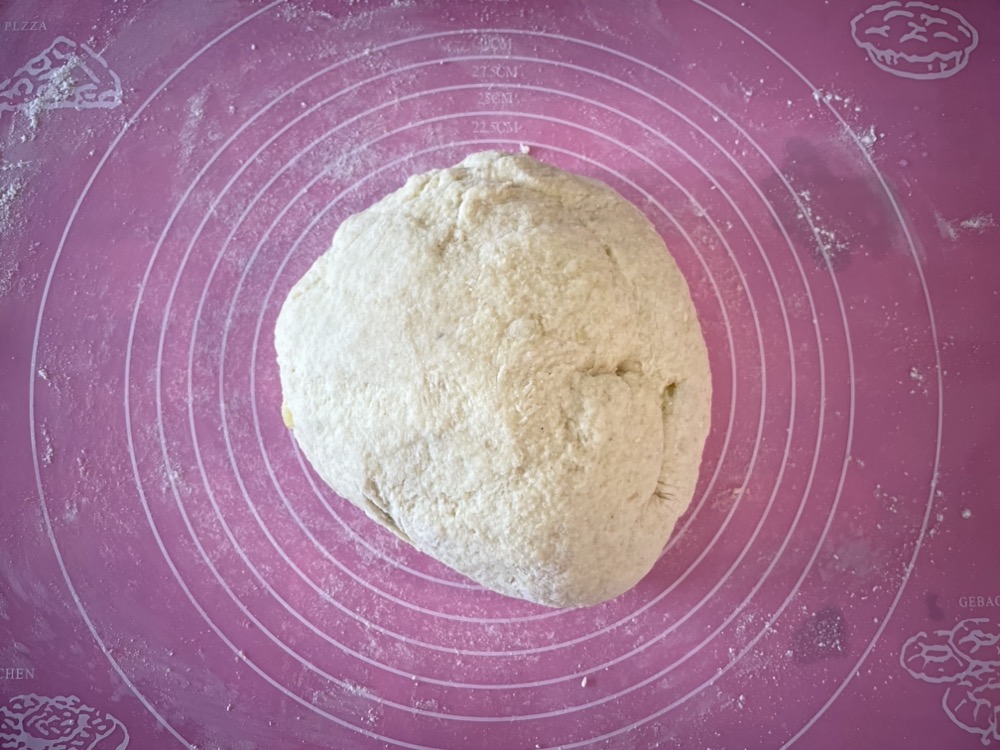
In a large mixing bowl, mix together the flour, cream of wheat, corn starch, and salt. Add in 1 whisked egg and the grated cooked potatoes. Use your hands or a stand mixer and work the dough until you get a smooth, soft, homogenous dough ball. Add a little extra flour if the dough is too sticky.


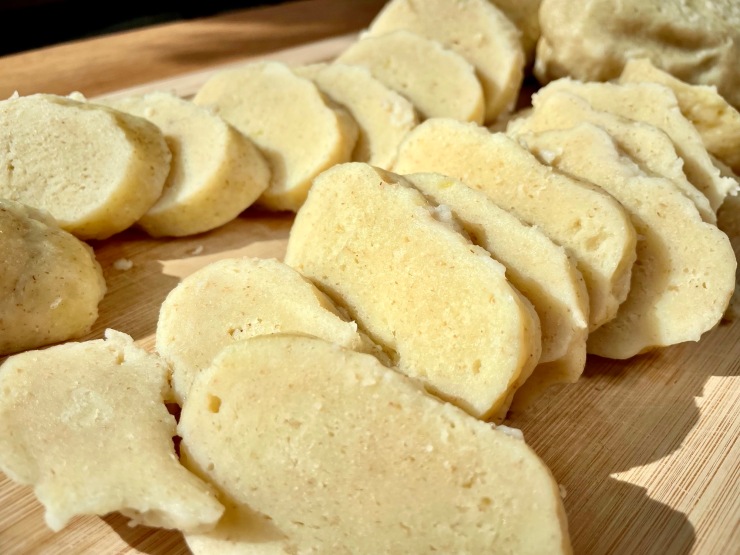
Divide the dough into 4 equal pieces (roughly 330g each), each formed into fat logs (see photo). Make sure the length of your log does not exceed the diameter of your pot. Don’t worry if they’re not perfect logs. You’ll hardly notice when you serve them as slices.
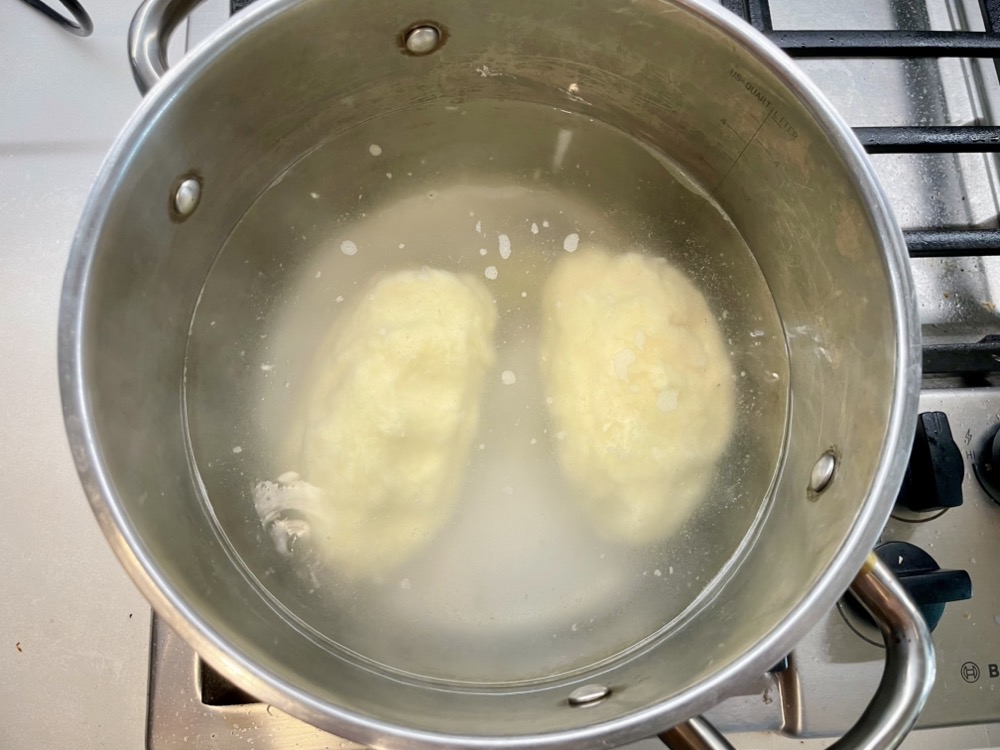
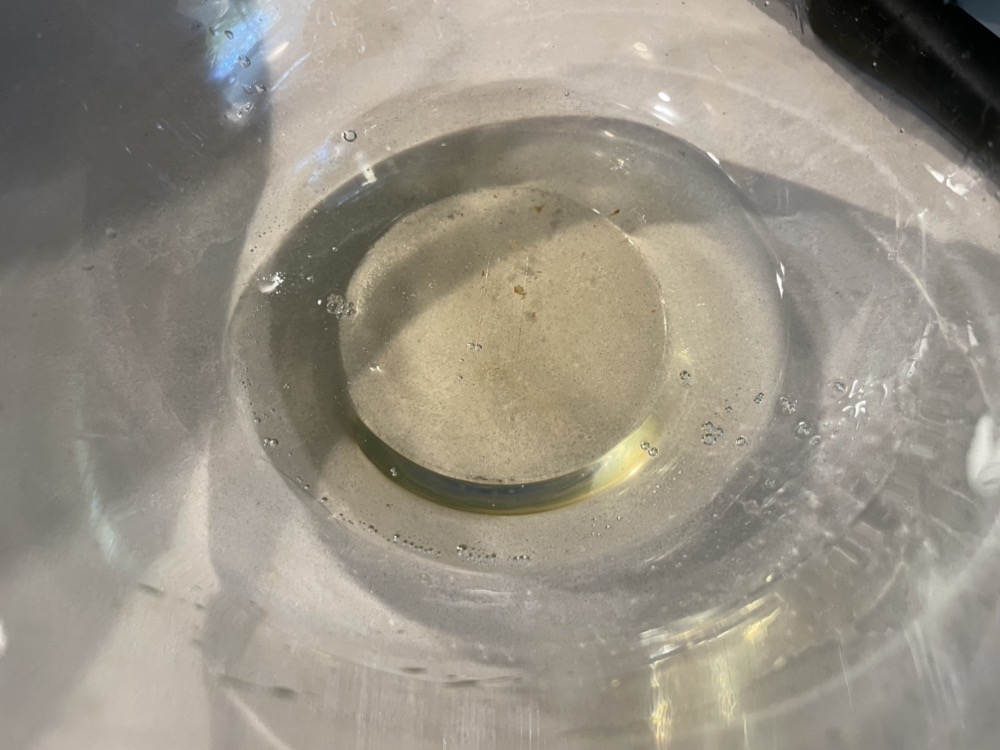
Lightly boil a pot of water. Gently lower 2 logs into the water (if you have a small pot, you may want to cook just one at a time to not overcrowd them). Let them boil for 25 – 30 minutes. Occasionally move them around in the water to ensure they are not stuck to the bottom of the pot. They will start to float when they’re roughly halfway cooked. To check if they’re cooked, you can slice off a piece and try it – you should get a dense bread-y texture with a little bounce.
Tip: To save time and if you’ve got extra pots and the stove space, boil them all at once in separate pots so they’re all ready at the same time!


Once cooked, remove each log from the water onto a cutting board or drying rack and stab it a couple times with a chopstick or a fork to release the steam. Let it sit for a few minutes to slightly cool down, then slice into 1.5cm slices and serve!


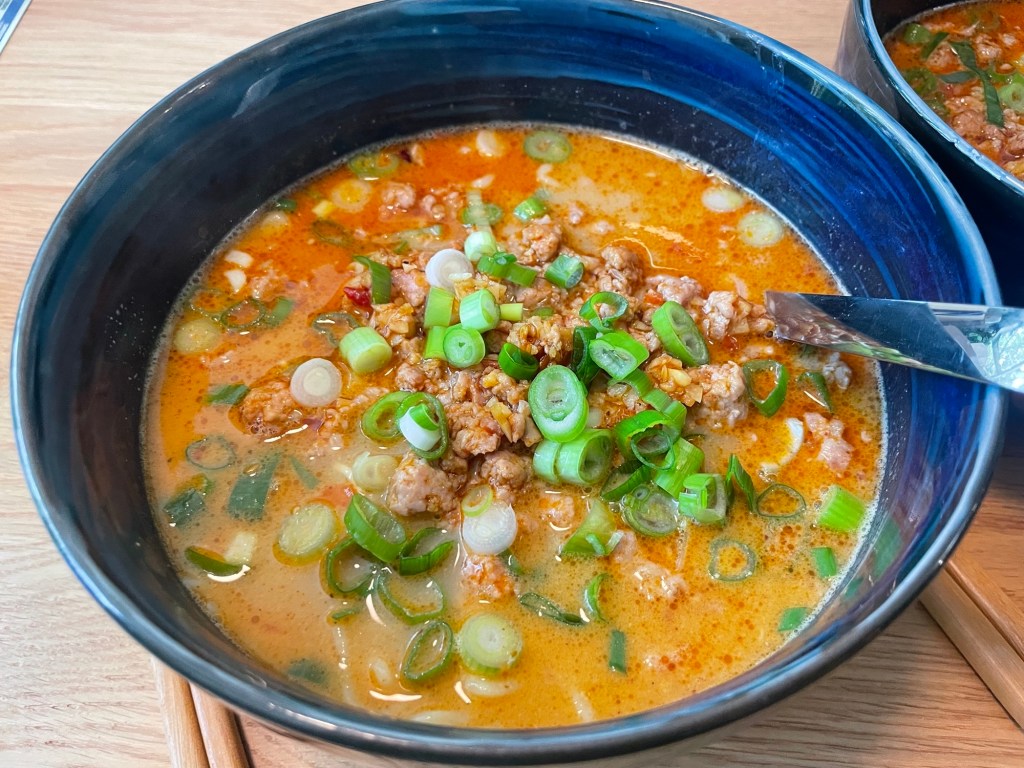
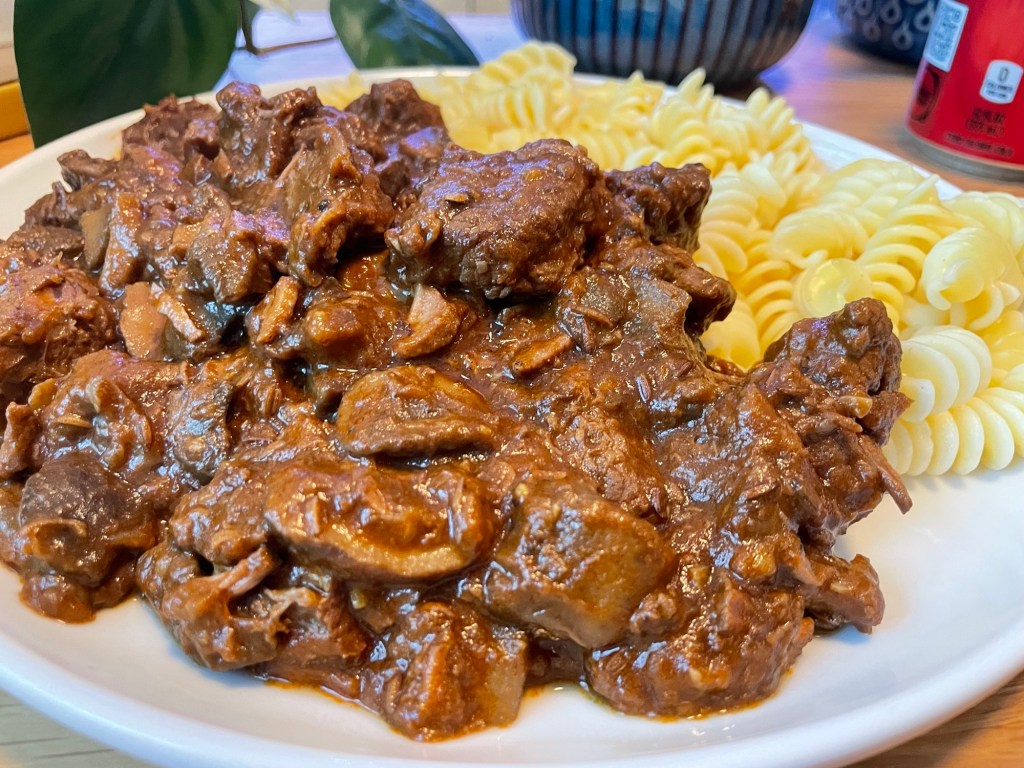
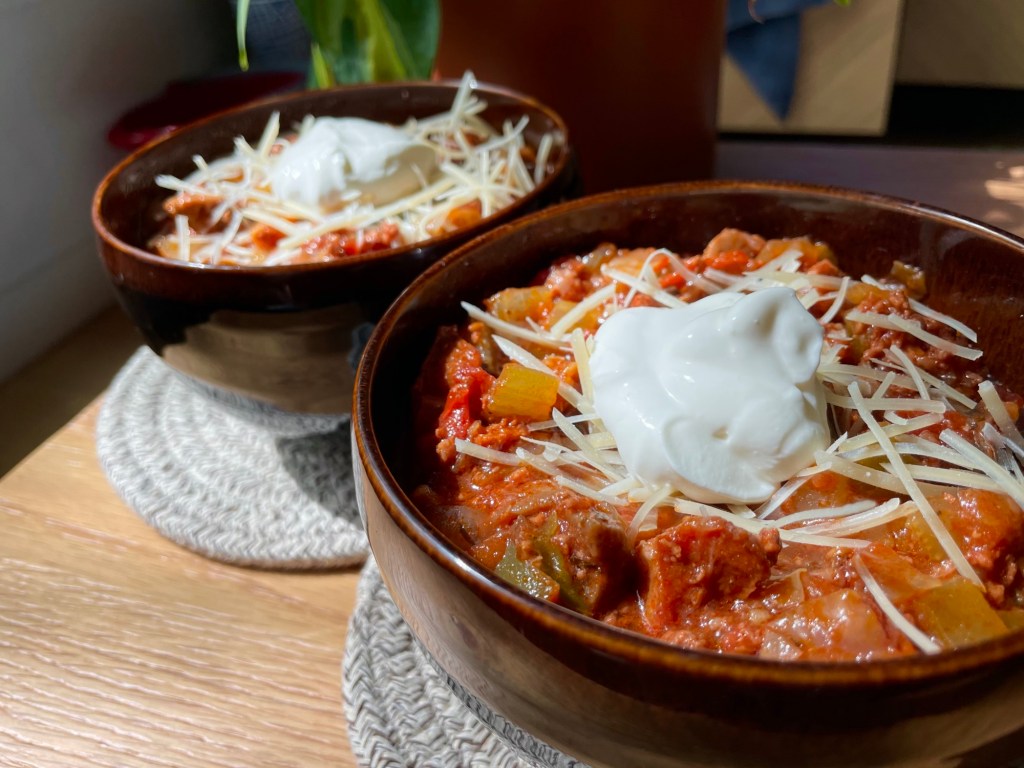
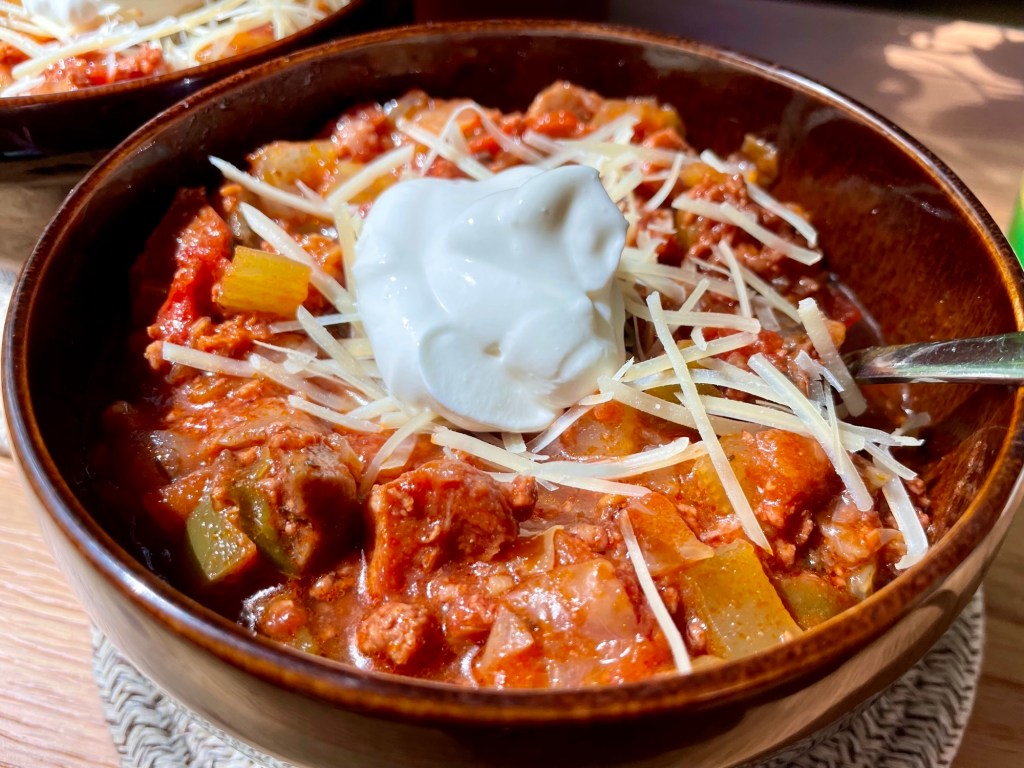
Some examples of knedliky served in traditional Czech dishes:


Summarized Recipe:
Czech Potato Dumplings – Bramborové Knedlíky
Date Published: Feb 13th, 2024 | Last Updated: Feb 13th, 2024
Author: Abby |Category: Czech, sides, breads, vegetarian
Serves: 8-10 | Prep time: 1 hour | Cook time: 1.5 hours total (20-30mins per dumpling)
Ingredients:
- 900g yellow/Yukon gold potatoes
- 260g (1.5 cups) all-purpose flour
- 160g (just under 1 cup) cream of wheat/farina
- 1/2 Tbsp cornstarch or potato starch
- 1 tsp kosher/cooking salt
- 1 egg, whisked
Directions:
- Prepare the potatoes (make ahead of time): Boil the potatoes with the skin on until soft and easily pierced with a fork (20-30mins). Drain the potatoes and let it cool down completely (1-2 hours, or overnight). Once cooled, peel and discard the potato skin and use a hand grater to finely grate the peeled potatoes into a bowl and set aside.
- To save time, boil the potatoes the day before and let it cool overnight then peel and grate it the next day. Don’t peel or grate it too early or else the potato will start drying out.
- In a large mixing bowl, mix together the flour, cream of wheat, corn starch, and salt. Add in 1 whisked egg and the grated cooked potatoes. Use your hands or a stand mixer and work the dough until you get a smooth, soft, homogenous dough ball. Add a little extra flour if the dough is too sticky. Divide the dough into 4 equal pieces (roughly 330g each), each formed into fat logs (see photo). Make sure the length of your log does not exceed the diameter of your pot.
- Don’t worry if they’re not perfect logs. You’ll hardly notice when you serve them as slices.
- Lightly boil a pot of water. Gently lower 2 logs into the water (if you have a small pot, you may want to cook just one at a time to not overcrowd them). Let them boil for 25 – 30 minutes. Occasionally move them around in the water to ensure they are not stuck to the bottom of the pot. They will start to float when they’re roughly halfway cooked. To check if they’re cooked, you can slice off a piece and try it – you should get a dense bread-y texture with a little bounce.
- Tip: To save time and if you’ve got extra pots and the stove space, boil them all at once in separate pots so they’re all ready at the same time!
- Once cooked, remove each log from the water onto a cutting board or drying rack and stab it a couple times with a chopstick or a fork to release the steam. Let it sit for a few minutes to slightly cool down, then slice into 1.5cm slices and serve!