Date Published: Aug 8th, 2022 | Last Updated: Aug 8th, 2022
Author: Abby |Category: easy, healthy, low-cal, mains, appetizers, soups, vegetarian
Serves: 4 (as a main) | Prep time: 15 mins | Cook time: 30 mins
Jump to recipe |
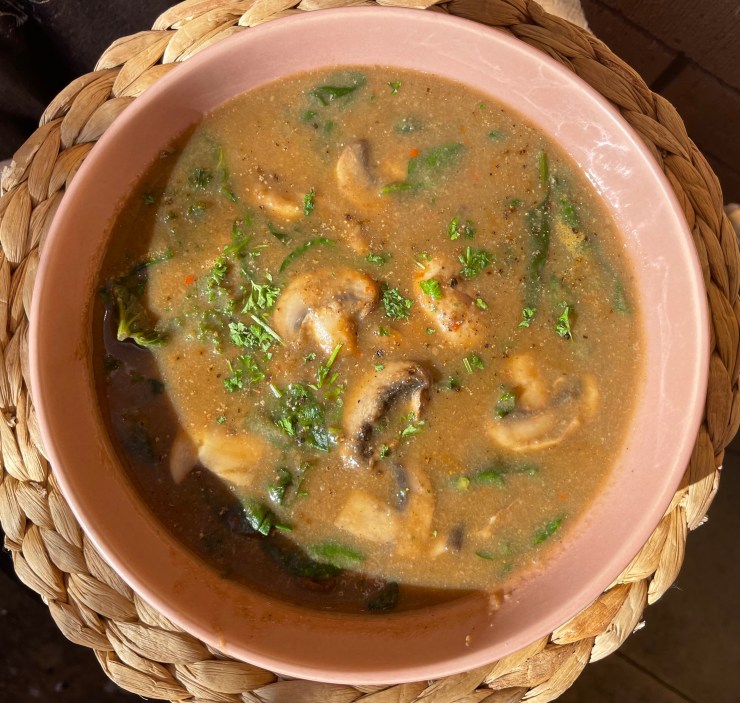
The countdown is on to our wedding and thus our wedding diet is in full swing which means healthy, low-calorie meals that cut out the fat without compromising on flavour. This recipe ticks all the boxes. I love a good soup and I love a good mushroom dish. When you put two together, I’m loving life! This soup is PACKED full of mushrooms – 600g of mushrooms, to be exact; and it’s creamy without actually using any cream! The creaminess comes from a bit of flour to thicken it all up. There’s also a red chili pepper in this soup that adds a little spiciness to punch up the flavour.
Original recipe adapted from: AustralianMushrooms.com.au – this is a fantastic website chocked full of beautiful mushroom recipes. I highly recommend checking it out.
Without further ado, here’s the recipe! If you have any comments or suggestions, I’d love to hear from you in the comment section! You can follow me on instagram, youtube and facebook to see all the recipes I post!
Happy cooking!

Ingredients you’ll need:
- 600g white button mushrooms (400g chopped, 200g sliced)
- 1 onion, diced
- 1 long red chilli, deseeded, finely chopped
- 2cm ginger, peeled, minced or finely grated
- 2 Tbsps plain flour
- 4 cups (1 litre) beef stock (chicken stock is fine too)
- 2 dried or 3 fresh bay leaves
- Optional: 2 Tbsps heavy cream
- Optional add-ins to bulk up the soup:
- 4 cups (100g) kale and/or spinach leaves, stalks removed, chopped
- Roasted butternut squash
- Shredded roast chicken
Directions:
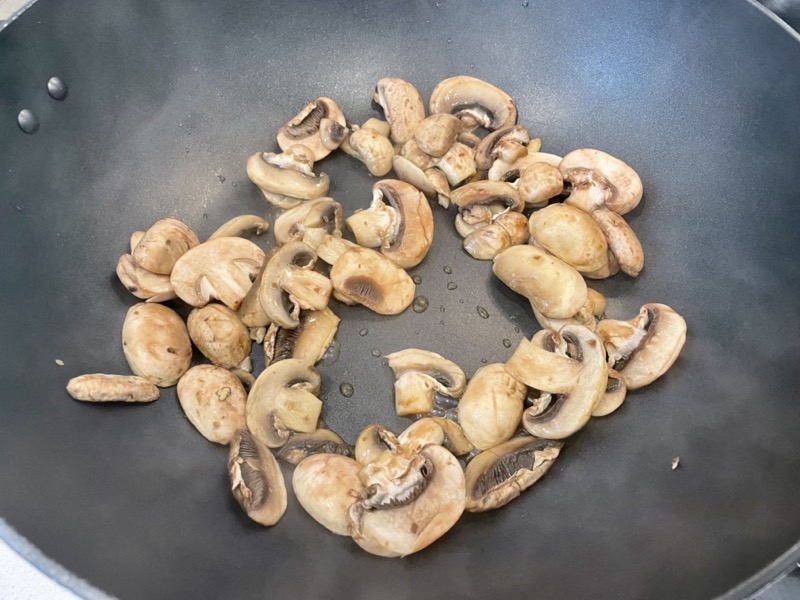
In a large pot on MED-HIGH heat, add a drizzle of olive oil and sauté the 200g of sliced mushrooms until tender. Remove from the pot and set aside in a separate bowl.
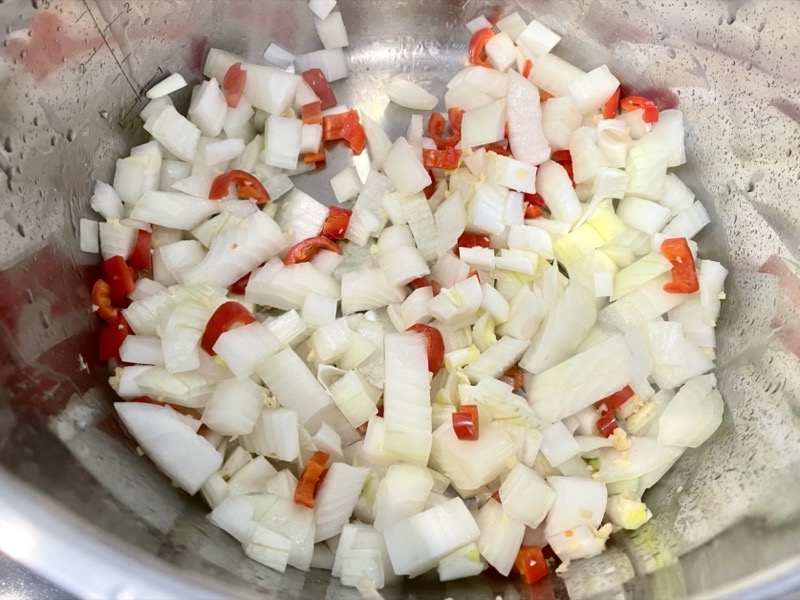
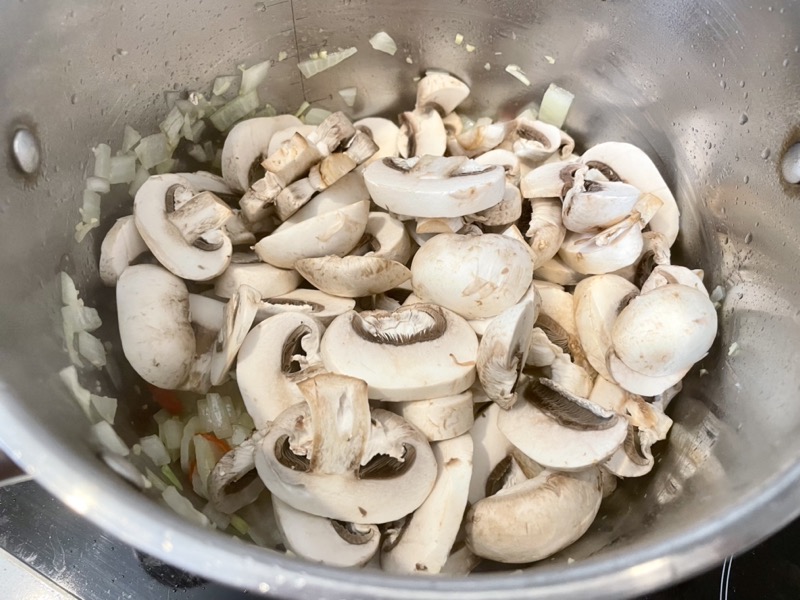


In the same pot, add another drizzle of olive oil and sauté the onion, ginger, and red chili for a few minutes until the onion is soft and translucent. Add in the 400g of chopped mushrooms and continue to cook until the mushrooms are tender. Sprinkle the flour over the mushrooms and mix together for 1 minute until all the liquid is absorbed.


Pour in a few splashes of beef stock and mix it all together, scraping the sides and ensure nothing is clumped to the sides or the bottom of the pot. Pour in the remaining beef stock and add in the bay leaves. Turn the heat up to HIGH and bring the soup to a boil. Once it boils, turn the heat down to LOW-MED until a simmer and let it simmer uncovered for 15 minutes.
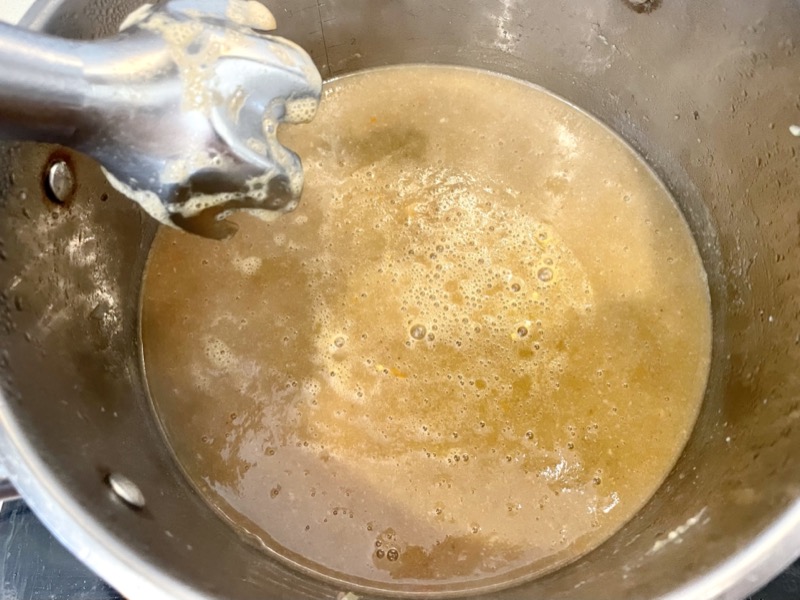
After simmering, remove the bay leaves and remove from heat. Use a stick blender and blend the soup until smooth. (You can also pour it all into a blender if you don’t have a stick blender). Stir in the cooked mushrooms that was set aside in step 1 and cream (if using). Salt and pepper to taste. Done!


Optional for a bulkier soup: Once the soup is smooth, return to the stove and add in any additional add-ins you’d like to bulk up the soup (ie. spinach, squash, roast chicken). Stir until the leaves are wilted or the veg or chicken is warmed. Turn off the heat and serve. Enjoy!


Summarized Recipe:
Guilt-Free “Creamy” Mushroom Soup
Date Published: Aug 8th, 2022 | Last Updated: Aug 8th, 2022
Author: Abby |Category: easy, healthy, low-cal, mains, appetizers, soups, vegetarian
Serves: 4 (as a main) | Prep time: 15 mins | Cook time: 30 mins
Ingredients:
- 600g white button mushrooms (400g chopped, 200g sliced)
- 1 onion, diced
- 1 long red chilli, deseeded, finely chopped
- 2cm ginger, peeled, minced or finely grated
- 2 Tbsps plain flour
- 4 cups (1 litre) beef stock (chicken stock is fine too)
- 2 dried or 3 fresh bay leaves
- Optional: 2 Tbsps heavy cream
- Optional add-ins to bulk up the soup:
- 4 cups (100g) kale and/or spinach leaves, stalks removed, chopped
- Roasted butternut squash
- Shredded roast chicken
Directions:
- In a large pot on MED-HIGH heat, add a drizzle of olive oil and sauté the 200g of sliced mushrooms until tender. Remove from the pot and set aside in a separate bowl.
- In the same pot, add another drizzle of olive oil and sauté the onion, ginger, and red chili for a few minutes until the onion is soft and translucent.
- Add in the 400g of chopped mushrooms and continue to cook until the mushrooms are tender. Sprinkle the flour over the mushrooms and mix together for 1 minute until all the liquid is absorbed.
- Pour in a few splashes of beef stock and mix it all together, scraping the sides and ensure nothing is clumped to the sides or the bottom of the pot. Pour in the remaining beef stock and add in the bay leaves. Turn the heat up to HIGH and bring the soup to a boil. Once it boils, turn the heat down to LOW-MED until a simmer and let it simmer uncovered for 15 minutes.
- After simmering, remove the bay leaves and remove from heat. Use a stick blender and blend the soup until smooth. (You can also pour it all into a blender if you don’t have a stick blender). Stir in the cooked mushrooms that was set aside in step 1 and cream (if using). Salt and pepper to taste. Done!
- Optional for a bulkier soup: Once the soup is smooth, return to the stove and add in any additional add-ins you’d like to bulk up the soup (ie. spinach, squash, roast chicken). Stir until the leaves are wilted or the veg or chicken is warmed. Turn off the heat and serve. Enjoy!