Date Published: April 18th, 2025 | Last Updated: April 18th, 2025
Author: Abby |Category: mains, asian, quick, easy,
Serves: 4 | Prep time: 12 hours (marinate overnight) | Cook time: 10 minutes
Jump to recipe |
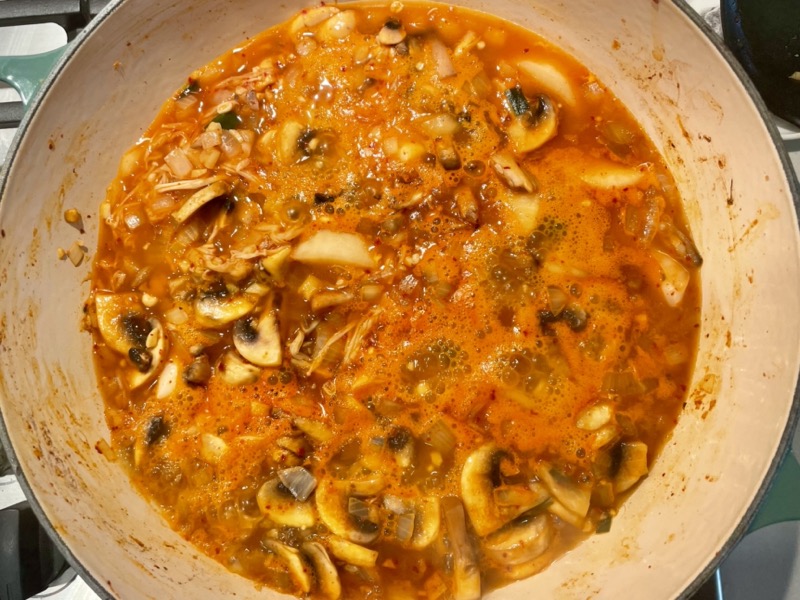
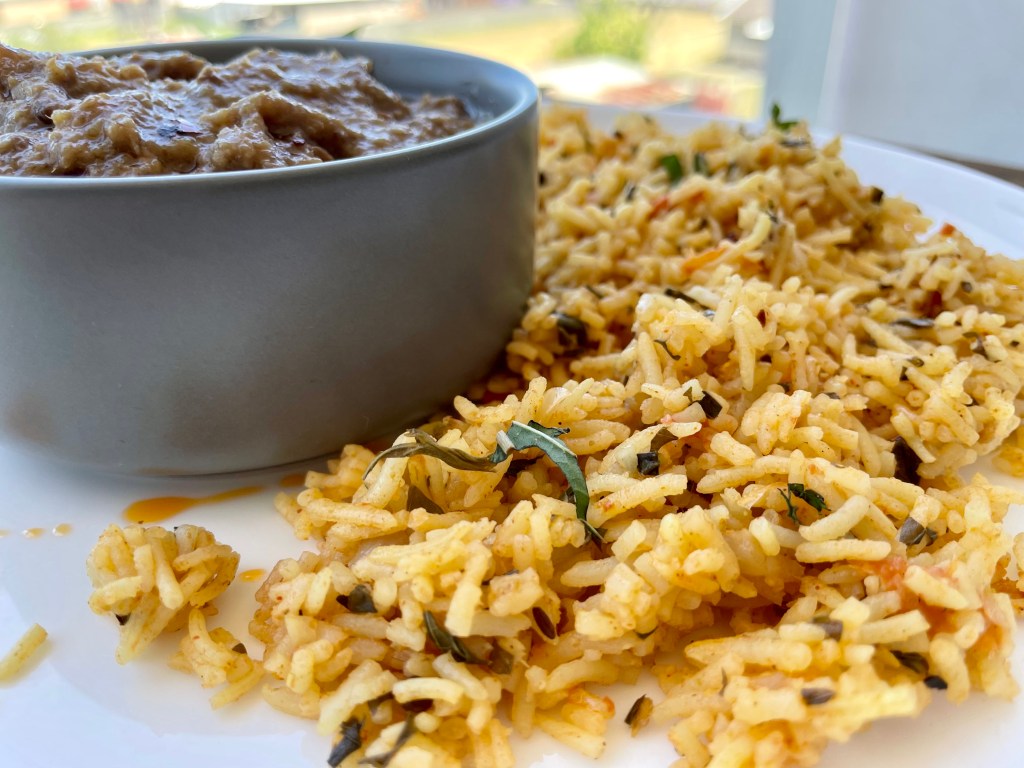
Bulgogi is a Korean dish that consists of thinly sliced meat (most commonly beef, but you can find pork and chicken variations too) marinated in soy sauce, sugar, sesame oil, garlic and ginger. Once marinated, this dish is so quick to cook that it only takes a few minutes on the grill, perfect for a busy quick weeknight dinner if you marinate the meat the night before. Serve it over rice, lettuce wraps, or perilla leaves with a side of veggies. This flavourful dish will surely be a hit!
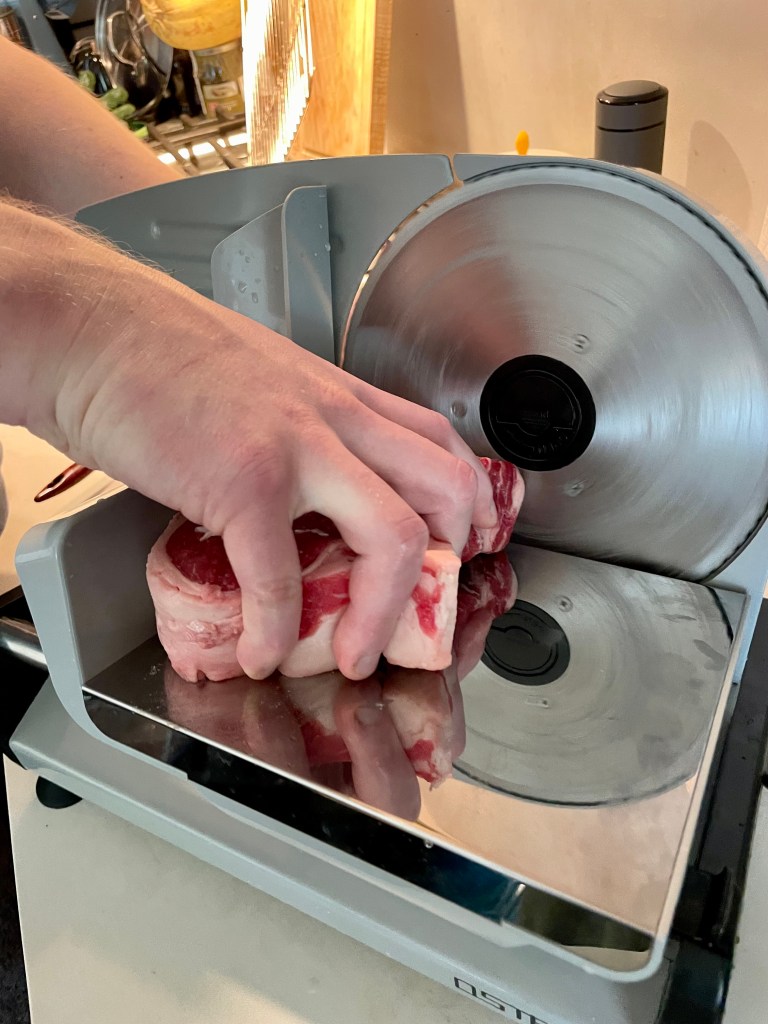
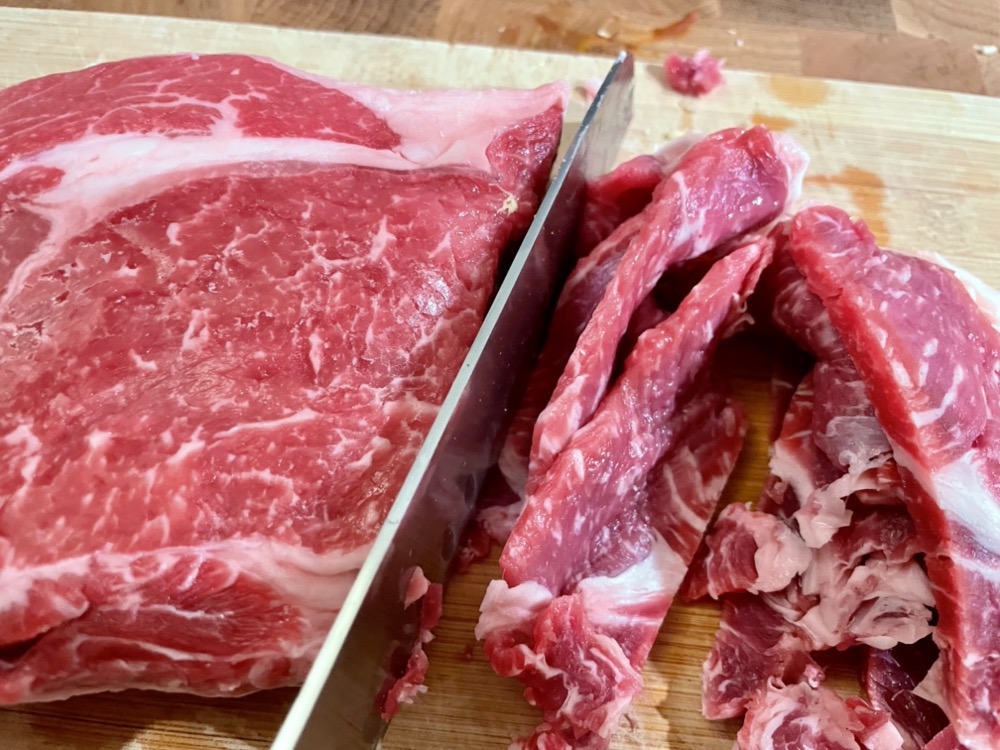
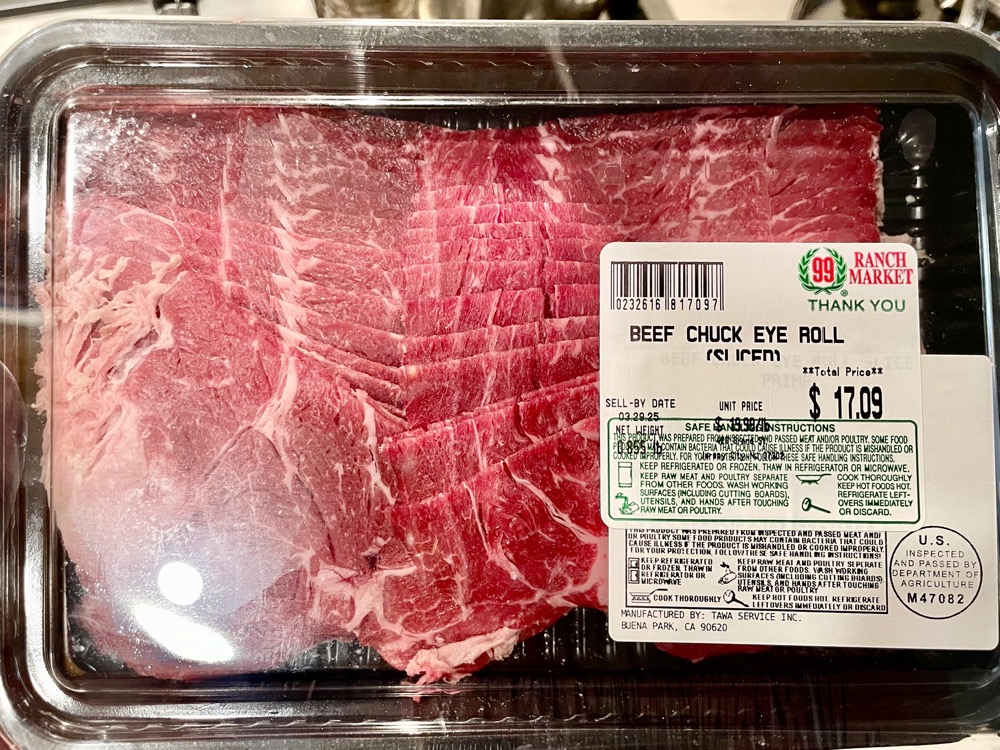
3 Methods for thinly sliced beef:
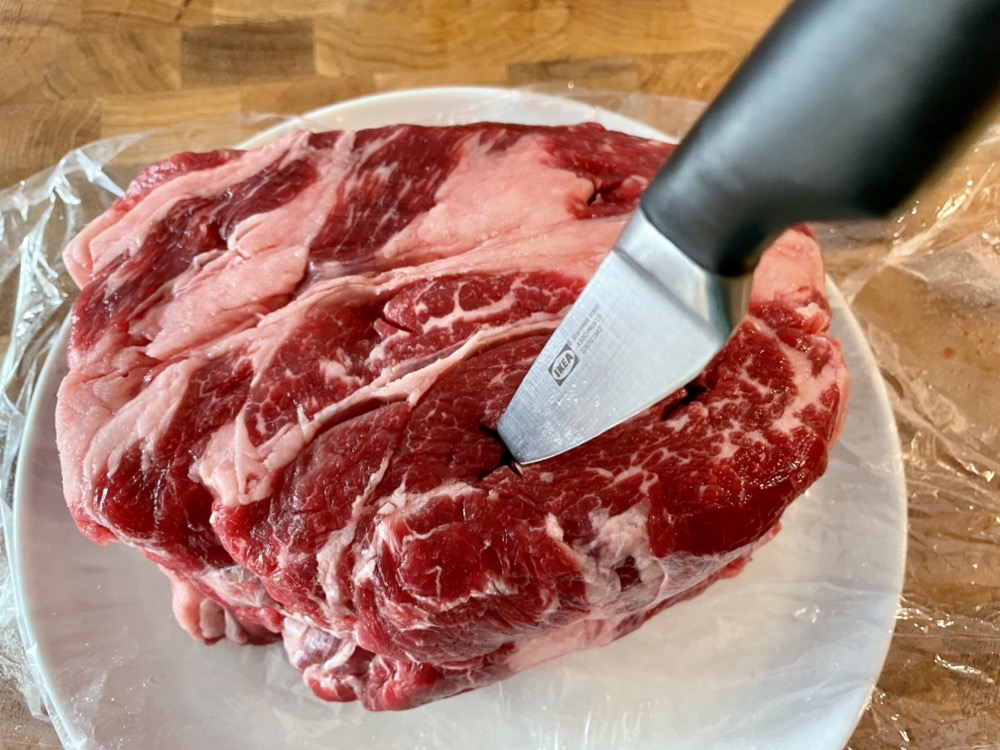
- For best and most uniform results: Freeze the raw steak for 20-30 minutes until semi-firm, then use a meat slicer to slice as thin as possible. I have this model of meat slicer that I chose for the decent price and its relatively small size.
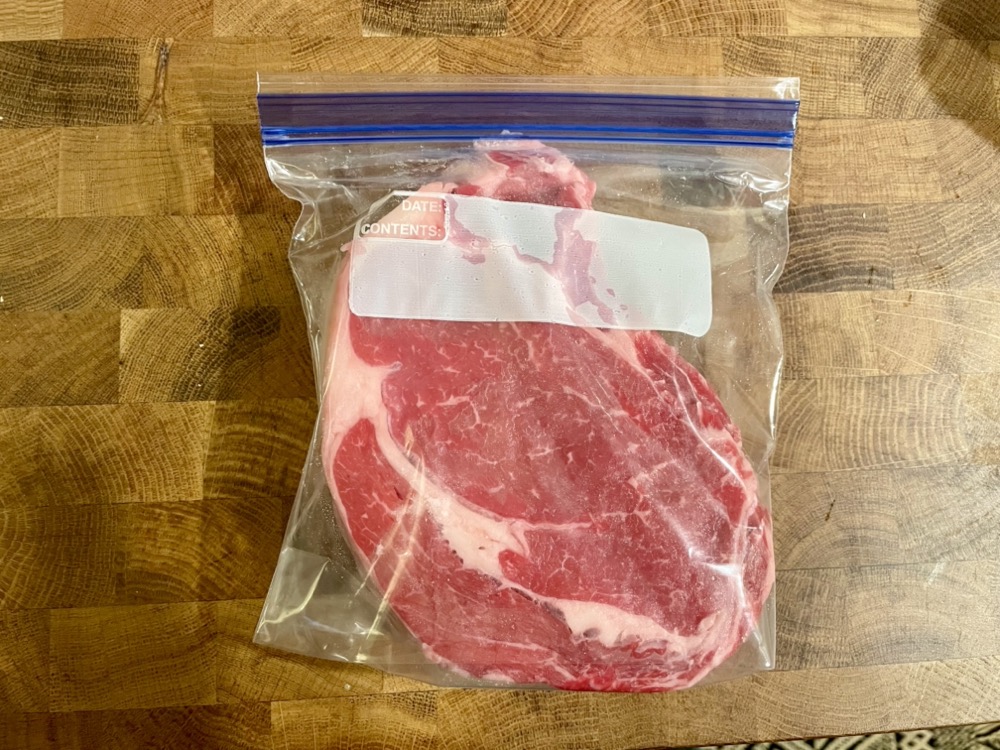
2. Freeze the raw steak for 20-30 minutes until semi-firm, then use a sharp knife to slice as thin as possible.
3. Buy pre-sliced frozen beef from the hotpot section of most asian grocery stores. This will be the easiest method but will also likely be more expensive.
Anyways, without further ado, here’s the recipe! If you have any comments or suggestions, I’d love to hear from you in the comment section! You can follow me on instagram, youtube and facebook to see all the recipes I post!
Happy cooking!
Ingredients you’ll need:
- Marinade:
- 3 cloves garlic, minced
- 2 tsps freshly grated ginger
- 4 green onions, sliced to 4cm pieces
- 1/2 small pear (80g), peeled and coarsely grated
- 1/4 cup (66g) soy sauce (Kikkoman is fine)
- 1/4 cup (40g) brown sugar
- 2 Tbsps (30g) toasted sesame oil
- 1.5 Tbsps (30g) gochujang (Korean red chilli paste)
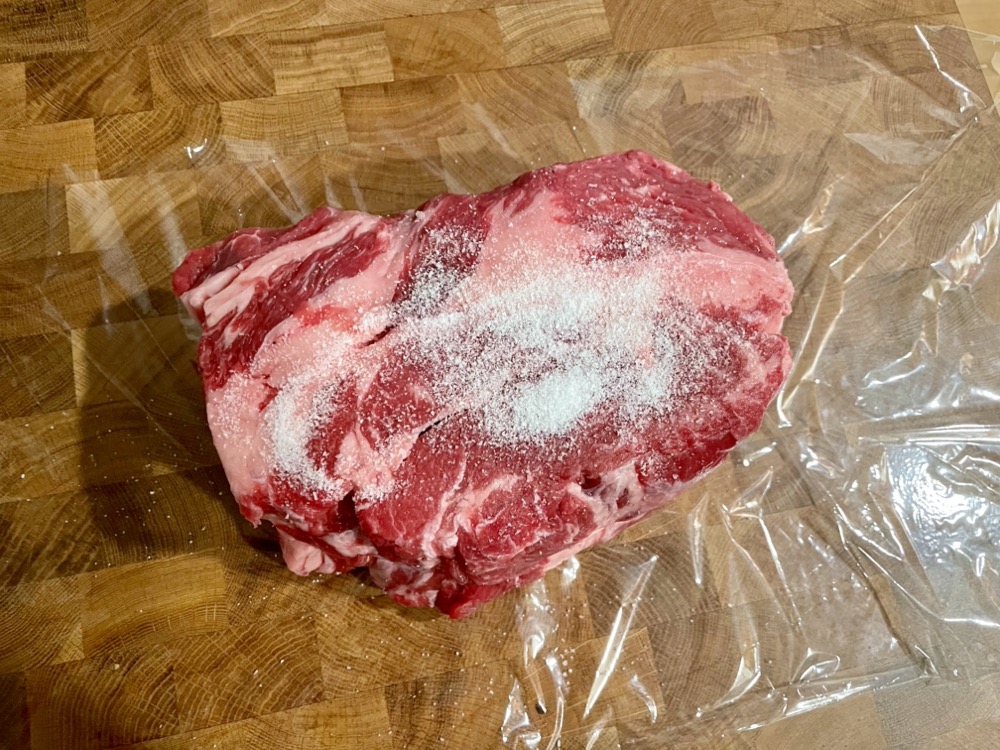
- 700g/1.5 pounds boneless rib eye steak, sliced thinly (for cheaper options, flank steak or skirt steak will also do)
- Garnish: chopped green onion and sesame seeds
Directions:
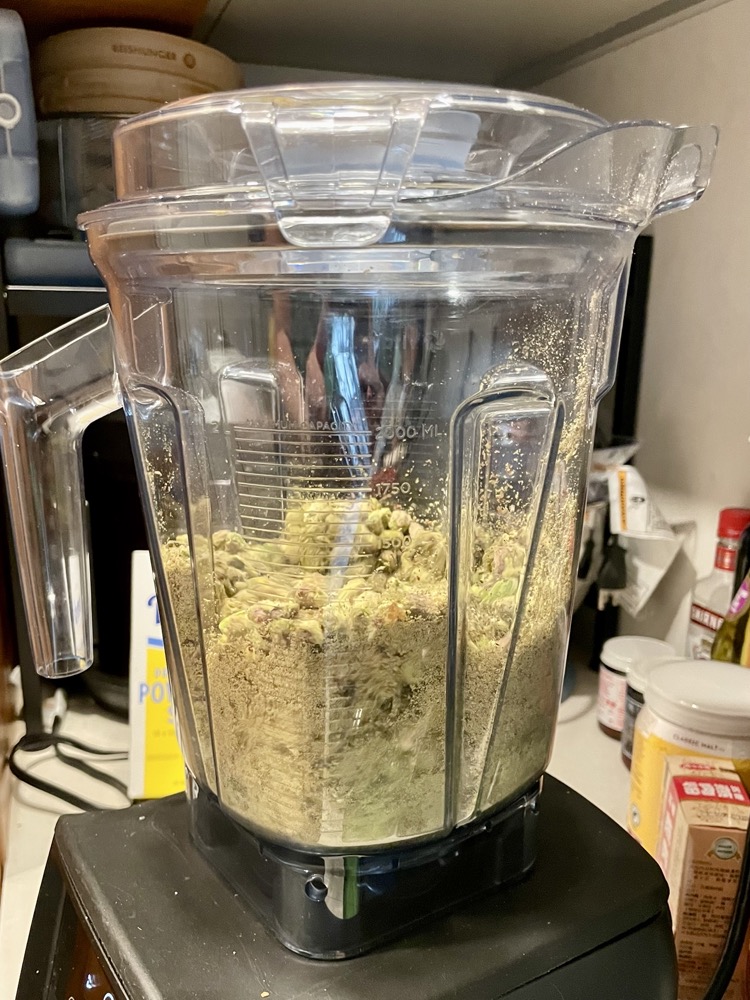
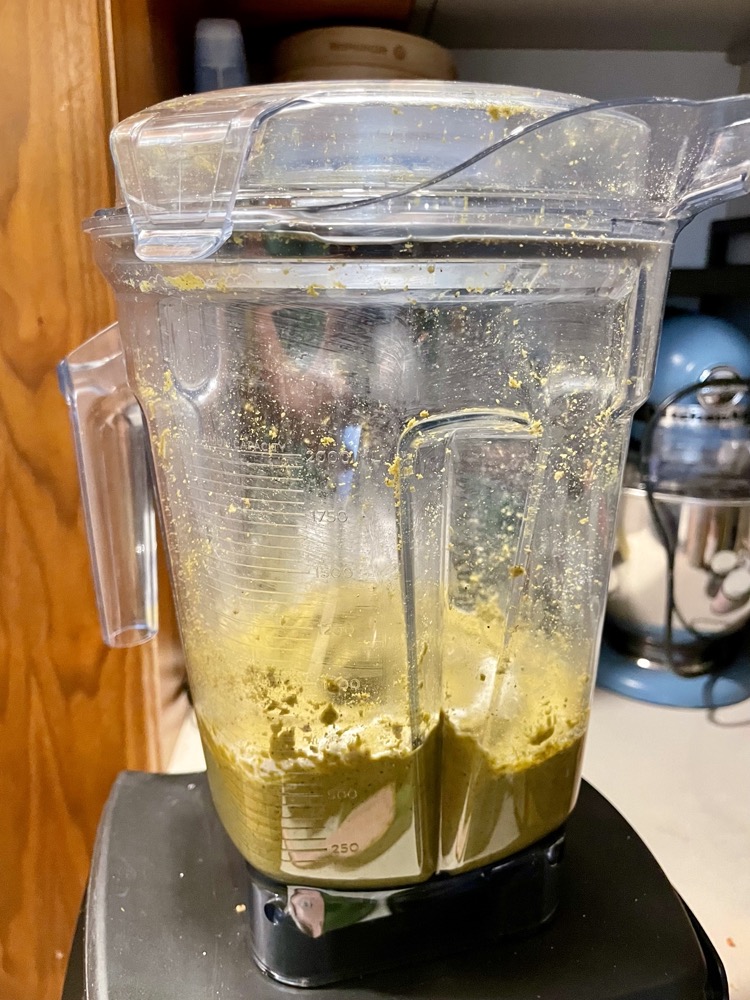
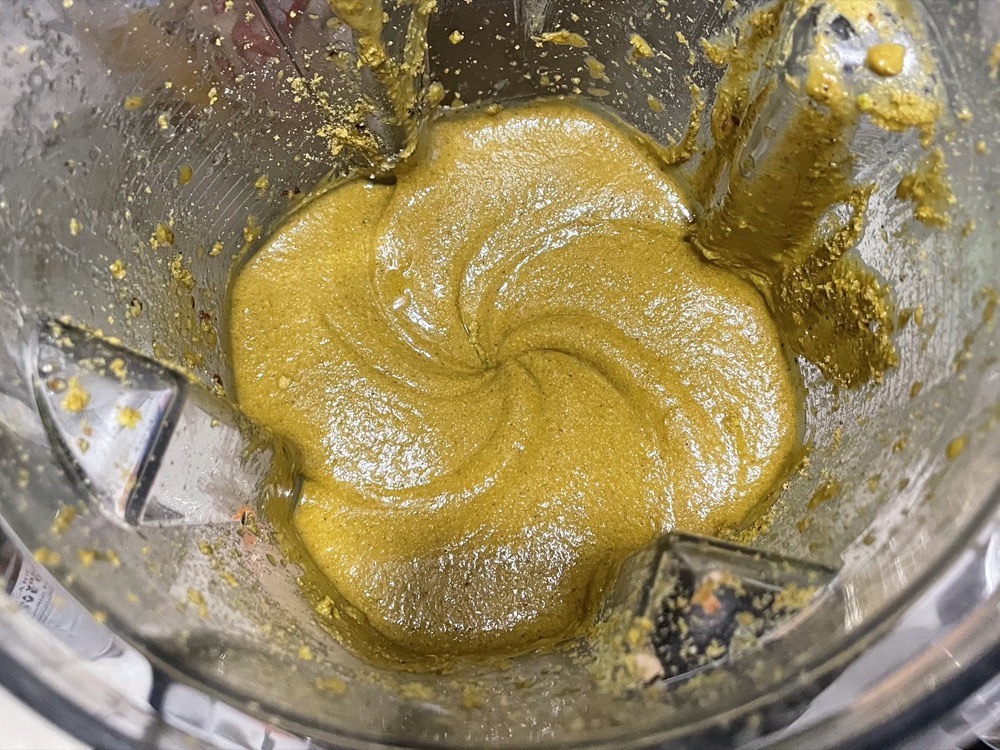
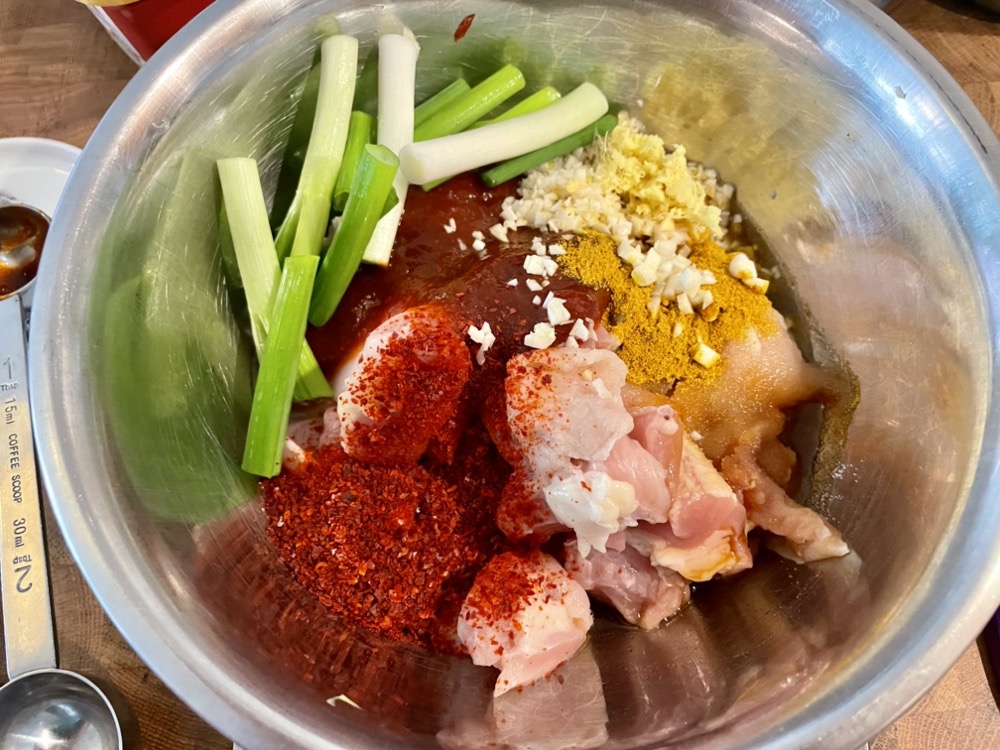
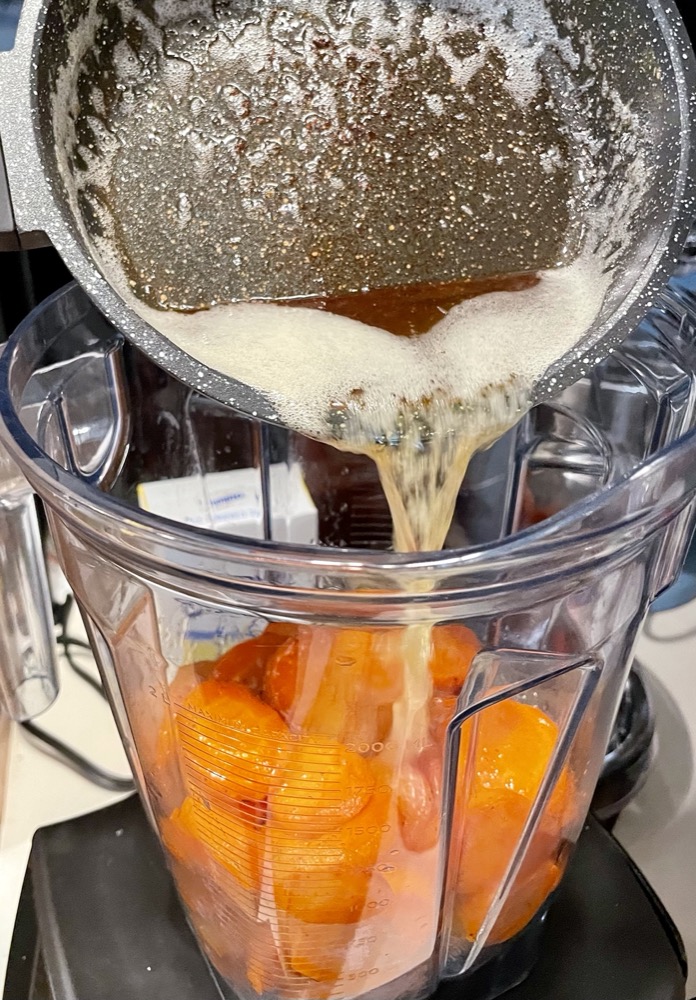
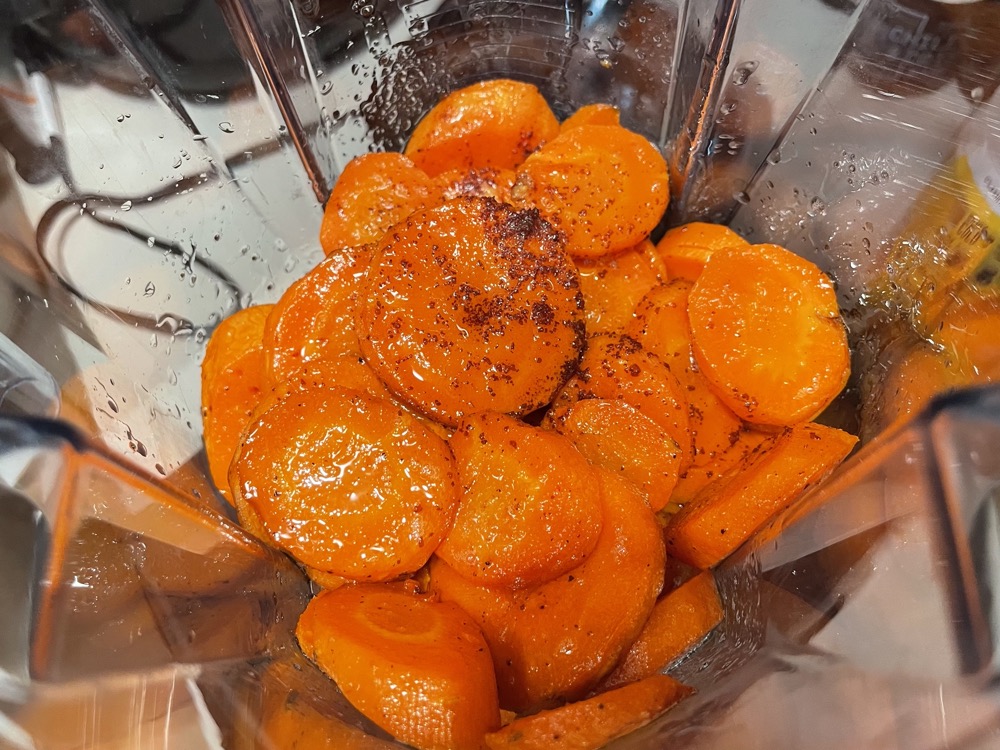
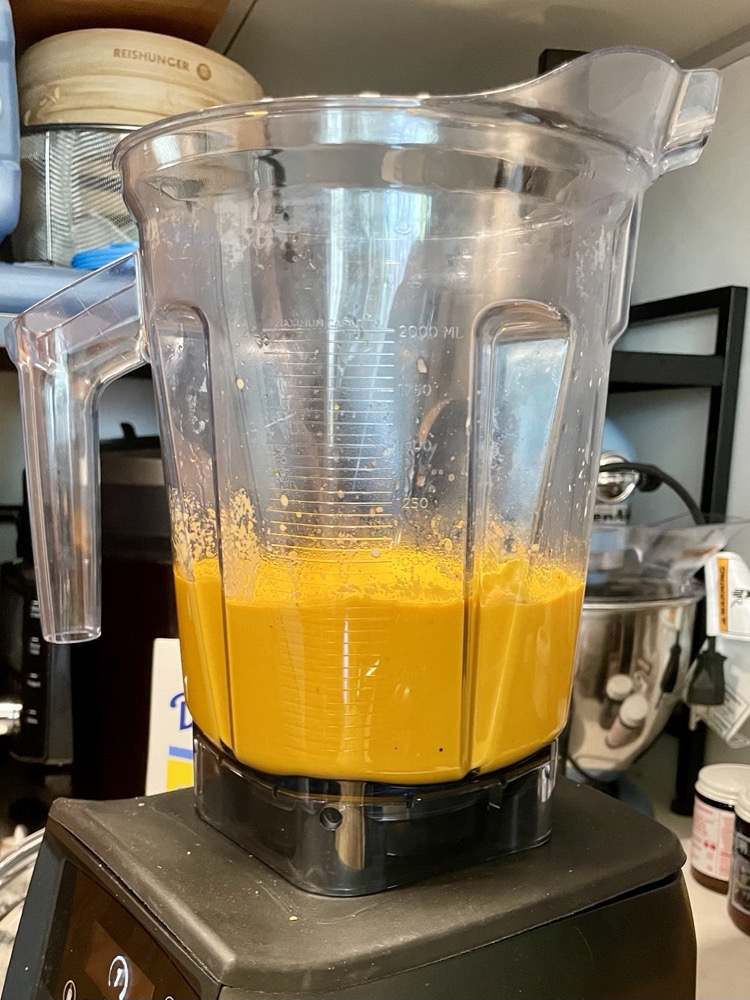
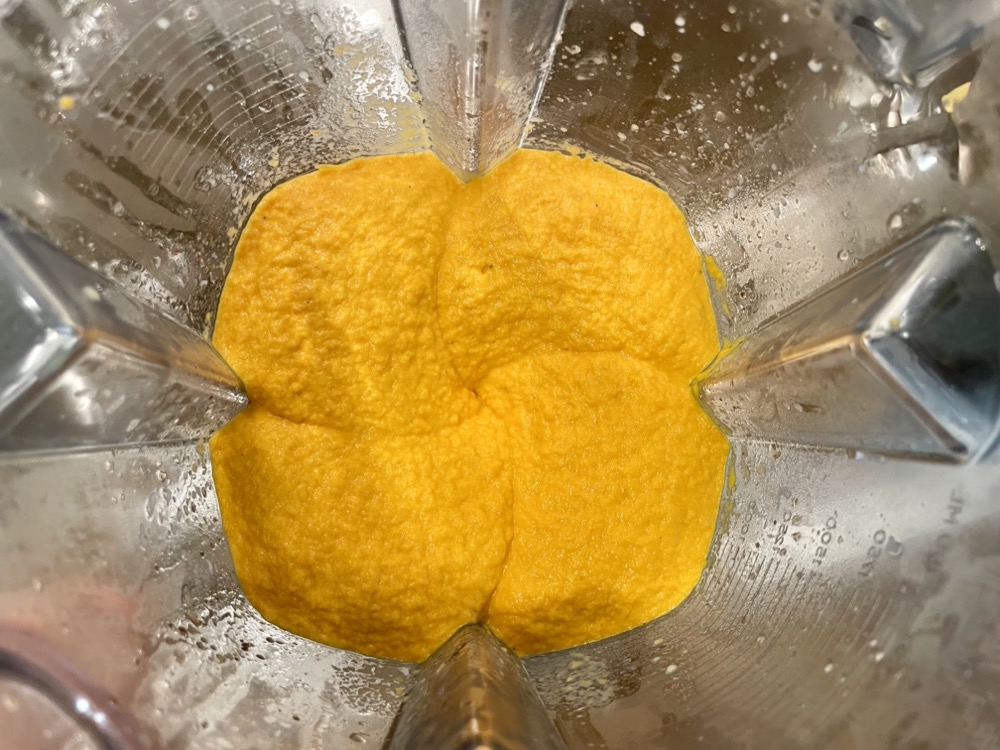
Put all the marinade ingredients in a bowl and mix well: 3 cloves minced garlic, 2 tsps grated ginger, 4 green onions sliced to 4cm pieces, 1/2 of a pear, grated (80g), 1/4 cup (66g) soy sauce, 1/4 cup (40g) brown sugar, 2 Tbsps (30g) toasted sesame oil, 1.5 Tbsps (30g) gochujang.


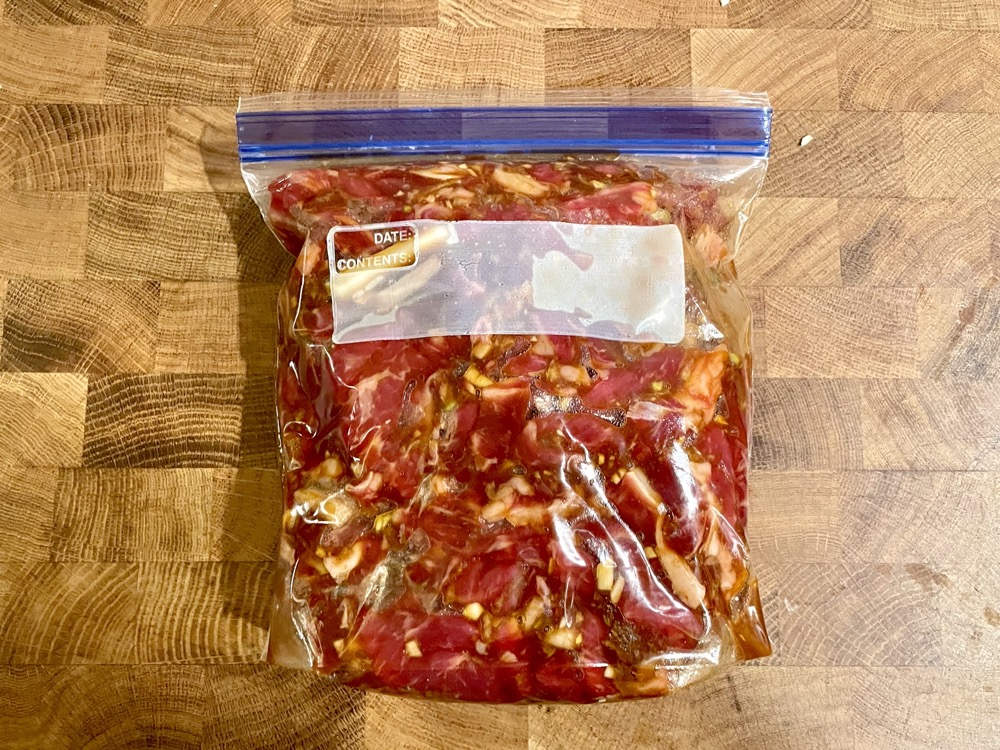
Add the thinly sliced steak into the marinade and massage well. Pour the contents into a resealable bag and marinate in the refrigerator overnight.

Take out the marinated steak 20 minutes prior to cooking to let the meat come to room temperature.
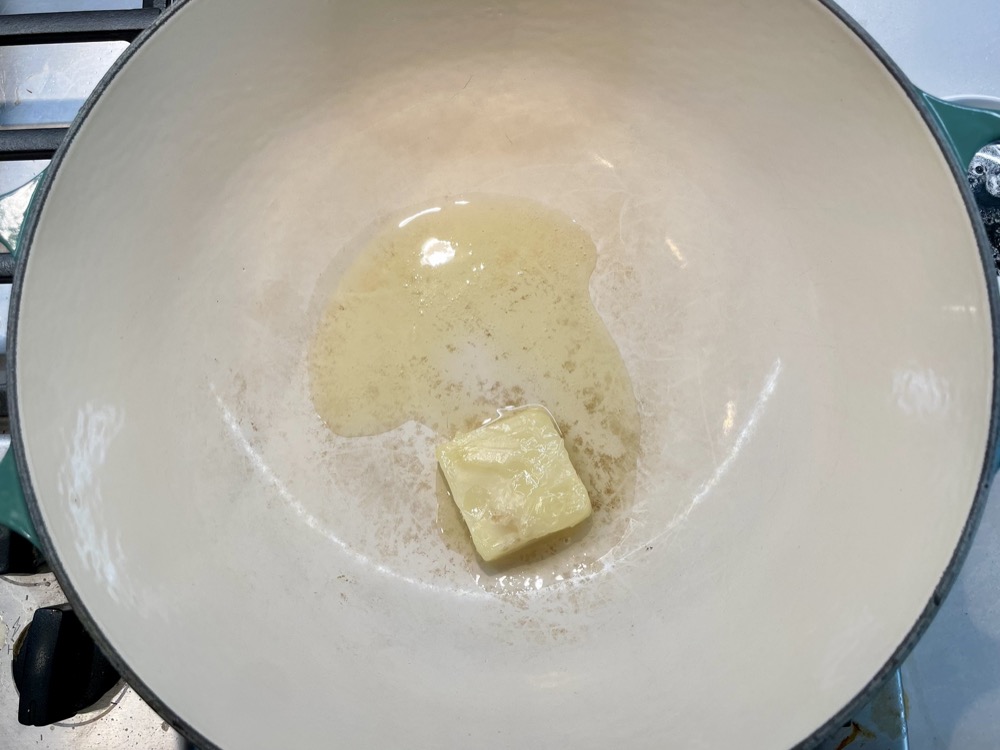
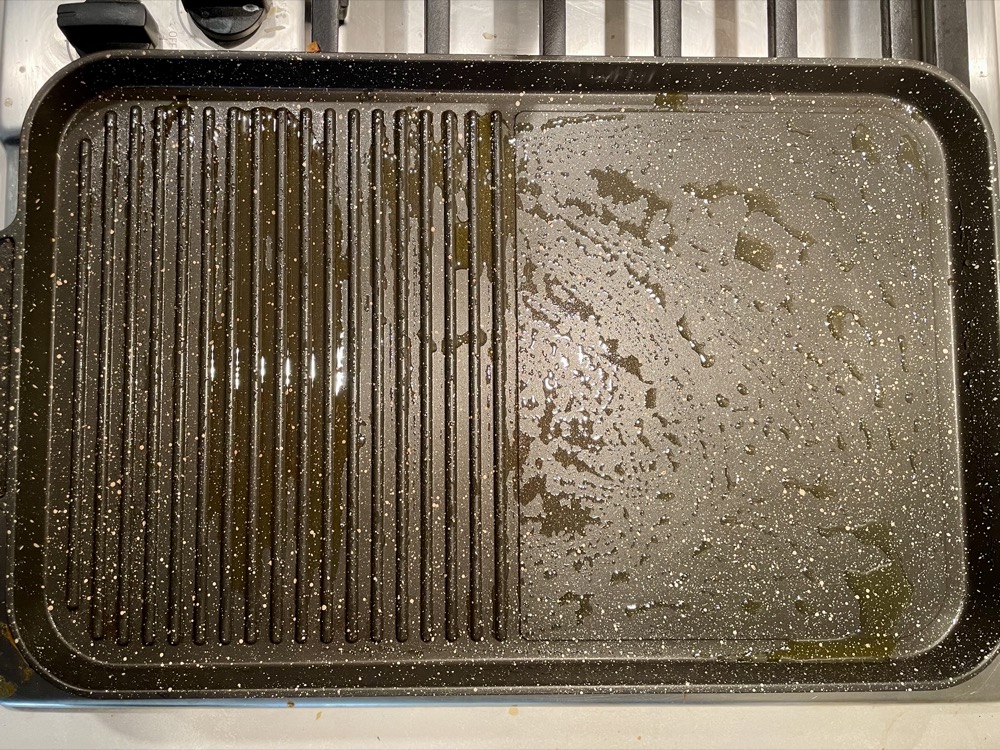
When ready to cook, use a flat skillet or grill pan on MED-HIGH heat and add a drizzle of oil. Add the marinated steak and cook for roughly 2-3 minutes per side until slightly charred and cooked. Done!


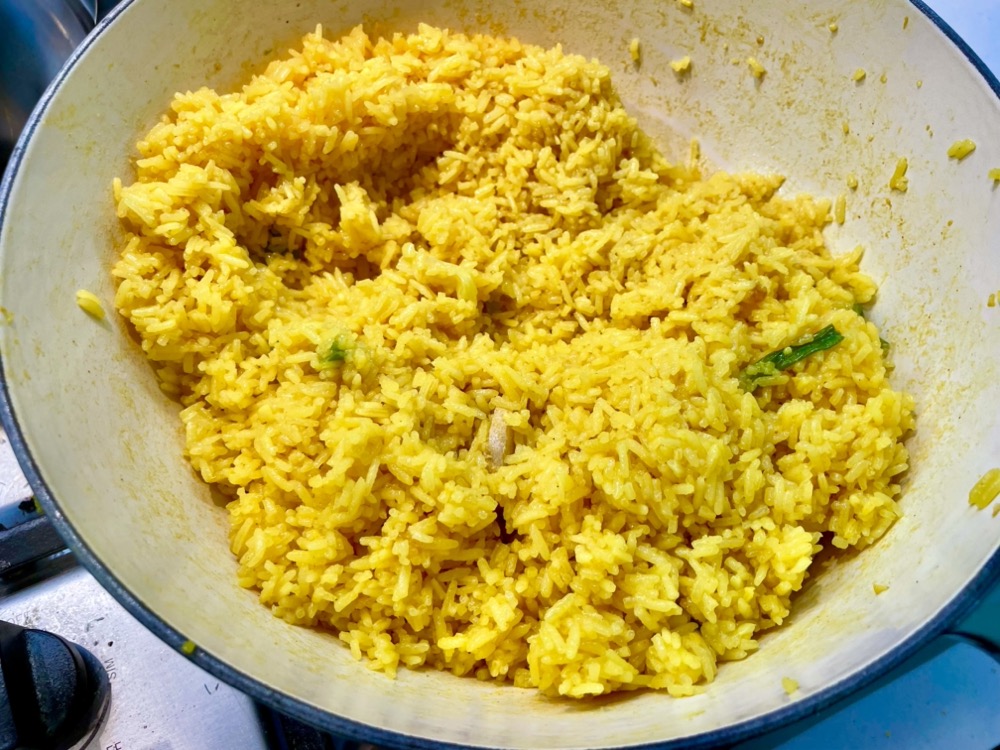
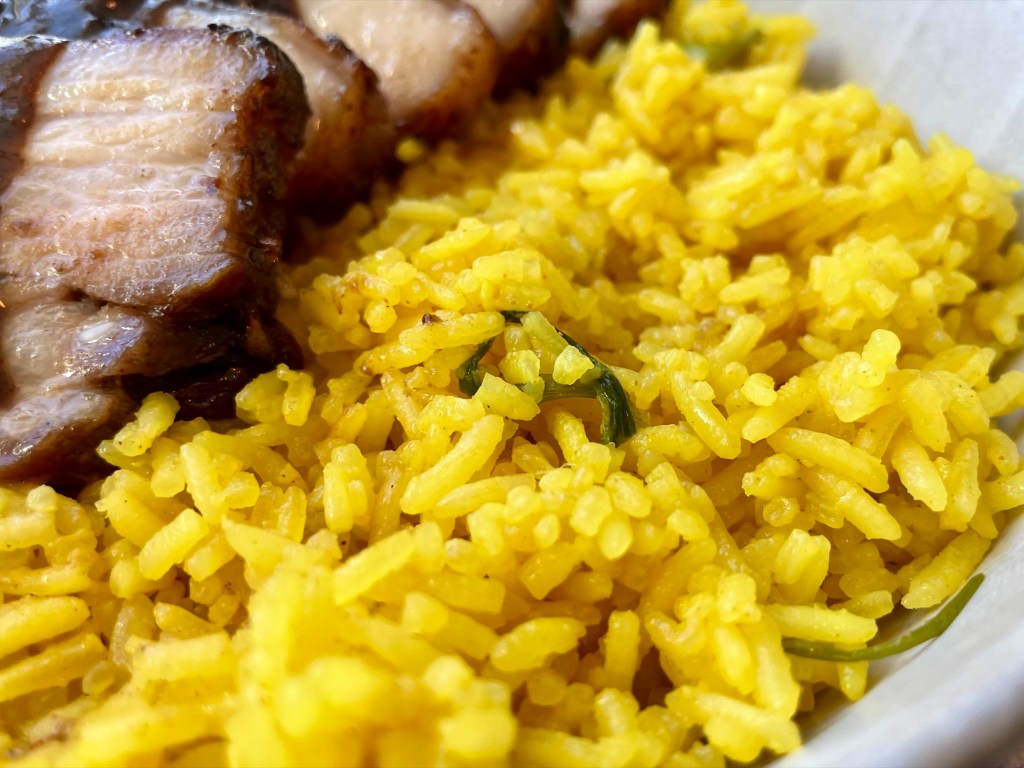
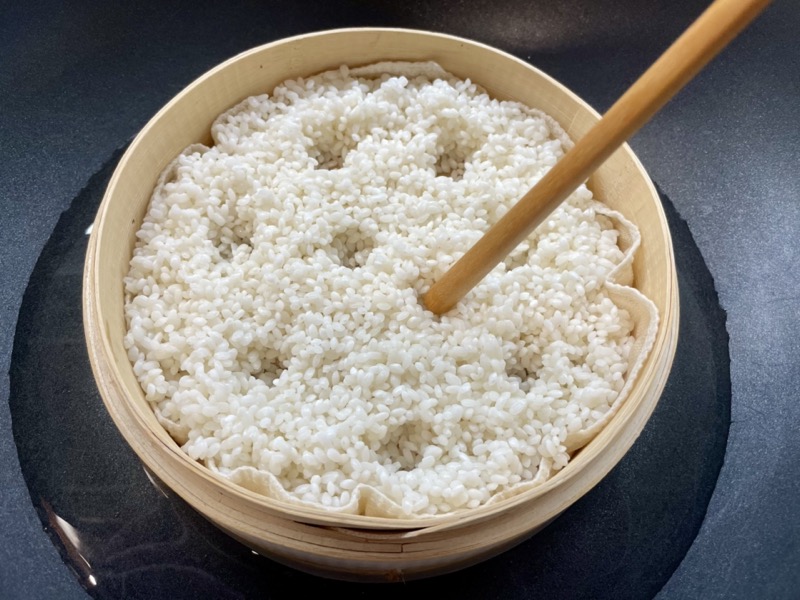
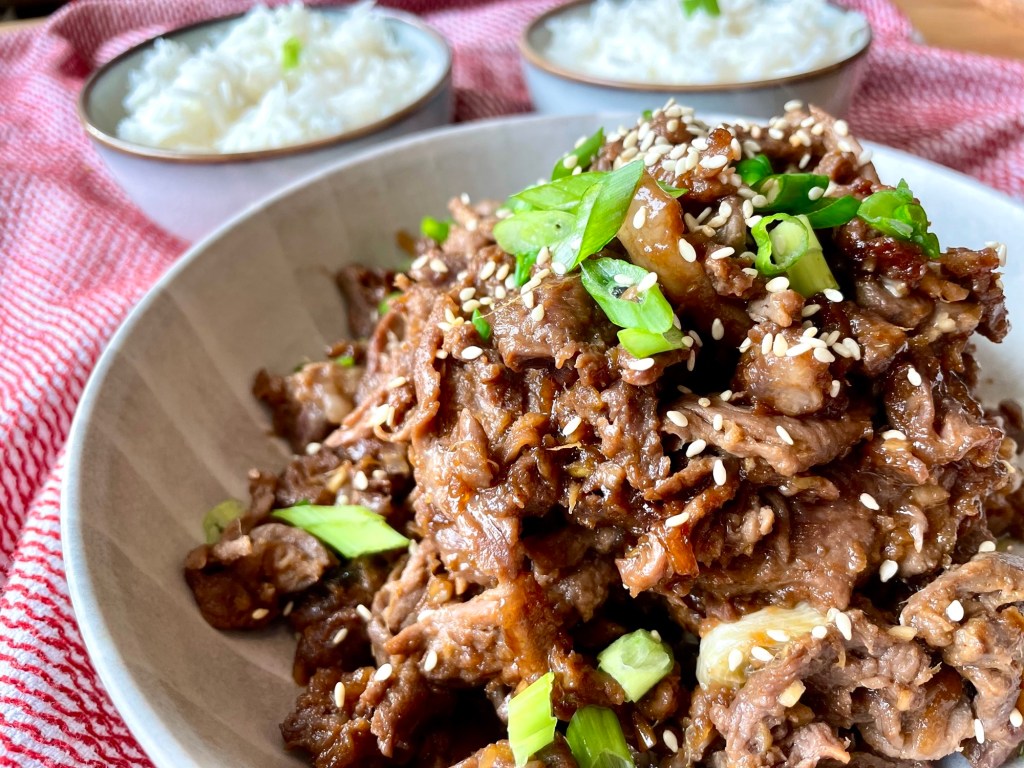
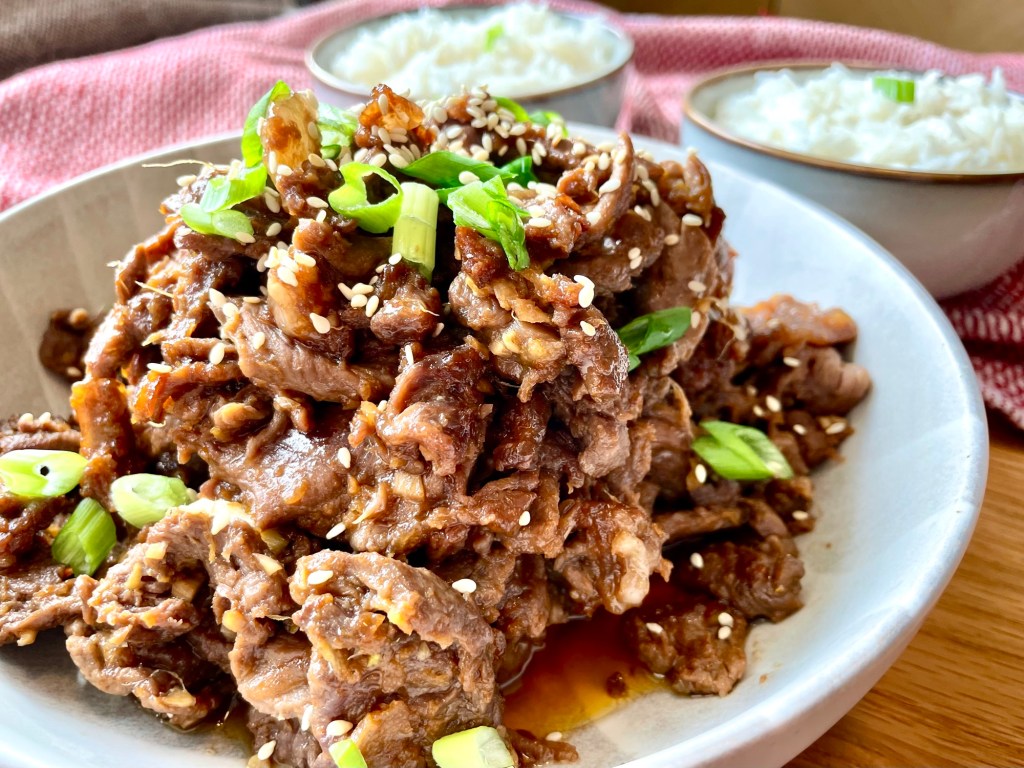
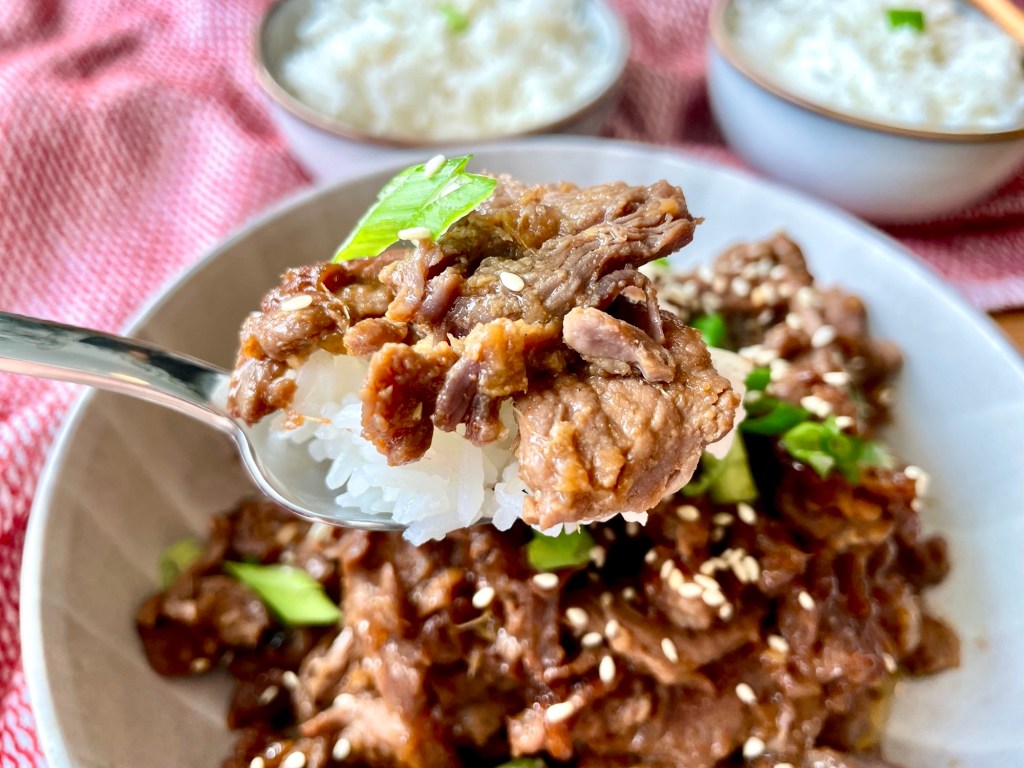
Serve with rice. Garnish with more green onion and sesame seeds.
Summarized Recipe:
Beef Bulgogi
Date Published: April 18th, 2025 | Last Updated: April 18th, 2025
Author: Abby |Category: mains, asian, quick, easy,
Serves: 4 | Prep time: 12 hours (marinate overnight) | Cook time: 10 minutes
Ingredients:
- Marinade:
- 3 cloves garlic, minced
- 2 tsps freshly grated ginger
- 4 green onions, sliced to 4cm pieces
- 1/2 small pear (80g), peeled and coarsely grated
- 1/4 cup (66g) soy sauce (Kikkoman is fine)
- 1/4 cup (40g) brown sugar
- 2 Tbsps (30g) toasted sesame oil
- 1.5 Tbsps (30g) gochujang (Korean red chilli paste)
- 700g/1.5 pounds boneless rib eye steak, sliced thinly (for cheaper options, flank steak or skirt steak will also do)
- Garnish: chopped green onion and sesame seeds
Directions:
- Put all the marinade ingredients in a bowl and mix well: 3 cloves minced garlic, 2 tsps grated ginger, 4 green onions sliced to 4cm pieces, 1/2 of a pear, grated (80g), 1/4 cup (66g) soy sauce, 1/4 cup (40g) brown sugar, 2 Tbsps (30g) toasted sesame oil, 1.5 Tbsps (30g) gochujang.
- Add the thinly sliced steak into the marinade and massage well. Pour the contents into a resealable bag and marinate in the refrigerator overnight.
- Take out the marinated steak 20 minutes prior to cooking to let the meat come to room temperature.
- When ready to cook, use a flat skillet or grill pan on MED-HIGH heat and add a drizzle of oil. Add the marinated steak and cook for roughly 2-3 minutes per side until slightly charred and cooked. Done! Serve with rice. Garnish with more green onion and sesame seeds.